Silver hair transforms beautifully with waves, creating a sophisticated aesthetic that works whether you’re going for ethereal romance, modern edge, or timeless elegance. The interplay between cool-toned silver strands and textured movement creates depth, dimension, and visual interest that’s nearly impossible to achieve with straight hair alone. Whether you’re considering going silver or already rocking this stunning shade, understanding how different wave patterns interact with this color opens up endless styling possibilities that’ll have you excited about your hair every single day.
The beauty of combining silver with waves lies in the way texture catches light differently across each strand. Where a solid, straight silver style might feel monotone or cold, waves add warmth, softness, and movement that make the color feel alive and dimensional. The curl pattern also provides natural dimension that silver shows off better than darker shades, which is why so many silver-haired influencers and stylists lean toward wavy and textured looks.
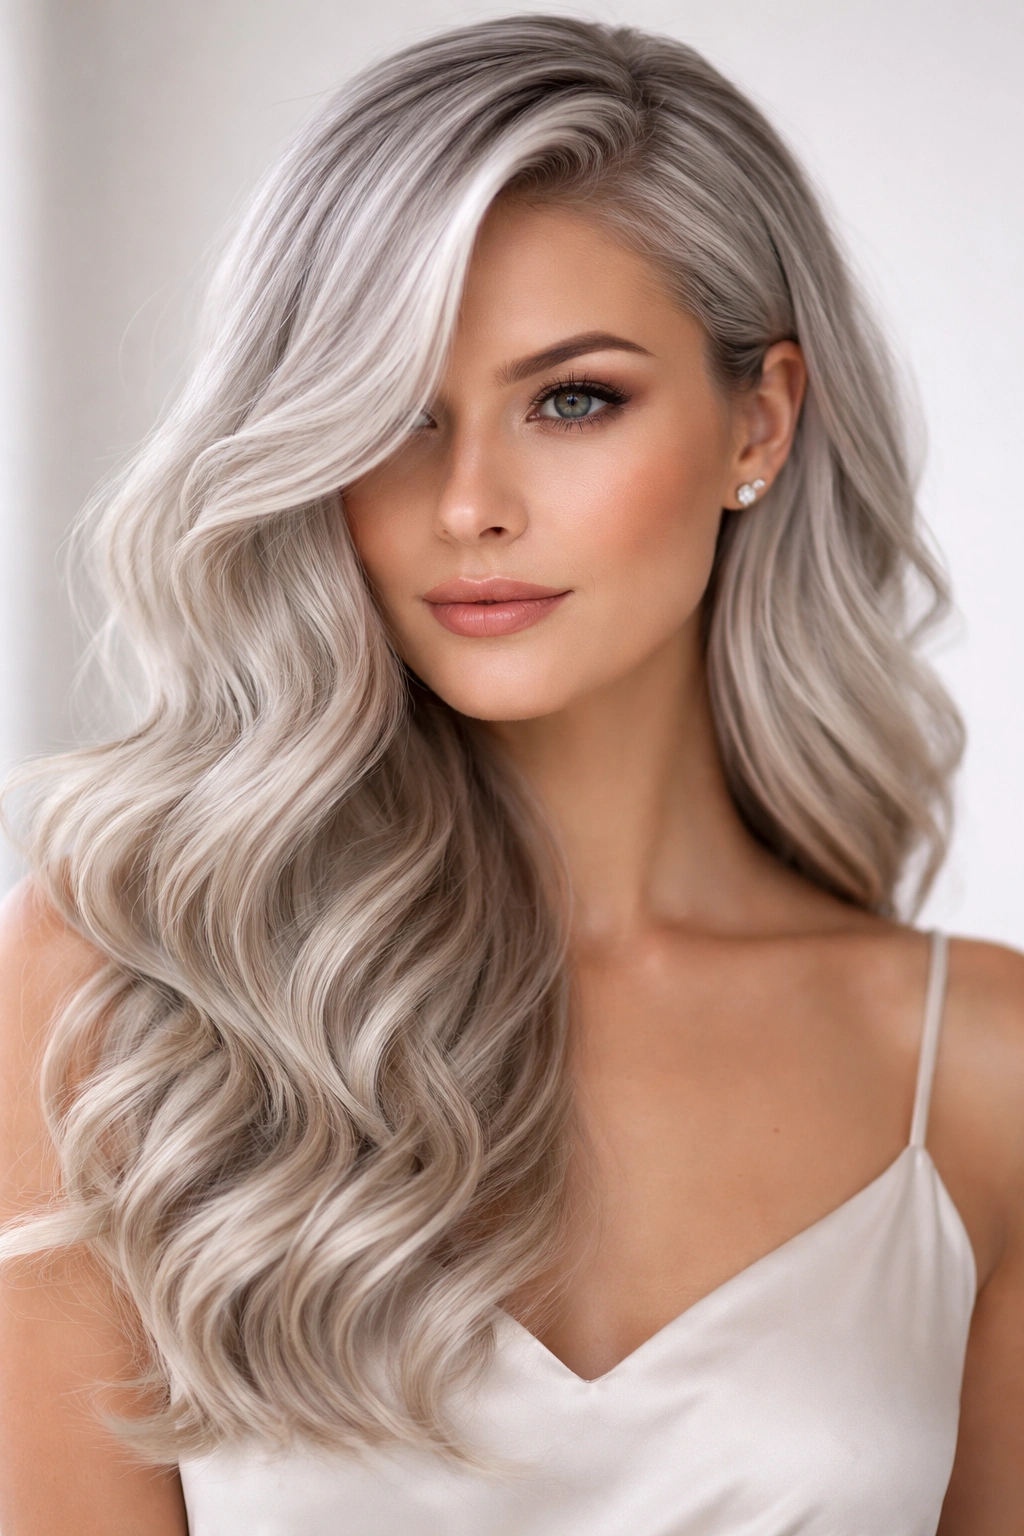
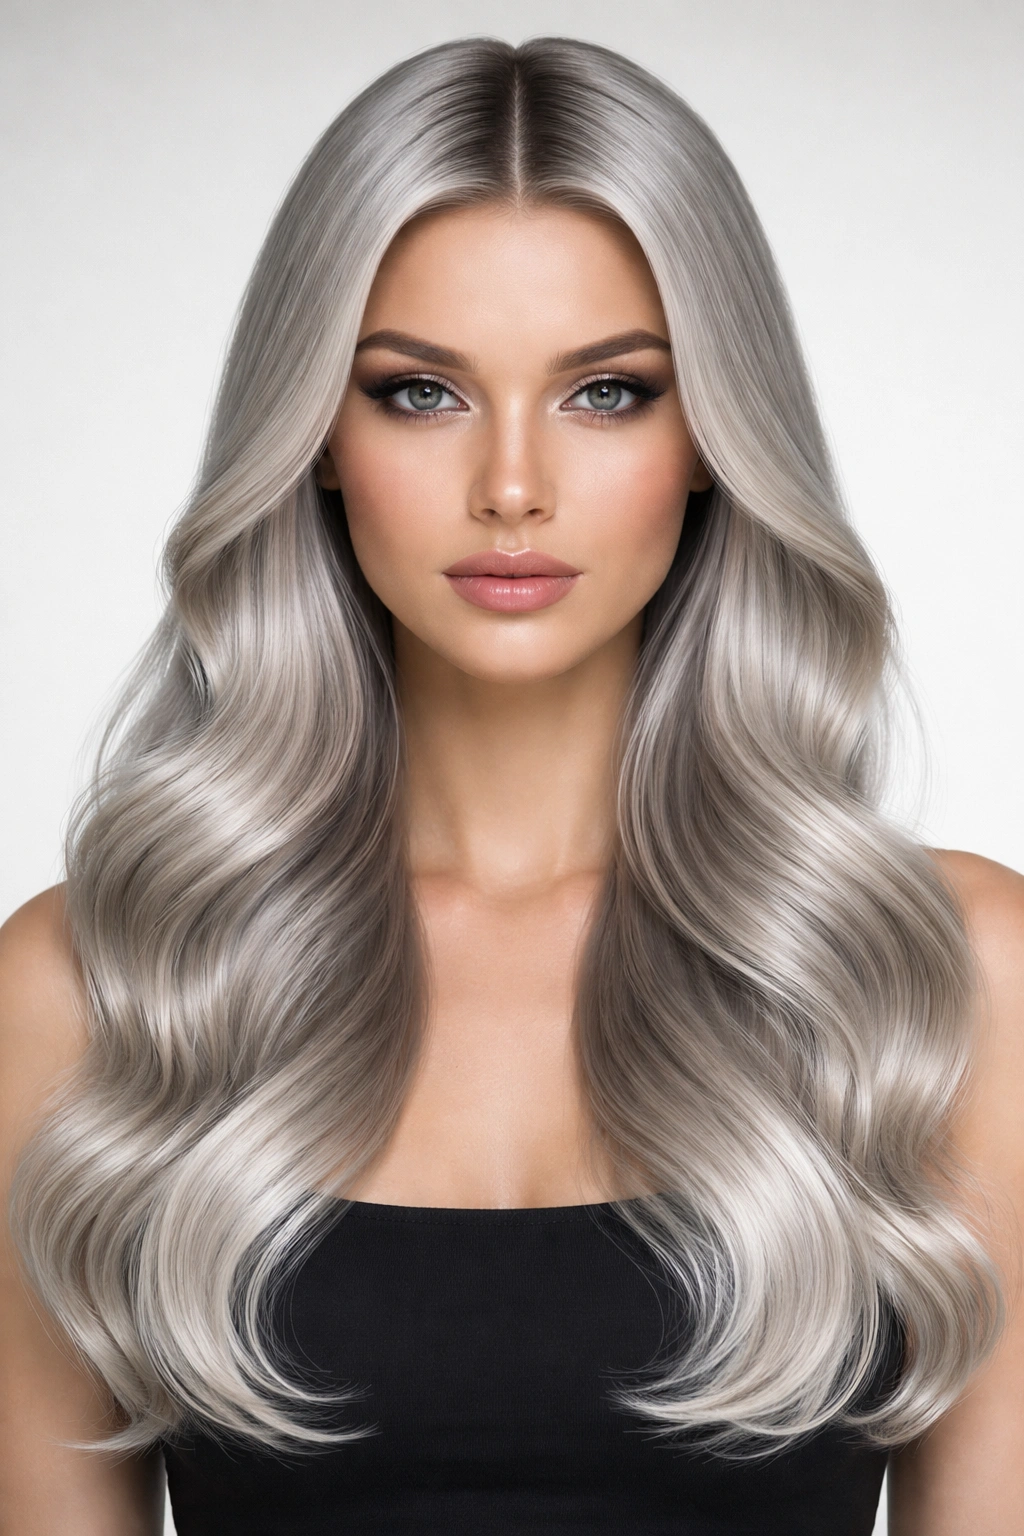
1. Soft Waves with Face-Framing Layers
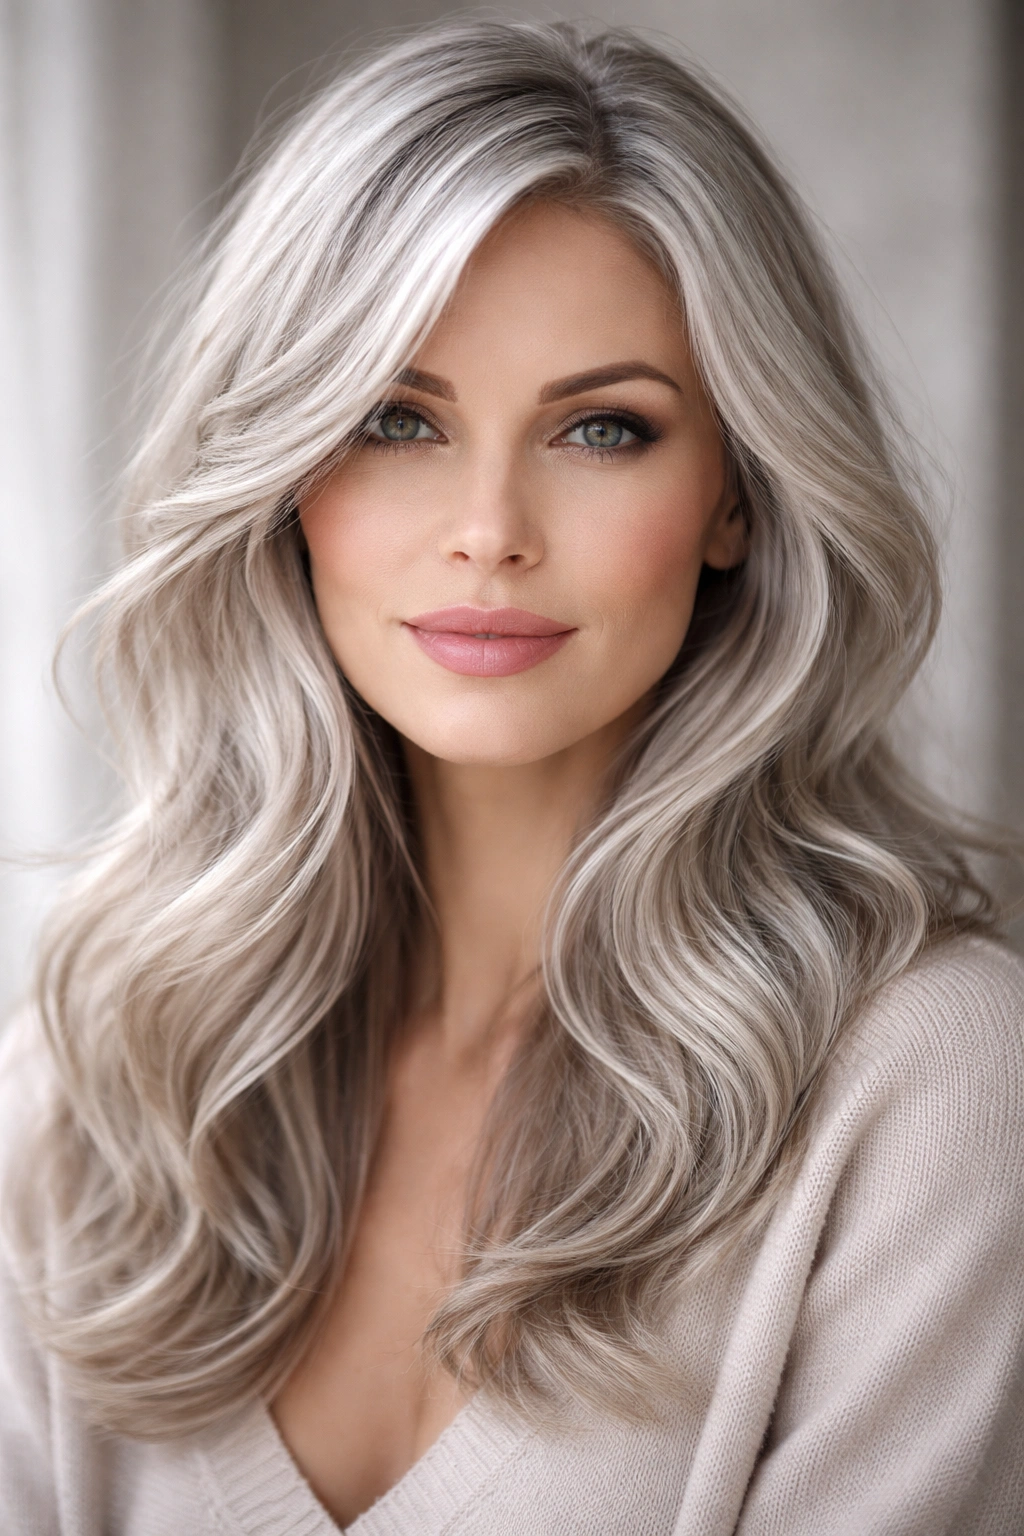
Soft waves paired with strategic face-framing layers create an incredibly flattering style that works for nearly every face shape and hair texture. The shorter, wispy layers catch light beautifully and draw attention to your features rather than overwhelming them, making this a popular choice for silver-haired individuals who want to enhance their natural beauty without committing to a full dramatic cut.
Why Face-Framing Layers Make Such a Difference
Face-framing layers work magic because they break up length visually and add movement exactly where you want it—right around your face. When you’ve got silver hair, these lighter pieces around your cheekbones and jawline create subtle highlights of light reflection. The softer layers also give you flexibility; they’ll wave gently even if the rest of your hair is straight, creating an effortless-looking style that’s actually pretty intentional.
How to Style Soft Waves with Layers
- Use a medium-barrel curling iron or wand to create loose S-curves through the layers
- Start curling about 2 inches from the roots to maintain softness (not rigidity)
- Allow curls to cool completely before running your fingers through them
- Apply a light texturizing spray to enhance the wave pattern without adding weight
- Consider a side part to give the layers extra movement and dimension
Pro tip: Soft waves with face-framing layers look best when trimmed every 4-6 weeks because the layers can start looking stringy as they grow out. Regular maintenance keeps the style looking intentional and fresh rather than wispy and neglected.
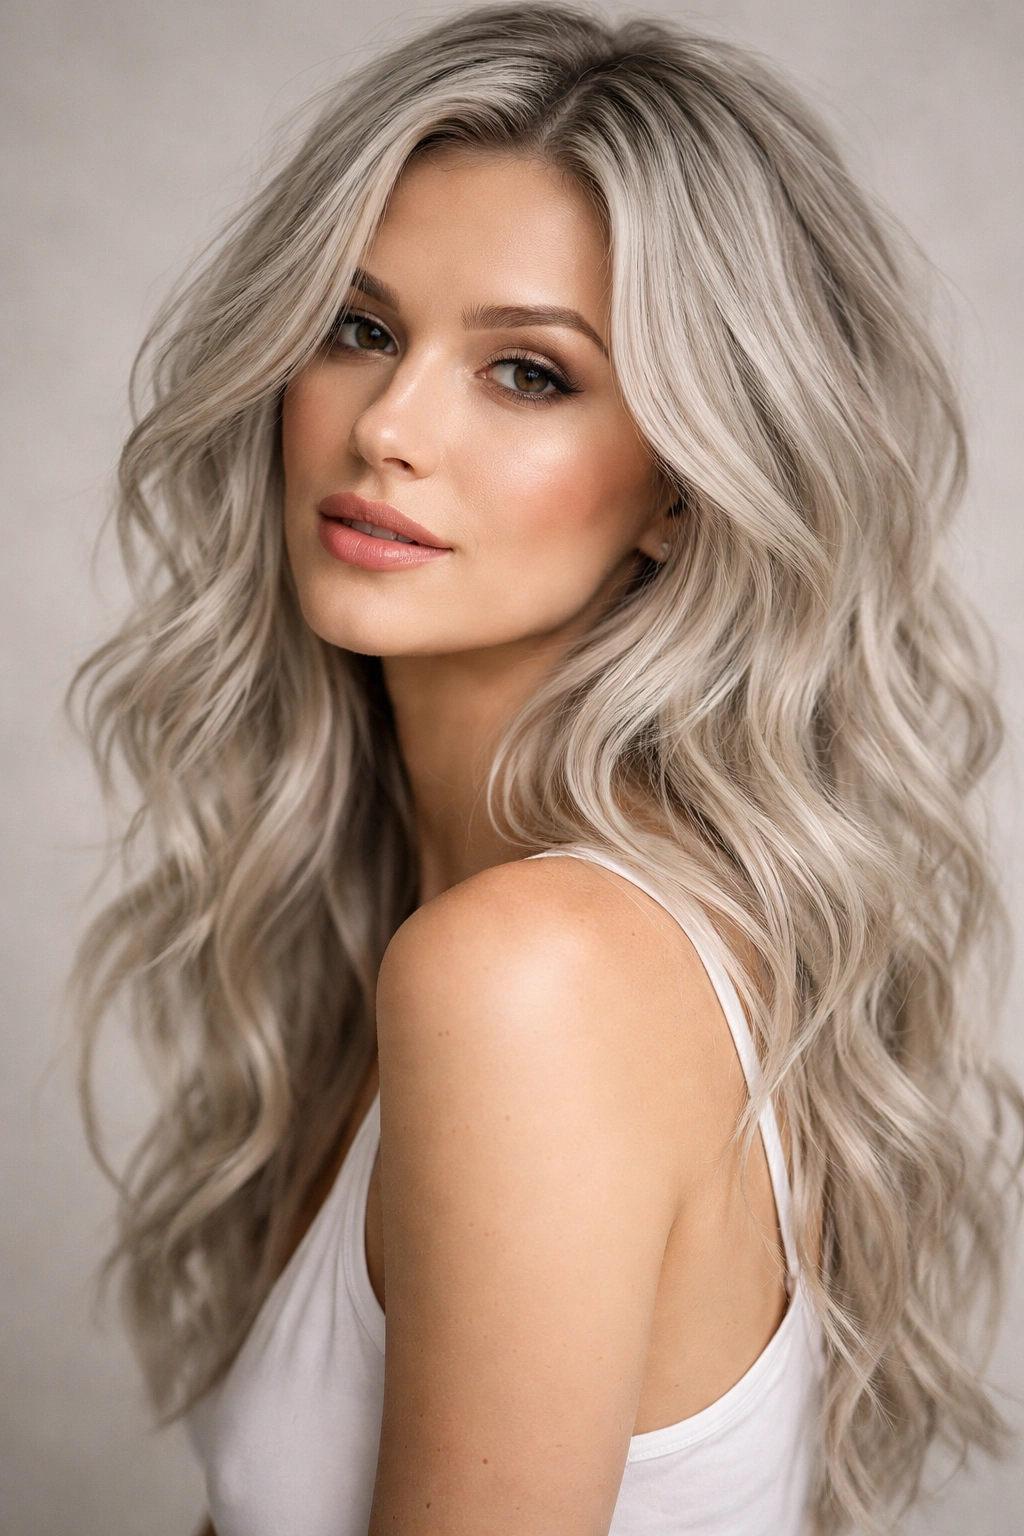
2. Beachy Waves
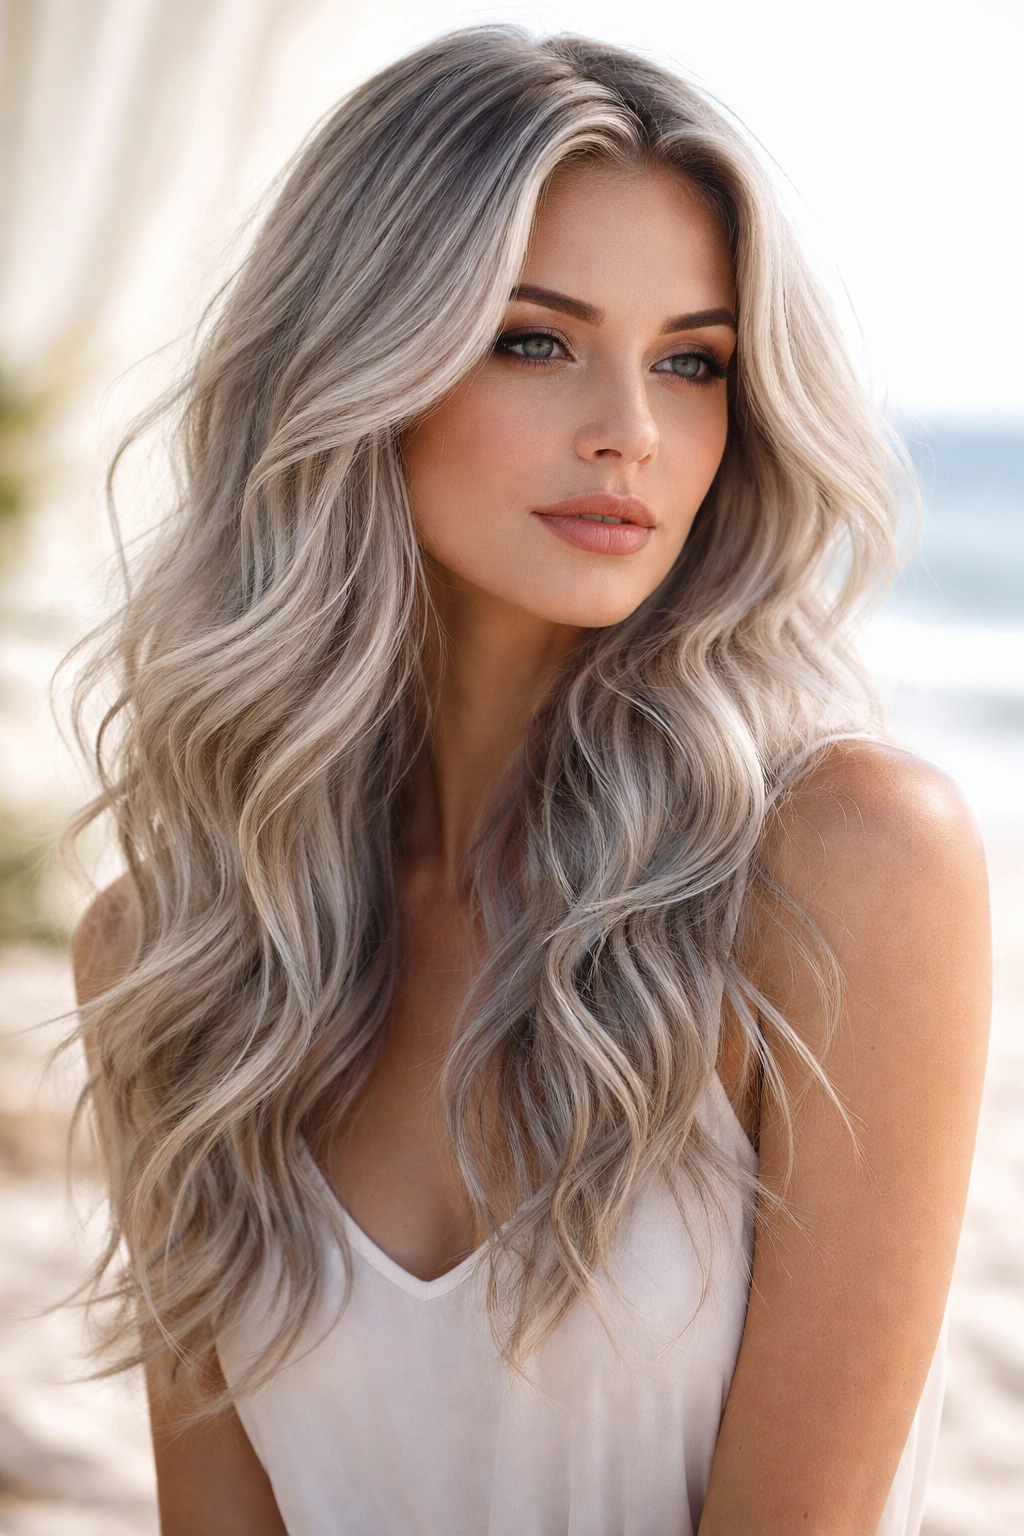
Beachy waves bring an undone, relaxed vibe that feels contradictory with the sophisticated coolness of silver, but that contrast is exactly what makes this combination so appealing. This style works beautifully whether your silver is a cool platinum or a warmer ash tone, giving you that “effortlessly glamorous” aesthetic that people spend lots of time actually achieving but pretend took no effort whatsoever.
Creating That Signature Beachy Texture
Beachy waves aren’t about perfect curl formation—they’re about texture and movement that feels organic and natural. With silver hair, you want to avoid that tight, processed spiral look; instead, aim for loose, undulating waves that break up naturally through the length. The imperfection is actually the whole point, which makes this style forgiving if your technique isn’t perfect.
Best Techniques for Beachy Waves
- Use a sea salt spray as a base to create texture and grip for waves
- Curl sections away from your face for a softer, more romantic effect
- Leave the very ends uncurled for that tousled, just-came-from-the-beach look
- Vary your curl direction—some toward your face, some away—to avoid uniformity
- Finish with a flexible-hold hairspray that allows movement rather than a stiff one
Worth knowing: The best beachy waves happen when you don’t try too hard. If you spend 45 minutes perfecting each wave, they’ll look overdone. Shoot for 15-20 minutes and embrace a little looseness—that’s what makes them beachy rather than formal.
3. Textured Waves with Volume
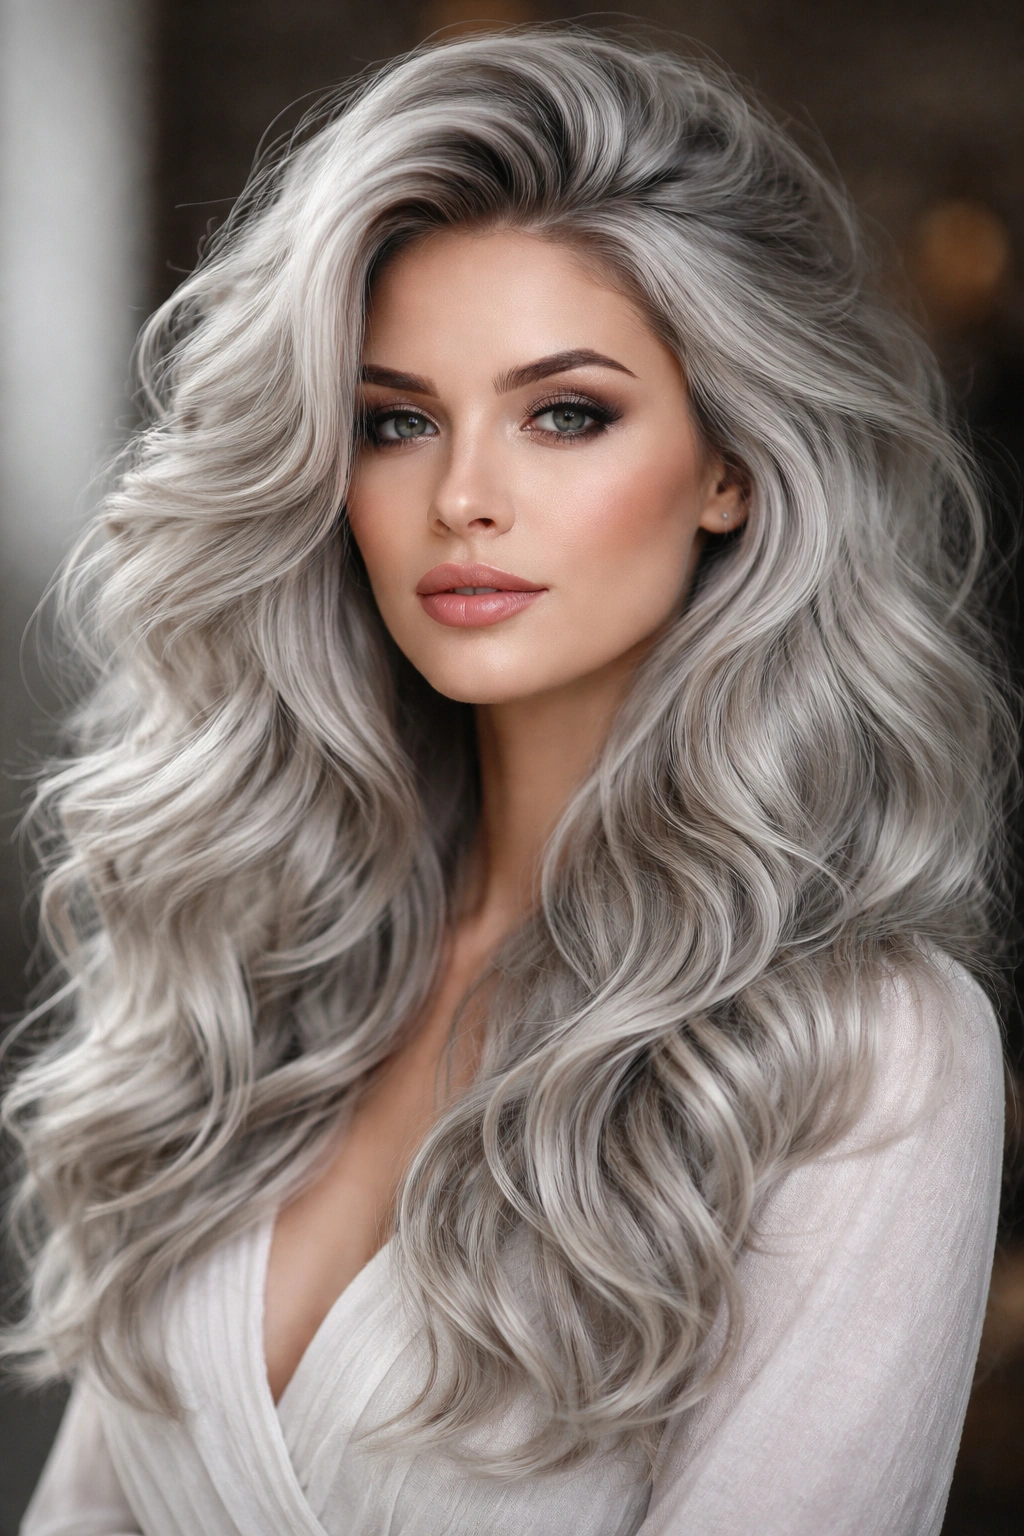
When you want serious presence and drama, textured waves with added volume at the crown and through the mid-lengths create a stunning frame for your face. This style requires a bit more styling effort but delivers impact that definitely gets noticed. The texture prevents the silver from looking flat while the volume adds youthful fullness that flatters mature features.
Building Texture and Volume
Texture and volume work together to create shape. You can’t have one without intentionally creating the other, because true textured waves naturally add dimension and visual fullness. The key is targeting your styling efforts at the areas where you want the most impact—typically the crown and sides of your face.
Step-by-Step for Maximum Volume
- Blow-dry with your head flipped upside down for 30 seconds to create root lift
- Use a volumizing mousse or texture spray on damp hair before blow-drying
- Section your hair into 4-6 sections and curl each one with a 1.5-inch barrel
- Keep the barrel vertical (not flat) to create tighter, bouncier waves
- Tease gently at the roots of each section before curling for extra hold and body
- Allow at least 5 minutes of cooling time before touching or styling further
Insider note: This style benefits enormously from a good blow-dry base. If you start with flat, limp hair and try to add texture on top, it’ll fall within a few hours. Prioritize that foundation and the waves will last.
4. Cascading Waves
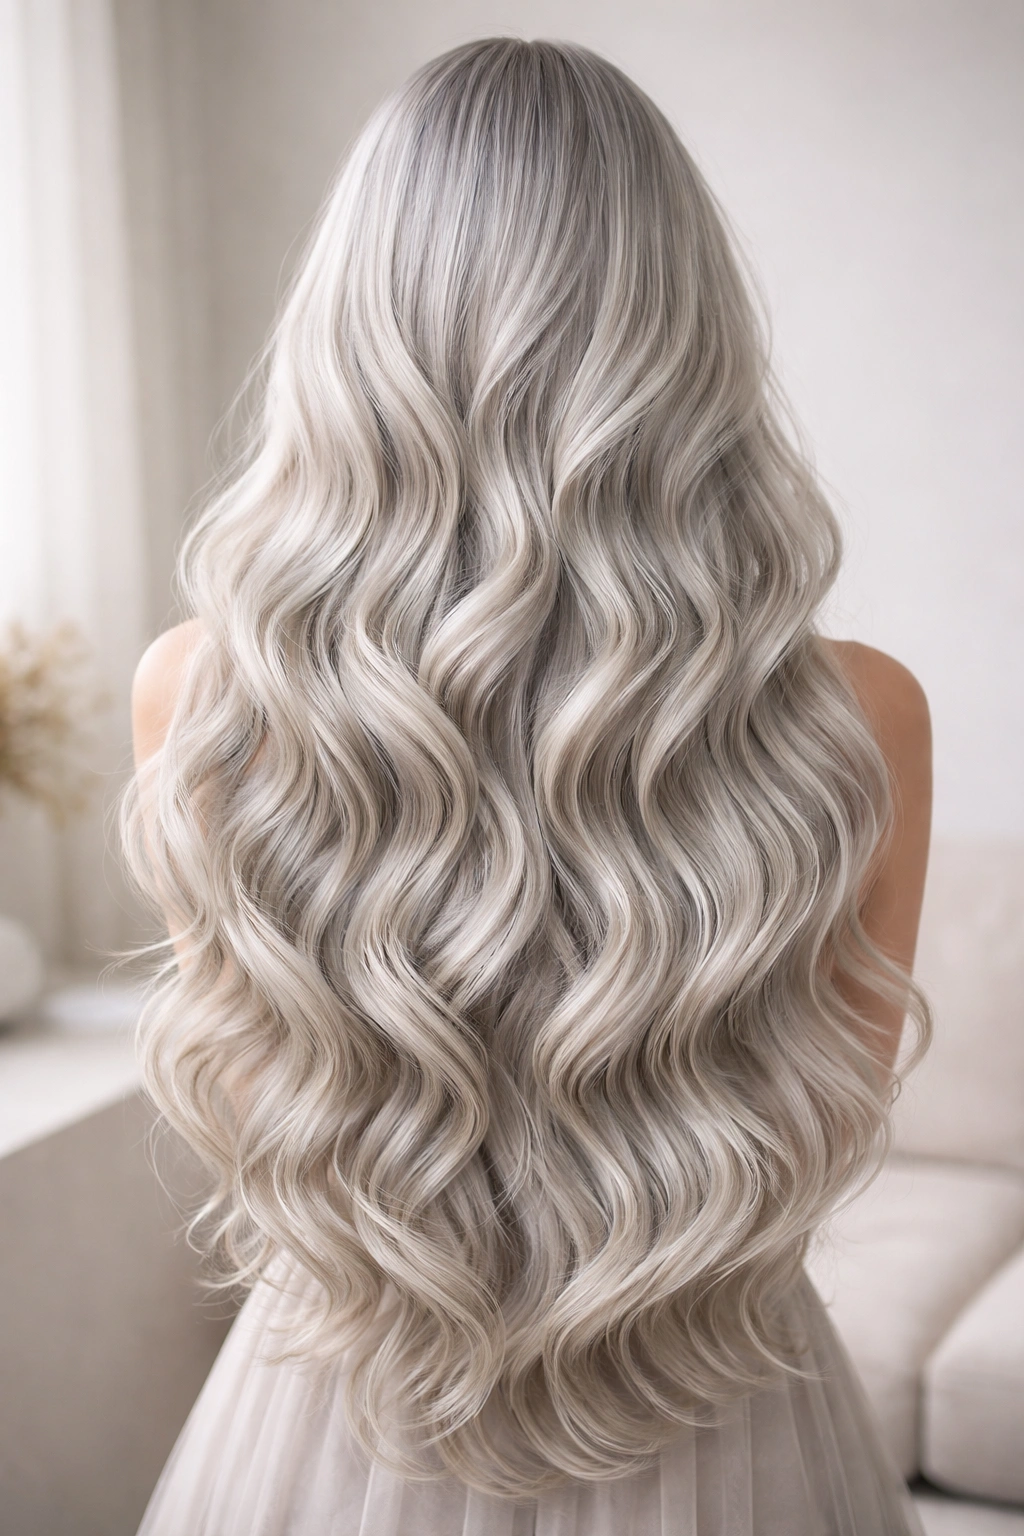
Cascading waves flow downward in a gentle progression, creating a romantic, almost fairy-tale quality that’s especially stunning with silver. This style works beautifully for long hair and creates the illusion of even more length and flow. The cascading pattern ensures waves are most pronounced near the face and gradually relax toward the ends, giving your hair dimension from multiple angles.
The Technique Behind Cascading Waves
Cascading waves require you to vary your curl pattern from section to section, making tighter waves at the top that gradually loosen as you move down. This intentional variation prevents that “old perm” look where every wave is identical, instead creating movement that genuinely feels natural and flowing.
How to Create Cascading Waves
- Divide hair into horizontal sections, starting at the nape of your neck
- Curl each section with progressively larger barrel sizes as you work upward
- Use tighter waves (1.25-inch barrel) for the bottom section
- Move to a medium barrel (1.5 inches) for mid-length waves
- Use a larger barrel (2 inches) for looser waves near the face and crown
- Brush through gently once everything has cooled to blend the sections
- Use a flexible hairspray to hold without creating crunch or stiffness
Real talk: This style takes genuine time to execute properly—probably 30-40 minutes if you’re doing it yourself. If you’re willing to invest that time or get professional styling, the payoff is a genuinely stunning look that’ll turn heads.
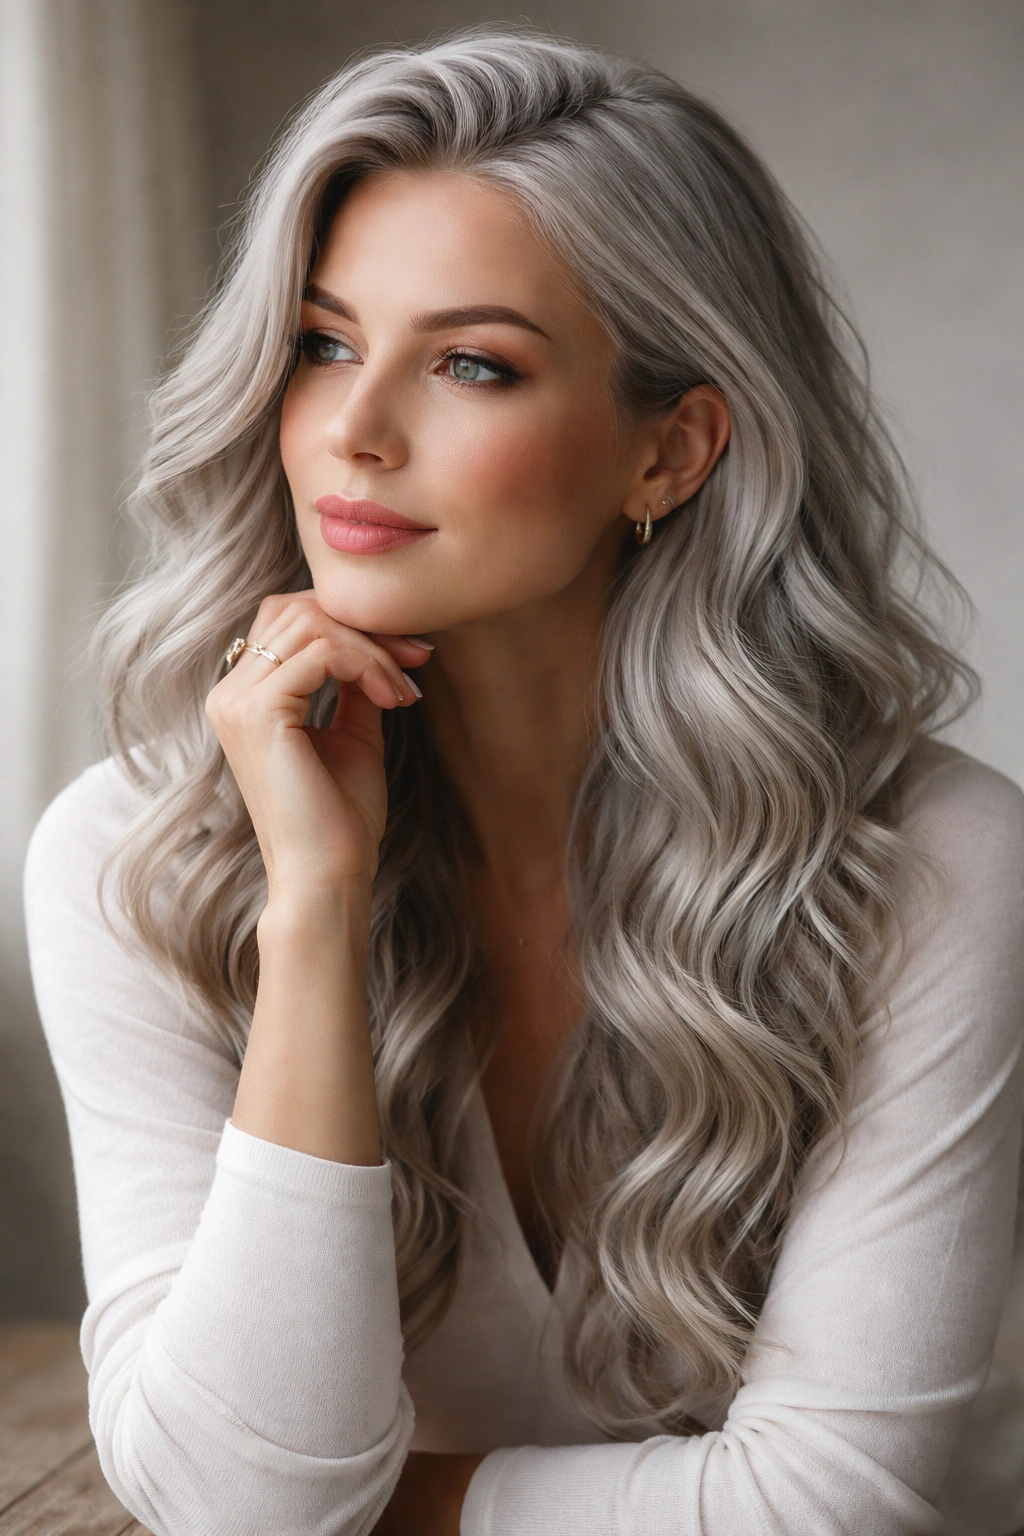
5. Loose Waves with Side Part
A deep side part paired with loose, relaxed waves creates an asymmetrical look that’s both modern and flattering for most face shapes. The side part adds visual interest and movement while the waves prevent the style from looking stark or severe. With silver hair, this combination gives you understated elegance that doesn’t scream “trying too hard.”
Why Side Parts Work With Waves
Side parts immediately make you look more intentional and put-together without appearing overdone. They also allow one side of your hair to show off waves more dramatically while the other side can be slightly smoother, creating visual variety. The asymmetry is sophisticated and draws positive attention without being costume-like.
Styling Loose Waves with a Deep Side Part
- Create your side part by combing from the deeper side toward the narrower side
- Use a root lifter or texturizing spray on damp hair before blow-drying
- Blow-dry the smaller side of your part smoothly while directing volume on the larger side
- Curl sections away from your face using a 1.75-inch barrel or wand
- Leave the first inch of hair at the roots uncurled for a softer, less structured appearance
- Finish with a wave-enhancing serum or oil for shine and separation between individual waves
Worth knowing: Deep side parts look best when the narrower side is combed back smoothly—it creates the contrast that makes the style work. If both sides have equal volume and texture, you’re negating the whole effect.
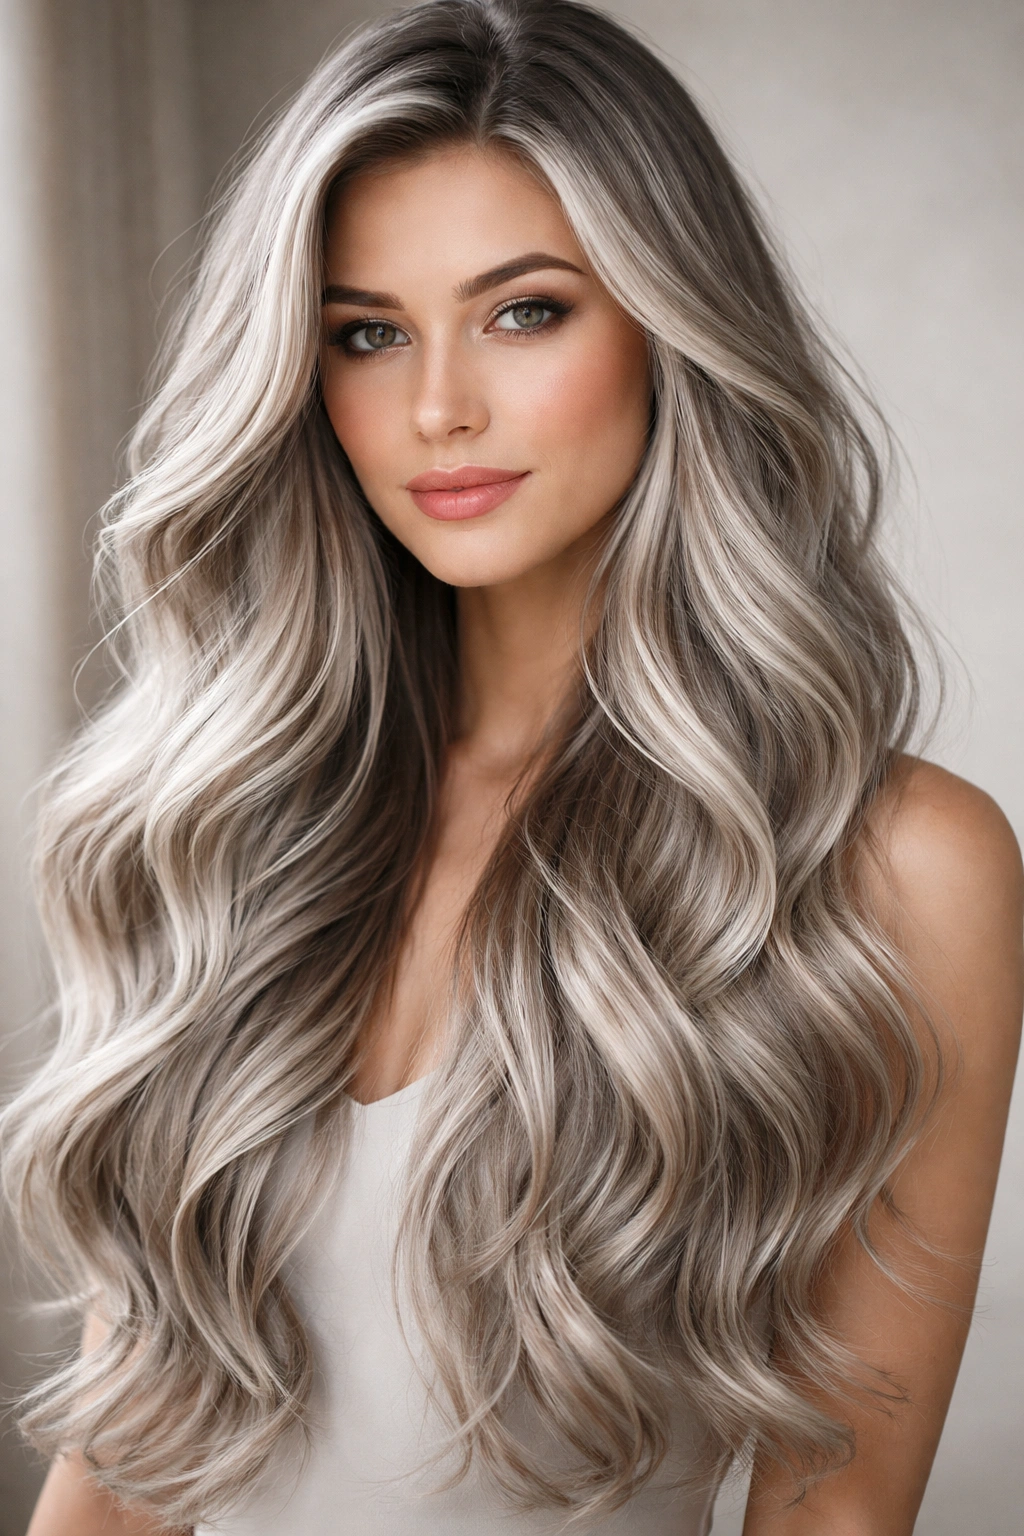
6. Brunette-to-Silver Ombre Waves
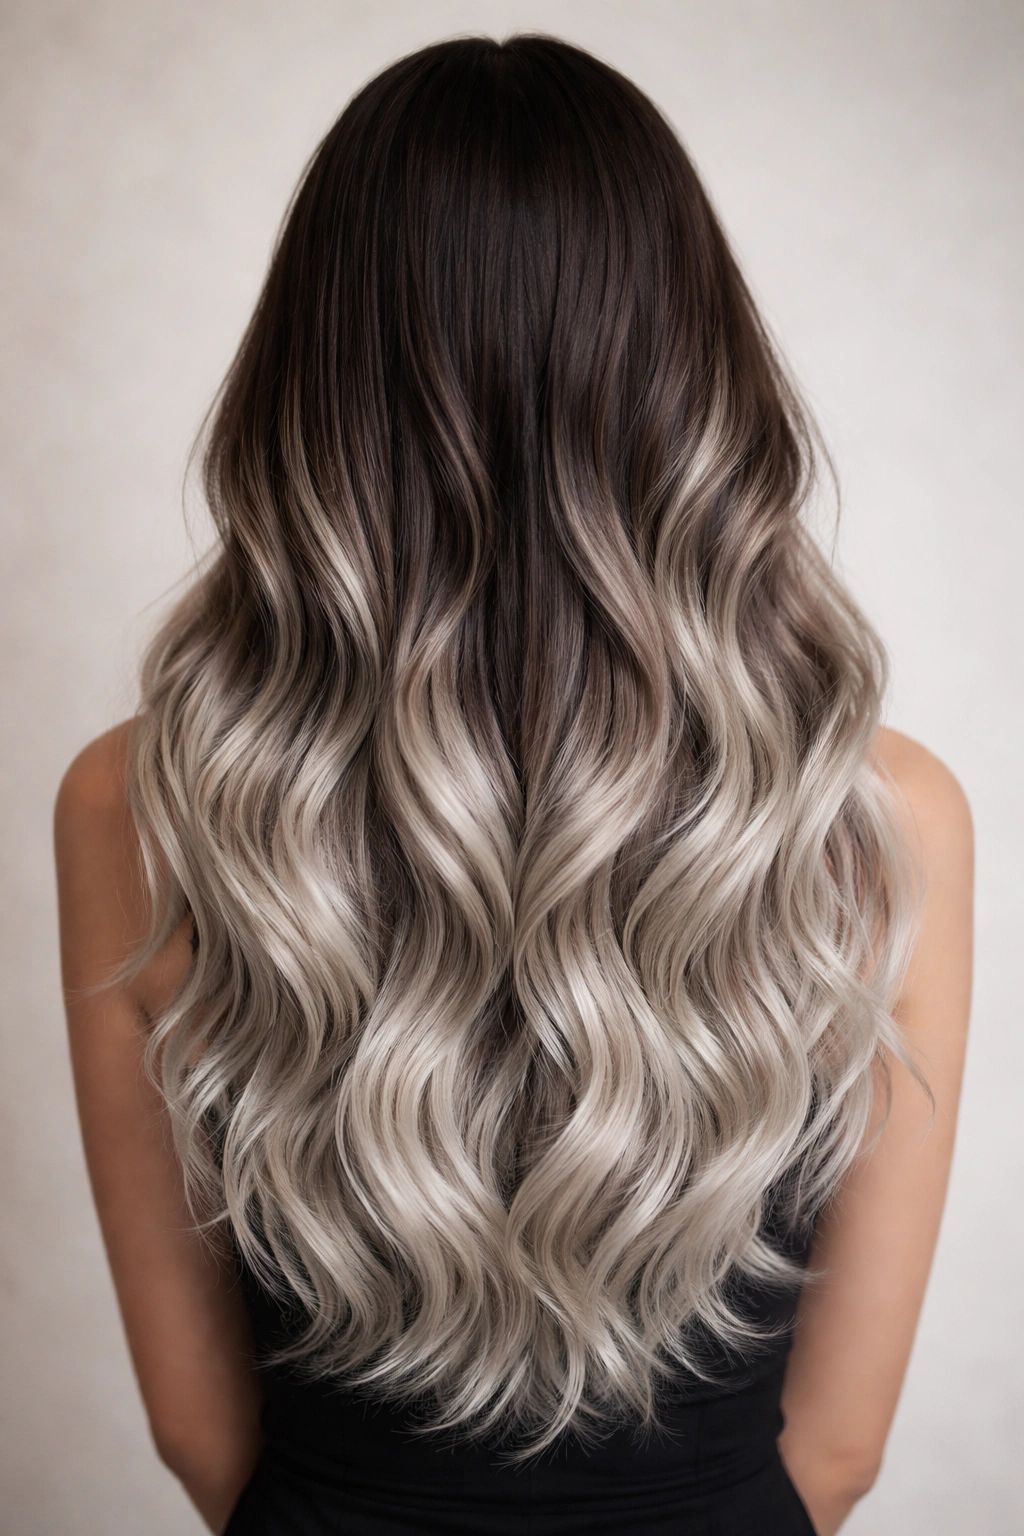
If you’re not ready to commit to full silver, a brunette-to-silver ombre adds visual interest while the wave pattern maximizes the color dimension. The darker roots create depth while the silver ends catch light dramatically, and waves ensure you see both colors from multiple angles. This transitional style works for anyone considering going silver or wanting to maintain some of their natural color for practicality.
The Beauty of Ombre With Waves
Ombre coloring becomes infinitely more interesting with wave texture because waves naturally shift your hair position and angle. What looks like one color when your hair is straight suddenly reveals multiple tones once waves are introduced. This is why ombre with waves looks more expensive and intentional than ombre with straight hair.
Getting Ombre Waves to Look Intentional
- Keep waves loose and undulating rather than tight and uniform
- Allow the color gradient to flow naturally from roots to ends without harsh lines
- Use a 1.5-inch to 2-inch barrel for waves that are large enough to showcase both colors
- Consider balayage rather than traditional ombre for a more blended, natural transition
- Add subtle highlights in the silver section to increase dimension without overwhelming the ombre effect
- Style with a wave-defining cream rather than heavy gel to maintain the color-blended aesthetic
Pro tip: Ombre waves require more frequent trims than solid-color waves because the darker roots grow in more noticeably. Plan for a trim every 6-8 weeks to maintain the intended color gradient.
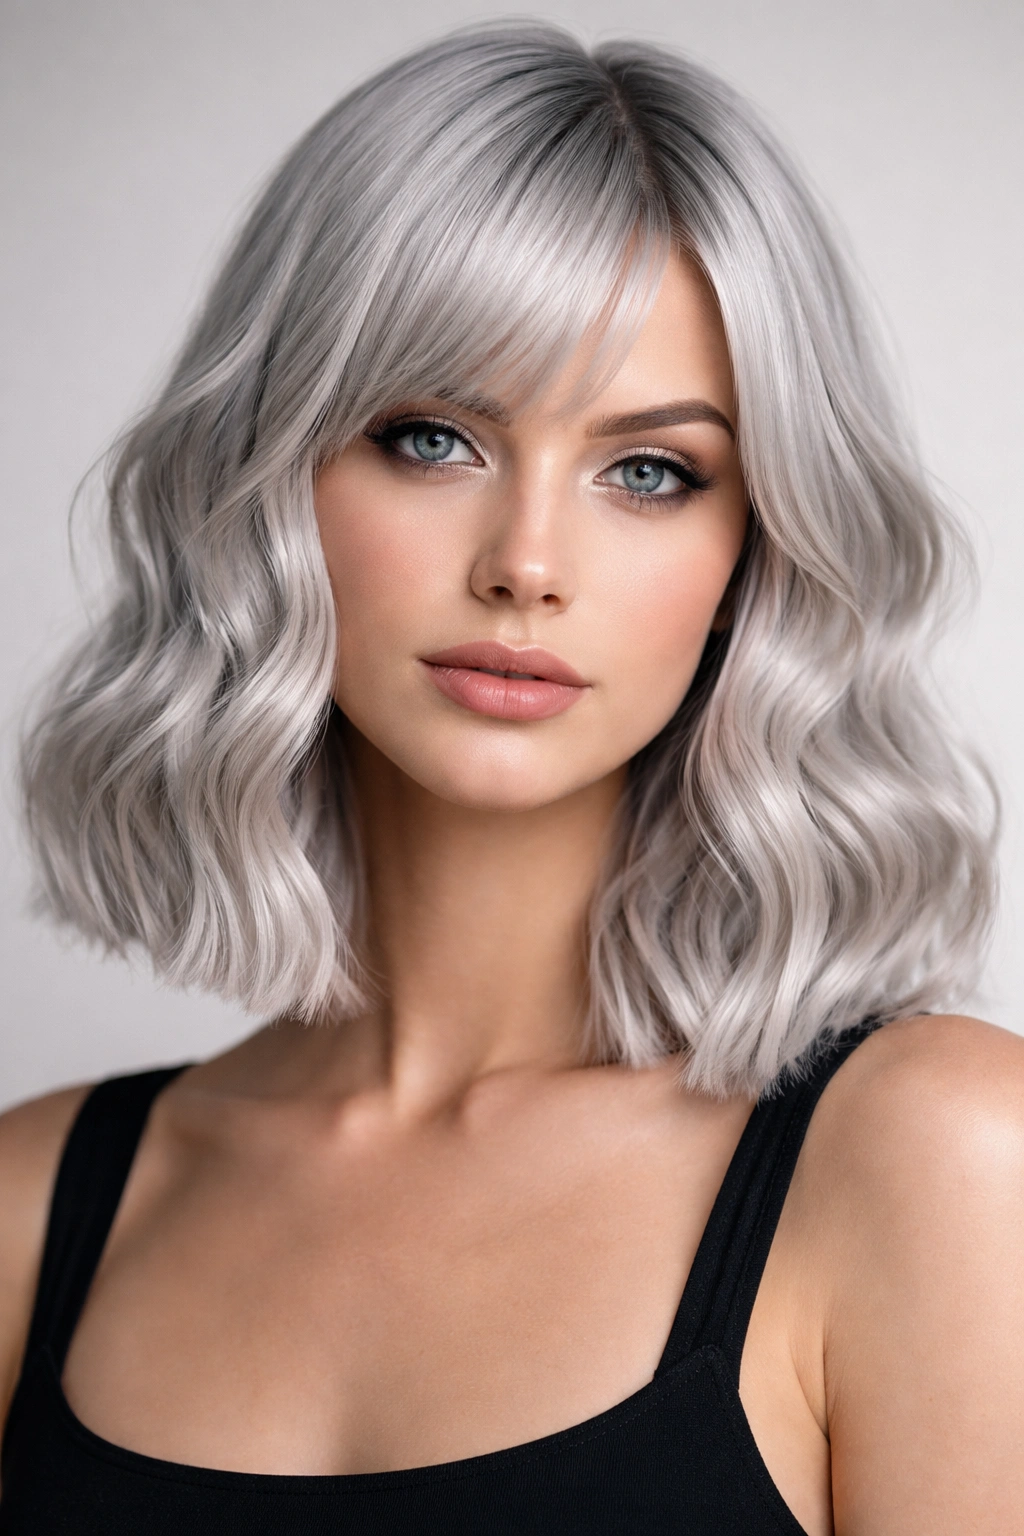
7. Shoulder-Length Choppy Waves
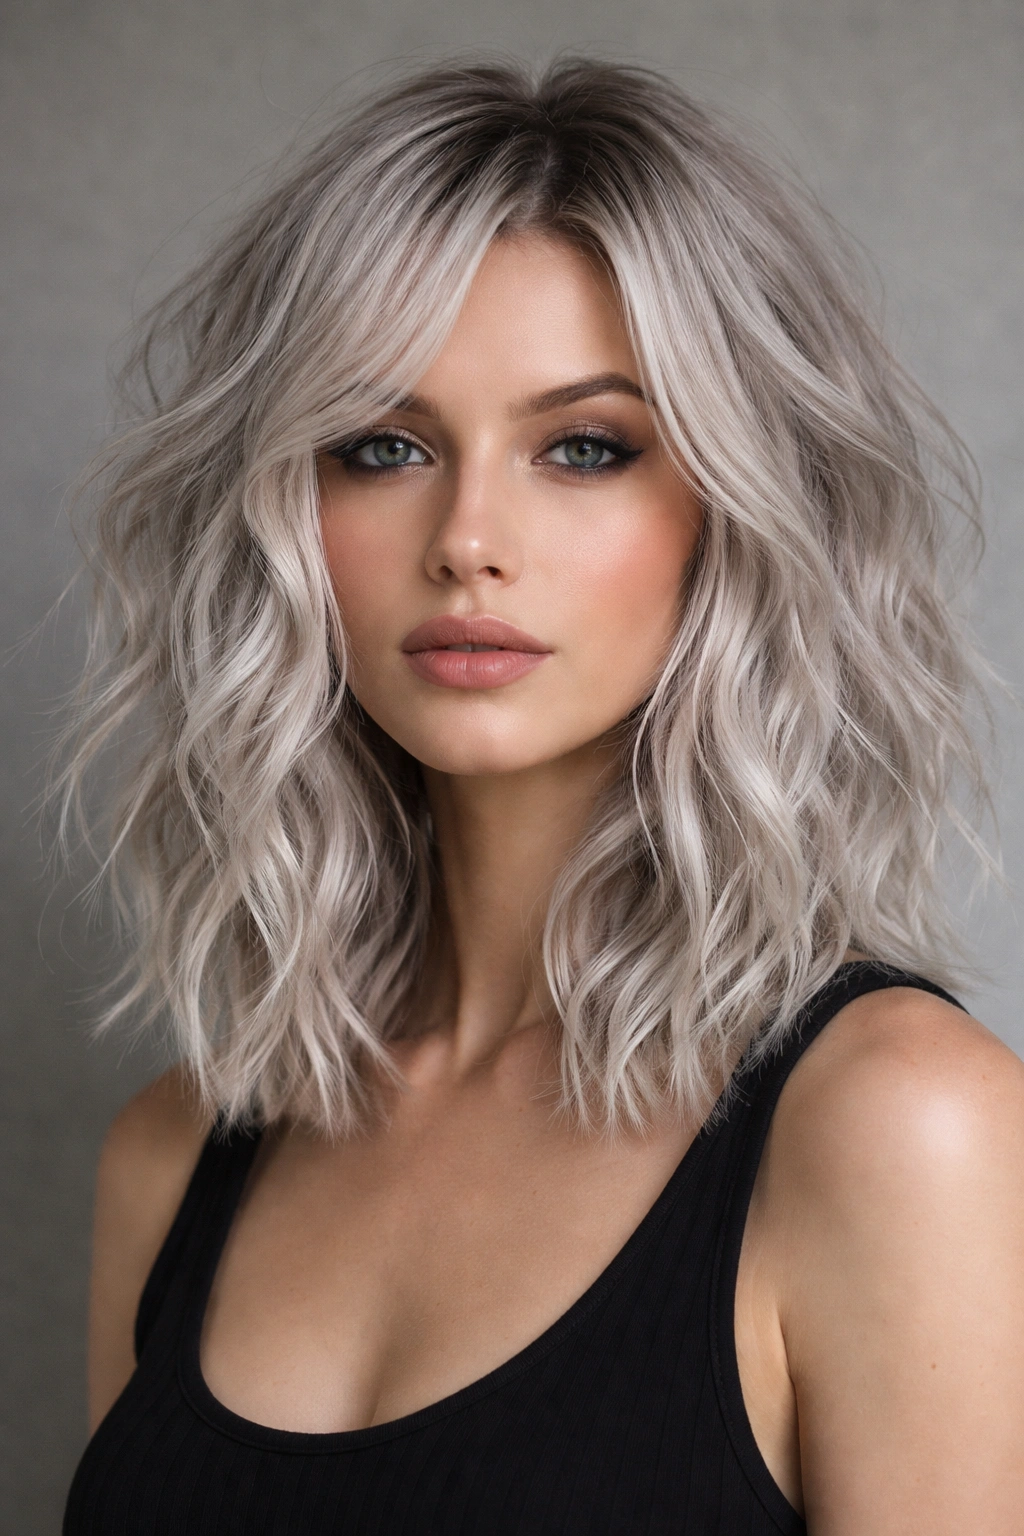
Choppy waves cut short enough to hit your shoulders create movement and attitude that’s more youthful and modern than long waves. The shorter length also makes waves easier to manage and style, requiring less product and taking significantly less time. This length paired with choppy layers and waves gives you a style that’s bold and intentional without being extreme.
Why Choppy Layers Amplify Wave Texture
Layers of varying lengths create multiple wave patterns in a single style, making the overall effect more textured and dynamic than waves in hair that’s all one length. Choppy layers also add volume naturally because shorter pieces create lift, and they remove weight that might otherwise drag waves down and make them fall flat.
Creating Choppy Waves at Shoulder Length
- Ask your stylist for choppy layers that vary by 2-4 inches throughout
- Request shorter layers around your face for maximum movement
- Style with a texturizing mousse on damp hair before blow-drying
- Use a medium curling iron (1.5 inches) and curl sections toward your face
- Allow curls to cool, then finger-comb through gently to blend and soften
- Apply a lightweight sea salt spray for texture and movement that lasts
Honest take: This style looks best when you’re willing to style it somewhat regularly—probably 3-4 times per week at minimum. If you prefer wash-and-go hair, the choppy layers will look shaggy and unkempt rather than intentionally edgy.
8. Vintage-Inspired Waves
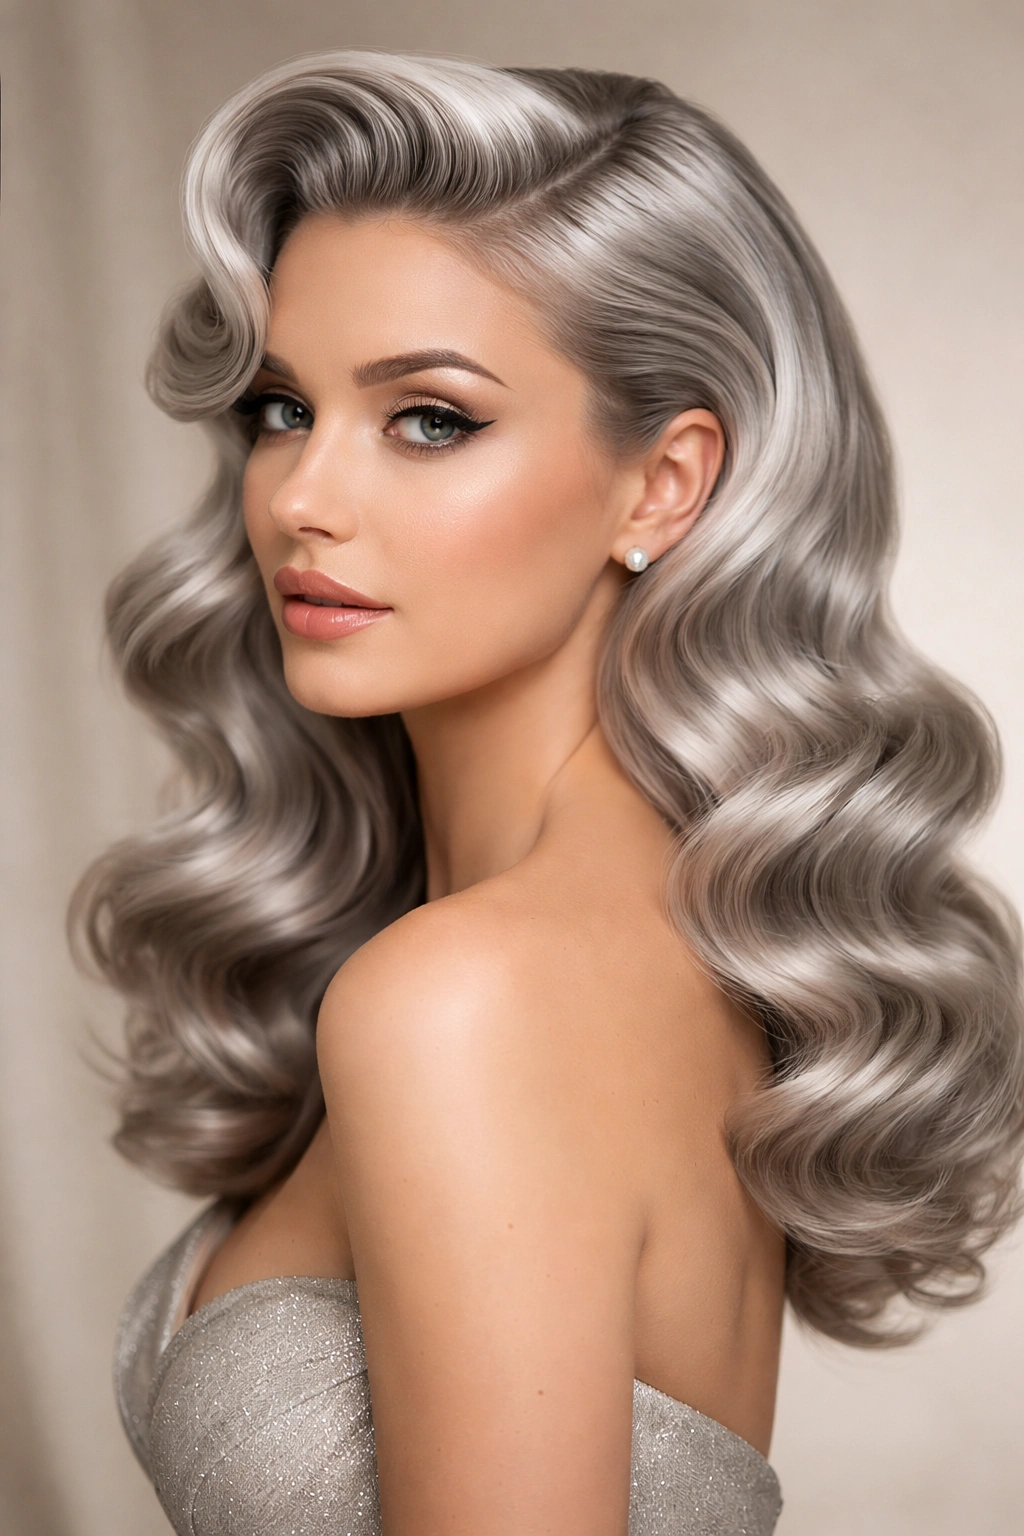
Vintage waves—think old Hollywood glamour or 1970s retro—bring romance and sophistication that’s incredibly flattering with silver hair. This style works whether you’re aiming for finger waves that are tightly sculpted or loose waves styled with a deep side part and a rolled bang. The vintage aesthetic pairs beautifully with silver’s inherent coolness, creating an almost timeless quality.
Recreating Vintage Wave Patterns
Vintage waves were typically more structured and intentional than modern beachy waves, with clear wave formations rather than undulating texture. With silver hair, this structure actually looks elegant rather than dated because the color creates a contemporary edge that prevents the overall look from feeling costume-like.
How to Style Vintage Waves
- Start with damp hair and apply a lightweight mousse or setting lotion
- For finger waves: use a styling brush and clips to mold waves into place, then dry with a blow dryer
- For looser vintage waves: create larger curls using hot rollers or a 2-inch barrel
- Allow the curls to cool and set completely before removing pins or rollers
- Gently comb through to soften the waves while maintaining their direction
- Use a flexible-hold hairspray to maintain the style without visible stiffness
Worth knowing: Vintage waves require a stronger hold than modern styles, so don’t skip the setting lotion or mousse. Without it, your waves will fall within a couple hours—which might be fine if you’re only wearing the style for evening, but frustrating for all-day wear.
9. Sleek Waves with a Middle Part
A perfectly centered middle part with sleek, controlled waves creates a striking, almost editorial look that’s modern yet polished. This style works beautifully for silver hair because the symmetry emphasizes the color’s cool tones while the waves prevent the style from looking severe. The middle part is having a cultural moment, and paired with waves it’s definitely more interesting than straight hair.
The Power of Symmetry in Wave Styling
Middle parts create visual balance and draw attention to your center features—your nose and lips. With waves, this balance prevents the middle part from looking harsh or unflattering. The waves add softness that counteracts any severity, creating a style that’s powerful without being intimidating.
Achieving Sleek Waves with a Perfect Middle Part
- Use a rattail comb to create a precisely centered middle part
- Apply a smoothing serum or oil to damp hair before blow-drying
- Blow-dry each side smoothly using a paddle brush and directing hair downward
- Create waves using a 1.5-inch curling iron, curling away from your face on both sides
- Keep waves controlled rather than frizzy by using a smoothing balm beforehand
- Finish with a light hairspray that provides hold without visible residue or stiffness
Pro tip: If you struggle to create a perfectly straight middle part, try combing your hair while it’s slightly damp—the water helps the part stay where you want it, and you can refine it as your hair dries.
10. Tousled Waves
Tousled waves look intentionally undone, like you literally just woke up and your hair fell into perfect waves by pure luck. This style works because it’s low-maintenance-looking while still being clearly styled, making it perfect for someone who wants to appear effortlessly put-together. With silver hair, tousled waves create a modern, relaxed vibe that’s approachable and genuine rather than overly polished.
The Art of Deliberately Messy Waves
Tousled waves require actually trying to look like you’re not trying, which is ironically harder than just making perfect waves. The goal is waves that look random and natural while still being intentionally shaped and textured. Too much structure reads as overdone; too little reads as simply not styled at all.
Creating Believably Tousled Waves
- Apply a texturizing spray or dry shampoo to damp hair for grip and texture
- Blow-dry roughly without using a brush—let your hair dry somewhat naturally
- Once dry, curl random sections using a 1.5-inch wand, leaving some sections completely uncurled
- Vary your curl direction: some toward your face, some away, some perpendicular
- Run your fingers through gently to separate waves and remove any uniformity
- Use a flexible-hold spray rather than anything stiff or structured
Insider note: Tousled waves look best when you add texture product before styling rather than after. Adding texturizing spray to finished waves makes them look crunchy; adding it to damp hair creates a foundation that holds everything naturally.
11. Long Waves with Highlights
Adding highlights to long silver waves creates dimension that makes the style feel more expensive and intentional. The light-reflecting quality of highlights combined with wave texture creates movement and visual interest from every angle. This works whether your highlights are subtle and almost invisible or bold and contrasting.
How Highlights Interact With Wave Texture
Highlights are most visible when there’s movement because straight hair keeps highlighted sections in one plane, while waves constantly shift those sections into different lighting positions. This is why the same highlight placement looks dramatically different on waved versus straight hair—the texture actually multiplies the visual impact of the color work.
Styling Long Waves With Highlights
- Use a 1.75-inch to 2-inch barrel for waves that are large enough to showcase highlights from multiple angles
- Create waves that vary slightly in direction to ensure highlights show from all sides
- Apply a shine-enhancing serum to damp hair before blow-drying to maximize the reflective quality of highlights
- Dry with a smoothing brush to enhance shine and create a polished foundation for waves
- Curl sections away from your face, creating gentle curves rather than tight spirals
- Finish with a light texturizing spray for definition without heaviness
Worth knowing: The best highlights for waved hair are typically lighter and softer than highlights on straight hair because movement makes the color appear more intense than it actually is. What looks subtle on straight hair might look harsh once you add waves.
12. Blunt-Cut Waves
A blunt haircut creates a strong, modern silhouette that becomes even more interesting when combined with waves. The sharp line of the blunt cut contrasts beautifully with soft wave texture, creating visual tension that’s incredibly flattering. This style works for shoulder-length or longer hair and commands attention without looking severe.
Why Blunt Cuts Work With Waves
Blunt cuts are geometric and architectural, while waves are organic and flowing—this contrast creates visual interest that neither element could achieve alone. The blunt line also prevents hair from looking too soft or feminine, which can be important if you want a more powerful, modern aesthetic.
Creating Waves in Blunt-Cut Hair
- Ask your stylist for a truly blunt edge with no layers or texture in the cut itself
- Blow-dry with some smoothness to emphasize the clean line of the cut
- Create waves using a 1.5-inch to 2-inch barrel, starting about 2 inches from the roots
- Keep the very ends relatively straight so the blunt line remains visible and sharp
- Curl away from your face to soften the look while maintaining the geometric edge
- Use a wave-defining product rather than something that adds bulk or poof
Real talk: Blunt-cut waves require more frequent trims—probably every 6 weeks—because the sharp line looks sloppy once it grows out even a little. If you’re not willing to commit to regular maintenance, a layered cut might be more forgiving.
13. Face-Framing Waves with Undercut
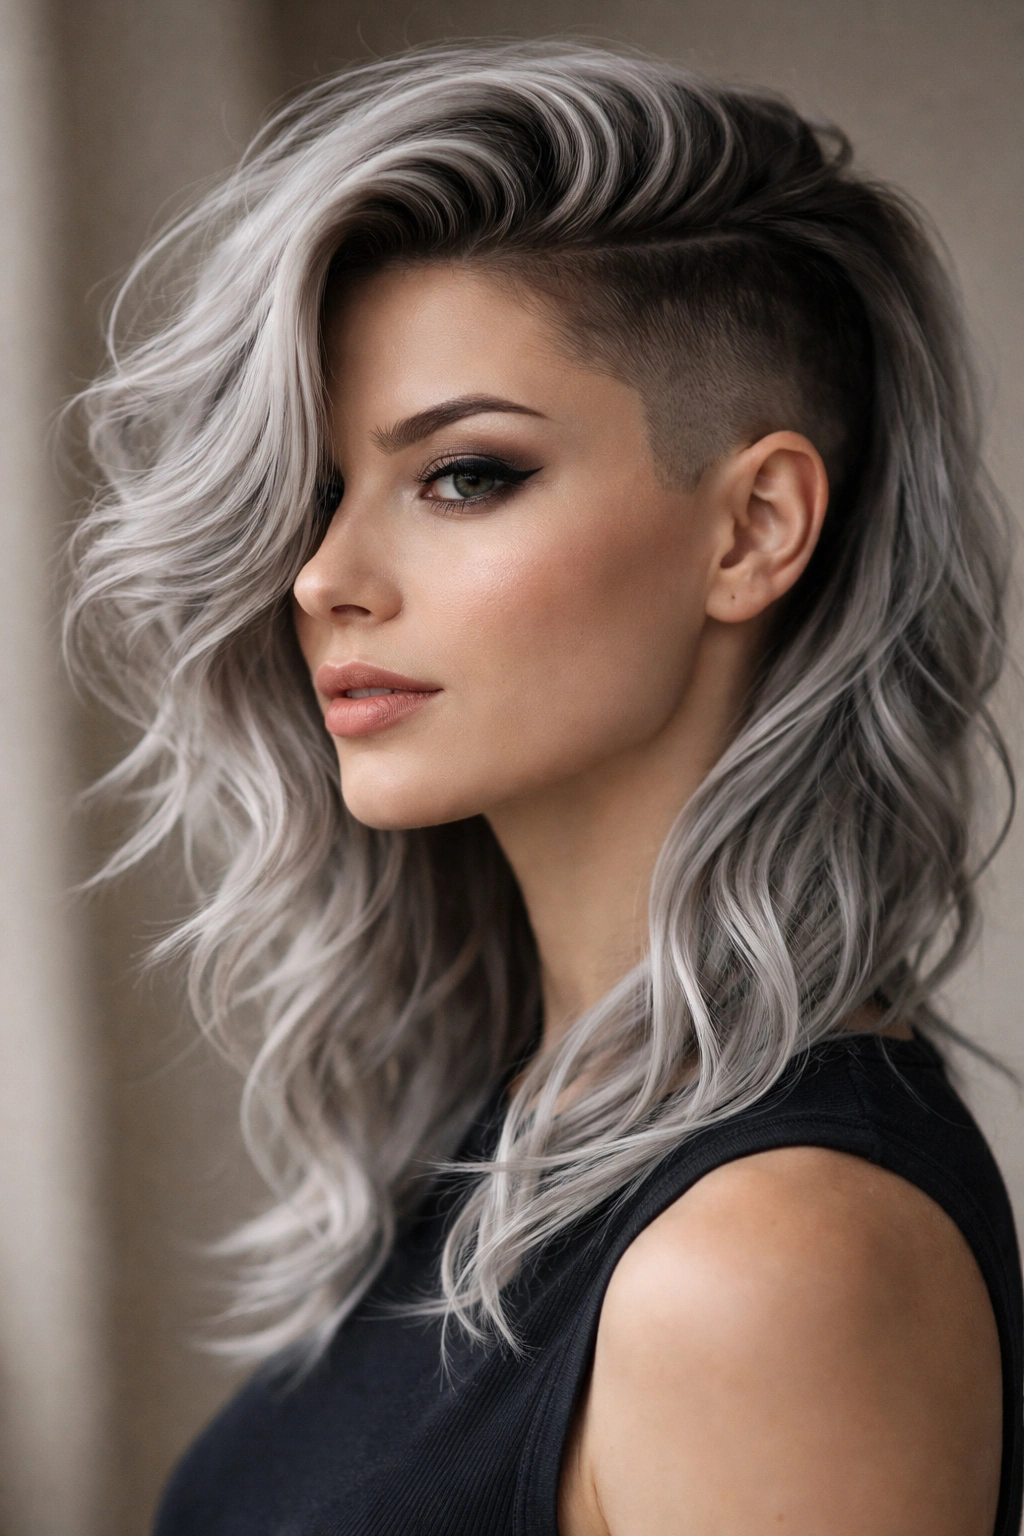
An undercut paired with longer waves on top creates dramatic contrast and a definitely-intentional modern look. The shaved or very short undercut shows off the shape of your head and neck while the longer waves on top create softness and femininity. With silver hair, this combination is especially striking because the contrast between length and texture becomes even more visually interesting.
The Boldness of Undercut With Waves
Undercuts make a statement—they’re not subtle or conservative. When paired with soft waves, they create a push-pull of edgy and romantic that’s visually compelling. This style works for people who want to be noticed and don’t mind taking design risks with their hair.
Styling Waves With an Undercut
- Keep the undercut clean and faded for a polished look rather than blunt
- Create waves in the longer top section using a 1.5-inch to 1.75-inch barrel
- Blow-dry the longer hair smoothly as a foundation before curling
- Curl sections away from your face, starting at the roots of the longer sections
- Allow curls to cool completely before styling to ensure they hold despite the weight
- Use a medium-hold hairspray that provides structure without visible product
Pro tip: Undercuts look best when maintained every 2-3 weeks because they grow out noticeably. If you’re committing to this style, budget for regular touch-ups at the salon.
14. Waves with Braided Details
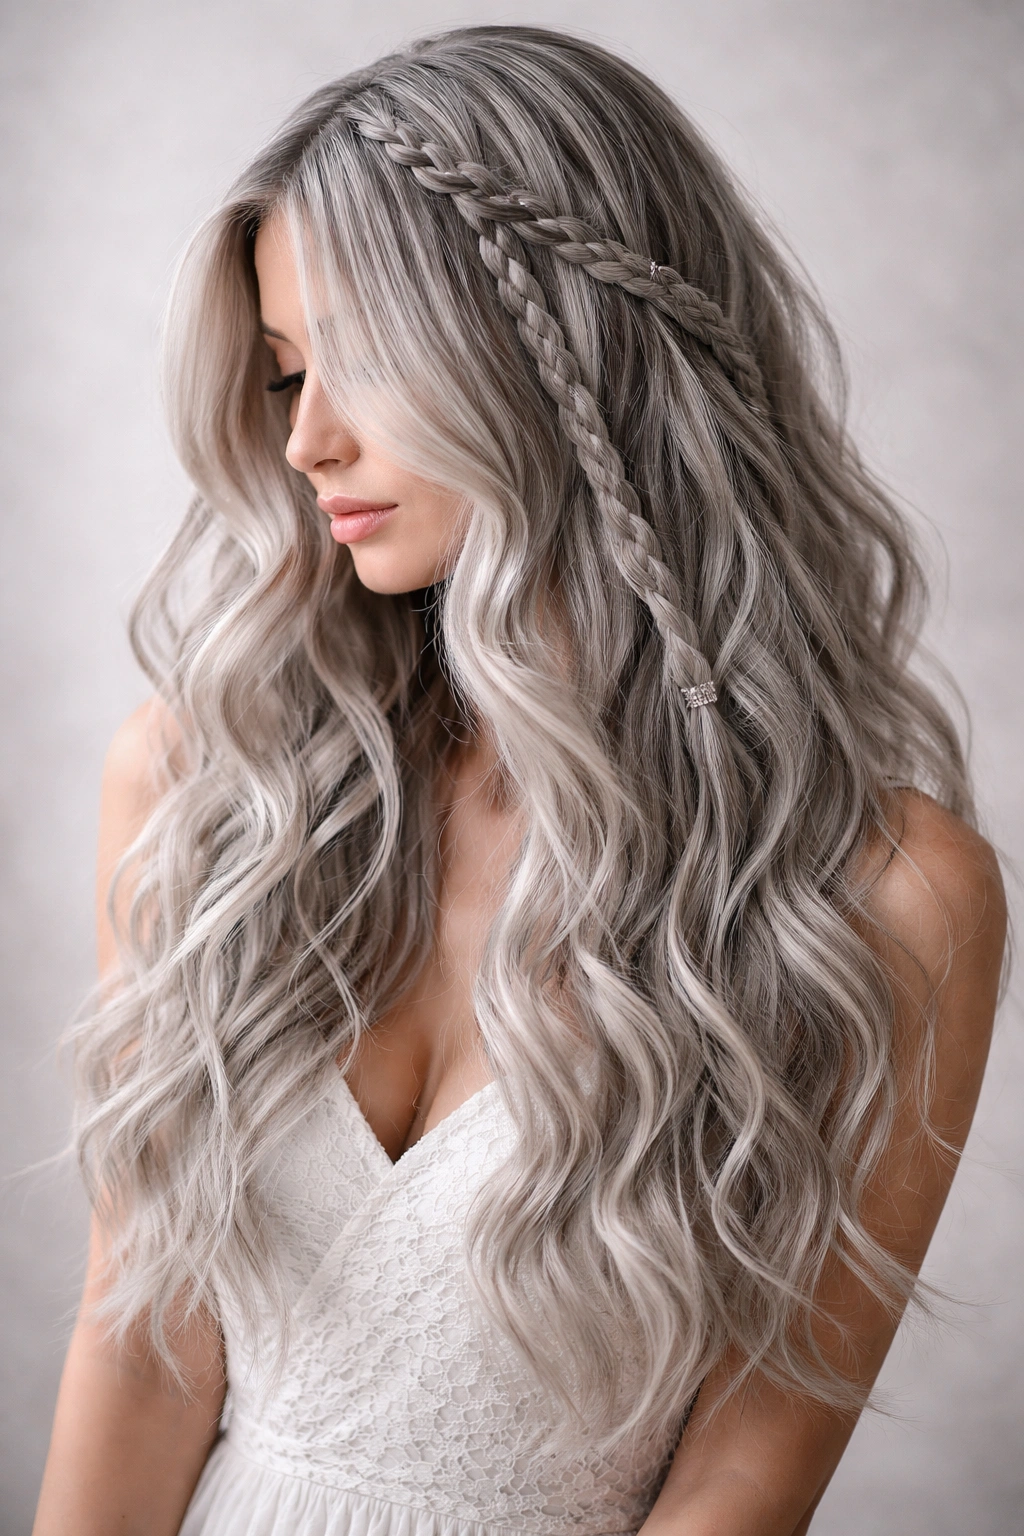
Incorporating braids into your waved style adds texture, visual interest, and a bohemian quality that’s especially lovely with silver. You can incorporate braids as an accent (a single thin braid woven through waves) or more substantially (multiple braids that weave through the wave pattern). This style works for anyone who wants their waves to feel more intentional and artistic.
Combining Braids and Waves Aesthetically
Braids provide structure and defined lines while waves provide softness and flow. Together they create a style that’s more interesting than either element alone. The braids also help hold waves in place if you’re styling for an all-day event where you need maximum longevity.
Incorporating Braids Into Waves
- Create loose waves first using your preferred technique and barrel size
- Once waves are complete, identify where you want braids (typically face-framing or along the sides)
- Braid sections of your waved hair loosely—tight braids look out of place in soft waves
- Use 3-strand braids or loose fishtail braids rather than intricate styles that compete with wave texture
- Secure braids with small, clear elastics that blend with your silver hair
- Leave some wave texture visible around the braids rather than braiding every strand
Worth knowing: Braids in waved hair look best when the waves are loose and undulating rather than tightly curled. Braids in very curly hair tend to get lost or look chaotic rather than intentional.
15. Ethereal Long Waves
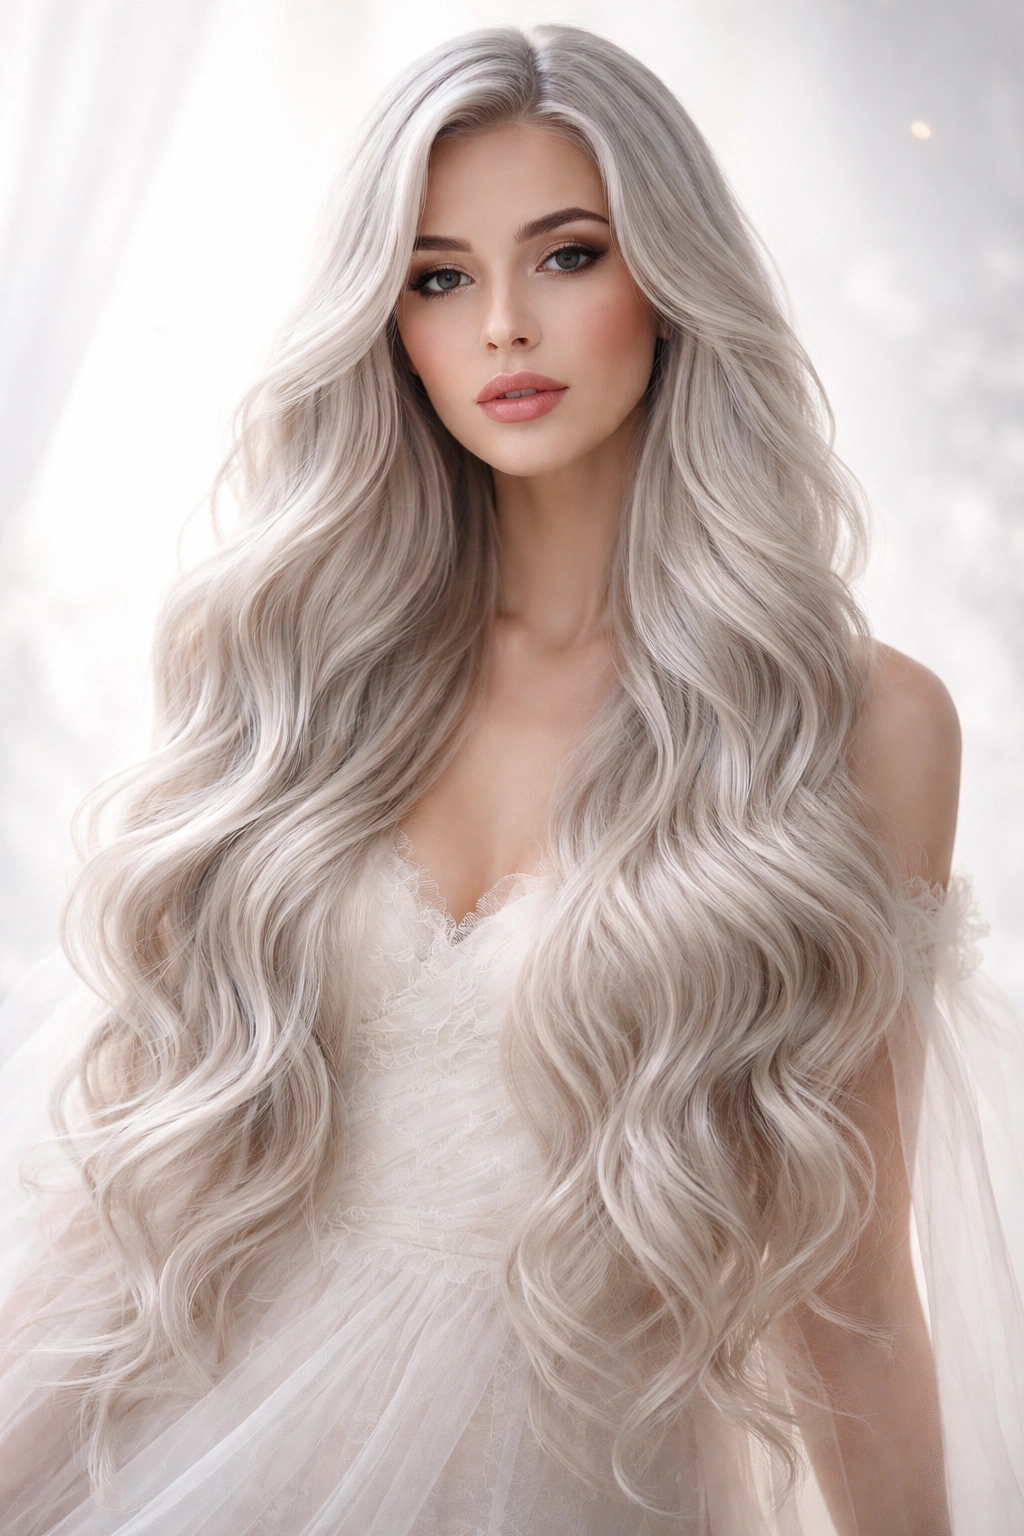
Long, flowing waves create an almost romantic, ethereal quality that’s incredibly flattering and feminine. This style works beautifully for silver hair, where the movement prevents the color from looking heavy or aging. Ethereal waves are soft, romantic, and effortlessly beautiful—the kind of style that looks good in photographs and genuinely lovely in person.
Creating That Ethereal, Romantic Quality
Ethereal waves aren’t overly structured or intentional-looking; they’re soft and romantic with an emphasis on movement and flow. The goal is waves that make your hair look like it’s moving even when you’re standing still. With silver, the ethereal quality becomes almost angelic—cool and otherworldly rather than warm and grounded.
Styling Long Ethereal Waves
- Start with a smoothing treatment or conditioning spray on damp hair
- Blow-dry with a paddle brush for smoothness and shine as your foundation
- Use a 2-inch barrel or larger wand for waves that are soft rather than defined
- Curl sections loosely, not wrapping hair tightly around the barrel—aim for gentle curves
- Create waves that taper off near the ends rather than spiraling all the way to the tips
- Finish with a light hairspray and a shine-enhancing serum for polish without weight
Insider note: Ethereal waves look best when your hair is in excellent condition—healthy, shiny, and strong. Damaged hair reads as wispy and thin rather than romantic and flowing, so prioritize regular deep conditioning and trims.
Final Thoughts
Silver hair paired with waves creates possibilities for virtually any aesthetic you’re drawn to—from modern and edgy to romantic and ethereal. The key is finding a wave pattern and styling approach that genuinely reflects your personal style and aesthetic. Don’t feel pressured to commit to the most dramatic style if that’s not actually you; the most beautiful hairstyle is always the one that makes you feel confident and genuinely like yourself.
The wonderful thing about silver hair is that it’s already distinctive and interesting, so your waves don’t need to be extreme or highly structured to make an impact. Soft, natural-looking waves often create more visual interest with silver than overly tight curls would, because the focus stays on the beautiful color rather than getting lost in curl definition. Whatever style you choose, prioritize the health and integrity of your hair through regular conditioning and trims—healthy silver hair with waves is genuinely stunning, while damaged silver hair with even the most perfect waves looks compromised.