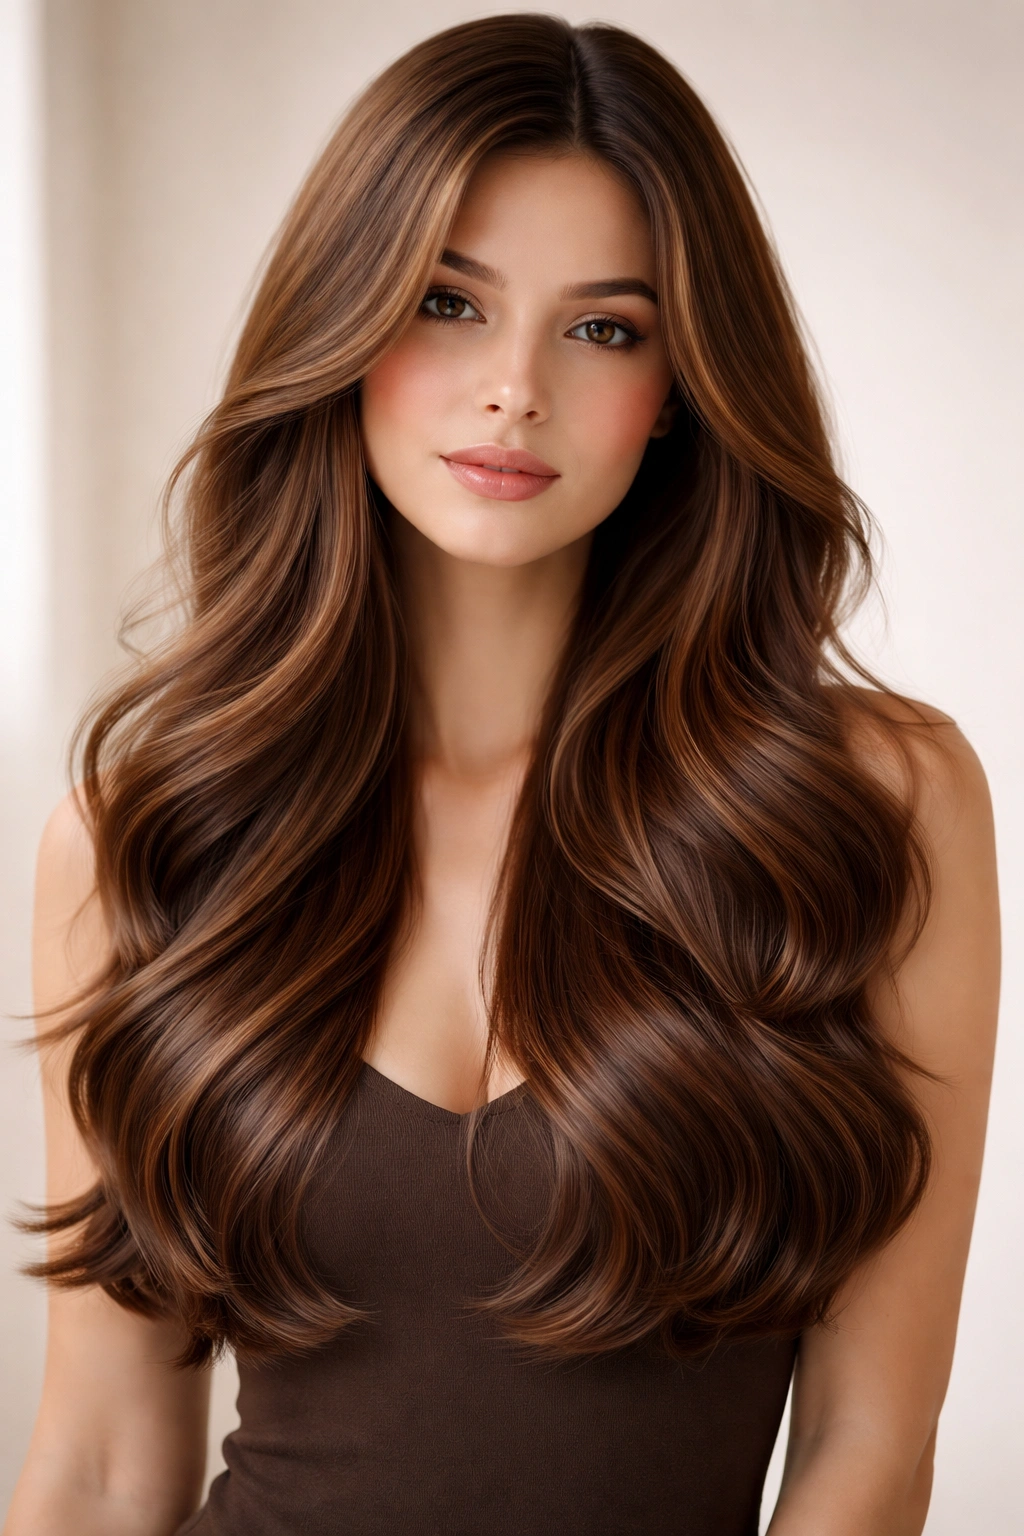
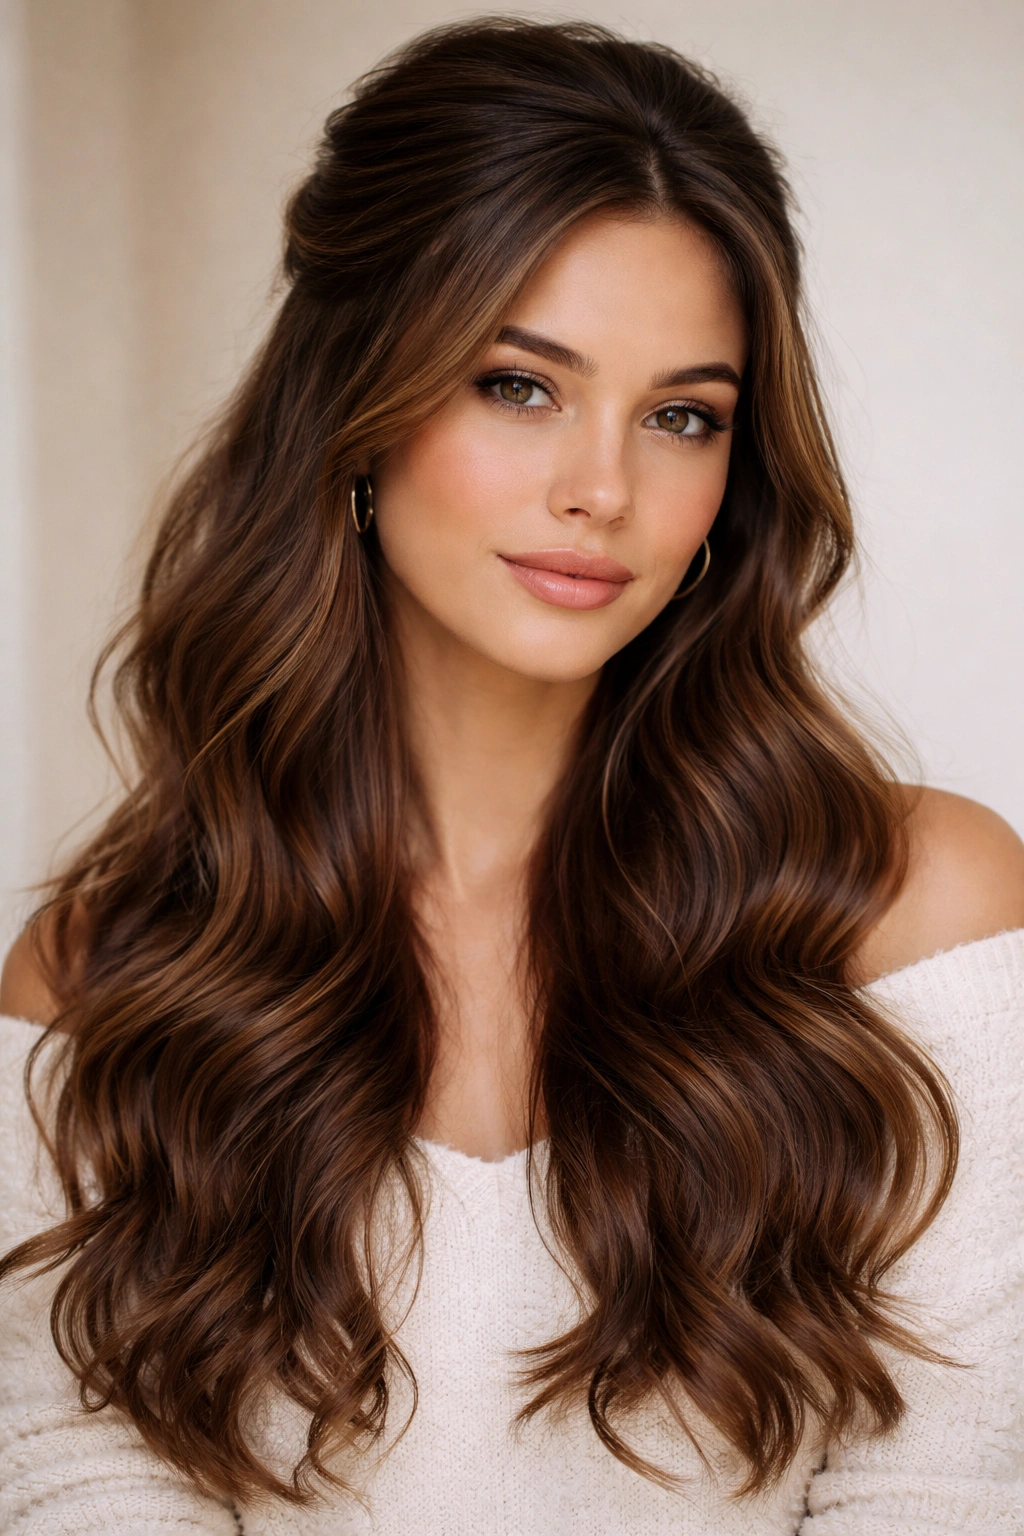
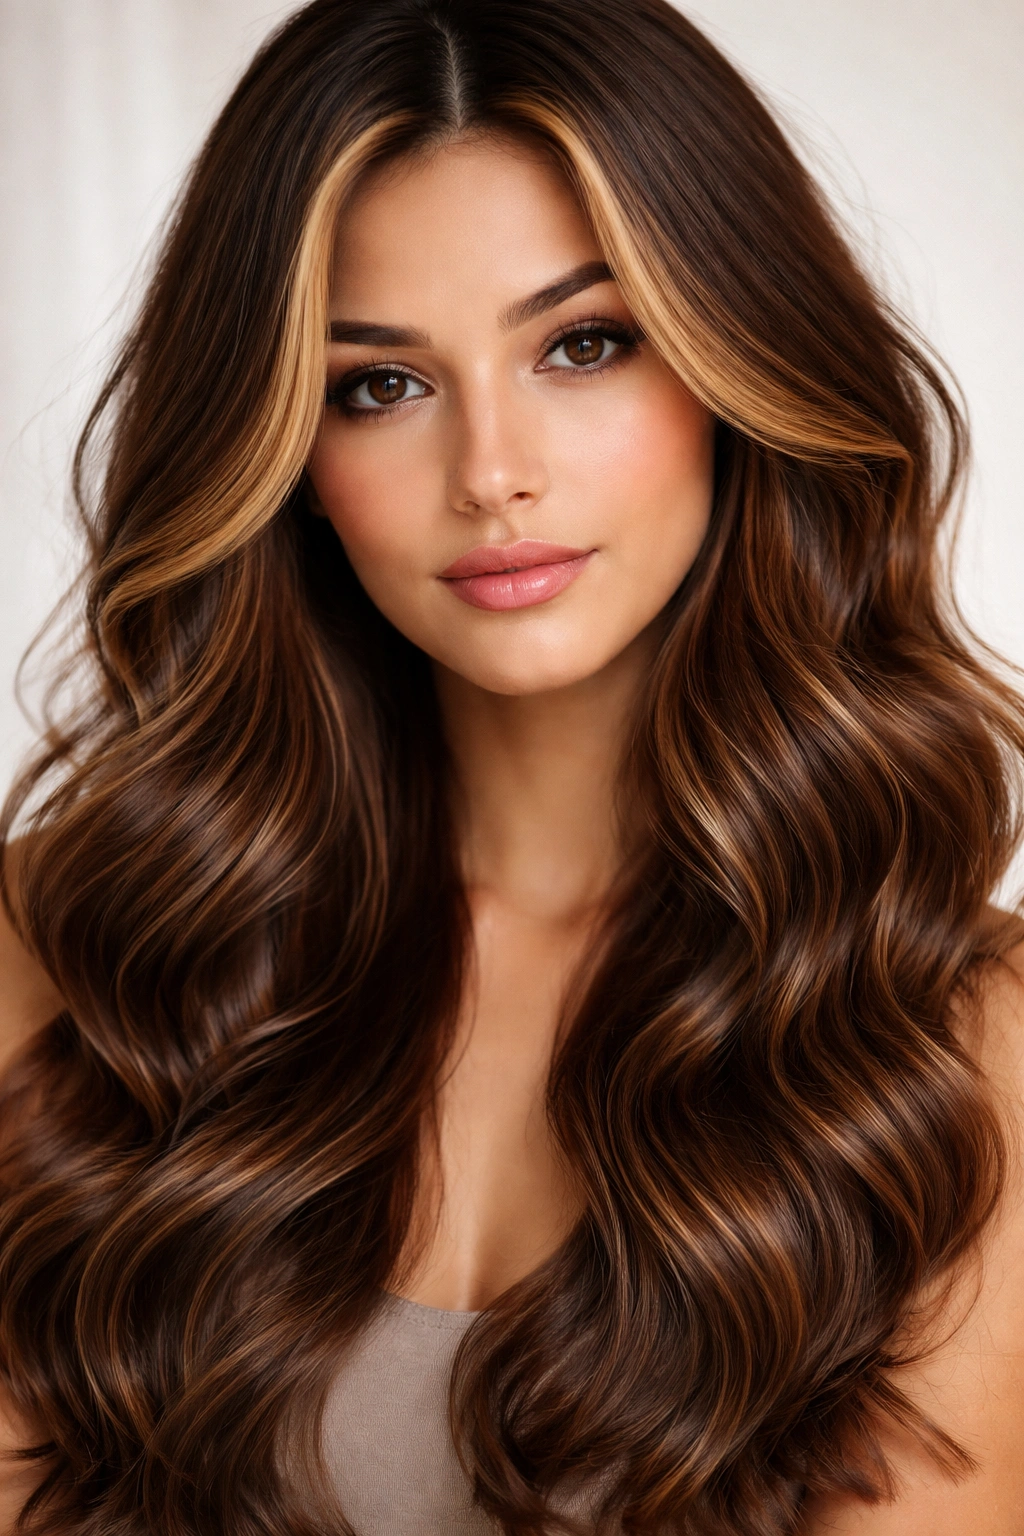
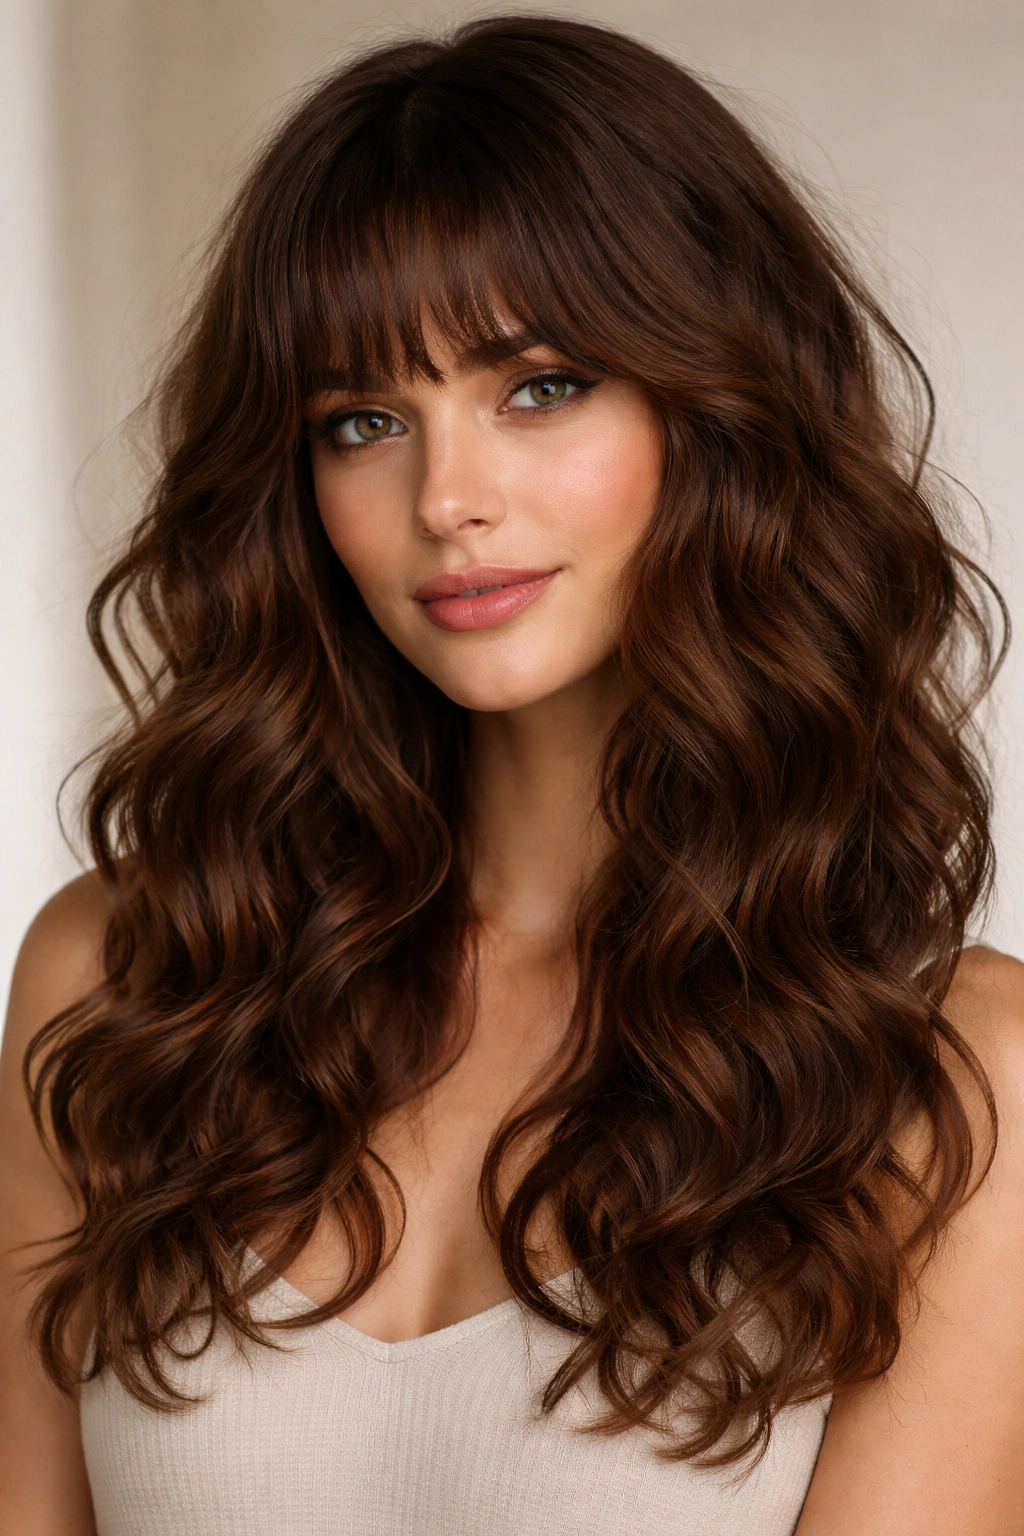
Chestnut is one of those magical hair colors that works with almost every skin tone and looks stunning in motion. Add waves to the mix, and you’ve got a combination that feels effortlessly elegant, textured, and dimensional. The rich, warm undertones of chestnut hair catch light beautifully when styled with movement, creating depth and a polish that feels both polished and undone at the same time.
Whether you’re drawn to loose romantic waves, tighter spiral curls with wave texture, or something boldly voluminous, chestnut provides the perfect canvas. It’s warm enough to feel rich and sophisticated, but not so dark that waves disappear into shadow. The color has enough complexity that different wave patterns and lengths hit completely differently—short choppy waves read playful and modern, while long cascading waves feel like they walked straight out of a premium salon.
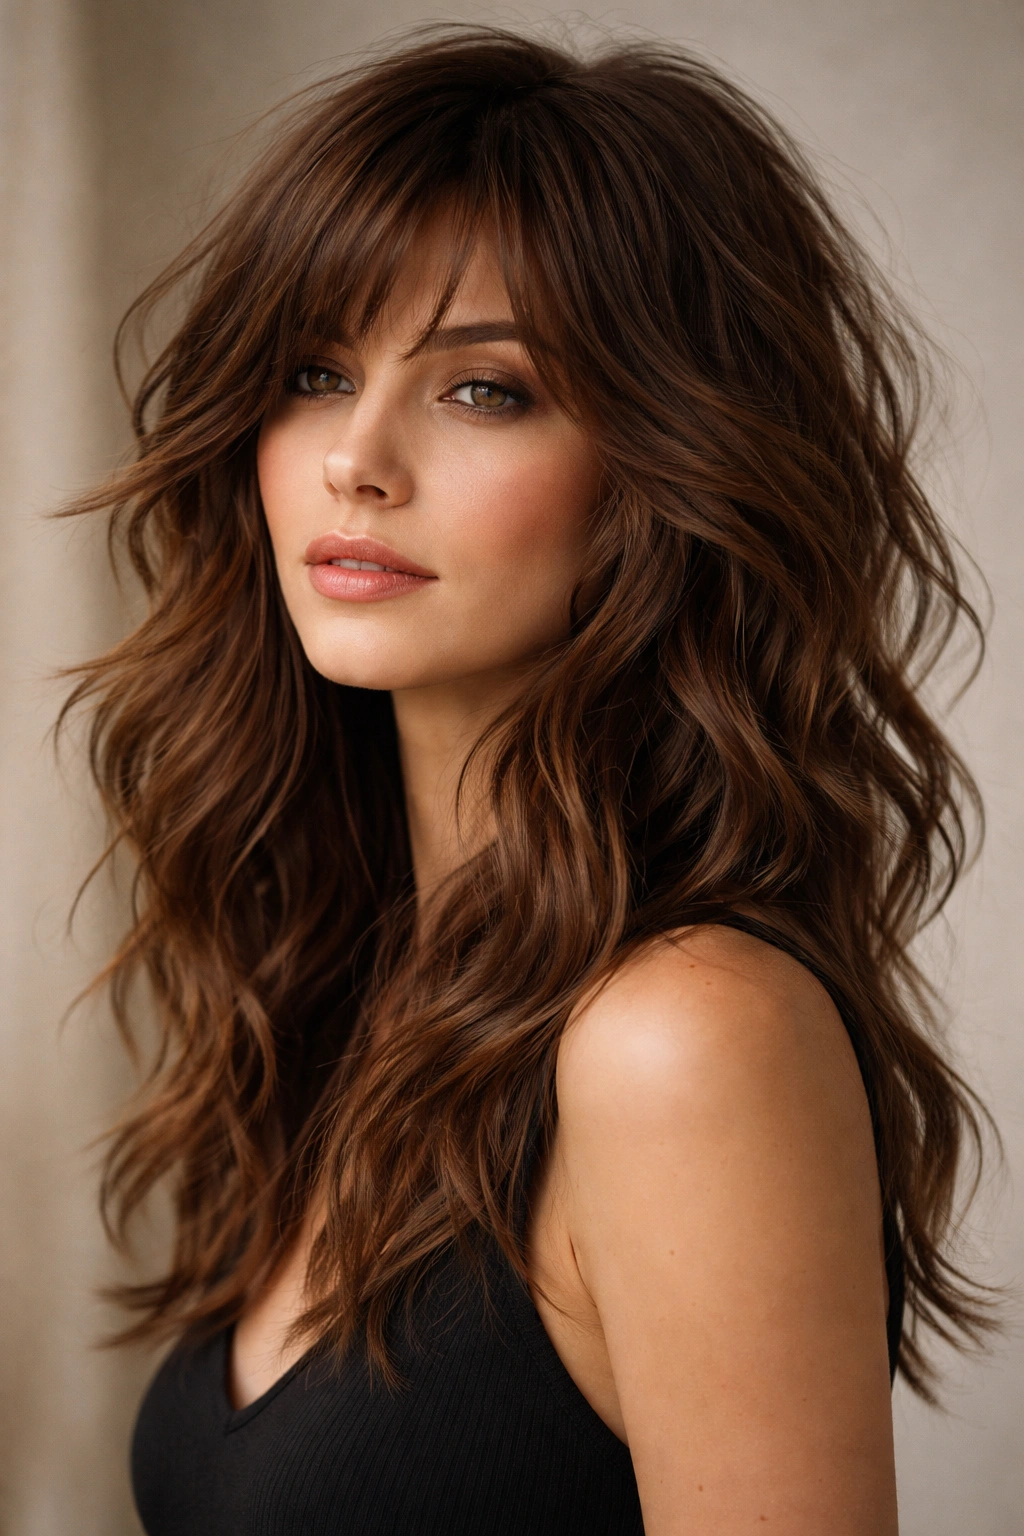
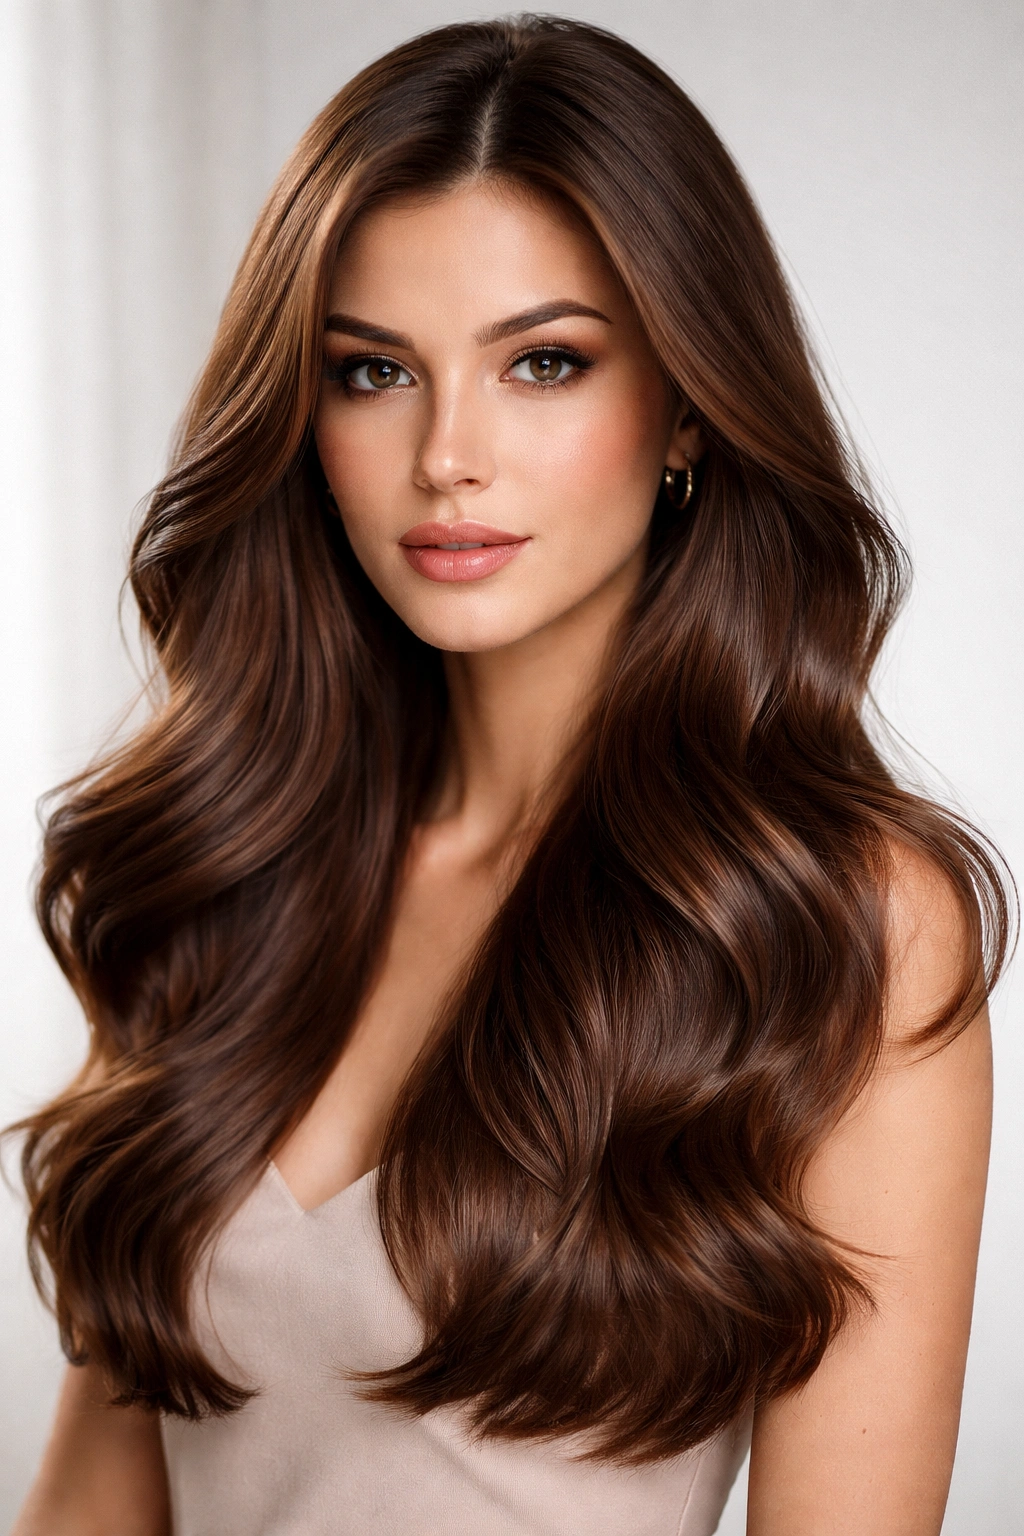
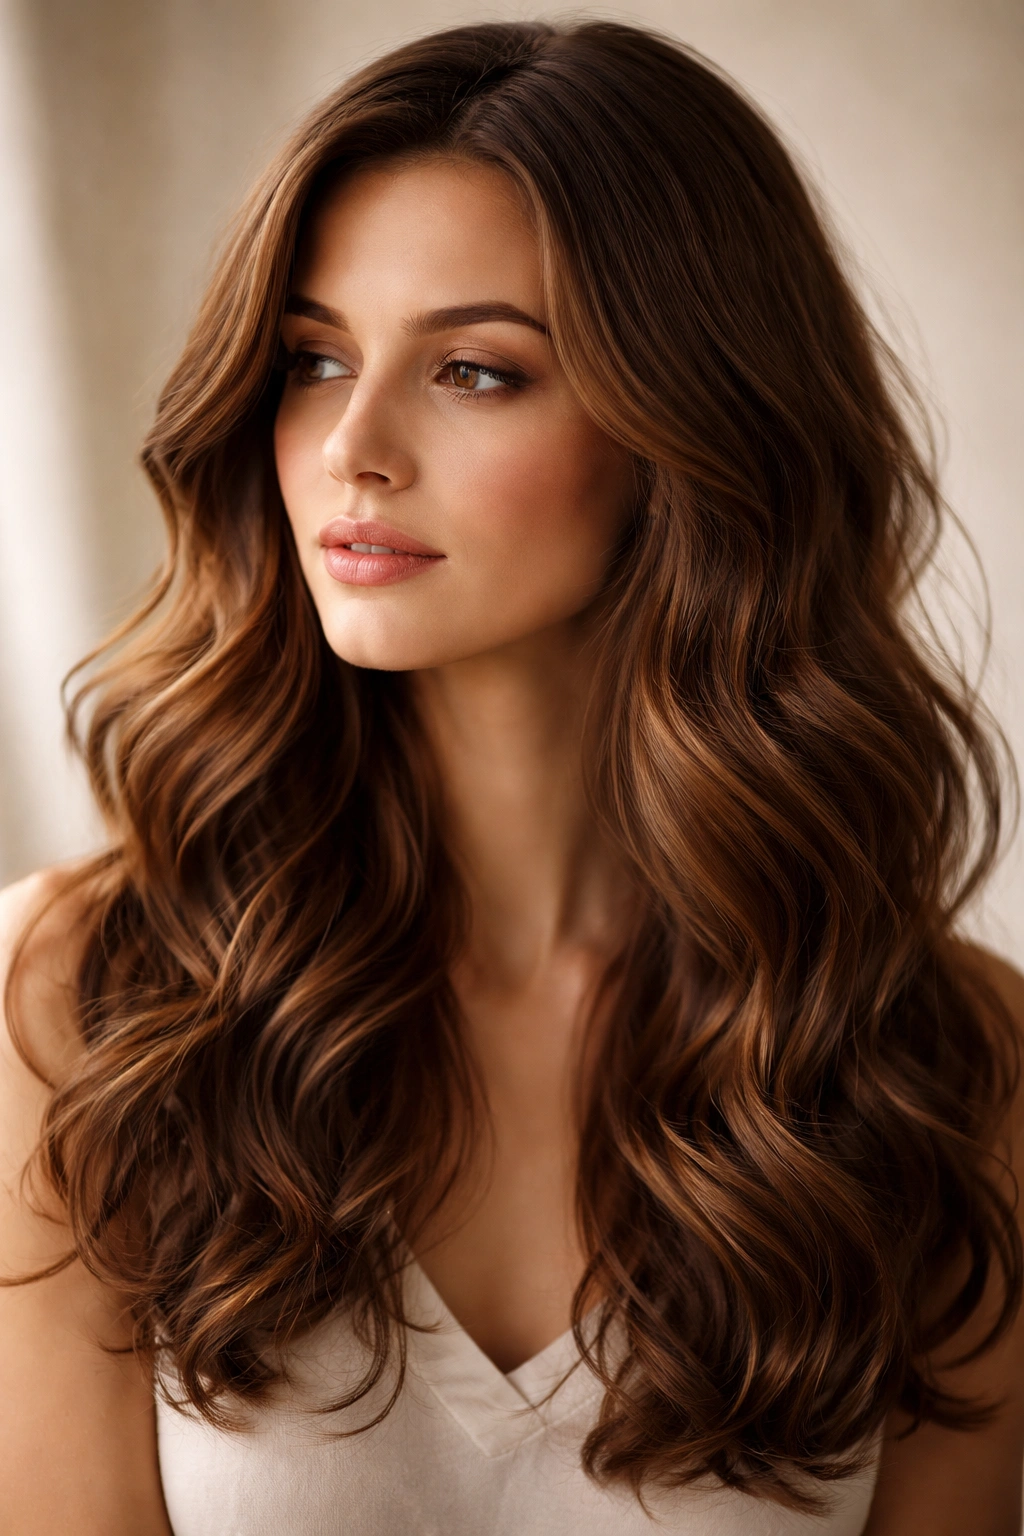
The beauty of wavy chestnut styles is their versatility. You can dress them up for events, wear them casually to work, or let them relax into something more undone on weekends. They work with your natural texture instead of fighting against it, which means less daily styling stress and more time doing literally anything else. If you’ve been thinking about switching up your look or deepening into a new color, these fifteen styles give you real inspiration to work from—not generic Pinterest boards, but actual cuts and techniques that translate beautifully in chestnut.
1. Beach-Wave Lob with Layered Ends
A lob that hits right at your collarbone becomes something special when you add chestnut tones and beachy texture. The cut sits at that perfect length where it’s long enough to feel romantic but short enough to move without feeling heavy. Lots of choppy layers throughout the mid-lengths and ends create natural break points where waves catch and hold their shape without needing excessive product.
Why This Length and Texture Work Together
Beach waves need room to move, and a lob gives you exactly that sweet spot. The collarbone length means waves flip and move every time you turn your head, creating that effortless, lived-in vibe that takes actual effort to achieve. Chestnut tones intensify the dimension that comes from textured, piece-y layers, making individual strands visible rather than blending into one flat mass. The waves highlight the color variation naturally—lighter chestnut on the surface of each wave, deeper tones in the shadows underneath.
Styling and Maintenance
- Use a sea salt spray or texture spray while your hair is damp and work it through before blow drying
- Blow dry with a diffuser attachment to enhance natural wave pattern
- Finish with a curling iron to define individual waves if needed
- Sleep on braids or a silk pillowcase to preserve waves overnight
- Refresh with dry shampoo between washes to maintain texture and volume
Pro tip: This style works perfectly if your natural texture has some wave already—you’re not fighting your hair, just amplifying what’s there. Chestnut color makes even slightly damp, undone waves look intentional rather than messy.
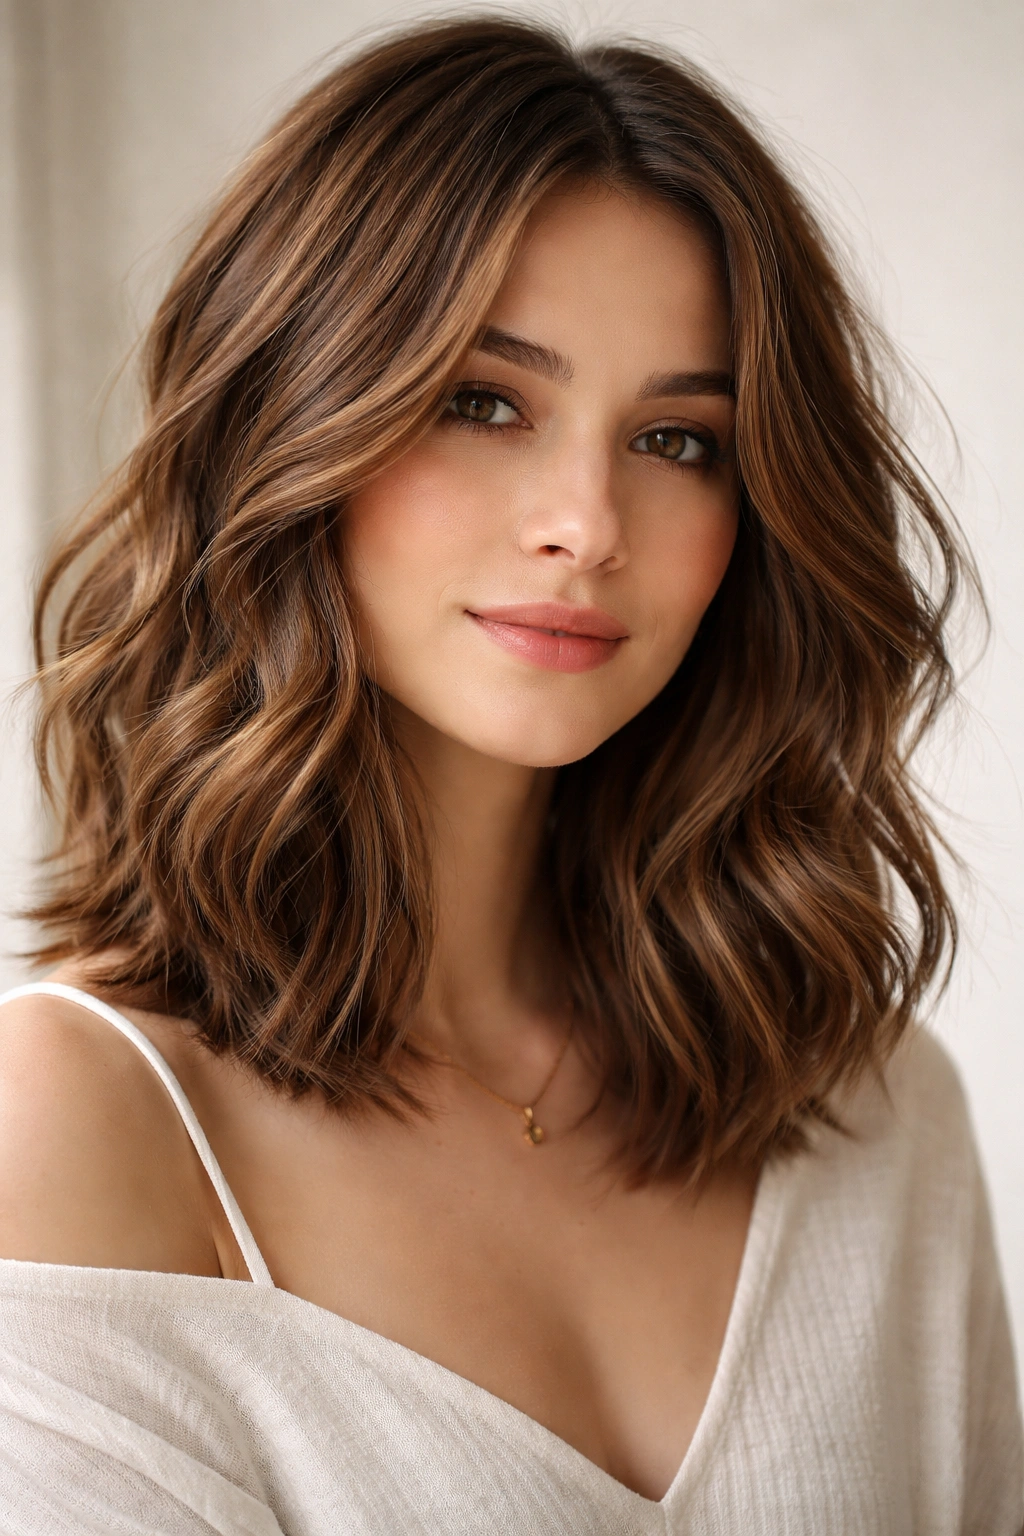
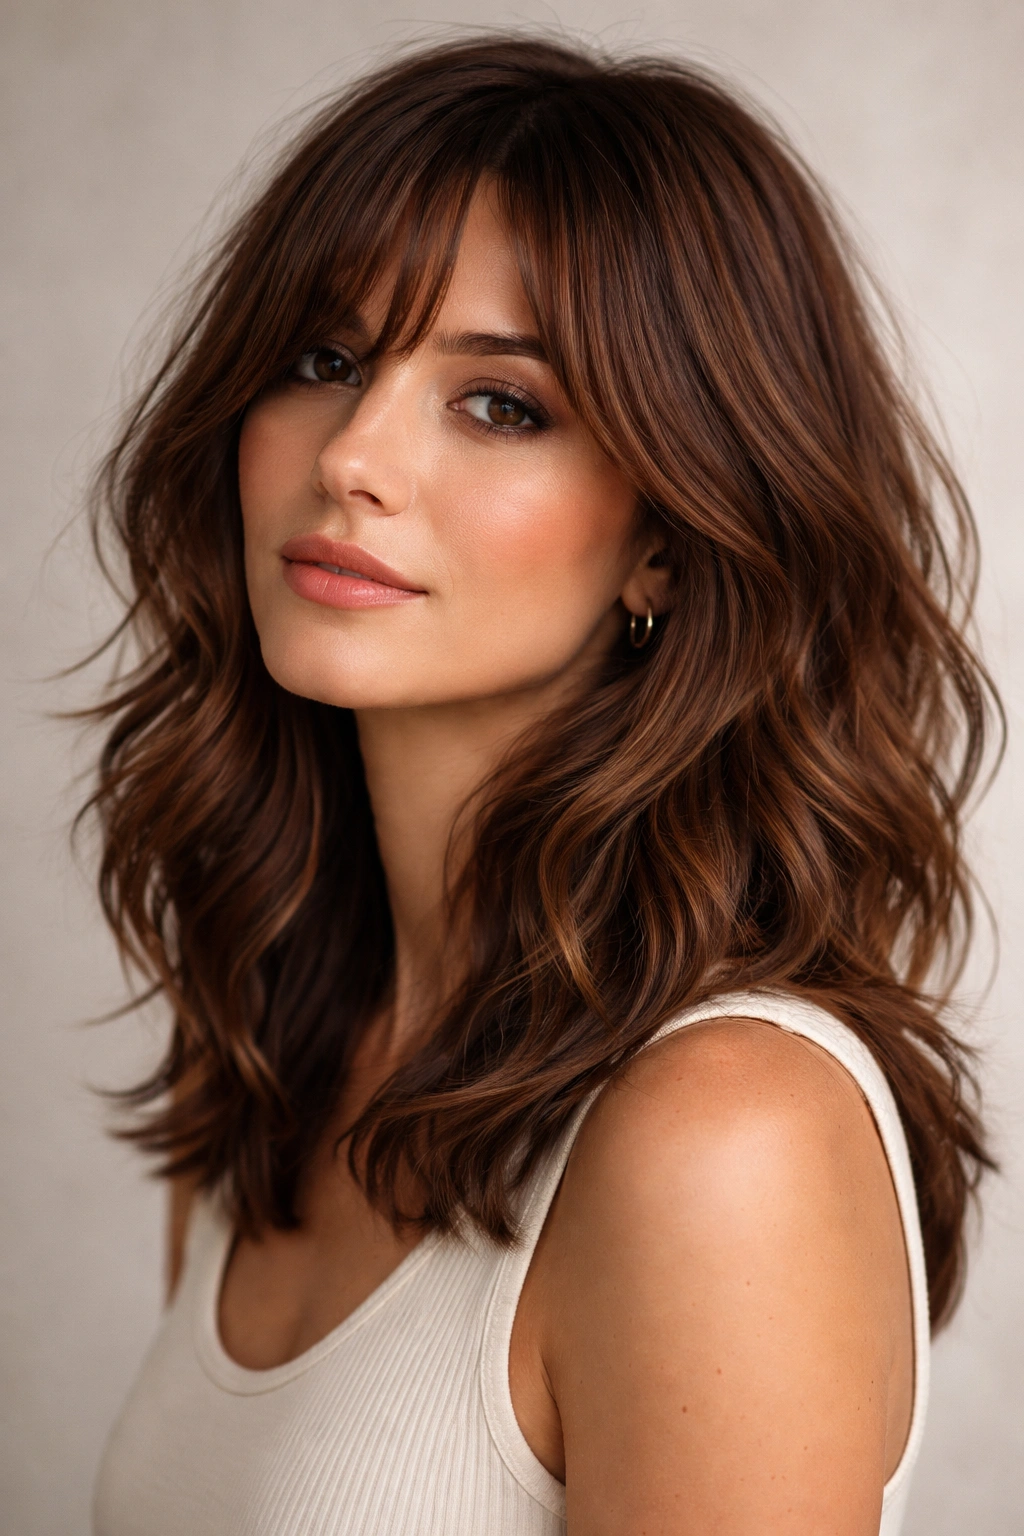
2. Shoulder-Length Waves with Wispy Bangs

Shoulder-length hair hits the sweet spot for wave styling—long enough for romantic movement but short enough that waves don’t droop by midday. Add wispy, piece-y bangs that fall to your cheekbones, and suddenly you’ve got a modern, flattering frame that works whether your waves are perfect or a little lived-in. The bangs break up the face and create instant dimension.
The Framing Power of Wispy Bangs
Bangs that are choppy and fragmented rather than blunt make the entire style feel less structured and more organic. They soften the face without actually covering it, which is why this combination feels so accessible and flattering on most face shapes. The wispy sections catch and wave differently than the rest of your hair, creating a layered, textured effect that’s impossible to achieve without them. Chestnut brings out the warmth in your skin, and wispy bangs positioned right at cheekbone height enhance that glow.
How to Get This Right
- Ask your stylist for choppy, textured bangs that blend into the shorter layers around your face
- Keep the rest of the length relatively uniform for balance
- Waves work best when they start at mid-ear level, not from the roots
- Use a 1.5-inch curling iron for looser, more natural-looking waves
- Brush out waves with your fingers or a wide-tooth comb for that soft, undone texture
Worth knowing: This style requires the most maintenance of any wavy cut because the bangs need regular trims to stay wispy and shapely—usually every 4-6 weeks. But the effort is worth it because the impact is instantaneous.
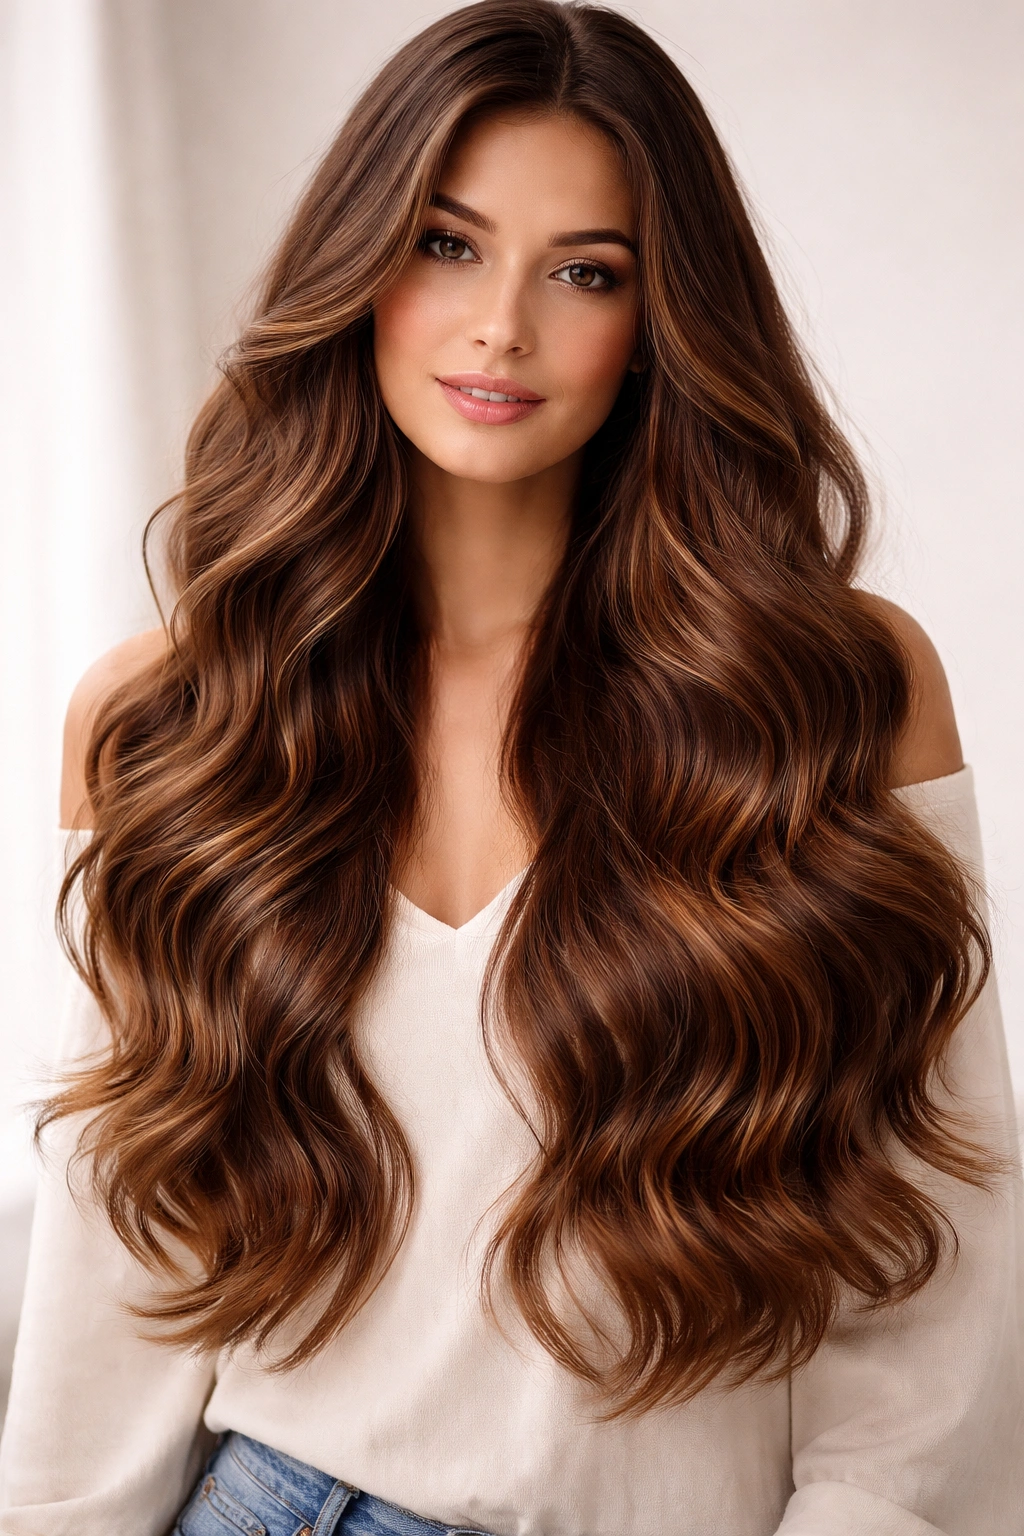
3. Long Wavy Hair with Hidden Layers
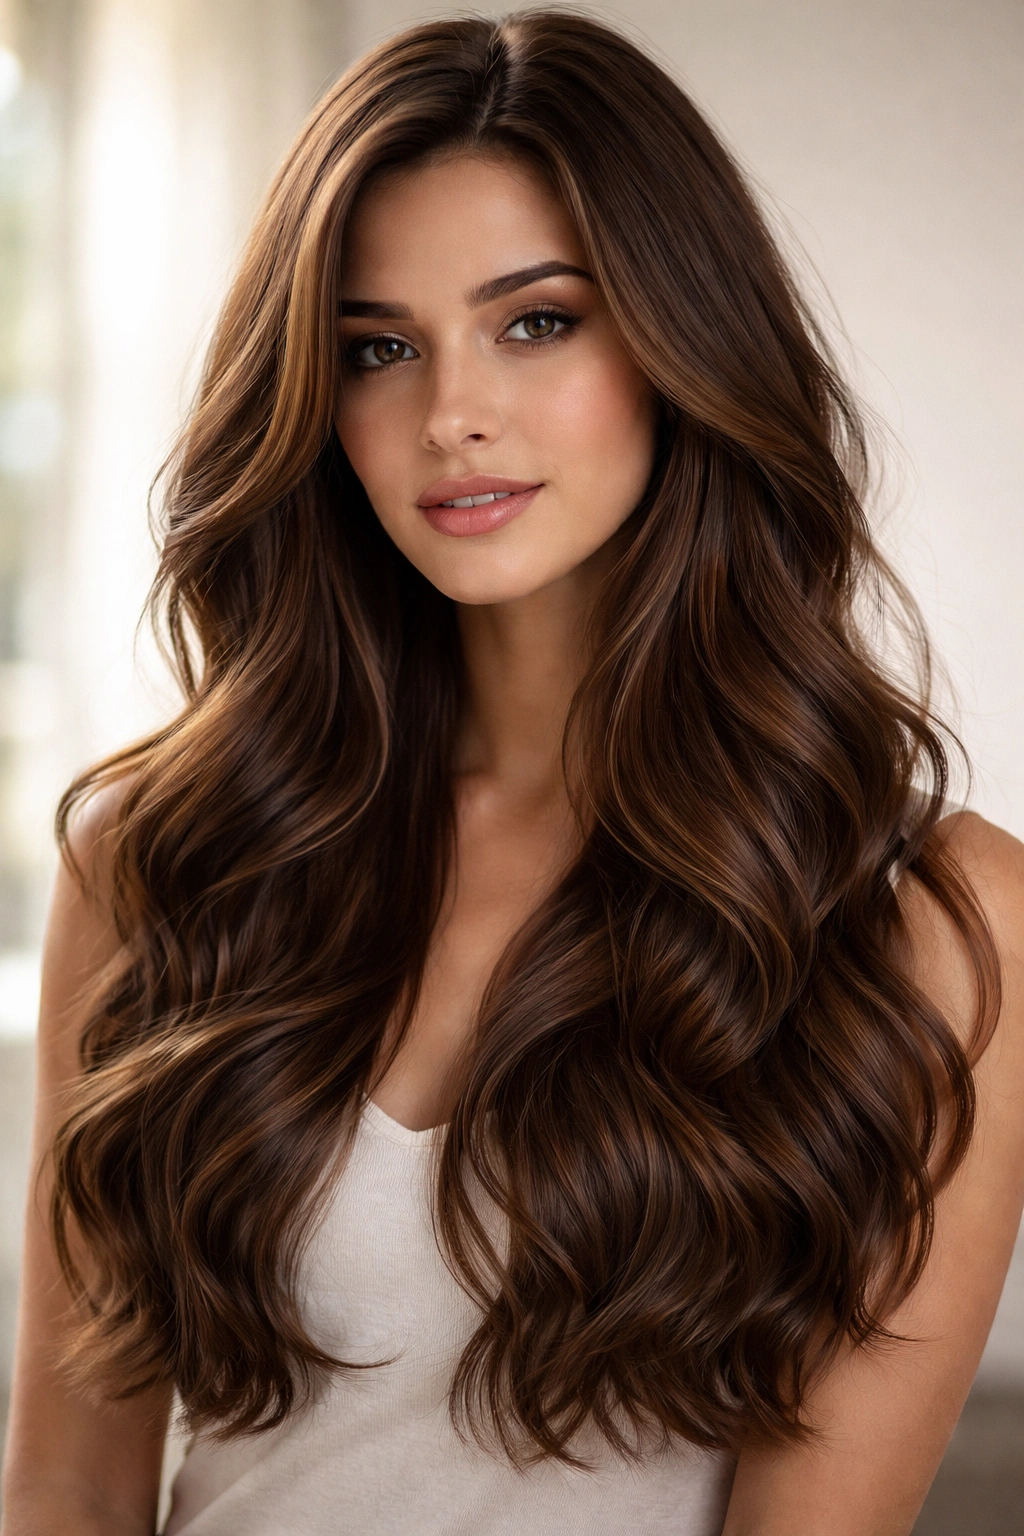
Long hair and waves can feel heavy and one-dimensional if the cut doesn’t have internal structure. Hidden layers—cuts that aren’t visible when your hair is straight but reveal themselves completely once you add waves—create the illusion of length while giving you serious texture and movement. You keep that luxurious long-hair feeling without the weight pulling waves flat.
Why Hidden Layers Solve the Long-Hair Dilemma
Most people assume long waves require less cutting, but the opposite is actually true. Long hair needs layers to move properly and waves to actually read as waves rather than damp sections. Hidden layers stay invisible when you blow dry straight but create bounce and shape once waves are added. Chestnut hair showcases this technique beautifully because the dimension of the color makes the texture even more apparent—you see every wave, every piece of movement.
Maintenance and Styling Reality
- Waves need product to hold—use a lightweight wave cream or mousse
- Blow dry with your head tilted to add root lift, otherwise long waves can look limp
- Curl with a 1.75-inch barrel for loose, effortless waves that don’t feel too ringlet-y
- Sleep braided to preserve waves without them looking compressed
- Get layers trimmed every 10-12 weeks to maintain the cut shape as hair grows
Pro tip: Request your stylist cut layers at slightly irregular lengths rather than predictable intervals—this creates a more natural, less “layered haircut” appearance and longer-lasting movement.
4. Short Wavy Pixie with Textured Crown
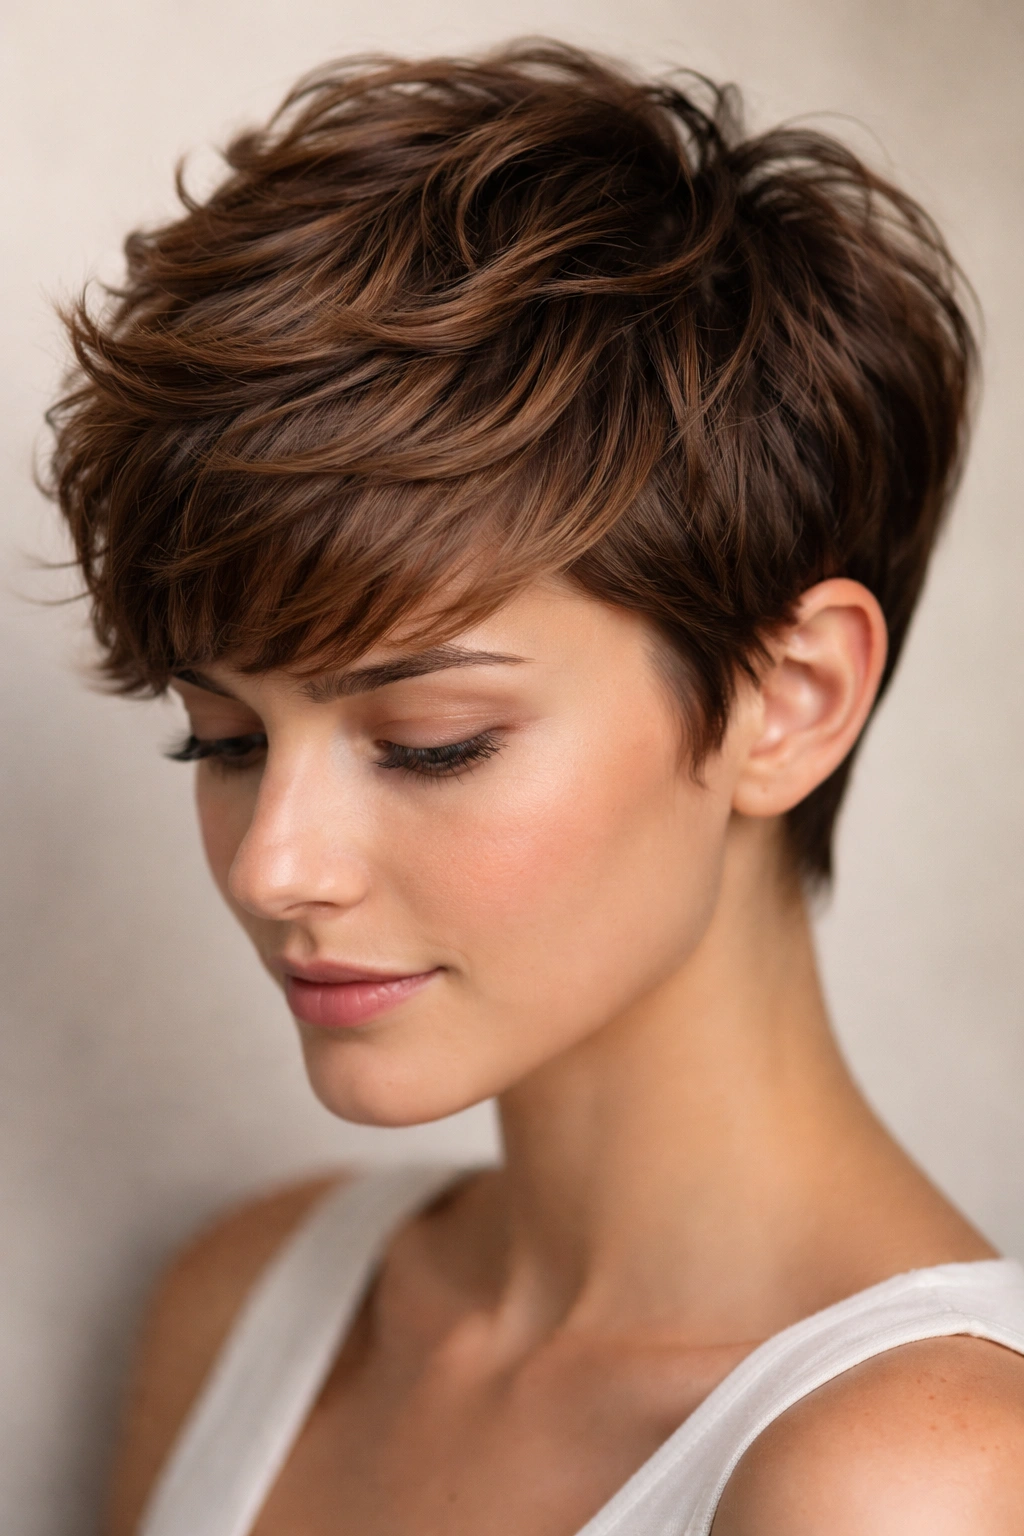
A pixie that’s intentionally choppy and textured plays beautifully with waves and chestnut color. Keep it longer on top—usually 2 to 3 inches—with shorter, tapered sides, then work texture into every layer on top. The result feels modern, slightly edgy, and surprisingly romantic because waves soften what could otherwise feel severe.
Why Short + Wavy Defies Expectations
Short wavy hair gets pigeon-holed as either a strict pixie or a cute bowl cut, but textured waves transform the whole category. They make the cut feel less geometric and more organic, less “I got a pixie” and more “this is my effortless morning.” Chestnut color gives enough depth and richness that the short length doesn’t read as severe—it reads as sophisticated. The chestnut tones become even more apparent with shorter hair because light hits it directly, showing off all the warm undertones.
Styling for Maximum Texture
- Blow dry with product—a texturizing paste or cream applied to damp roots
- Use a lightweight wax or pomade to piece out individual sections on top
- A curling iron works but isn’t necessary; often just styling product and blow drying creates enough wave
- This cut requires trims every 4-6 weeks to maintain the shape and prevent it from looking shaggy
- Embrace bedhead—this cut actually looks better slightly undone than perfectly polished
Insider note: This is the hairstyle to choose if you want people to think you wake up looking effortlessly cool. It requires some styling but reads as completely natural, especially in chestnut.
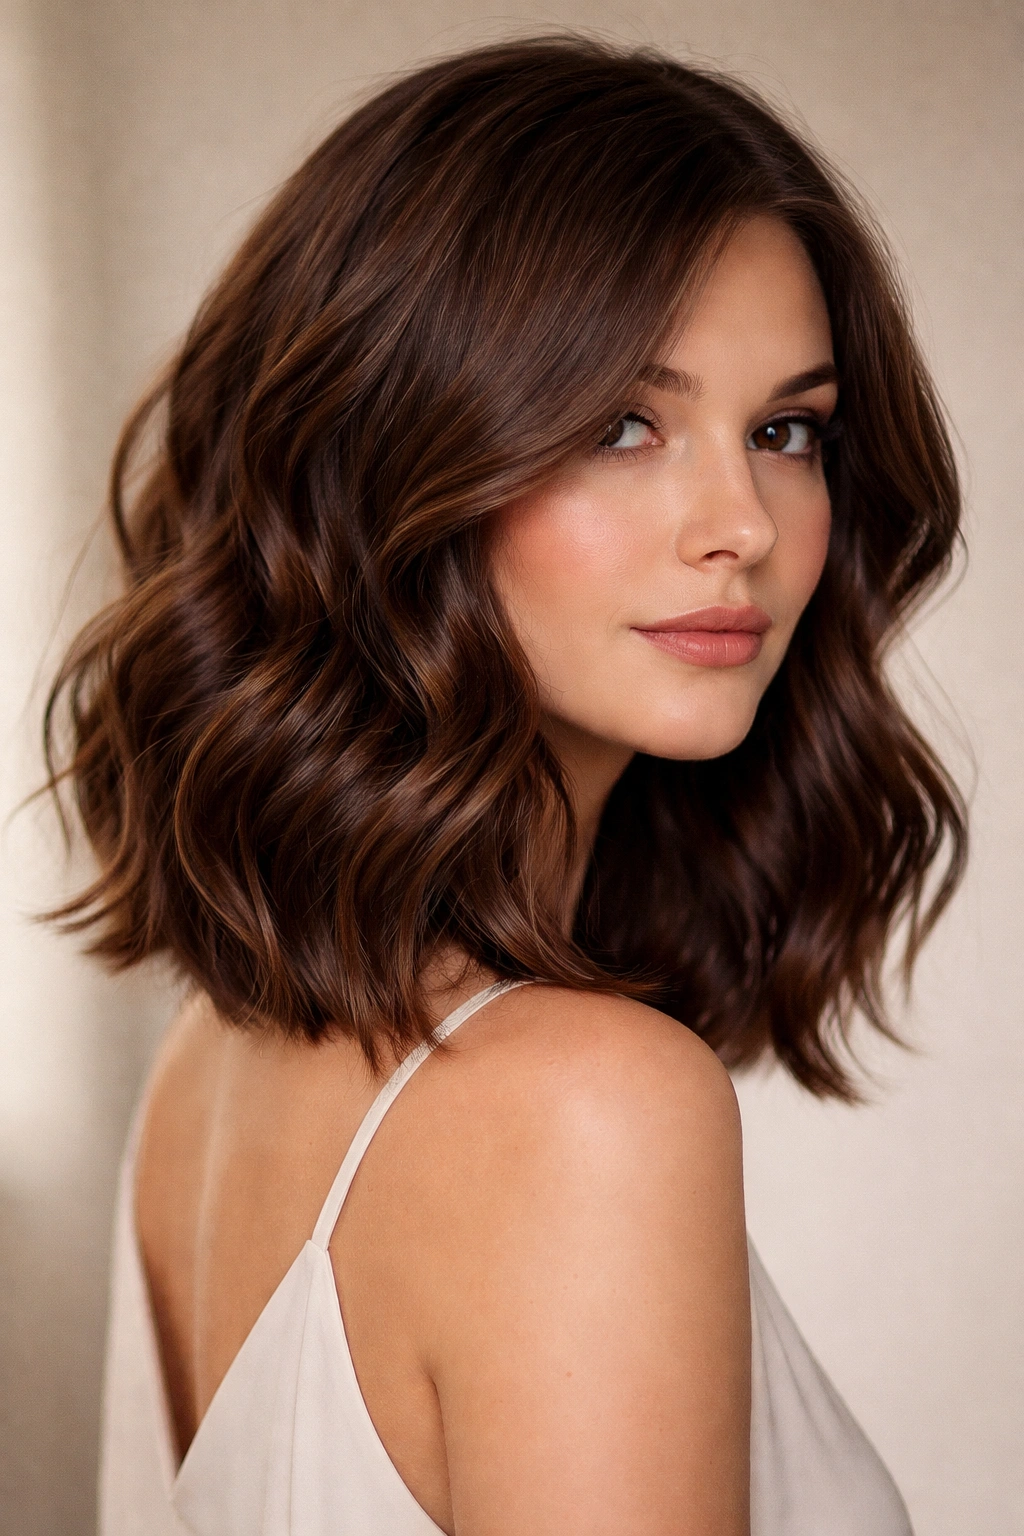
5. Wavy Mid-Length Bob with Blunt Ends
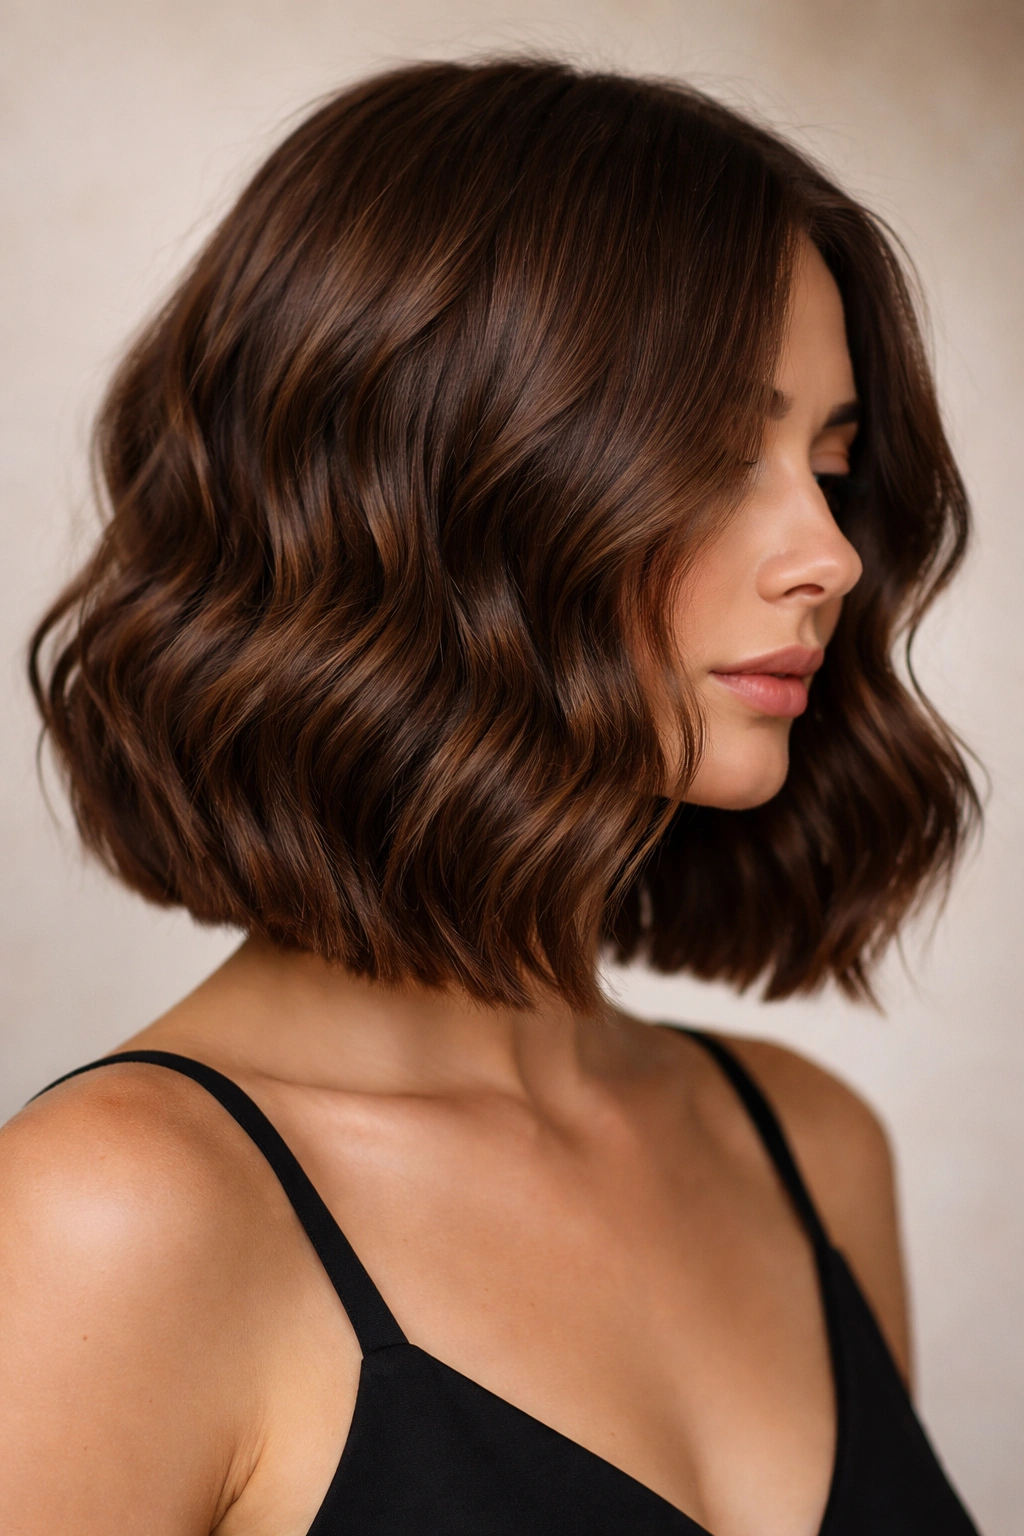
A blunt-ended bob with waves sounds contradictory, but the contrast is what makes it work. The clean, precise line at the bottom becomes a frame for soft, organic waves on top and through the mid-lengths. It’s modern without being trendy, polished without feeling stiff. The blunt ends keep the overall shape sharp, but the waves prevent the cut from feeling harsh.
The Power of Blunt Lines with Soft Texture
Blunt lines create a sense of intention and modernity, while waves add movement and approachability. Together, they create visual tension that’s genuinely interesting to look at. A bob that’s all blunt lines and no texture can feel matronly; a bob that’s all waves and no shape can look shaggy. The combination gets the best of both. Chestnut color makes this even more striking because the warm tones look rich against the clean line of a blunt edge.
Cut and Styling Details
- The blunt line should hit somewhere between your chin and shoulders—longer blunt bobs move better with waves
- Ask for softer layers only in the crown and around the face; keep the back blunt and longer
- Wave with a 1.5 to 1.75-inch iron, focusing on flipping waves outward to complement the blunt shape
- Use a smoothing serum on the ends to keep them sleek against the blunt line
- This cut actually benefits from being styled each morning—the contrast works because it’s intentional
Worth knowing: This style photographs incredibly well because the contrast between blunt and wavy reads beautifully in still images and video. It’s the move if you want something that looks polished in professional settings.
6. Cascading Waves with Subtle Face-Framing
Long chestnut hair that’s cut to encourage waves flowing in the same direction, with just a whisper of face-framing layers, creates an almost princess-like elegance. The cascade effect comes from cutting very light layers in the front sections so they move forward and down while the back stays longer and fuller. It’s romantic without being costume-y, especially in chestnut.
Creating the Cascade Effect
Traditional face-framing layers can feel dated, but subtle ones that simply encourage movement create something fresher. The key is keeping them integrated into the overall length rather than making them an obvious separate section. Light layers throughout the mid-lengths help waves start earlier and maintain shape longer. Chestnut hair’s warmth makes cascading waves feel luxurious rather than overly feminine—the deeper undertones add sophistication.
Achieving This at Home
- Start waves at the mid-ear, curling away from the face on both sides
- Use a 1.75-inch curling iron and hold each section for 10-15 seconds
- Let waves cool completely before running your fingers through them
- Use a light hairspray or texture spray rather than something heavy
- Flip your head and finger-comb waves into place for a softer, more natural result
Pro tip: This style benefits from sleeping in loose braids—you’ll wake up with waves that already have the cascading shape set in, so styling in the morning is just refreshing the wave definition.
7. Textured Shag with Wavy Layers
A modern shag isn’t your mom’s feathery shag—it’s a heavily layered cut with choppy, textured ends throughout, designed specifically to emphasize wave texture. Every layer moves independently, creating a three-dimensional effect that’s almost impossible with straighter cuts. Chestnut color makes the individual layers visible and striking, showing off the craftwork of the cut itself.
Why Shags and Waves Are Having a Moment
Shags embrace texture rather than fighting it, which means they’re actually easier to style if your hair naturally waves. The cut is so choppy that imperfect waves read as intentional rather than sloppy. Chestnut tones intensify the effect because darker and lighter sections of hair create natural shadow and highlight that makes texture pop. A shag cut in chestnut looks inherently more polished and expensive-feeling than in one flat color.
Styling a Shag for Maximum Impact
- Blow dry upside down with a diffuser to encourage wave movement
- Use a lightweight mousse or texture spray applied to damp roots
- You can curl with an iron but honestly, this cut looks better slightly undone
- Tousle with your fingers rather than combing, which breaks up the shag texture
- This style welcomes bedhead—actually looks better when it’s a little lived-in
Worth knowing: A textured shag requires slightly more frequent trims than other styles—every 8 weeks rather than 10-12—because the choppy layers grow out quickly and can start to look shaggy rather than intentional.
8. Wavy Half-Up Half-Down with Subtle Highlights
This isn’t really a cut so much as a style choice, but it’s one of the most flattering ways to wear wavy chestnut hair. Take the top half of your hair and secure it loosely, leaving the bottom half in full, cascading waves. The effect is romantic and undone, like you’re not even trying. Adding subtle highlights within the chestnut base—slightly lighter pieces around the face and through the crown—creates dimension that’s visible when half is up.
Why This Works as an Actual Hairstyle
The half-up half-down effect looks effortless but actually requires intentional styling to look polished rather than like you just threw your hair up. Securing the top loosely with a decorative bobby pin or thin elastic means pieces escape and frame the face naturally. Chestnut with subtle dimension reads immediately as expensive-looking and high-maintenance in the best way—like you actually put thought into it.
How to Execute This Style
- Blow dry your hair into loose waves first, using a curling iron or your natural texture
- Take a section from each temple and twist gently toward the back of your head
- Secure with bobby pins or a thin elastic, leaving pieces loose and face-framing
- Pull the secured section slightly to create texture and volume
- Use a texturizing spray or dry shampoo beforehand for better grip and hold
Insider note: This style works beautifully for events or when you want your hair to feel special without doing anything too elaborate. It reads as significantly more effort than it actually requires.
9. Loose Waves on Thick, Blunt Cut
If you have naturally thick hair, a thick, blunt cut works better than lots of layers because it creates density and weight rather than trying to reduce it. Pair this with loose, romantic waves and you’ve got something incredibly striking. The thickness means waves hold their shape all day without extra product, and chestnut hair reads as luxurious rather than heavy.
Embracing Hair Thickness Instead of Fighting It
Thin hair needs layers to create the illusion of volume; thick hair needs weight and density to feel controlled. A relatively blunt cut—shorter layers only around the face and crown, keeping the back fuller and longer—plays to thickness as a strength. Waves on thick hair create a kind of effortless luxury that thinner hair can’t quite replicate. Chestnut color makes thickness read as richness.
Styling Thick Hair with Waves
- You might not need product at all; the weight of your hair holds waves naturally
- If you do use product, go lighter than you’d think—thick hair can hold product better
- A 1.75-inch curling iron creates waves that actually hold in thick hair without drooping
- Blow drying isn’t essential; many people with this cut air-dry and let waves set naturally
- This is the style to choose if you want effortless mornings—thickness is built-in insurance
Pro tip: If your thick hair is also prone to frizz, a smoothing or anti-frizz serum applied to damp hair before blow drying prevents the volume from reading as frizz while keeping the wave definition.
10. Wavy Money Piece with Dimensional Chestnut
The “money pieces”—lighter frame sections that run from roots to tips around the face—became trendy for a reason. They instantly add dimension and frame the face beautifully. Paired with wavy chestnut hair that’s one or two shades lighter than your base, the effect is dynamic and modern without feeling like you have obvious highlights. The waves make the dimension even more visible.
Why Money Pieces Work with Waves
Straight hair shows highlights as flat streaks; waves showcase them with movement and dimension. The lighter pieces catch light as they move, creating an almost shimmer effect. Money pieces read less severe than full highlights and less subtle than balayage—they’re intentional and modern. Chestnut base with golden or honey pieces is a particularly beautiful combination because the warm undertones complement each other.
Maintaining This Look
- Money pieces fade slower than overall color, so touching up every 8-10 weeks keeps them bright
- Waves actually help hide regrowth better than straight hair because dimension masks line of demarcation
- Use a color-safe shampoo and conditioner to keep both the base and lighter pieces vibrant
- The waves don’t require different styling than other wavy cuts, but the dimension makes even simple waves look expensive
Worth knowing: This look requires commitment to regular color maintenance, but the payoff is that your hair looks like you just left the salon for weeks after your appointment.
11. Shoulder-Length Waves with Choppy Layers and Shag Elements
This cut lives in the sweet spot between a shag and a regular layered cut—it has the movement of a shag without the total commitment. Choppy layers throughout create texture and dimension, while the overall length stays relatively uniform at shoulder-length. Chestnut color makes every layer visible and striking, especially when waves interact with the choppy cuts.
Finding the Right Balance
Too many layers and you’ve got a full shag; too few and you’ve got a boring layered cut. The trick is strategically placed choppy pieces that create movement without the cut looking unkempt. Shag elements—especially through the crown where choppy layers are longer and add volume—give the impression of effortless cool. Chestnut creates depth in all those layers naturally.
How to Style This
- Blow dry with your head tilted to add volume at the roots
- Choppy layers mean you have flexibility in how you style—waves, tousled texture, even slightly straight all work
- Use a texturizing spray or sea salt spray to enhance the choppy, piece-y nature of the cut
- A diffuser attachment on your blow dryer emphasizes the layered texture
- This cut looks better slightly undone than perfectly polished, which is the whole point
Pro tip: If your natural hair texture has some wave or curl, this cut is basically designed for you. You’re not fighting your texture; you’re working with it.
12. Long, Loose Waves with Subtle Color Melting
Color melting takes chestnut as your base and gradually shifts into warmer or cooler tones as you move down the length. It’s not an ombre (which is too obvious) or highlights (too distinct). It’s a subtle transition that becomes more visible as your hair moves in waves. The effect is incredibly dimensional and expensive-looking without being loud.
The Art of Subtle Color Transitions
The best color melts are barely noticeable when your hair is still but become obvious once waves add movement and light. A chestnut base melting into caramel, honey, or even a slightly cooler chocolate creates richness that flat color can’t achieve. Waves showcase this work perfectly because every wave reveals different layers of color. The blending is what makes it sophisticated rather than striped.
Maintaining Color-Melted Waves
- This requires color maintenance every 6-8 weeks to keep the transition looking intentional
- Between appointments, focus color-safe shampoo and conditioner on the lighter pieces
- A weekly color-depositing mask keeps caramel or honey tones vibrant
- Waves actually help color melts blend better between appointments because movement softens hard lines
- Invest in a leave-in conditioner because lighter pieces tend to be drier
Worth knowing: Color melting is a bit of an art form, so finding a colorist who understands the vision before you start is crucial. Look at before-and-afters to find someone whose color melts look like yours did.
13. Wavy Lob with A-Line Shape
An A-line lob is shorter in front (hitting around cheekbone or chin length) and longer in back (falling past shoulders). When paired with waves, this shape creates a really flattering frame because the shorter front layers move independently while the longer back creates drama and movement. Chestnut color makes the A-line shape even more apparent because you can see the different lengths moving differently.
Why A-Line Works with Waves
A clean, geometric A-line shape would feel too structured and modern-minimal, but waves soften the lines and add movement. The shorter front pieces wave differently than the longer back, creating a multi-dimensional effect that’s genuinely interesting. An A-line forces waves to move forward and out, creating volume around the face rather than flatness. Chestnut brings sophistication to what could otherwise feel like a trendy cut.
Styling an A-Line Lob
- Curl the shorter front pieces away from the face to frame and flatter
- The longer back sections can wave in the same direction or opposite—experiment to see what feels right
- Use a 1.5 to 1.75-inch curling iron depending on how loose you want the waves
- Blow dry the back separately to ensure it has enough volume and doesn’t sit flat
- This cut benefits from being restyled every 10-12 weeks to keep the A-line shape intentional
Pro tip: An A-line works best if you have a face shape that’s wider at the forehead or cheekbones—the shorter front creates the illusion of narrowing the upper face.
14. Wavy Curly Hybrid with Textured Bangs
If you have naturally curly hair or want wave texture that’s closer to actual curls, you can work with that rather than fighting it. A cut designed for curly texture but styled as waves (slightly stretched and dried differently) creates something unique—not quite curls, not quite waves, but something textured and really interesting. Textured bangs that are cut into the curly texture rather than sitting on top create cohesion.
Bridging Curly and Wavy
Many people with natural curls either lean fully into curls or fight them completely. A hybrid approach embraces the natural texture but dries and styles it in a way that reads as waves. Textured bangs—short, choppy pieces cut directly into the curl pattern—prevent the awkward “hat on top” effect you get when you add straight bangs to curly hair. Chestnut color shows off texture beautifully, making every curl and wave visible.
Styling for the Hybrid Look
- Use a curly hair specific gel or cream applied to soaking-wet hair
- Plop with a microfiber towel to encourage wave rather than full curl formation
- Diffuse on low heat and speed for gentle drying that creates waves instead of tight curls
- You can rake fingers through while wet for a slightly looser wave pattern
- Sleep braided or in a pineapple to preserve the wave definition overnight
Insider note: This is the move if you want to embrace your natural texture but don’t want to fully commit to the curly girl method. It’s lower maintenance than fighting your curls and easier than managing waves on hair that wants to curl.
15. Sleek Wavy Blow-Out with Minimal Layers
Sometimes the most impactful wavy style is the simplest: minimal cutting, lots of blow-drying skill, and waves created entirely through technique. Keep the cut relatively long and blunt with just a touch of internal layers, then blow dry and wave with precision. The result is polished, expensive-looking, and somehow more impressive because it feels like pure styling skill rather than a clever cut.
The Value of Great Blow-Dry Technique
This style proves that cut isn’t everything—technique matters just as much. A talented stylist can create volume, dimension, and wave movement through blow-drying alone. Minimal layers mean the cut is maintenance-light; the styling is where the magic happens. Chestnut hair looks incredibly glossy and rich when it’s blown out smoothly with waves added on top, creating shine and movement simultaneously.
How to Achieve This at Home
- Use a round brush and blow dryer to create volume and movement while drying
- A round brush creates wave-like movement even without a curling iron
- Once roughly dry, use a 1.75-inch curling iron to add defined waves
- Focus on direction—all waves moving the same direction reads more polished than random waves
- Finish with a light hairspray to hold without making hair feel stiff
- This requires daily or every-other-day styling to maintain the polished appearance
Worth knowing: This is the look to choose if you love the process of styling your hair and view it as a daily ritual rather than a chore. It requires commitment but also gives you complete control over how you look each day.
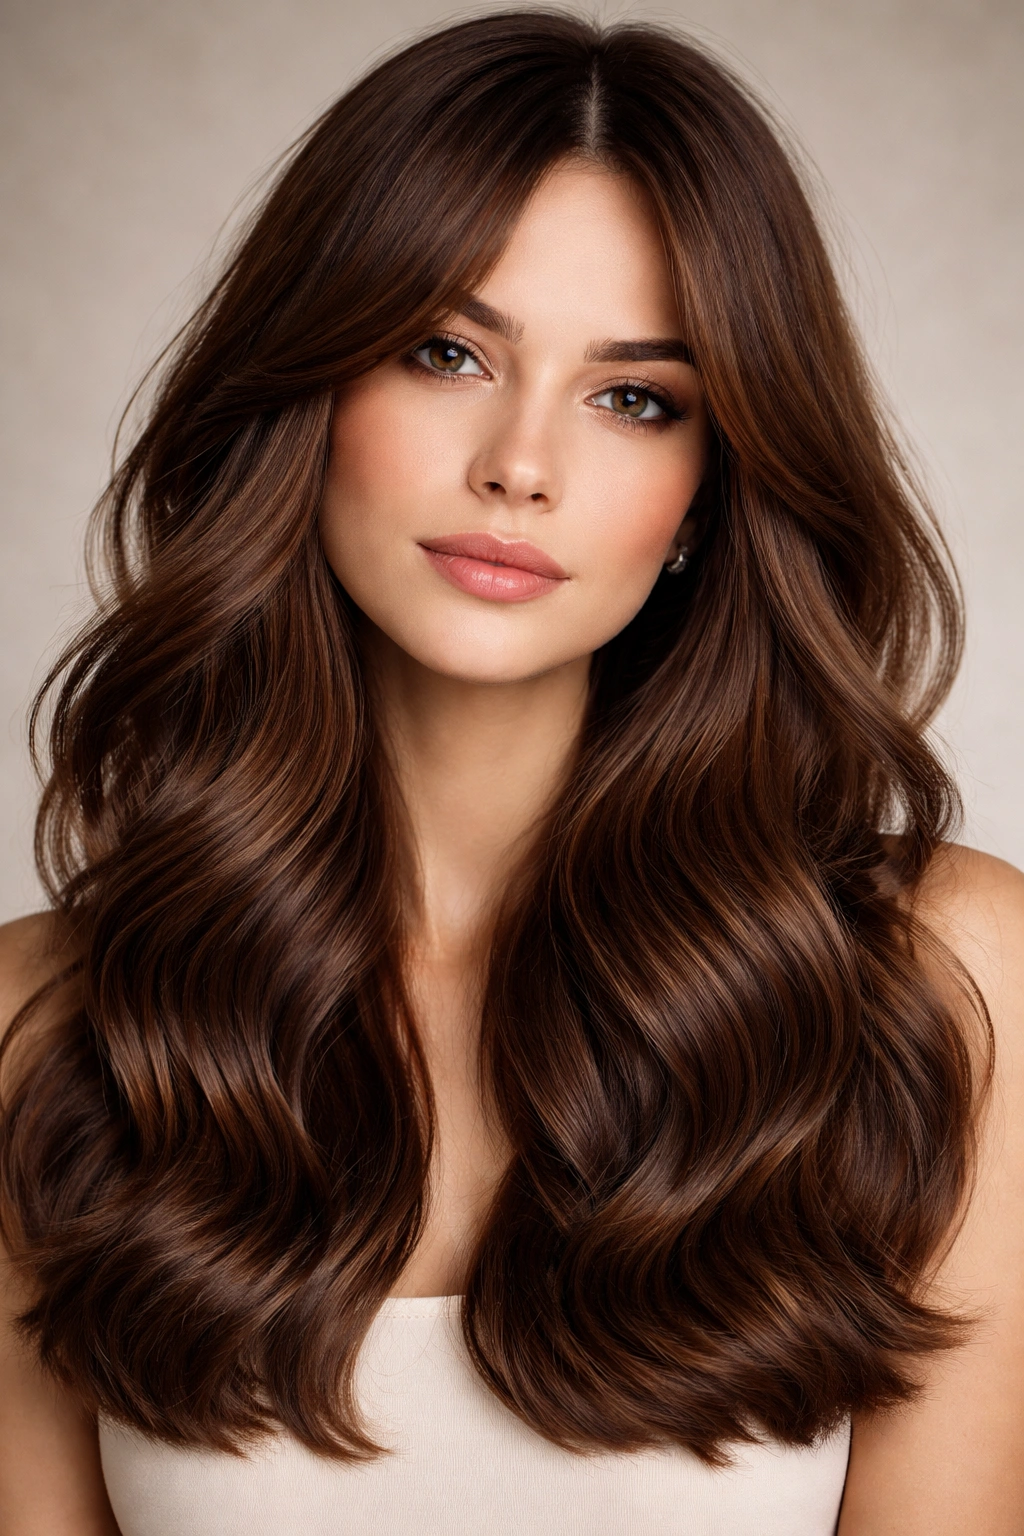
Final Thoughts
Chestnut wavy hair offers something genuinely special—richness of color, movement, dimension, and versatility all wrapped into one aesthetic. Whether you choose something short and edgy, long and romantic, blunt and modern, or textured and natural, the color provides a beautiful foundation that makes waves look expensive and intentional. The best style for you depends on your lifestyle, how much styling you enjoy doing, and what feeling you want your hair to convey.
The most important step is finding a stylist who understands wavy hair and chestnut color specifically. Not every stylist grasps how to cut for waves or how chestnut’s warm undertones interact with different lighting and styling. Bring photos of styles you actually love, not generic inspiration, so your stylist understands the specific movement and shape you’re after. Your hair’s natural texture, face shape, and what you’re willing to commit to maintaining will guide the decision, but all fifteen of these styles prove that chestnut waves work beautifully across every cut style, length, and level of styling effort.