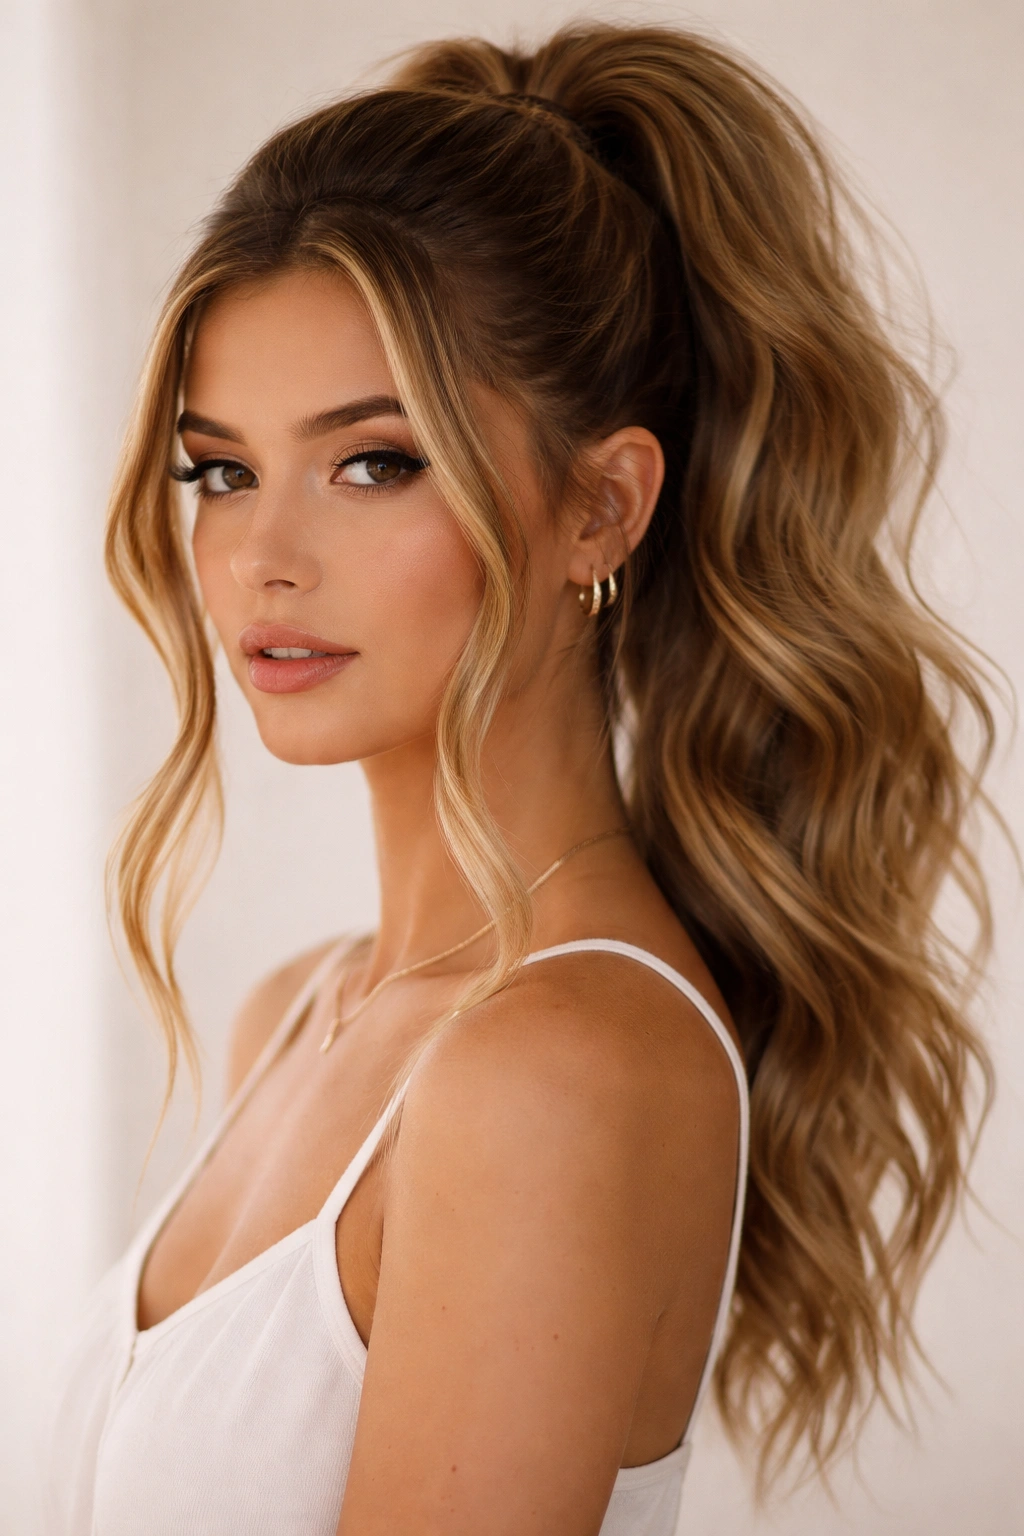
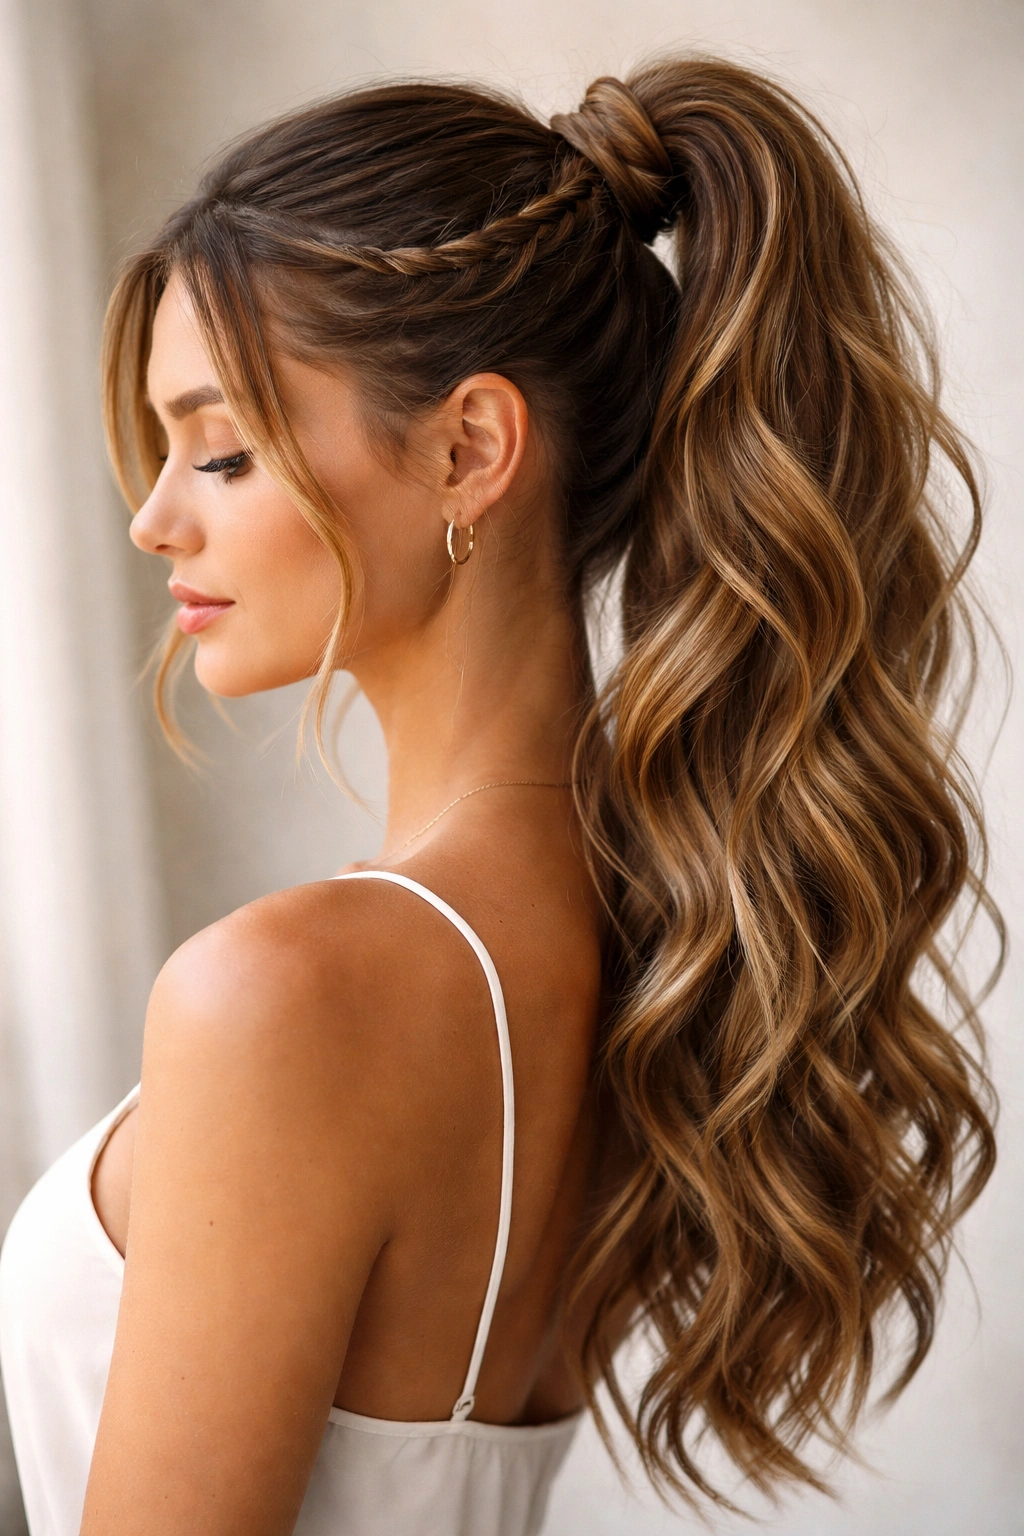
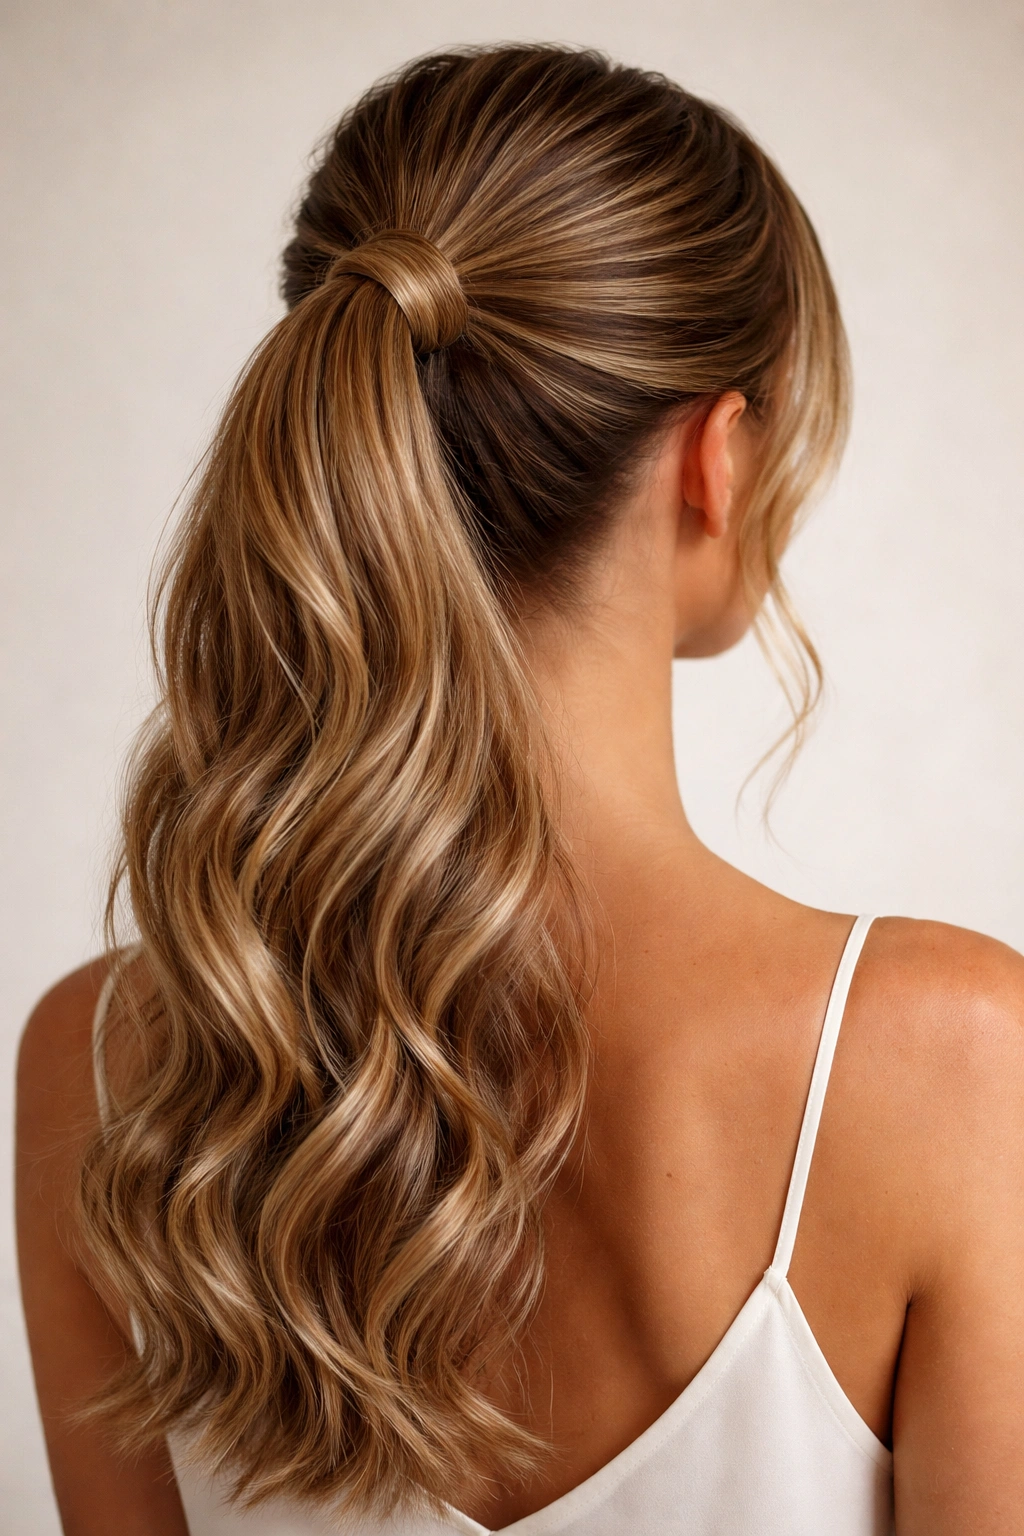
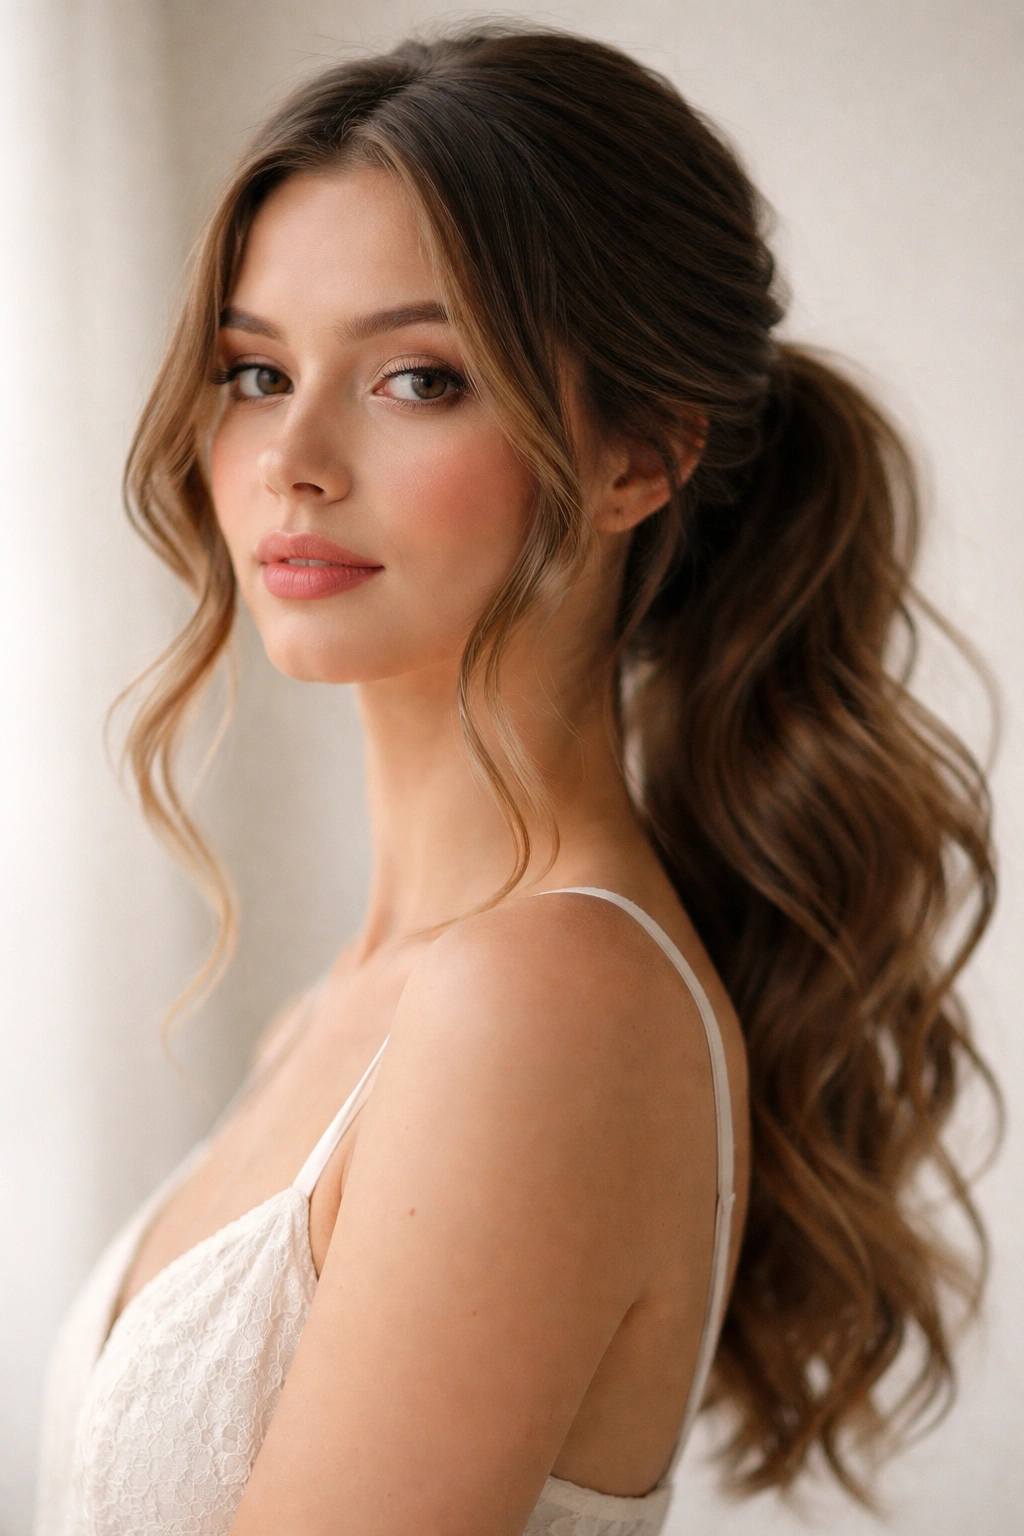
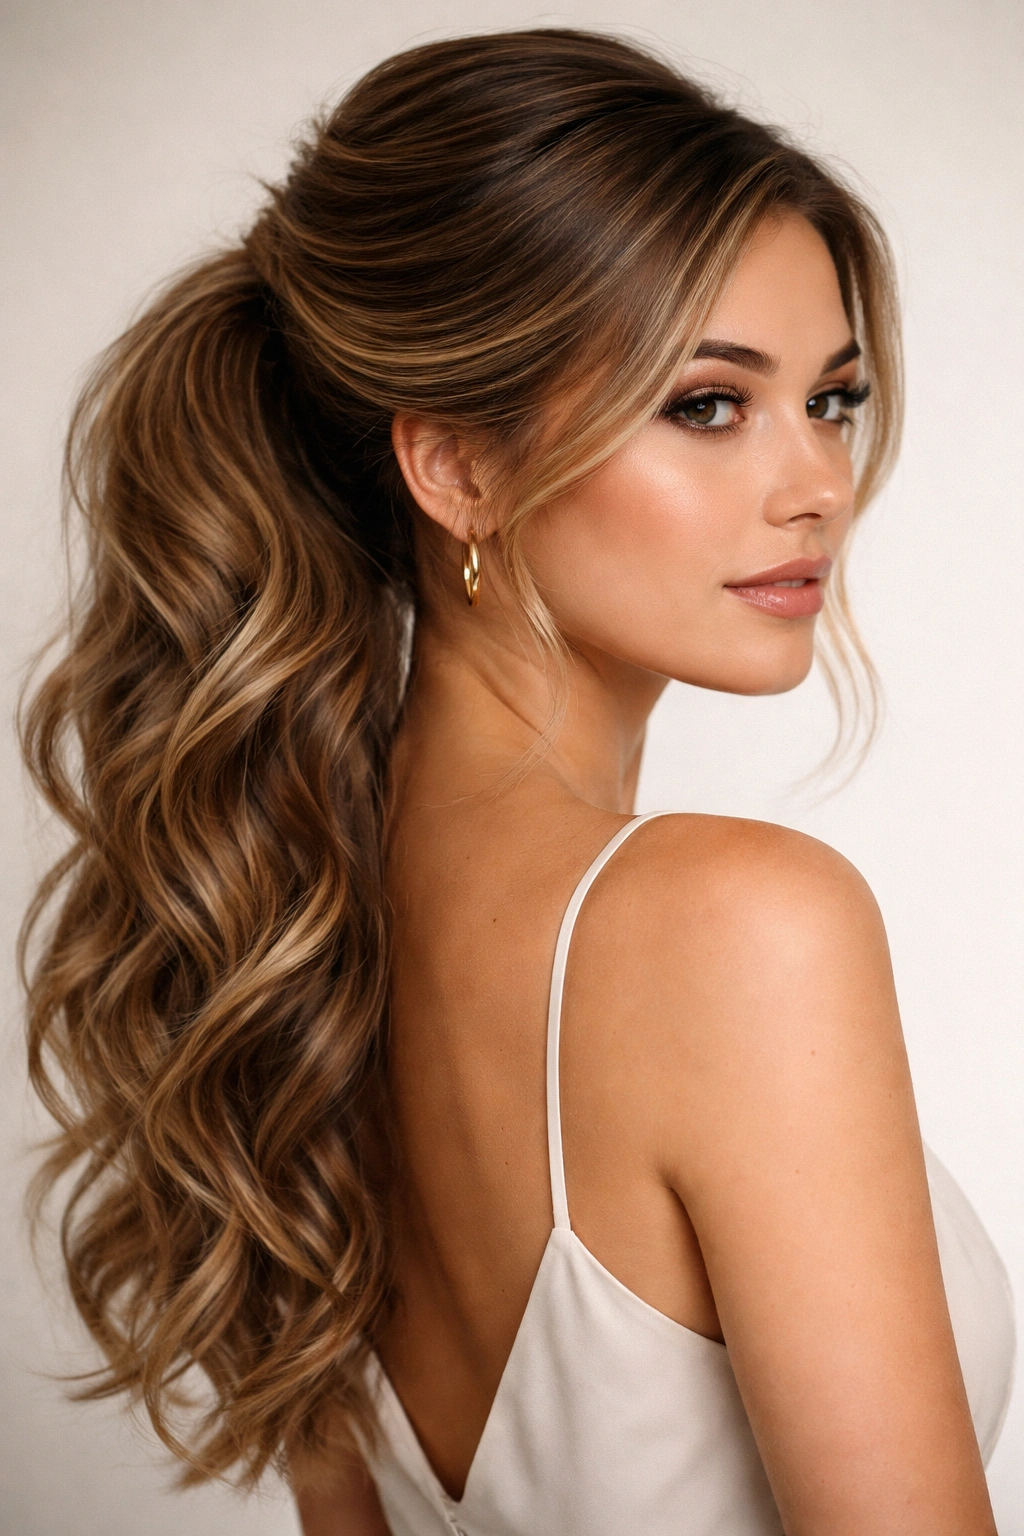
Long ponytails offer a seductive combination of elegance and ease, especially when you’ve got waves working in your favor. Instead of fighting your natural texture, these styles celebrate it — amplifying dimension, movement, and that effortlessly beautiful quality that makes people wonder if you just walked off a beach. The beauty of a long ponytail with wavy hair is that the imperfection is the point. Those texture variations, the slight looseness at the crown, the way waves catch light as they cascade down — these aren’t flaws to iron out. They’re features that transform a simple ponytail from ordinary to genuinely striking.
Whether your waves are loose and flowing or tighter and more pronounced, there’s a long ponytail approach that works with your natural texture instead of against it. The right style won’t require you to spend an hour heat-styling into submission or spraying your waves into submission. Many of these looks actually benefit from a day or two of texture and a little salt spray to add grip and definition. You’re not starting from scratch with each style — your waves are doing half the work already.
What follows are thirteen distinct long ponytail styles specifically designed to make wavy hair look its absolute best. Each one plays with different placement, preparation methods, and finishing techniques to give you variety throughout your styling rotation. Some are polished enough for professional settings, others lean into casual, undone vibes that read as effortlessly cool. All of them work because your hair has natural movement and texture.
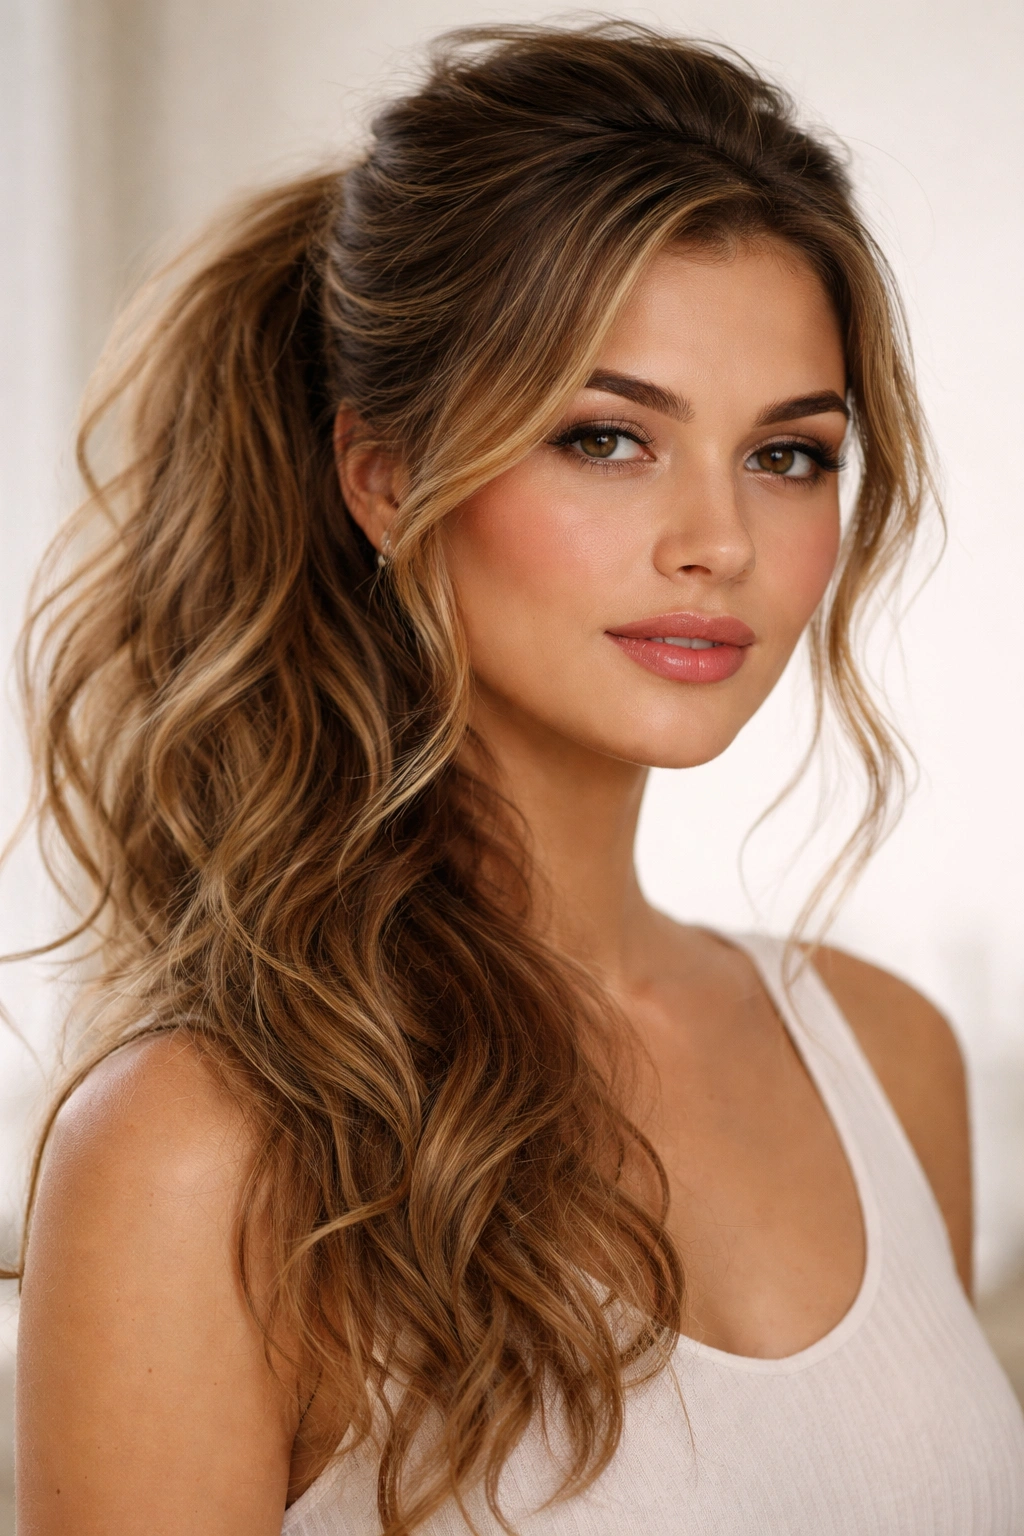
1. The Textured High Pony with Face-Framing Pieces
This is the ponytail that looks like you didn’t try too hard, even though there’s genuine intention behind it. Pull your hair into a high pony at the crown, but intentionally leave two thicker sections loosely framing your face. These pieces should start at your temples and curve naturally down past your cheekbones. The effect is both polished and approachable — the frame softens your face while the high positioning elongates your neck.
How to Create It
Start with slightly textured waves (day-two hair is actually ideal here, or refresh with a salt spray and let it sit for 10 minutes). Use a fine-tooth comb to gently gather your hair into a high ponytail, but before securing, release those two front sections. Wrap a small elastic around the ponytail base once, then use a second elastic or a small clip to catch just the pieces you’ve released, securing them separately at about jaw level. This prevents them from being pulled into the main ponytail. Tousle the ponytail itself slightly with your fingers to encourage your natural waves to show, and use a smoothing serum on the face-framing pieces to make them catch light beautifully.
Why It Works for Wavy Hair
Your waves naturally create the texture this look demands — you’re not fighting for softness or movement. The face-framing pieces take advantage of your hair’s tendency to want to fall forward, working with that instinct rather than against it. Finish with a light hairspray that holds without stiffening, so your waves maintain their natural bounce throughout the day.
2. The Low Bohemian Pony with Braided Detail
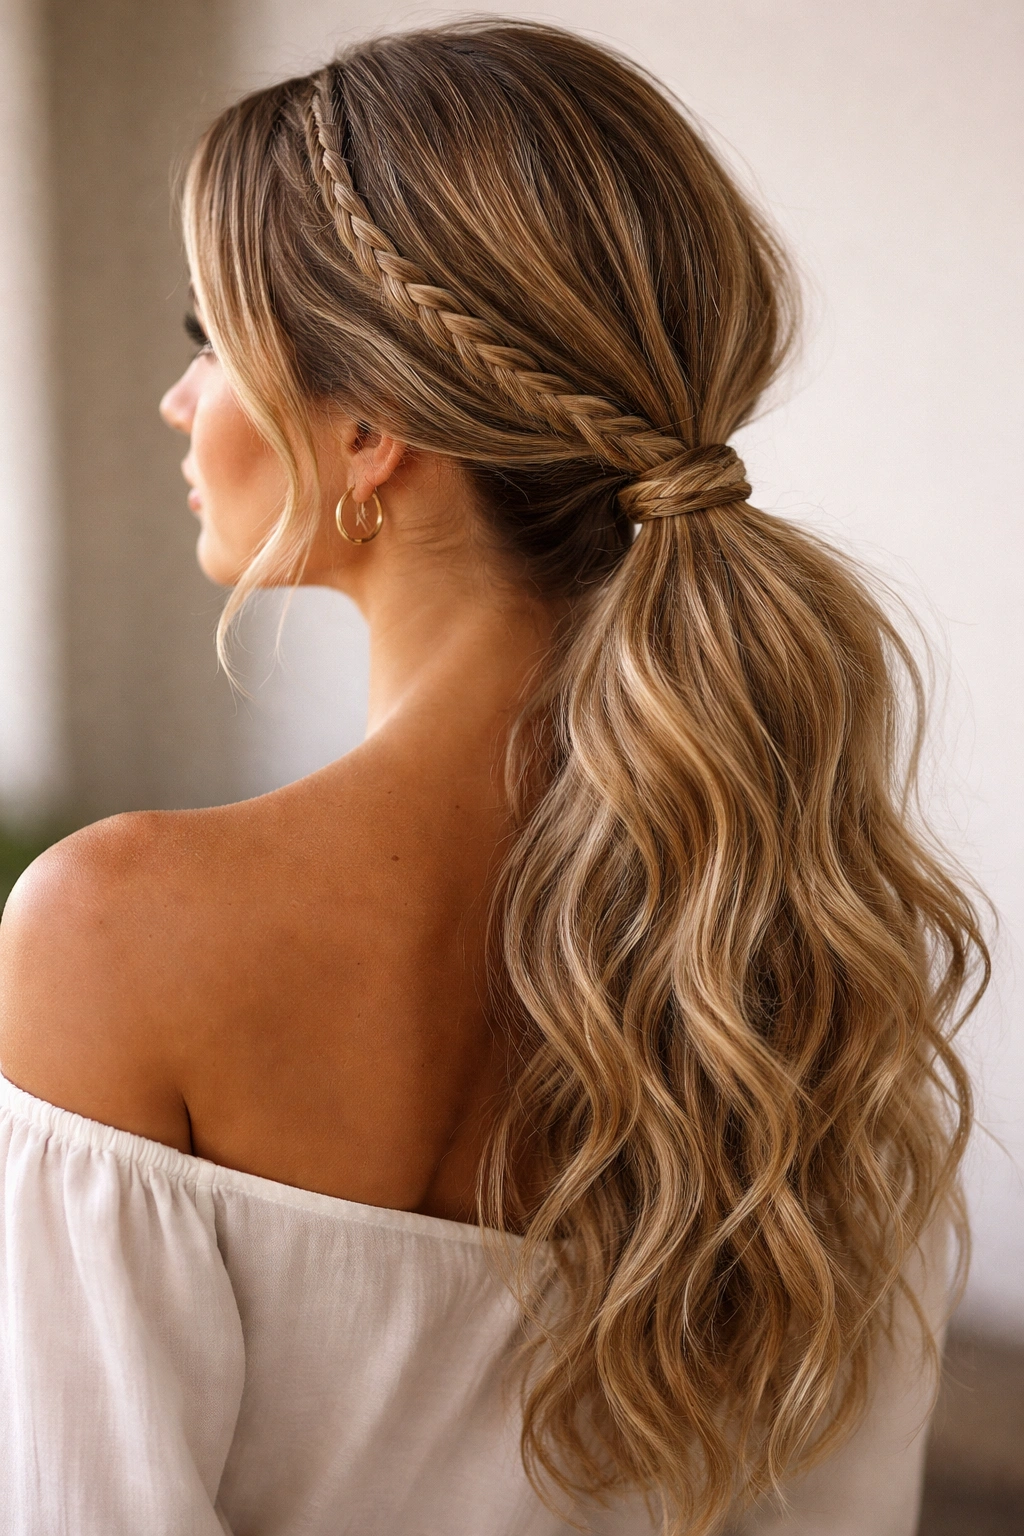
Low ponytails paired with braids are a match made in heaven for wavy hair. Gather your hair into a low pony at the nape of your neck, then create a thin three-strand braid using a small section from the front of the ponytail. Wrap this braid around the elastic at the base of your pony, securing it with bobby pins. The result feels effortlessly romantic without veering into overdone territory.
The Execution
Work with natural waves or enhance them lightly with a curling iron if you prefer more definition. Section off a thin strand of hair from one side of your low pony before fully securing it — this is your braid strand. Once your pony is in place, braid that section loosely and wrap it around the base. The loose braid texture mingles beautifully with your waves, creating visual interest that reads as intentional artistry. Secure with one or two bobby pins hidden inside the wrap.
Pro Styling Notes
The key is keeping the braid slightly loose and imperfect. If you braid too tightly, it fights against the texture of your waves and looks rigid. Loose braiding picks up the natural movement in your hair and creates a softer silhouette. Use a dry texture spray before styling to give the braid something to grip and hold its shape without looking stiff.
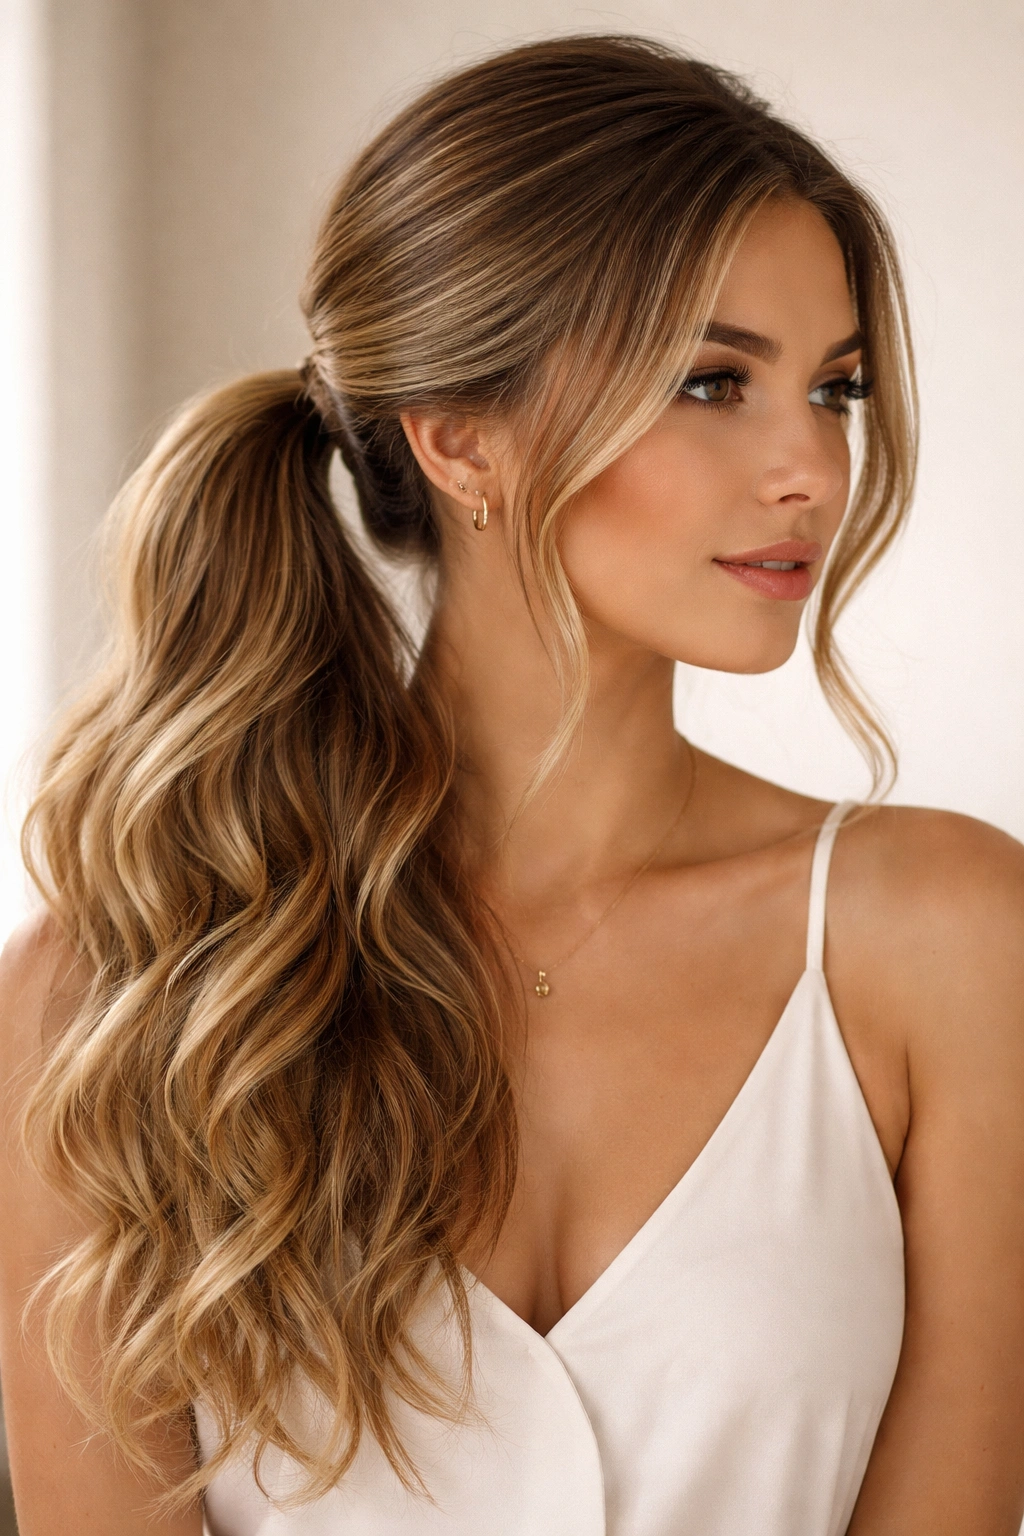
3. The Sleek Low Pony with Subtle Texture
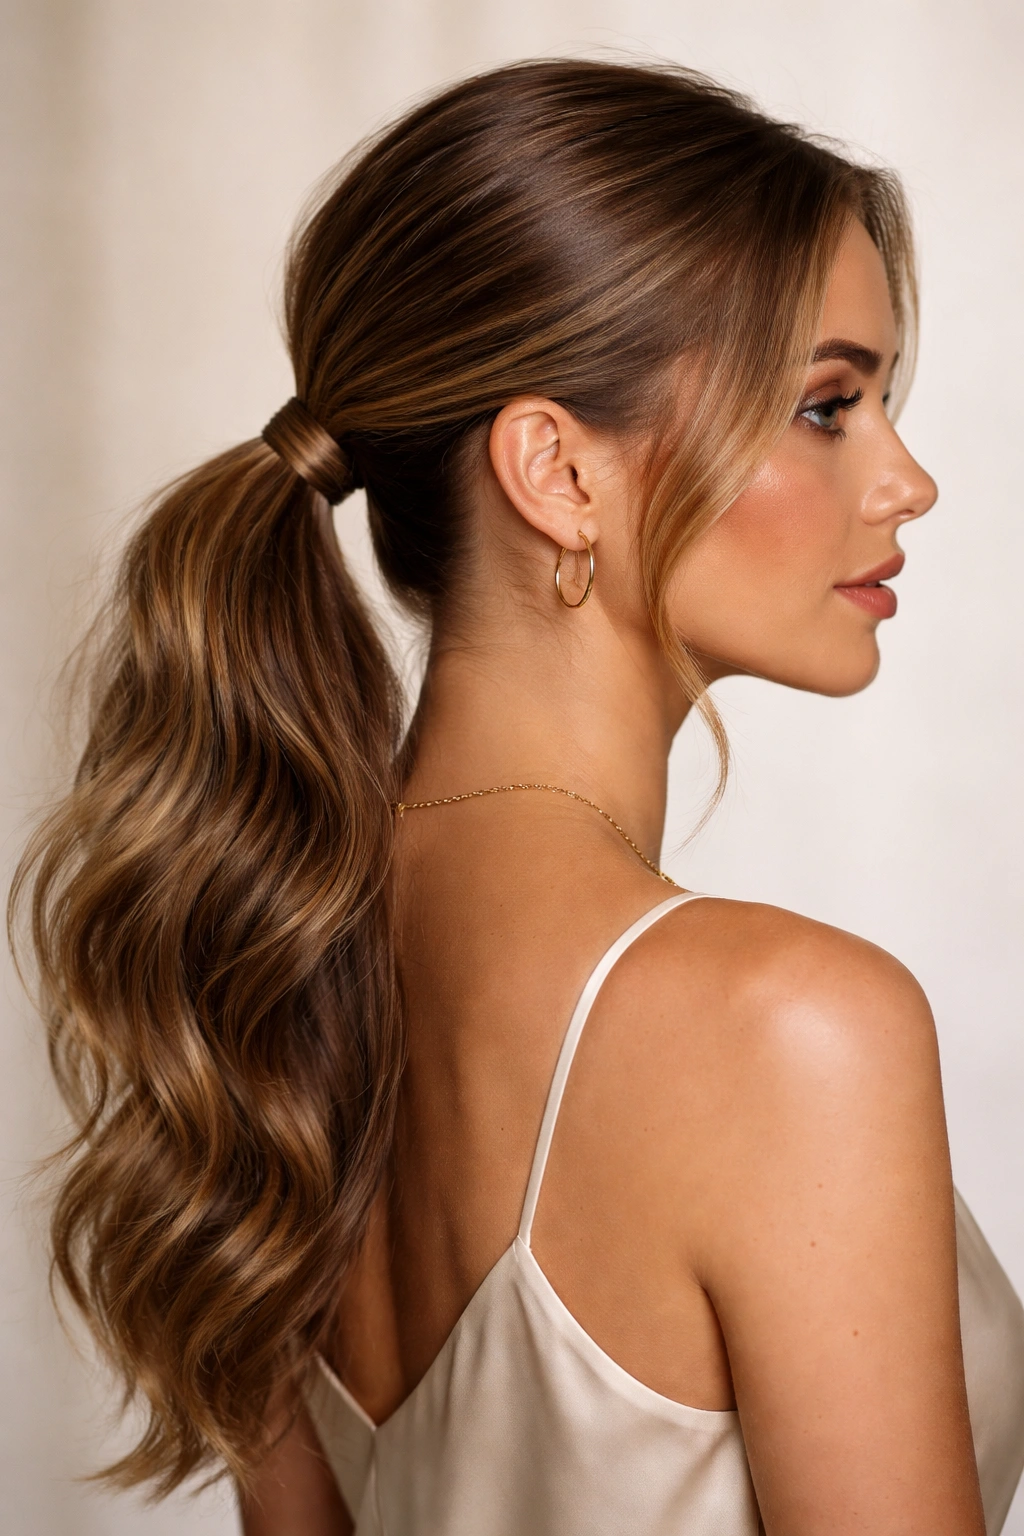
Sometimes you want polish without sacrificing the natural texture that makes wavy hair beautiful. A sleek low ponytail with subtly textured ends gives you that sophisticated, “I have my life together” vibe while still showcasing your waves. The sleekness comes from the styling at the crown and sides, while the texture lives in the ponytail itself.
Achieving the Look
Apply a smoothing cream or serum to your lengths and ends before styling. Brush your hair back gently into a low ponytail at the nape, using a fine-tooth comb to smooth the crown and sides completely. The back section of your ponytail can remain slightly textured or even gently wave-patterned — the contrast between the smooth top and textured bottom is what makes this sophisticated. Secure with a sleek elastic, then take a small section of hair from the ponytail and wrap it around the base to hide the elastic.
The Finish
Use a smoothing serum on the sleek portions and a texturizing spray on the ponytail itself to emphasize the contrast. This isn’t a fully textured look — it’s strategic textured placement that reads as intentional polish rather than haphazard styling.
4. The Messy Side Pony with Volume
Pull everything over one shoulder into a side ponytail positioned at the ear level, slightly lower. Deliberately leave it loose and somewhat undone, allowing your natural waves to show through the ponytail and create an intentionally tousled effect. This look works beautifully for date nights or casual occasions when you want to look put-together without appearing overdressed.
Building the Volume
The secret here is backcombing before securing. Flip your head upside down and gently backcomb the crown area, then flip back and position your ponytail. The backcombing creates underlying volume that’s crucial — without it, this look reads as flat rather than touchably full. Secure the ponytail, then use your fingers to tousle and separate the sections, encouraging your waves to weave through and create visible texture. Spray lightly with a flexible hold spray that keeps volume while allowing movement.
Styling Tip
Pull a small section from the ponytail and gently wrap it around the elastic base, securing with a bobby pin. This instantly makes the ponytail look more intentional and refined, even though you’ve built it with purposeful messiness.
5. The Twisted Crown Pony
Gather a section of hair from one side of your crown, twist it gently toward the back, and pin it. Then gather another section from the opposite side, twist it in the same direction, and pin it as well. Collect all your hair into a high ponytail that incorporates these two twisted sections. The result has architectural interest and dimension that flatters wavy hair beautifully.
Step-by-Step Creation
Start with freshly textured waves or waves refreshed with salt spray. Take a two-inch section from just above your ear on one side, twist it loosely back toward the crown (not too tightly — you want the twist to have texture and movement), and secure it with a bobby pin at the back of your crown. Repeat on the opposite side, twisting in the same direction so both twists mirror each other. Once both twists are pinned, gather all your hair into a high ponytail that begins at the point where your twists meet. The twists become part of the ponytail structure, adding visual interest.
Why Waves Elevate This
The texture in your waves makes these twists read as more sophisticated — they’re not smooth and structured; they’re gently textured and have movement. This prevents the style from looking overly formal or costume-like, which sometimes happens with twist styles on straight hair.
6. The Bubble Pony with Curved Sections
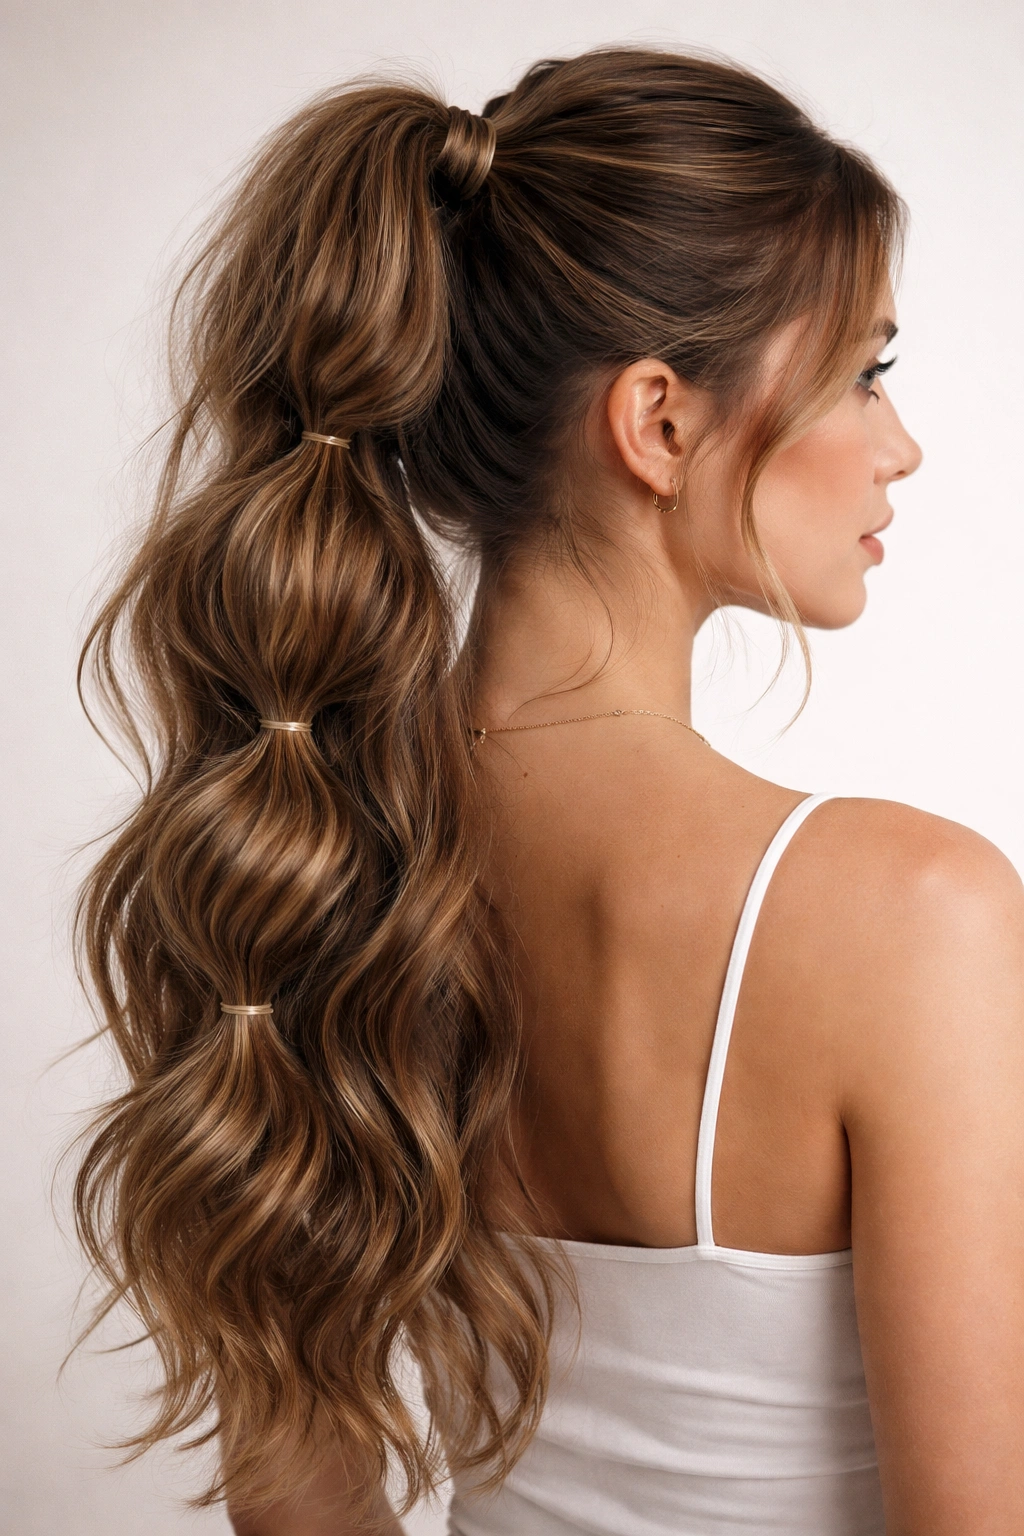
Create a high ponytail, then use small elastics to create 3-4 “bubbles” down the length of your ponytail. Between each elastic, gently tease and fluff the hair section to create rounded, pillowy segments. The waves in your hair add natural dimension to these bubbles — they don’t look artificial or overly structured.
The Technique
Start with your hair in a high ponytail secured with a clear elastic. Take a medium elastic and secure your ponytail about 3-4 inches down from the base of the first elastic. Gently fluff and lift the hair between the two elastics with your fingers and a teasing brush to create a rounded bubble. Repeat this process three or four times down the length of your ponytail, spacing the elastics evenly. The bubbles should feel full and textured, not perfectly smooth — this is where your waves become an asset rather than something to tame.
Finishing the Look
After all bubbles are created, run your fingers through the ponytail sections to blend the wave pattern slightly, so it looks intentional rather than obviously segmented. A light texturizing spray adds grip and definition without weighing down your waves.
7. The Half-Secured Side Pony
Gather hair into a side ponytail as if you’re going for a full commitment, but only partially secure it. Leave the bottom quarter or third of your hair loose and flowing. It’s the perfect hybrid between a ponytail and loose waves — polished at the crown but soft and romantic at the ends.
How to Execute It
Position your side ponytail at ear level on your preferred side. Create a gathering line that comes up slightly higher than a traditional low pony — you’re aiming for about mid-ear level. Secure firmly with an elastic at this point. The hair below the elastic remains completely loose and flows down in waves. The secured portion reads as intentional styling, while the loose section keeps the look soft and undone.
Styling Considerations
This works best when your waves have substantial texture and movement. If your waves are very loose or subtle, you might need to add texture with a curling iron before styling. The contrast between the secured, smooth-topped ponytail and the flowing, textured waves below is what makes this compelling. Use a light serum or oil on the loose section to make your waves catch light and appear more dimensional.
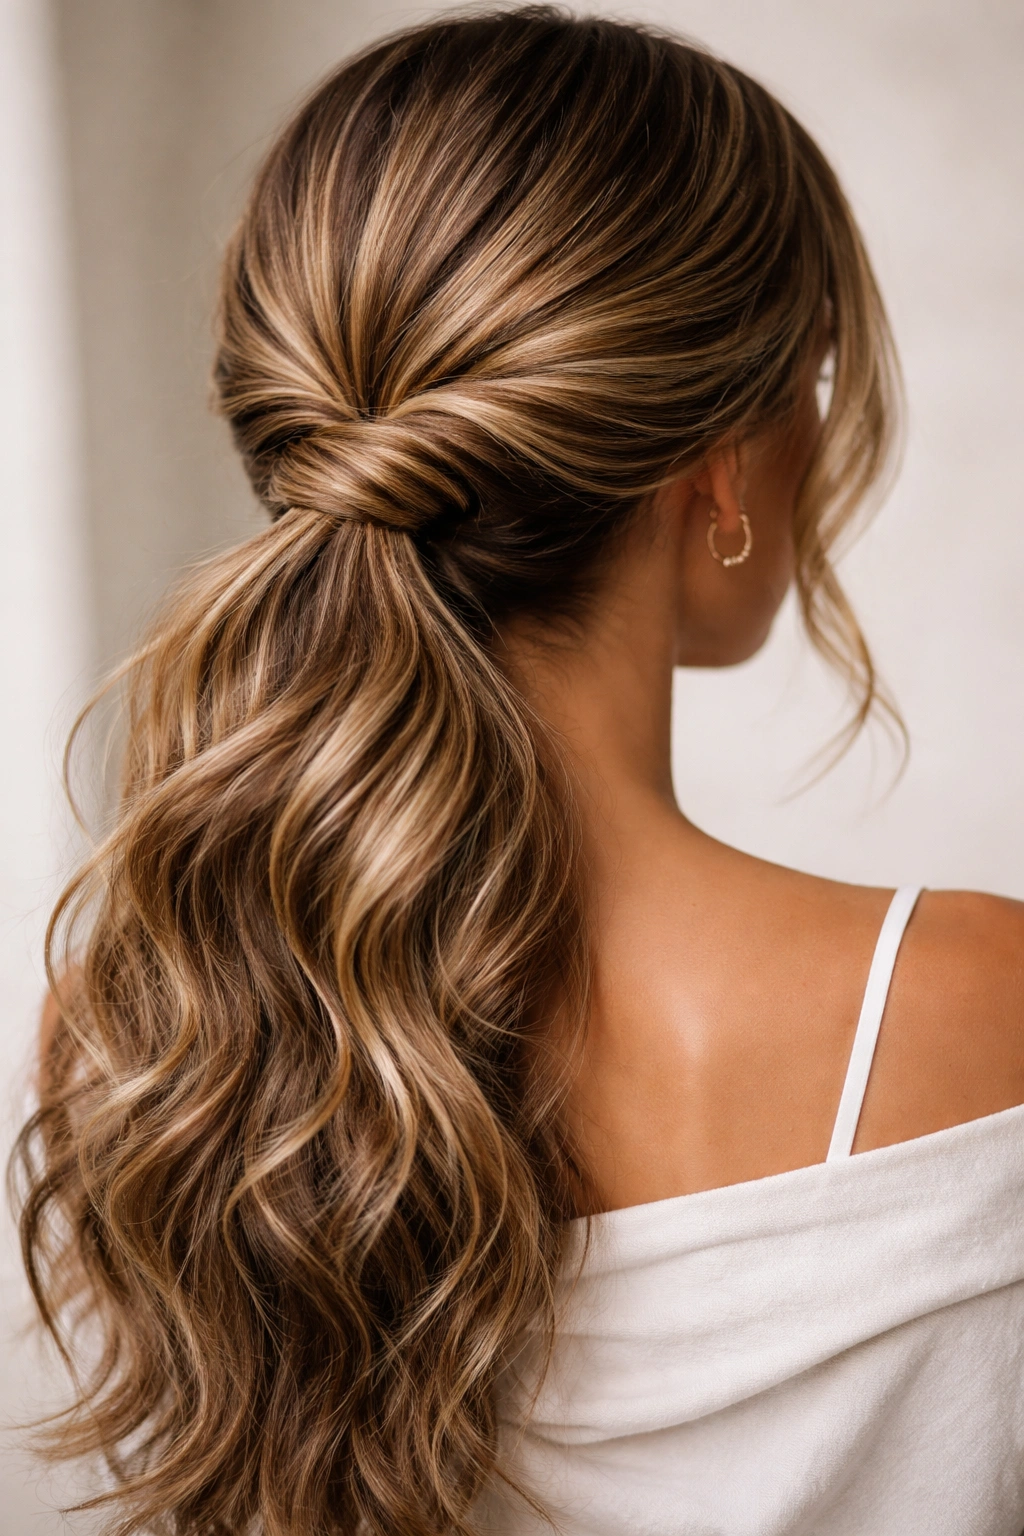
8. The Wrapped Base Pony with Tucked Ends
Create a sleek or semi-textured ponytail, then wrap a small section of hair around the elastic base — but instead of securing it with a bobby pin like usual, gently tuck the end of that wrapping section back into the ponytail itself and secure with a pin hidden underneath. It creates a seamless, polished look where no elastic is visible and no bobby pin catches light.
The Wrapping Technique
Once your ponytail is secured, take a thin section of hair (about half an inch) from the front or side of the ponytail. Wrap it around the elastic in one complete circle, then instead of pinching it with a pin, gently tuck the tail end back into the ponytail (underneath, behind the wrapped section) and use a bobby pin to secure the tucked portion to the ponytail itself. This creates a completely seamless finish.
Why It Elevates Wavy Ponytails
The wrapping section mingles with your waves beautifully, becoming part of the overall texture rather than standing out as a separate element. The hidden pin and tucked end create a polished finish that says “I actually know what I’m doing with styling,” even though the method is straightforward.
9. The Soft Romantic Pony with Face-Framing Tendrils
Create a low ponytail, but frame your face with soft, intentionally loose tendrils on both sides. These shouldn’t be structured ringlets — they should look like pieces that naturally escaped the ponytail and happen to frame your face beautifully. The overall effect is soft, romantic, and perfect for occasions where you want to look gentle without being overly formal.
Creating the Tendril Effect
After securing your low ponytail, take small one-inch sections of hair from right at the front of your face on each side. Using a one-inch curling iron set to medium heat, curl these sections gently away from your face. Because your hair already has natural wave, these curls will integrate seamlessly with your texture and won’t look artificial. Let them cool completely, then gently break them apart with your fingers to create soft, romantic waves rather than bouncy ringlets.
Achieving Softness
The tendrils should look like they could have simply fallen out of your ponytail rather than like you carefully styled them. Use a flexible hold hairspray — something that feels touchable and doesn’t crisp — so these pieces move naturally against your face. Finish with a light texturizing spray throughout the entire ponytail to enhance your natural waves.
10. The Slicked Graphic Pony with Wavy Ends
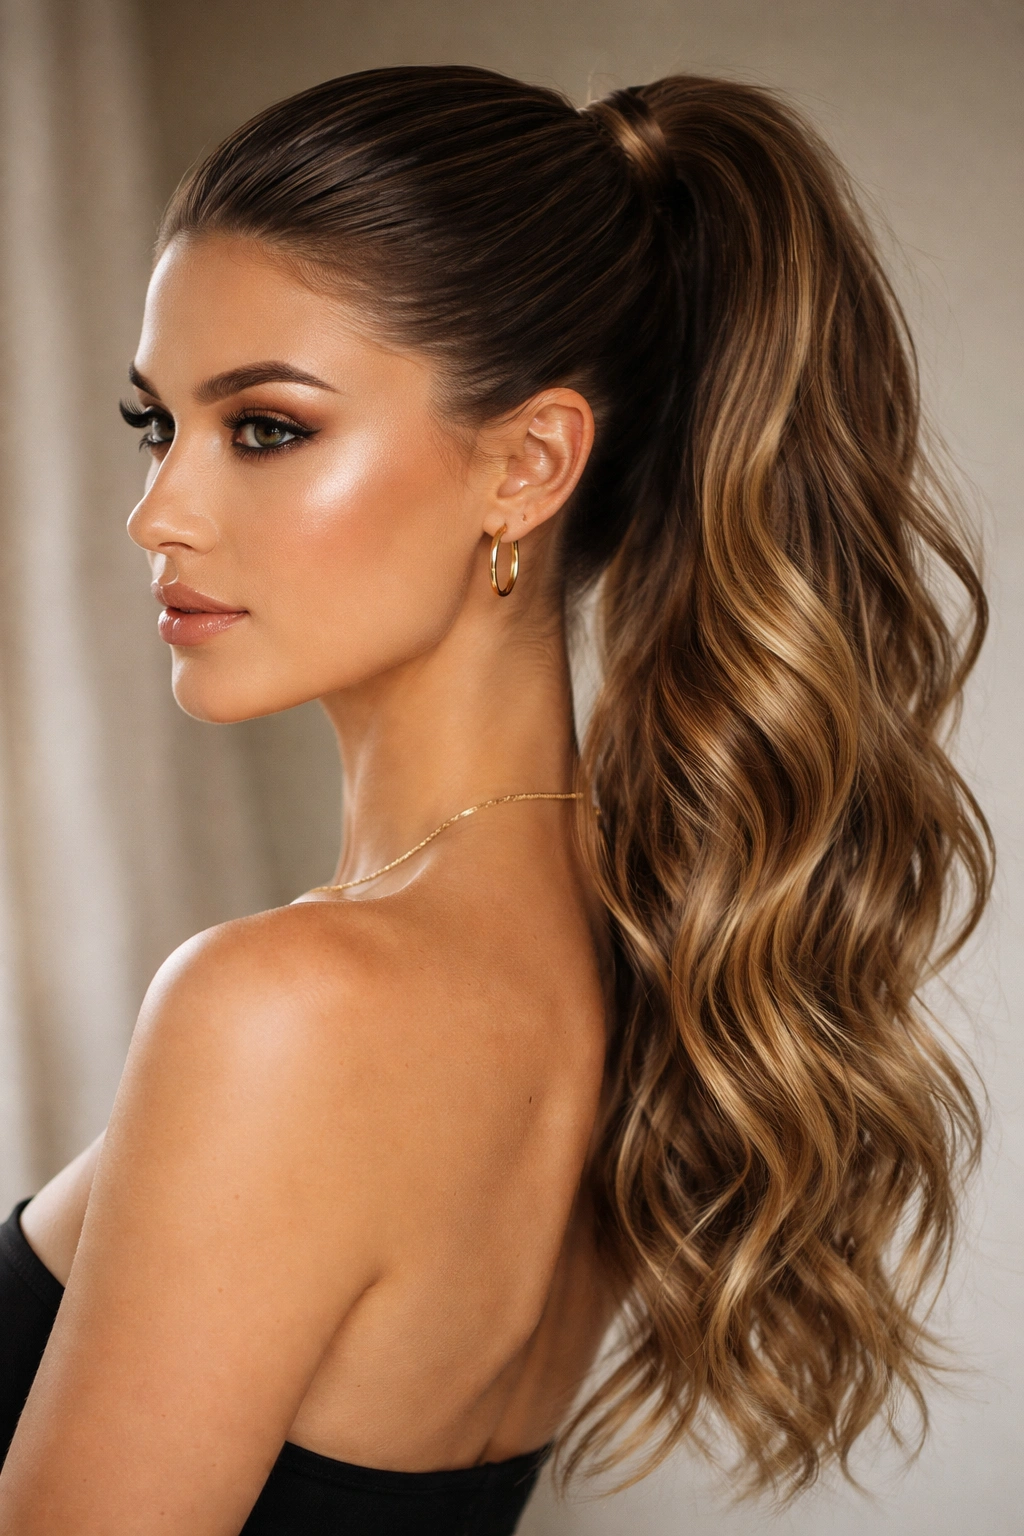
Pull your hair back into a high or mid-height ponytail, slicking the crown and sides completely smooth with a strong-hold gel or edge control product. The contrast between the slicked-back severity and your loose, wavy ponytail is striking and surprisingly contemporary. This works especially well if you’re going for a “undone luxury” aesthetic.
The Contrast Principle
Apply a smoothing gel to your hands and smooth your hair back from your hairline, pushing everything toward the back of your head. Use a fine-tooth comb to ensure absolute smoothness at the crown and sides. Secure into your ponytail, then deliberately leave the ponytail itself textured and wavy — don’t smooth it. The juxtaposition between the graphic, controlled top and the soft, organic bottom is what makes this visually interesting.
Product Selection
Use a strong-hold gel or edge control on the smooth sections, but apply only a light texturizing spray to the ponytail itself. You want the ponytail to feel naturally textured and moveable, not stiff or overdone. The stark difference in finish between top and bottom is the whole point.
11. The Twisted Wrap Pony with Intertwined Waves
Create a low ponytail, then take two thin sections of hair from the sides of the ponytail (before it’s fully secured). Twist these sections gently and wrap them around the base of the ponytail in opposite directions, creating an X-pattern or intertwined effect. Secure with bobby pins underneath. The twisted wraps echo and enhance your natural waves.
Building the Structure
Gather your hair into a low ponytail position, but don’t secure yet. Take a thin section from the left side of where your ponytail will sit, twist it gently, and hold it. Take a thin section from the right side, twist it in the opposite direction, and hold it. Now secure your ponytail with an elastic, then take those two twisted sections and wrap them around the base in an intertwined pattern — left section goes up and over, right section goes under and up, creating a woven effect. Secure with bobby pins hidden underneath.
Why This Works for Wavy Hair
The texture in your waves makes these twisted wraps look intentional and sophisticated rather than fussy. The wraps become a design element that complements your natural texture rather than fighting it.
12. The Curved Low Pony with Asymmetrical Volume
Instead of gathering your ponytail perfectly centered at the nape of your neck, position it slightly off to one side. Create more volume on the opposite side by backcombing and gently lifting. The asymmetry, combined with your natural waves, creates a much more interesting silhouette than a centered pony.
Asymmetrical Styling
Flip your head upside down and backcomb the opposite side of where your ponytail will sit — if your pony goes slightly right, backcomb the left crown area. Flip back and smooth the top layer gently, then position your ponytail slightly to the right. The backcombed area creates lift and volume on the left side, creating visual interest and making your ponytail look fuller and more dynamic. Your natural waves work with this asymmetry rather than against it, creating dimension that a sleeker hair texture would struggle to achieve.
The Finish
Use your fingers to tousle the ponytail itself, encouraging your waves to weave and create visible texture throughout. Avoid over-smoothing — the slight messiness is part of the appeal.
13. The Soft Beachy Pony with Salt Spray Texture

This is the ponytail that looks like you’ve just come from a beach vacation. Create a low or mid-height ponytail using hair that’s been primed with salt spray, giving it maximum texture and grit. Don’t smooth it; let your waves show prominently. Tousle the entire ponytail with your fingers to encourage separation and movement. It’s deliberately undone, effortlessly beautiful, and practically zero-effort to maintain.
Achieving Beachy Texture
Start by applying salt spray liberally to damp hair and scrunching gently. Rough-dry with a hair dryer (using your fingers rather than a brush) to enhance the texture and wave pattern. Once your hair is dry, create a ponytail and deliberately don’t smooth it. Use your fingers to separate the hair and encourage waves to show. The goal is “I woke up like this” rather than “I spent time styling.” A second application of salt spray after the ponytail is created adds extra grip and definition.
Why It’s Perfect for Regular Wear
This style actually improves over several days as your waves set and the salt spray builds texture. Unlike polished ponytails that fall flat as the day goes on, this one often looks better in the afternoon and evening than it does in the morning. It’s also incredibly forgiving — you don’t have to worry about pieces falling out or the style looking messy, because messiness is literally the aesthetic.
Final Thoughts

Long ponytails transform when you stop fighting your waves and start working with them. Each of these thirteen styles treats your natural texture as an asset rather than an obstacle, which is the mindset shift that changes everything about how you approach styling. Your waves aren’t something to smooth away or tame into submission — they’re the feature that makes a simple ponytail become genuinely striking.
The reality is that many of these styles actually benefit from some texture and a little grit. Day-two hair, salt spray, gentle backcombing, and strategic tousling work in your favor rather than against it. You’re not starting with a blank slate that needs to be perfected; you’re working with a foundation that already has movement and dimension built in. Your job is simply directing that natural texture rather than creating it from nothing.
Give yourself permission to experiment with different placements, wrap techniques, and texture levels. Your waves respond beautifully to all of them, and there’s genuine freedom in knowing that imperfection is literally the point. The strands that escape, the slight looseness at the crown, the way your waves catch light as you move — these are the details that transform a functional updo into something genuinely beautiful.