Finding the right ponytail shouldn’t feel like a guessing game. Whether you’ve got fine, wispy hair, thick coils, or anything in between—whether your face is oval, square, round, or heart-shaped—there’s a ponytail that’s genuinely made for you. The secret isn’t having perfect hair or spending an hour styling. It’s understanding which placement, texture, and finish work with your natural features instead of against them.
The best ponytail styles leverage the principles of balance and proportion. A high ponytail can elongate a round face while making a longer face feel too stretched. A low side ponytail softens angular features and suits almost anyone. The texture matters just as much as the placement—sleek styles work for some occasions and hair types, while tousled versions feel more forgiving and modern. And then there’s the question of what you do with the actual ponytail itself: wrap it, braid it, bubble it, twist it. These details transform a basic tie-up into something that looks intentional and polished.
What follows are fifteen ponytail styles proven to work across different face shapes, hair textures, and styling comfort levels. Some take five minutes. Others invite a bit more technique. All of them can be adapted to your hair type and the occasion you’re dressing for. Start with the ones that match your face shape and hair texture, experiment with the techniques, and watch how dramatically the right ponytail can change how you feel about your appearance.
1. Classic High Ponytail
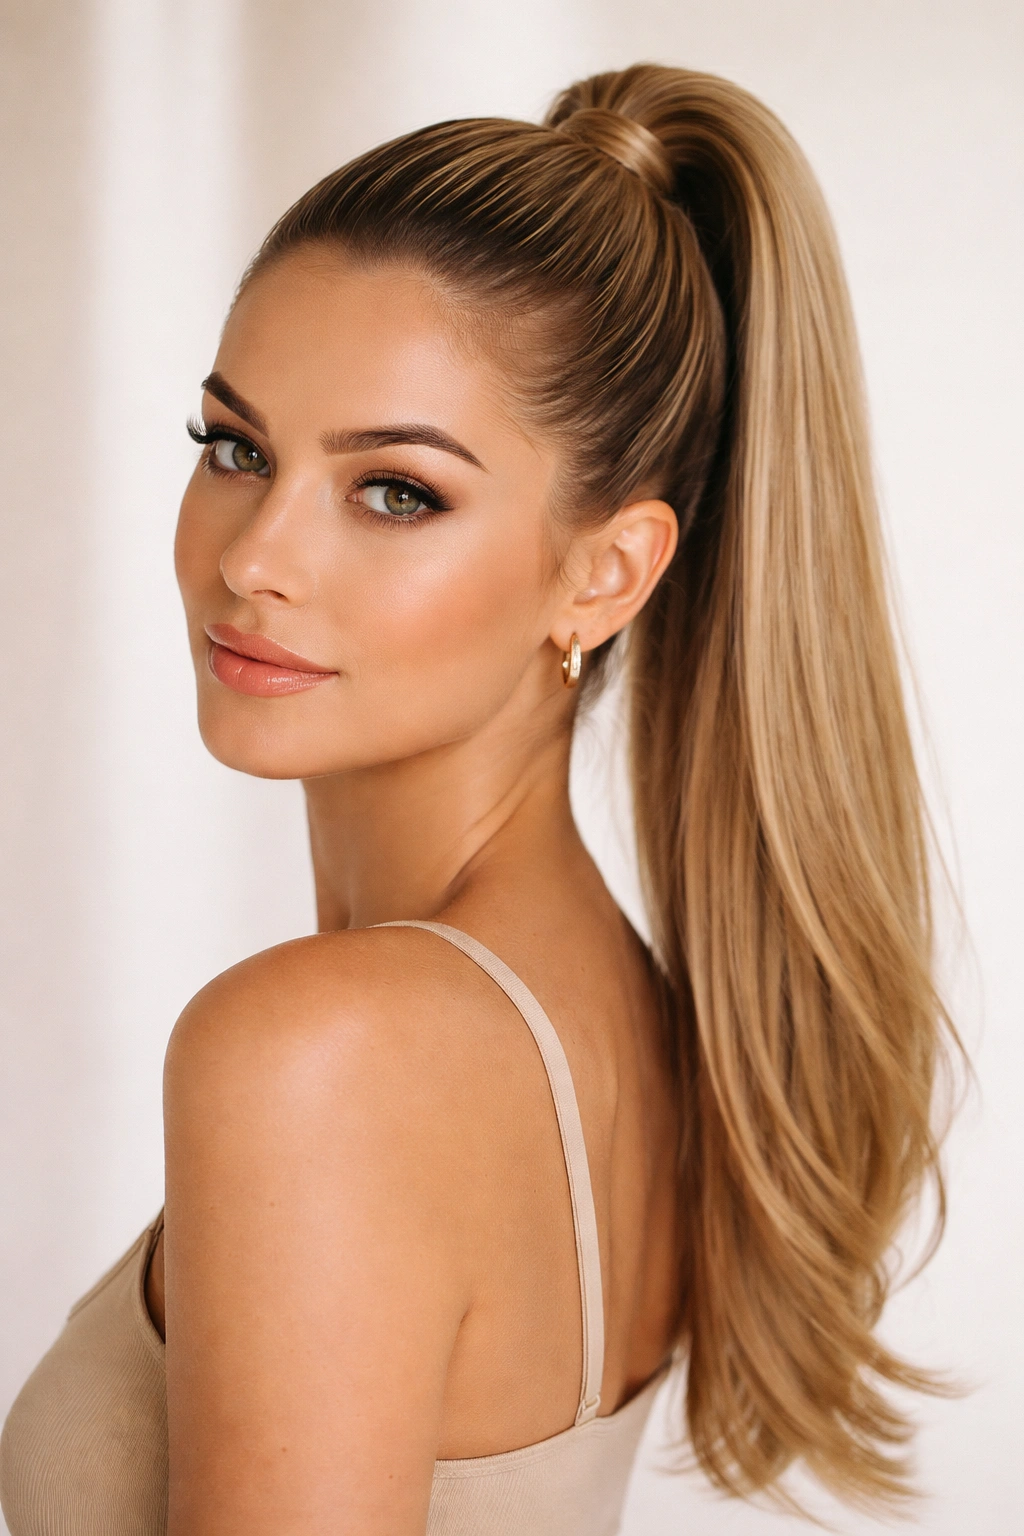
The high ponytail is the foundation style everyone should know. Pulled tight at the crown and secured at the back of the head, it creates instant polish and visual lift. This works especially well for oval and oblong faces because it opens up the face and draws attention upward. For round or square faces, the high placement creates length that balances wider cheekbones or a stronger jawline.
Why It Works for Most People
The high ponytail’s magic comes from its ability to create vertical lines on the face. When you pull hair straight up from the crown, you’re naturally lengthening the appearance of your face, which is flattering across most face shapes. The exposed face and neck create an open, approachable energy. It’s professional enough for work presentations but casual enough for weekend errands.
How to Execute It Flawlessly
- Start by brushing your hair back smoothly, using a fine-tooth comb or paddle brush to eliminate flyaways
- Position your elastic about 2-3 inches from your natural crown, pulling hair straight back (not to the side)
- For maximum hold without tension, use a quality elastic or hair tie—cheap ones slip and break hair
- Wrap a thin section of hair around the base of the ponytail to hide the elastic, securing it with a small bobby pin
- Smooth the front pieces with a light hairspray or gel to keep them in place throughout the day
- For finer hair, gently tease the crown section before securing to add volume at the base
Pro tip: If you have a longer face, position your ponytail slightly lower than the absolute crown—about an inch down—to avoid elongating your features further.
2. Low Side Ponytail
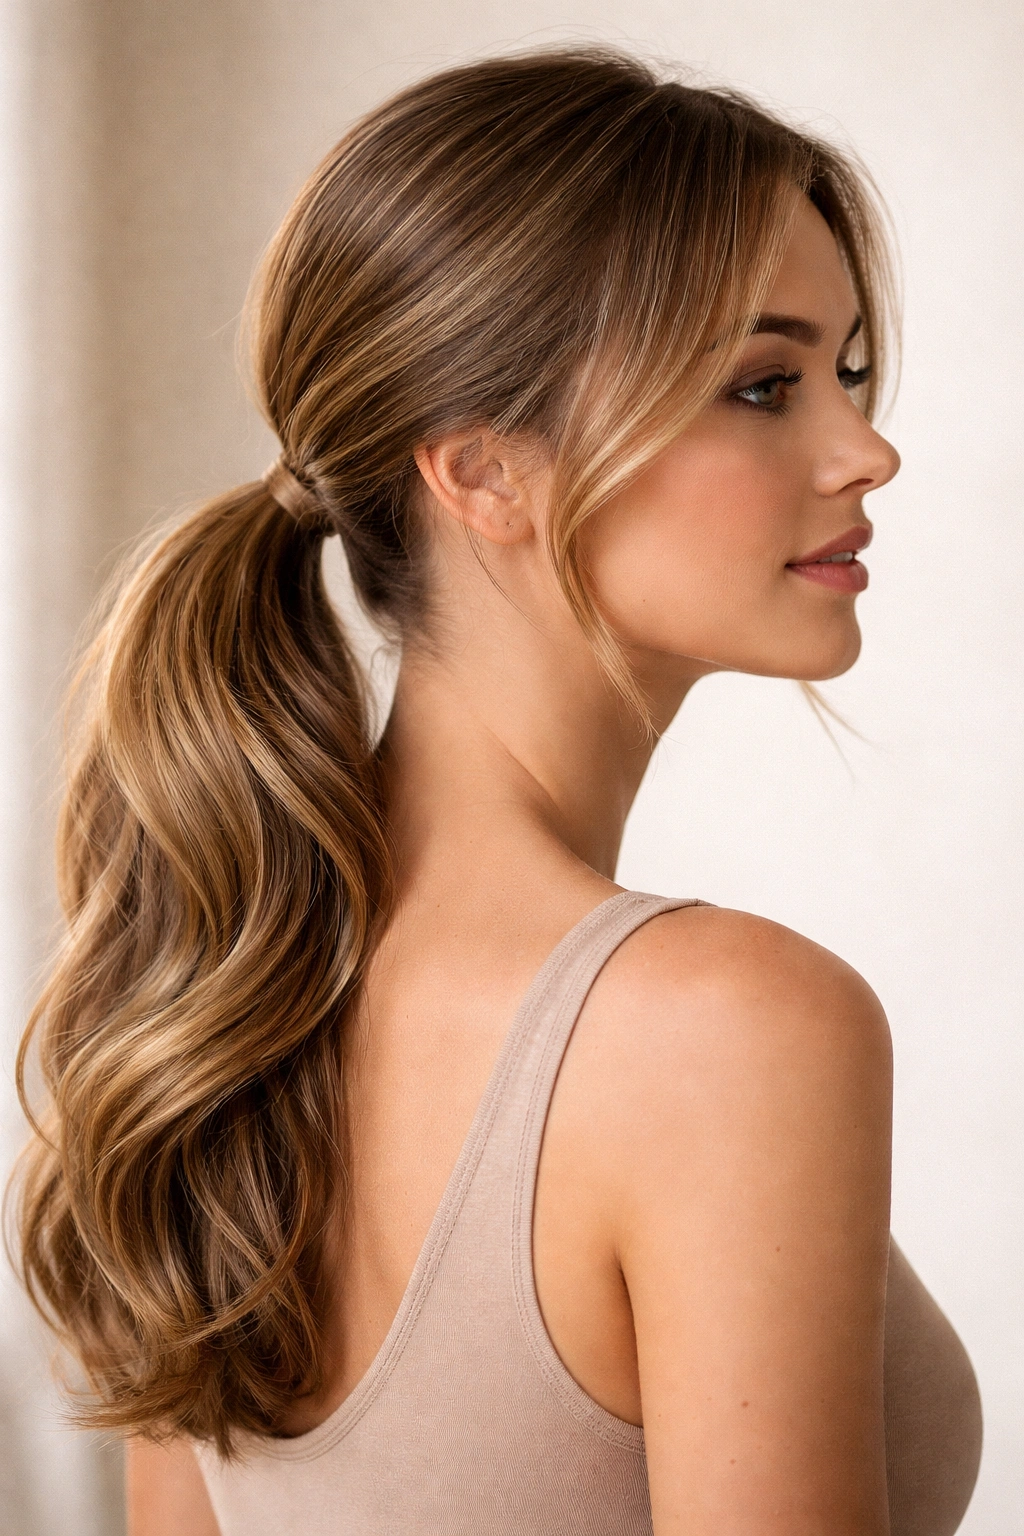
A low ponytail gathered to one side is arguably the most universally flattering style in existence. The low placement is gentle on fine hair and the side positioning softens angular features while adding dimension to round faces. It feels effortlessly elegant without reading as stiff or overly formal.
The Flattering Magic of Side Placement
The low side ponytail works because it creates asymmetry on the face. That asymmetry is inherently flattering—it breaks up strong jawlines, adds width to narrow faces, and creates a softer, more approachable appearance than a centered style. The side sweep also creates an optical illusion of cheekbones and definition. For square or heart-shaped faces, this diagonal line is specifically corrective.
Building the Low Side Ponytail
- Use a side part or simply brush hair slightly off-center, toward the side you prefer
- Gather hair at the base of your skull, positioning the elastic about two inches above your neck (not directly at the nape)
- Let the tail fall over one shoulder, creating a gentle diagonal line
- Tease lightly at the crown before securing to create dimension and prevent a slicked look
- Wrap a section of hair around the base and pin it to conceal the elastic
- For extra softness, release a few face-framing pieces around your cheekbones and temples
Pro tip: Pull slightly looser at the crown when you first secure the tie, then smooth the front hairline. This creates a polished look without looking severe.
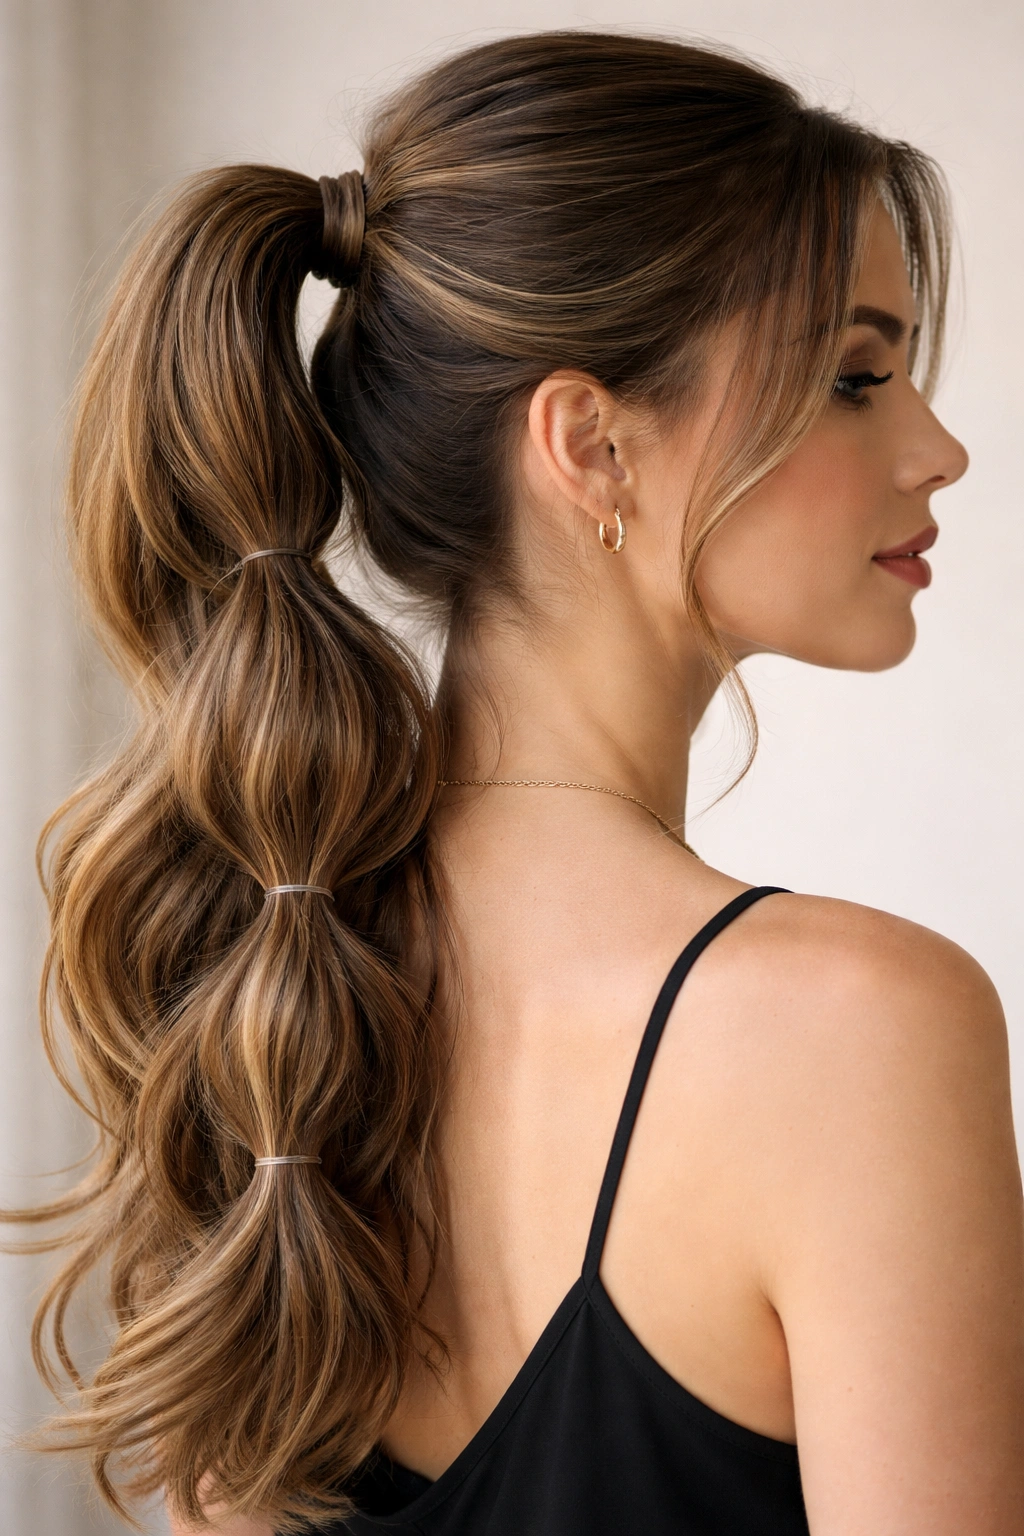
3. Sleek Bubble Ponytail

The bubble ponytail transforms a standard high or mid-height tail into something architectural and modern. By creating distinct, round “bubbles” down the length of the ponytail using small elastics, you add texture, visual interest, and movement. This style works beautifully on thick hair and holds incredibly well throughout the day.
Why the Bubble Effect Transforms Everything
Each bubble creates a small poof of hair, which adds dimension and prevents the ponytail from looking flat or thin. Even if you’re working with medium-thickness hair, the bubble technique makes the style appear fuller and more intentional. The structure also catches light differently, creating visual interest from every angle. It’s become a favorite for anyone who wants a polished style that doesn’t feel overdone.
Creating Perfect Bubbles
- Start with a high or mid-height ponytail secured with an elastic
- Position a second elastic about 2 inches below the first, creating a small bubble of hair between them
- Gently tease or fluff the hair section between the elastics to make the bubble more pronounced
- Continue adding elastics and creating bubbles every 2 inches down the length of the tail
- Vary the bubble sizes slightly for a more organic, less rigid appearance
- Use clear or matching-colored elastics so they blend into your hair rather than standing out
Worth knowing: This style works best on straight or lightly wavy hair. On very curly or coily hair, the definition gets lost.
4. Textured Messy Ponytail
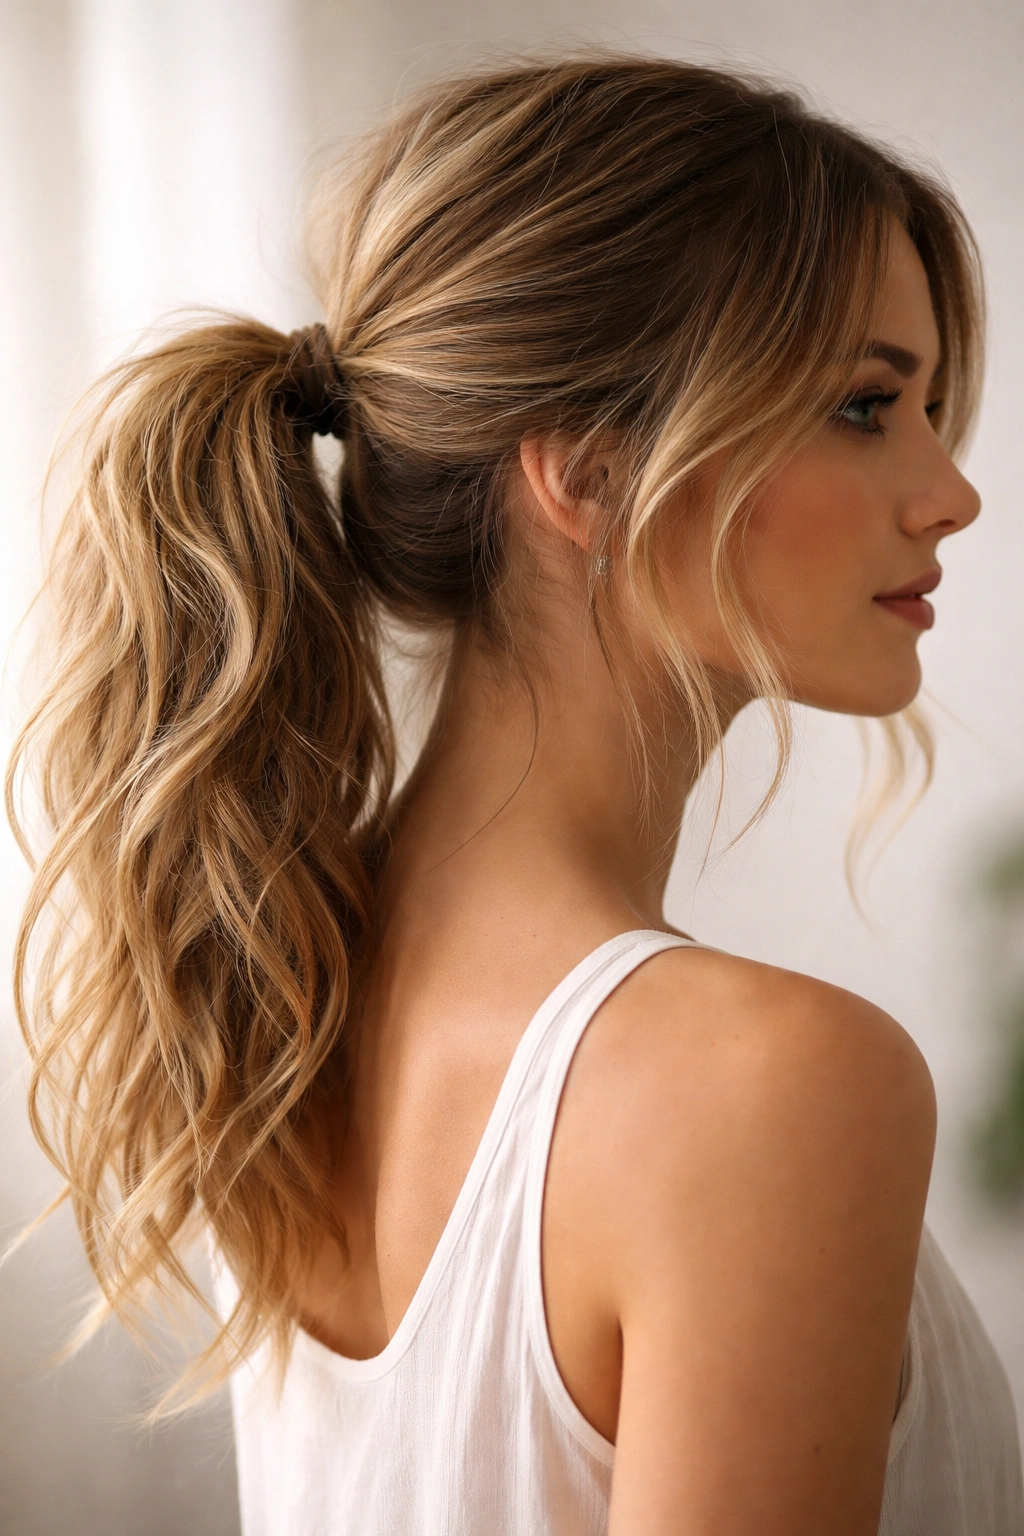
Don’t let the word “messy” fool you—this is a carefully constructed tousled look that reads as effortlessly chic. Slightly undone and purposefully imperfect, the textured ponytail suits nearly every face shape because the loose, softer lines are inherently flattering. It works on every hair type, from fine and straight to thick and curly.
The Art of Strategic Undone-ness
The textured ponytail works because it doesn’t fight your hair’s natural texture—it enhances it. Loose waves catch light and create depth. Slight flyaways and unruly pieces add character rather than looking unkempt. The lower tension on the scalp and hairline also makes this style feel less harsh than sleek versions. For round faces, the added texture and volume at the crown creates lift and definition.
Building Your Textured Ponytail
- Prep your hair with a texturizing spray or sea salt spray to add grip and dimension
- Use a paddle brush to gather hair loosely into a low or mid-height ponytail (don’t aim for perfection)
- Secure with an elastic, but don’t pull the tie all the way tight—leave slight slack for a relaxed look
- Release 2-3 face-framing pieces on each side of your face
- Gently pull sections of hair out from the ponytail to create a fuller, less structured appearance
- Finish with a light hairspray—too much product kills the texture
Pro tip: Curling your hair before putting it in a textured ponytail automatically gives you more dimension. Even loose waves create visual interest you won’t get with straight hair.
5. Half-Up Ponytail
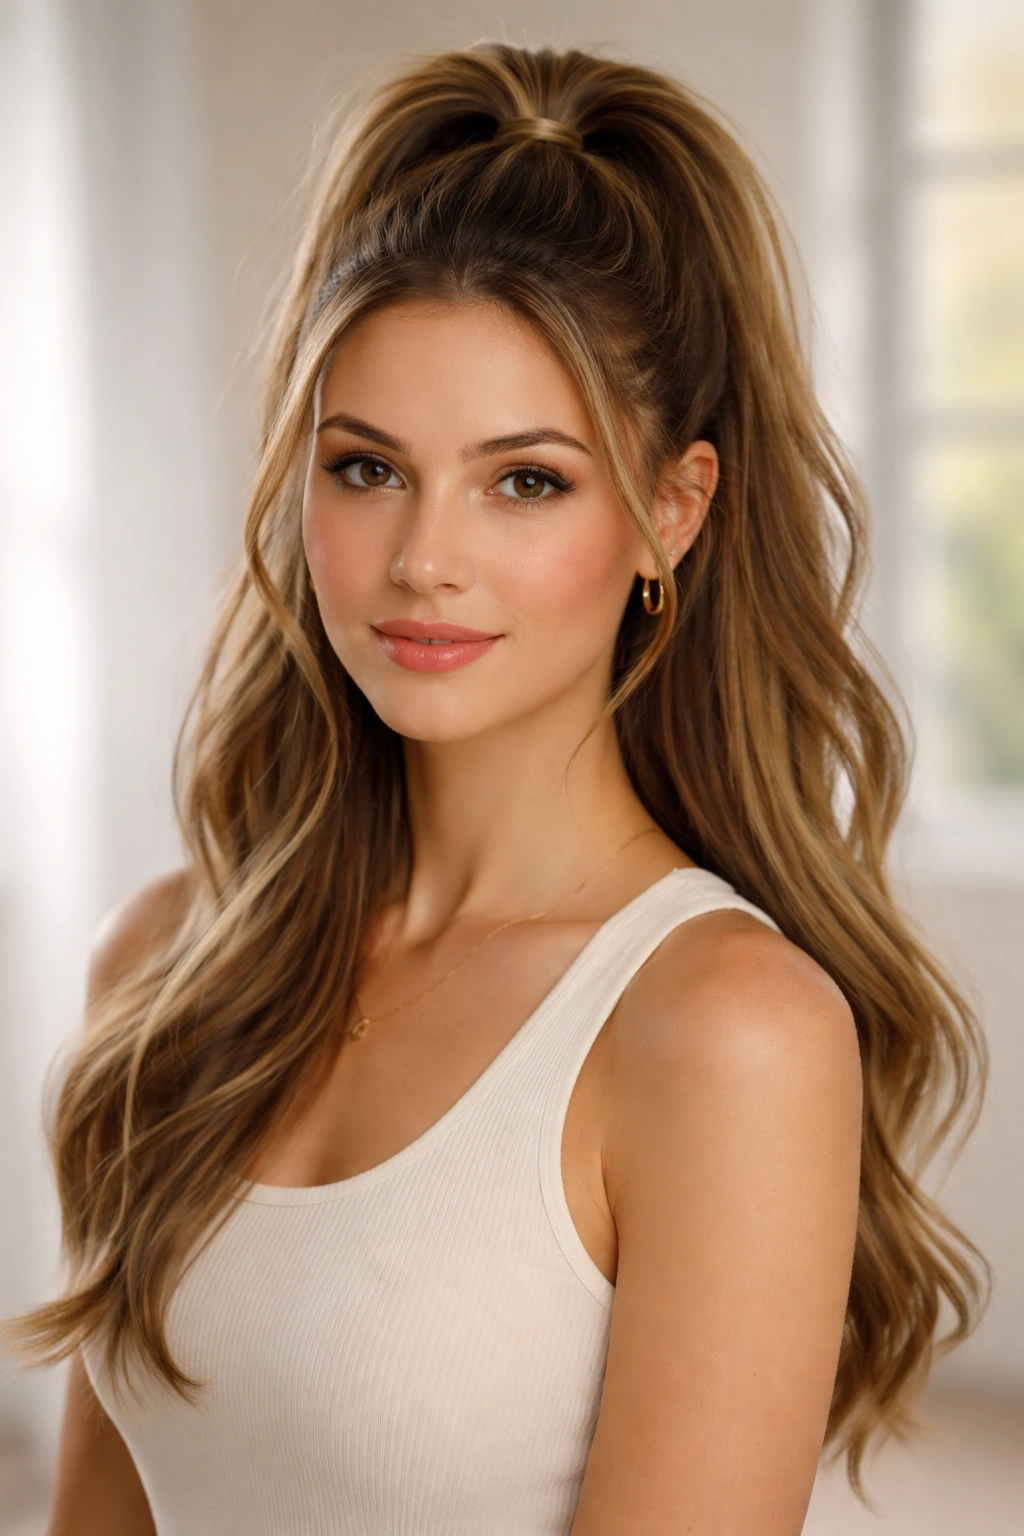
The half-up style splits the difference between down hair and a full ponytail. This works for virtually every face shape because you’re keeping some hair down while lifting enough to create dimension at the crown. It’s the style that looks intentionally styled without demanding a full hair commitment.
Why Half-Up Suits Almost Everyone
The half-up ponytail is magic for fine, thin hair because it’s less bulk concentrated at one point—your hair won’t look stretched or sparse at the base. For thick hair, it shows off your hair’s fullness while keeping it partially controlled. For any face shape, the lifted crown creates vertical lift and openness while the softening effect of hair around the face prevents harshness.
Executing the Half-Up
- Section off hair from your temples, moving back toward the crown (about half your hair or slightly less)
- Brush this top section smoothly backward and gather it at the crown
- Secure with an elastic, leaving the back half of your hair completely down
- For a softer look, tease slightly at the crown before securing
- Release a few face-framing pieces if desired
- You can leave the tail straight, or curl it, braid it, or twist it depending on the occasion
Worth knowing: Position the elastic exactly at your crown—not higher, not lower. Too high and it creates a strange bulge; too low and the style loses its lift.
6. Wrapped Ponytail
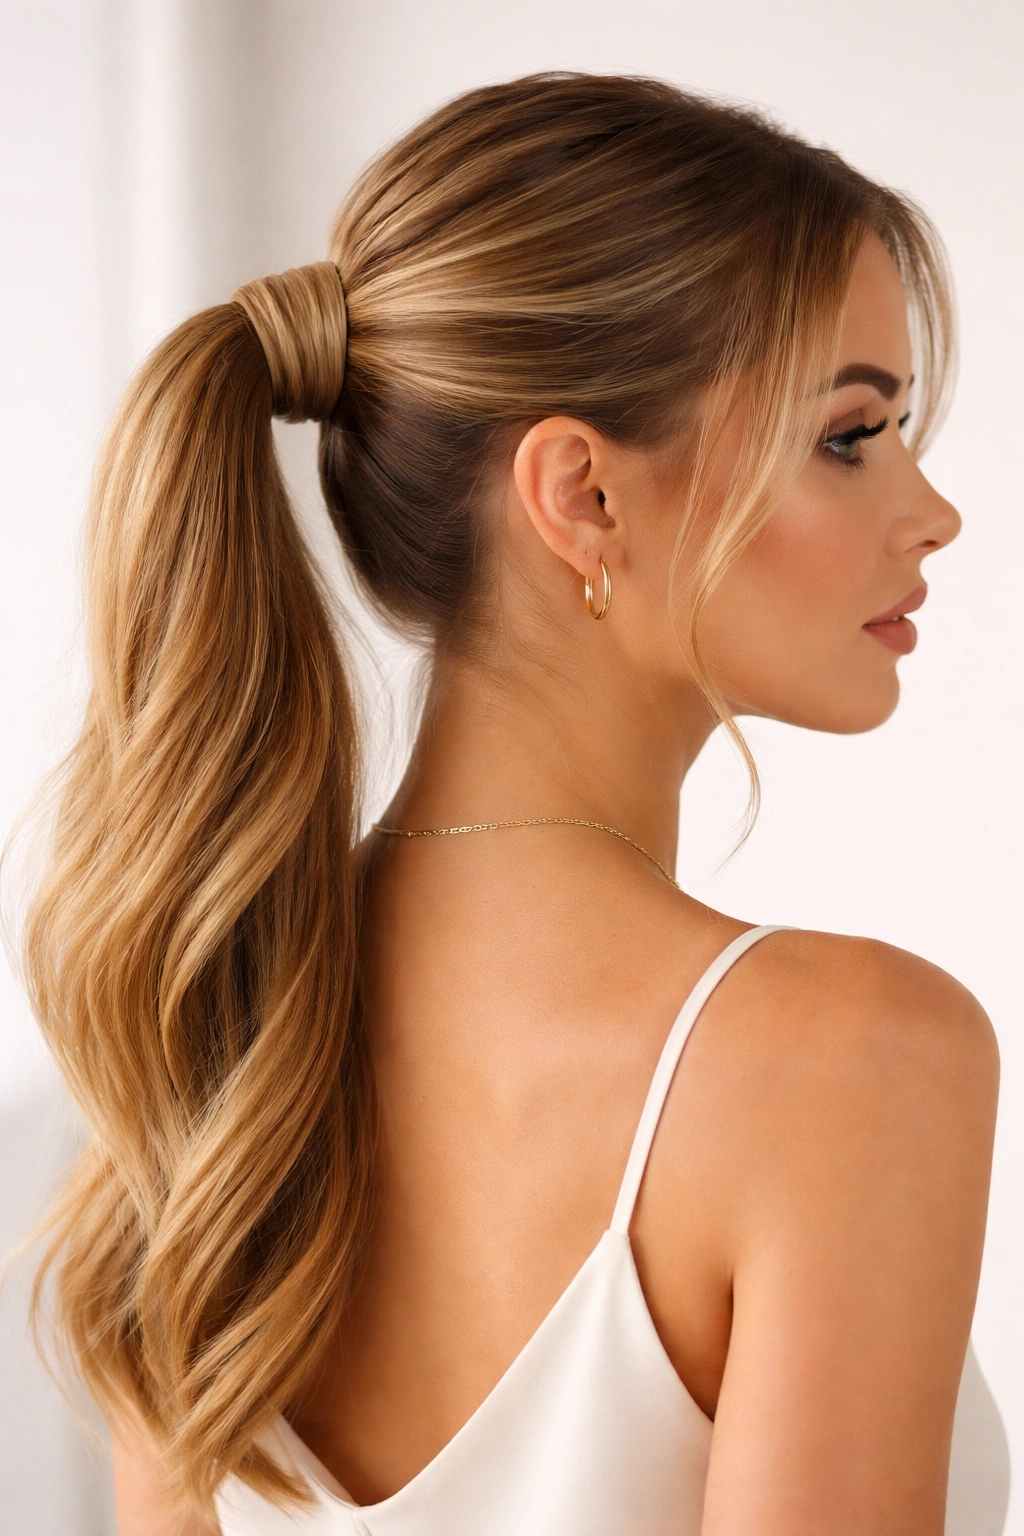
A wrapped ponytail takes any basic tie and elevates it instantly by disguising the elastic. Taking a thin section of hair from the base of your ponytail and wrapping it around the elastic creates a polished, finished look that reads as more intentional. This small detail transforms your style from casual to put-together.
The Finishing Touch That Changes Everything
Wrapping doesn’t just look better—it protects your hair. A visible elastic can create creasing and breakage at the base. Wrapping also allows you to adjust the tightness of your actual ponytail (keeping it less tight for hair health) while the wrapped section creates definition and a neat appearance. It’s one of those techniques that separates homemade styles from salon-quality results.
Wrapping Your Ponytail
- Create your ponytail as normal, securing it with an elastic
- Take a thin, 1-inch-wide section of hair from underneath the ponytail base
- Wrap this section around the elastic, moving horizontally to cover it completely
- Secure the wrapped section with a small bobby pin, hiding the pin beneath the wrap
- For a sleeker finish, lightly hairspray the wrapped section and smooth any flyaways
- This technique works with every ponytail style—high, low, side, half-up
Pro tip: Use a bobby pin that matches your hair color. Most people use black pins regardless of hair color, which creates a visible dot. A matching pin essentially disappears.
7. Braided Ponytail

Adding a braid to a ponytail—either by braiding the ponytail itself or by incorporating a braid before securing the tail—adds textural interest and elegant detail. Braided ponytails feel more formal and intentional than plain styles, making them perfect for special occasions or when you want to look polished.
How Braids Elevate Ponytails
A braid down the center of your ponytail creates a vertical line that elongates the face. Braids also disguise thinner or finer hair by creating the illusion of more volume through the textural pattern. For curly or textured hair, braiding a ponytail actually tames it while celebrating its natural texture. The braid also holds longer throughout the day than loose ponytails do.
Creating a Braided Tail
- Secure your ponytail as normal using the placement that works for your face shape
- Divide the ponytail into three sections
- Braid from the base down to the ends, keeping tension consistent so the braid doesn’t look loose or sloppy
- For a fuller look, gently pull sections of the braid outward to expand it slightly
- Secure the braid end with a small elastic
- For a romantic look, braid just the top section of the ponytail and leave the bottom loose
Worth knowing: Braiding works best on hair that’s at least shoulder-length. Very short ponytails don’t provide enough length to create definition in a braid.
8. Sleek Slicked-Back Ponytail
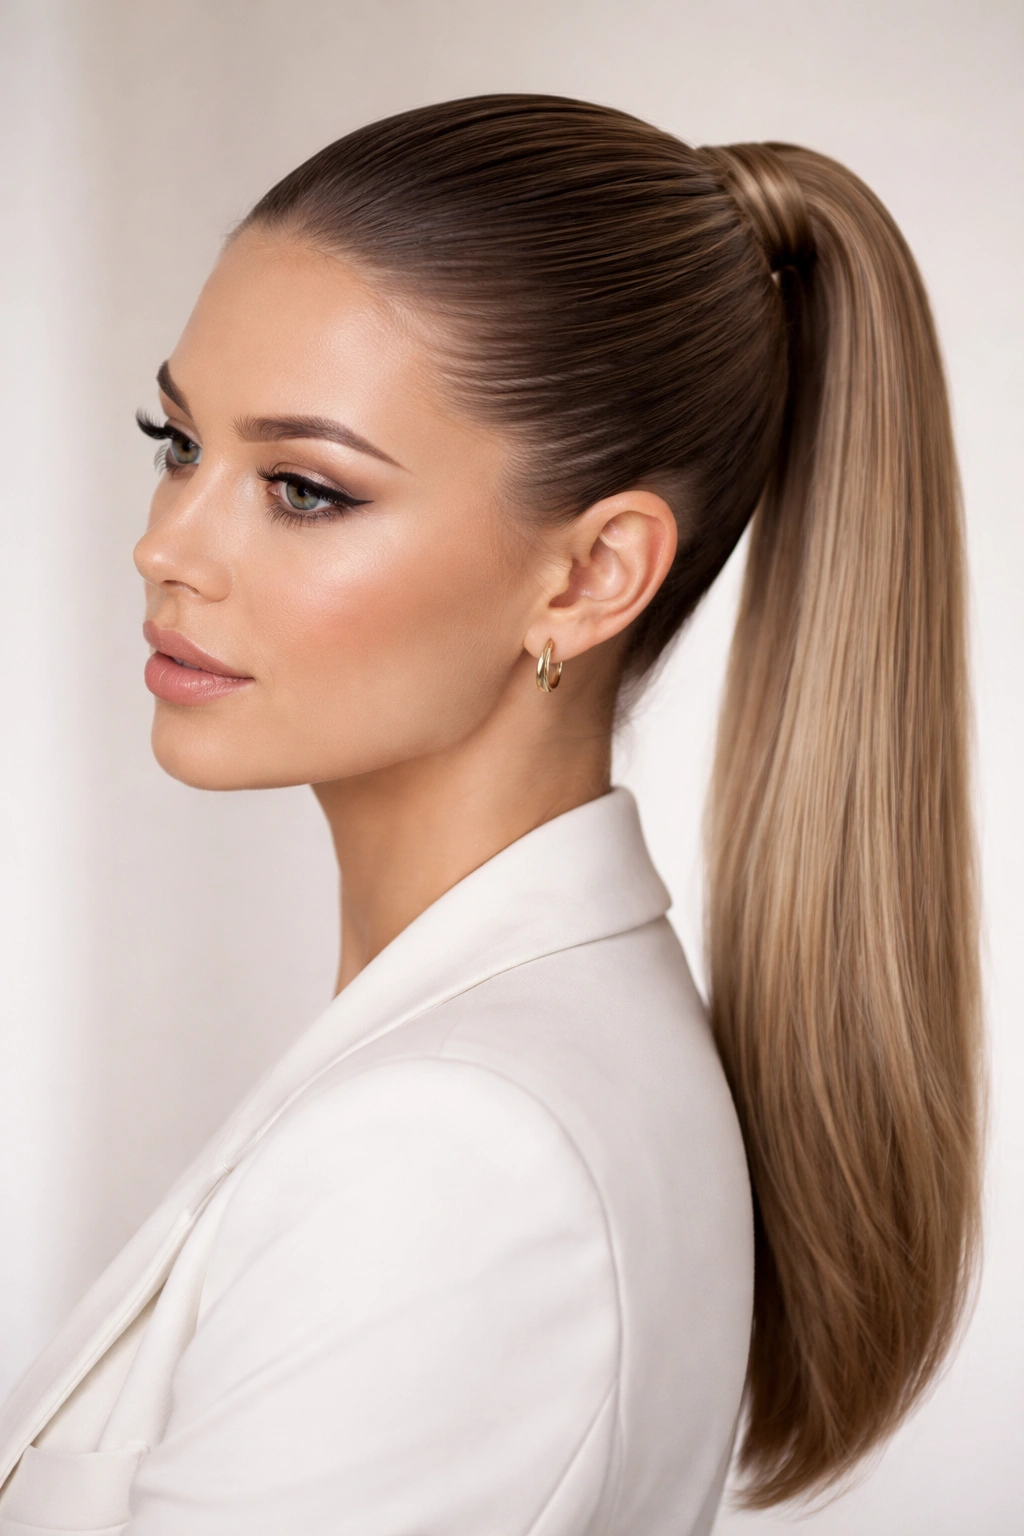
The sleek, fully pulled-back ponytail is the power style. Every piece of hair is smooth and taut, creating clean lines and an assertive, confident energy. This works particularly well for round, soft, or heart-shaped faces because the pulled-back effect creates definition and sharpens features. It reads as intentionally styled and professional.
The Impact of Complete Smoothness
A truly sleek ponytail requires precision and the right products, but the payoff is significant. Every line is clean, every angle defined. On oval faces, this style is stunning because it doesn’t fight your natural proportions. On round faces, the stretched-back effect creates an illusion of length and definition. The exposed face requires confidence, but it’s incredibly impactful.
Achieving Genuine Slickness
- Start with smooth hair—blow-dry straight or use a flat iron if needed
- Apply a smoothing serum or gel to damp hair before blow-drying to minimize frizz
- Use a fine-tooth comb to brush hair back tightly, eliminating every flyaway
- Secure with a quality elastic, pulling tight enough for hold but not so tight that you’re creating tension
- Apply edge control or gel to your hairline and smooth any baby hairs down
- For maximum hold, finish with a strong-hold hairspray
Pro tip: The sleeker your style, the more grooming it demands. Budget time for maintenance throughout the day if you’re using this look for a special occasion.
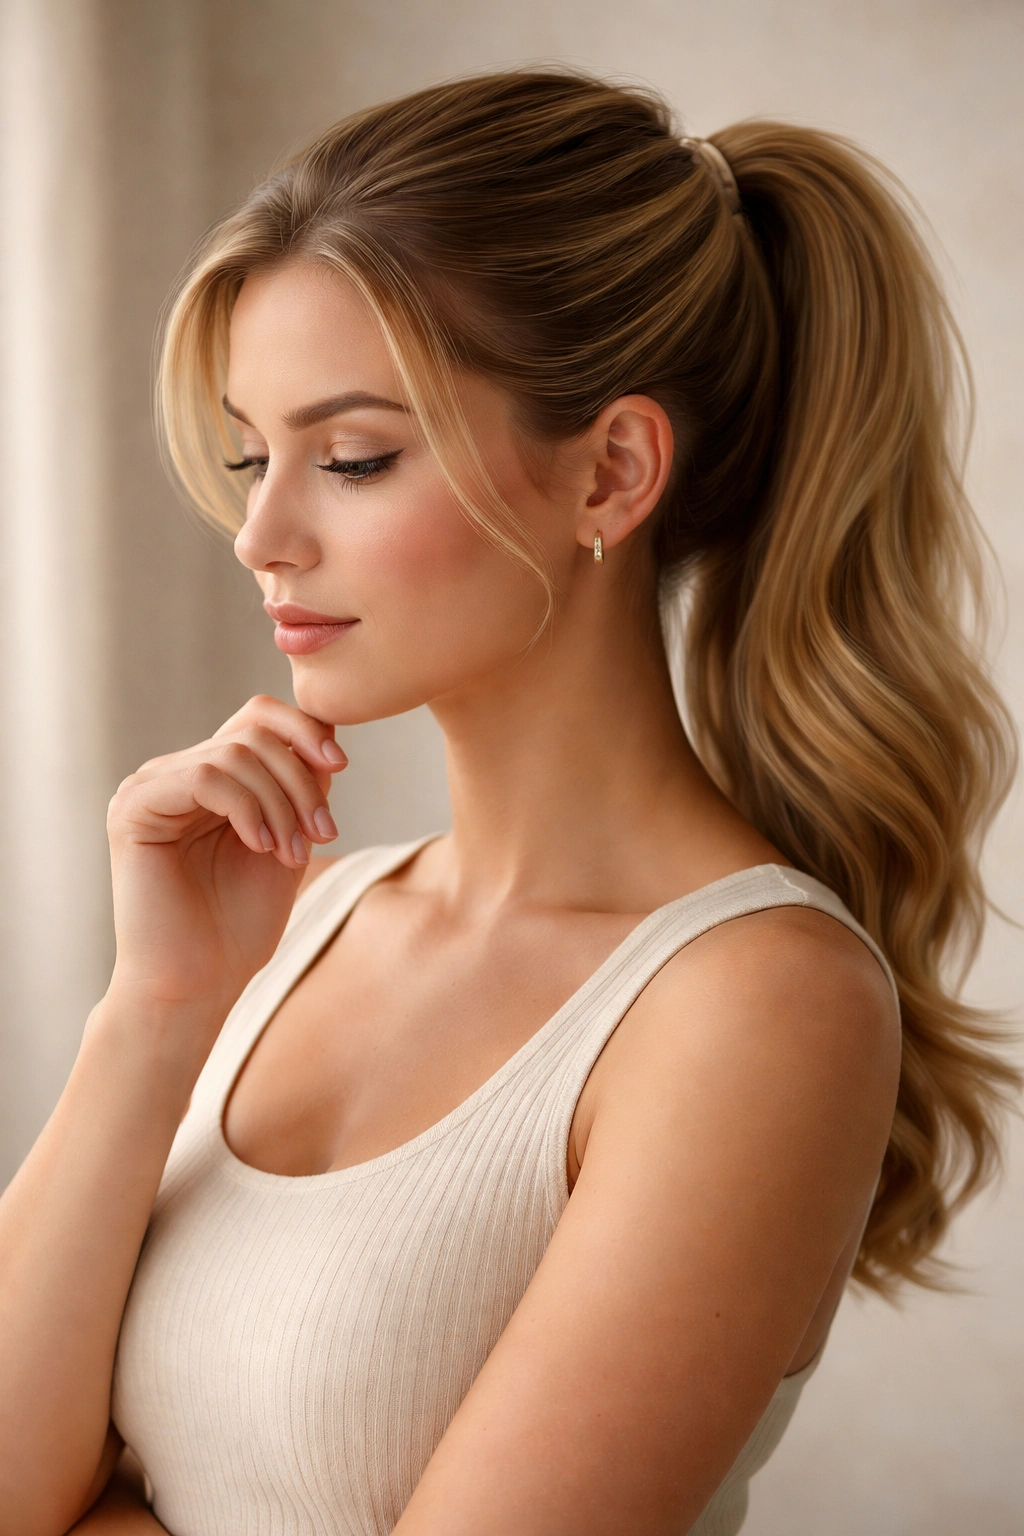
9. Voluminous Teased Ponytail
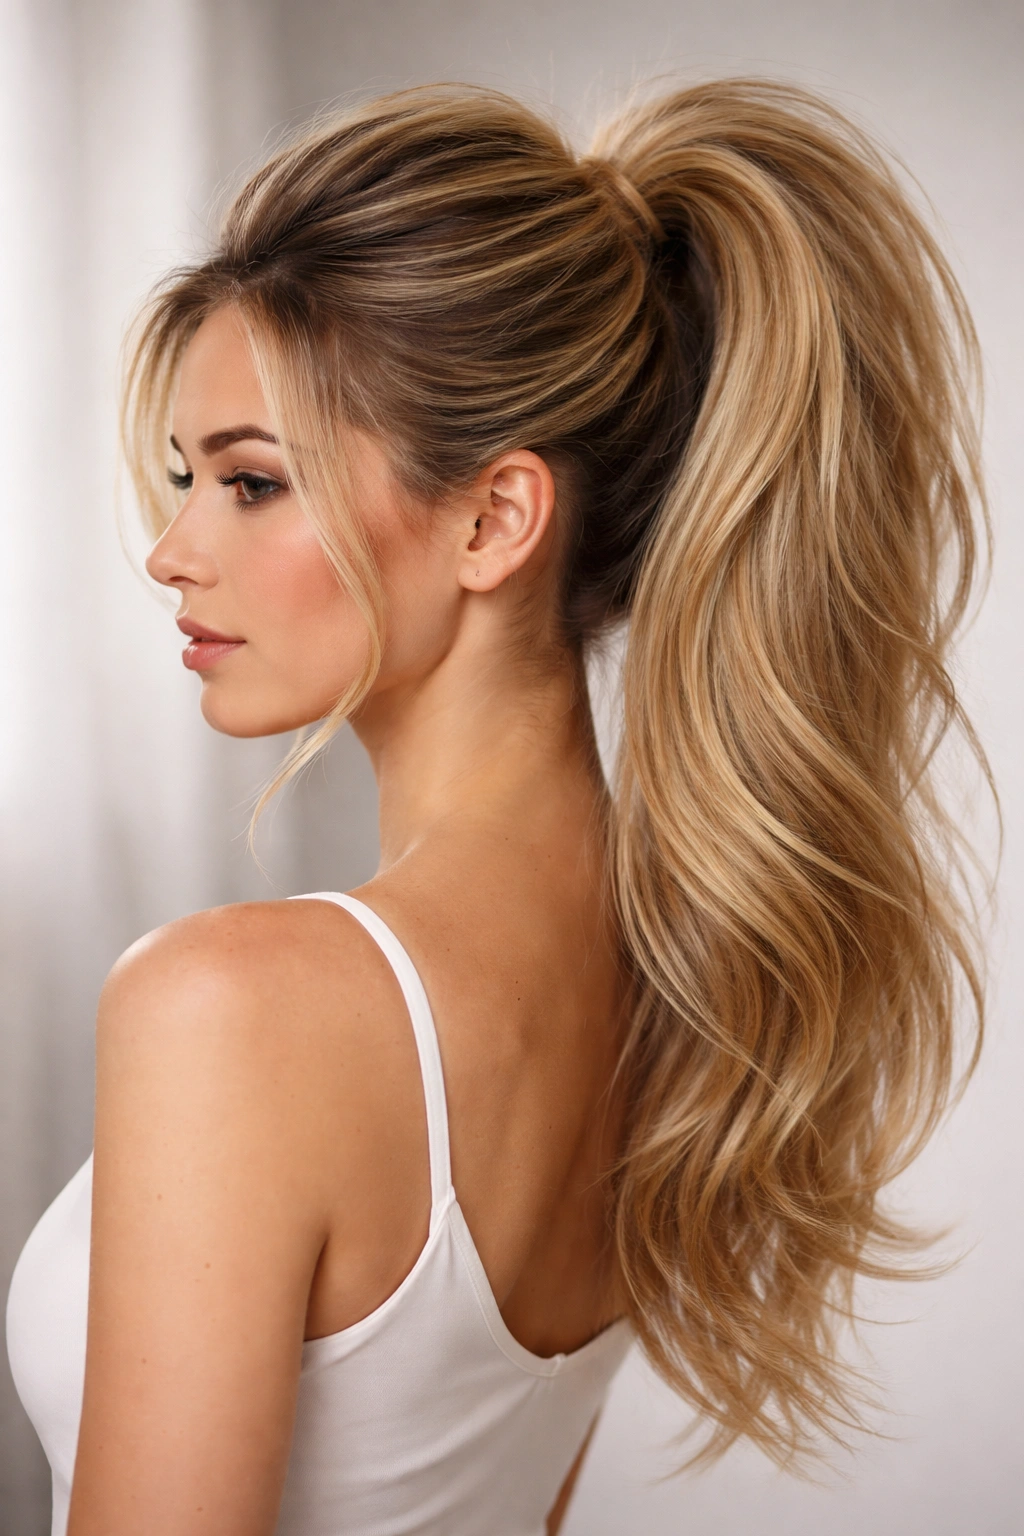
A voluminous teased ponytail creates lift and fullness at the crown while maintaining control throughout the tail. This is the style that flatters fine or thin hair by creating the illusion of density. It also works beautifully on thick hair by channeling that thickness into dimension rather than bulk.
Why Teasing Creates Flattering Lift
Teasing your hair at the crown before securing your ponytail creates volume that lifts your face and creates length. The teased texture also catches light, making hair appear thicker and fuller. For long faces, the fullness at the crown balances proportions. For round faces, the uplifted crown creates the appearance of a higher cheekbone and longer face.
Teasing Without Damaging Hair
- Spray the crown section with hairspray to add grip
- Use a fine-tooth teasing brush (not a regular comb) to backcomb the hair at your crown
- Create gentle knots of texture rather than aggressive, tangly teasing
- Smooth the top layer of hair over the teased base using a fine-tooth comb
- Secure your ponytail, positioning it slightly higher than you would normally to accommodate the volume
- The teased section creates a cushion at the base that makes the ponytail look fuller and more substantial
Worth knowing: Teasing is not the same as backcombing aggressively. Gentle teasing creates texture; aggressive teasing damages hair and creates split ends.
10. Twisted Ponytail

A twisted ponytail incorporates spiraled sections of hair around the base or throughout the tail, creating subtle texture and visual interest. This style sits between fully sleek and fully textured—it’s polished but not severe. Twisted details also hold throughout the day better than completely loose styles.
The Visual Interest Twists Create
Twisting sections of hair creates depth and dimension without requiring a full braid or tease. The spiral pattern catches light and makes your style appear more intentional. For any face shape, the twisted details add sophistication. The technique also works on every hair texture, from straight to curly.
Building Twisted Details
- Create your ponytail base in your preferred placement
- Take a 1-2 inch section from the side of your ponytail
- Twist this section tightly from base to end
- Wrap the twisted section around the base of your ponytail, securing it with a bobby pin
- Repeat with another section from the opposite side
- For a fuller look, create multiple twisted sections throughout the ponytail rather than just at the base
- The twists can be left as defined spirals or gently pulled apart for a softer appearance
Pro tip: Twisting works best on damp or slightly product-dampened hair. Completely dry hair twists too easily and unravels quickly.
11. Layered Ponytail
A layered ponytail uses multiple elastics positioned at different points to create distinct levels of texture and volume. Unlike bubble ponytails (which create distinct sections), layered ponytails blend together while maintaining internal structure. This style adds dimension and prevents the flat, one-dimensional look of a basic ponytail.
How Layering Creates Dimension
Layering your ponytail allows you to tease or fluff different sections to varying degrees, creating depth that makes your style appear fuller and more complex. The multiple elastics also distribute weight more evenly down the length of your hair, which is gentler on your strands. For fine hair especially, layering creates the illusion of fullness without actually requiring thick, heavy hair.
Creating a Layered Effect
- Secure your base ponytail with your first elastic
- Position a second elastic about 3-4 inches down the ponytail
- Gently tease the hair between the two elastics to create volume
- Add a third elastic another 3-4 inches down
- Continue this pattern down the length of your hair
- The sections between elastics should blend together, not create obvious distinct bubbles
- Finish by gently smoothing the outer layer of each section to blend the layers while keeping the internal texture
Worth knowing: The number of layers depends on your ponytail length. Shorter ponytails might have 2-3 layers; longer ones can have 5-6.
12. Sleek Graphic Ponytail
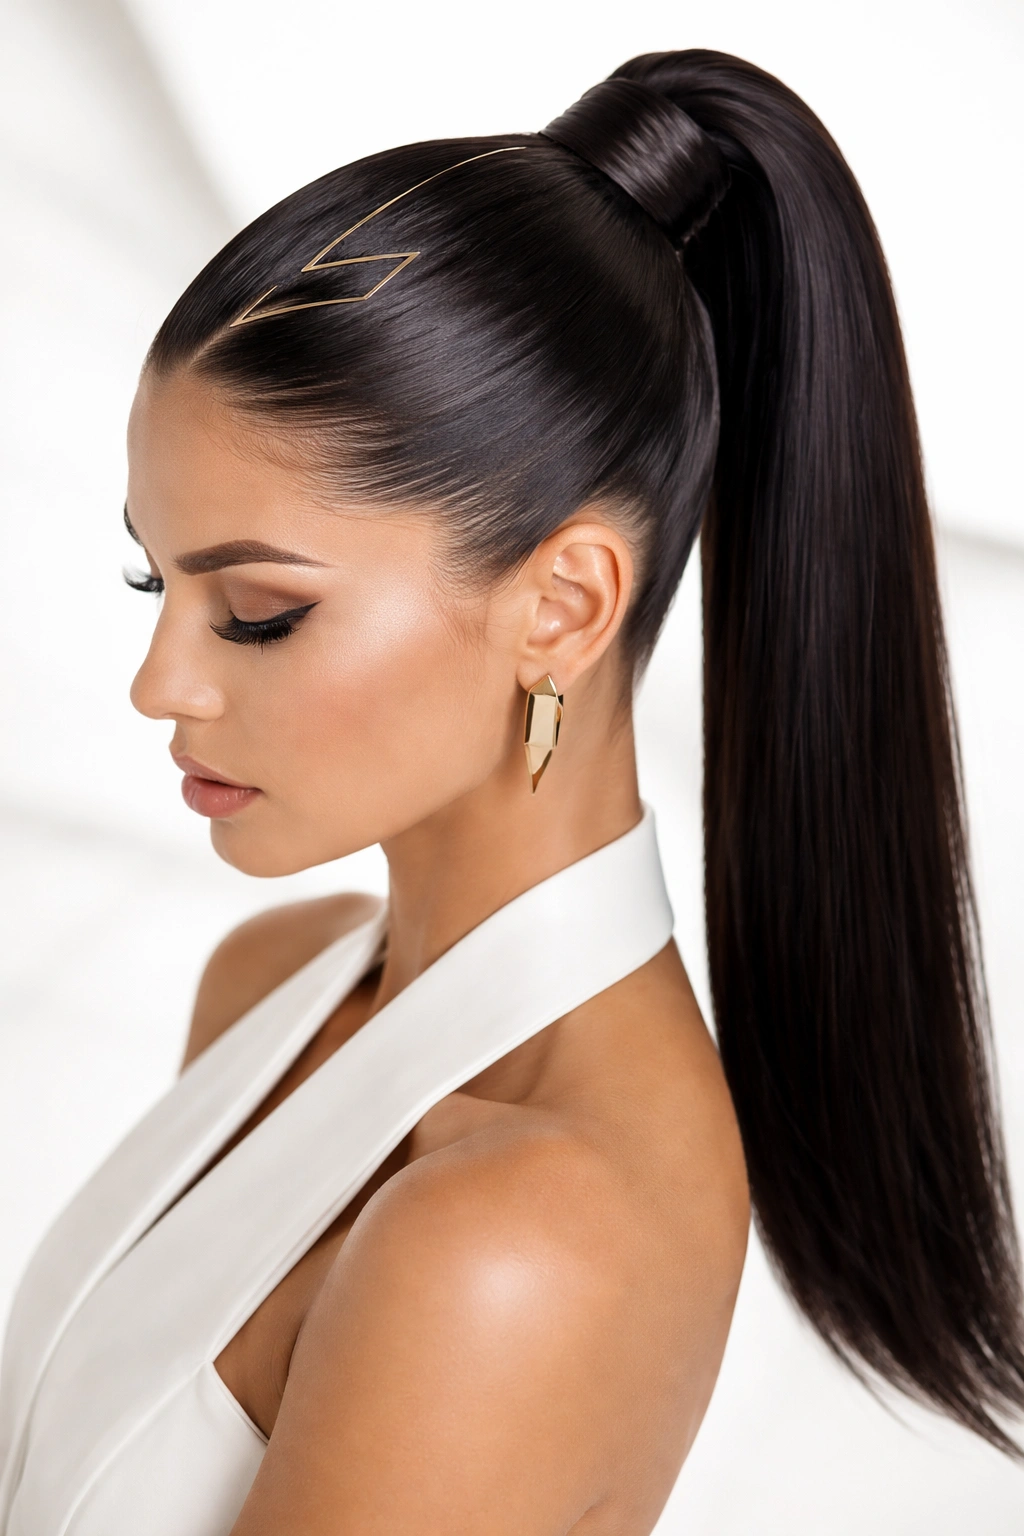
A graphic ponytail pairs a dramatically sleek, pulled-back style with a bold geometric element—usually a zigzag part, a clean side part with sharp lines, or a geometric wrap at the base. This modern style is striking and fashion-forward. It suits confident people who want to make a statement.
The Impact of Geometric Precision
Graphic elements demand precision, which is exactly what makes them so visually striking. A perfect side part or zigzag creates intentional design on the scalp. The contrast between the sleekness and the geometric element makes the style feel artistic and curated. For oval or oblong faces, this style is particularly flattering because the geometric lines draw attention upward.
Creating Graphic Details
- For a sharp side part, use a rattail comb to create a perfectly straight line from your forehead to the back of your head
- Apply edge control on both sides of the part line to keep the separation crisp
- Blow-dry your ponytail extremely smooth and sleek
- For a geometric wrap, use a contrasting ribbon, metallic tape, or a wrapped hair section to create clean lines around the ponytail base
- Keep every element sharp and defined—any waviness or softness defeats the graphic effect
- Finish with strong-hold hairspray to maintain precision throughout the day
Pro tip: Graphic ponytails photograph beautifully but require maintenance if you’re wearing them for extended periods. The sharp lines soften slightly with movement.
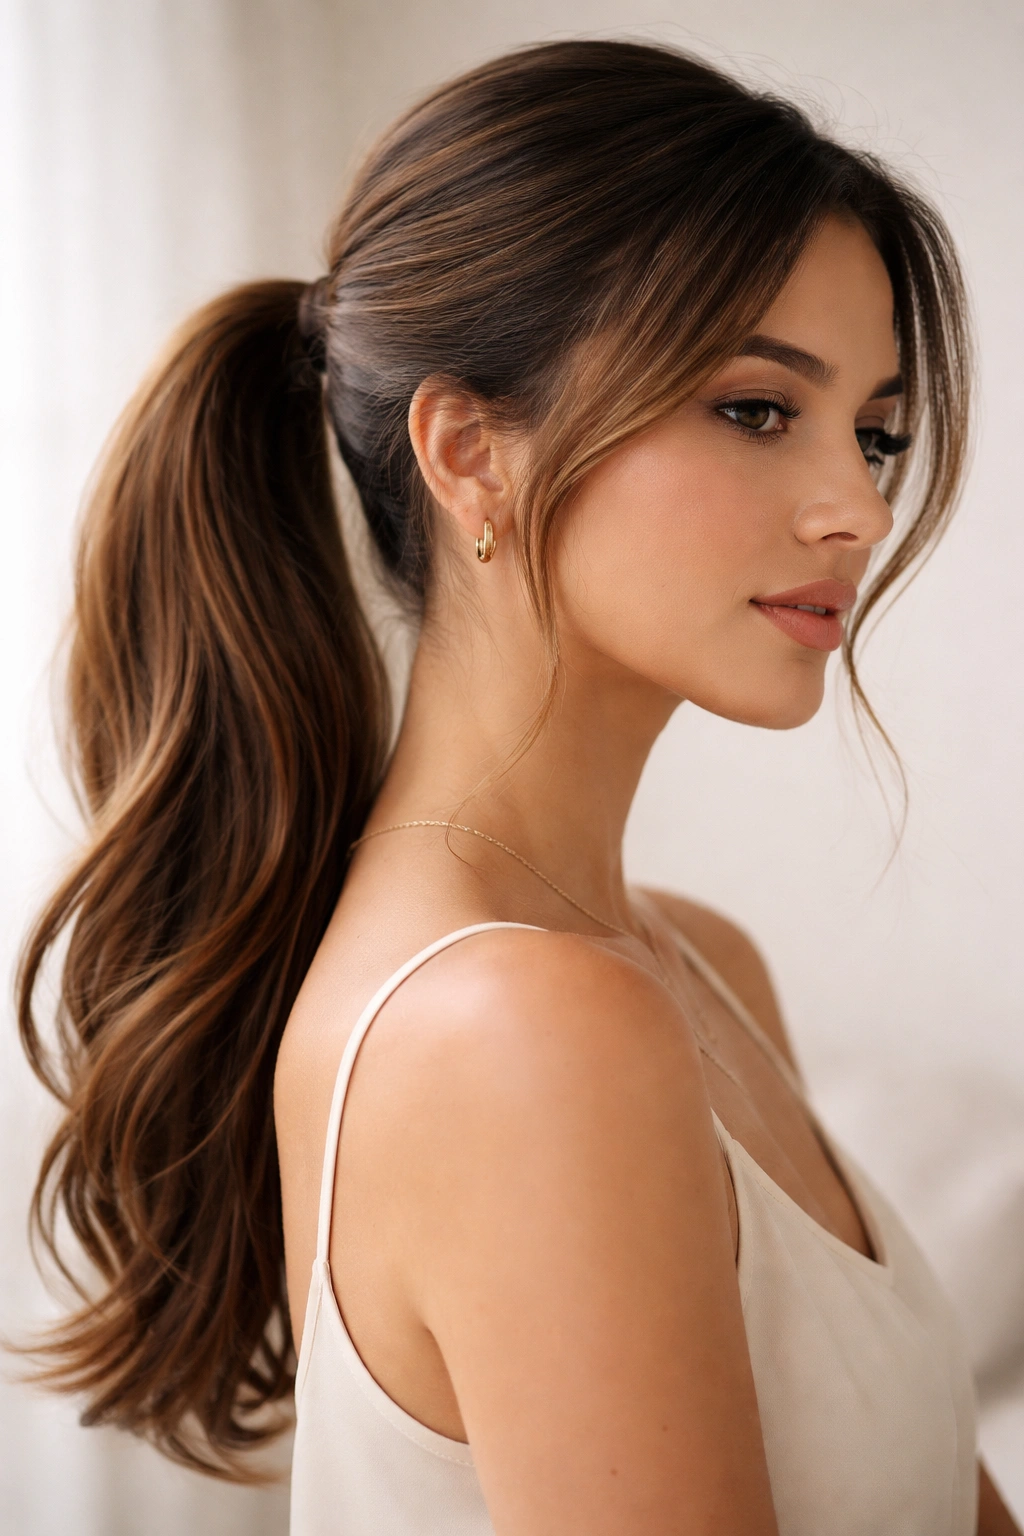
13. Soft Wave Ponytail

A soft wave ponytail combines gentle waves or curls with a loosely secured tail, creating romantic, approachable energy. This style suits every face shape because the soft waves add dimension without the visual intensity of a sleek style. It’s polished enough for formal occasions but feels natural and effortless.
Why Soft Waves Feel Universally Flattering
Waves and curls soften any face shape while adding dimension and volume. The texture catches light beautifully, making hair appear fuller and more dynamic. For angular faces, waves soften sharp features. For round faces, waves add the illusion of cheekbones and structure. The loose gathering of the tail prevents a severe or pulled appearance while still containing your hair.
Creating Soft Waves
- Blow-dry your hair straight, then curl it with a 1.5-2 inch curling iron, working in sections
- Curl away from your face on the front sections for a flattering frame
- Curl alternating directions on back sections to create a natural, non-uniform wave pattern
- Run your fingers through the curls to break them apart and create softer, looser waves
- Gather your hair into a low or mid-height ponytail, securing it loosely
- Leave several face-framing pieces down to enhance the soft, romantic quality
- Use a light hairspray that doesn’t stiffen the waves
Worth knowing: Soft wave ponytails last longer if you prep your hair with a heat protectant and use a curling iron rather than relying on air-dried texture.
14. Spiky High Ponytail
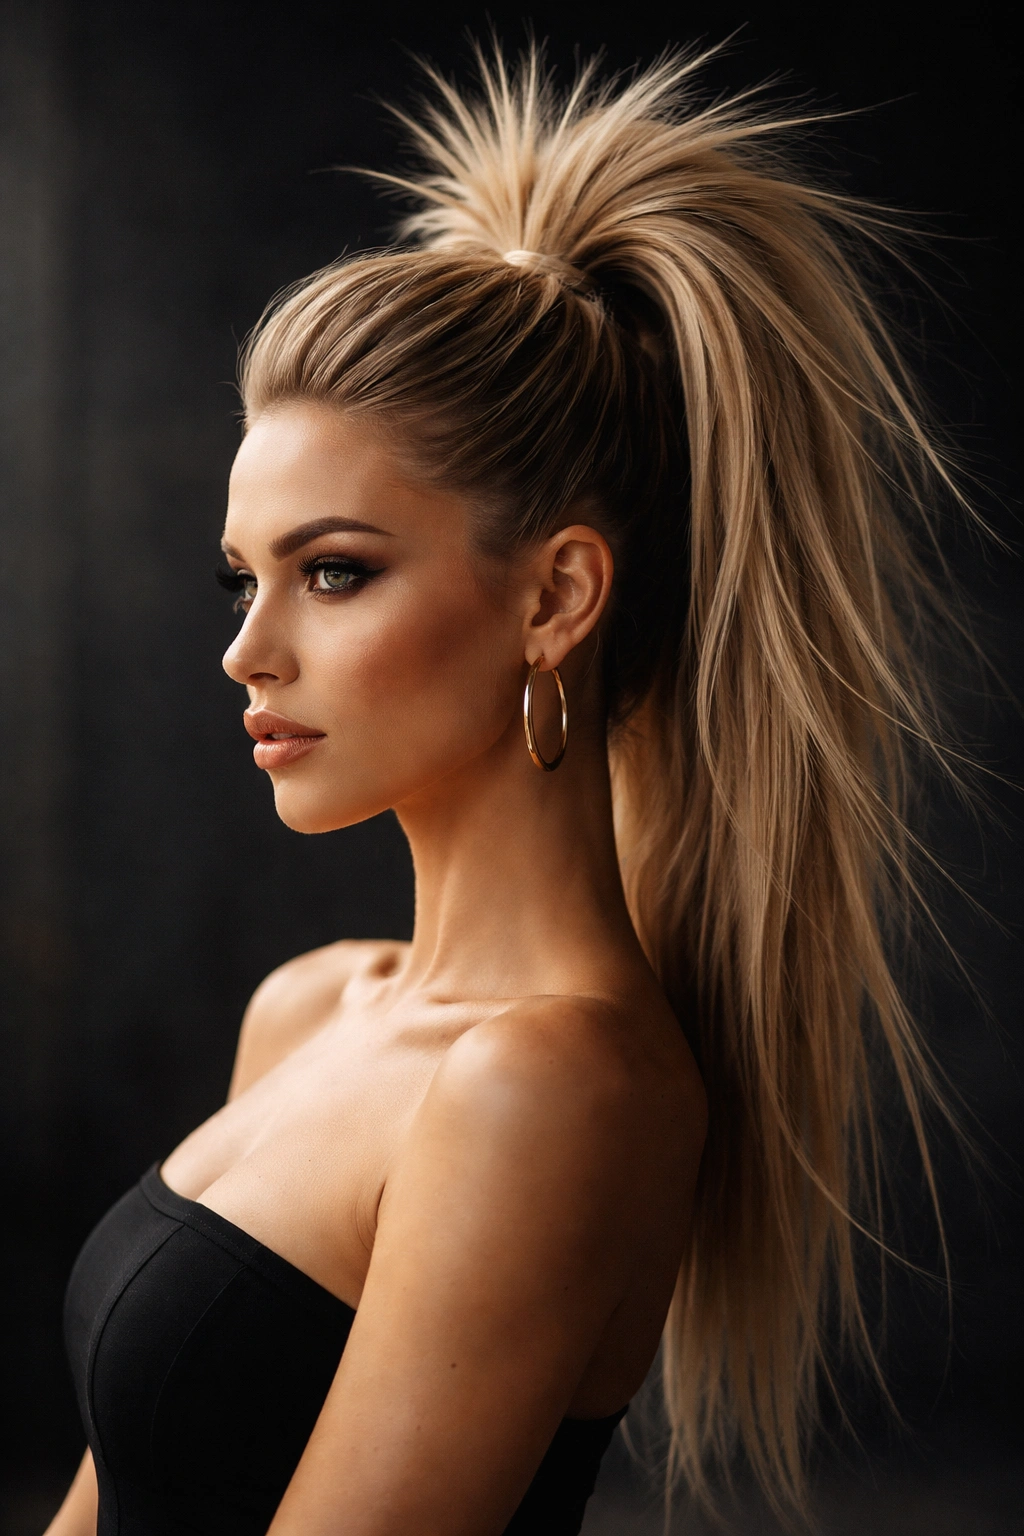
A spiky ponytail uses teasing and strategic volume placement to create an exaggerated, sculptural look at the crown. This edgy, fashion-forward style commands attention and suits people who aren’t afraid to make a bold statement with their hair. It works well on thick hair and actually helps fine hair appear fuller.
The Boldness of Structured Volume
Spiky ponytails reject softness in favor of architectural precision. The exaggerated crown creates an almost crown-like effect, drawing all attention upward. On any face shape, this style creates lift and presence. It’s particularly striking on people with strong, defined facial features who want their hair to match that energy.
Creating a Spiky Crown
- Apply volumizing spray to damp hair, focusing on the crown section
- Blow-dry the crown area with a round brush, lifting straight up to maximize volume
- Tease the crown section aggressively with a teasing brush, creating a textured, spiky base
- Secure your ponytail high on the head, positioning it to showcase the volume
- Use your fingers or a comb to tease additional sections throughout the crown for extra texture
- Apply a strong-hold hairspray to lock the shape in place
- Leave the ponytail itself smooth and sleek to contrast with the textured crown
Pro tip: This style photographs exceptionally well and feels energetic for special events, but it’s not ideal for everyday wear since the teasing requires more maintenance.
15. Diagonal Sweep Ponytail
A diagonal sweep ponytail combines the softness of a side ponytail with a swept, asymmetrical gathering that creates beautiful diagonal lines on the head. This style is inherently flattering because diagonal lines are considered corrective—they add dimension to round faces, soften square jaws, and create visual interest on any face shape.
The Flattering Power of Diagonal Lines
Diagonal lines are more dynamic and flattering than vertical or horizontal lines. A sweep from one side to the back creates an optical illusion of cheekbones and definition while feeling romantic rather than severe. This style works on every hair texture and density, making it one of the most universally wearable options.
Executing the Diagonal Sweep
- Create a deep side part, starting from your temple on one side
- Brush hair from the deep side part back toward the opposite side of your head
- Gather the hair at the back, positioning the elastic slightly lower than a traditional high ponytail (about mid-back-head)
- Let the gathered ponytail sweep across toward the shoulder opposite your side part
- Release a few face-framing pieces on the shallow-part side for softness
- For extra dimension, gently tease the crown before securing
- Wrap the elastic with a hair section for a finished look
Worth knowing: This style requires your hair to be at least shoulder-length to create the proper sweep effect. Shorter hair doesn’t provide enough length to achieve the diagonal line.
Final Thoughts
The right ponytail isn’t about following rules—it’s about understanding how placement, texture, and technique work with your specific face shape and hair type. A style that’s stunning on one person might not hit the same notes on another, which is exactly why having options matters.
Start by identifying which face shape describes you best: round, square, oval, long, or heart-shaped. Then experiment with the ponytail placements that work for that shape. Try both sleek and textured versions to see which feels more authentically you. Pay attention to how you feel wearing each style—confidence transforms everything, and you’ll always look best in the style that makes you feel like yourself.
The technical skills matter too. Learning to tease without damaging, wrap without visible pins, and twist without unraveling takes practice. But it’s practice that pays off. Once you’ve mastered these techniques, you’ll have the ability to transform your hair in minutes, regardless of your starting point. That’s the real power of understanding ponytails—it’s not about having perfect hair. It’s about knowing exactly what to do with the hair you have.