Hair past the waist has a personality. It swings when you turn, catches on chair arms, and turns a plain braid into something with real presence.
Rapunzel braids work because they don’t hide the length; they use it. The weight changes everything. A braid that would look neat on collarbone-length hair can suddenly feel theatrical, heavy in the best way, and a little bit dramatic when it drops past the waist.
That same length also makes things tricky. The braid can sag, the ends can get wispy, and the whole style can lose its shape if you rush the sectioning or pull too hard at the crown. A soft-bristle brush, a tail comb, a few clear elastics, and one or two sectioning clips make a bigger difference than people expect.
1. The Classic Rapunzel Three-Strand Braid
This is still the braid that makes long hair look unmistakably long. On waist-length hair, a plain three-strand braid doesn’t feel plain at all. It reads as clean, thick, and heavy, with enough tail to make the shape obvious from across the room.
Why it works so well on extra-long hair
The three-strand braid is the one I reach for when the length is the main event. Hair that falls past the waist has enough weight to keep the braid looking smooth, but not so much tension that it has to be pulled tight to stay together. That balance matters. Pull too hard and the braid gets thin at the crown. Braid too loosely and the whole thing can slide apart halfway down your back.
For the cleanest finish, gather the hair low at the nape or just below the crown, divide it into three even sections, and keep each cross-over steady. If the hair is very silky, a light mist of texture spray at the mid-lengths helps the sections grip each other. If it is thick, use your fingers to smooth each section after every second or third pass; that keeps the braid from puffing unevenly.
Small details that make a big difference
- Start with hair brushed straight back or with a clear center part.
- Keep the tension even from top to bottom.
- Cross each outer section over the middle section, then pause to smooth.
- Finish with a small elastic and wrap a tiny strand around it if you want a cleaner look.
- Tug the outer edges slightly after tying off if you want a fuller, softer shape.
My favorite trick: stop the braid about 2 inches before the very ends, then secure the tail. The last little bit looks thicker that way, and long hair can look stringy if you braid every inch of it to the end.
2. The Oversized Fishtail Braid
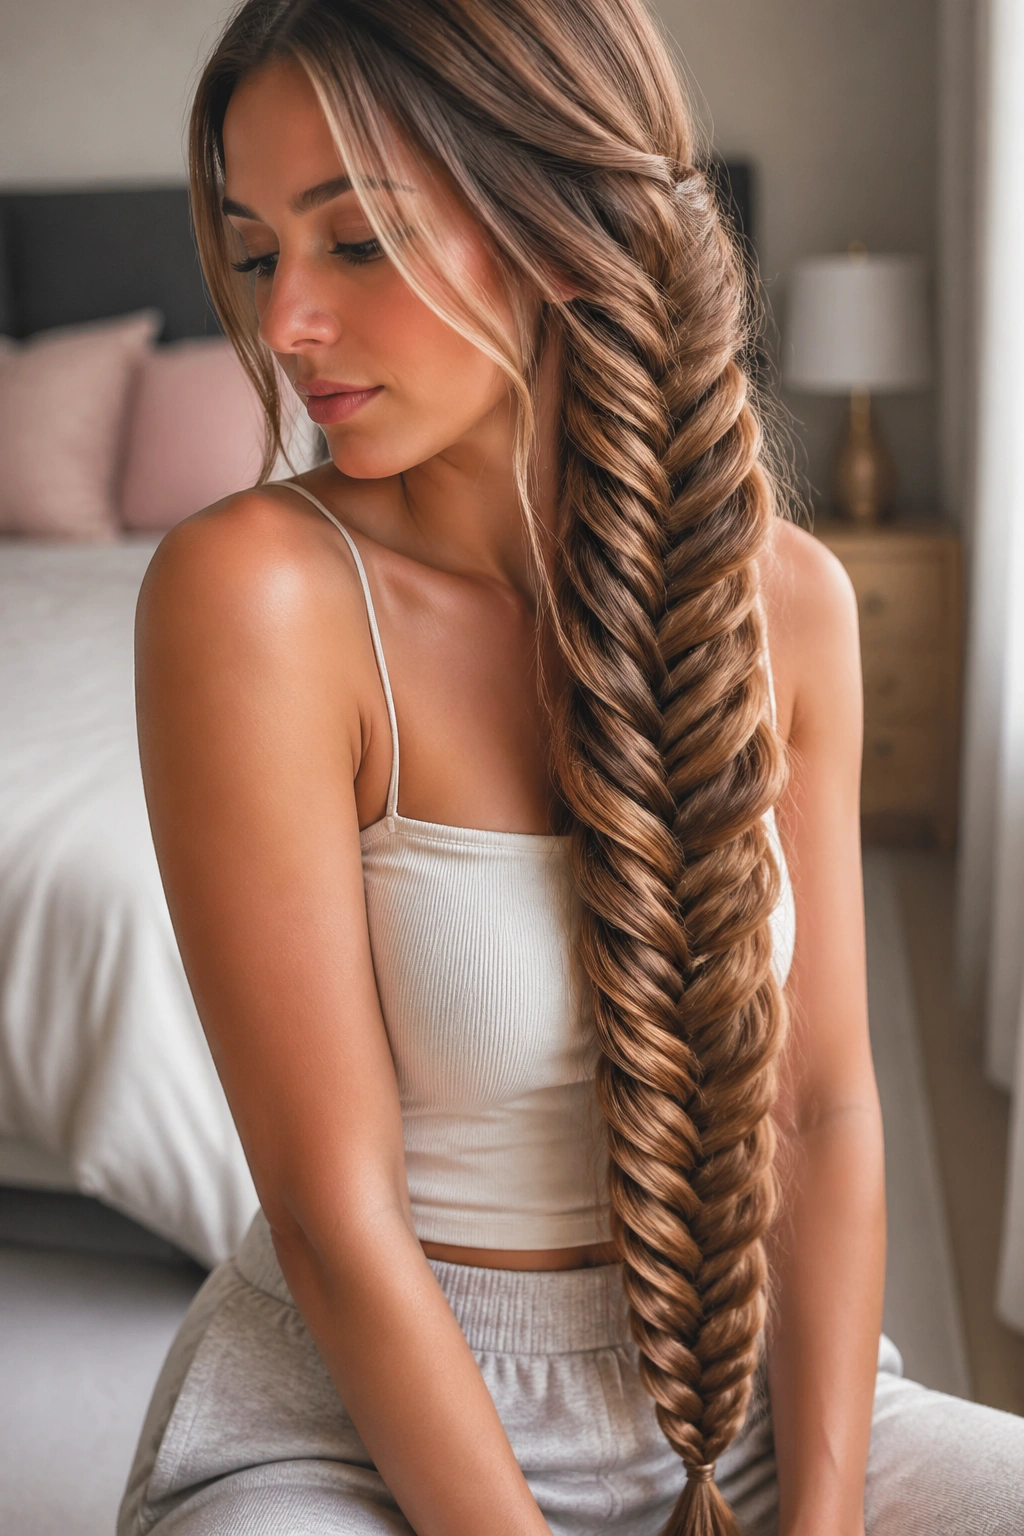
A fishtail braid is one of those styles that looks fussy in photos and oddly easy in real life. On hair past the waist, it becomes almost luxurious, because the pattern has room to stretch. Every tiny slice of hair shows up, which is exactly why this braid works so well on very long lengths.
What I like about a fishtail on waist-length hair is that it gives you detail without needing a lot of extra hardware. You split the hair into two sections, then keep taking thin pieces from the outside of each side and crossing them over. Thin pieces are the whole trick. If you grab sections that are too wide, the braid turns chunky and loses that woven look.
The braid can be tight and glossy or loose and broken up. Tight fishtails work well for sleek hair that needs structure. Softer ones suit thick, wavy hair because the texture keeps the braid from looking stiff. Either way, the length past the waist does half the work for you. The braid becomes a long column of pattern instead of a little knot sitting at the back of the neck.
If your hair is very smooth, run a pea-sized amount of styling cream through the mid-lengths first. Not the roots. The braid needs grip more than shine. And if the tail starts to feel thin near the end, that’s normal. The braid is carrying a lot of visual weight already.
3. The Dutch Braid That Falls Into a Long Tail
Why does a Dutch braid look so good on hair past the waist? Because the braid sits on top of the hair instead of sinking into it. That little lift at the scalp creates a ridge, and on very long hair that ridge leads the eye straight down into the length.
How to wear it
Start at the hairline with three sections and cross the outer strands under the middle strand instead of over it. That single switch gives the braid its raised look. Keep adding hair from both sides as you move down the head, then stop at the nape and let the rest fall loose, or keep braiding all the way through if you want a fully contained style.
I like this version for days when you want the top of your hair to stay put but still want the tail to swing. It’s practical without looking severe. The braid frames the scalp in a clean line, and the long loose ends still do their dramatic thing down the back.
A few things make it work better:
- Use a tail comb for a straight part.
- Clip the loose hair away so you don’t keep grabbing the wrong section.
- Keep the braid centered if you want a formal look.
- Slide the braid slightly off-center if you want it to feel less rigid.
- Stop and smooth the sides every few passes, or the braid can puff out in odd places.
Watch the tension near the temples. Pulling too hard there gives you a tense, scraped-back look that almost always feels harsher than people mean to create.
4. The Pull-Through Braid That Handles Heavy Hair
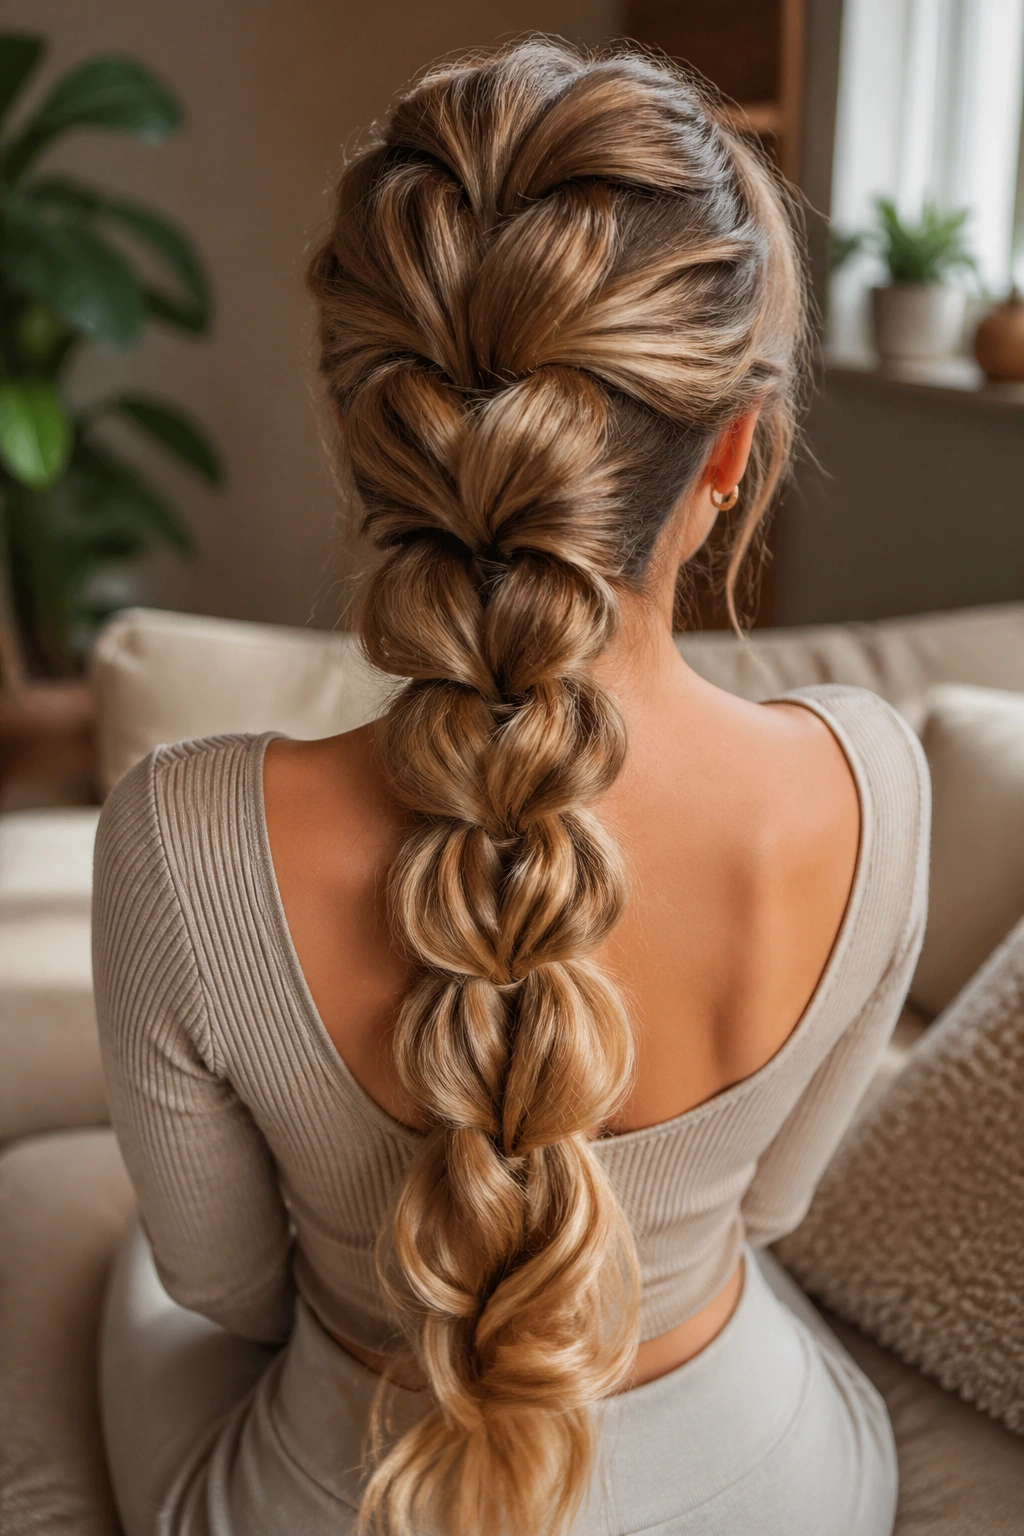
If you’ve ever made a braid that looked huge at the top and limp by the middle of your back, the pull-through braid is the fix. It’s not a braid in the classic sense. It’s more like a series of ponytail loops that build the illusion of a thick woven tail, which is why it behaves so well on heavy hair.
I first like this style on very long hair when the goal is volume, not delicacy. You create a ponytail, split the ponytail in two, clip the halves aside, then add another ponytail below it. After that, the top ponytail gets split and wrapped around the lower one. Repeat. It sounds fiddly, but the pattern settles in fast once you’ve done two or three sections.
What makes it worth the time
- It stays full even on dense, weighted hair.
- It makes layers look intentional instead of messy.
- It gives you a big braid shape without needing advanced braiding fingers.
- It looks good with both straight and curled ends.
I’ve seen this style rescue hair that refused to hold a regular plait. The little elastics do the structural work, and the puffed sections create their own rhythm down the back. If the hair is fine, tease each ponytail lightly before you split it. If it’s thick, keep the sections smaller than you think you need; the braid will expand on its own.
Use clear elastics and hide them as you go. It sounds fussy, but on hair past the waist, a row of obvious bands can ruin the whole effect.
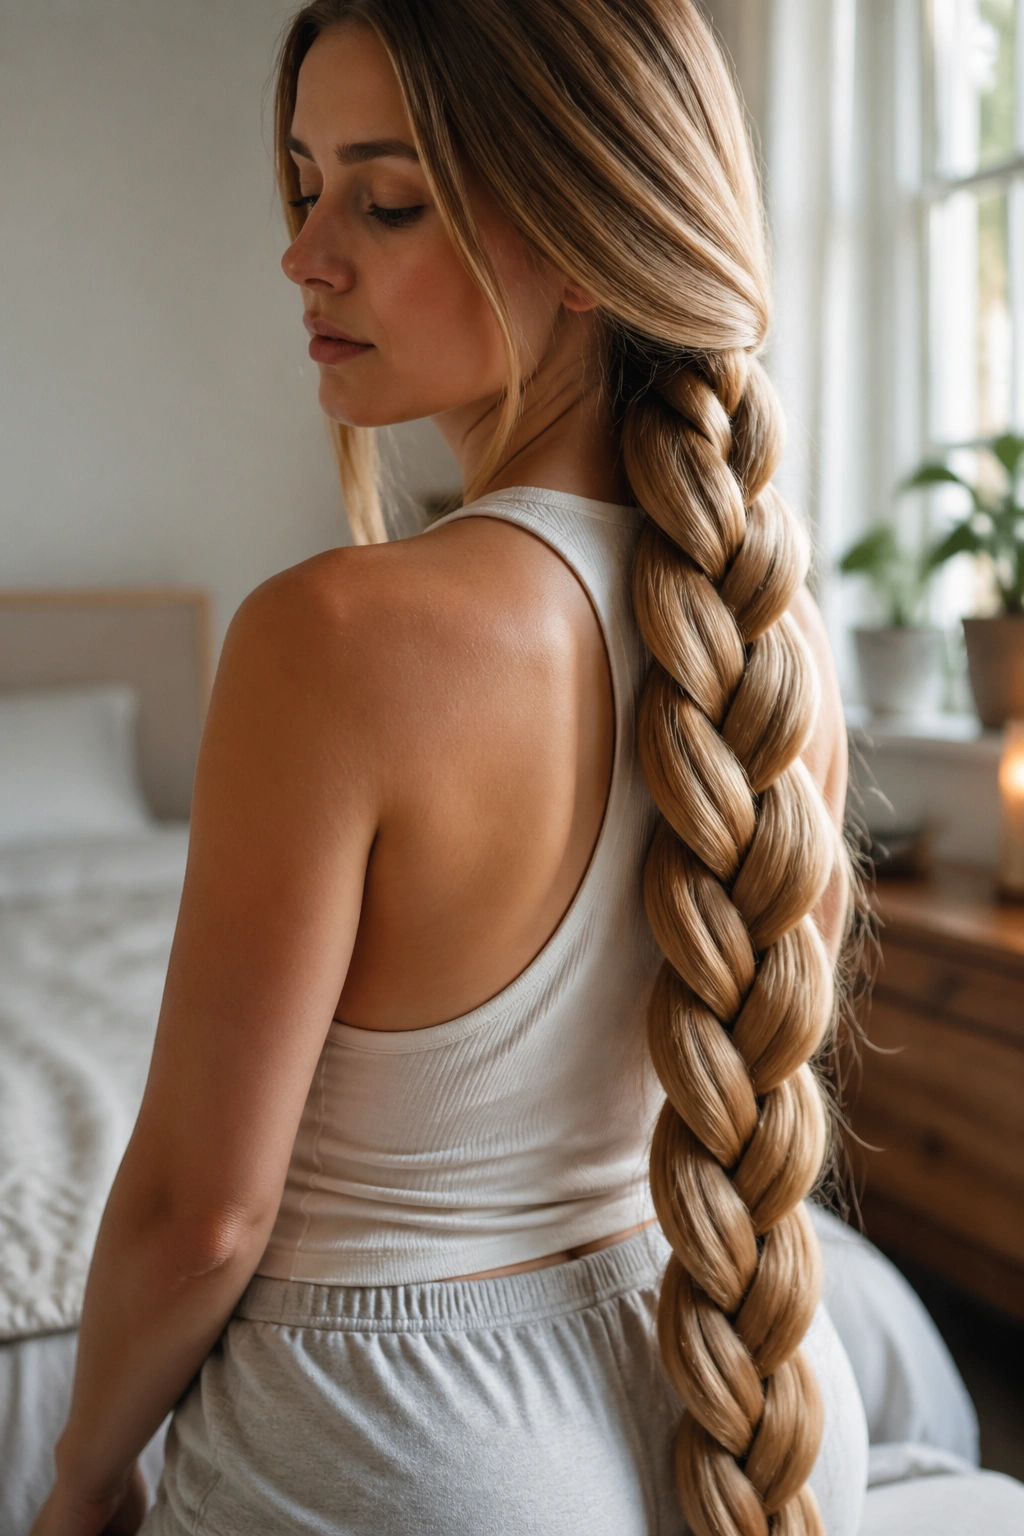
5. The Rope Braid with a Sleek Center Part
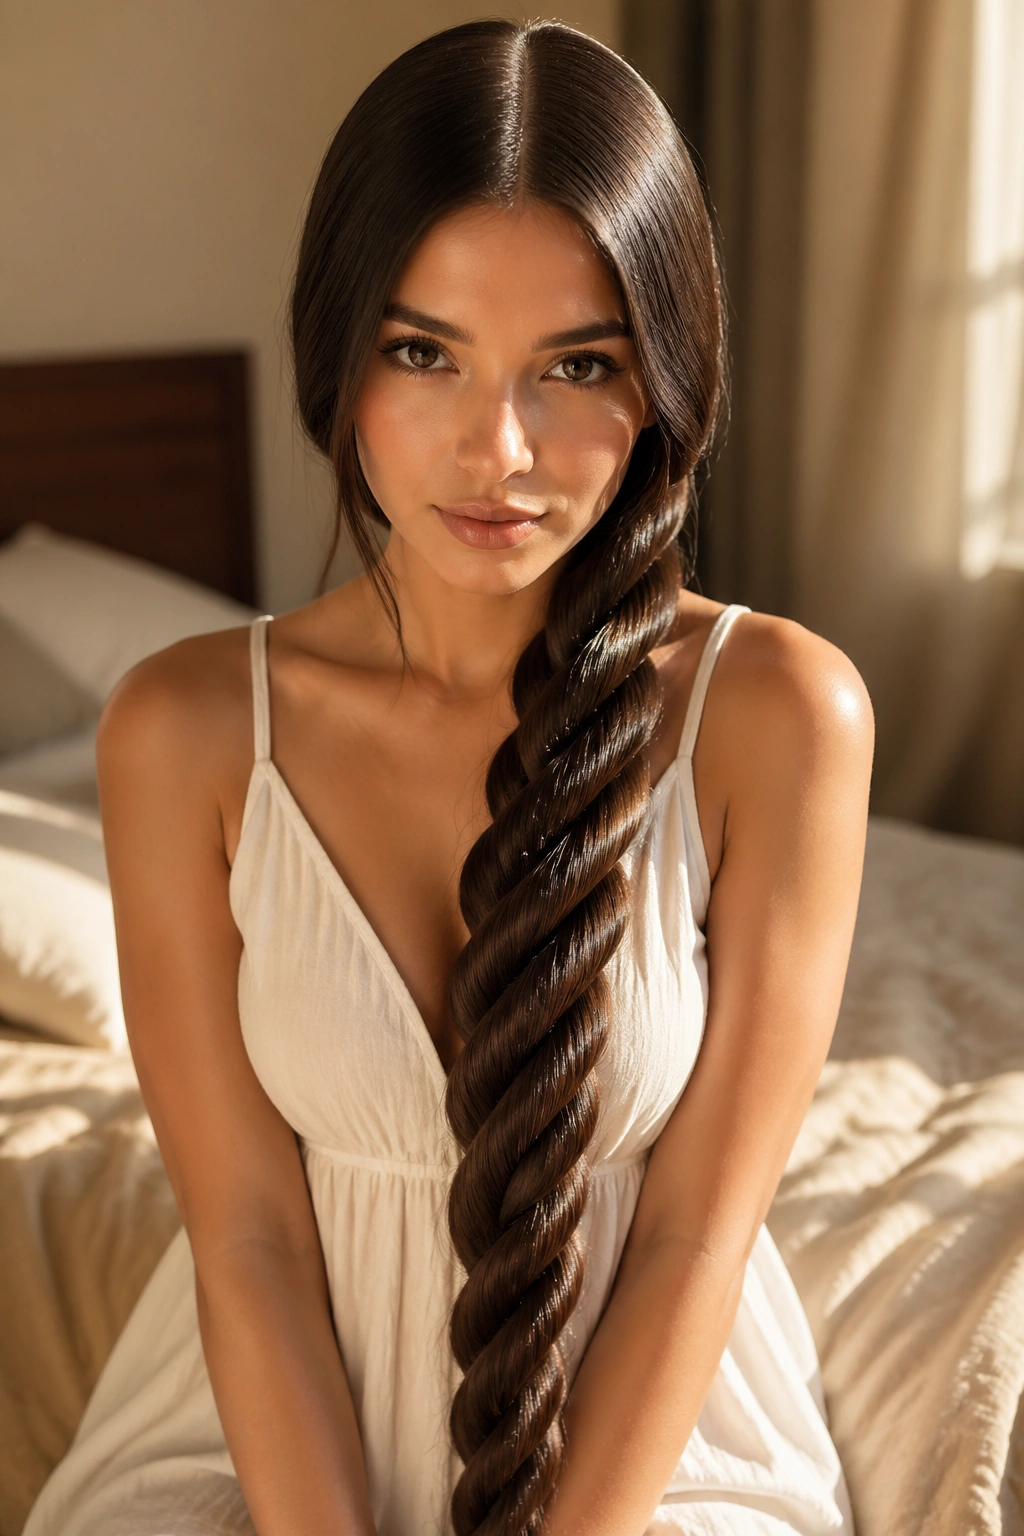
A rope braid has a different mood from a three-strand braid. It looks glossy, almost twisted, and a little more polished than a classic plait. On very long hair, that twist can run for what feels like forever, which is part of the appeal.
The structure is simple: divide the hair into two sections, twist each section in the same direction, then wrap them around each other in the opposite direction. That opposite motion matters. If you twist both sections together the wrong way, the braid loosens and starts to unravel before you’ve reached the midpoint of your back.
What makes this style useful for waist-length hair is the line it creates. A rope braid reads as a long spiral, which means the eye follows every inch of it. On straight hair, it looks sleek and sharp. On textured hair, it feels fuller and more rope-like, which is also lovely. You can wear it low, high, or tucked over one shoulder.
A little serum on the mid-lengths helps the twist stay smooth. Do not coat the roots; the braid will slide. A rope braid needs grip near the scalp and softness through the tail. That balance is easy to miss.
If your hair is very long and slippery, secure the twist with a tiny elastic every 6 or 8 inches before you finish the tail. It is not the prettiest step, but it keeps the shape from collapsing.
6. The Bubble Braid with Braided Anchors
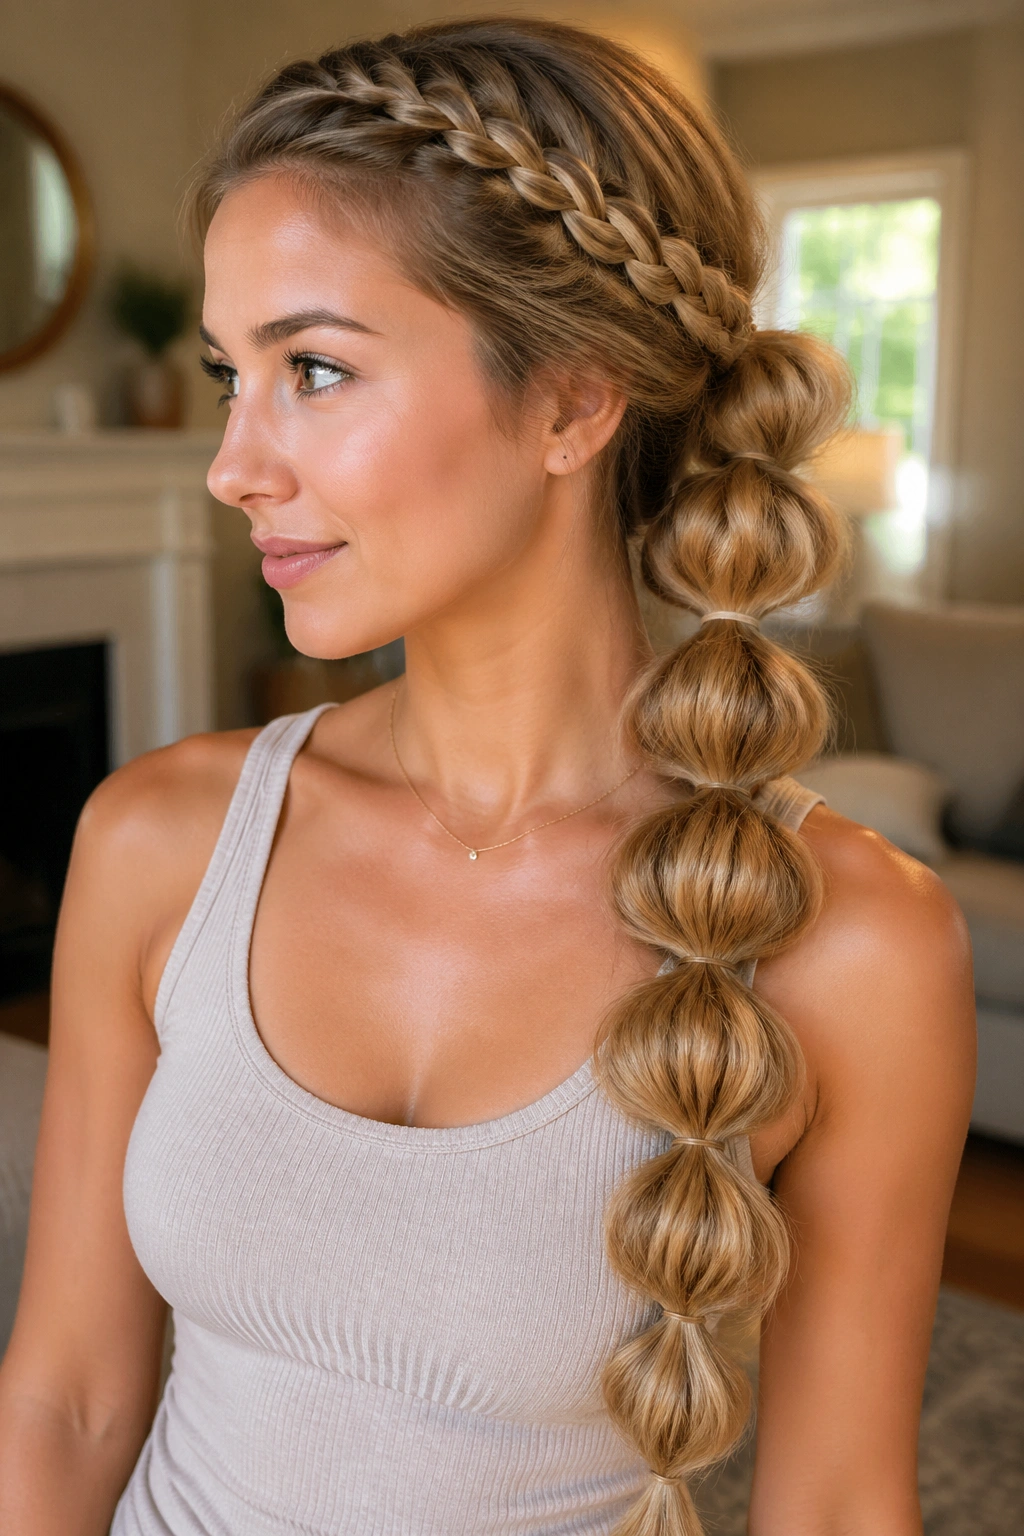
A bubble braid is not trying to pretend it’s something else. It’s bold, graphic, and a little cheeky, which is why it looks so good on long hair. Unlike a traditional braid, it makes the length part of the design instead of flattening it into a weave.
Start with a ponytail, then add clear elastics down the length every 2 to 3 inches. Gently tug each section until it puffs into a round bubble. That’s the whole trick. On hair past the waist, you get more bubbles than someone with shorter hair, and the extra length makes the whole style feel dramatic instead of novelty-ish.
What makes it different
A standard braid compresses the hair. A bubble braid keeps the volume visible. That matters if your hair is thick, layered, or hard to braid neatly. You can also anchor the look with one tiny braid at the hairline or along one side of the head. That little braid gives the style a more finished feel without stealing the spotlight from the bubbles.
- Use 4 to 6 elastics for shoulder-blade length hair.
- Use 6 to 10 elastics for waist-length hair.
- Wrap a thin strand around the top elastic to hide it.
- Pull the bubbles evenly so one side doesn’t look flat.
This style is one of the easiest ways to make very long hair look styled fast. It also handles layered ends better than a regular three-strand braid, which can go a bit stringy at the bottom.
7. The Crown Braid That Drops Into the Back
A crown braid with hair past the waist has a lovely contradiction built into it. The top of the style is anchored and neat, but the tail can spill down the back like a curtain. That mix keeps it from feeling too precious.
The braid usually begins near one temple, travels around the head, and pins back on itself. On very long hair, you do not need to braid all the way around to get the effect. Sometimes the smartest move is to braid from ear to ear and let the remaining length fall straight or softly waved down the back. That gives you the visual sweep of a crown without making the scalp area feel heavy.
What to watch for
The crown can get bulky fast if the braid is too thick. Split the sections smaller than you think you need, especially around the back of the head where the hair starts to collect. Pin the braid every 2 inches or so with bobby pins that match your hair color. If the braid keeps slipping, cross the pins in an X. That little move holds much better than a single straight pin.
Leave the tail with a bit of bend if you can. Pin-straight lengths beneath a crown braid can look severe. Soft waves or even just brushed-out curls give the style a calmer feel.
I like this one for formal events because it looks deliberate from every angle. That matters more than people admit.
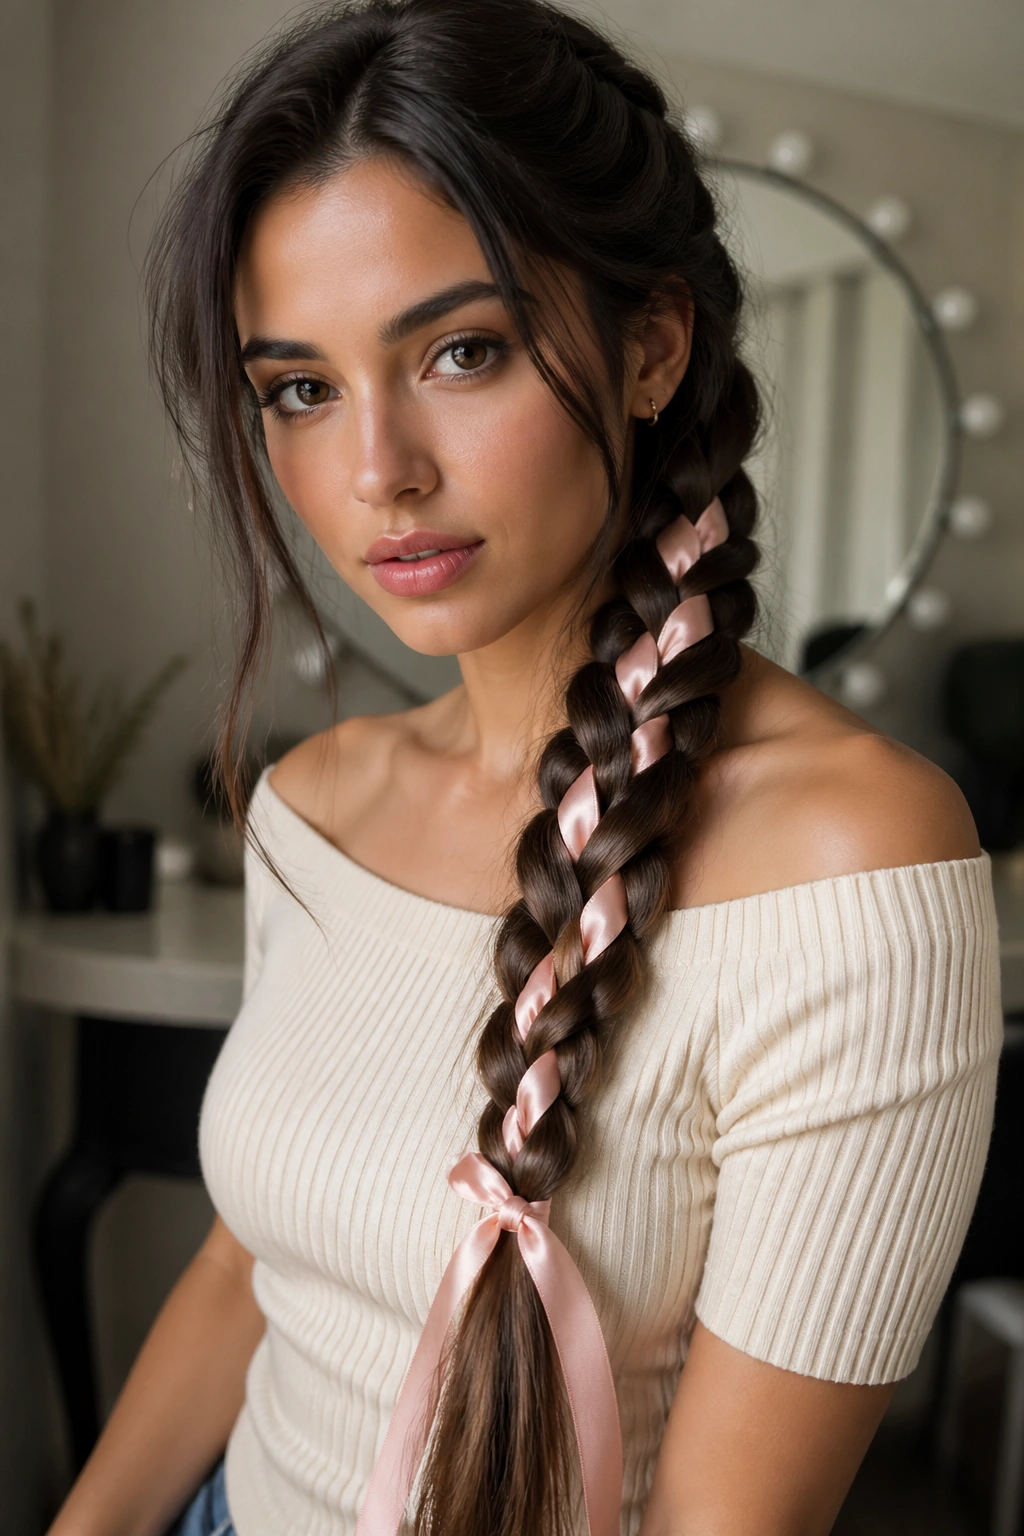
8. The Side-Swept Rapunzel Braid
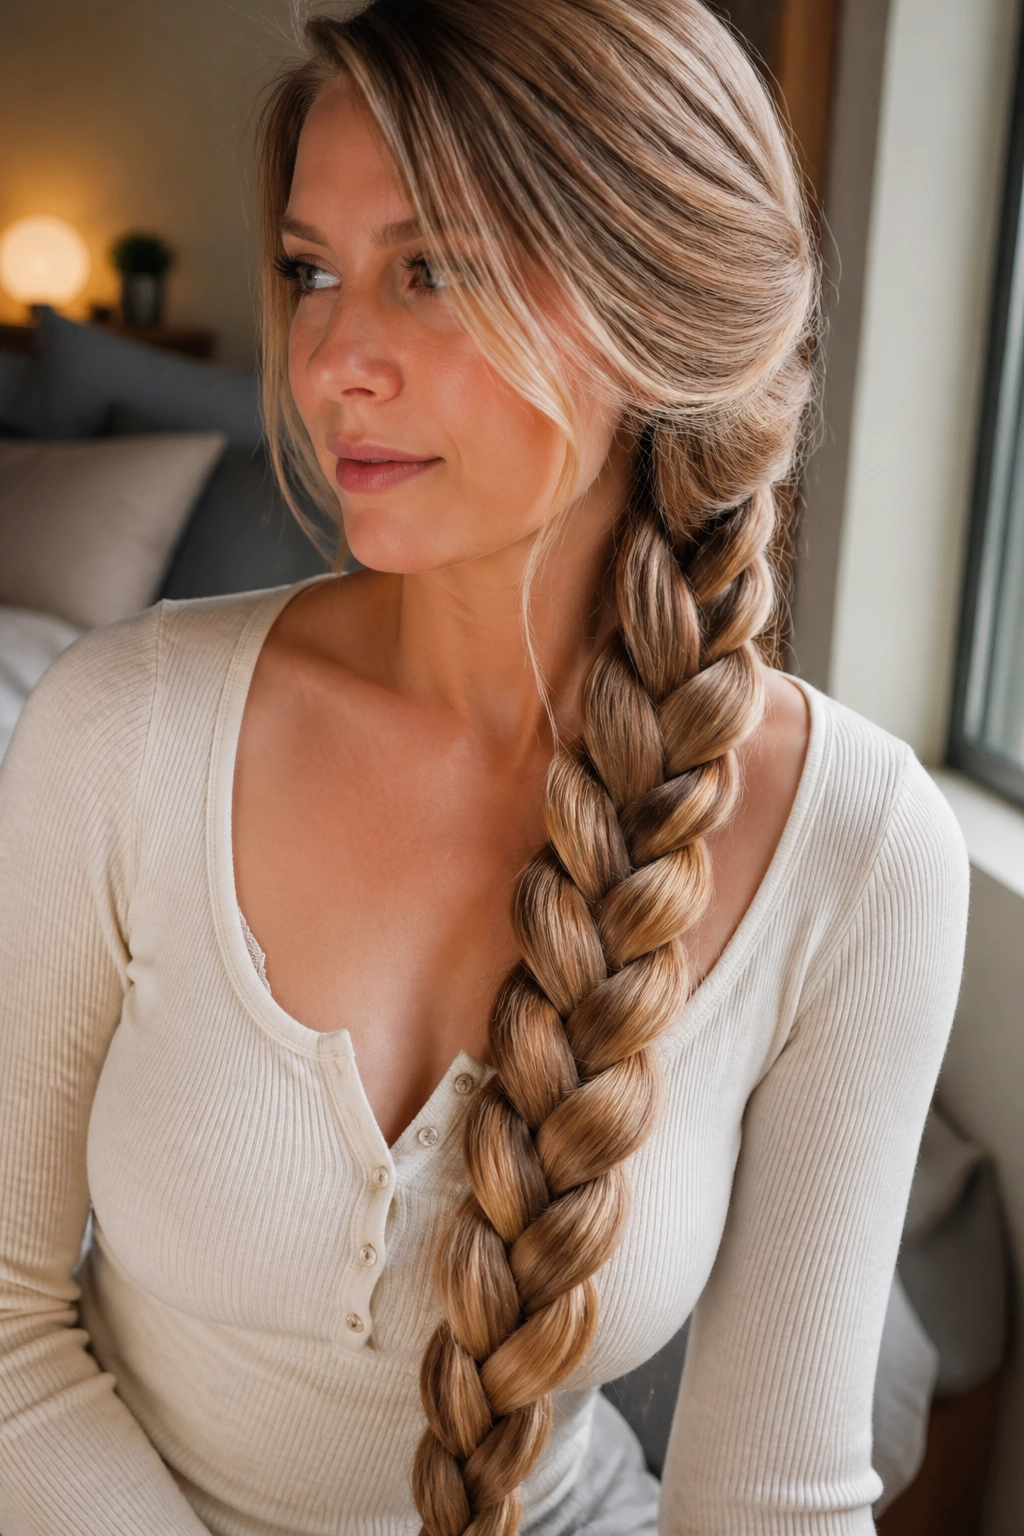
A side braid is the easiest way to make very long hair feel intentional without loading your head with pins. It also solves a practical problem: hair past the waist can disappear down the back. Put it over one shoulder, and suddenly you can see the weave, the thickness, and the finish.
This style starts with a side part or a deep off-center sweep. Then the braid is carried over one shoulder and down the front of the body. That front-facing placement is the whole point. It lets the length do the talking, and it keeps the braid from getting crushed against a coat collar, chair back, or scarf.
How to make it feel fuller
Pull the braid apart a little after tying it off. Not enough to wreck the structure, just enough to widen the shape. On hair past the waist, even a small amount of loosening creates a big visual shift. The braid goes from skinny to substantial in a few careful tugs.
A side-swept braid is also a nice home for layers. If the shorter pieces around the face keep slipping, tuck them behind the ear and let the braid itself start lower. That avoids the frizzy halo that can happen when you force every little strand into place.
Use a satin ribbon or a matching elastic at the end if you want the braid to feel softer. A heavy dark elastic can look clunky against a long, bright tail. That little choice changes the mood more than people expect.
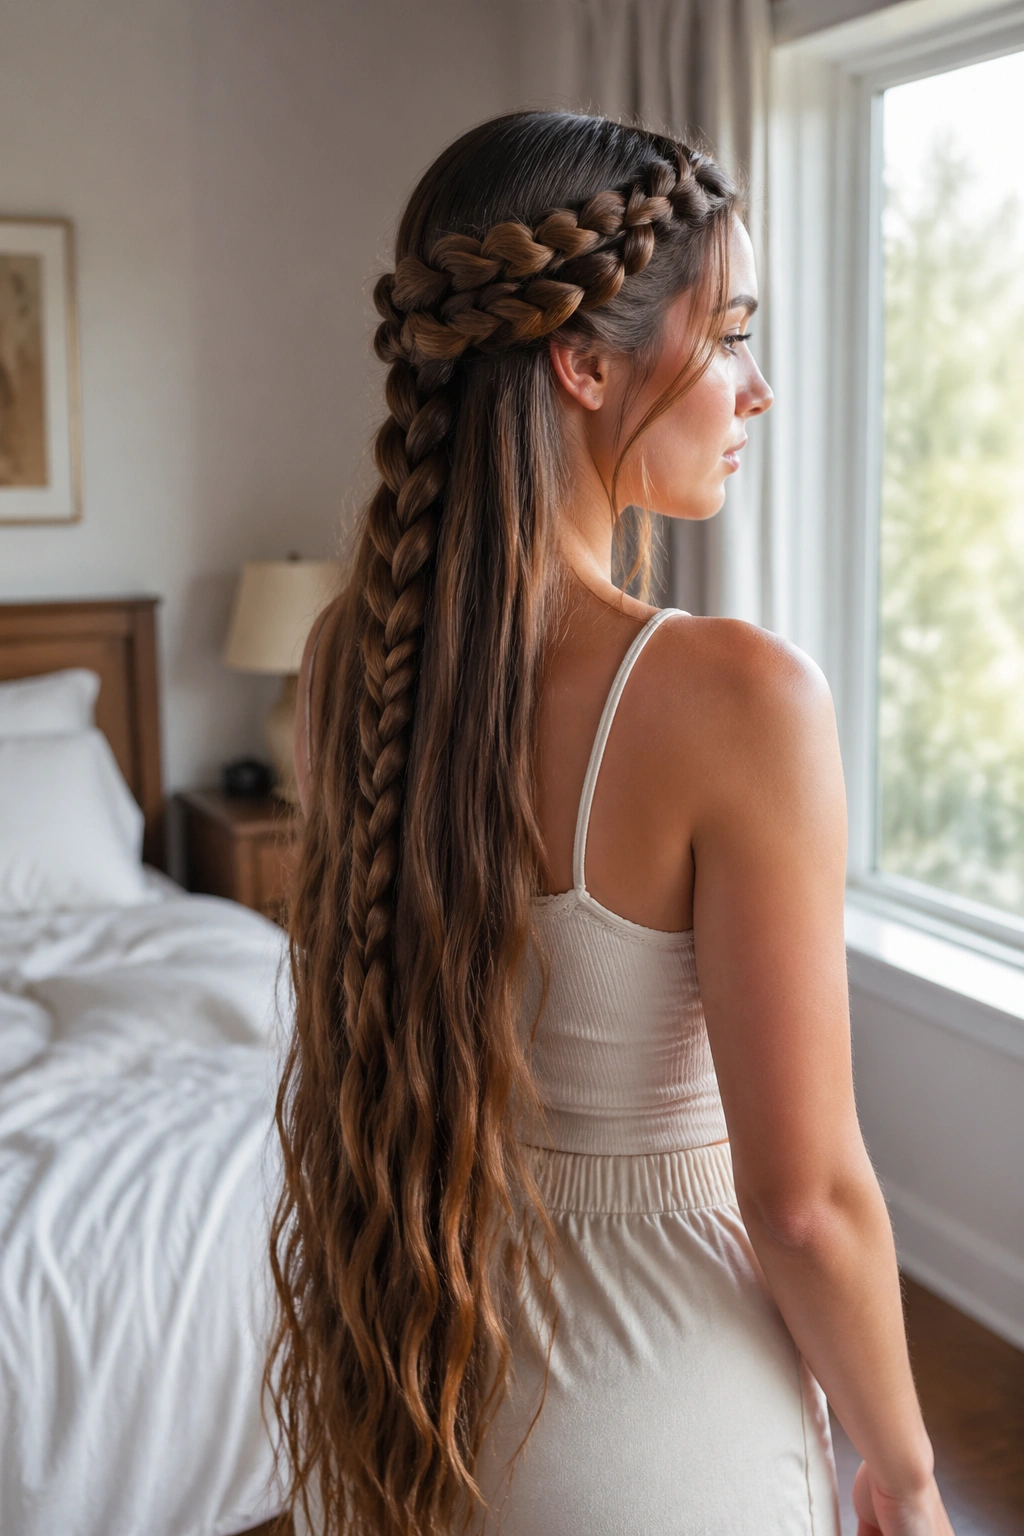
9. The Half-Up Mermaid Braid

Why do half-up mermaid braids look so good on hair past the waist? Because the braid gets to be decorative while the rest of the length stays loose. You keep the drama of the full length, but the braid acts like a frame instead of a cage.
This is the style I’d pick when I want the hair to feel a little romantic but not overdone. Take the top section from temple to temple, braid it across the back of the head in a soft pattern, then secure it and leave the rest hanging. You can make the braid small and neat or wide and loose. Both work. The loose lengths beneath are the real point here.
How to get the most from it
A half-up style needs the lower hair to look good on its own. If the ends are dry, smooth a tiny drop of oil through the last 3 or 4 inches before you start. If they’re too perfect, they can look flat, so a little movement helps. Waves, a soft bend at the bottom, or even brushed-out curls all give the style more life.
This is also one of the few braid styles where layered hair can work in your favor. The shorter pieces around the crown create softness. The longer lower lengths keep the Rapunzel effect alive. You don’t have to choose between neat and loose. You get both.
A tiny clasp or a pair of hidden pins at the back keeps the braid from sliding. Do not rely on one loose bobby pin if the hair is dense. It will lose the argument.
10. The Four-Strand Braid with Ribbon
A four-strand braid looks more involved than a three-strand braid because, well, it is. That extra strand gives the plait a woven, almost braided-ribbon feel, which is why it suits long hair so well. There’s enough length for the pattern to show instead of collapsing into a knot of hair near the scalp.
If you want to make the style feel even more deliberate, add a ribbon. A 1-inch satin ribbon is easier to handle than something thin and slippery. It lies flatter, shows up better in the braid, and doesn’t twist into knots every time your fingers slip. Leather cord can work too, but it gives a much firmer look.
The braid itself is a rhythm exercise. Once you know the pattern, it becomes a matter of keeping the sections organized and resisting the urge to rush. Rushing is what makes the braid drift into uneven widths. I’d rather see a slightly loose four-strand braid with clean lines than a tight one that’s fighting itself.
- Keep the ribbon length at least twice the length of the hair tail.
- Clip the ribbon to a section before you start if it keeps sliding.
- Smooth the strands after each pass.
- Finish with a small elastic hidden under a wrap of hair.
This style looks especially good when the braid is worn low, where the crossovers can be seen clearly.
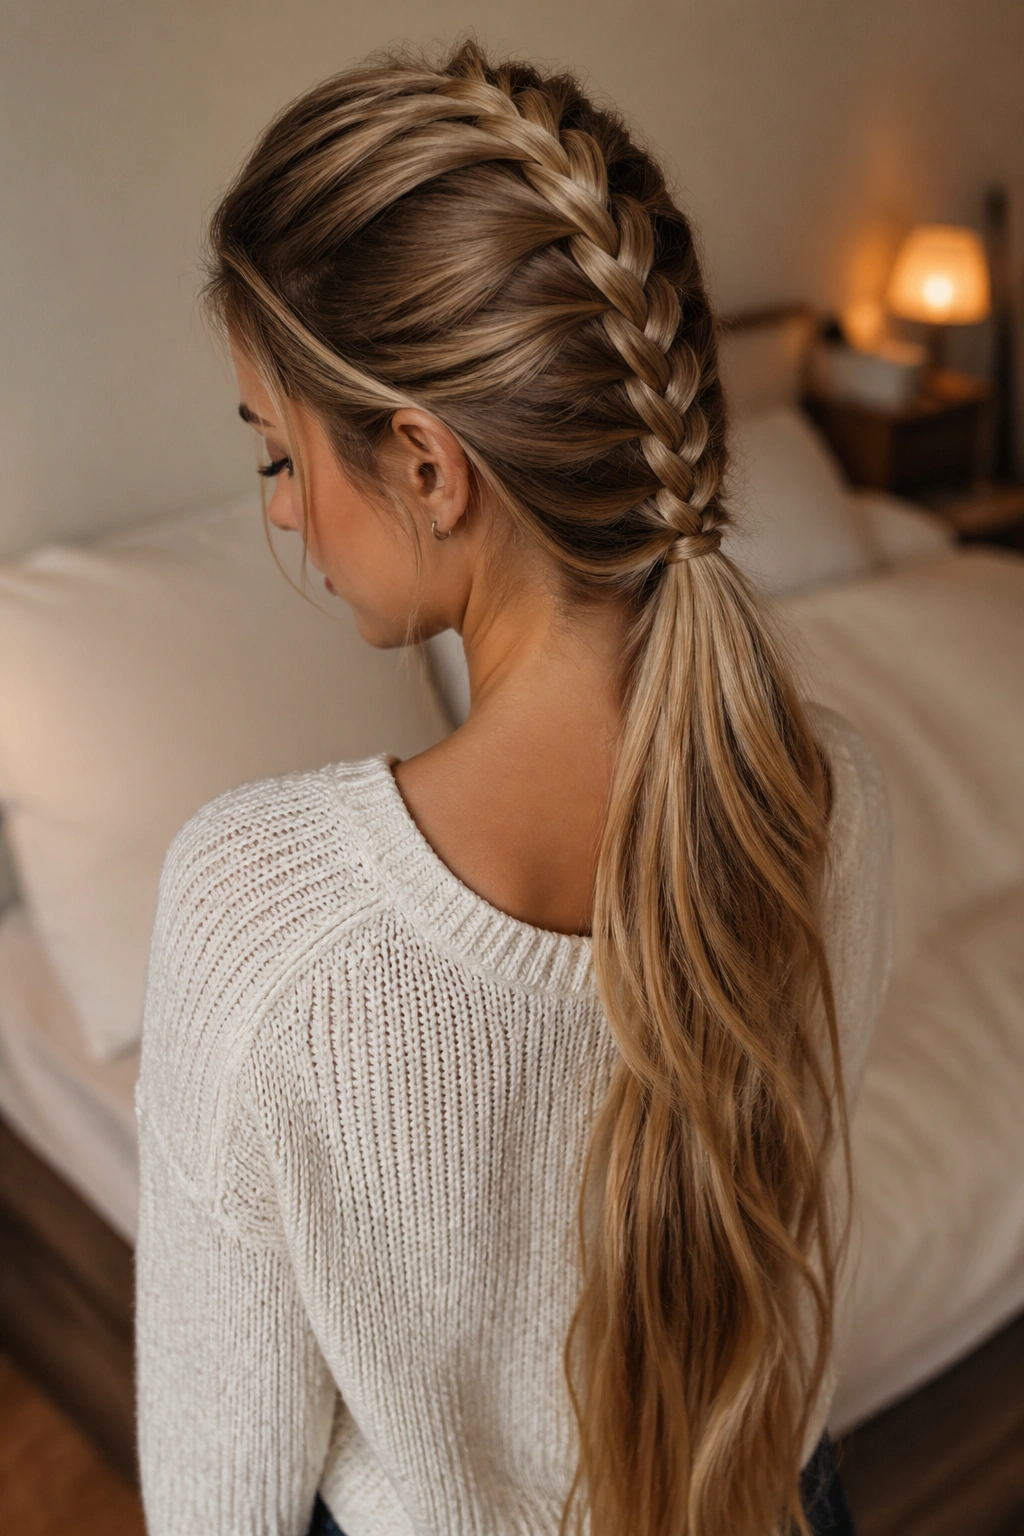
11. The Braided Ponytail with a Wrapped Base
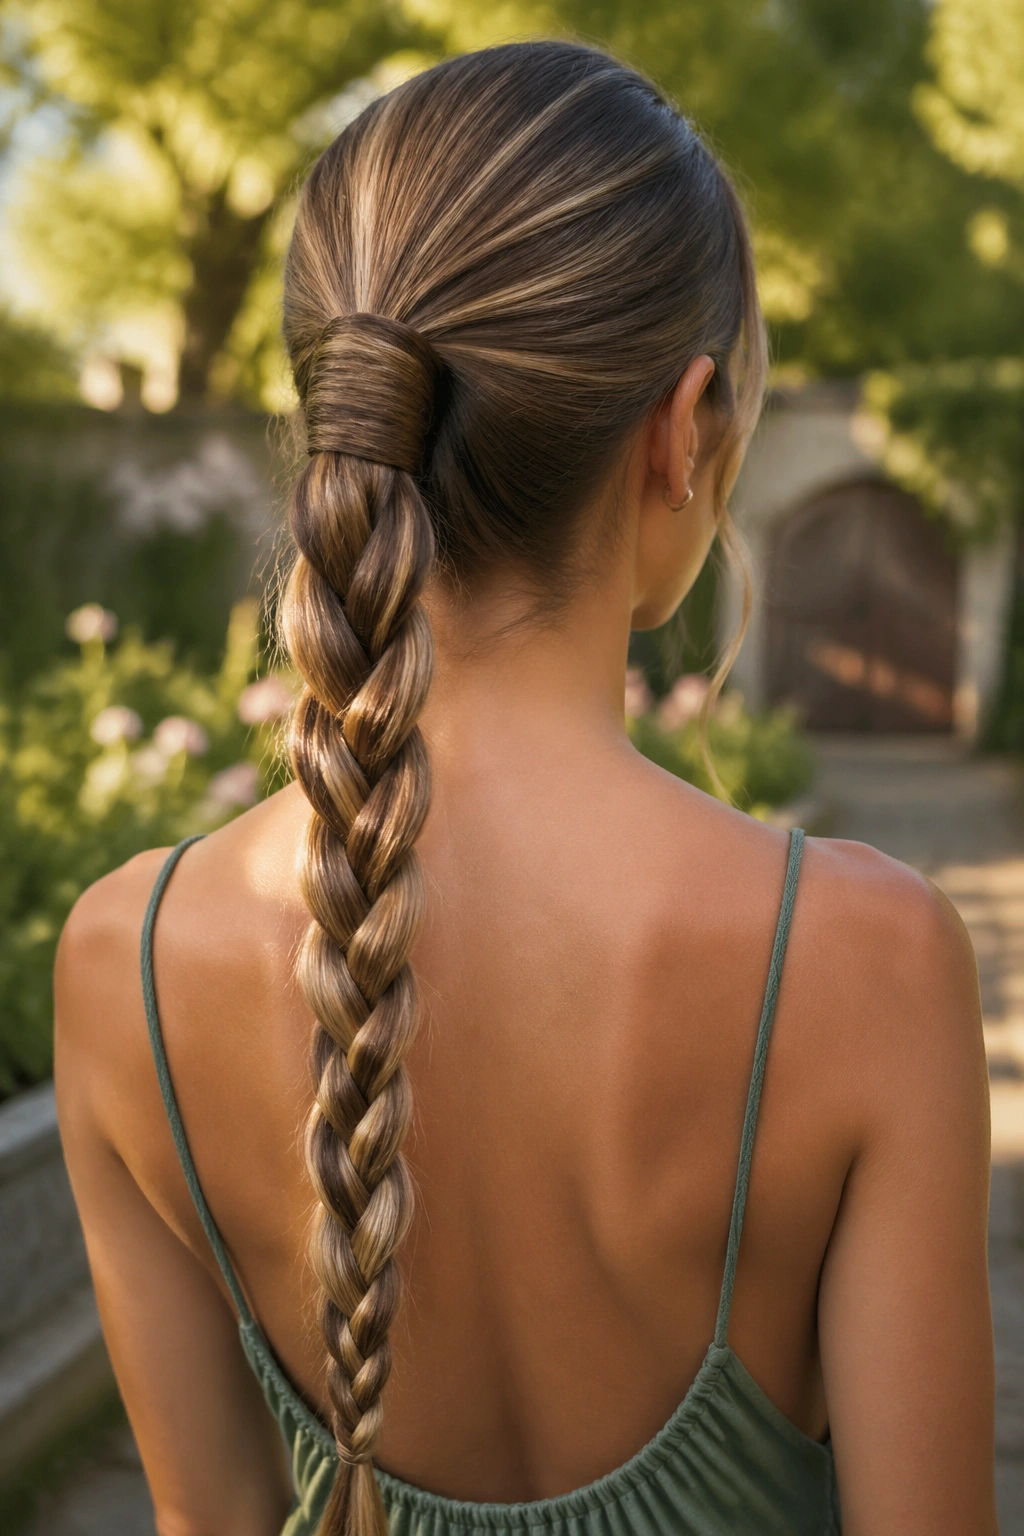
Sometimes the smartest braid is the one that keeps the hair under control while still showing off how much there is. A braided ponytail does exactly that. You gather the hair into a ponytail, wrap a strand around the elastic to hide it, then braid the tail all the way down. Simple. Clean. No drama at the crown.
Hair past the waist benefits from this style because the braid doesn’t fight the weight of the length at the scalp. The base stays secure, and the braid hangs like a long rope down the back. That makes it a good choice for thick hair, layered hair, or hair that keeps slipping out of loose styles.
I especially like this one for high collars and heavy coats. A braid sitting low in the ponytail doesn’t get flattened as much as a crown braid can, and it stays tidy when you move around. If you want more body, tease the ponytail lightly before you start braiding. If you want a sleeker finish, brush it flat and use a little smoothing cream on the tail.
A low ponytail works better than a high one if your hair is very long. A high ponytail can pull at the scalp and make the tail swing more than you want. The lower version feels steadier.
12. The Waterfall Braid With Loose Length
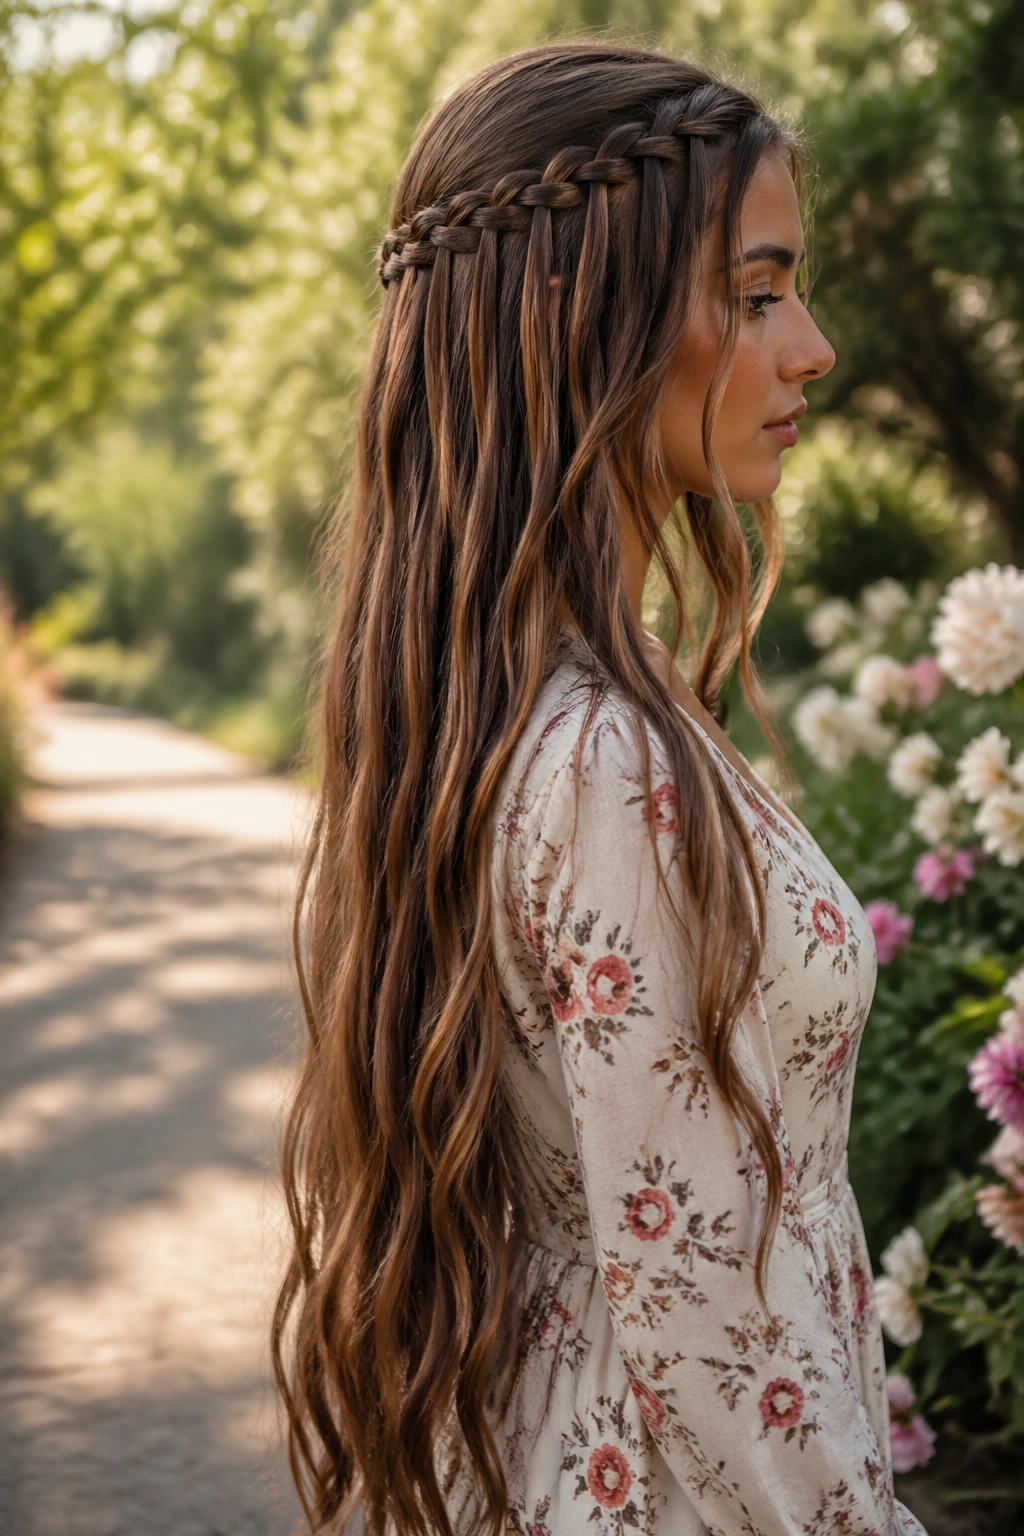
A waterfall braid is the one that leaves you with that soft, cascading effect people notice from the side. It looks delicate, but on hair past the waist it has room to breathe. The loose strands that drop through the braid have enough length to feel deliberate instead of accidental.
This style works by dropping one strand out of the braid each time you add a new section, then replacing it with fresh hair from above. That’s what creates the little falls. Because the braid sits close to the scalp, the long hanging pieces become part of the design. On shorter hair, they can disappear. On waist-length hair, they stay visible and elegant.
The braid is best worn with a bit of texture. Straight, slippery hair can make the dropped strands slide too cleanly, which flattens the effect. A touch of dry texture spray gives the sections a little hold. If the lower length is curled, even better. The braid and the fall of hair work against each other in a nice way.
How to keep it neat
Use a tail comb and small clips. Waterfall braids are easy to muddle if you keep losing your place. Braid one side only, pin the end behind the ear, and let the rest flow. That asymmetry keeps it from feeling too formal.
This is one of the prettiest ways to show off the length without having to braid every inch of it.
13. The Twin Dutch Braids That Join Into One Tail
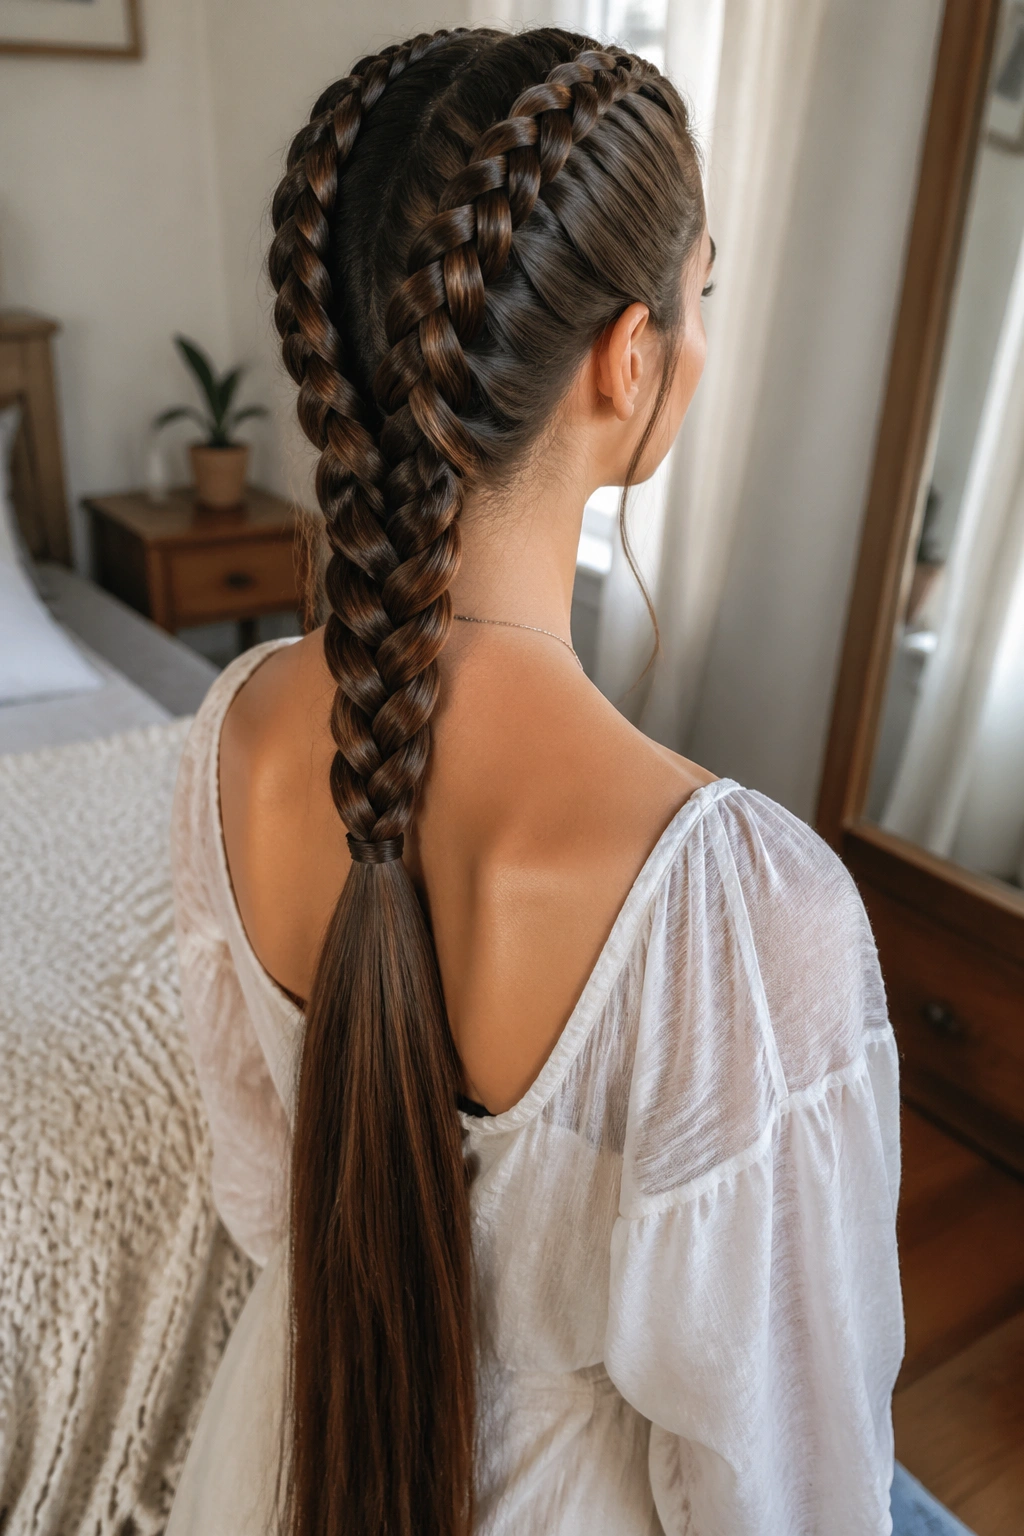
Two braids, one tail. That combination is hard to beat on hair past the waist, because it gives you structure at the top and showpiece length at the bottom. Twin Dutch braids keep the scalp area secure, and when they meet at the nape, the remaining hair drops into a single long tail that really uses the length.
It’s a little more graphic than a single braid, and that’s the charm. The center part creates symmetry, the twin braids frame the head, and the joined tail keeps the whole style from feeling too busy. On very long hair, the tail after the join can still be braided, curled, or left straight. I usually prefer a single low braid for the tail, because the transition from two braids to one is the part that gives it personality.
This style is especially good when the hair is thick or heavy and a lone braid tends to collapse. Two braids distribute the weight better across the scalp. They also keep the top sections from puffing up in humidity, which is more useful than people realize. If the hair is fine, pancake the braids slightly before joining them. If it’s thick, keep the sections smaller and the center part crisp.
This is the braid I’d save for when I want the length to look almost ceremonial. The top half feels orderly. The tail does the showing off. And hair past the waist deserves both.