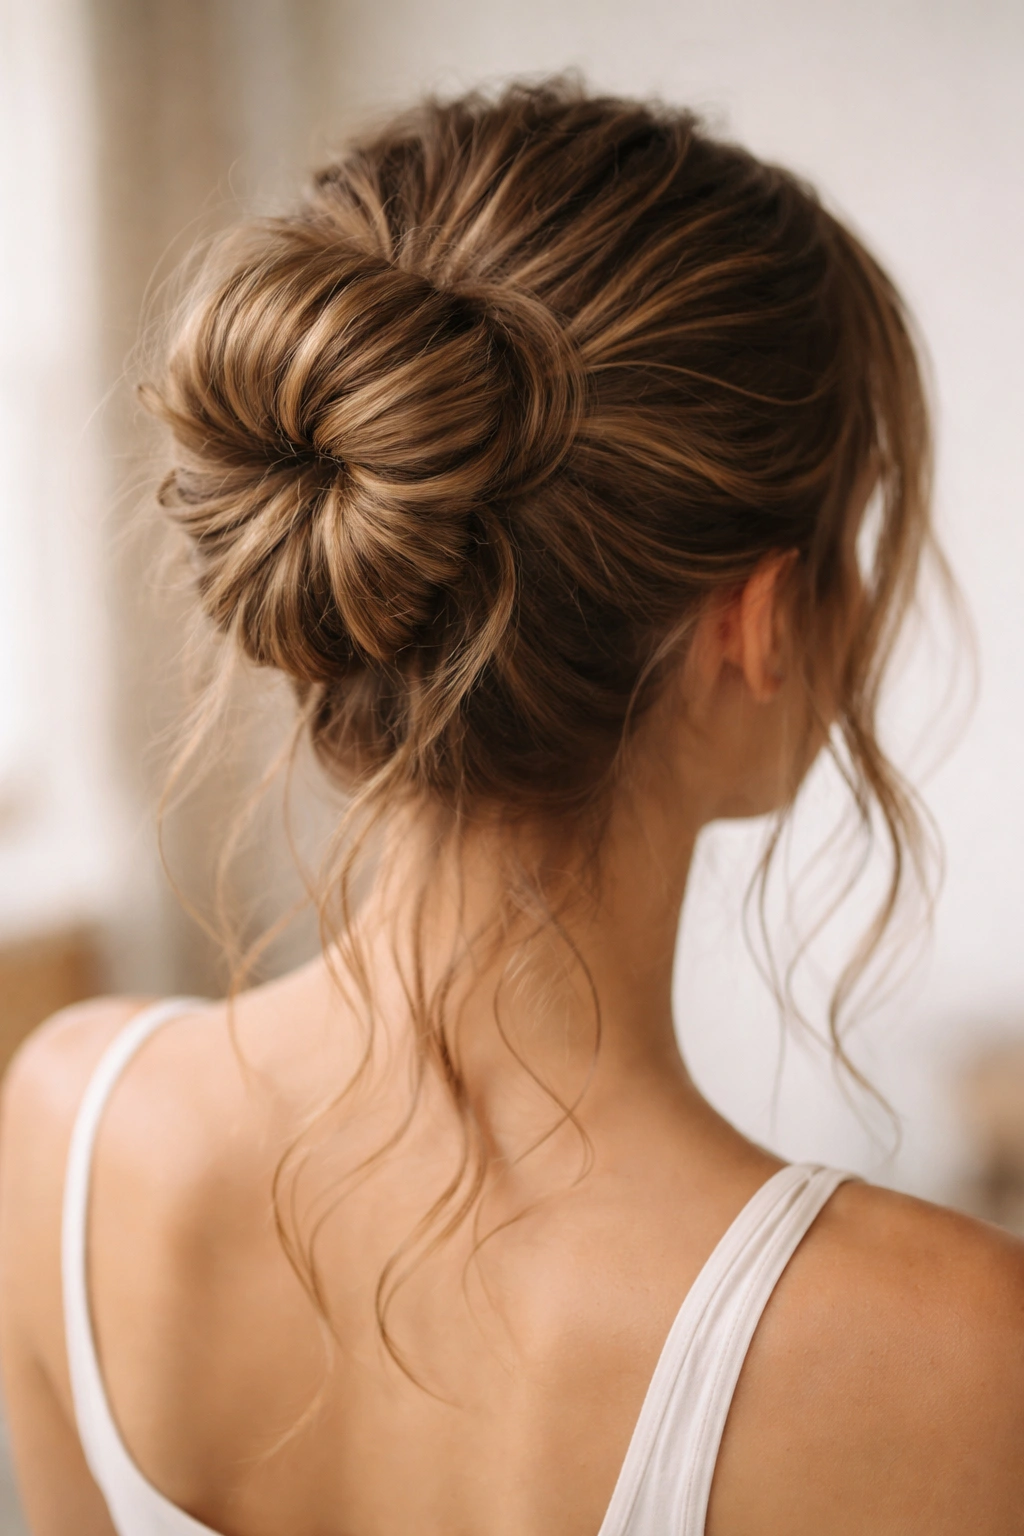
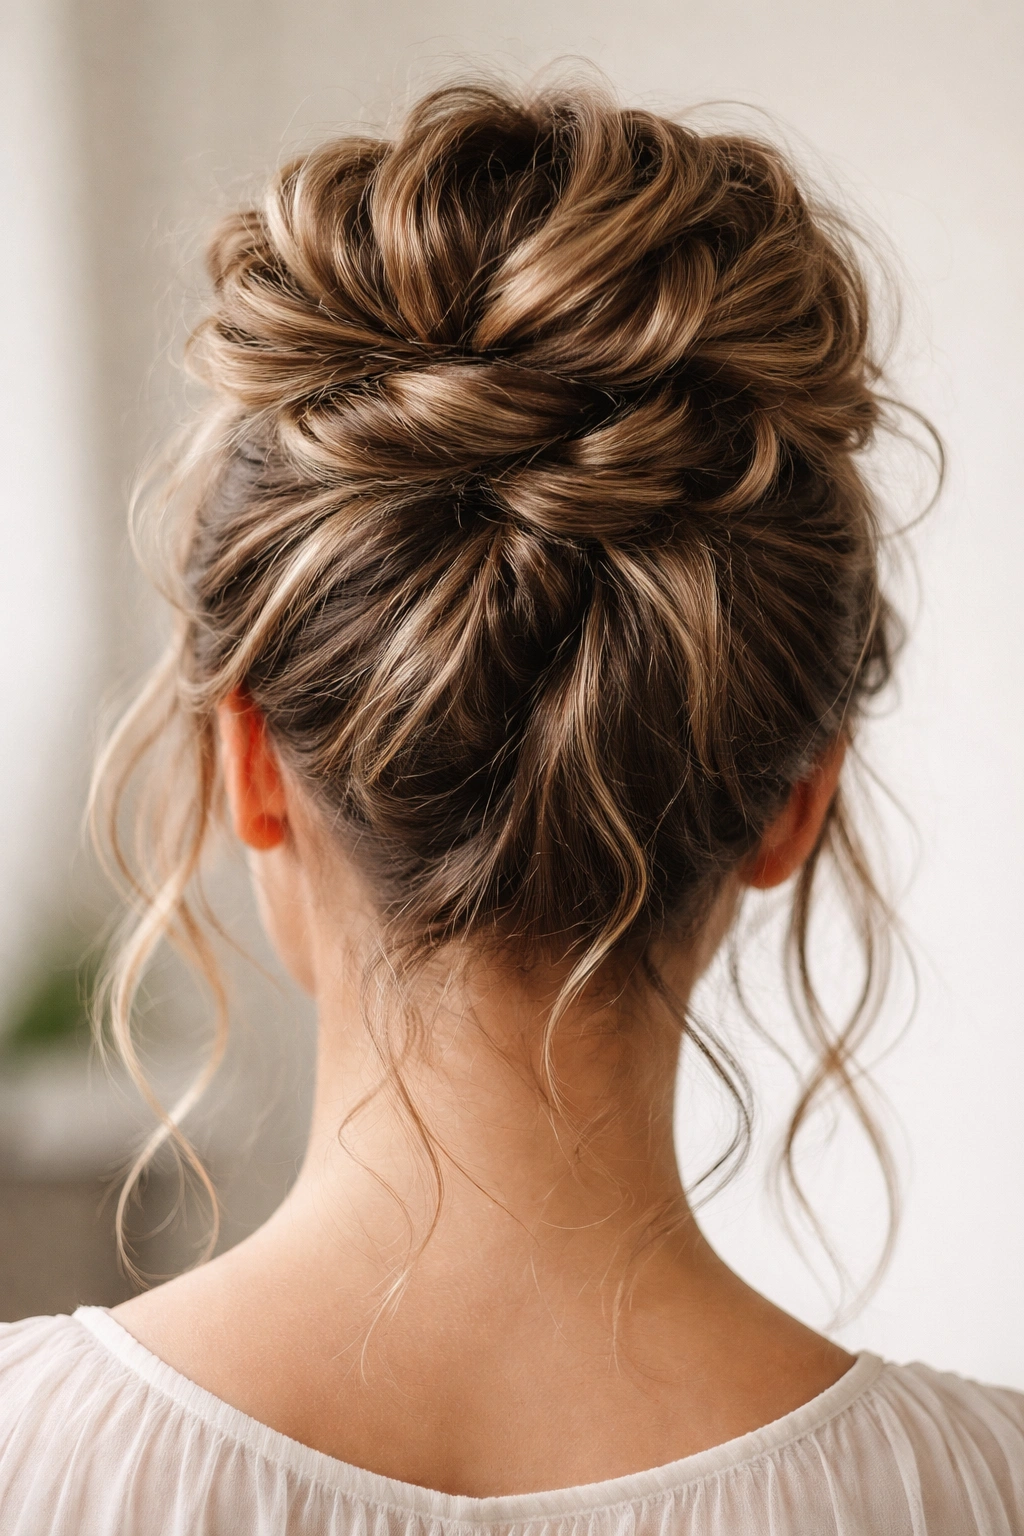
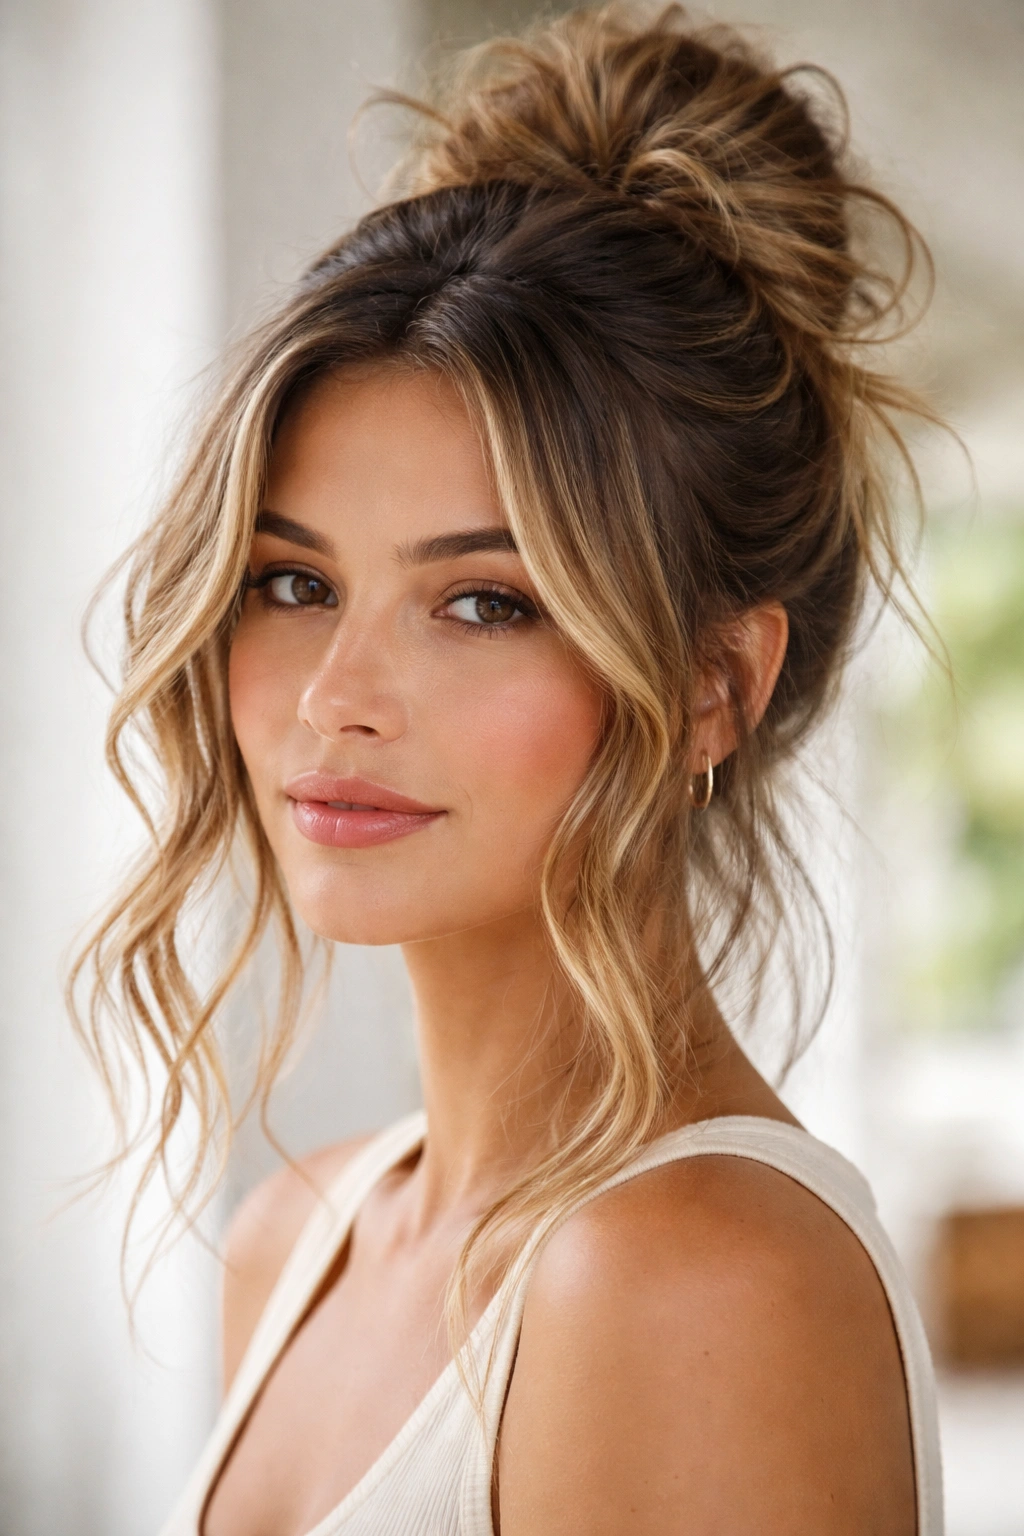
Wavy hair has this natural advantage most people don’t fully exploit: it’s actually ideal for messy buns. Unlike pin-straight hair that needs teasing, backcombing, and a ton of texture spray to look intentionally undone, wavy hair already has the dimension and grip you need. Those waves create built-in texture that catches and holds strands in place, which means you can achieve genuinely effortless-looking buns without the two-hour styling session. The trick isn’t fighting your waves—it’s working with them to create styles that look relaxed, romantic, and intentionally imperfect.
The beauty of a messy bun on wavy hair is that it works whether you’ve spent twenty minutes styling or grabbed your hair on your way out the door. You get that coveted “I woke up like this but actually I have excellent taste” aesthetic. The texture adds visual interest where a sleek bun would look flat, and the movement of the waves breaking free from the bun itself becomes part of the appeal. Plus, messy buns work on day-two or day-three hair—something wavy-haired people know is often better than freshly washed anyway.
What really sets these styles apart is understanding how your specific wave pattern works. Looser waves need slightly different anchor techniques than tighter waves, and knowing where to position your bun base changes everything about how the finished look photographs and wears throughout the day. Each of these styles plays with the structure of your natural waves in a different way, giving you options that range from polished-messy (appropriate for coffee runs and work) to decidedly romantic-messy (perfect for dates and weekends).
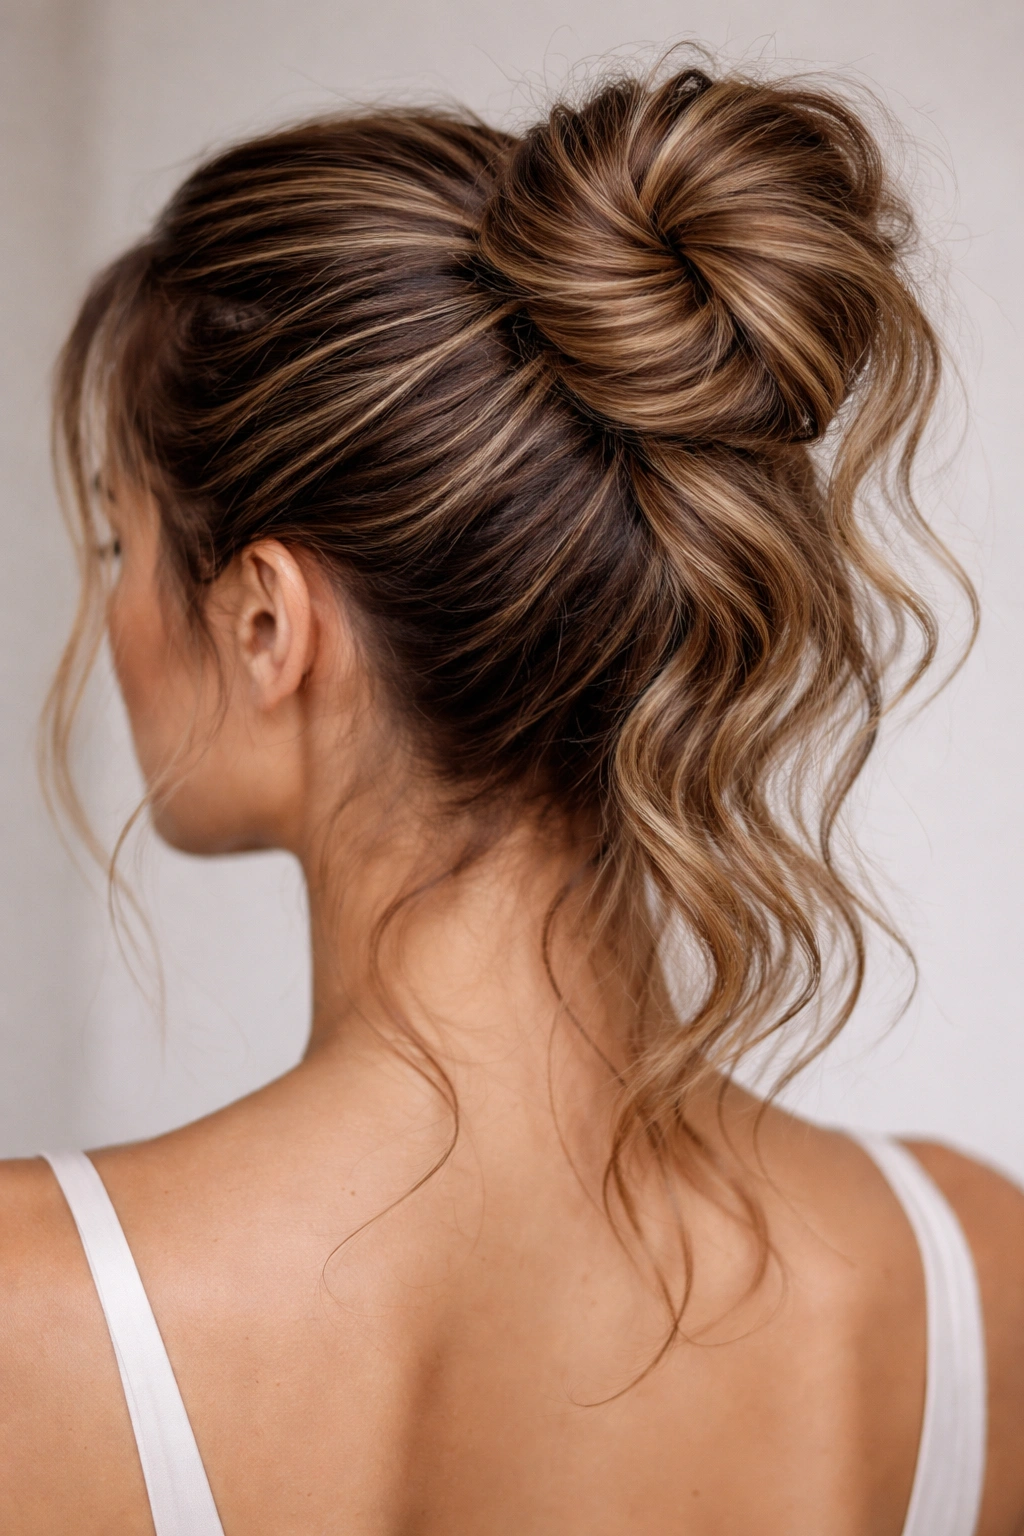
1. The Classic Twisted Wavy Bun
This is the style that works when nothing else seems to cooperate. You’re taking advantage of your waves’ natural texture by twisting them into the base of the bun, which means the finished style looks intentionally crafted instead of accidentally sloppy. The twist creates a core structure that holds everything together, and your waves add visual texture that makes the bun feel soft and romantic rather than severe.
How to Build the Twisted Foundation
Start with damp or dry wavy hair—this style actually improves if you’ve let your waves set for a day. Gather your hair into a high ponytail at the crown, but don’t make it too tight. The tension should feel secure but loose enough that you could slip a finger underneath. Divide the ponytail into two equal sections. Take the right section and twist it tightly away from your face, then wrap it around the base of the ponytail to form half of your bun. Pin the twist in place with bobby pins that match your hair color, anchoring it at multiple points around the base. Repeat with the left section, twisting and wrapping in the opposite direction so the two twists frame the bun. This creates a natural woven appearance that looks far more intentional than a standard messy bun.
Why This Works for Wavy Hair
Twisted strands grip each other in a way that straight hair can’t manage alone. Your waves act like texture spray would for straight hair—they create tiny friction points where the twist can hold. The result is a bun that stays secure without excessive bobby pins or styling products. The waves that escape from the twist look natural rather than accidental because they’re framed by that intentional twisted structure.
Pro Styling Tips
- Lightly mist the ponytail with a texturizing spray before twisting if your waves are particularly soft or fine—this adds grip without making your hair feel stiff
- Leave some face-framing pieces before you twist if you want a softer, less severe look
- Pancake the bun gently after wrapping to make it look fuller and less tight
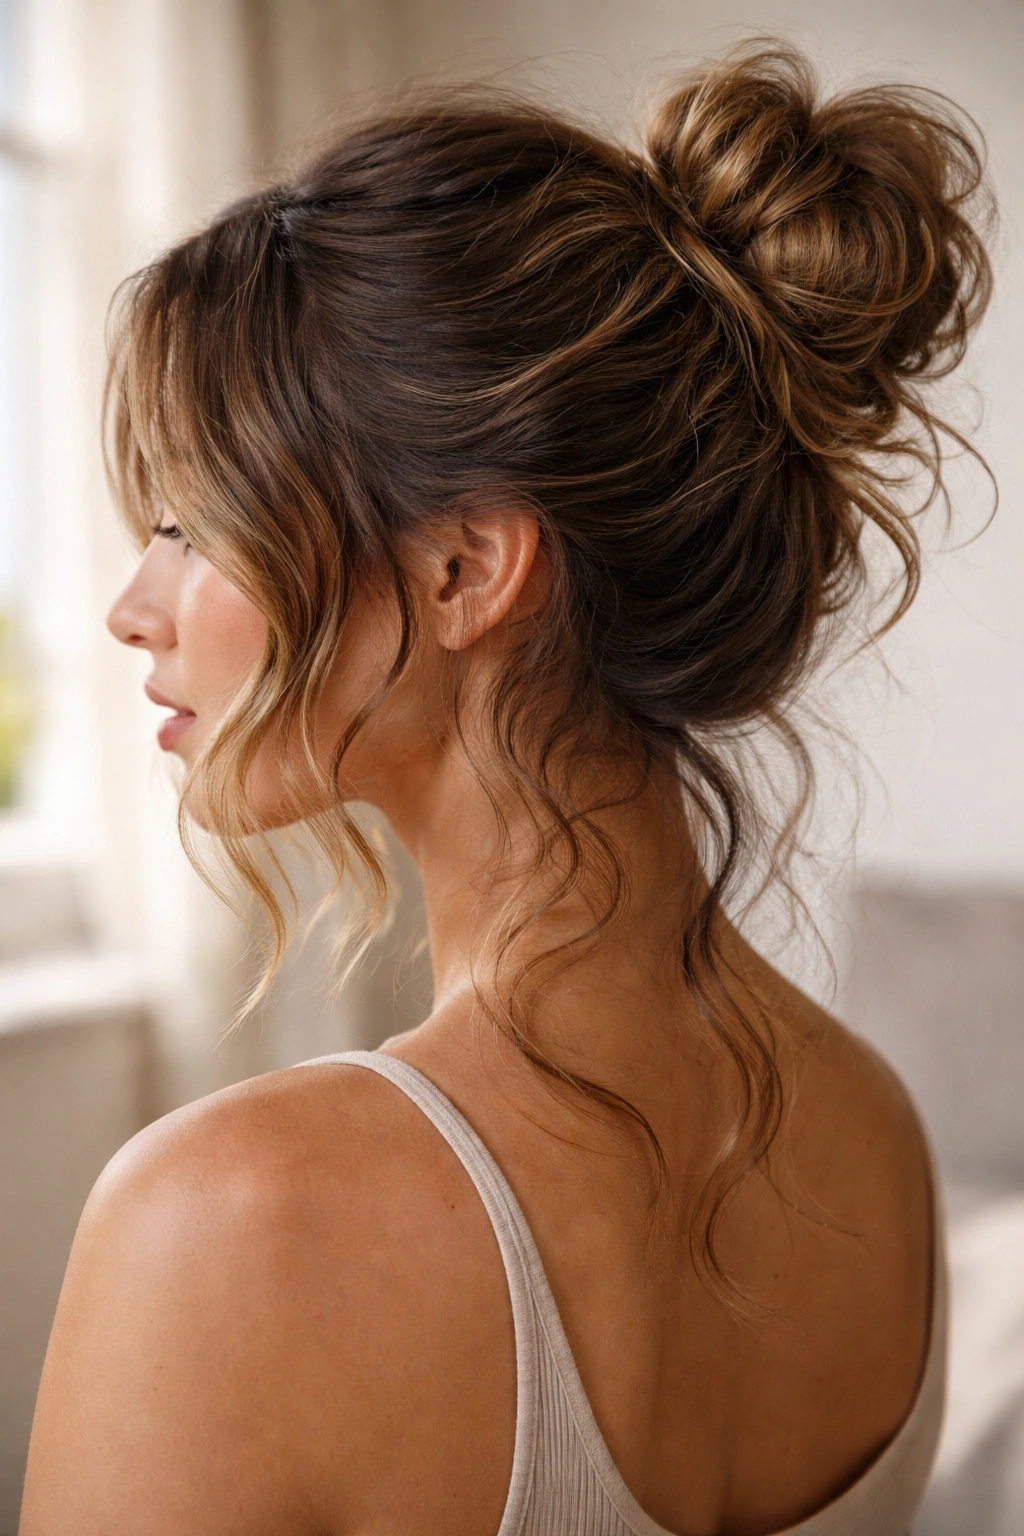
2. The Half-Up Messy Bun
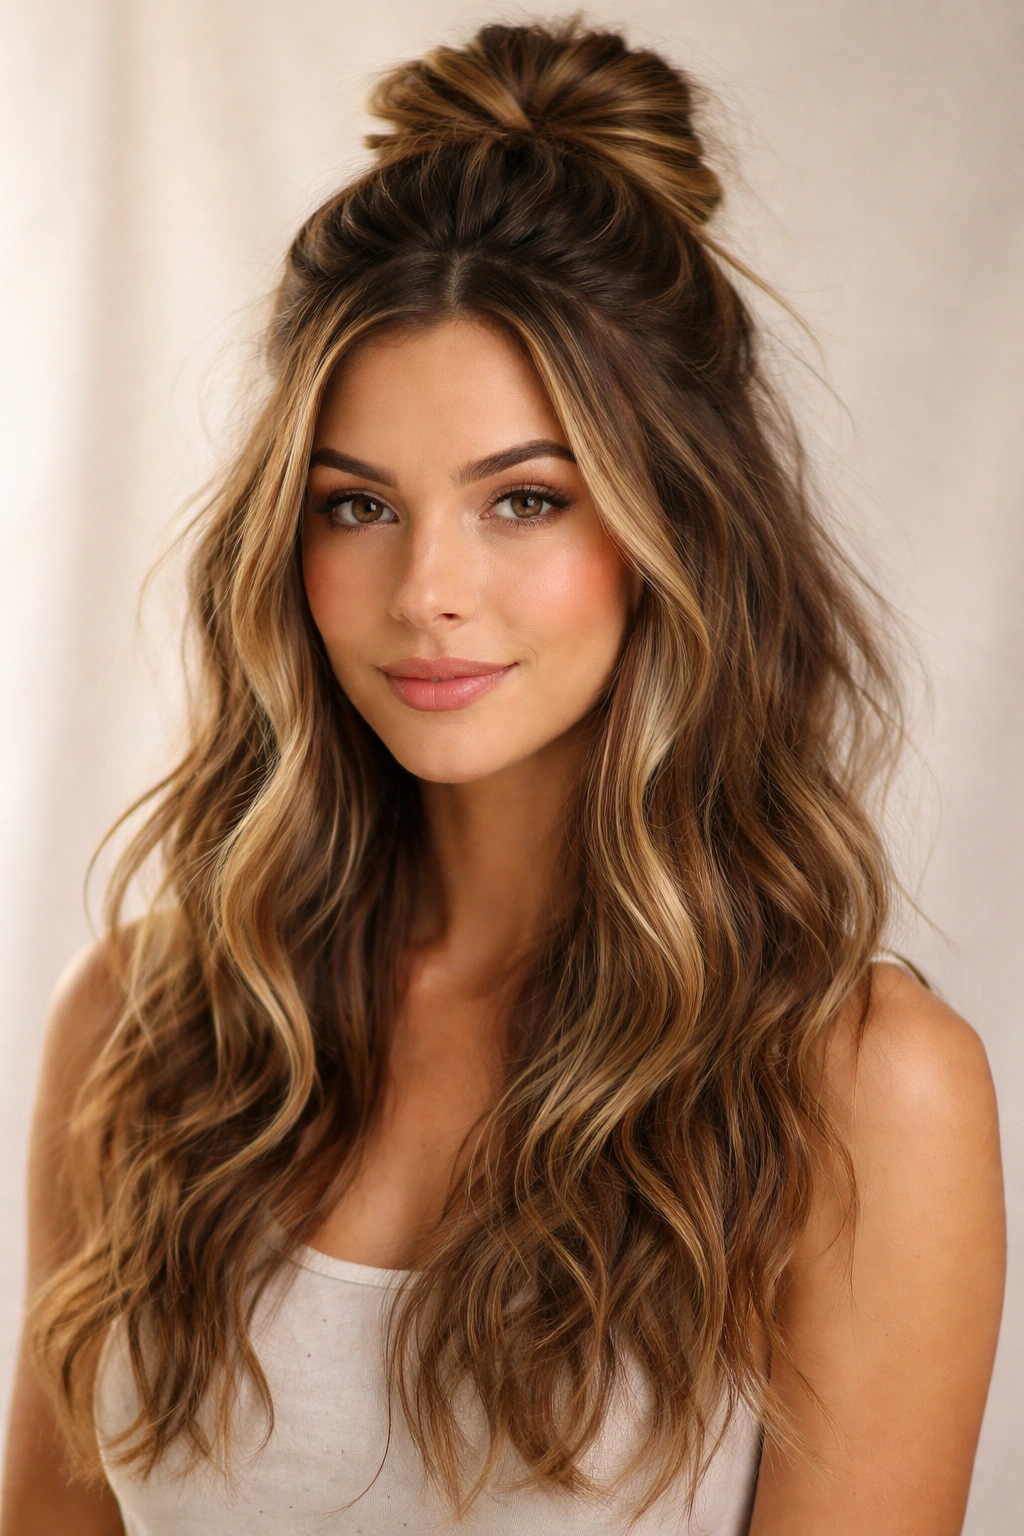
Sometimes you want to show off your waves and keep your hair partially down. A half-up bun gives you the best of both worlds: the neatness of an updo paired with the romance of loose waves. This style is particularly flattering for wavy hair because it creates a focal point at the crown while letting the rest of your waves do what they do best—frame your face and add dimension.
Creating Height and Movement
Start by taking a section of hair from one side of your head, roughly from your temple back to behind your ear. Clip this section away temporarily. Do the same on the other side. Now you have the bottom half of your hair loose and the top half separated into two sections. Bring the two clipped sections together at the back of your head, between your crown and the nape of your neck, and secure them with a clear elastic. This creates your half-up base.
Take the elastic-secured section and gently pull it apart with your fingers, creating a loose, textured club. Don’t form a tight bun—you want it to look casually gathered. Twist it loosely and wrap the twisted section around itself, pinning as you go. The key is leaving pieces loose enough that waves escape naturally. Your bottom-half waves should move freely, creating a soft frame for the gathered-but-loose bun at the back.
Styling Specifics for Waves
The texture of your waves means you don’t need the bun to be perfectly round or contained. Uneven, piecey texture actually reads as intentional rather than messy when you have wave patterns already working in the background. Let strands fall where they want to fall. If a chunk of your wave escapes the bun entirely, tuck it behind your ear or let it curve against your shoulder—both look equally styled.
Expert Details That Elevate the Look
- Smooth the top section with a light styler or shine spray before securing the half-up base—this creates contrast between the polished crown and the textured bun and loose waves
- Add a bobby pin that matches your hair color through the base of the bun to anchor it, but make it invisible—clip it through the gathered hair at the elastic
- Gently brush out the secured section before you wrap it to add fluffiness, then twist loosely so waves remain visible
3. The Textured Crown Bun
This style leverages the fact that wavy hair has natural sections and dimension. You’re not trying to smooth everything into a sleek bun—instead, you’re emphasizing the separations and texture your waves already have. The result looks architectural and deliberately styled rather than hastily thrown together. It’s perfect for someone who wants to keep their hair up but wants the updo to feel modern and effortless.
Building Structure From Your Natural Texture
Gather your hair high, at the crown, into a ponytail. But here’s the key difference from a standard messy bun: instead of immediately making a bun shape, you’re going to section your ponytail. Divide it into four to six roughly equal subsections, holding each one separately. Take the first section and twist it loosely, then wrap it around the ponytail base and pin it. Move to the next section, twist it slightly differently—maybe in the opposite direction—and wrap it next to the first section. Continue with each subsection, varying your twist direction slightly each time. This creates a bun that looks like distinct sections of texture rather than one uniform gathered knot.
Creating Visual Complexity
The magic of this style is that each subsection’s twist catches light differently and reveals your wave pattern at different angles. When you look at the finished bun straight on, you see geometric texture. From the side, you see the dimension of your individual waves. The variation also means that if some strands fall loose from the pins, it looks intentional because the whole structure is already built on visible texture and separation.
Technical Details
- Use four to six bobby pins per subsection, spacing them so they anchor the twist securely but aren’t visible from the front or back
- After you’ve pinned all subsections, take two fingers and gently pull sections of the twist apart, increasing the volume and making the texture more pronounced
- Lightly mist the finished bun with flexible hold spray—this sets the texture without making it feel crunchy
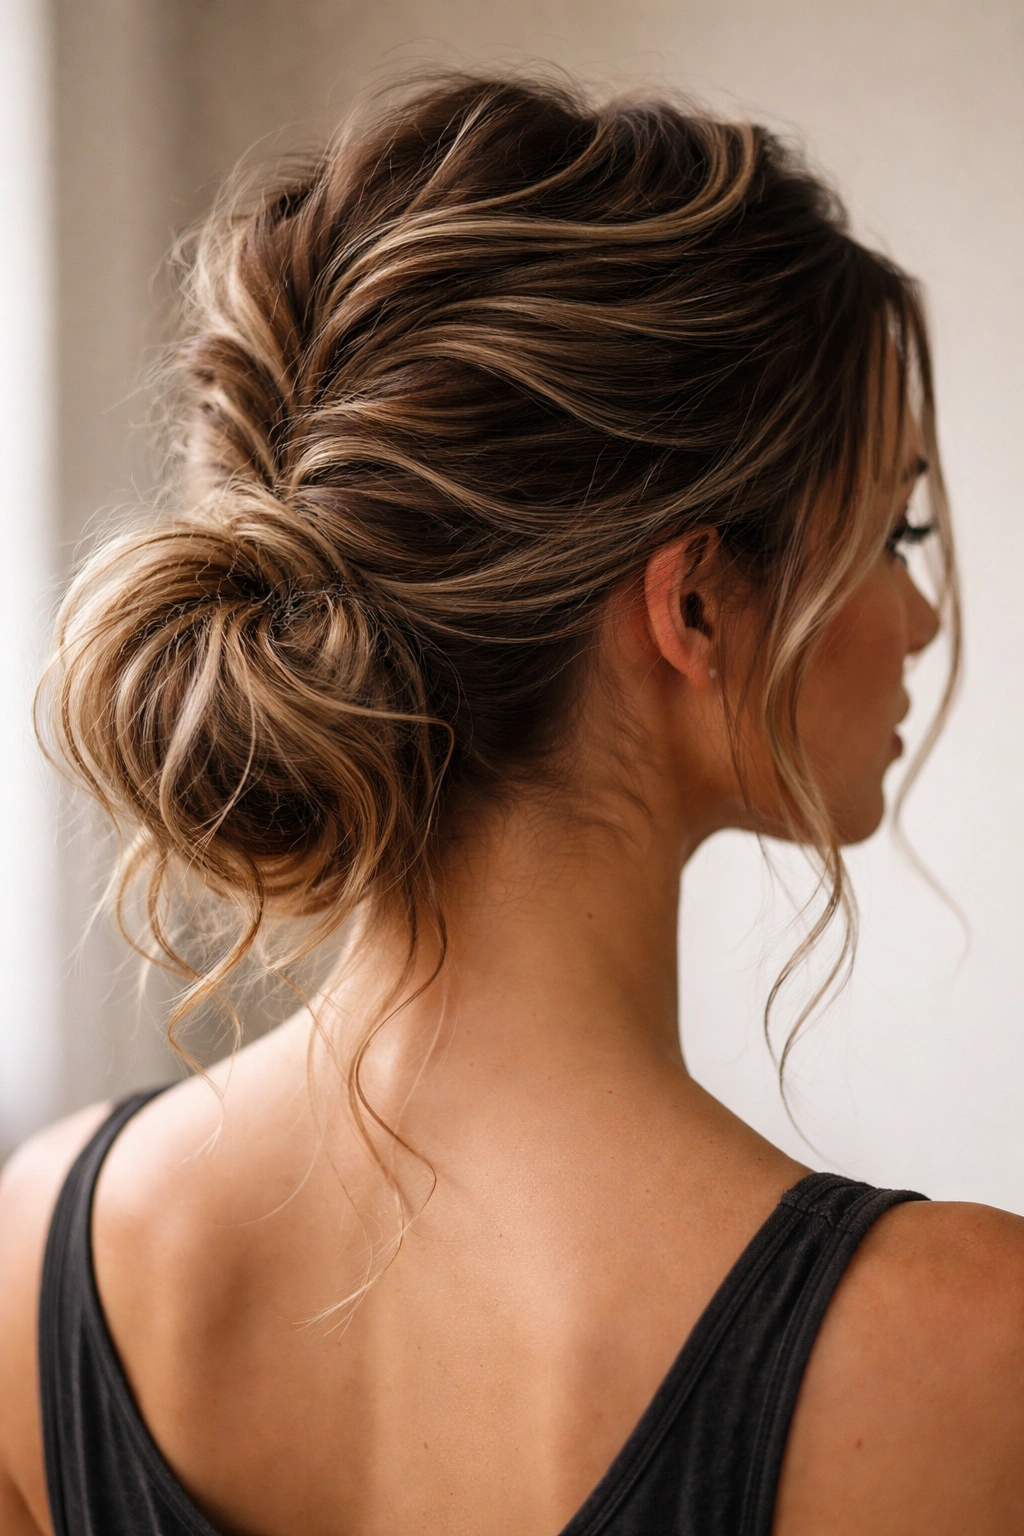
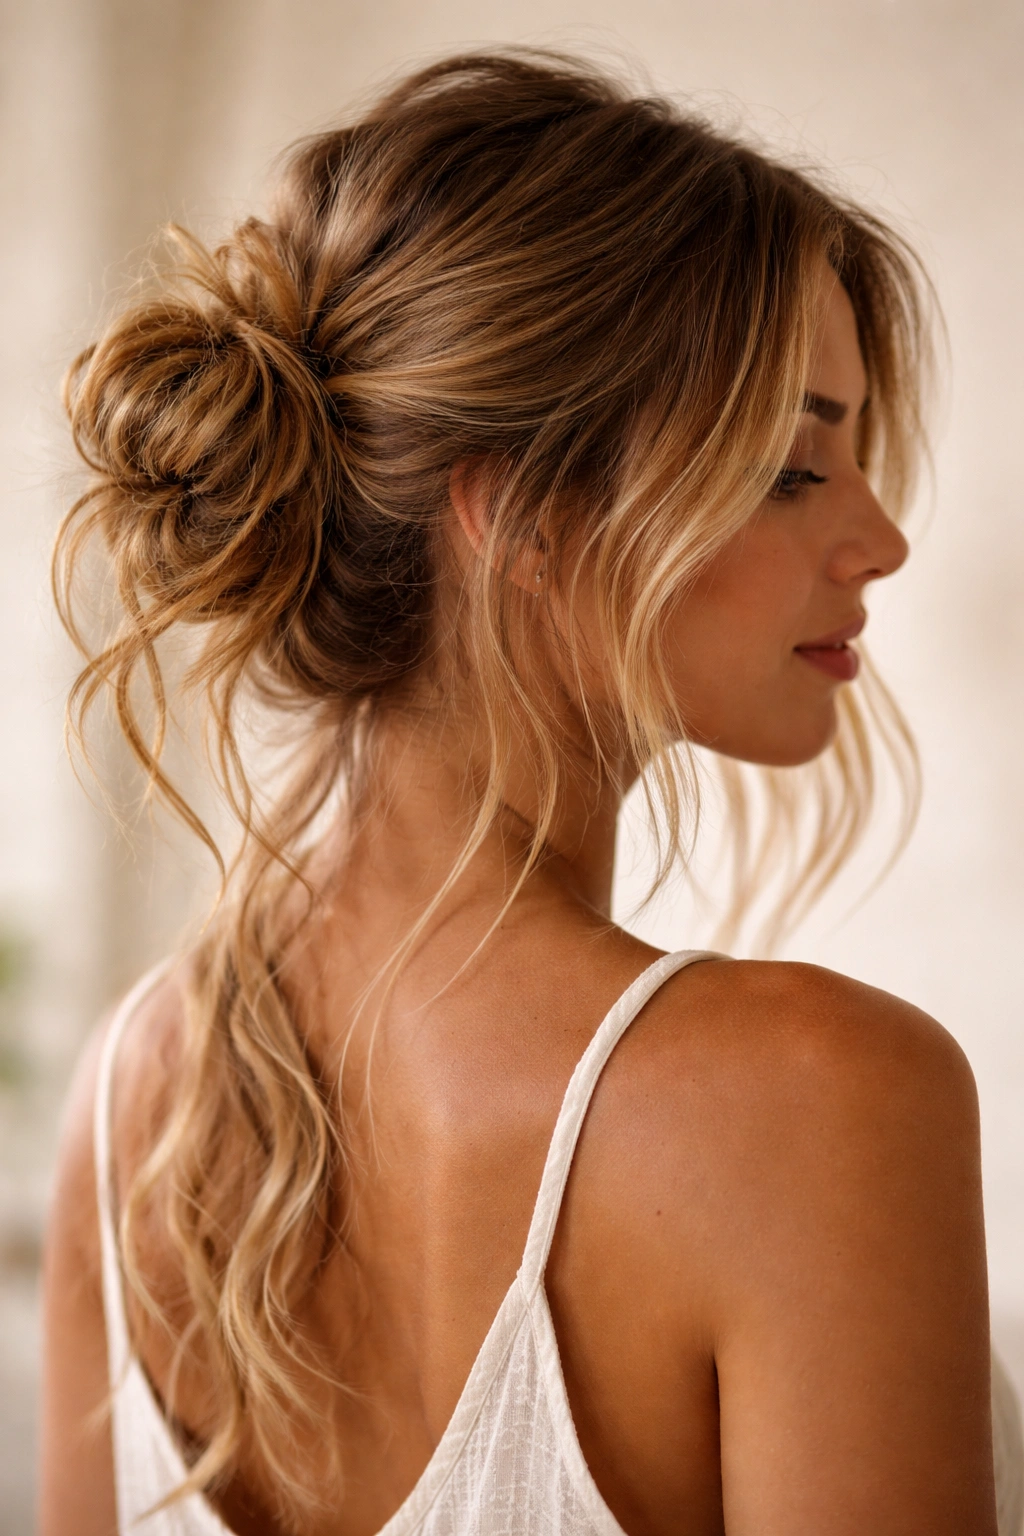
4. The Low Wavy Nape Bun
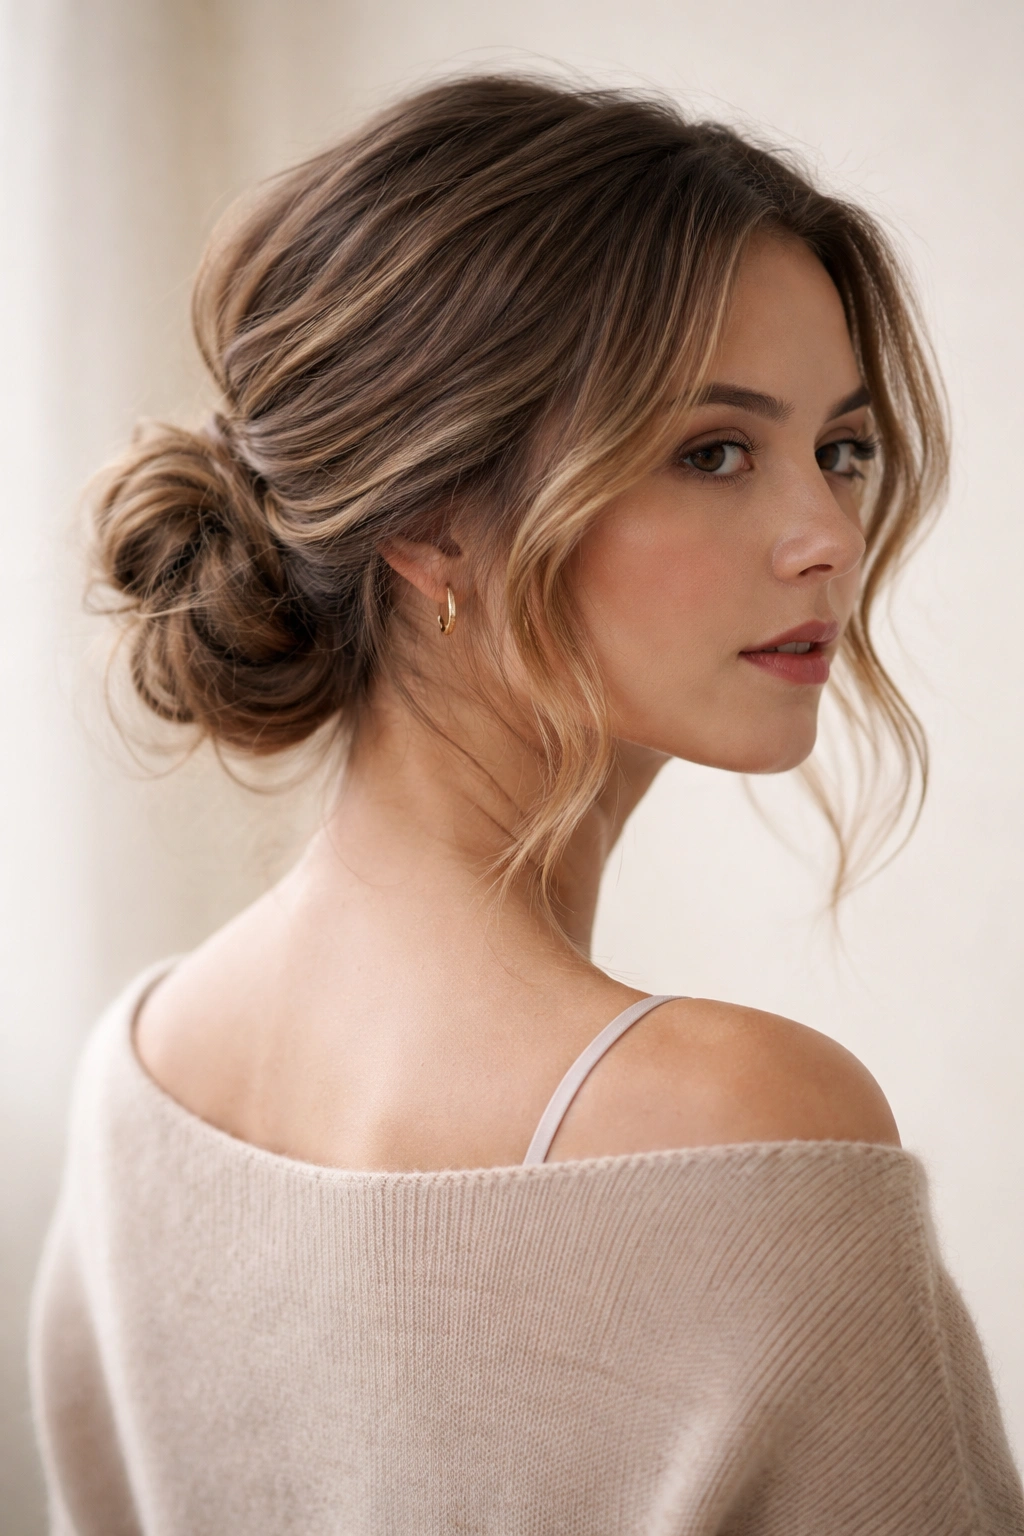
A low bun positioned right at the nape of your neck hits a sweet spot where messy buns look intentional and chic. This placement is particularly flattering if you have a longer face shape or if you want to show off your neck and shoulders. The low position also means you have more room to let waves escape and frame your face without the bun feeling top-heavy.
Positioning for Proportion
Instead of gathering your ponytail at the crown, position it just below where your ear ends, roughly two to three inches above the nape of your neck. This lower placement feels more relaxed and works beautifully with wavy hair because your crown waves stay visible. Secure the ponytail with an elastic, then take the gathered hair and separate it into two loose sections. Twist each section individually—one clockwise, one counterclockwise—and wrap them around each other and the elastic base.
The lower position gives you natural advantages: there’s less tension on your scalp, so the style is more comfortable for all-day wear. Your waves at the crown have room to be prominent, which actually adds balance to a lower bun. The nape area of wavy hair often has slightly tighter, bouncier waves, which means the bun sits beautifully textured and full even without aggressive styling.
Why Low Works Best on Wavy Hair
Straight hair often needs a higher bun position to look intentional; otherwise it can read as droopy or unfinished. Wavy hair is the opposite—a low bun looks sophisticated because the waves provide constant movement and visual interest that a sleek style would lose. Your crown waves naturally direct attention upward, creating a flattering frame even when the bun itself is positioned low.
Execution Tips
- Section your hair at the nape using dry shampoo or texture spray applied to the roots for extra grip
- Pancake the finished bun slightly to add volume without it looking forced
- Leave at least two face-framing pieces; this softens the look and prevents it from feeling overly pulled-back
5. The Spiral Wrapped Bun
This style looks more intricate than it actually is, which makes it perfect for days when you want to look polished but don’t want to spend significant time styling. You’re essentially creating a spiral pattern with your hair before forming the bun, and your waves provide the texture that makes this technique work. The spiral creates visual interest while the waves ensure nothing looks too structured or severe.
Creating the Spiral Effect
Gather your hair into a high ponytail. Take a small section from the bottom of your ponytail—roughly an inch—and twist it loosely. As you twist, gradually incorporate more hair from the remaining ponytail, twisting the new section into your existing twisted strand. This creates a continuous spiral that uses up your entire ponytail. As you’re building the spiral, let your waves show—don’t pull the twist too tight. Uneven, piece-y texture actually enhances this style.
Once your spiral uses all your hair, wrap it around the base of your ponytail in a coil pattern, pinning as you go. The spiral creates a bun that has clear directional movement; it’s not a random gathered shape but a deliberate, flowing form. Your waves add softness to what could otherwise feel too structured.
Making the Spiral Look Effortless
The finishing touch is crucial here: gently pull sections of your spiral apart with your fingers after you’ve pinned it, deliberately making it less tight. This “pancaking” technique instantly makes the spiral look less formal and more intentionally undone. The waves breaking out of the spiral strands look like they’re meant to be there.
Professional Styling Notes
- Start your spiral with a very loose twist—this prevents the bun from looking tight or overly controlled
- Let the spiral naturally curve as you wrap it; fight the urge to form it into a perfect circle
- Use pins that match your hair color and place them strategically so they don’t interrupt the visual line of the spiral
- Light texture spray helps the spiral hold its shape without feeling crispy
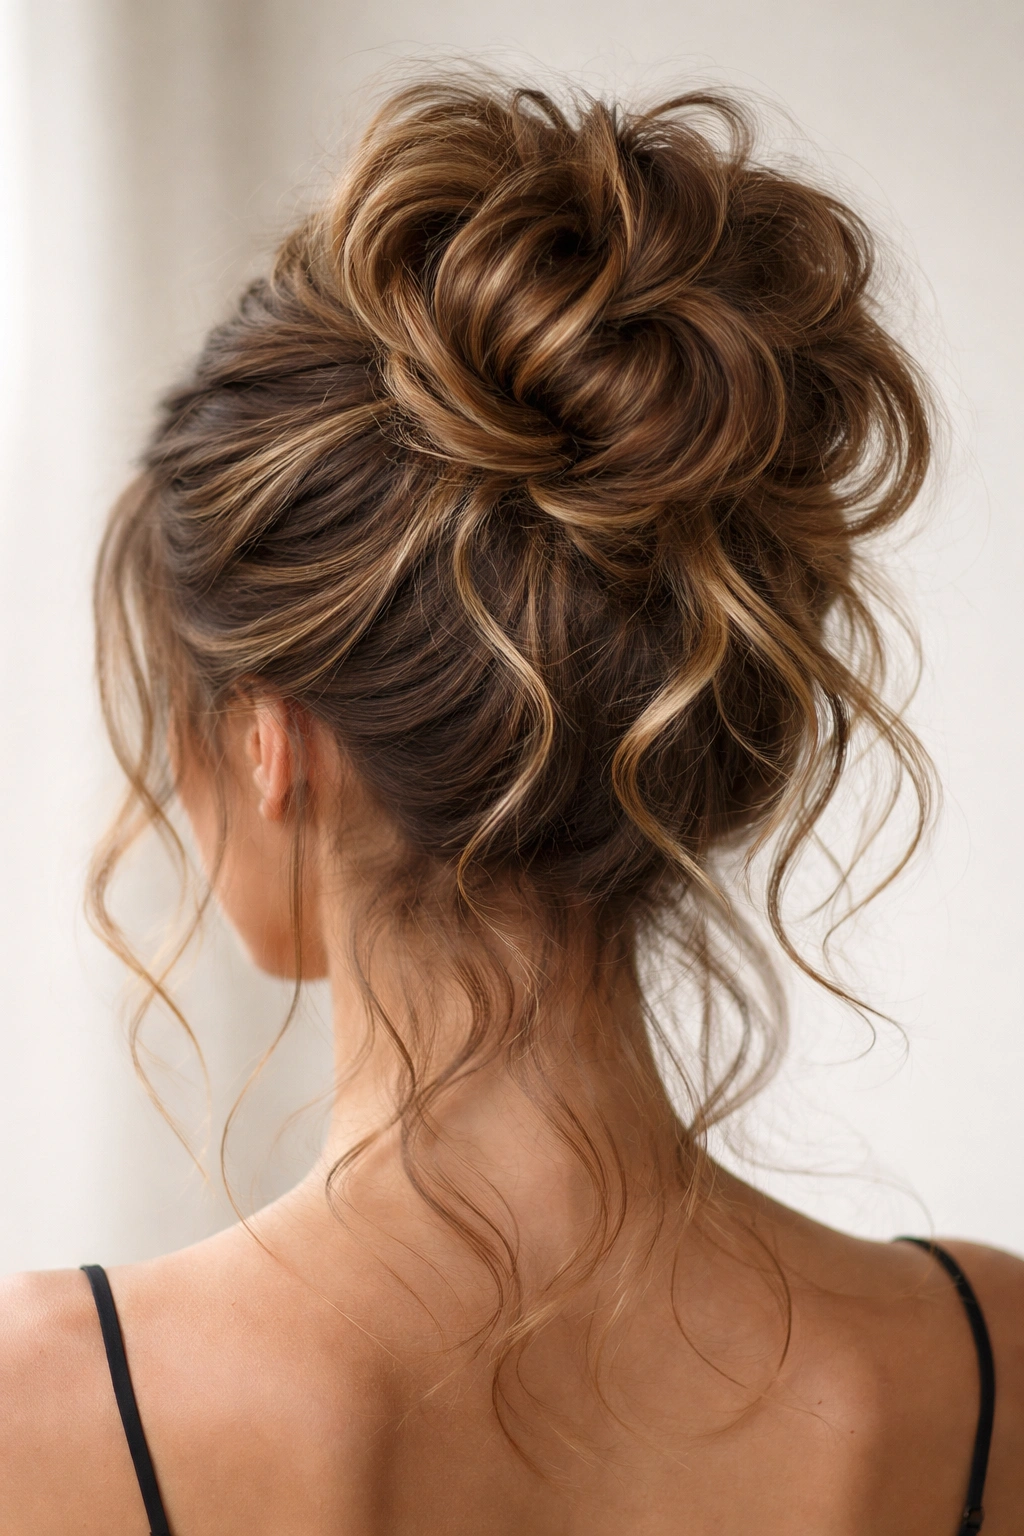
6. The Oversized Romantic Bun
For those days when you want maximum impact with minimal effort, an oversized messy bun is pure wavy-hair magic. This style emphasizes volume and softness, creating a bun that looks far more deliberate and styled than how long it took to create. The oversized quality works specifically well on wavy hair because your texture provides natural fullness that straight hair would need products and teasing to achieve.
Building Volume Strategically
Start with a high ponytail at your crown, but here’s the trick: do not pull it as tight as you normally would. You want a loose, voluminous ponytail that has space and movement. Divide this ponytail into two to three sections. Take the first section and create a loose loop without tightening the elastic—just fold the hair back and pin it at the ponytail base. Don’t tuck the end of this loop into itself; let it extend outward. Take your second section and loop it around the base of the first loop, pinning it so it sits slightly above or beside the first. If you have a third section, wrap it around the entire bun structure, letting it drape and hang loosely.
The result is a bun that’s not round but rather organic and full, with distinct loops and folds visible. Your waves create peaks and valleys throughout the structure—this is exactly what you want.
Enhancing the Romantic Aesthetic
Leave face-framing pieces free before you start the ponytail. These softly waving pieces should curve around your face, creating a frame for your features. The oversized bun at the back becomes a statement, while the frame softens the overall look. This combination feels both effortless and intentionally styled.
Key Details for Success
- Backcomb or tease the sections of your ponytail before looping them—this adds volume and grip without products
- After you’ve pinned all your loops, gently pull sections of each loop outward and downward to increase overall size
- Leave some ponytail hair unlooped and let it hang; tuck it behind your ear or let it cascade down one side for added romance
- Mist lightly with flexible hold spray to set the waves within the bun structure
7. The Faux Hawk Messy Bun
Want to push beyond classic bun territory? A faux hawk with a messy bun at the back is edgy, modern, and surprisingly easy to execute on wavy hair. Your waves provide the texture needed to make the hawk dramatic, and the messy bun at the nape keeps it from feeling too severe or punk rock.
Building the Faux Hawk Structure
Start at your hairline and gently backcomb a strip of hair from your forehead to the crown. This creates the height and volume of your “hawk.” You’re not creating a spiky Mohawk—the goal is a subtle ridge of lifted volume. Use a fine-toothed comb and backcomb gently; you want texture, not aggressive knots. Smooth the top surface of this backcombed section with the comb, keeping the fluffy interior intact.
Smooth your side sections toward the back of your head, tucking them into a low bun at the nape of your neck. Use bobby pins to secure the side sections into this back bun, anchoring them firmly so they don’t slip forward. Your faux hawk ridge should be clearly visible from the front, and the gathered bun should contain all the side and back hair.
The wave pattern in your backcombed hawk section makes it look intentional; the texture reads as deliberate styling rather than accidental volume. Meanwhile, the bun at the back anchors the entire look and keeps it from feeling too edgy.
Making It Work
- Don’t backcomb the entire length of each hawk section; do most of the heavy backcombing at the roots and gently taper it out as you move toward the crown
- Leave some face-framing waves in front of your ears if you want to soften the look
- Use bobby pins vertically along your hawk ridge to give extra structure if needed
- Finish with texture spray on the hawk section to ensure it holds all day
8. The Side-Swept Messy Bun
This style skews feminine and playful, working beautifully on wavy hair because the side sweep naturally follows your wave patterns. Everything about this look feels intentionally soft rather than accidentally undone. It’s particularly flattering if you have bangs or longer face-framing layers.
Creating Dramatic Side Placement
Gather your hair to one side of your head—ideally quite far to the side, so when you form the bun, it sits near or slightly past your ear. This dramatic side placement is the entire concept, so commit to it. Secure your side ponytail with an elastic, then create your messy bun by dividing the ponytail into two sections, twisting each loosely, and wrapping them around the base in opposite directions.
The key is letting your waves fall and move down the side of your neck and shoulder. Don’t worry about loose pieces; the whole point is that this bun is decidedly undone. The side placement means longer waves can fall from the bun and create a cascading effect, which is particularly stunning on wavy hair.
Styling for Drama
- Use a light texturizing spray on the entire side ponytail before you create the bun; this adds grip and makes the waves more pronounced
- After you’ve pinned the bun, gently pull it apart to increase volume
- Brush out some of the bun structure so strands fall free and frame your face and neck
- Consider doing a light wave pattern on the opposite side of your head with a straightener or curling iron to enhance the asymmetrical aesthetic
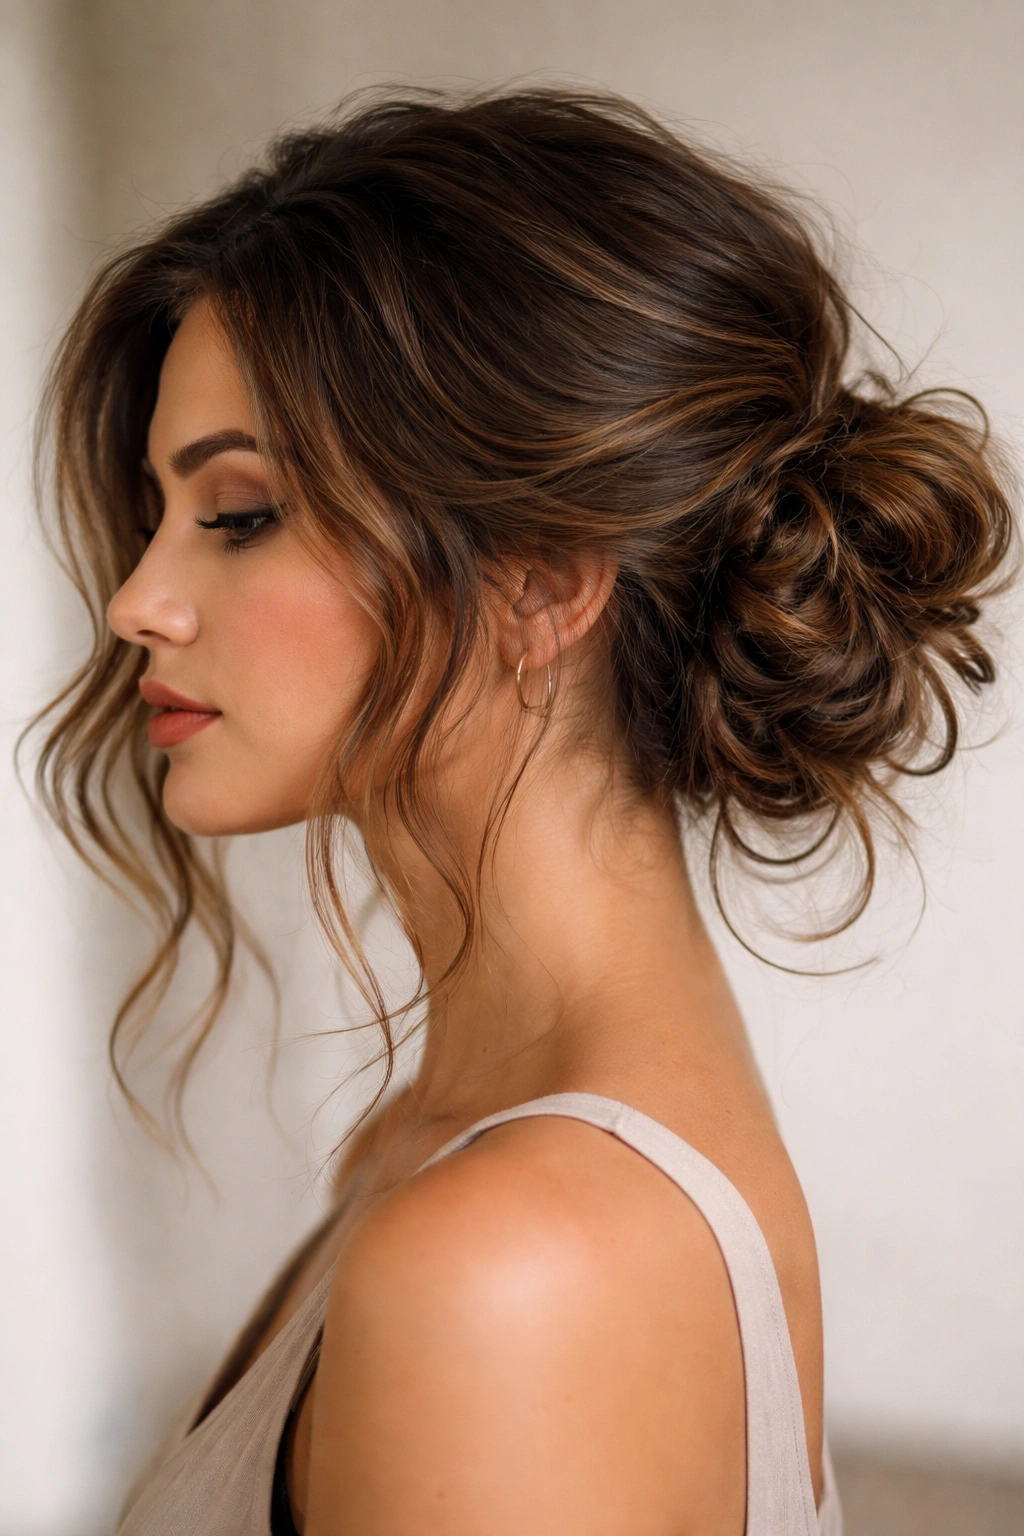
9. The Piecey-Texture Bun With Face-Framing Waves
This style celebrates the individual wave pattern of your hair rather than trying to tame it into uniformity. You’re keeping substantial pieces of hair loose and wavy at the front while gathering the bulk of your hair into a bun, creating a look that’s equal parts “I took time to style” and “this is just how my hair naturally does.”
Strategic Sectioning Technique
Before you create your ponytail, section out two to four larger pieces from the front of your head. These should start somewhere around your temples and extend back to around your ears. Clip these pieces away. Now create your ponytail with the remaining back and side hair, positioning it high at the crown. Secure and create your messy bun using your preferred technique—twisting, wrapping, and pinning.
Once your bun is complete, release your clipped front sections one at a time. Curl them around your face with a curling iron or let your natural waves define them. These pieces should be noticeably wavy and dimensional, creating obvious contrast with the textured bun at the back.
Why This Works
The face-framing pieces draw attention to your eyes and cheekbones, while the bun keeps hair off your neck and shoulders. The contrast between the loose, flowing front pieces and the gathered bun feels intentional and modern rather than accidentally messy.
Technical Execution
- Section your front pieces slightly thicker than you think you need; it’s easier to tuck a piece back than to release more hair
- Use a large-barrel curling iron on the front pieces if your natural waves need enhancement, working away from your face
- Keep the bun intentionally piecey and loose so it matches the energy of your face-framing waves
- Light flexible hold spray on both the bun and the front waves helps everything last longer
10. The Double Twisted Bun

This sophisticated style uses two twisted sections that weave together, creating a bun that looks complex and styled. The double twist anchors better on wavy hair than a single twist, which means this style holds beautifully throughout the day without excessive pinning.
Constructing the Double Twist
Create a high ponytail at your crown, positioned slightly to one side of center—this asymmetry adds visual interest. Divide your ponytail into two equal sections. Twist the right section tightly, then twist the left section in the same direction. Now cross the right twisted section over the left and wrap them both around the ponytail base, creating a bun where both twists spiral together. Pin carefully so the twists stay interlocked. The visual result is a bun with clear, distinct lines showing where each twist sits.
The tight twist grips your wavy hair securely, and the intertwining of the two twists creates a structure that’s incredibly stable. You get a bun that looks intentionally woven rather than randomly gathered.
Styling for Dimension
- Pancake the bun gently after pinning to add volume and make the twist lines more visible
- Let small pieces escape from the twists naturally; they’ll curl and frame the bun beautifully
- Use bobby pins that match your hair color at the twists’ intersection points for invisible anchoring
- A light mist of flexible hold spray helps maintain the twisted structure
11. The Undone Beachy Bun
This is the ultimate expression of effortless style on wavy hair. You’re essentially just gathering your waves loosely at the back of your head and securing them barely enough to call it a bun. The result looks like you spent twenty minutes at the beach and grabbed your hair without thinking—but actually, it’s a completely wearable, intentional style.
Minimal-Effort High-Impact Technique
Use a dry texture spray on your hair before you start, working it through and enhancing your natural waves. Gather your hair loosely at the back of your head, roughly at your crown or slightly lower depending on your preference. Use a claw clip, silk scrunchie, or minimal elastic—the goal is to barely secure your hair, not pull it into a tight ponytail. Take the gathered hair and loosely twist it once or twice, then let most of it fall out of the gathering.
What you end up with isn’t a structured bun but rather a loose, casual knot of wavy hair that looks accidentally put together. Some of your hair will escape, some will hang in loops, and some will fall in waves around your face and neck. That’s exactly the point.
The Beachy Wave Component
Enhance your natural waves with a salt spray or texture spray to make them bouncier and more defined. The texture creates the entire aesthetic here—you’re not relying on clean technique but on the beauty of your wave pattern. This works best on day-two or day-three hair when your waves are already set and textured.
Why Less Is More
- Avoid bobby pins if possible; use a clip or elastic as your only fastening
- Let roughly 30 to 40 percent of your hair fall loose from the gathering
- Tousle the gathered portion once it’s clipped to break it up further
- Use sea salt spray or beach-texture spray as your only product; this enhances waves without making hair feel product-heavy
12. The Bubble Bun With Waves
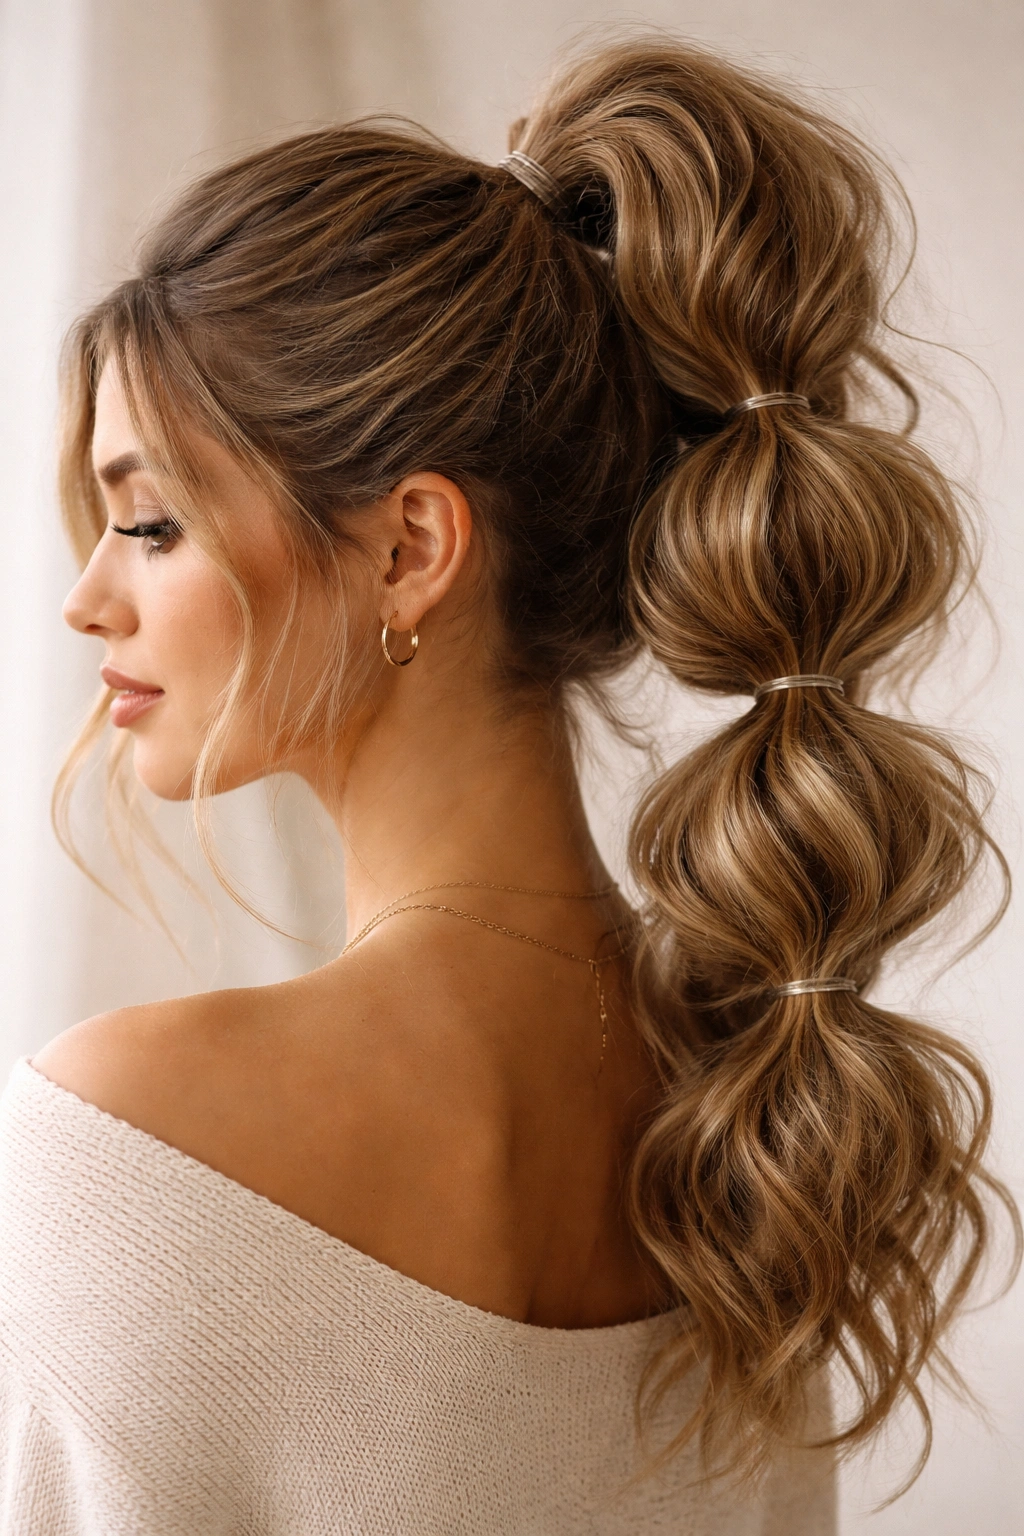
This playful, trendy style creates a series of distinct bulges along a central ponytail, and it works particularly well on wavy hair because each bubble gets its own textured dimension. The bubbles catch light differently because your waves create uneven surfaces, making the style look far more interesting than it would on straight hair.
Sectioning and Securing Technique
Create a high ponytail at your crown. Below the elastic, place a second elastic roughly one inch down from the first, creating a “bubble” of hair between the two elastics. Gently pull and fluff this bubble outward to increase volume. Now place a third elastic one inch below the second, creating a second bubble. Repeat this process down the length of your ponytail, creating four to six bubbles depending on your hair length. Space each elastic consistently so the bubbles are similarly sized.
Once all your bubbles are created, gently pull each bubble outward and downward, pancaking it so it looks fuller and less tight. The waves within each bubble create texture that makes it look intentionally styled.
Styling the Bubbles
- Use clear elastics so they’re less visible, or match the elastic color to your hair
- Leave the very bottom section of hair (below your last elastic) loose and wavy as a finishing tail
- Pancake each bubble in a slightly different direction—some outward, some downward, some to the sides—to create visual variation
- Use hair texture spray before you create the bubbles so your waves are more defined within each section
- The wave texture within each bubble is the entire point; don’t smooth it out
Final Thoughts
Messy buns on wavy hair aren’t about fighting your natural texture or trying to make something perfect—they’re about leaning into what your hair already does beautifully. Your waves create grip, dimension, and movement that straight hair can’t replicate, which means these styles look intentionally styled rather than accidentally sloppy. Whether you’re going for effortlessly romantic, edgy, or playfully undone, your wave pattern gives you the foundation to make any of these styles work.
The best part about wavy-hair messy buns is how forgiving they are. If a section escapes your pins, it looks intentional because the surrounding waves already created texture. If your bun is slightly lopsided, it reads as part of the undone aesthetic rather than a styling mistake. Your natural hair texture does half the work for you, which means you get to spend less time styling and more time living your life with a hairstyle that actually works with your hair instead of against it.