A high ponytail is one of those hairstyles that should be simple — pull your hair up, secure it, and you’re done. But anyone who’s experienced the frustration of their ponytail drooping by midday knows that simplicity and staying power don’t always go hand in hand. The difference between a ponytail that slides down and one that holds strong from morning through evening comes down to technique, product choice, and the specific method you use to secure everything.
The good news? There are proven high ponytail styles that genuinely stay put all day without requiring constant adjustments or leaving your scalp sore by evening. These aren’t complicated styles that require an hour at the salon — they’re practical, wearable approaches that work whether you’re heading to the office, the gym, or a full day of errands. The key is understanding what makes a ponytail stable: proper tension distribution, strategic anchoring points, and the right combination of products and hair accessories to lock everything in place.
What makes certain high ponytails more secure than others has to do with how the weight is distributed, where the tension sits on your scalp, and whether you’re using techniques that create multiple anchor points instead of relying on a single hair tie. Some styles work better for fine, slippery hair. Others are engineered for thick, heavy hair that needs extra grip. A few are genuinely universal because they use layering and structural techniques that work regardless of hair type.
Below are twelve battle-tested high ponytail styles that actually stay up all day. Each one includes the specific technique that makes it hold, the products that reinforce the hold, and honest tips about which hair types it works best for.
1. The Classic High Ponytail with Styling Cream
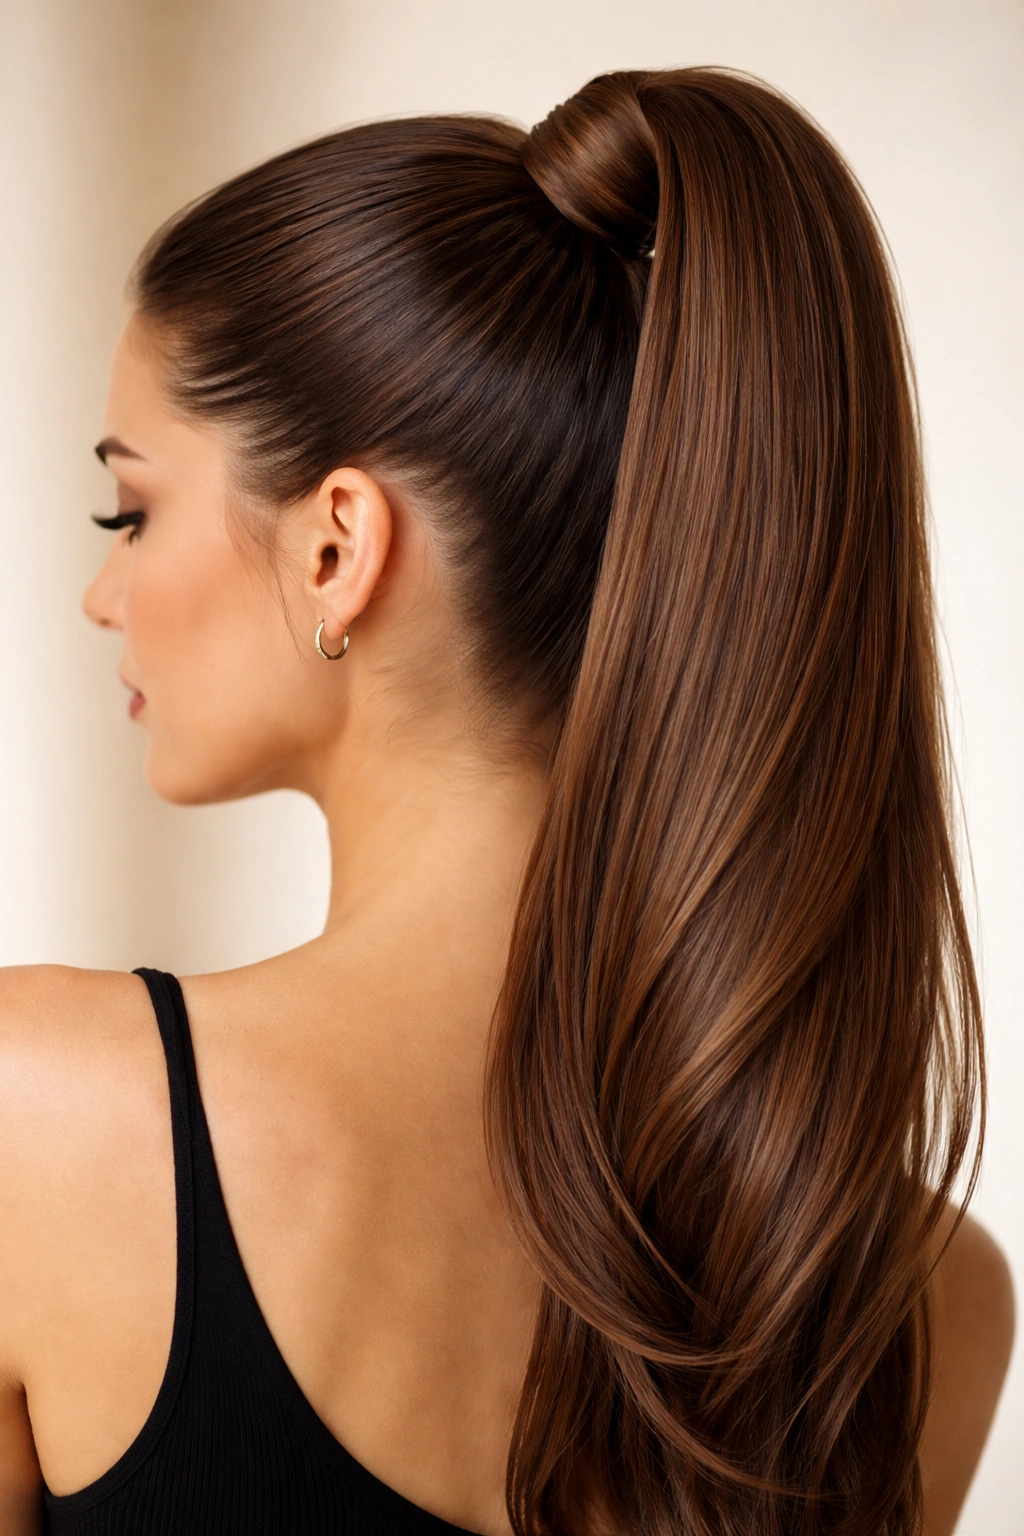
This isn’t your basic everyday ponytail — it’s the refined version that uses a smoothing product to create grip and eliminate flyaways. The styling cream acts as a bonding agent between your hair and the hair tie, making slipping nearly impossible.
Why It Stays Put All Day
Styling cream (or pomade, or edge control) creates friction that prevents the hair tie from sliding. Unlike plain hair without product, creamed hair has enough tackiness that the elastic grips it securely. The product also flattens the hair surface, which means less hair is needed to create a full-looking ponytail — fewer strands means less weight pulling down, and less weight means better staying power throughout the day.
How to Create It
Start by applying a dime-sized amount of styling cream to your palms, then run your hands through your hair from roots to mid-length, focusing on smoothing everything backward. Use a fine-tooth comb to gather your hair into a high position at the crown, combing out any bumps or uneven sections as you go. Secure with a elastic hair tie, then take a small section from the ponytail itself, wrap it around the base of the tie to hide it, and pin it underneath with a bobby pin. This wrapped-base technique adds visual polish and reinforces the hold.
Best For
This works beautifully for straight to wavy hair and medium to thick textures. Fine or very slippery hair benefits most from this method because the product fills in gaps and increases grip.
Pro tip: Use a lightweight styling cream rather than a heavy pomade — it provides grip without weighing your ponytail down or leaving visible residue on your hair.
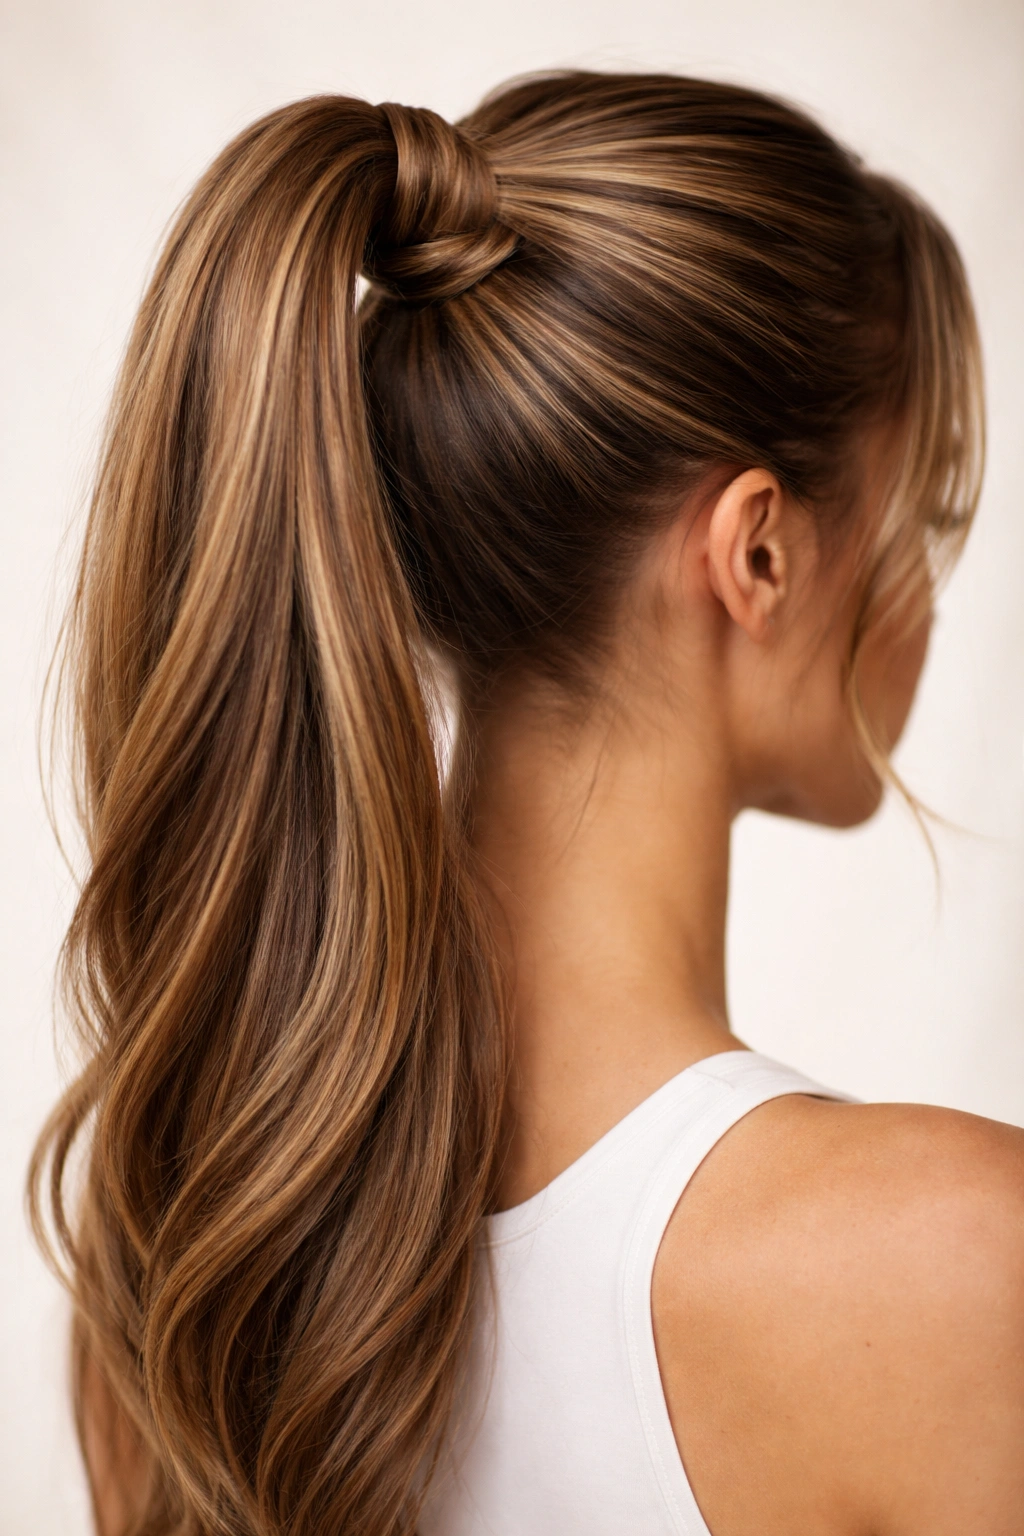
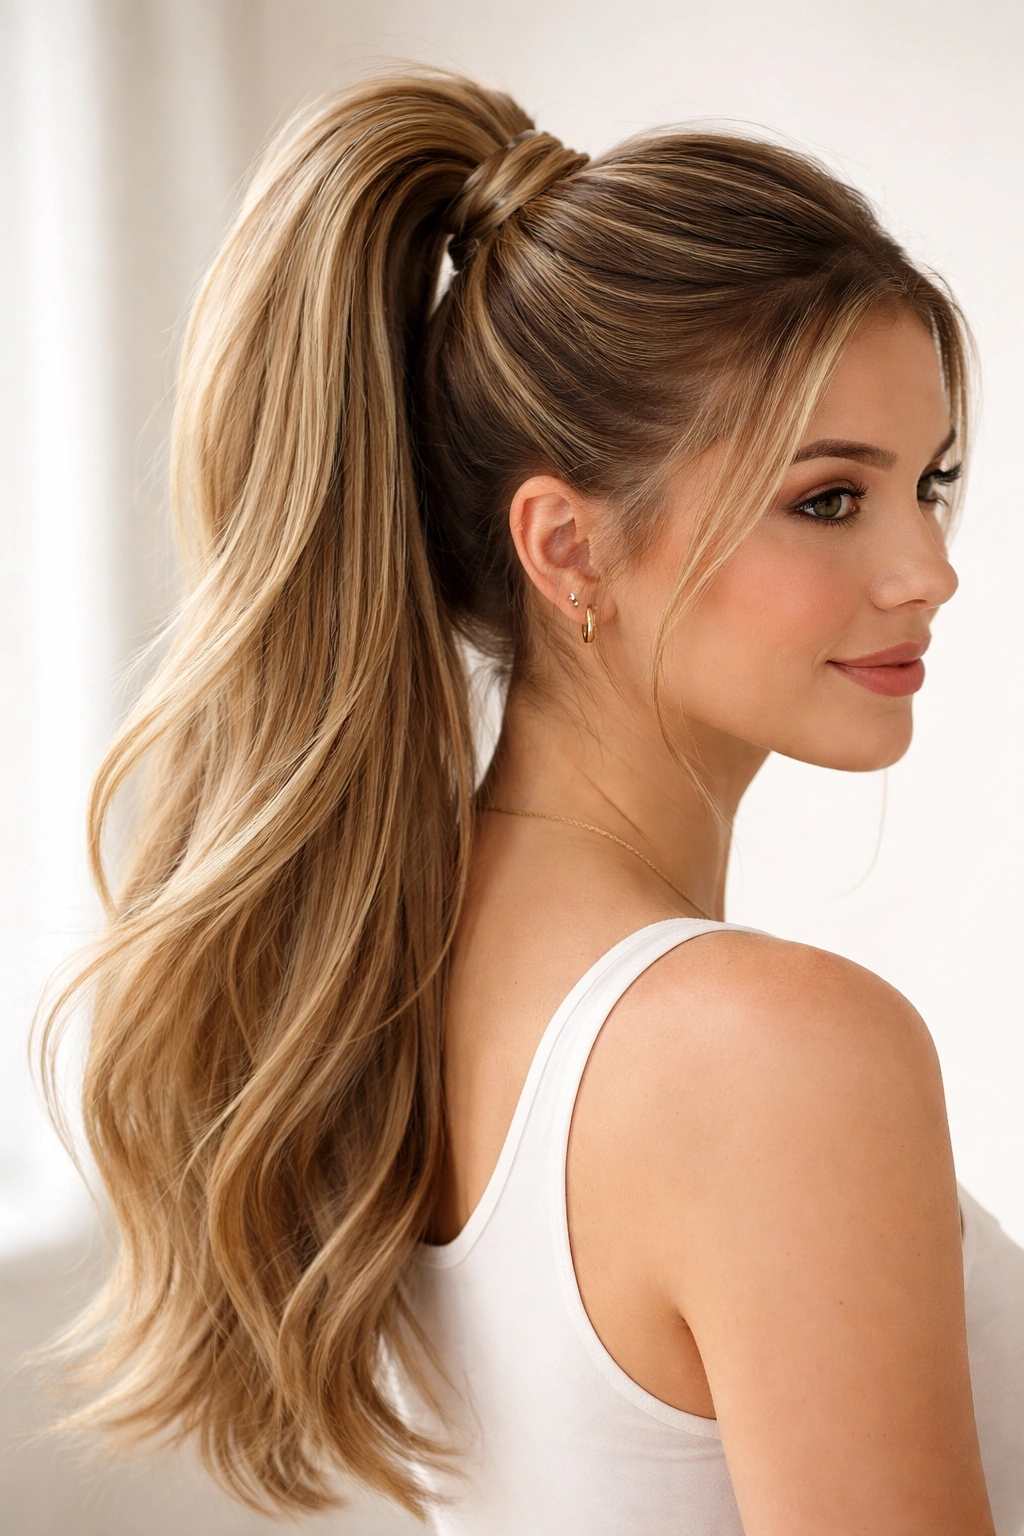
2. The Wrap-Around High Ponytail
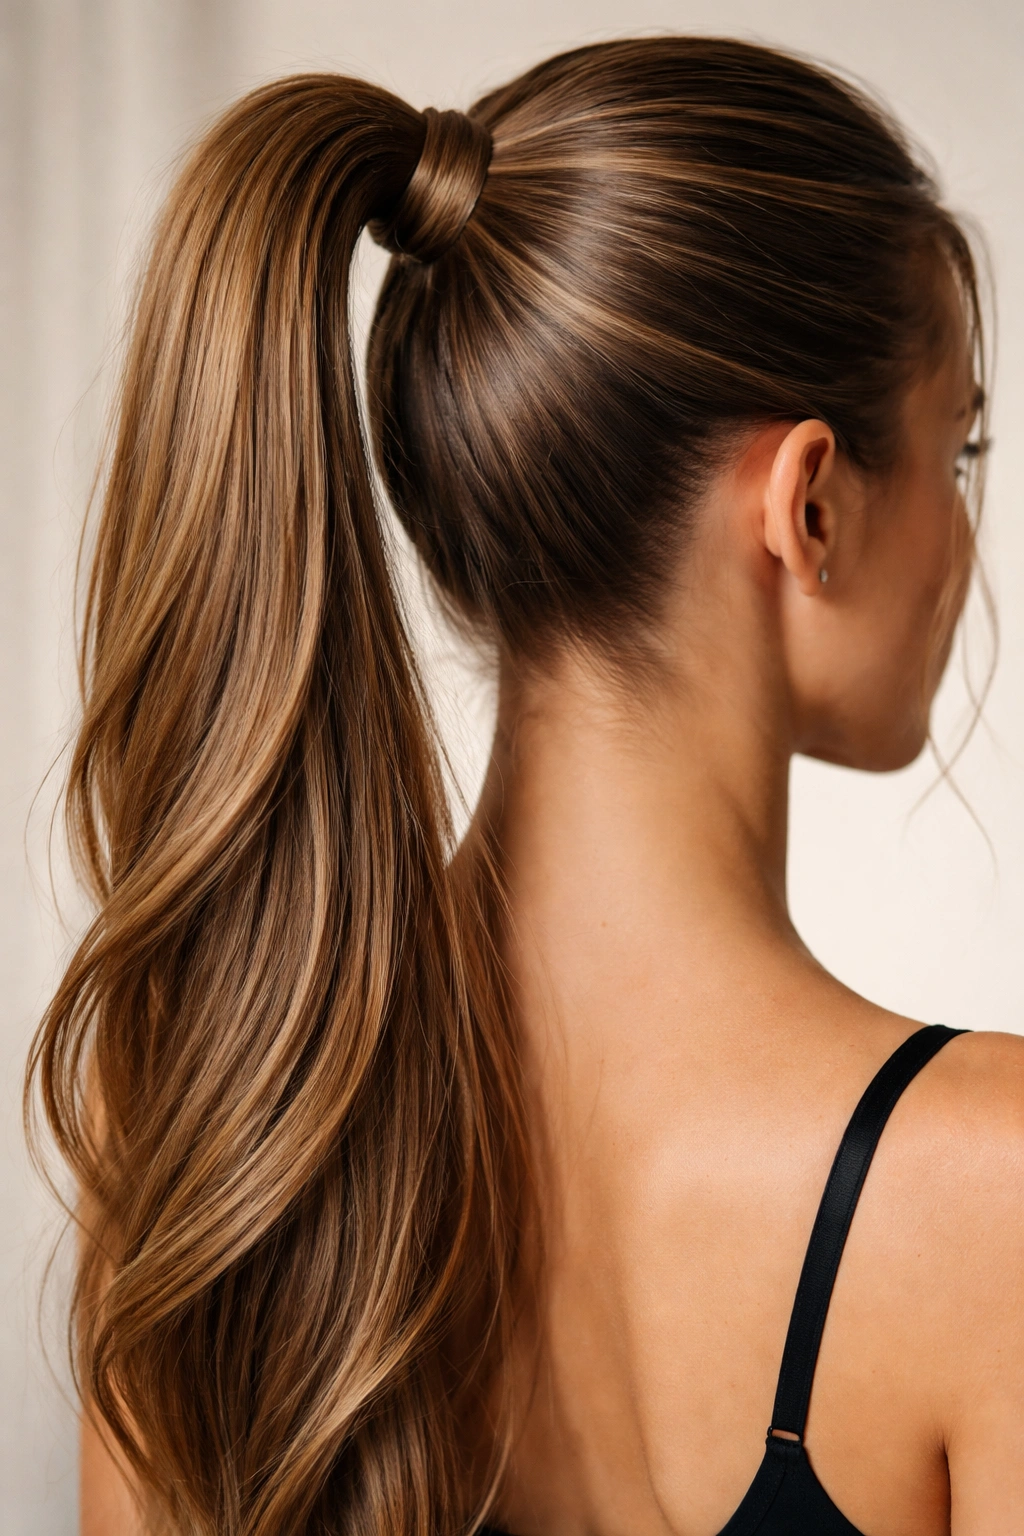
This style creates a secondary anchor point by wrapping a small section of hair around the base of your ponytail — a technique borrowed from formal styling. The wrapped section holds the main tie in place and prevents downward slipping.
Why It Stays Put All Day
By wrapping a strand around the elastic, you’re essentially creating a second fastening mechanism. The elastic is now sandwiched between two layers: the main ponytail and the wrapped strand. This doubles the contact points between hair and tie, exponentially increasing hold. The wrapped section also distributes tension more evenly across the base, so no single elastic is bearing all the weight.
How to Create It
Gather your hair into a high ponytail and secure it loosely with an elastic — intentionally leave it slightly loose. Take a thin section (about the thickness of a pencil) from the ponytail itself, and wrap it tightly around the base of the elastic, spiraling downward. Secure the wrapped strand with a bobby pin or small clip tucked underneath and hidden by the ponytail. Tighten the main elastic once the wrap is secure, which will lock everything into position.
Best For
This works for all hair types and textures. It’s particularly effective for fine or slippery hair because the wrapped strand creates extra grip, and it’s equally effective for thick hair because the technique distributes weight intelligently.
Worth knowing: Use a hair tie color that matches your hair so the wrap blends seamlessly, or use a decorative clip if you want the wrap to be a visible design element.
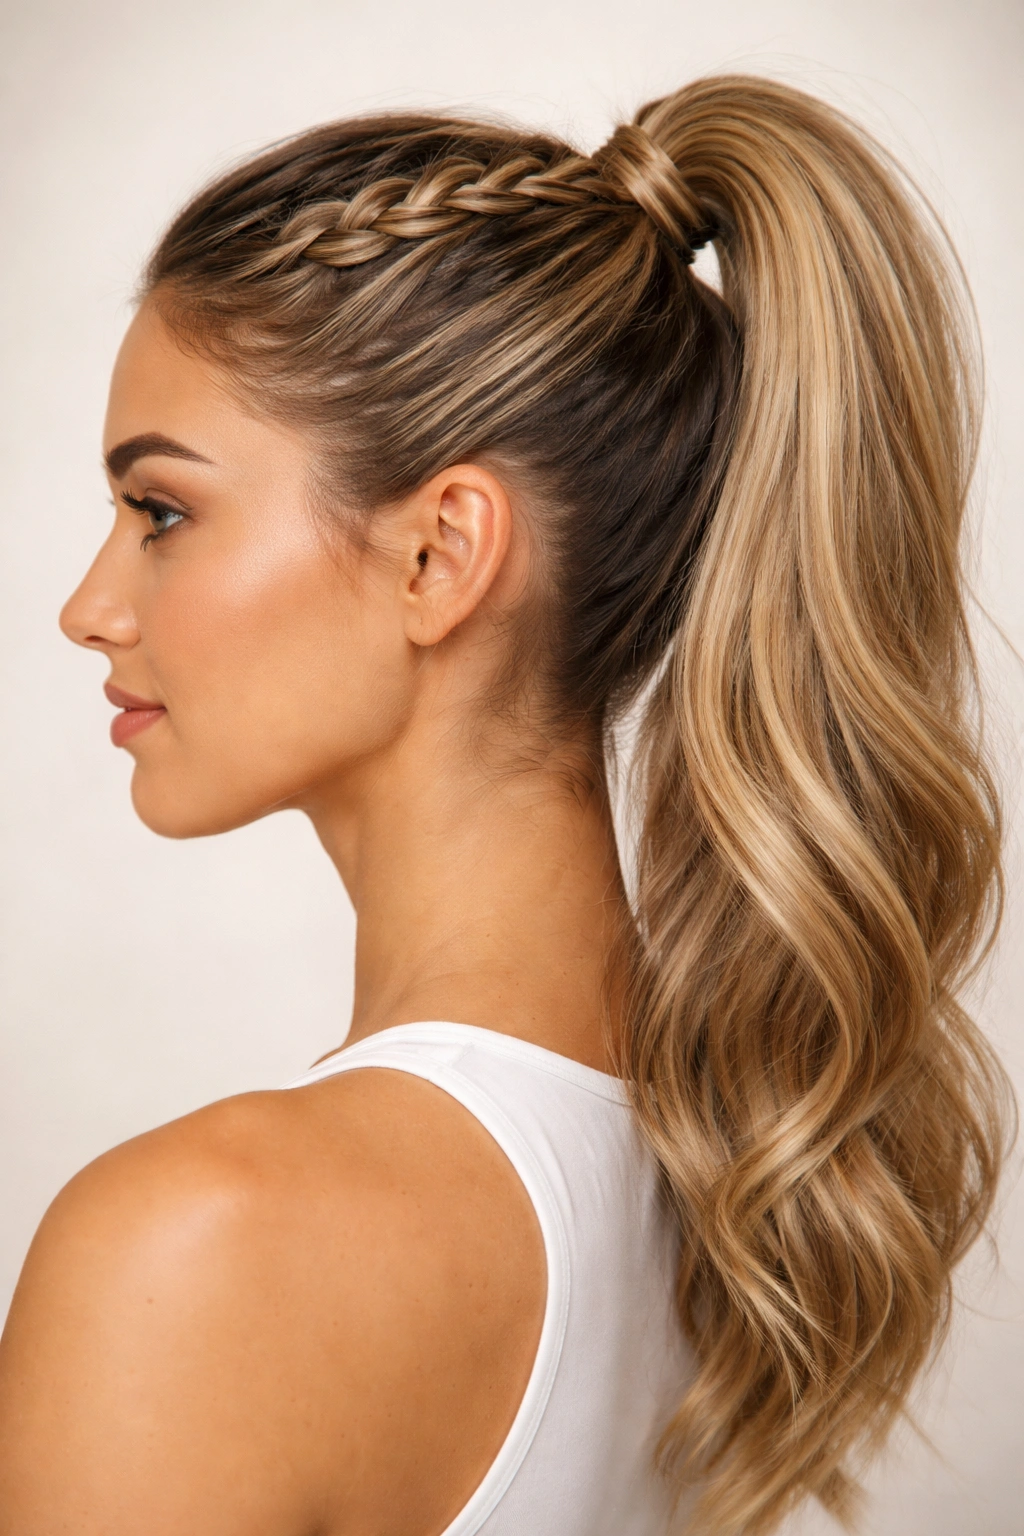
3. The Braided Crown High Ponytail
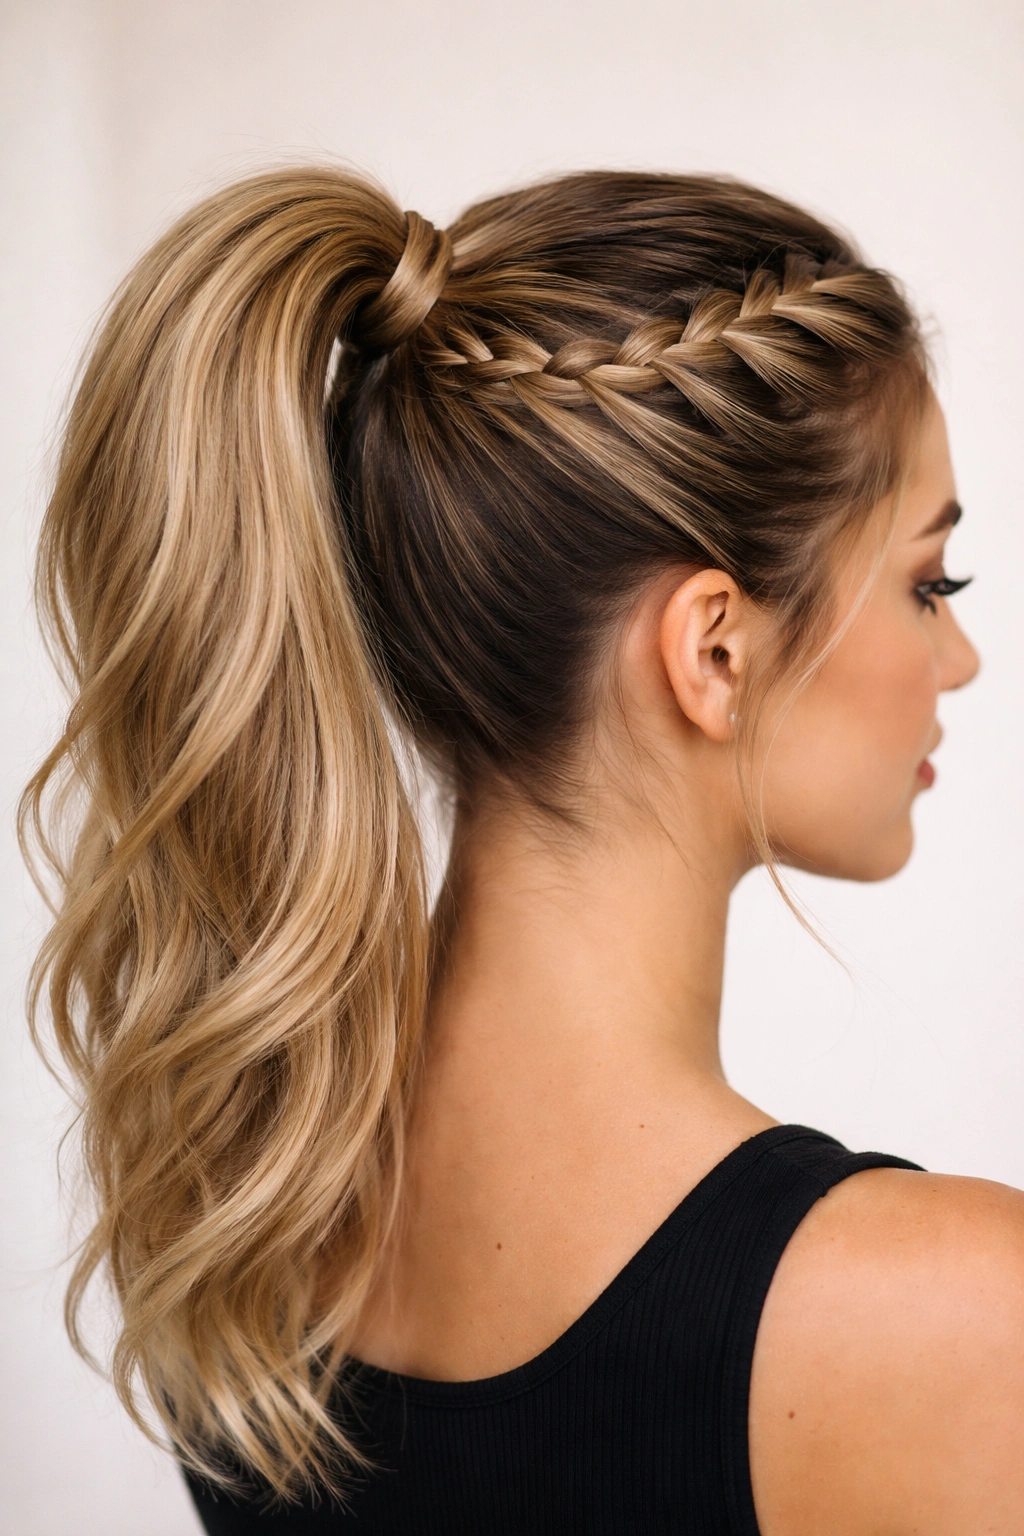
Starting with a braid removes loose hairs from the equation and creates a tighter, more structured base. Braiding also builds texture, which creates grip, making it harder for a hair tie to slip.
Why It Stays Put All Day
A braid compresses hair tightly and removes individual strands that can slip past an elastic. When you secure braided hair with a tie, you’re not dealing with hundreds of individual hairs — you’re dealing with a unified, compressed structure. Additionally, braids create texture and a slightly rougher surface, which gives the elastic something to grip. The braid also distributes weight evenly from scalp to ponytail base, reducing the concentrated pull that causes drooping.
How to Create It
Section off a crown-area of hair from temple to temple across the top of your head. Create a Dutch braid (braid that goes down and inward) along this section, working from one side toward the center back. Once you reach the center back of your head, release the braid and gather all your hair — including the loose hair below the crown and the braided section — into a high ponytail. Secure with an elastic and smooth any flyaways with product.
Best For
This style works beautifully for wavy and curly hair, where braids create natural grip. It also works well for straight hair if you backcomb gently before braiding to add texture.
Insider note: Slightly dampen your hair before creating the crown braid — damp hair braids more tightly and holds the braid structure longer than completely dry hair.
4. The Teased and Volumized High Ponytail
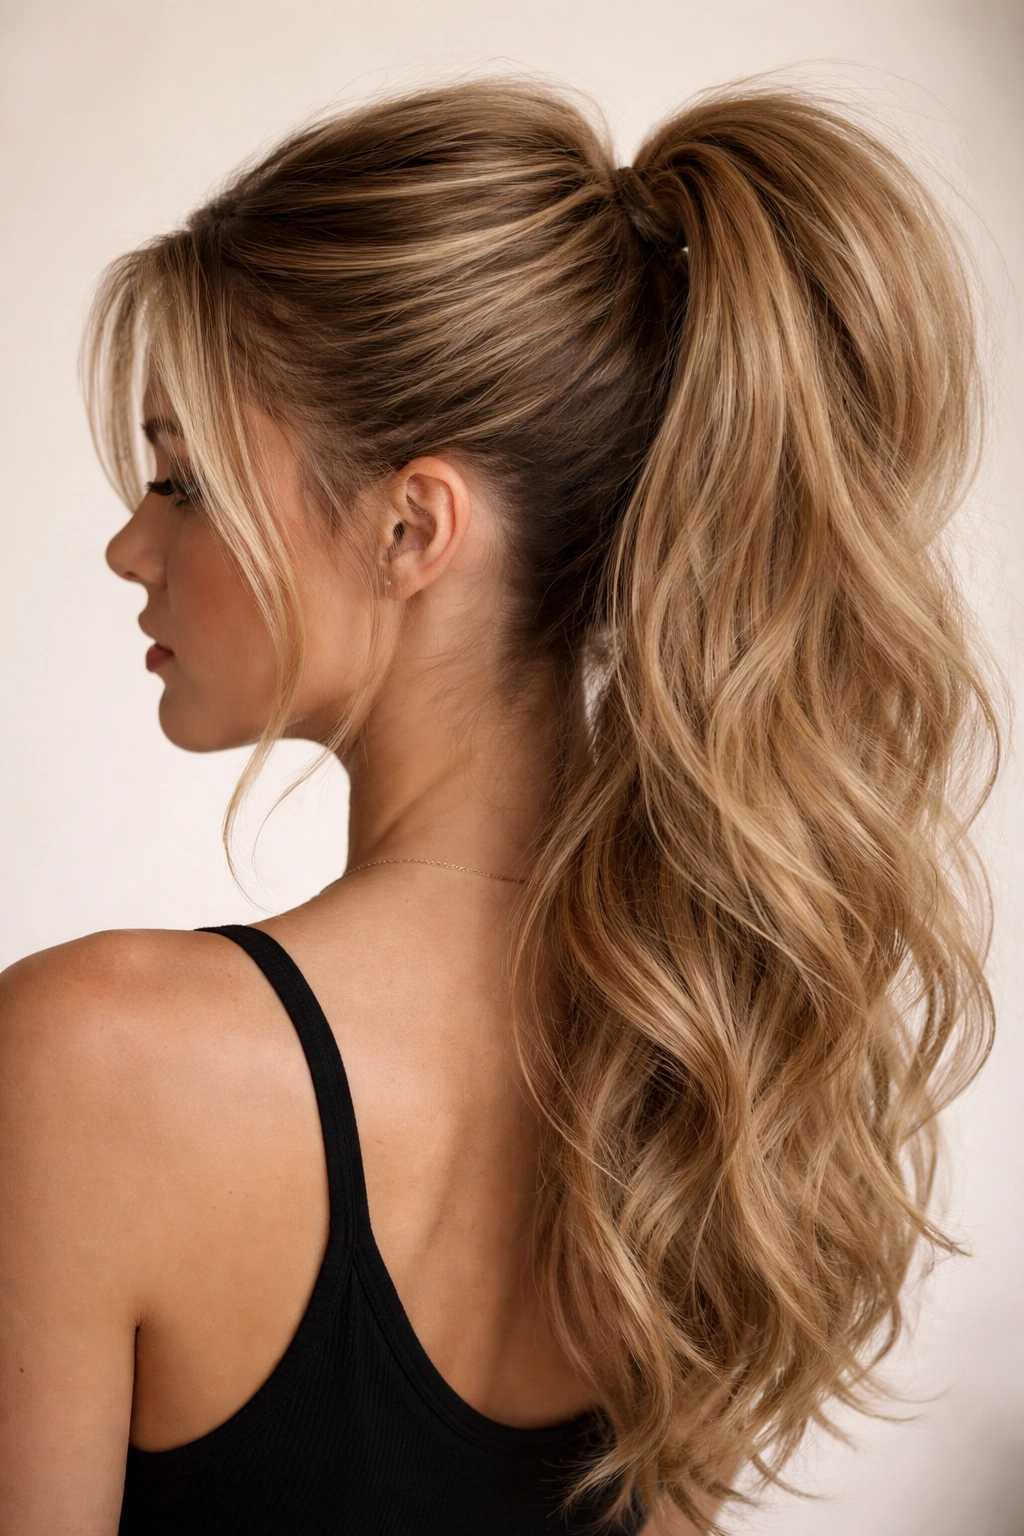
Backcombing (also called teasing) at the crown and ponytail base creates texture and grip. The intentional fuzziness holds the hair tie in place more securely than smooth hair.
Why It Stays Put All Day
Smooth hair slides easily past elastic ties. Textured, backcombed hair grabs and holds. When you gently backcomb at your crown, you’re creating a velcro-like surface that the elastic can grip. At the ponytail base specifically, backcombing prevents the tie from slipping down because it’s catching against roughened hair rather than sliding against smooth strands. The volume also distributes weight more effectively — instead of having all your hair’s weight concentrated at the tie, it’s dispersed through the teased section.
How to Create It
Spray the crown area lightly with volumizing spray. Using a fine-tooth comb or teasing brush, gently backcomb small sections at the crown in short, downward strokes, lifting each section up after teasing. Don’t go crazy — you want texture, not a matted mess. Smooth the top layer gently with the comb to tame flyaways while keeping the backcombed texture underneath. Gather your hair into a high ponytail. At the base, gently backcomb a small band of hair just above the elastic to add extra grip, then smooth the outer layer.
Best For
This technique works for all hair types. Finer hair benefits because teasing adds the grip that natural texture might lack. Thicker, naturally textured hair also benefits because it adds definition and structure to already-present volume.
Pro tip: Use a teasing brush with close, fine bristles rather than a regular brush — it grabs hair more effectively and causes less breakage.
5. The Twisted Double-Strand High Ponytail
This style uses two twisted sections that wrap around the main ponytail, creating multiple anchor points and distributed tension. It’s more secure than a single wrapped section because the weight is split between two strands.
Why It Stays Put All Day
Two anchor points are stronger than one. By creating two twisted sections from either side of your ponytail and wrapping them both around the base, you’re creating a more stable structure. The two twisted sections also support each other — if one section shifts slightly, the other keeps it in place. Additionally, twisting creates enough texture that the sections grip the elastic more securely than smooth hair would.
How to Create It
Gather your hair into a high ponytail and secure it with an elastic. Take a thin section from the right side of the ponytail, twist it tightly (working from base to tip), and wrap it around the elastic base from right to left. Secure with a bobby pin. Repeat on the left side, wrapping from left to right so the two twisted sections interlock slightly around the base. Tuck pins underneath so they’re hidden. Smooth any flyaways with a smoothing product.
Best For
This works exceptionally well for medium to thick hair, where two twisted sections have enough substance to create real structural support. Fine hair can use this technique too, but thinner twisted sections are less visible, so consider using it primarily for the grip benefit rather than as a style statement.
Worth knowing: Twist tightly rather than loosely — a tight twist holds its shape better throughout the day and creates more grip against the elastic.
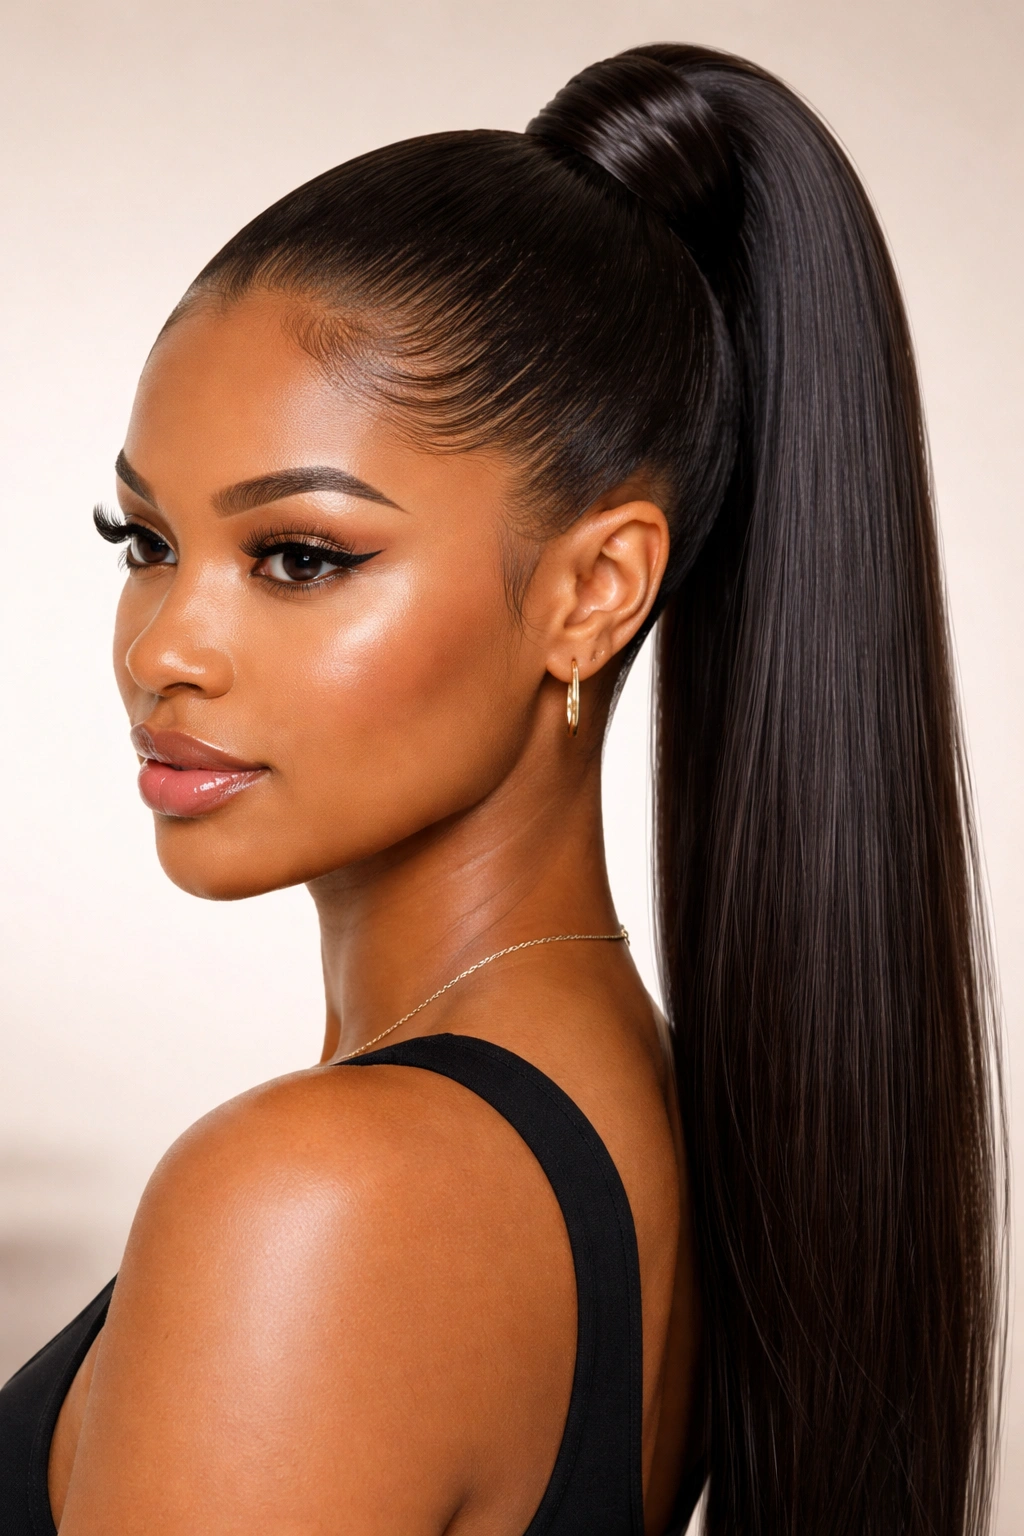
6. The Sleek With Concealing Hair Tie Ponytail
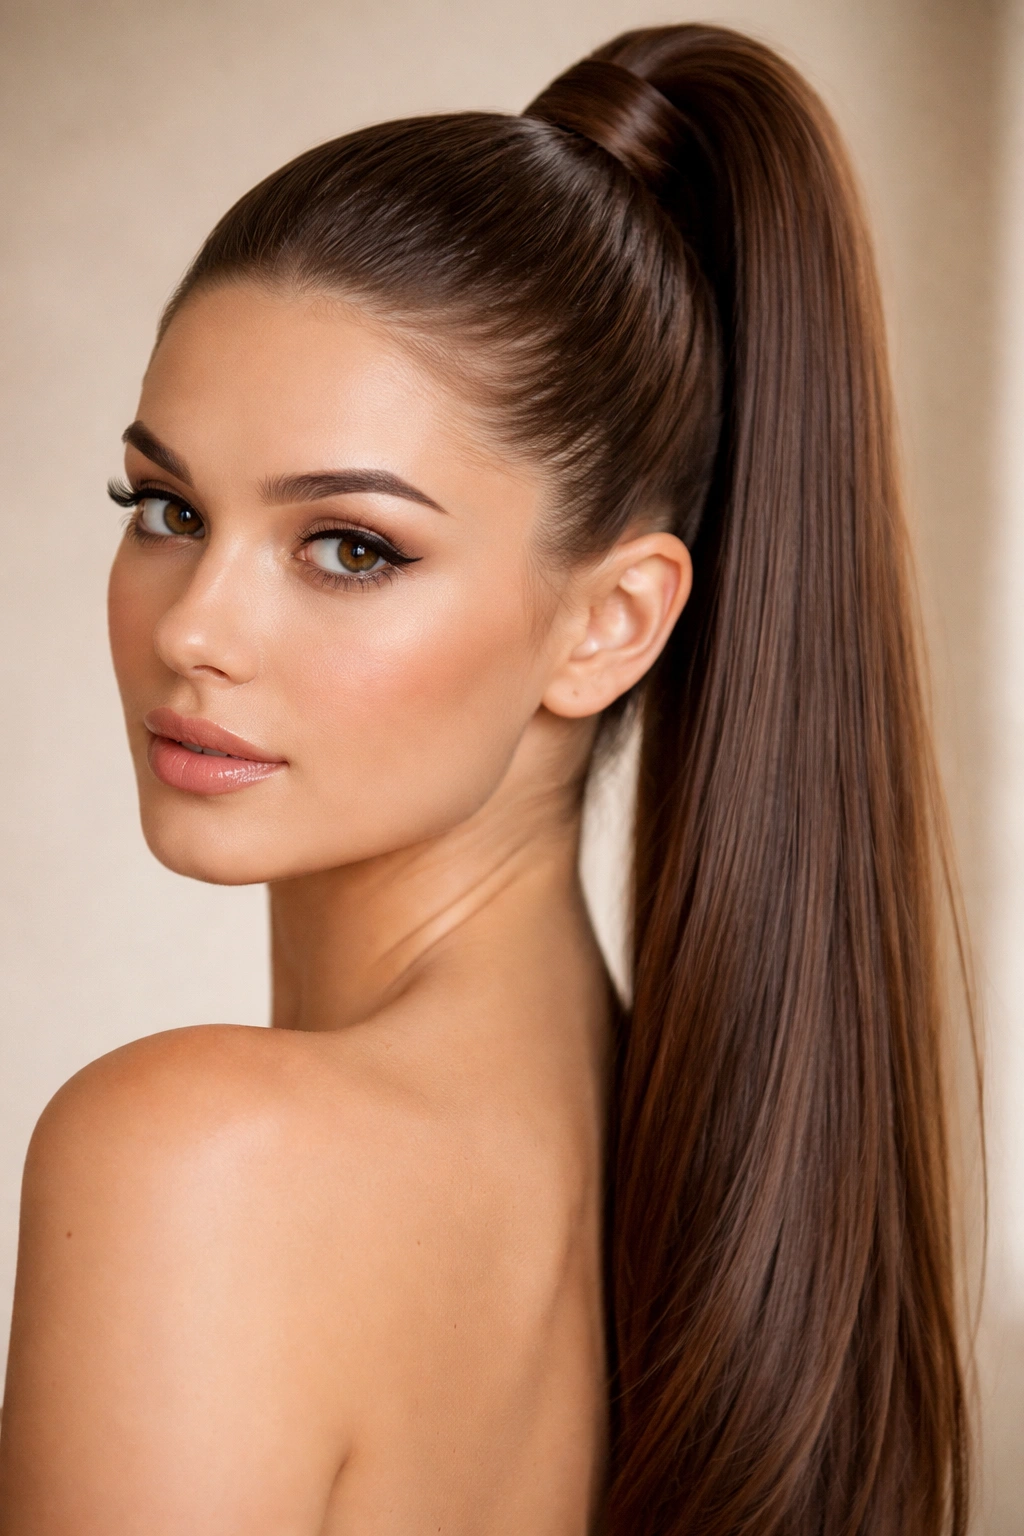
Using a hair tie that matches your hair color and combining it with smoothing products creates a polished, secure look. The matching tie makes the ponytail appear seamless, while the smoothing creates grip.
Why It Stays Put All Day
Hair-colored ties are less visible, which means the ponytail looks cleaner and more intentional. The real grip, though, comes from smoothing products applied at the base. When you use a combination of smoothing serum and a matching hair tie, you create both the visual effect of a secure, intentional style and the actual mechanical grip that keeps it in place.
How to Create It
Apply a smoothing serum or styling cream to damp hair, distributing it from roots to ends. Blow-dry your hair straight, using a paddle brush to smooth it as you dry. Once dry, spray with a light hairspray. Gather hair into a high ponytail, using a fine-tooth comb to smooth every section as you gather. Use a hair tie in your exact hair color — match it to the darkest parts of your hair if you have dimension. Secure the tie, then take a thin section from the ponytail and wrap it around the base, pinning underneath. Finish with another light hairspray spray, focusing on the base.
Best For
This is the go-to for straight hair and works beautifully for wavy hair if you’ve blow-dried it smooth. This style requires minimal maintenance throughout the day, making it ideal for professional settings or situations where you want a polished, intentional appearance.
Pro tip: Invest in several hair ties in different shades that match your natural hair color and the colors of any highlights you have — you’ll always have the perfect match.
7. The Textured High Ponytail with Dry Shampoo
Dry shampoo isn’t just for absorbing oil — it also adds texture and grip. Using it strategically before ponytail styling creates better holding power, especially for slippery hair types.
Why It Stays Put All Day
Dry shampoo creates a slightly gritty texture on hair that gives elastic ties something to grip. It also adds grip by creating friction between your hair and the tie. Additionally, dry shampoo slightly flattens hair to the scalp, which means less bulk at the base of your ponytail — less bulk means less weight pulling downward. The product also contains ingredients that coat hair and increase friction naturally.
How to Create It
Spray dry shampoo through your hair, focusing on the roots and the crown area where your ponytail will sit. Let it set for a minute, then use a teasing brush to gently massage the dry shampoo into your hair, creating texture. The goal is texture, not visible white powder, so brush gently to distribute the product evenly. Gather your hair into a high ponytail — you’ll notice immediately that it feels less slippery. Secure with an elastic, wrap a section around the base, and pin underneath. Finish with light hairspray.
Best For
This technique is game-changing for fine, slippery, or very straight hair that typically slides out of ponytails. It’s equally effective for anyone with oily hair, since the dry shampoo addresses both concerns at once.
Worth knowing: Use a dry shampoo formula specifically designed for your hair color — tinted dry shampoos won’t leave white residue on dark hair.
8. The Dutch Braid to High Ponytail
This style starts with a Dutch braid woven directly into a high ponytail position. The braid eliminates loose hairs and creates an incredibly stable base that won’t slip.
Why It Stays Put All Day
A Dutch braid compresses and locks hair into a unified structure. When you braid directly into your high ponytail position, you’re not starting with loose hair — you’re starting with secured, compressed braiding. The braid removes individual strands from the equation, so there’s nothing loose to slip past the elastic. The braided structure is also thicker and more textured than loose hair, giving the tie more to grip. Additionally, the tension of the braid distributes weight from your scalp downward gradually, rather than creating a concentrated pull point at the tie.
How to Create It
Section off the top third of your hair in a rectangular shape from your natural hairline back toward the crown. Create a Dutch braid starting at your hairline, braiding straight back toward the crown. Once you reach the crown, release the braid and gather all your hair — including the loose sections below the braid and the braided section itself — into a high ponytail at the same point where your braid ended. Secure with an elastic and smooth flyaways.
Best For
This works beautifully for all hair types and textures. For fine hair, the braid adds visible volume and grip. For thick hair, the braid takes up volume and creates a sleek, sculptural look.
Pro tip: Lightly dampen your hair before braiding — damp hair braids tighter and holds the braid shape longer, adding to the overall stability of the style.
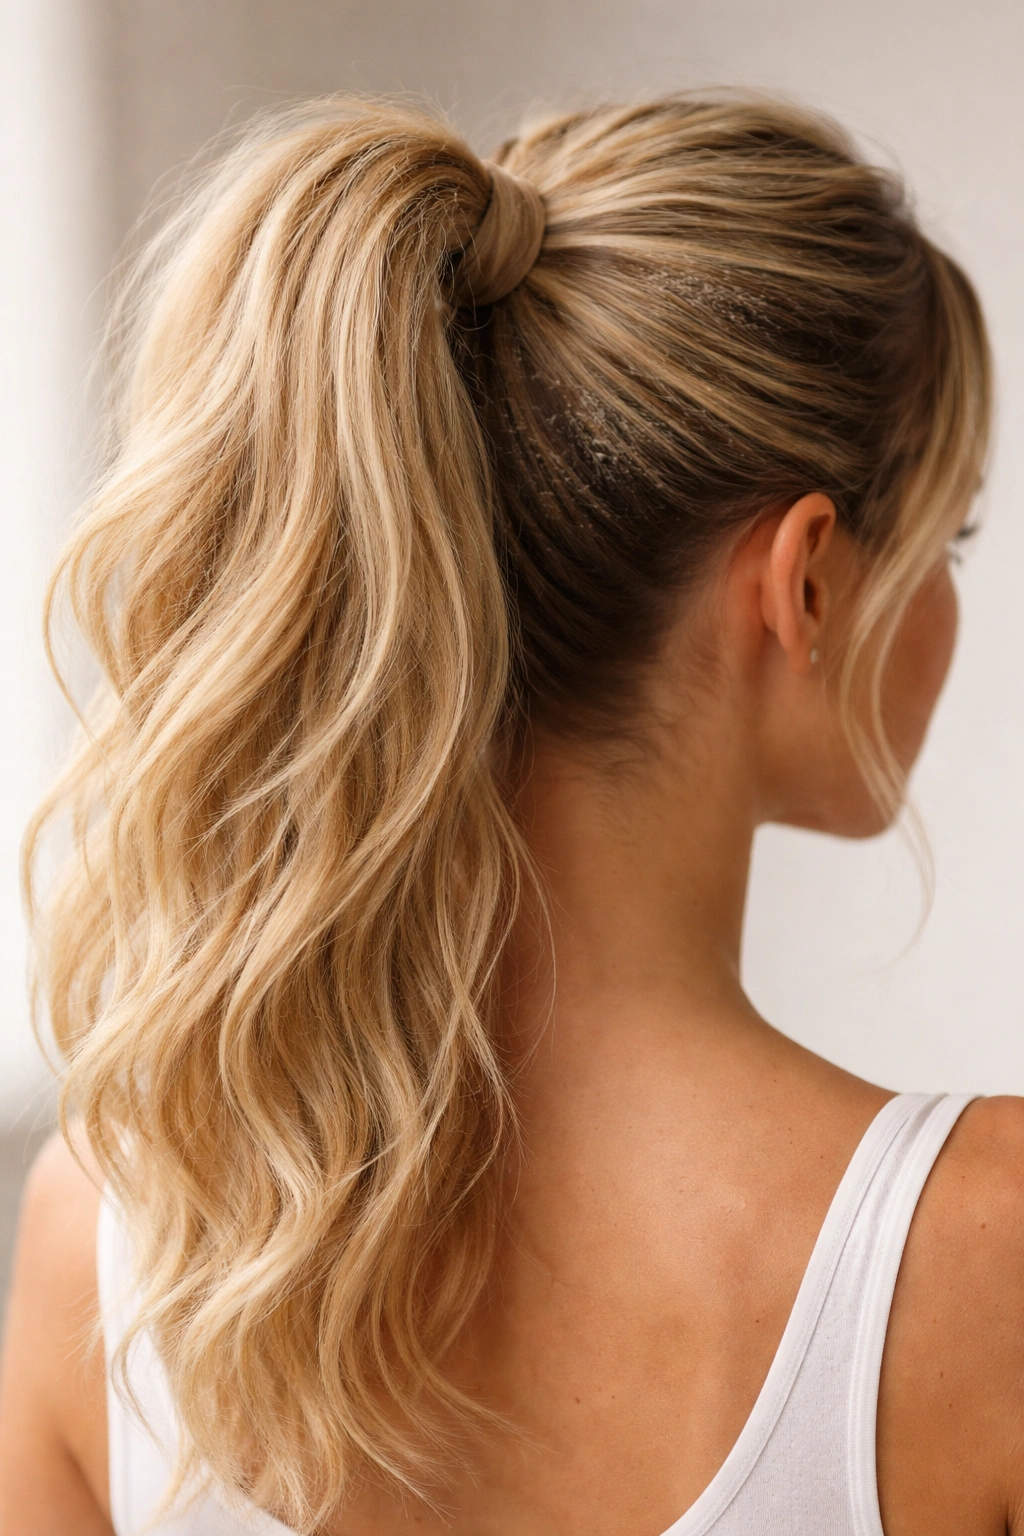
9. The Bubble Ponytail (High Version)
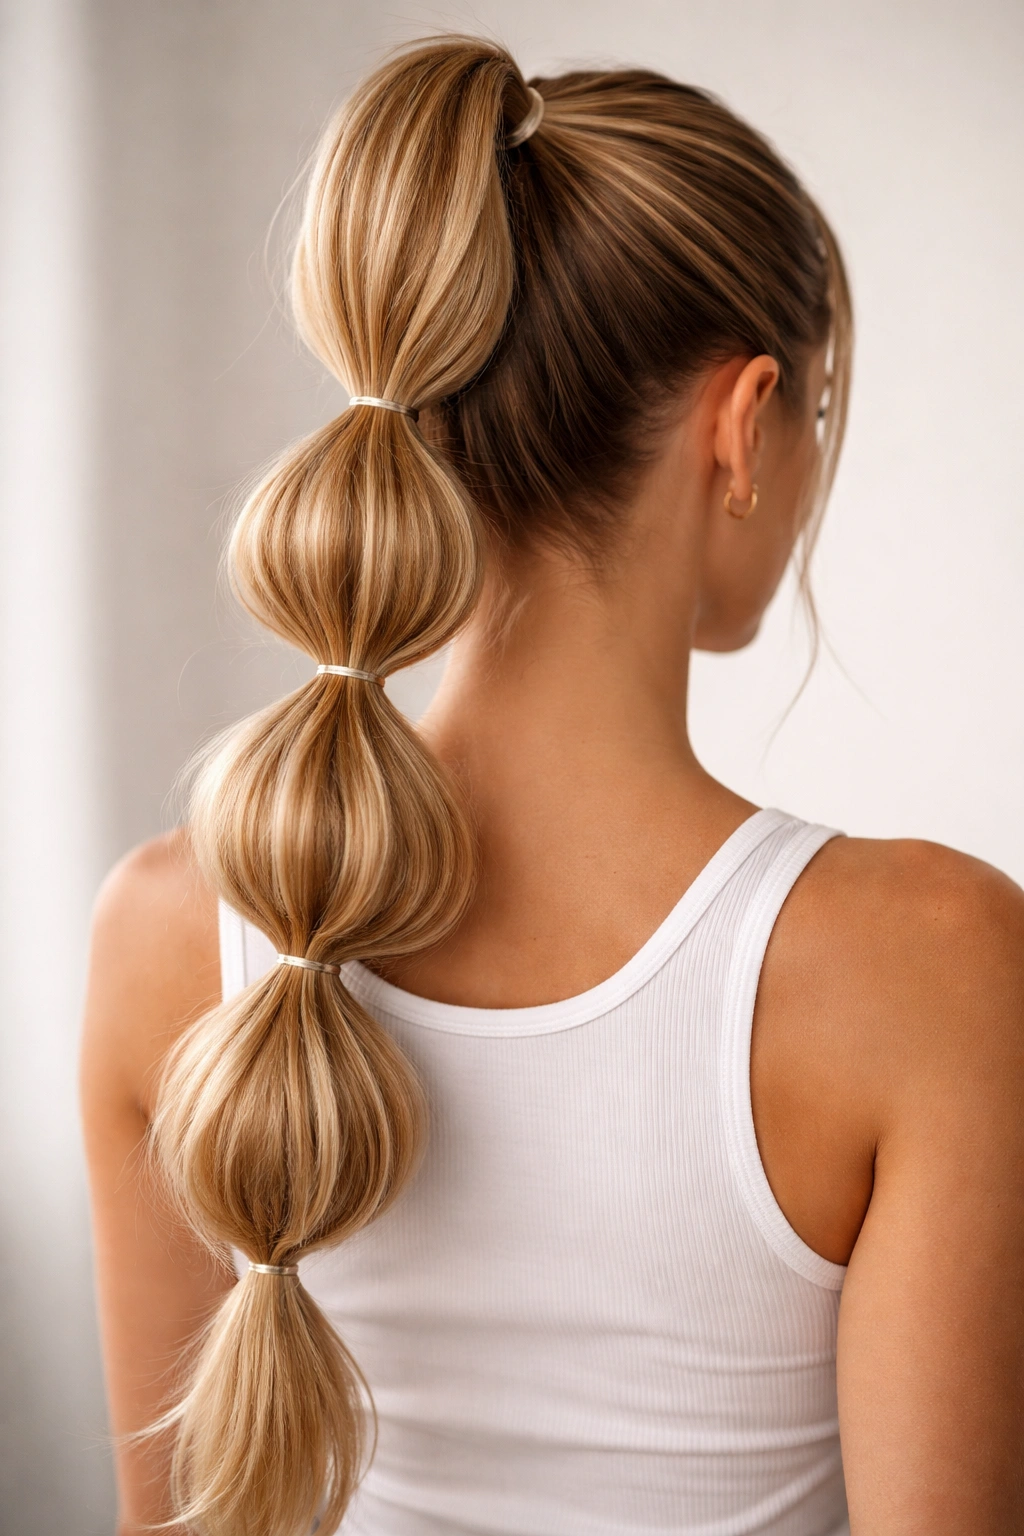
The bubble ponytail creates multiple tie points that distribute weight and prevent slipping. It looks playful, but it’s actually one of the most secure ponytail styles available.
Why It Stays Put All Day
Instead of relying on a single elastic to hold all your hair, the bubble ponytail distributes weight across multiple elastic bands. Each band holds a smaller section of hair, which means less weight per tie and less likelihood of slipping. The multiple sections also prevent momentum — your hair can’t swing or shift significantly because it’s restrained at multiple points. If one section shifts slightly, the others keep it in place.
How to Create It
Create a high ponytail and secure it with an elastic. About 2 inches below the first tie, add another elastic band, gathering the first ponytail section plus a tiny amount of loose hair below it. The slight additional hair prevents the section from poofing outward. Continue adding elastics every 2-3 inches down the length of your ponytail. Between each elastic, gently puff out the hair section slightly to create the characteristic bubble shape — this puffing is optional and purely for style. Tease the hair between each section slightly to add grip and make the puffs more defined.
Best For
This works for all hair types and actually creates an intentional style statement, so it’s a great option if you want secure and visually interesting. Curly or textured hair looks particularly striking in bubble ponytails because the natural texture reads as intentional fullness.
Worth knowing: Use elastics that match your hair color so the multiple bands blend in visually rather than standing out — unless you’re going for a deliberately statement-making look with contrasting ties.
10. The Slicked-Back High Ponytail with Edge Control
Using edge control product on the hairline and back section creates a polished look and adds grip throughout the ponytail. The product flattens and smooths hair, concentrating it at the tie point rather than letting it spread.
Why It Stays Put All Day
Edge control products are formulated to have strong hold and grip properties. When you apply it to the sections of hair that will form your ponytail, you’re coating those hairs with a product designed to create grip and prevent sliding. The product also flattens hair, which means all your hair compresses into a smaller, tighter ponytail base — less overall volume means less weight and less likelihood of sagging.
How to Create It
Apply edge control to a fine-tooth comb, then comb the product through your hairline and the top sections that will form your ponytail. Use the comb to smooth everything backward tightly, working out any bumps or texture. Apply a small amount of edge control directly to your hands and smooth any flyaways and baby hairs back. Gather your hair into a high ponytail, using the comb for final smoothing. Secure with an elastic and wrap a section around the base. Once the style is complete, apply edge control again to your hairline and any loose baby hairs for a finished, polished appearance.
Best For
This look works best for straight and wavy hair. The slicked-back appearance is particularly striking with finer textures, where the smoothness reads as intentional polish rather than overstyling. Curly hair can use this technique for grip purposes, though the slicked aesthetic might not be the desired look.
Pro tip: Use edge control labeled “flexible hold” rather than “strong hold” if you want to avoid the overly slicked, heavy appearance while still gaining the grip benefits.
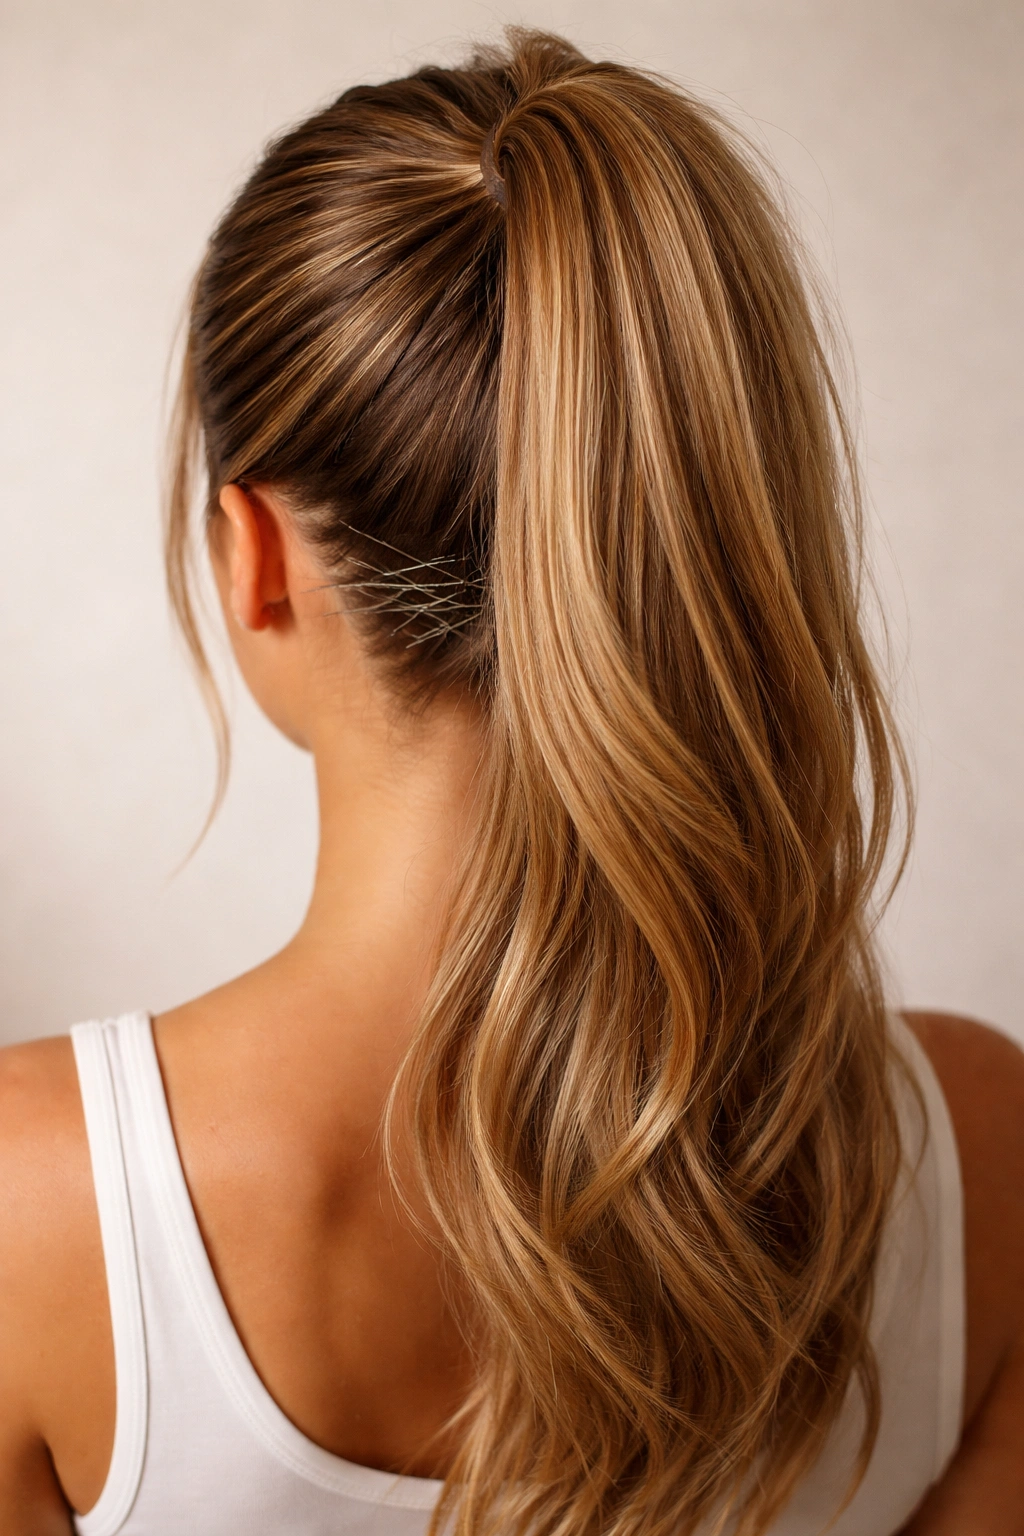
11. The Half-Up High Ponytail Hybrid
This style combines the security of a half-up style with the aesthetics of a high ponytail. By creating a half-up section first, you’ve already anchored your hair before adding the full ponytail, which creates two secure tie points instead of one.
Why It Stays Put All Day
A half-up style creates an anchor point at mid-crown. By creating a half-up first, then gathering all your hair — including the already-secured half-up section — into a high ponytail, you’re essentially creating a reinforced base. The half-up elastic prevents the upper section from slipping, which stabilizes the entire ponytail. Even if the lower section were to shift, it can’t move much because the half-up anchors the top section. This double-anchor system is remarkably stable throughout the day.
How to Create It
Section off the hair at the crown roughly from temple to temple. Create a half-up ponytail at this level, securing it with an elastic. Then, gather all your hair — including the half-up ponytail and all the hair below it — into a full high ponytail. Secure this full ponytail with another elastic. Now you have two tied sections, one above the other. Take a thin strand from the full ponytail and wrap it around both the half-up tie and the full ponytail tie, hiding both elastics with a single wrapped section. Pin underneath.
Best For
This works beautifully for all hair types and lengths. It’s particularly effective for longer hair, where the weight of a single ponytail tends to droop. The double-tie system adds enough stability that even very long, heavy hair stays put.
Worth knowing: This style can look intentional and elegant, or it can look like two separate tails if not styled correctly. Blend the two sections visually by ensuring they’re both at the same tightness level and by using a wrapped section that covers both ties.
12. The Layered and Pinned High Ponytail
This technique uses multiple bobby pins strategically placed to anchor your ponytail to the scalp at multiple points. It’s the most secure method available and works for any hair type that tends to slip.
Why It Stays Put All Day
A single hair tie relies on friction and tension to hold your ponytail. Multiple bobby pins secured to the scalp create a mechanical anchor that friction alone can’t compete with. By pinning your ponytail base directly to your hair at the crown using multiple pins, you’re essentially securing it to your scalp rather than relying solely on the elastic’s grip. This is the method professional stylists use for events where the hairstyle absolutely must remain in place for hours.
How to Create It
Gather your hair into a high ponytail and secure it with an elastic. Now comes the key step: take small sections from the underside of your ponytail base and pin each section directly to the scalp underneath using bobby pins. You’ll typically need 3-4 bobby pins, distributed around the ponytail base. Each pin should go through a small section of the ponytail itself, then anchor firmly into the hair at the scalp underneath. The pins should be hidden by the ponytail, not visible from above. Wrap a small section of ponytail around the base to hide the elastic and the pins completely.
Best For
This method works for all hair types and is particularly valuable for anyone with very fine or very slippery hair, or for anyone who needs their style to survive an entire day of activity. It’s also the method to use when you absolutely cannot have any slipping, such as for an event or performance.
Pro tip: Use bobby pins that match your hair color so they’re less visible if any do show. Insert pins at a slight angle rather than straight, which creates a stronger hold against the scalp.
Final Thoughts
A high ponytail that actually stays put isn’t about luck — it’s about technique, the right products, and sometimes a combination of methods that work together. The styles above all share a common feature: they use multiple anchoring strategies rather than relying on a single elastic to bear all the weight and tension. Whether you prefer the simplicity of a wrap-around section, the structure of a braid, or the security of strategic pinning, there’s a high ponytail method here that matches your hair type, lifestyle, and personal style.
The most important takeaway is that smooth hair, loose hair, and single anchor points are your ponytail’s enemies. Texture, structure, grip-creating products, and multiple tie points are your allies. Start by experimenting with whichever method sounds most appealing, then adapt it based on what you notice as you wear it throughout your day. Pay attention to when it starts slipping, if at all, and whether that’s because of weight, product buildup, or technique. After a few tries, you’ll develop an instinct for exactly what your specific hair needs to stay secure from morning through evening.