Double frontal ponytails—those two sections that frame the face while the rest of the hair sweeps back—create an instantly polished, intentional look that walks the line between trendy and timeless. What makes them feel “seamless” is the way they blend naturally with the rest of your hairstyle, rather than looking like two awkwardly separated pieces competing for attention. The key is understanding how tension, section placement, and finishing techniques work together to create that coveted unified effect.
When executed with precision, double frontal ponytails draw attention upward, elongate the face, and add movement and dimension without requiring dramatic length or layers. They work beautifully across hair types—from straight to curly, fine to thick—because the style adapts to whatever texture you naturally have. The seamless versions skip the look of being “too done” and instead feel like a refined styling choice that could work for a casual afternoon or a more intentional occasion.
The difference between a double frontal ponytail that looks polished and one that looks disconnected often comes down to small technical details: how you prep your hair, where exactly you gather each section, how you secure them, and what you do with the edges and connecting pieces. This article walks through twelve distinct takes on this style, each with its own character, difficulty level, and best-case scenario. Whether you’re drawn to sleek precision, textured movement, or something in between, there’s a seamless double frontal ponytail waiting in this guide.
1. The Classic Split-and-Gather Double Front
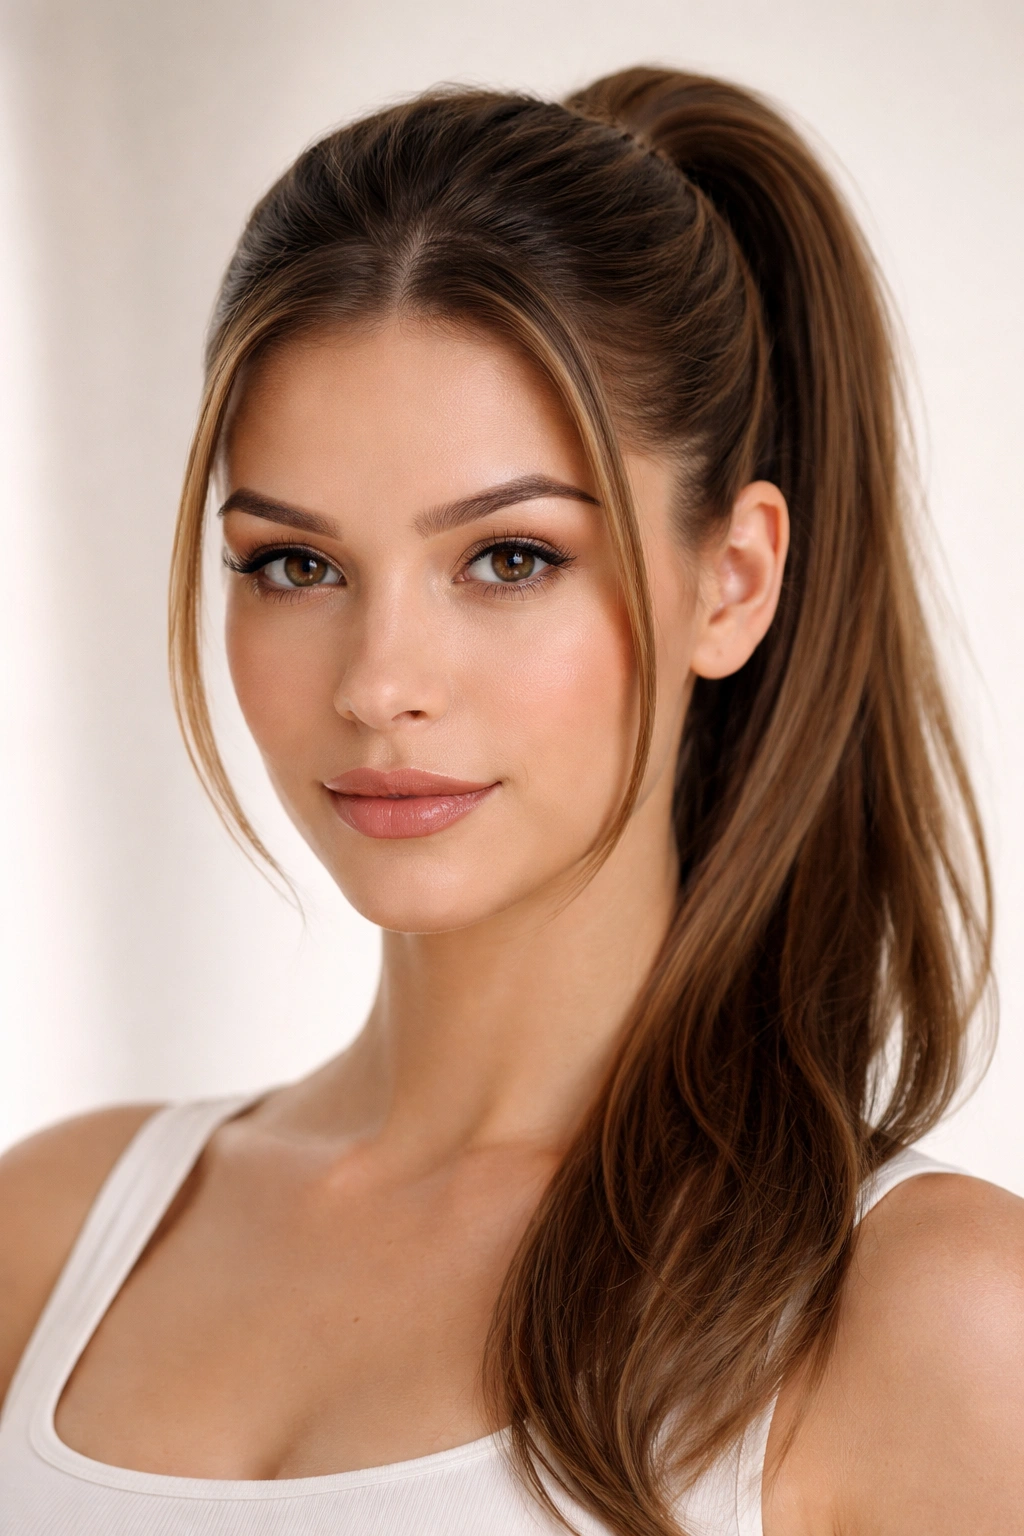
This is the foundation style—the one that introduces the double frontal ponytail to someone who’s never tried it before. You’re essentially taking each front section (from your temples toward the back of your head) and gathering it separately before incorporating it into your main back ponytail, creating two distinct but unified anchor points along your hairline.
Why It Works
The beauty of this version is its simplicity and adaptability. Because you’re starting with clear, straightforward sections, there’s very little room for error. The two front sections act as natural guides, and the rest of your hair flows into the back ponytail without confusion. This style feels intentional without demanding advanced styling skills or special tools.
How to Create It
- Start with clean, detangled hair spritzed lightly with texturizing spray for grip (even naturally textured hair benefits from a tiny bit of hold)
- Section off your hair from temple to temple across the top of your head, creating a curved line that mirrors your hairline
- Take your right front section and smooth it back toward the crown, securing with a small clear elastic
- Repeat on the left side with the exact same technique and placement
- Gather all remaining hair—the two front sections plus the rest—into your main back ponytail at your desired height (usually mid-back of the crown for balance)
- Smooth any flyaways with edge control cream or a fine-tooth comb
Pro tip: The trick to making this feel seamless rather than segmented is keeping equal tension in both front sections. If one side is tighter or sits lower than the other, the asymmetry reads as an accident rather than intentional style.
2. The Twisted Frame Detail
Instead of smooth gathered sections, you’re twisting each front piece as it travels back toward the crown. This adds visual interest, texture, and a refined quality that makes the style feel less casual and more “I spent time on this.”
Why It Works
Twisted sections create definition without requiring you to actually braid (which takes more practice). The twist naturally catches light differently than smooth sections, adding dimension to what might otherwise feel flat. It also gives the style a softer edge—less structured, more romantic—while still looking entirely intentional.
How to Create It
- Begin with one front section, roughly two to three inches wide starting at your temple
- Lightly mist that section with texturizing spray for grip so the twist holds its shape
- Twist that section firmly as you move it back toward the crown, keeping tension consistent
- Secure at the crown with a bobby pin tucked under the twist so it’s invisible
- Repeat on the opposite side, making sure both twists have the same tightness and direction (both clockwise or both counterclockwise, matching for symmetry)
- Gather your main ponytail over both twisted sections, allowing them to peek through visibly as detail
Pro tip: If your twists feel loose or prone to unraveling, try twisting slightly damp sections rather than bone-dry hair. Dampness adds grip without requiring product buildup.
3. The Braided Dual-Sectioning Style
Here you’re replacing the simple gathered or twisted sections with actual braids—three-strand, French, Dutch, or whatever braid style you’re most comfortable executing. This version reads as more intentional and fashion-forward, and works particularly well if you’re naturally good at braiding.
Why It Works
Braids are inherently more textured and visually complex than smooth or twisted sections. This makes the double front ponytail feel more carefully styled, more designed. The braid pattern also creates a natural frame for your face that feels flattering and sculpted. If you choose a looser, messier braid style rather than tight and perfect, the overall look stays modern rather than dated.
How to Create It
- Section off your first front piece from temple toward the back, making it thick enough to braid comfortably (roughly three to four inches wide)
- Braid that section using your preferred technique, keeping the braid consistent in tightness from root to tip
- Secure the end of the braid with a tiny elastic that matches your hair color
- Repeat on the opposite side with matching braid tension and style
- Gather all hair including the braided sections into your main back ponytail at crown height
- You can tuck the braids completely into the back ponytail for a unified look, or let them show as visible texture—both work beautifully
Pro tip: Looser, slightly undone braids photograph better and feel more contemporary than super-tight, perfect braids. Don’t be afraid to gently pull the braid strands after securing to create dimension.
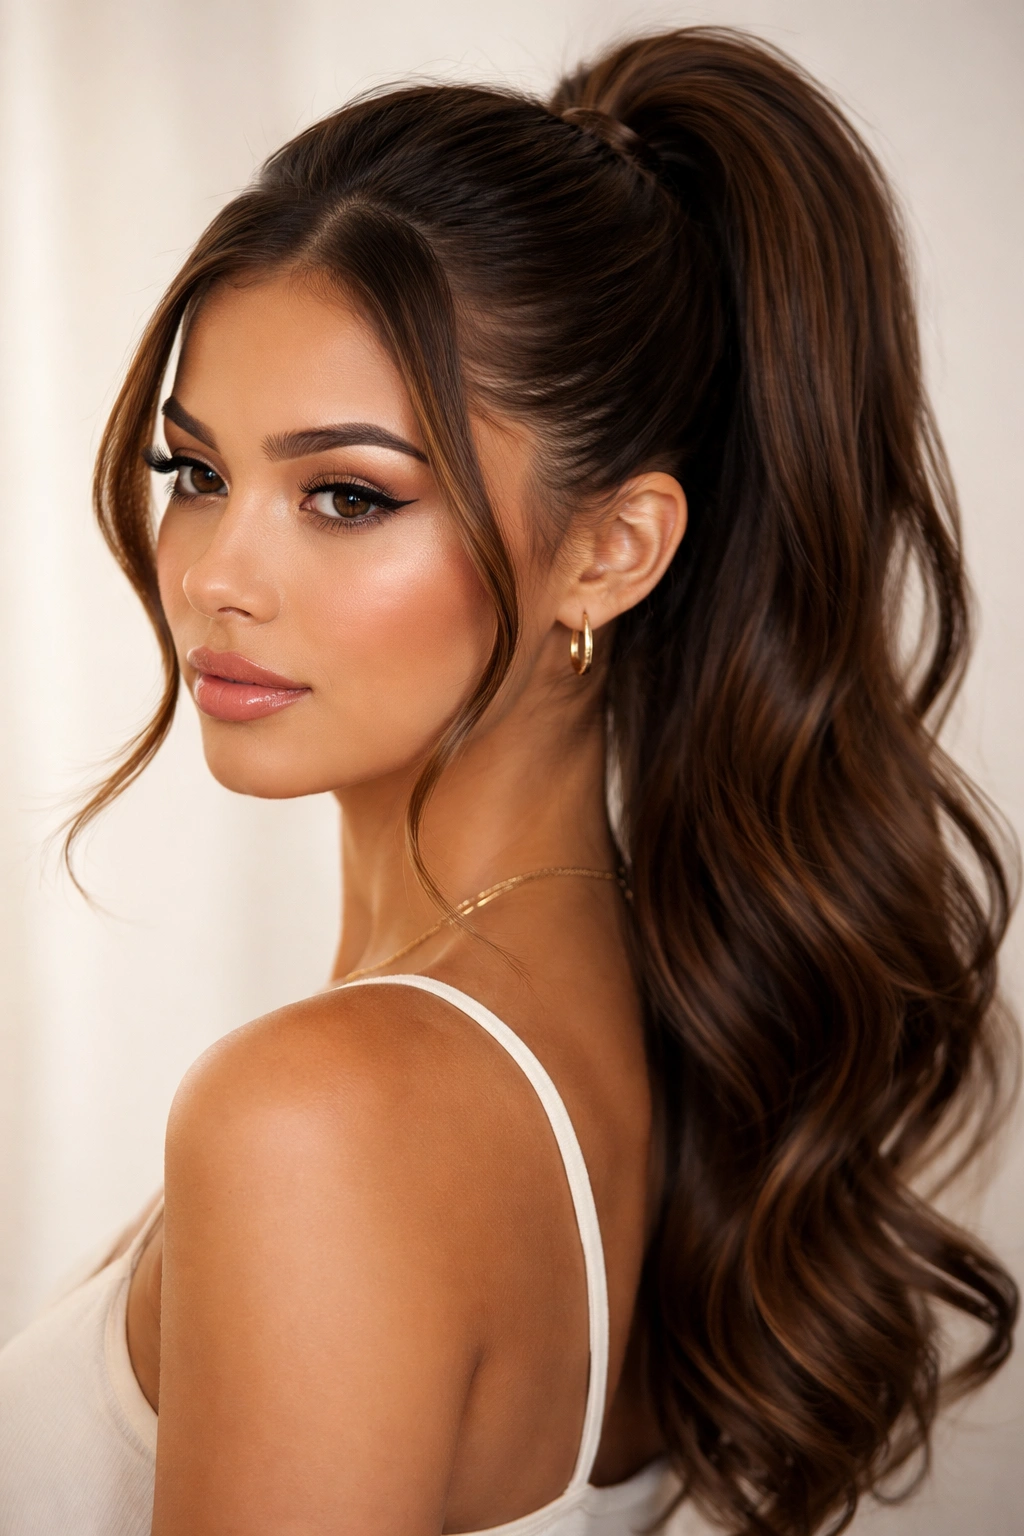
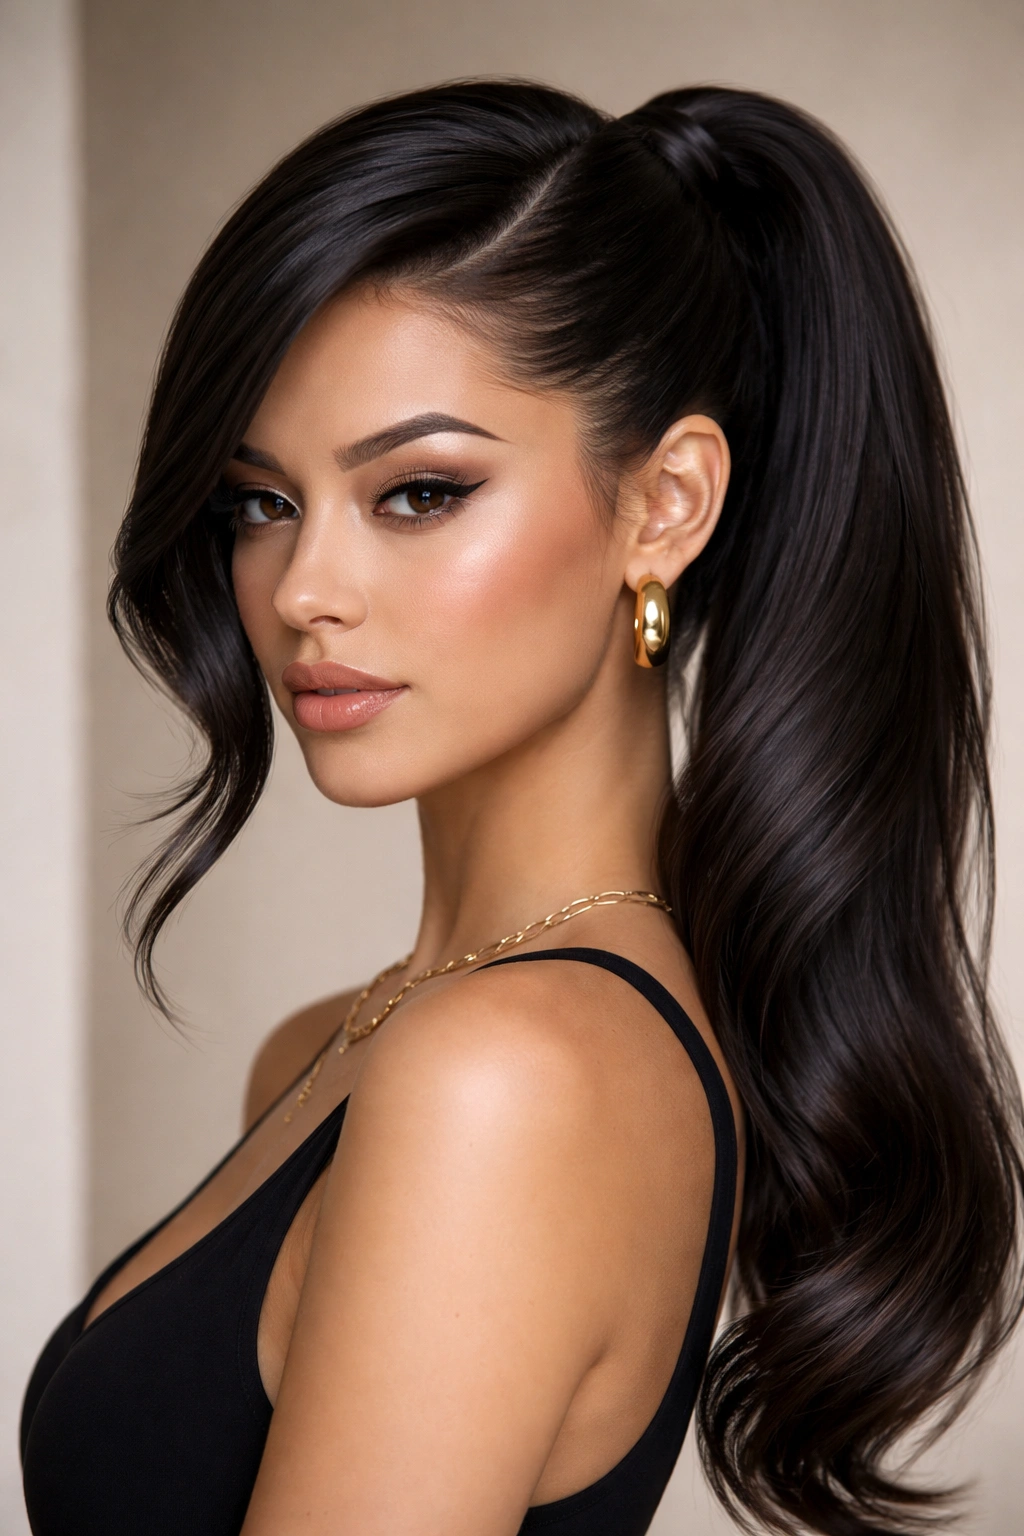
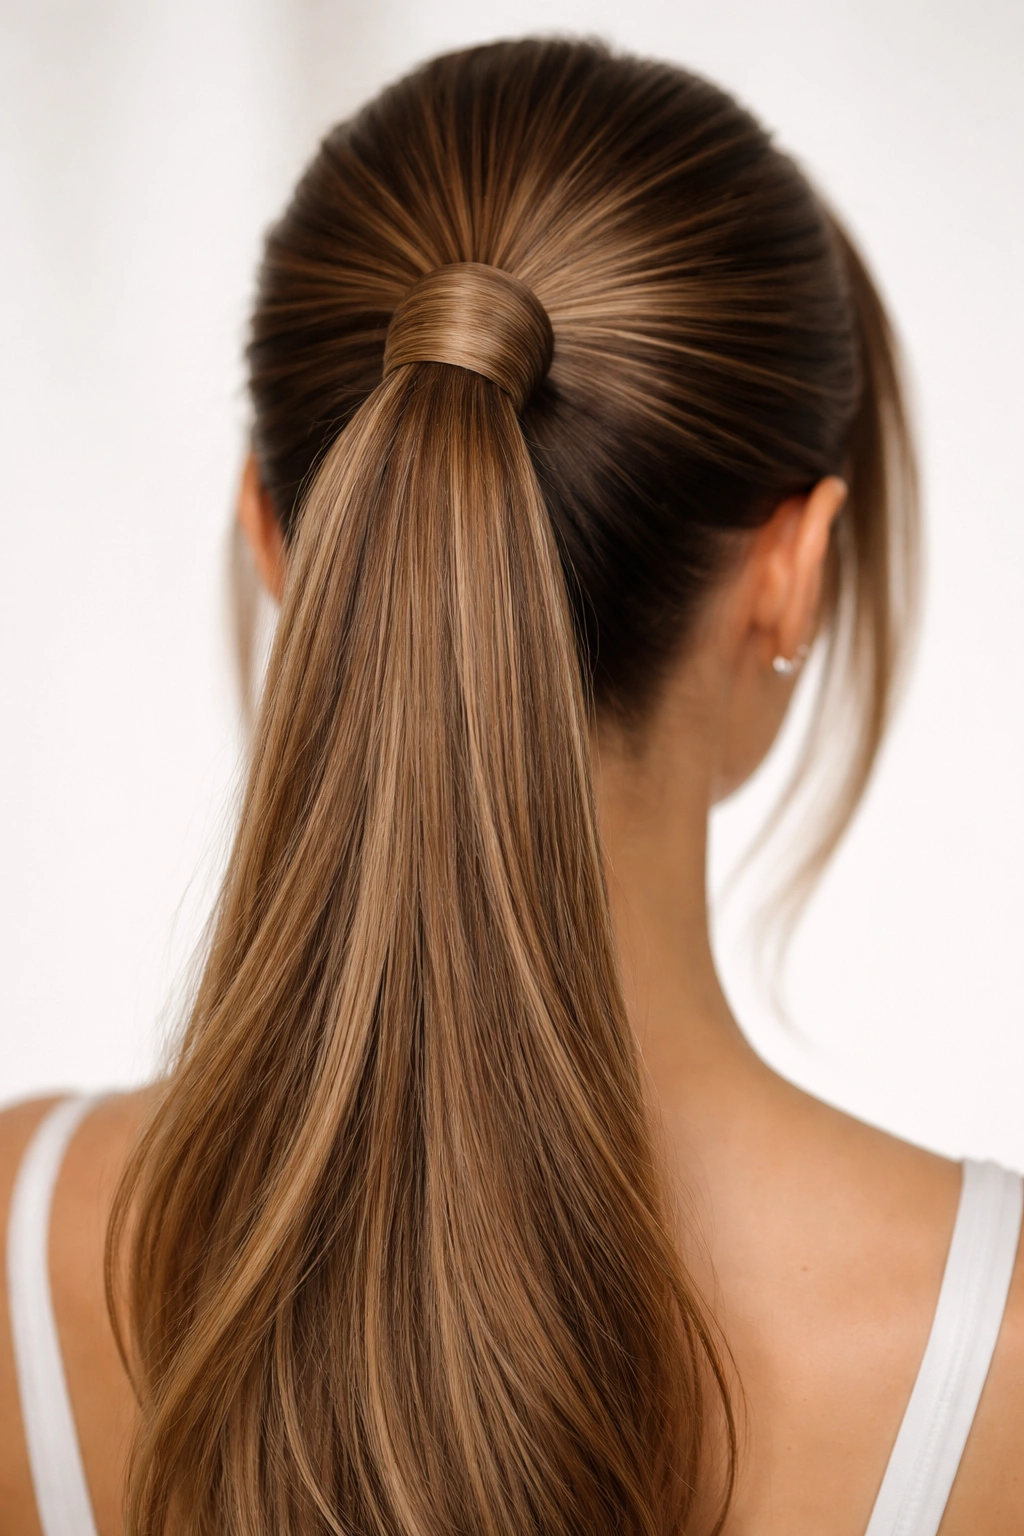
4. The Sleek Parallel Line Look
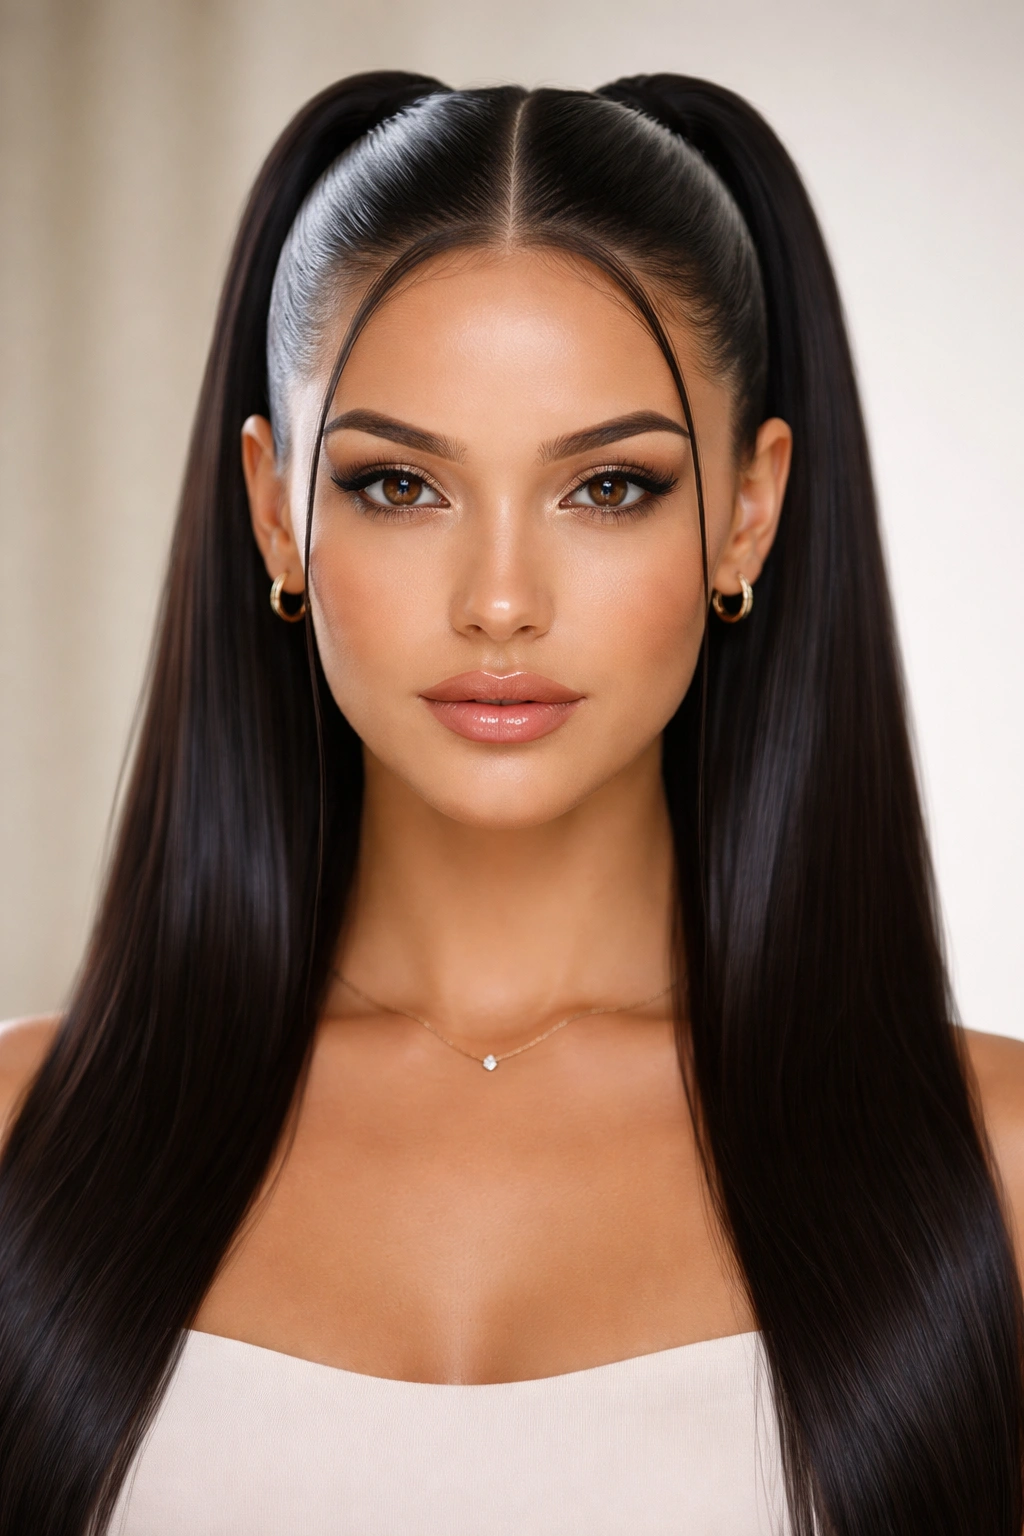
This version emphasizes the geometric precision of two parallel lines running from your temples straight back. Everything is smooth, polished, and symmetrical—there’s no texture, no variation, just clean lines and mirror-image execution on both sides.
Why It Works
This style reads immediately as intentional and fashion-forward. The geometric simplicity is striking, and it suits everyone. Clean lines elongate and define the face, and the simplicity feels chic rather than trying-too-hard. This works especially well if you have straight hair or have blown out your waves smooth.
How to Create It
- Begin with fully dry, smooth hair (blow-dry straight or use a flat iron if your hair has texture)
- Apply a lightweight edge-control gel or pomade to your hairline for maximum smoothness
- Using a fine-tooth comb, create a straight line from your temple along your natural hairline, continuing back toward your crown
- Comb your first front section straight back with zero frizz, creating one smooth line
- Secure with a sleek elastic that matches your hair color exactly
- Repeat on the opposite side, making sure both lines run parallel and sit at identical heights
- Gather your main ponytail cleanly over both front sections, combing everything smooth as you go
- Use edge control to polish any baby hairs into the style
Pro tip: The key to genuinely sleek lines is using the right edge control product. Look for something that’s tacky enough to hold but doesn’t flake or look chalky—good edge control should be nearly invisible.
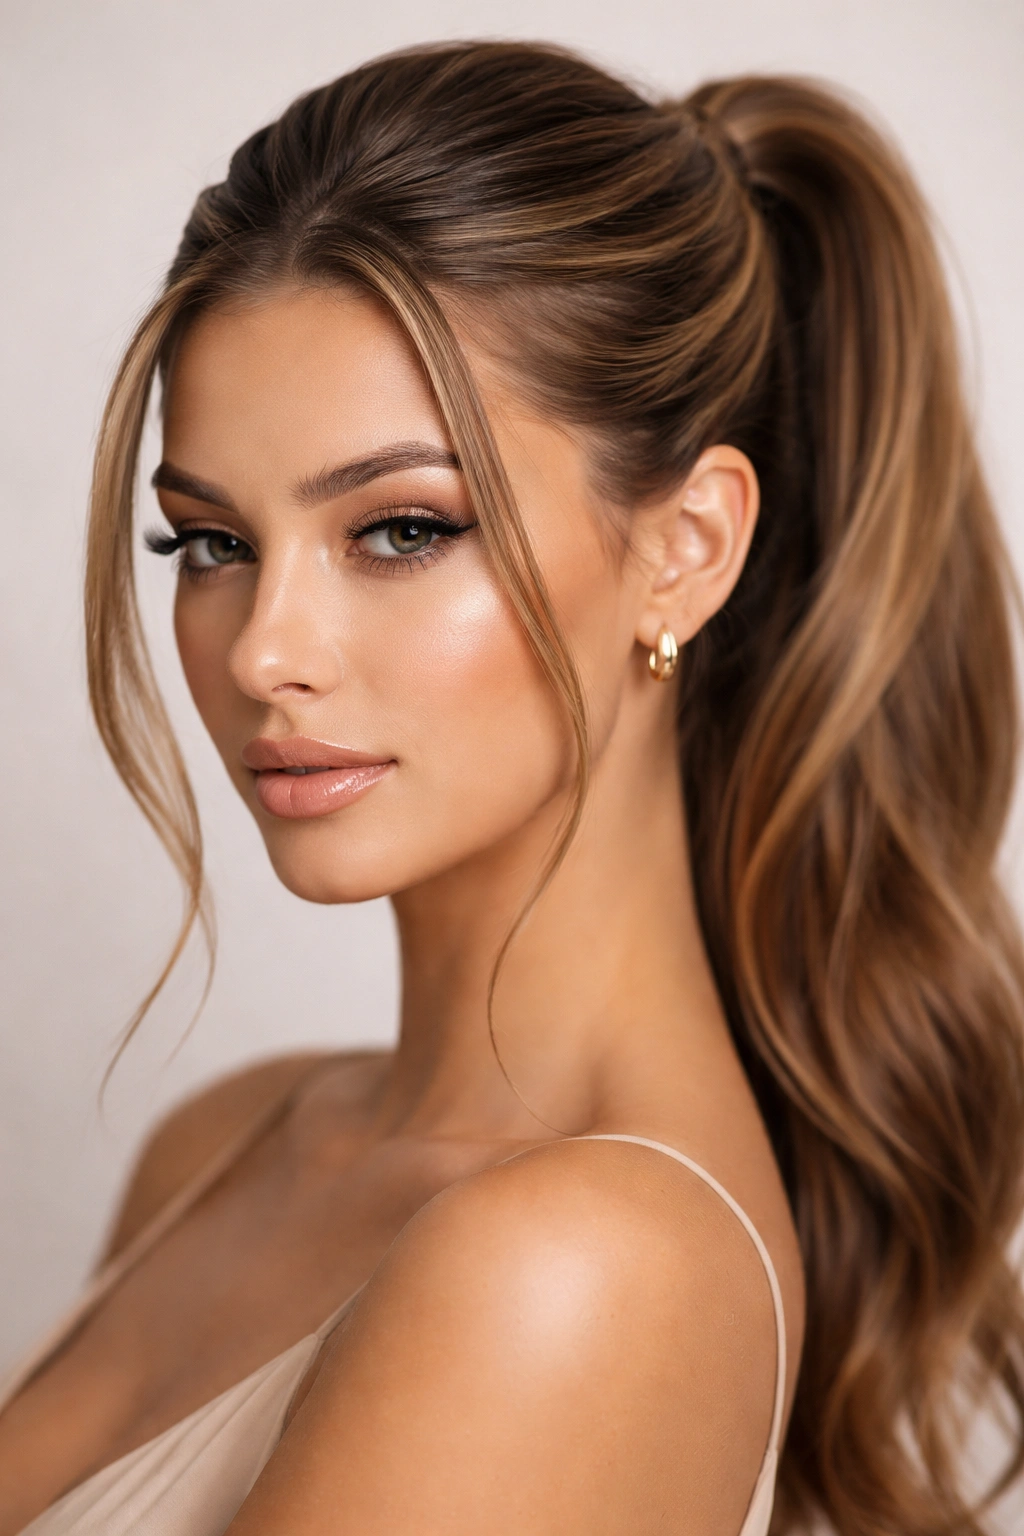
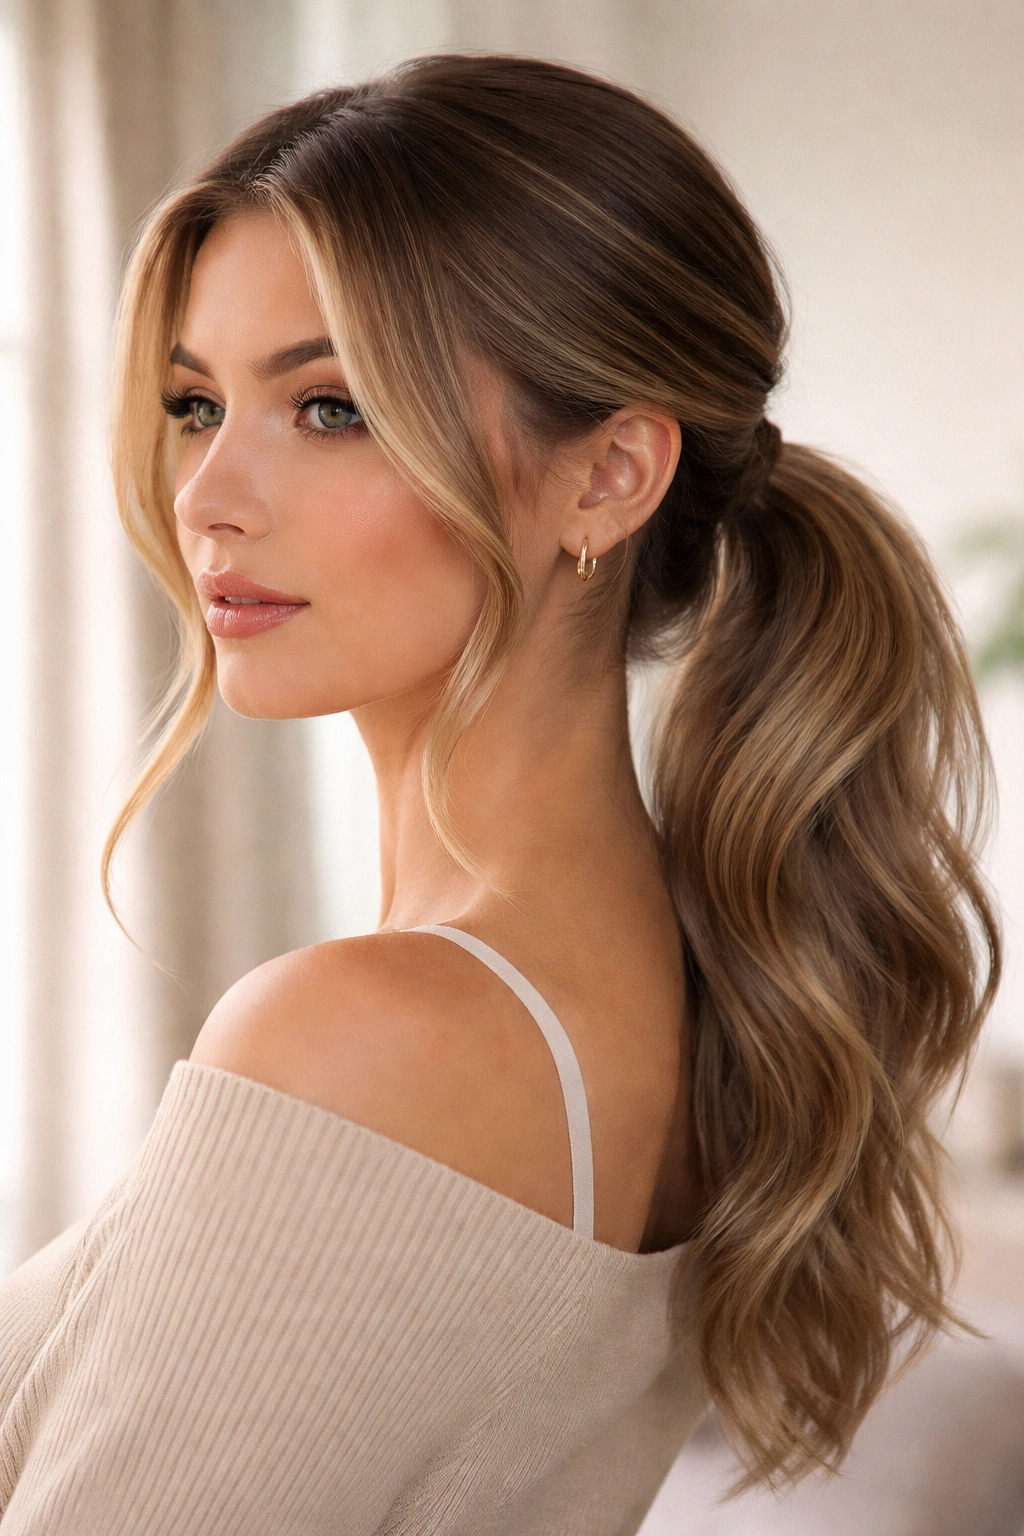
5. The Curved Swirl Variation
Instead of pulling your front sections straight back, you’re creating a gentle curved path—each front section swirls subtly inward as it travels toward the crown. This adds sophistication and movement while maintaining the core double-front concept.
Why It Works
Curved lines feel more organic and forgiving than straight lines. They complement most face shapes better, and they create a softer, more intentionally designed aesthetic. The swirl adds a fashion-editorial quality without requiring advanced technical skills. It’s the kind of detail that makes people ask, “How did you do that?”
How to Create It
- Section off your front piece as you would for a classic double front, keeping it smooth or lightly textured
- Instead of pulling straight back, guide this section in a gentle curve toward the crown, creating a subtle arc that swirls inward (almost like a river bending)
- Secure at the crown with a bobby pin positioned to anchor the curve
- Repeat on the opposite side, creating a mirror-image curve (if the right side curves inward, the left side should curve inward symmetrically)
- Gather your main ponytail over both curved sections
- The resulting shape should look like a gentle, symmetrical frame around your face
Pro tip: Swirls are easier to create and hold when your hair has some texture or you’ve applied light texturizing spray beforehand. Bone-dry, ultra-smooth hair can make swirls slip and unfold.
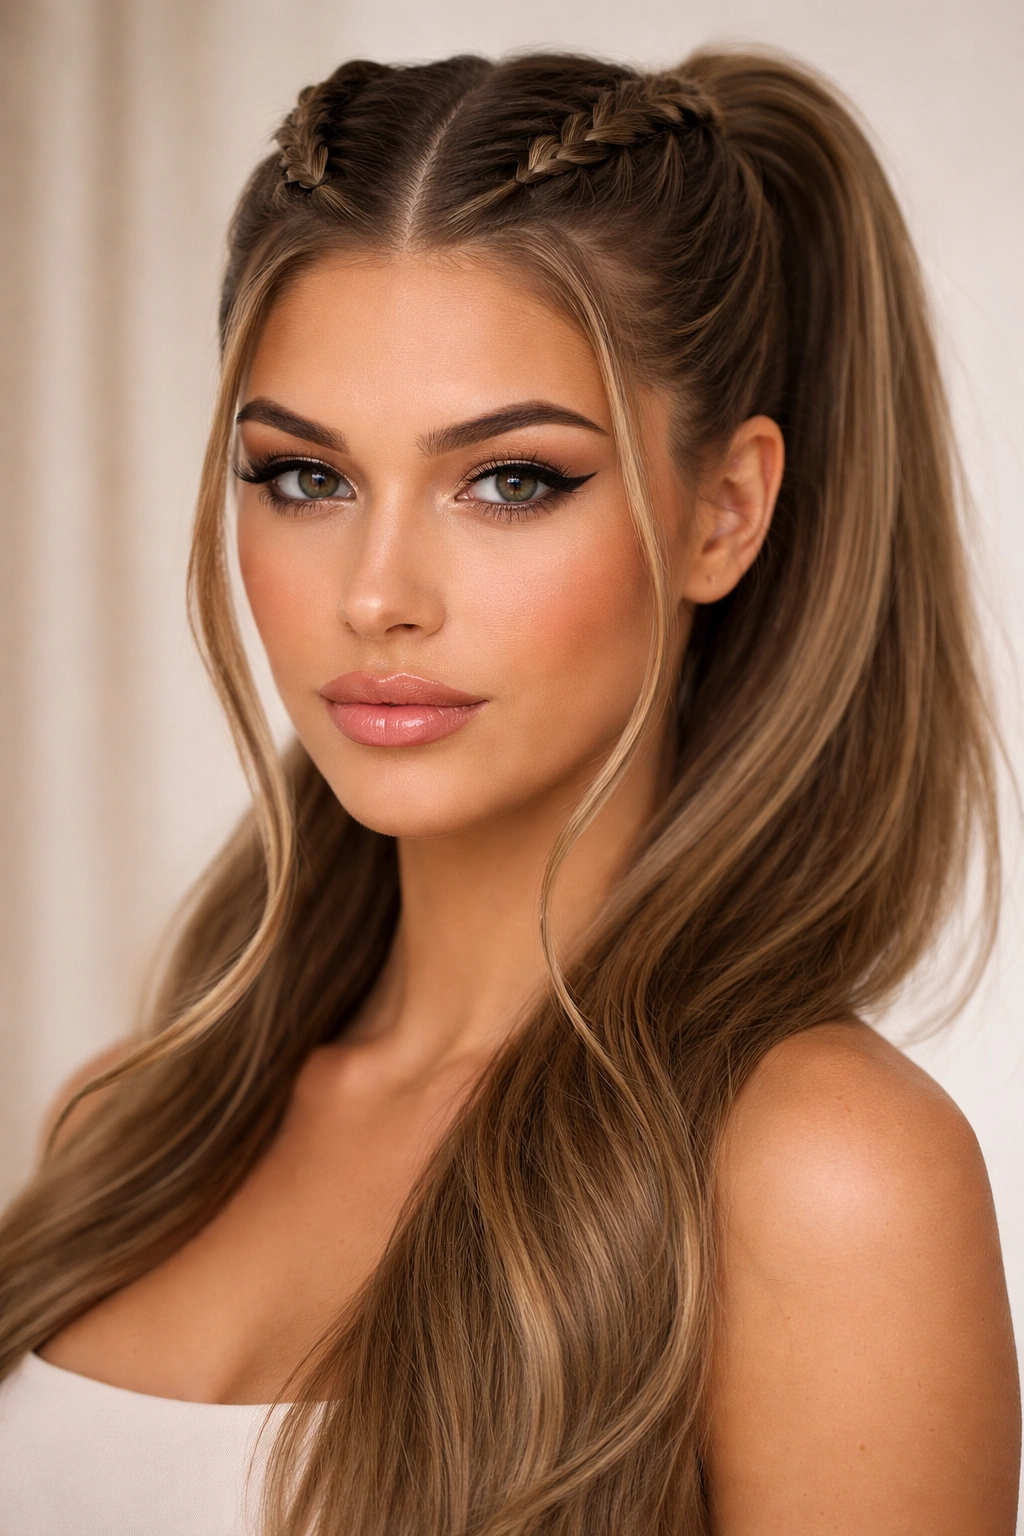
6. The Half-Up Double Front Hybrid
This blends the double frontal ponytail concept with a half-up style. Your front sections gather separately, but your main ponytail sits higher—roughly at the crown level—so you maintain loose hair below it for movement and length visibility.
Why It Works
This version offers the best of both worlds: the face-framing definition of a double frontal ponytail with the movement and length visibility of a half-up style. It’s more casual and youthful than a full double front ponytail, and it works beautifully across hair lengths and textures. The double front detail adds polish to what might otherwise feel like a simple half-up.
How to Create It
- Section and gather your double frontal pieces as you would in your preferred style (smooth, twisted, braided, or textured)
- Instead of gathering a full ponytail at the back of your crown, gather a half-up section—just the top layer of remaining hair
- Secure your half-up ponytail with an elastic, then release the bottom layers so they flow freely
- The double front sections should be visible anchors that connect to your half-up, creating a unified style
- You can add a thin second elastic lower down if you want to create more separation between the ponytailed section and the loose hair below
Pro tip: This style works especially well if you have longer hair and want to showcase length. The double front detail adds intentional polish that prevents the overall look from feeling messy or undone.
7. The Textured Messy Double Front
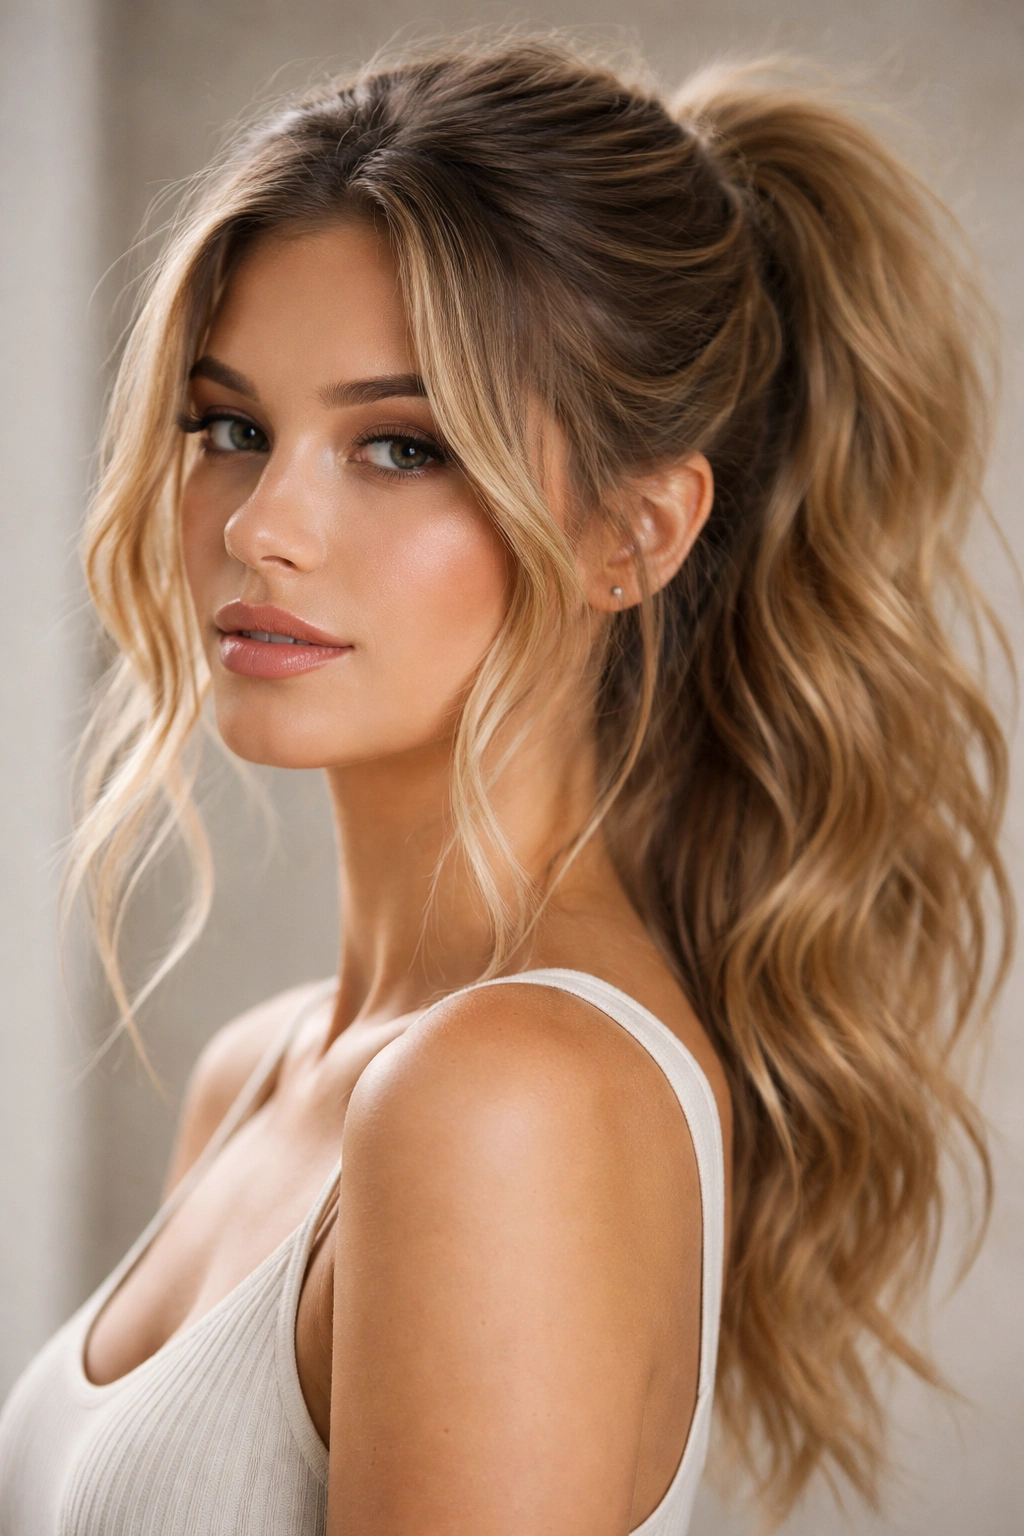
This version embraces imperfection. Your front sections are textured, slightly undone, potentially braided loosely, and your back ponytail is deliberately voluminous and soft rather than sleek. Everything feels lived-in and effortless.
Why It Works
Textured, messy styles feel approachable and modern. They work across hair types and require less technical precision than sleek versions. This version reads as confident—the wearer didn’t try to be perfect, and that’s the whole point. It’s ideal if you have naturally wavy or curly hair, or if you’ve added texture with sea salt spray or a curling iron.
How to Create It
- Apply texturizing or sea salt spray to damp hair, scrunching it in for grip and texture
- Loosely pull your right front section back, creating soft folds and texture rather than a smooth line
- Secure with a bobby pin, letting some pieces fall out intentionally around your face
- Repeat on the left side with the same loose, textured approach
- Gather your main ponytail loosely at the back of your crown, not pulling everything taut
- Gently tease or backcomb the base of your ponytail for volume, then smooth the top layer
- Pull a few face-framing pieces out strategically to soften the overall shape
Pro tip: The “messy” version actually requires intention—you’re choosing which pieces fall out and which stay in. Without that intention, it looks accidentally undone rather than intentionally textured. Plan your strategic loose pieces as part of the design.
8. The Micro-Braided Border Double Front
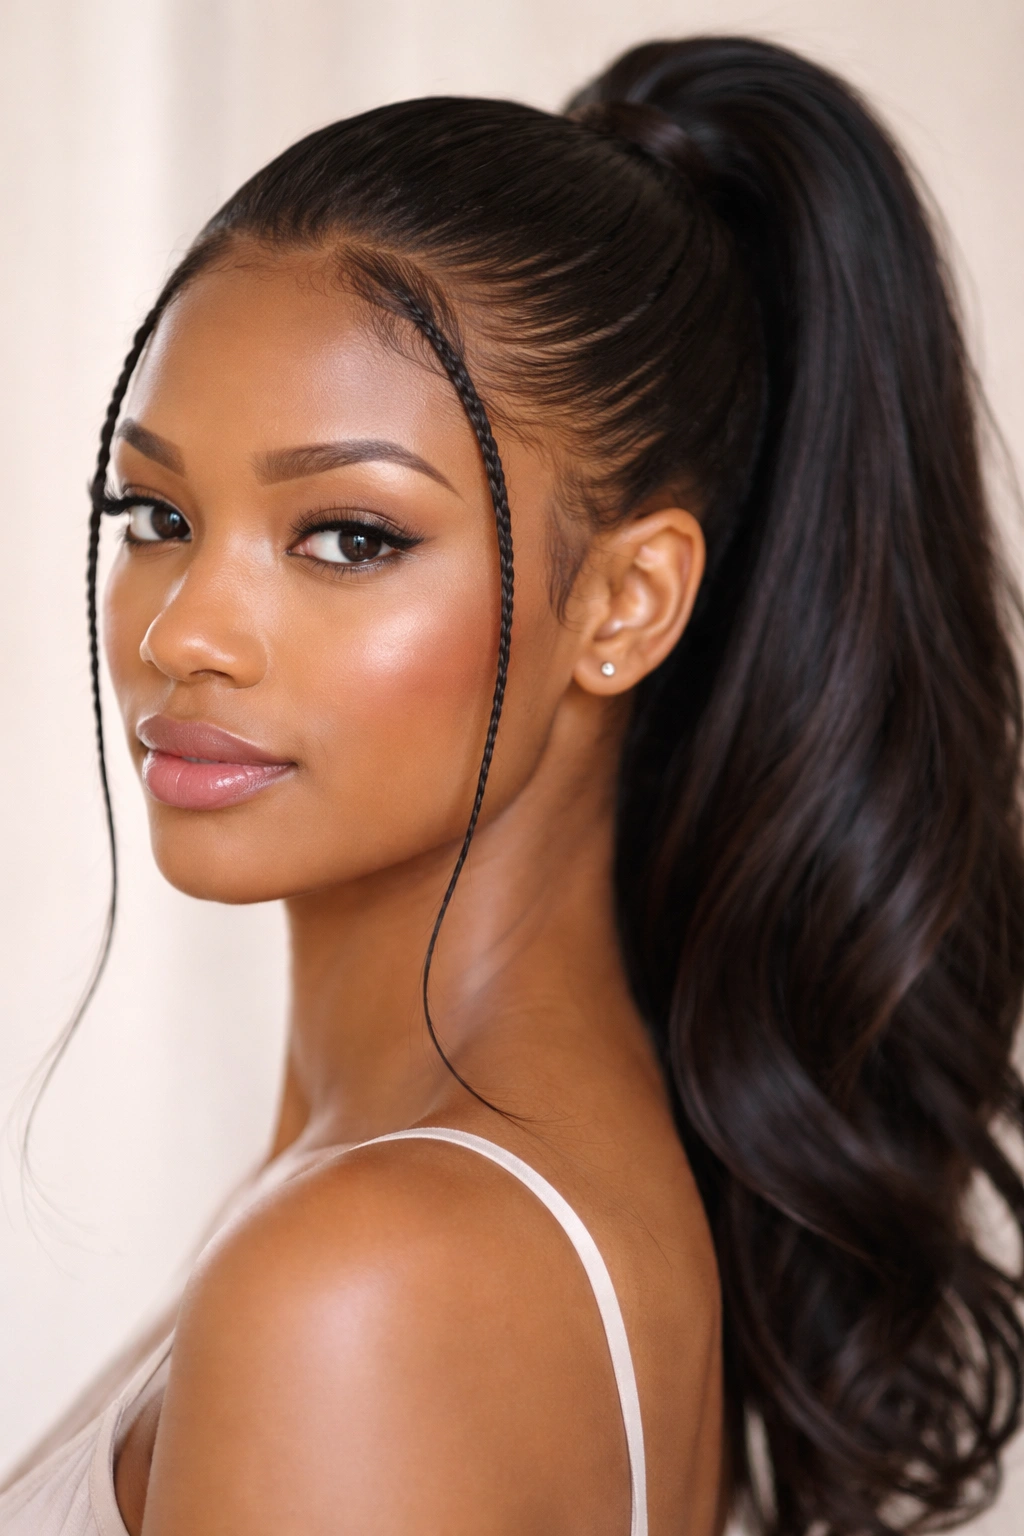
Rather than thick braided sections, you’re creating delicate micro-braids that run along the perimeter of your face, creating an intricate border effect. These micro-braids connect into your main ponytail, creating visual complexity in a small, refined space.
Why It Works
Micro-braids feel intricate and special without requiring hours of work. They’re detailed enough to make the style feel fashion-editorial, but they’re positioned small and tight enough that they read as sophisticated rather than over-the-top. This works beautifully across hair types and is especially stunning on longer hair where the braids can be seen.
How to Create It
- Take a thin section of hair (roughly ½ inch wide) from behind your right ear, starting at temple level
- Create a delicate three-strand braid with this thin section, keeping it tight and precise
- Guide this micro-braid toward the back of your head and secure it with a tiny elastic
- Create a matching micro-braid on the left side, starting from the same relative position on the left side of your face
- Gather your main ponytail, allowing both micro-braids to feed into it or anchor it
- The result should be two delicate braided details framing your face rather than thick braided sections
Pro tip: Micro-braids are easier to create if you use a detangling spray beforehand. Knots or tangles interrupt the flow of thin braids, making them look inconsistent.
9. The Deep Side Part Asymmetrical Version
Here you’re playing with asymmetry: your side part sits deep on one side, and your double front sections follow that asymmetrical lead. One side has more volume, the other is more refined, creating a distinctly directional and editorial-feeling style.
Why It Works
Asymmetry feels current and intentional. Rather than the perfect symmetry of classic double frontals, this version commands attention through imbalance. It’s more flattering for certain face shapes (particularly round or square faces benefit from the way asymmetrical styles elongate), and it offers a bolder styling statement overall.
How to Create It
- Create a very deep side part—farther over than your natural part line—and comb that section smooth
- On your fuller side (where most hair sits after the deep part), gather a thicker front section back toward the crown
- On your smaller side (where less hair sits after the deep part), gather a thinner, more refined section
- Secure both sides separately, then gather your main ponytail
- The asymmetry should feel intentional, with the fuller side having noticeably more volume and movement than the refined side
- You can add texture only to the fuller side if you want to emphasize the difference further
Pro tip: Deep side part asymmetry works best with some face-framing texture on the fuller side. Without texture, the imbalance can read as unfinished rather than designed.
10. The Smooth Wrap-Around Dual Detail
Instead of gathering front sections and securing them separately, you’re wrapping thin sections around the base of your main ponytail after it’s already secured. This creates the visual appearance of double fronts without actually sectioning separately beforehand.
Why It Works
This version feels contemporary and polished. The wrap-around technique creates a finished, editorial quality—it’s the kind of detail you’d see in high-end hairstyling. It also offers more flexibility, since you’re working with your fully formed ponytail rather than trying to coordinate multiple sections simultaneously.
How to Create It
- Blow-dry and smooth all your hair completely
- Gather your main ponytail at your desired height (crown for a classic look, higher for more drama, lower for more casual)
- Secure with an elastic and smooth everything down using edge control
- Take a thin section of hair from your right temple and wrap it smoothly around the base of your ponytail
- Secure the end of that wrapped section with a bobby pin tucked completely inside the ponytail
- Repeat on the left side, creating a mirror-image wrap
- The wraps should look like intentional detail rather than random hairs wrapped around the base
Pro tip: This technique works best if you blow-dry your hair smooth beforehand. Textured hair can make the wraps look inconsistent or messy rather than refined.
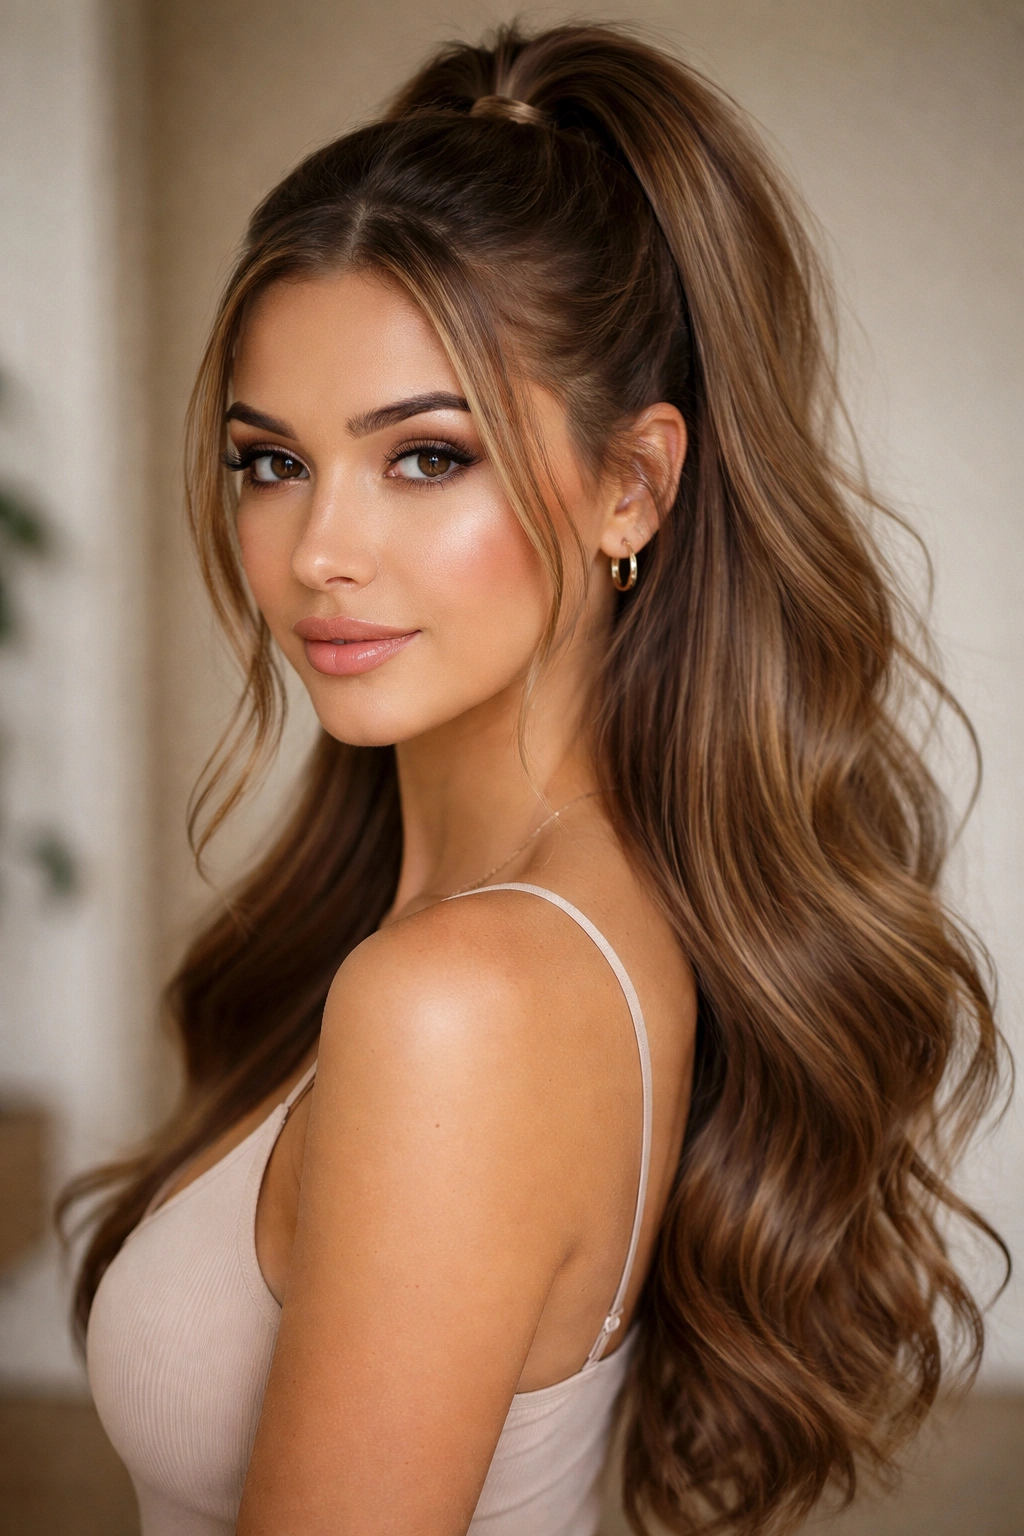
11. The Voluminous Teased Double Front
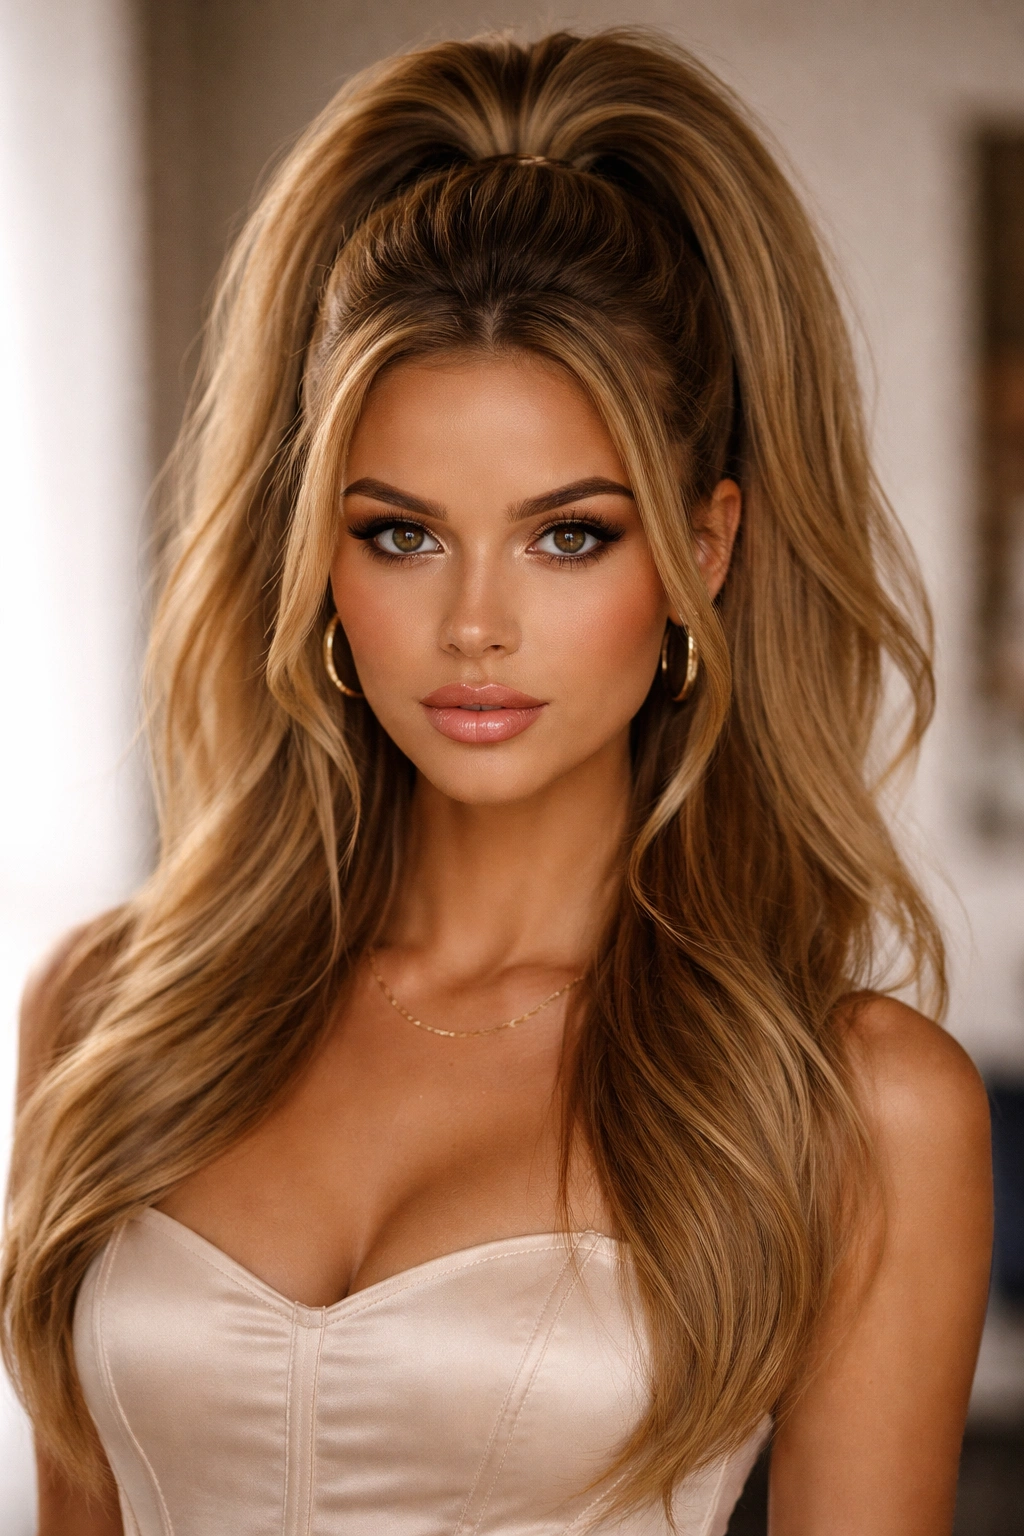
You’re combining double frontal ponytails with strategic teasing to create major volume at the crown and along the front sections. This version reads as glamorous and dramatic, perfect for occasions where you want to make a styling statement.
Why It Works
Teasing adds dimension, fullness, and height. When combined with double fronts, it creates a sophisticated silhouette that frames the face beautifully and adds presence. This version works particularly well if you have fine or thin hair, since the teasing creates the illusion of thickness. It also photographs beautifully.
How to Create It
- Spray your roots with volumizing spray and let it dry slightly
- Section off your double front pieces but don’t secure them yet
- Tease the roots underneath your first front section (on the scalp, not the hair), creating a cushion of volume
- Smooth the top layer of that section over the teased roots and secure at the crown
- Repeat on the opposite side, matching the volume and height
- Gather your main ponytail and tease the crown area underneath before securing to create overall height
- Smooth all top layers so the teasing stays hidden beneath a polished surface
- Use hairspray to set everything, especially around the roots where the teasing lives
Pro tip: Teasing works best on second-day or slightly textured hair. Freshly washed hair is too slippery for teasing to hold effectively.
12. The Low-Slung Seamless Double Front
Your double frontal ponytail sits lower than usual—roughly at the nape of your neck or even lower—creating a more relaxed, undone aesthetic. This works beautifully for casual occasions and for hair that’s longer or more voluminous.
Why It Works
Low ponytails feel more casual and everyday than crown-level ponytails, but adding the double front detail elevates them beyond a simple low pony. This combination creates a sweet spot: intentional enough to feel styled, casual enough to feel wearable for daily life. It also showcases hair length beautifully.
How to Create It
- Section and gather your double fronts as you would in any preferred style (smooth, twisted, braided, textured)
- Instead of gathering your main ponytail at the crown, gather it much lower—at the nape of your neck or three to four inches below
- Secure with an elastic and smooth everything, using edge control to polish any flyaways
- Your front sections should visually flow into the lower back ponytail without harsh transitions
- You can add slight texture to your front sections to make the transition feel more intentional
Pro tip: Low ponytails feel better when they’re not overly tight. Use a loose elastic or a claw clip instead of a hair tie to keep things feeling relaxed and effortless.
Final Thoughts
The seamless quality of double frontal ponytails comes down to understanding how your front sections connect to your main ponytail, and choosing detail techniques that feel natural to your hair type and styling comfort level. Whether you’re drawn to sleek precision, textured movement, asymmetrical boldness, or something entirely different, every style in this guide delivers that polished, intentional look that reads as “I styled this deliberately.”
The real magic of these styles isn’t technical complexity—it’s knowing that small details matter. Equal tension on both sides, strategic bobby pin placement, the right products for your hair type, and finishing touches like edge control all combine to create that seamless, unified effect. Start with whichever version speaks to you, practice it once or twice, and then experiment with the others as your confidence builds.
Double frontal ponytails are versatile enough for casual days and polished enough for occasions where you want to feel put-together. Once you master the technique, you’ll find yourself returning to these styles again and again, tweaking and personalizing them until they feel completely like you.