



If you’ve been searching for hairstyles that protect your natural hair while looking absolutely stunning, protective braiding is where science and style collide. The reality is that our textured hair thrives when given a break from daily manipulation, heat styling, and environmental stressors—and braids are one of the most time-tested, effective ways to give your hair that gift. But not all braids are created equal, and finding the style that works for your hair type, lifestyle, and aesthetic goals requires understanding what makes each one unique.
Protective styling isn’t just about looking good, though that’s definitely a bonus. When you wear braids, you’re minimizing breakage at the ends, reducing frizz, locking in moisture, and allowing your hair to recover and grow stronger. The tension on your roots gets distributed across the braid itself instead of being concentrated at the follicle, which means less stress on your edges and healthier regrowth over time. Whether you’re growing out a textured crown, recovering from damage, or simply want to simplify your styling routine for weeks at a time, braids offer a practical, protective solution that doesn’t require daily manipulation.
The challenge is navigating the sheer number of braid options available. Do you want something you can wear to the office? Are you looking for a style that lets your natural texture show? Do you prefer intricate designs or simple, classic looks? Are you willing to spend hours in the chair, or do you need something faster? The right protective braid style depends entirely on your specific hair goals, texture, and lifestyle—and that’s exactly what we’re going to explore.
Why Protective Braiding Works for Natural Hair
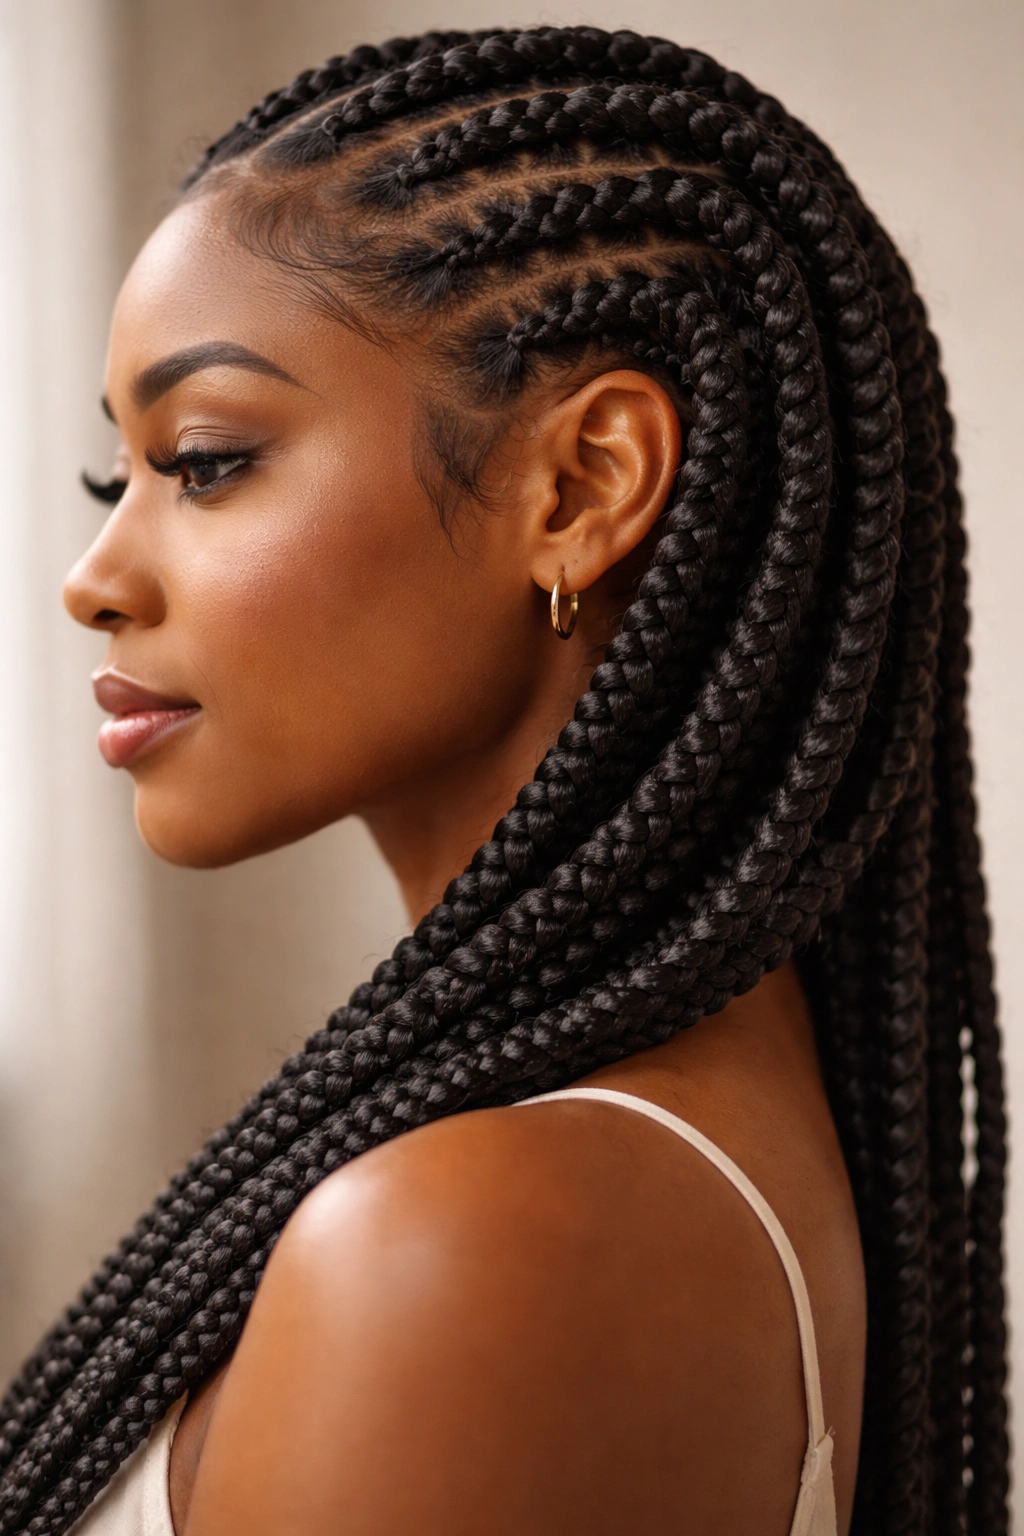
Protective styling isn’t just a trend or a fashion choice—it’s grounded in real hair science. When you wear loose braids or twisted styles, you’re creating a protective barrier around each strand, shielding the most vulnerable parts of your hair (the ends) from friction, humidity, and breakage. This is especially important for textured hair, which naturally has lower sebum distribution along the hair shaft and tends to be drier than straight hair.
The key is understanding that every time you manipulate your hair—brushing, detangling, styling—you create the potential for breakage. When you wear protective styles like braids, you dramatically reduce the need for daily handling. Your hair sits quietly in its twisted or braided pattern, gradually sealing in moisture, strengthening at the root, and growing without interruption.
The tension aspect matters too. Loose braids distribute the weight of your hair evenly, preventing the concentrated stress on individual strands that comes with wearing your hair down. This is why tight, painful braids aren’t ideal—they defeat the purpose by creating too much tension at the root. The sweet spot is a style that feels secure but not tight, that looks polished but doesn’t require your hair to be pulled taut.
Matching Your Braid Style to Your Hair Type and Goals
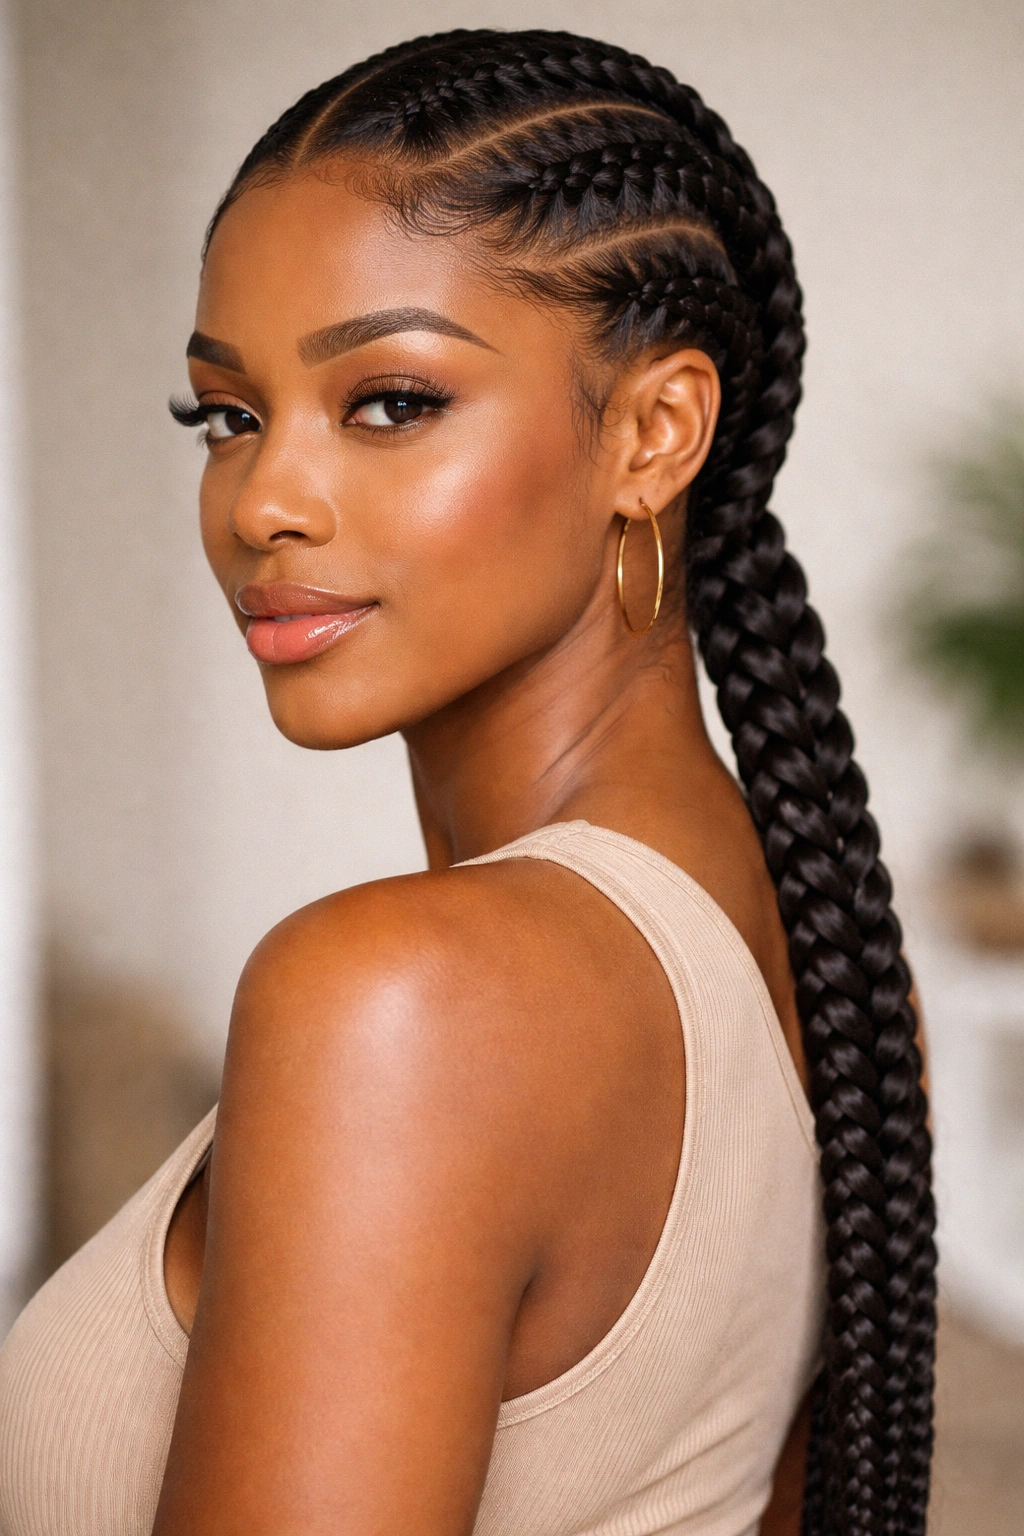
Not every braid works equally well for every hair texture or lifestyle. Fine, delicate hair might struggle with heavy styles that rely on thick, chunky braids, while coarser, denser hair can handle more volume and intricacy. Your lifestyle matters too—if you’re swimming regularly, you need a braid that can handle water and won’t unravel. If you wear your hair up for work, you need something that looks polished and professional.
Before choosing a style, think honestly about these factors: your hair’s porosity and moisture level, how much time you have for installation, how long you want to keep the style, and what occasions you’ll wear it for. A style that’s perfect for a two-week protective break might not be suitable for daily wear, and vice versa. The most beautiful braid in the world won’t serve you well if it doesn’t match your actual life and hair needs.
1. Box Braids
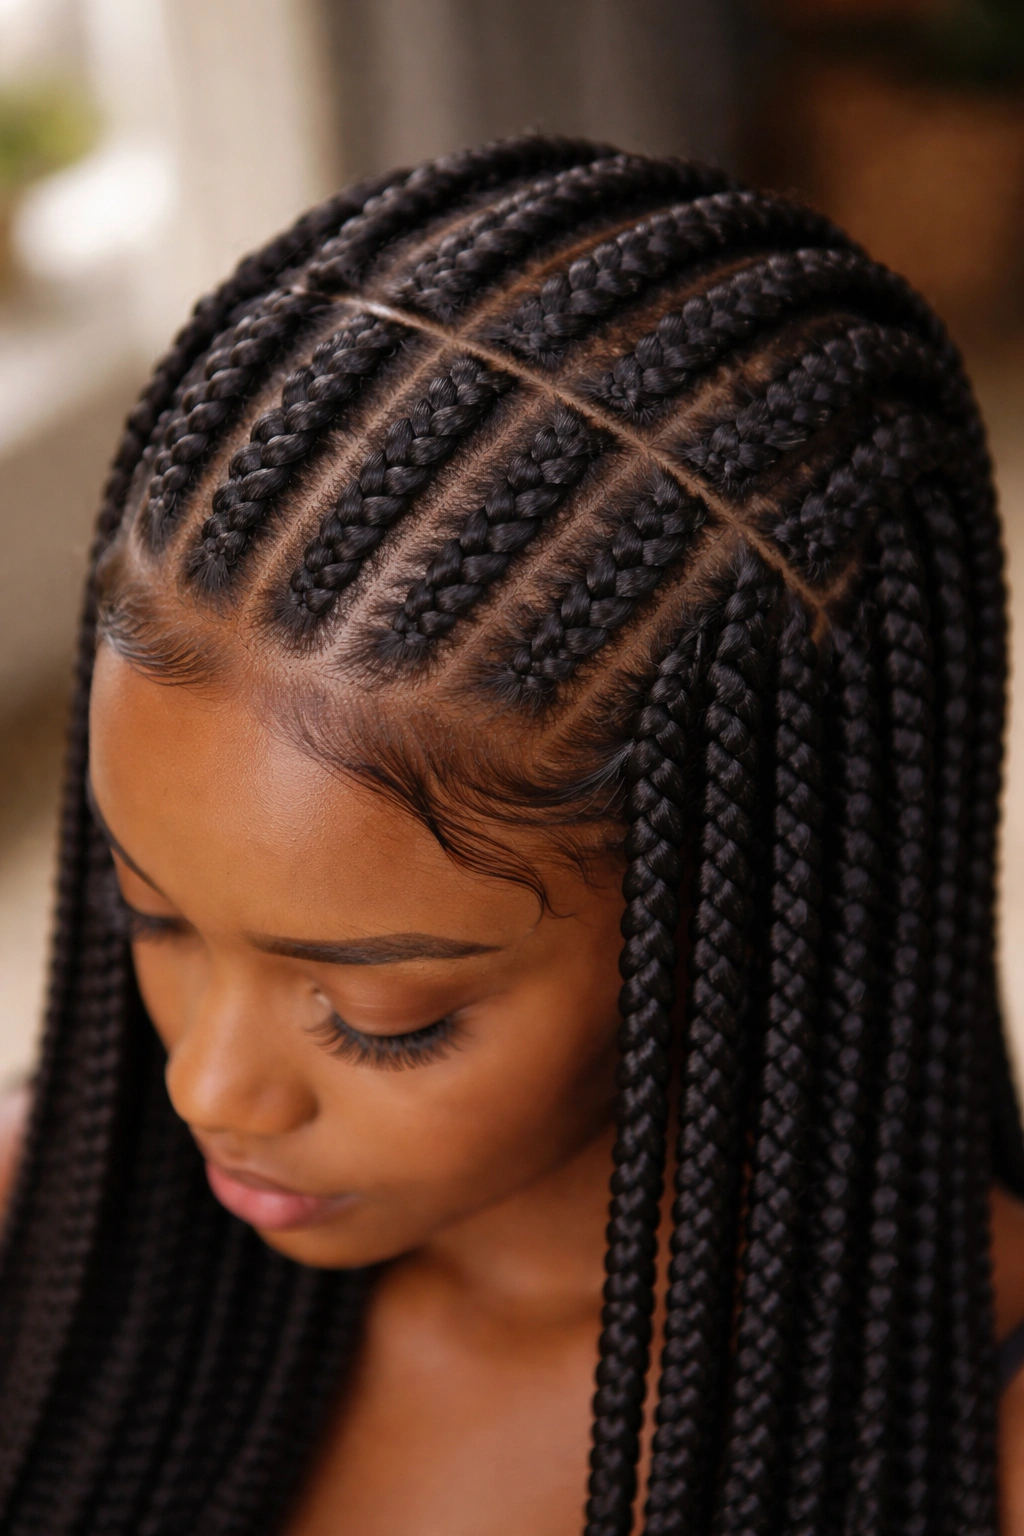
Box braids are the gold standard of protective styling, and for good reason. These individual braids are sectioned into clean, square-shaped patterns (hence the “box” reference), and each braid is distinct and fully separated from the others. The beauty of box braids is their incredible versatility—you can style them up, down, to the side, or even in a high ponytail without disturbing the pattern. They work for virtually every hair texture, every face shape, and every age range, which is why you see them everywhere from boardrooms to festivals.
Why Box Braids Reign Supreme
Box braids are low-maintenance once installed, which is their biggest advantage. Because each braid is completely independent, you don’t have to worry about them growing together or losing definition as your hair grows. You can wash them, moisturize your scalp, and sleep on them without major effort. They’re also incredibly customizable—you can add kanekalon hair for length and volume, install them thin for a delicate look or chunky for more dramatic impact, and style them with beads, cuffs, or wraps.
Installation and Longevity
Expect to spend 4-8 hours in the chair depending on the size and thickness of your braids and the length of your hair. Finer, thinner braids take longer but create a sleeker look, while thicker braids are faster to install. You can typically keep box braids in for 6-12 weeks depending on how well you maintain them and how your hair grows. The real key to longevity is keeping your scalp clean and moisturized—buildup causes itching and premature unraveling.
Pro tip: Install box braids on damp (not soaking wet) hair for easier sectioning and a tighter, neater final result.
2. Knotless Braids
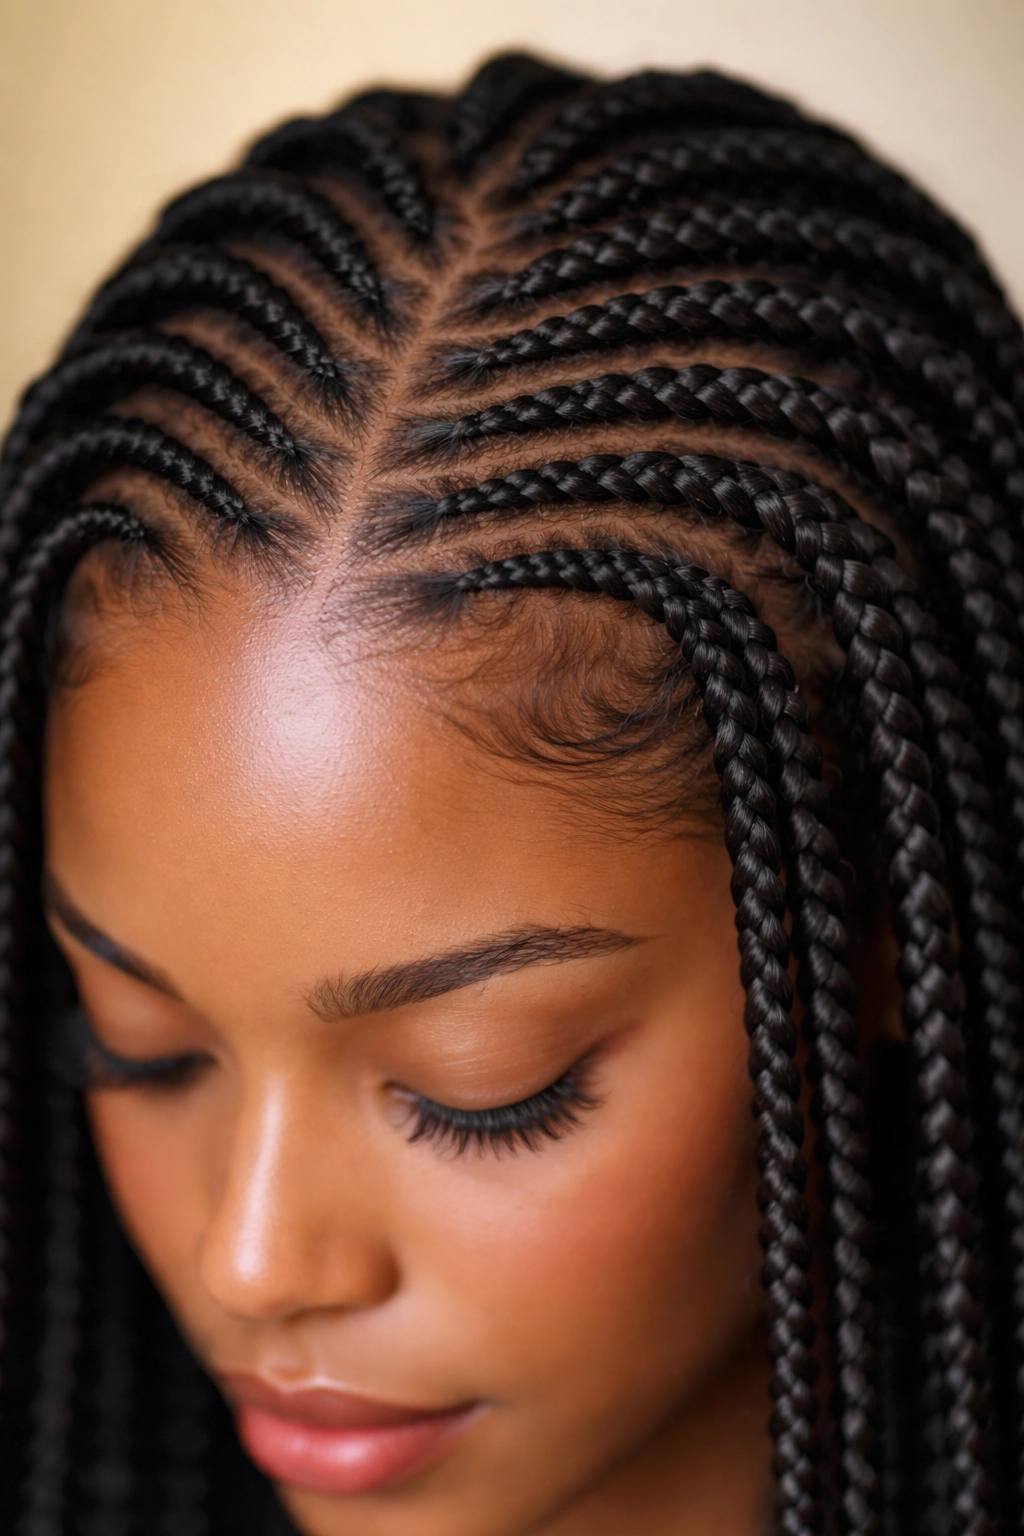
Knotless braids look nearly identical to box braids at first glance, but they’re created using a different installation technique that’s actually gentler on your hair. Instead of using a traditional braid knot at the base (where hair is tied tightly to start the braid), knotless braids are created by feeding synthetic hair or your own hair gradually into the braid as you work. This means there’s no bulky knot at the root, no concentrated tension point, and significantly less stress on your edges and scalp.
The Gentler Installation Method
The installation process for knotless braids takes a bit longer than traditional box braids because each braid has to be fed piece by piece, but the payoff is a more natural appearance and less tension-related hair loss. Your hairline and edges remain healthier because there’s no tight knot pulling on them every single day. If you have sensitive scalp, previous tension alopecia, or you’re trying to regrow your edges, knotless braids are genuinely worth the extra installation time.
Styling and Maintenance
Knotless braids lay flatter against the scalp and look more refined, which makes them a great choice if you’ll be wearing your hair in professional settings. You can still style them into ponytails and buns, though the process is slightly gentler than with traditional box braids. Maintenance is similar to box braids—keep your scalp clean, moisturize regularly, and expect to wear them for 6-10 weeks.
Worth knowing: Knotless braids can sometimes slip out more easily than traditional braids if you don’t properly secure the ends, so make sure your stylist seals the tips with hot water to lock them in.
3. Goddess Braids
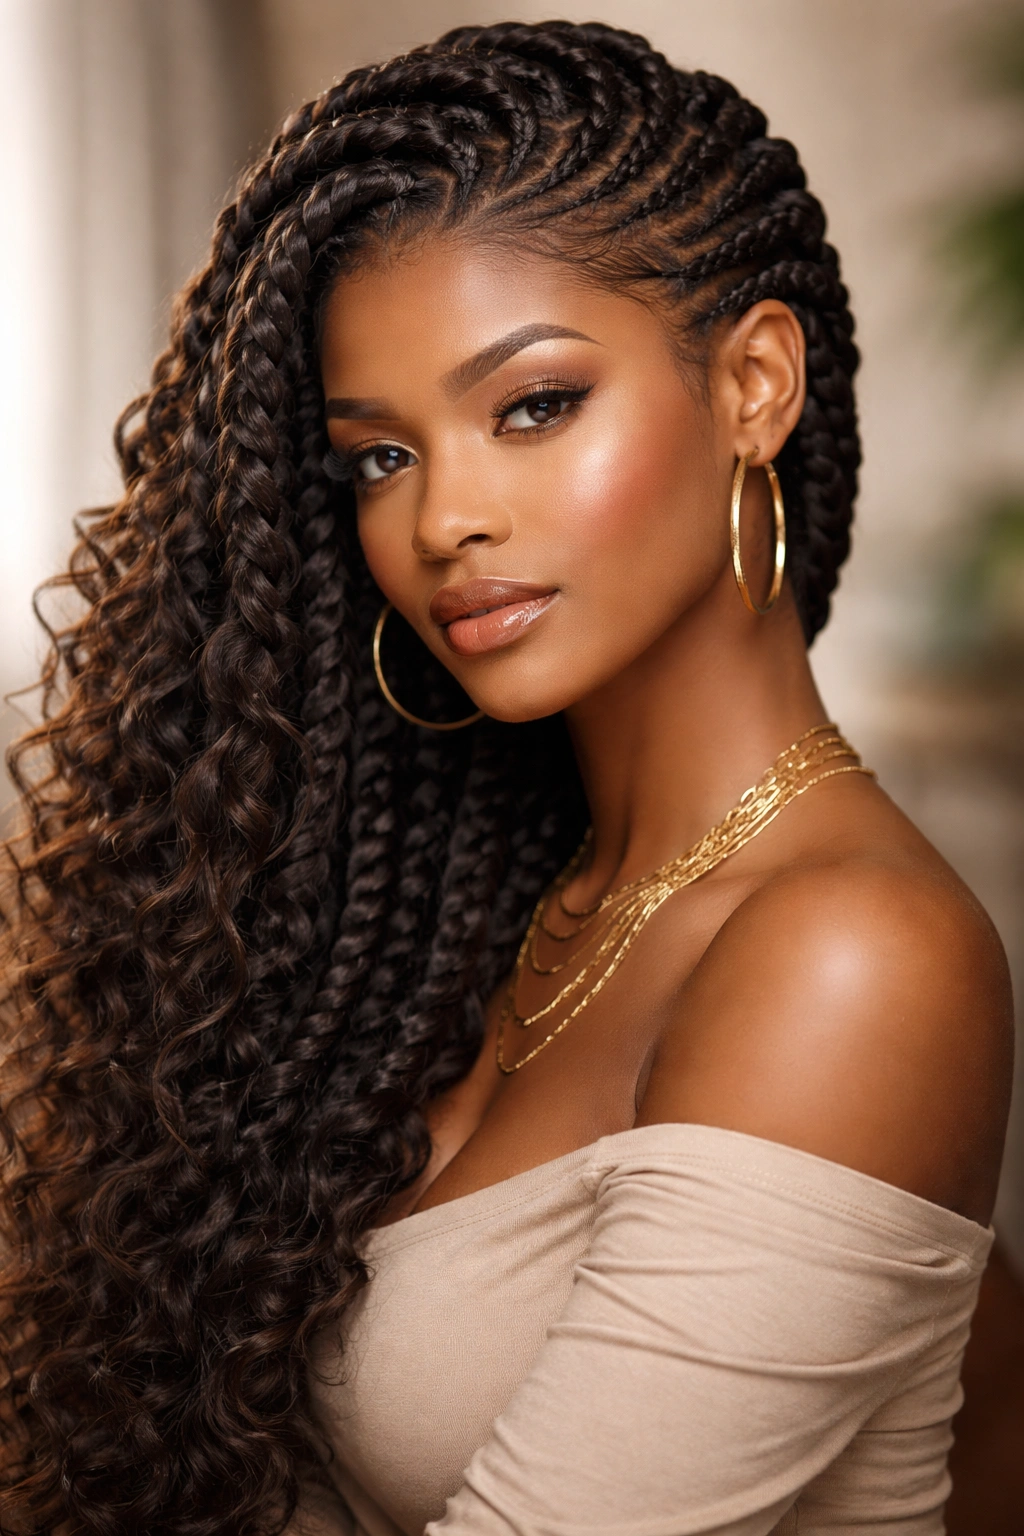
Goddess braids are essentially thicker, chunkier braids that run along the scalp in cornrow-like patterns, creating a sculptural, statement-making look. Unlike cornrows, goddess braids are typically larger and often incorporate added hair for volume and visual impact. They’re perfect for making a bold aesthetic statement while still protecting your hair underneath.
Creating Visual Drama and Protection
Goddess braids work by starting at the scalp and using a cornrow technique to incorporate increasingly thicker sections of hair as you braid down. The result is a stunning, dimensional look that frames your face beautifully. Because the braids themselves are thicker and less numerous than traditional box braids, installation is faster—typically 2-4 hours depending on the number of braids and your hair length.
Best for Bolder Statements
These braids look amazing swept to one side, twisted into a crown around your head, or worn straight back. They’re especially stunning on longer hair where the visual impact is maximized. The downside is that they show more of your scalp than other styles, so if you’re sensitive about scalp visibility or you have active scalp issues, you might want to choose a different style.
Pro tip: Goddess braids look incredible with metallic cuffs, leather wraps, or beads placed strategically along the length. The thicker braids provide the perfect canvas for statement accessories.
4. Cornrows
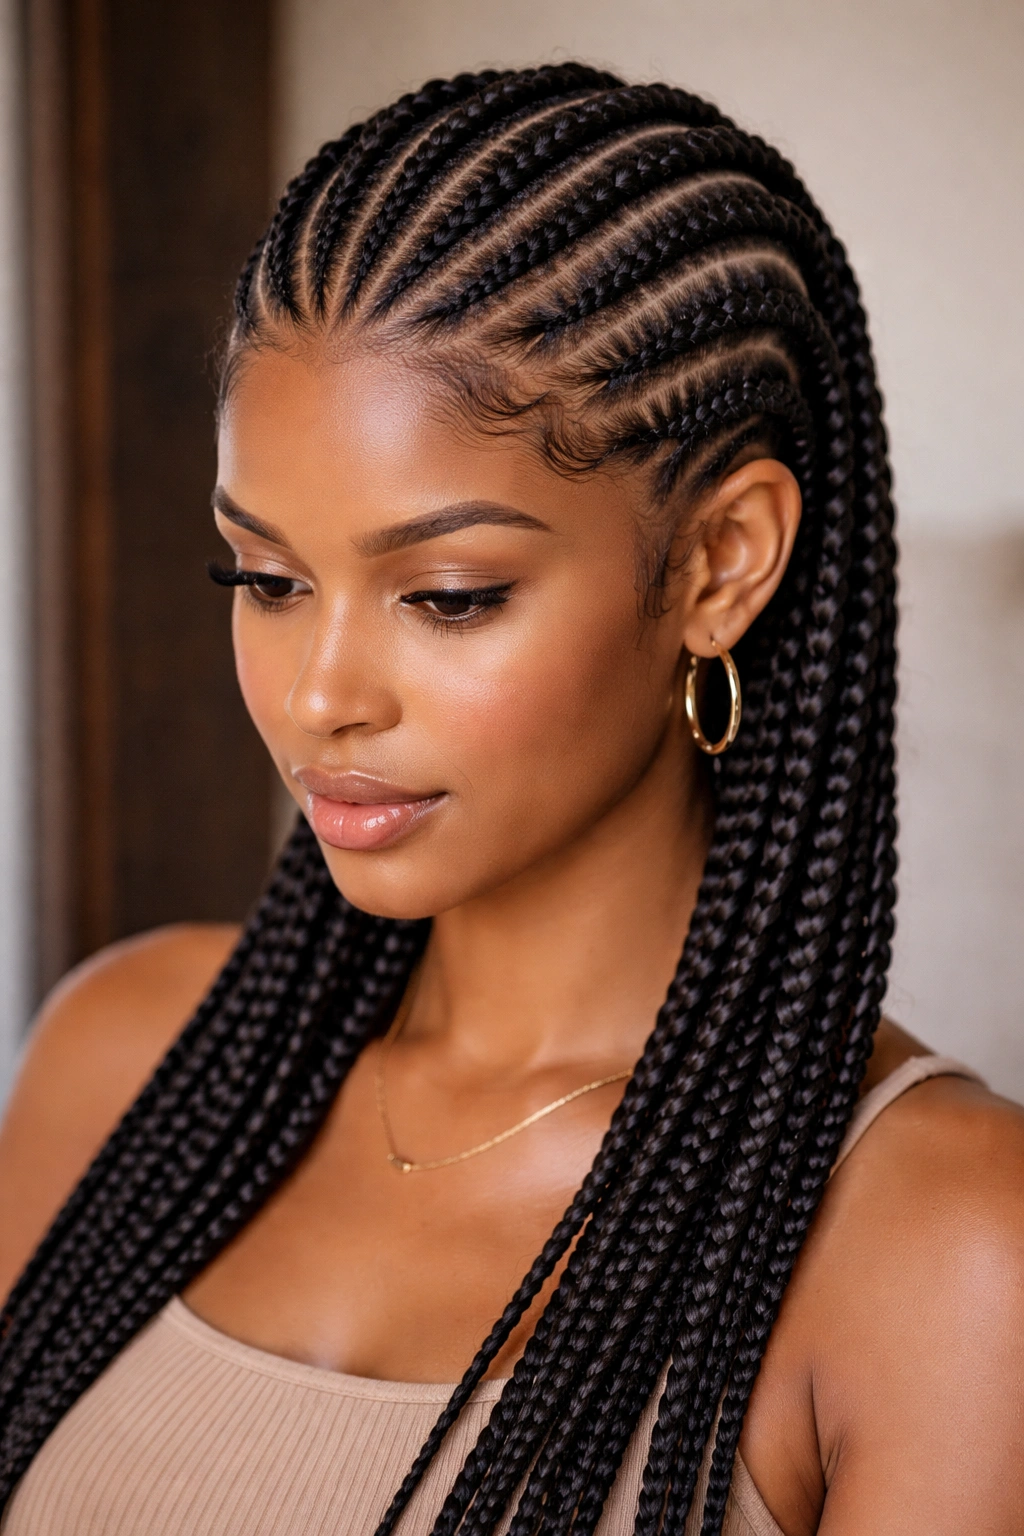
Cornrows are one of the oldest and most culturally significant braiding styles, and they remain one of the best protective options available. Cornrows are braids that are created directly against the scalp using the three-strand braid method, creating a raised, textured pattern. You can wear them straight back, curved in artistic patterns, or even in a spiral design—the possibilities are truly limitless.
Precision Patterning and Artistry
The real beauty of cornrows is that they’re a true art form. A skilled stylist can create intricate patterns, geometric designs, curved lines, or even pictures through the placement and direction of individual braids. Because they’re done directly on the scalp, they look polished and refined while still being completely protective. They’re also one of the fastest styles to install if you’re doing basic straight-back cornrows—expect 1-3 hours for a full head depending on the number of braids and your hair texture.
Scalp Health Considerations
Cornrows keep your scalp fully exposed, which is excellent for maintaining scalp health and easy moisturizing. You can apply oils, leave-in conditioners, and scalp treatments directly without any product buildup underneath braids. This makes them an excellent choice if you struggle with dryness or scalp sensitivity. The tradeoff is that your scalp is visible, so if that’s a concern, you might prefer a style that offers more coverage.
Insider note: Cornrows look stunning when you accessorize with gold cuffs, beads, or threading woven through the braids themselves. Keep them in for 4-8 weeks depending on your hair growth rate and how well you maintain them.
5. Fulani Braids
Fulani braids are a specific style of cornrows that honor West African cultural traditions, particularly those of the Fulani people. These braids are typically thicker than regular cornrows, often feature a distinctive center part down the middle of the head, and are frequently adorned with gold cuffs, beads, or rings. The braids are typically worn in two large sections on either side of the head.
Cultural Significance and Aesthetic
Fulani braids are more than just a hairstyle—they’re a cultural expression with deep historical roots. The style traditionally includes specific adornments like shiny metal rings or cuffs that sit at intervals along the braids, creating a striking visual effect. If you’re wearing this style, it’s important to do so respectfully and with awareness of its cultural significance and origins.
Installation and Styling Options
Fulani braids take 2-4 hours to install and look stunning worn down, in a ponytail, or even wrapped up into a bun. The thickness of the braids and the open scalp make them comfortable for warm weather. You can keep them in for 6-10 weeks depending on your maintenance routine. Many people love this style because it’s low-maintenance once installed but makes a significant visual statement.
Real talk: When wearing culturally significant styles like Fulani braids, wear them with pride and understanding. Take time to learn about the style’s origins and significance—it deepens your connection to the style and shows respect for the culture.
6. Senegalese Twists
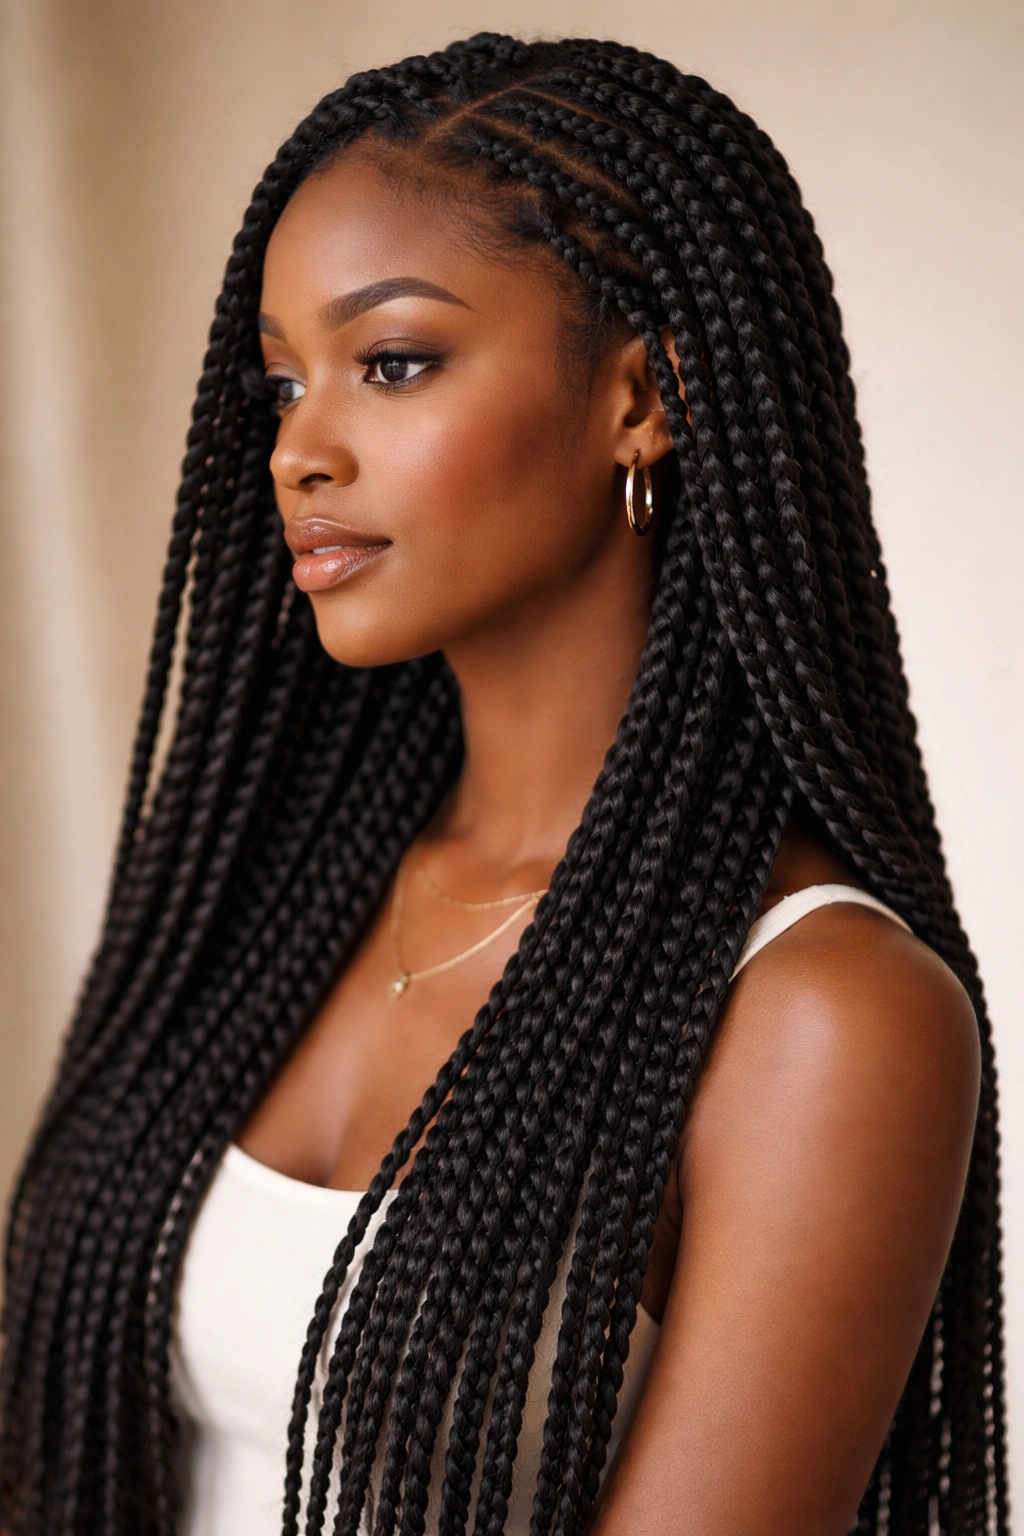
Senegalese twists are essentially the twisted version of braids, created by twisting two strands of hair together (your own hair plus added kanekalon or human hair) rather than three-strand braiding. These twists create a ropelike texture that’s distinctly different from braids and offers its own unique aesthetic and protective benefits.
Twisted for Texture and Visual Interest
Senegalese twists look beautiful because the two-strand twist creates a much tighter, more defined spiral than braids do. They photograph incredibly well and create a sophisticated, refined look. Installation typically takes 3-6 hours depending on the thickness and length, and they’re gentler on your edges and scalp than tight box braids. The twists feel more flexible and moveable than braids, which many people prefer.
Longevity and Maintenance
You can keep Senegalese twists in for 6-10 weeks, and they actually improve in appearance as they set and tighten up in your hair. Unlike braids, which can unravel, twists tend to lock in place and become more secure the longer you wear them. Washing them is straightforward—you can do a simple rinse in the shower and let them air dry, or do a full shampoo and deep condition.
Pro tip: Senegalese twists can be worn down, up in a ponytail, wrapped around your head, or even twisted into a bun on top of your head. The flexibility makes them perfect if you want versatility in how you style them day to day.
7. Marley Twists
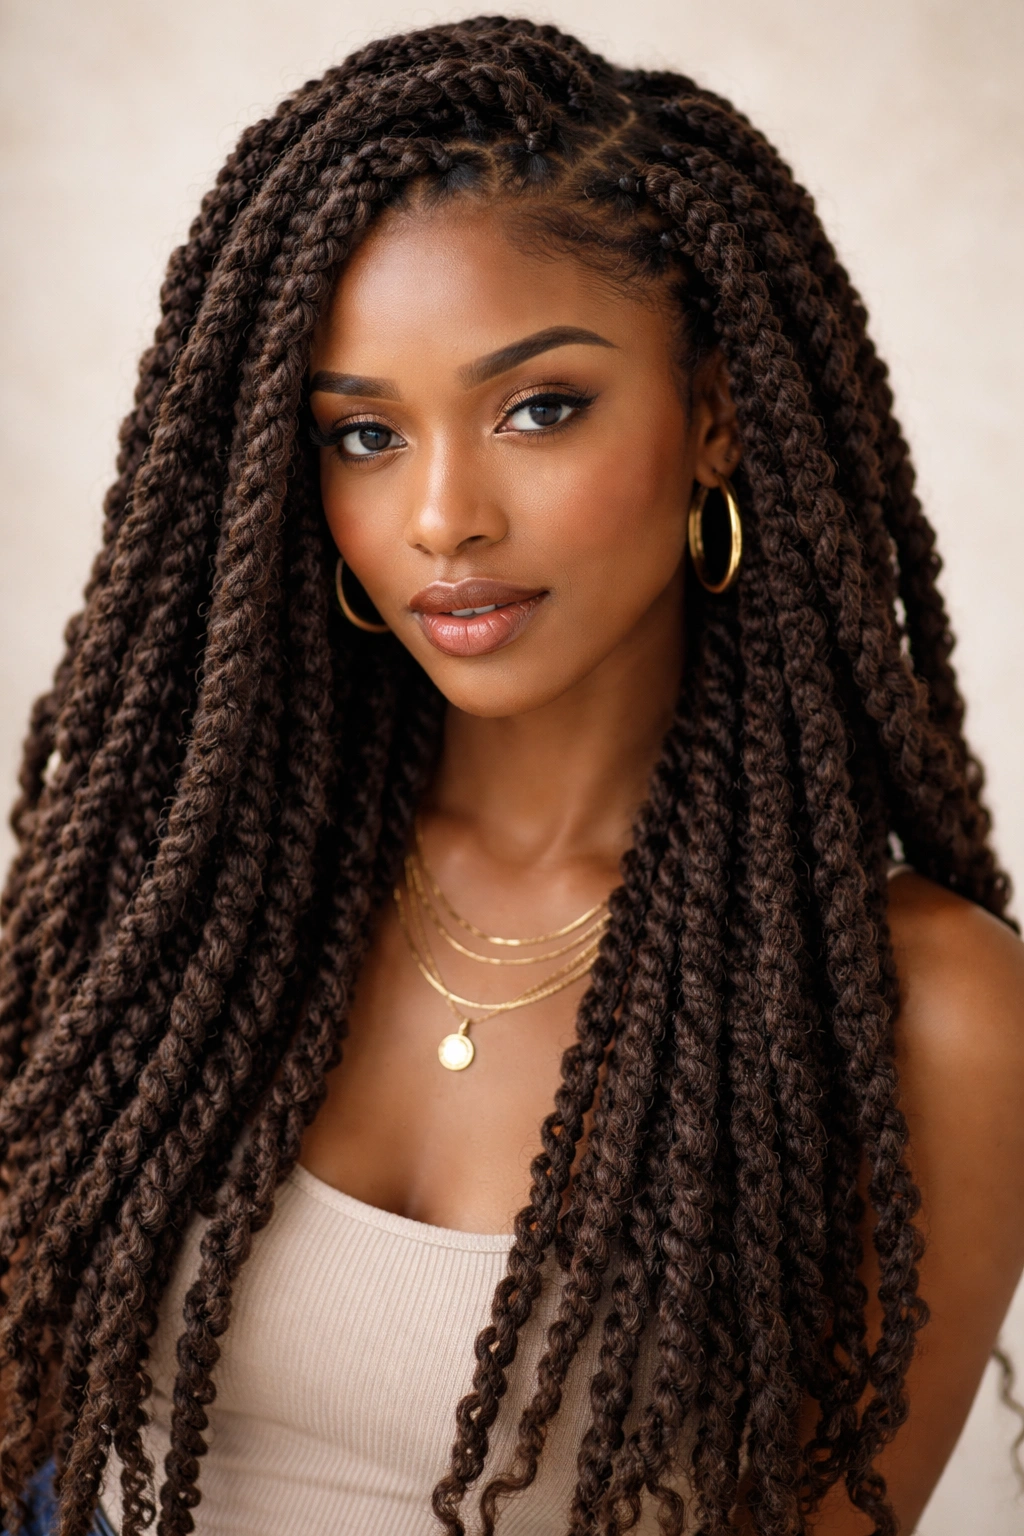
Marley twists are similar to Senegalese twists but use a different type of added hair—specifically Marley hair, which is a synthetic, crinkled-textured hair that mimics natural textured hair. The result is a thicker, fuller twist with more visual texture and dimension than Senegalese twists. Named after reggae icon Bob Marley, these twists have a distinctly cultural and artistic vibe.
Building Volume and Texture
Marley hair is thicker and has more natural-looking dimension than sleek kanekalon, which makes Marley twists look less uniform and more organic. They’re perfect if you want the protective benefits of twisting but with more visual interest and texture. Installation takes 3-5 hours depending on thickness and length, and the final result is a full, textured style that turns heads.
Perfect for Adventurous Styling
Marley twists give you room to play with styling. You can wear them twisted up on top of your head in a high style, spiraled around your crown, or even partially undone and re-twisted for a different look. They work beautifully with color—you can add colorful Marley hair for a bold statement. Keep them in for 6-8 weeks and maintain them by keeping your scalp moisturized and the twists intact.
Worth knowing: Marley twists tend to shed more than other styles because of how the synthetic hair is wrapped. This is totally normal and manageable—just know to be prepared for some shedding during washing.
8. Two-Strand Twists
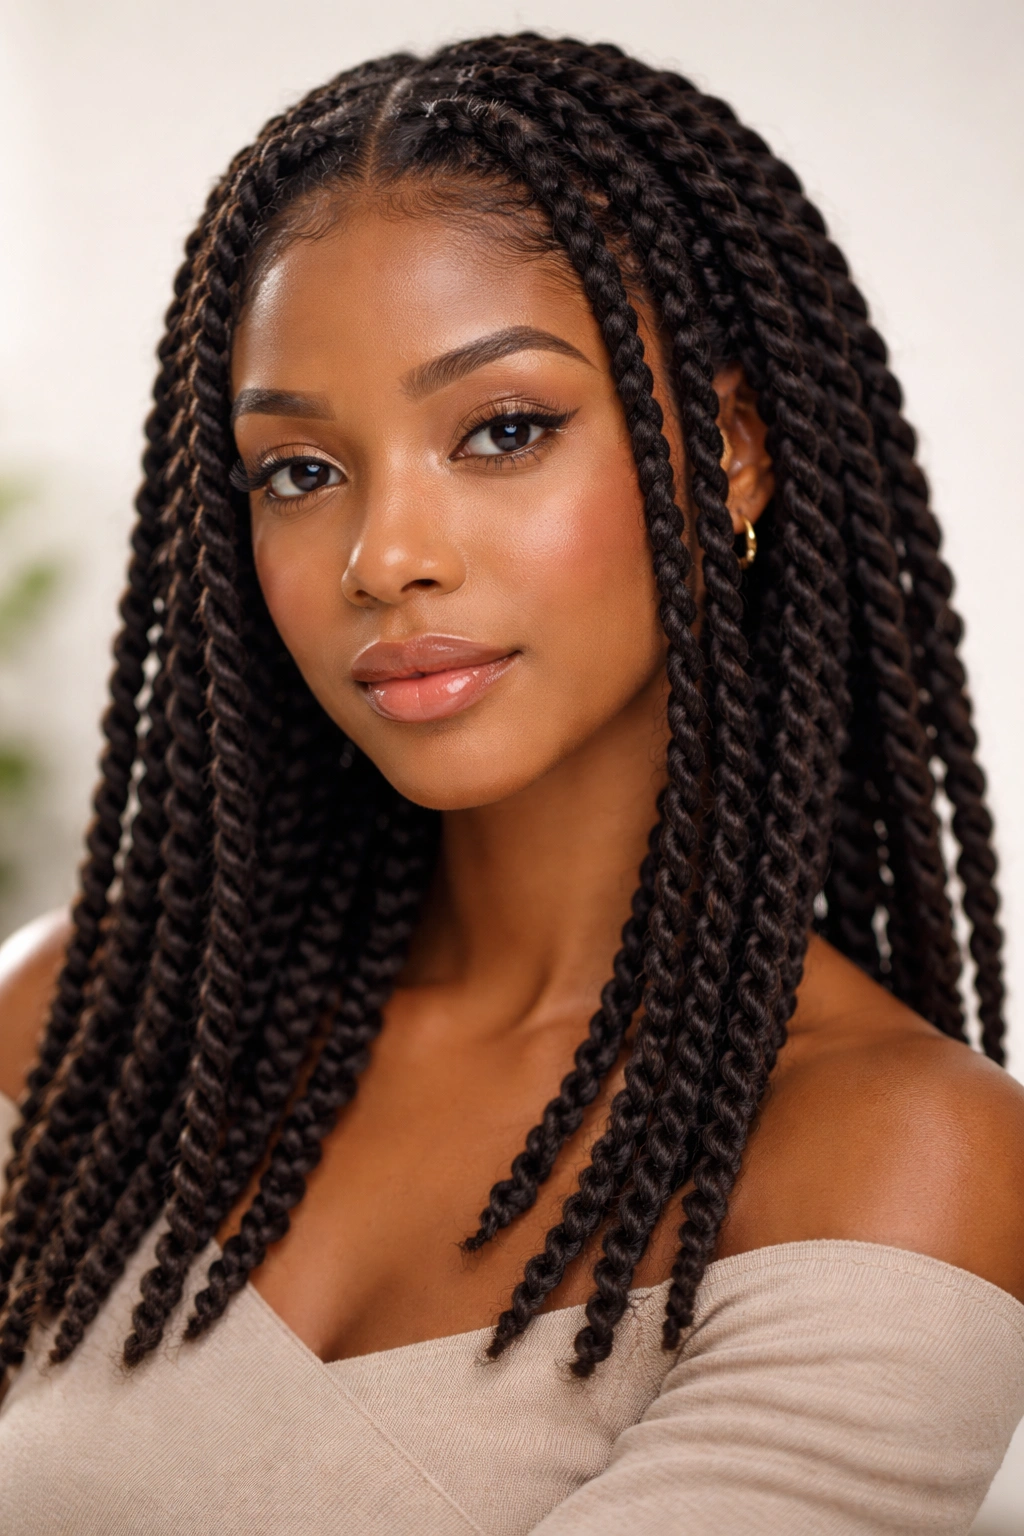
Two-strand twists are the simplest and most minimalist protective style, created by literally twisting two sections of hair together. You can do them using only your own hair, or add synthetic or human hair for extra length and fullness. The beauty of two-strand twists is their versatility and the fact that you can actually do them yourself at home with patience and basic technique.
DIY-Friendly and Flexible
Two-strand twists are the most accessible protective style if you want to install them yourself. You don’t need advanced braiding skills or hours of training—just the ability to twist two sections together. They look clean and refined, and you can create them in any size from ultra-thin delicate twists to thick, chunky ones. Installation time varies wildly depending on whether you’re doing it yourself and how many twists you’re creating, but expect 2-6 hours for a full head.
Styling Versatility and Ease
The real advantage of two-strand twists is how easy they are to redo and restyle. If you get bored with how they’re styled, you can untwist them, wash your hair, and retwist in a completely different pattern. This flexibility makes them perfect if you like changing up your look frequently. You can keep them in for 4-8 weeks depending on how your hair holds the twist and how well you maintain them.
Pro tip: Create two-strand twists on damp hair for easier twisting and a tighter final result. You can also twist them and then allow them to dry completely, which creates a slightly bouncier texture.
9. Lemonade Braids
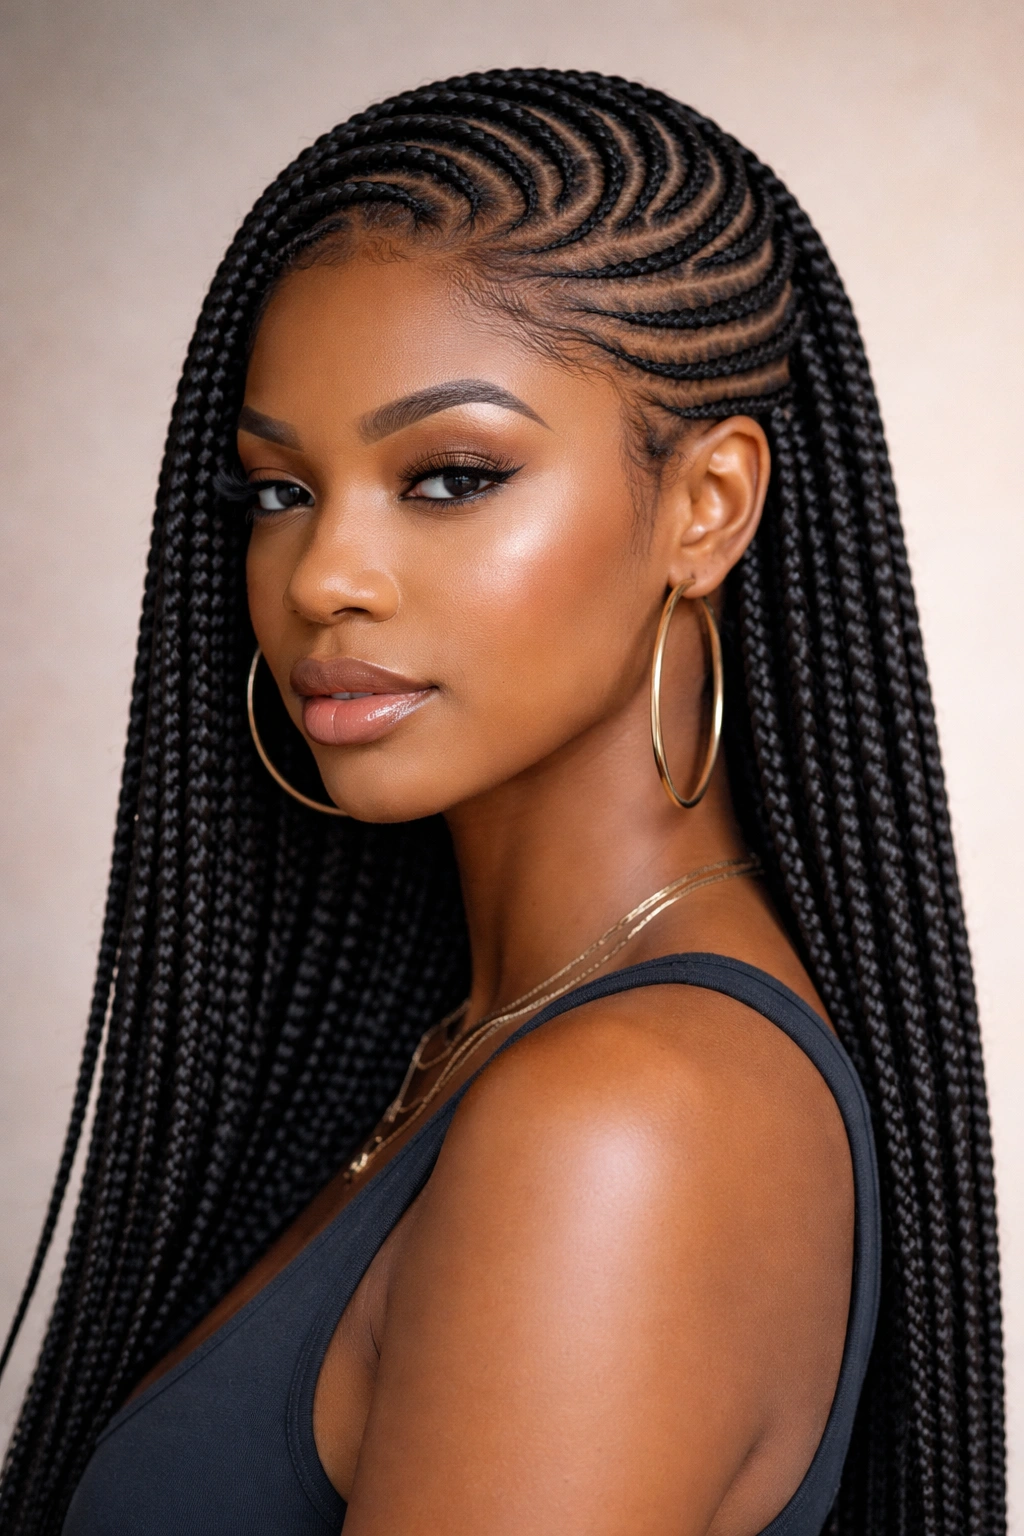
Lemonade braids are a specific style of cornrows that curve and flow across the head in a design inspired by the iconic imagery from Beyoncé’s “Lemonade” visual album. These braids typically start at one side of the head, curve across, and taper off at the opposite side, creating a swooping, asymmetrical effect. The name perfectly captures the style’s playful, modern aesthetic.
Modern Artistry and Visual Impact
Lemonade braids showcase braiding as an actual art form. The curved pattern requires skill and precision from your stylist, and the result is a hairstyle that’s both protective and genuinely artistic. Unlike straight-back cornrows, lemonade braids create visual movement and dimension. They frame your face beautifully and work with virtually every face shape.
Installation and Daily Styling
Because lemonade braids are curved and directional, installation takes slightly longer than straight cornrows—expect 2-4 hours depending on the number of braids and how intricate the design is. The braids can be worn down as is, or you can pin them up into a bun or ponytail for a completely different look. Keep them in for 4-8 weeks depending on your hair growth and scalp condition.
Insider note: Lemonade braids photograph beautifully and look stunning from every angle, which makes them perfect if you share photos or spend time in visual media. The curved design is uniquely flattering on most face shapes.
10. Triangle Box Braids
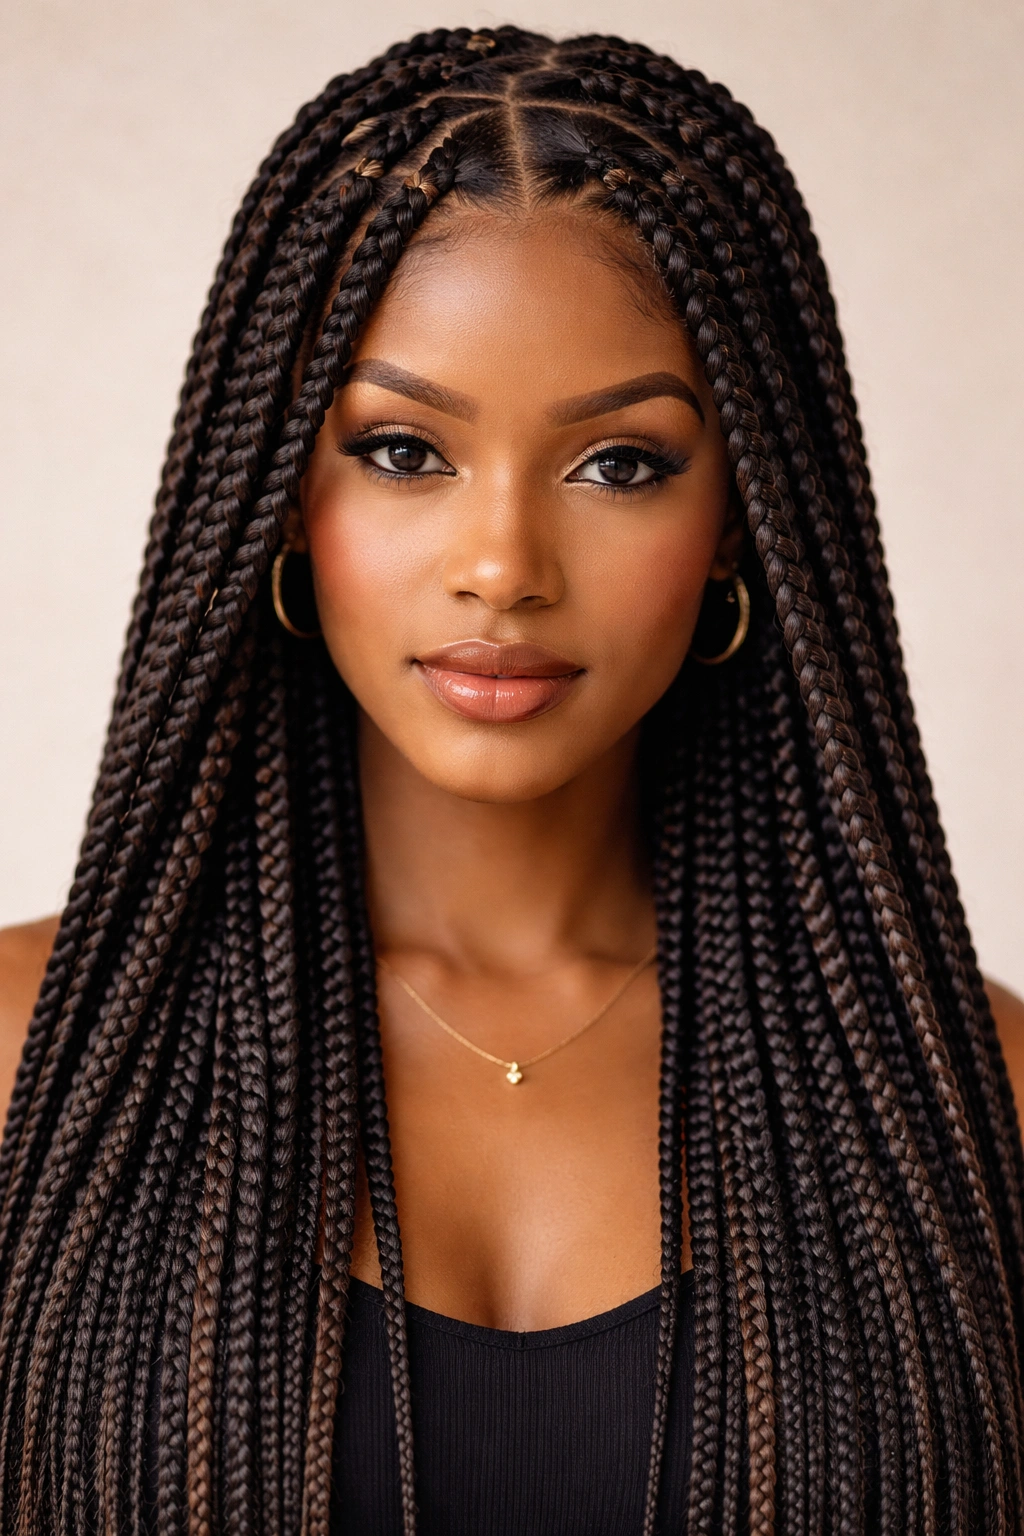
Triangle box braids (also called triangular braids) are a variation on traditional box braids where the sectioning pattern is triangular rather than square. This creates a different visual aesthetic and can actually distribute tension differently across the scalp. The braids tend to have a slightly different texture and tightness than traditional box braids because of how they’re sectioned.
Unique Sectioning for Different Results
Triangle braids create a more organic, less uniform appearance than perfectly square box braids, which some people prefer aesthetically. The triangular sections can sometimes feel slightly less tight on the scalp compared to perfectly square sections, though this depends heavily on your stylist’s technique. Installation takes about the same time as traditional box braids (4-8 hours), but you’ll end up with a distinctly different look.
Versatility in Styling and Appearance
Triangle braids can look more natural and lived-in, which appeals to people who prefer a less rigid aesthetic. You can style them the same ways you’d style box braids—up, down, to the side—and maintain them with the same routine. The only real difference is visual—how the braids catch light and how they sit on your head.
Pro tip: If you’ve worn traditional box braids for years and want something that feels fresh and different but still protective, try triangle braids as a variation. Many stylists can create beautiful designs with triangle sectioning.
11. Crochet Braids
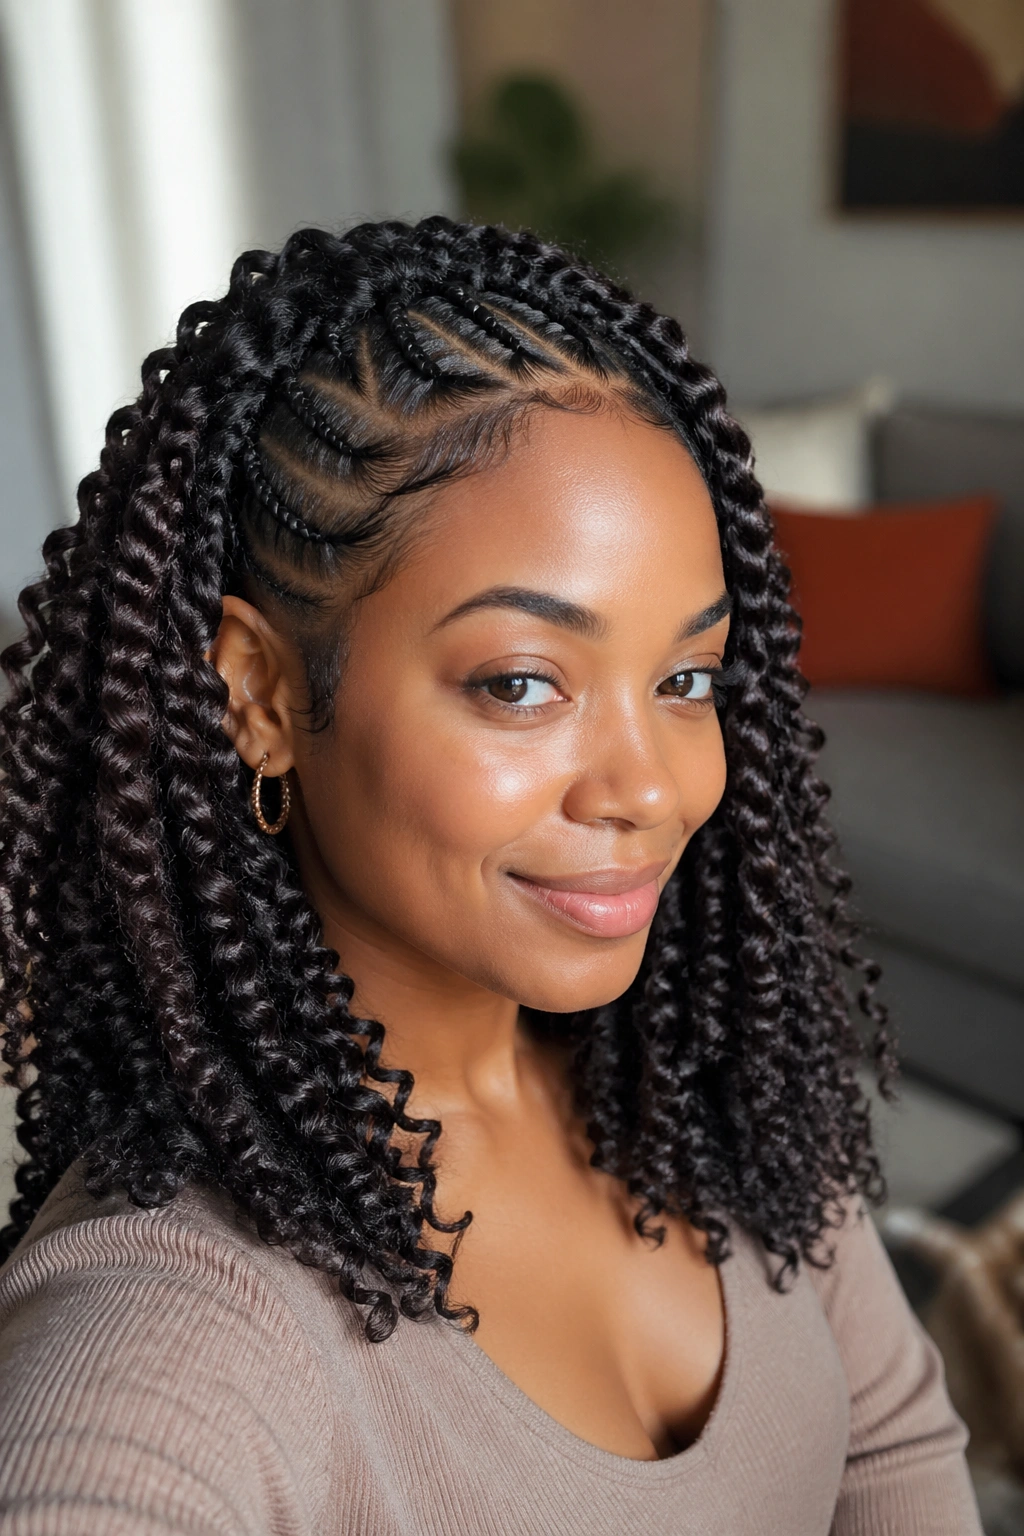
Crochet braids are a protective style where synthetic hair is attached to your natural hair using a crochet hook. Essentially, your natural hair is braided into cornrows, and then synthetic hair is looped through those braids using the crochet hook, creating what looks like a full head of braids or locs. The beauty of crochet braids is the speed of installation and the incredible variety of looks you can achieve.
Speed and Versatility Combined
The biggest advantage of crochet braids is how fast they install—you can have a complete style in 1-3 hours depending on the type of hair you’re using and how intricate the design is. Because you’re only braiding your own hair into cornrows and then crocheting in the additional hair, there’s less weight on your natural hair and less tension on your scalp. You can create traditional-looking braids, locs, curly textures, or even wavy styles using crochet method.
Customization and Expression
Crochet braids offer more visual variety than almost any other protective style. You can use different types of synthetic hair, experiment with colors, textures, and lengths without committing to a long installation time. If you like switching up your look frequently, crochet braids are genuinely perfect. Keep them in for 4-8 weeks depending on how well they hold and how you maintain them.
Worth knowing: The quality of the synthetic hair matters significantly for crochet braids. Cheaper hair tends to look plastic and frizzes quickly, while higher-quality synthetic hair looks more natural and lasts longer. Investing in better hair is worth it.
12. Passion Twists
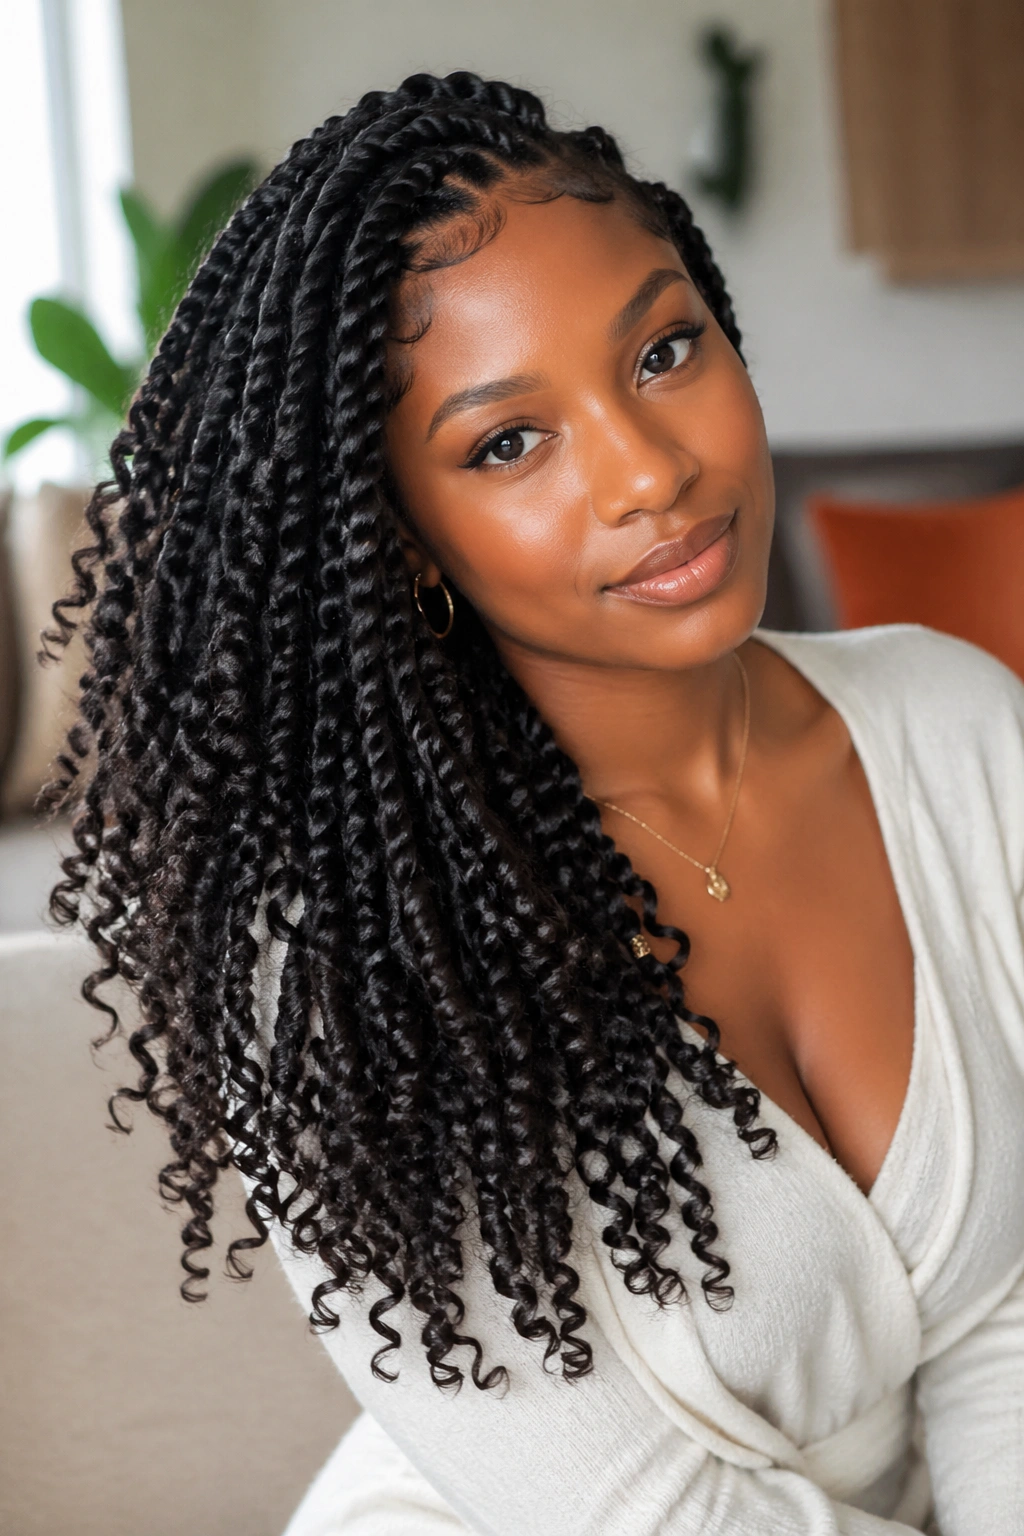
Passion twists are a newer protective style that combines elements of twists and coils, creating a bouncy, springy texture that’s absolutely stunning. These twists use a specific type of curly or coily synthetic hair that’s twisted through your own hair, creating a thick, textured look with incredible dimension and movement. The result looks like a cross between twists and natural curly hair, with amazing visual texture.
Bouncy Texture and Modern Aesthetic
Passion twists photograph incredibly well and feel bouncy when you move. They’re installation-wise similar to Marley twists—taking 3-5 hours depending on thickness and length—but the final aesthetic is distinctly different. Because the synthetic hair is already curly, the twists have built-in texture and volume that looks less uniform than straight-hair twists.
Styling Options and Longevity
You can wear passion twists down, up in a bun, wrapped around your crown, or even partially down and partially up. The bouncy texture looks great in every configuration. Keep them in for 6-10 weeks depending on how well they hold and your maintenance routine. As they sit, they actually relax slightly and develop a softer, more natural appearance.
Real talk: Passion twists are a bit heavier than some other styles because of all the synthetic hair, so make sure you’re comfortable with that weight if you have a sensitive scalp or edges. They’re worth it for the aesthetic, but it’s good to know what you’re getting into.
Scalp Care While Wearing Protective Braids
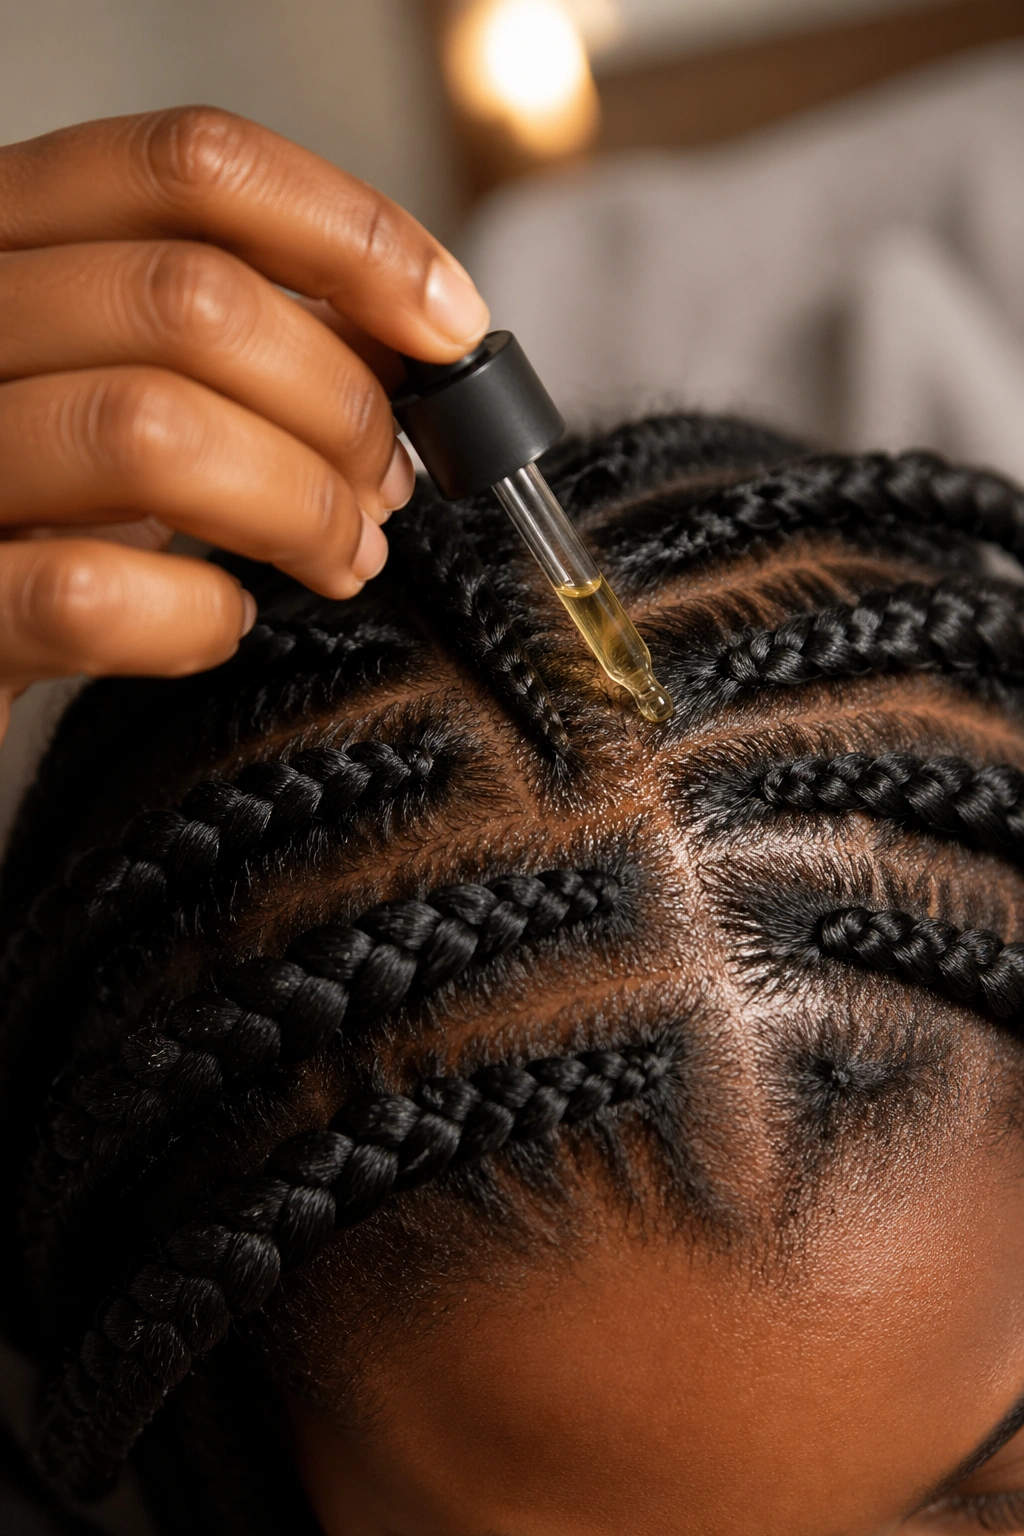
The protective benefits of braids only work if you maintain a healthy scalp underneath. Many people neglect their scalp while wearing braids, assuming it doesn’t need attention because it’s covered. The reality is that your scalp is still producing oil, dead skin cells are still shedding, and your hair is still growing—all of which can create buildup, dryness, or itching if you’re not proactive.
Establish a scalp care routine from day one. Use a lightweight scalp oil or moisturizer specifically designed to be applied between braids—look for products with a fine nozzle applicator that lets you target your scalp without disturbing your braids. Apply it to your scalp 2-3 times per week, working the product through with your fingertips. You can also do a gentle scalp massage while moisturizing, which feels amazing and promotes circulation.
For washing, you don’t need to shampoo your entire head every week while wearing braids. Instead, focus on your scalp—use a sulfate-free shampoo diluted with water, apply it directly to your scalp with a spray bottle or applicator bottle, and rinse gently. You can do a full rinse of the braids themselves once every 1-2 weeks if you want, but the focus should remain on scalp health.
Common Braiding Mistakes That Compromise Hair Health
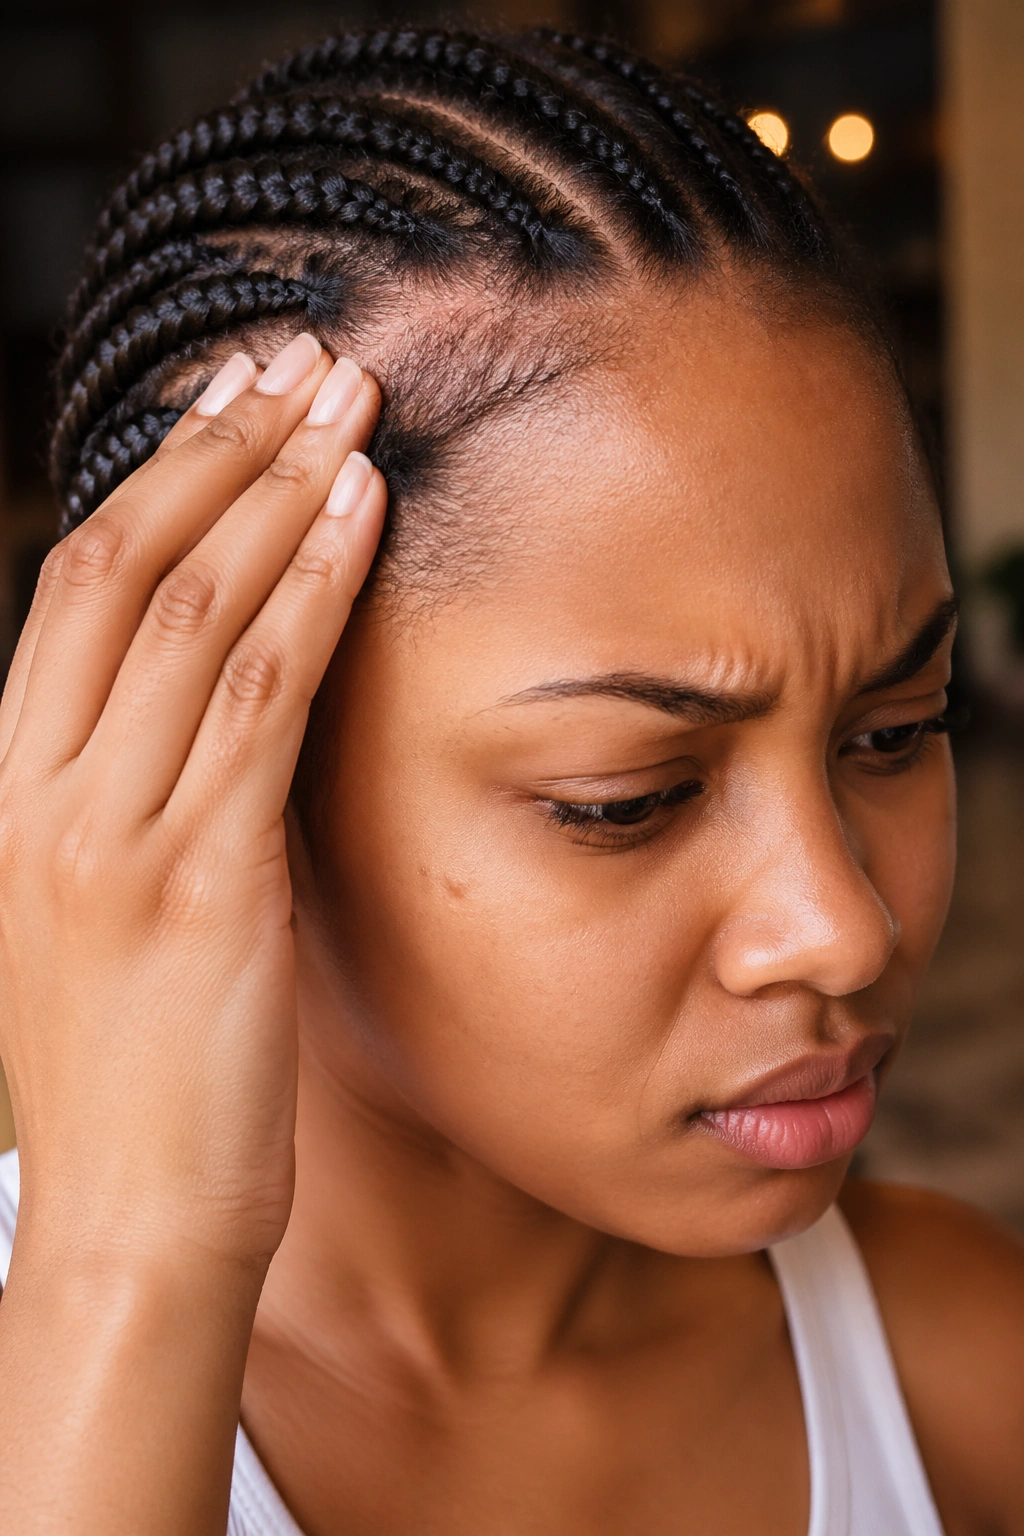
The most common mistake people make with protective braids is installing them too tightly. Tight braids look more polished and secure initially, but over time they create tension alopecia—actual hair loss from the constant pulling. Your braids should feel secure but comfortable enough that you can massage your scalp without pain. If you’re wincing when the stylist is braiding, or if your scalp hurts the next day, they’re too tight.
Another frequent mistake is leaving braids in too long. Even perfect, protective braids eventually need to come down. If you keep them in past 12-16 weeks, the hair underneath starts to felt and lock together, potential for matting increases, and your edges bear too much stress. Respect the timeline for your style and remove them when they’re meant to come down.
People also sometimes neglect to moisturize their natural hair while wearing braids. Braids can actually lock in moisture effectively, but only if your hair was well-moisturized when you installed them. If you put braids on dry hair and then never moisturize while wearing them, your natural hair will emerge dehydrated and brittle. Apply a light moisturizer or leave-in conditioner to your natural hair before braiding, and continue moisturizing your scalp regularly throughout.
Removing Braids Safely Without Breakage
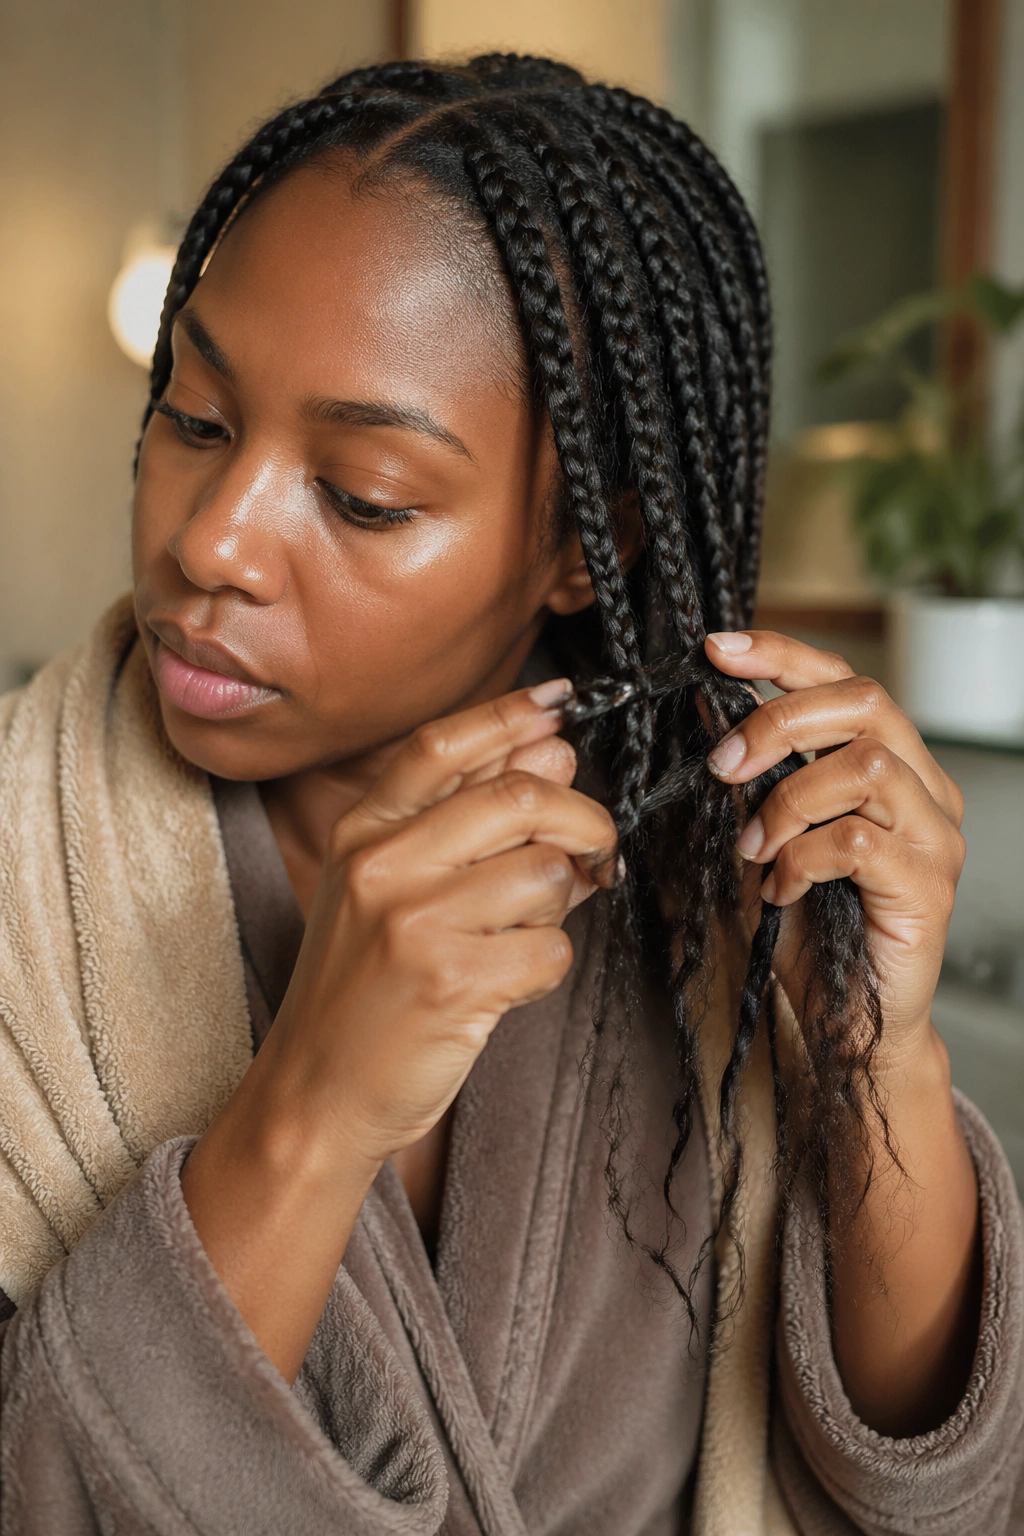
How you remove your braids matters as much as how you install them. Rushing the removal process is a guaranteed way to cause breakage. Set aside time—at least 2-4 hours depending on how many braids you have—and approach removal slowly and methodically. Use small scissors or a seam ripper designed for removing braids, and carefully cut only the added hair, never your natural hair.
Work in small sections, cutting the synthetic hair and gently unbraiding your natural hair as you go. This is where patience genuinely matters. Once you’ve unbraided a section of your natural hair, gently detangle it with your fingers or a wide-tooth comb, working from the ends upward. Your hair will have some texture and waviness from being braided—that’s completely normal and will settle down once you shampoo and condition.
After removing all your braids, deep condition your hair extensively. Even the best-maintained braids are slightly drying, so give your hair some extra TLC. Do a deep conditioning treatment 2-3 times over the next week, use leave-in conditioner, and allow your hair to be in a loose, unmanipulated state for at least a few days before styling again.
Final Thoughts
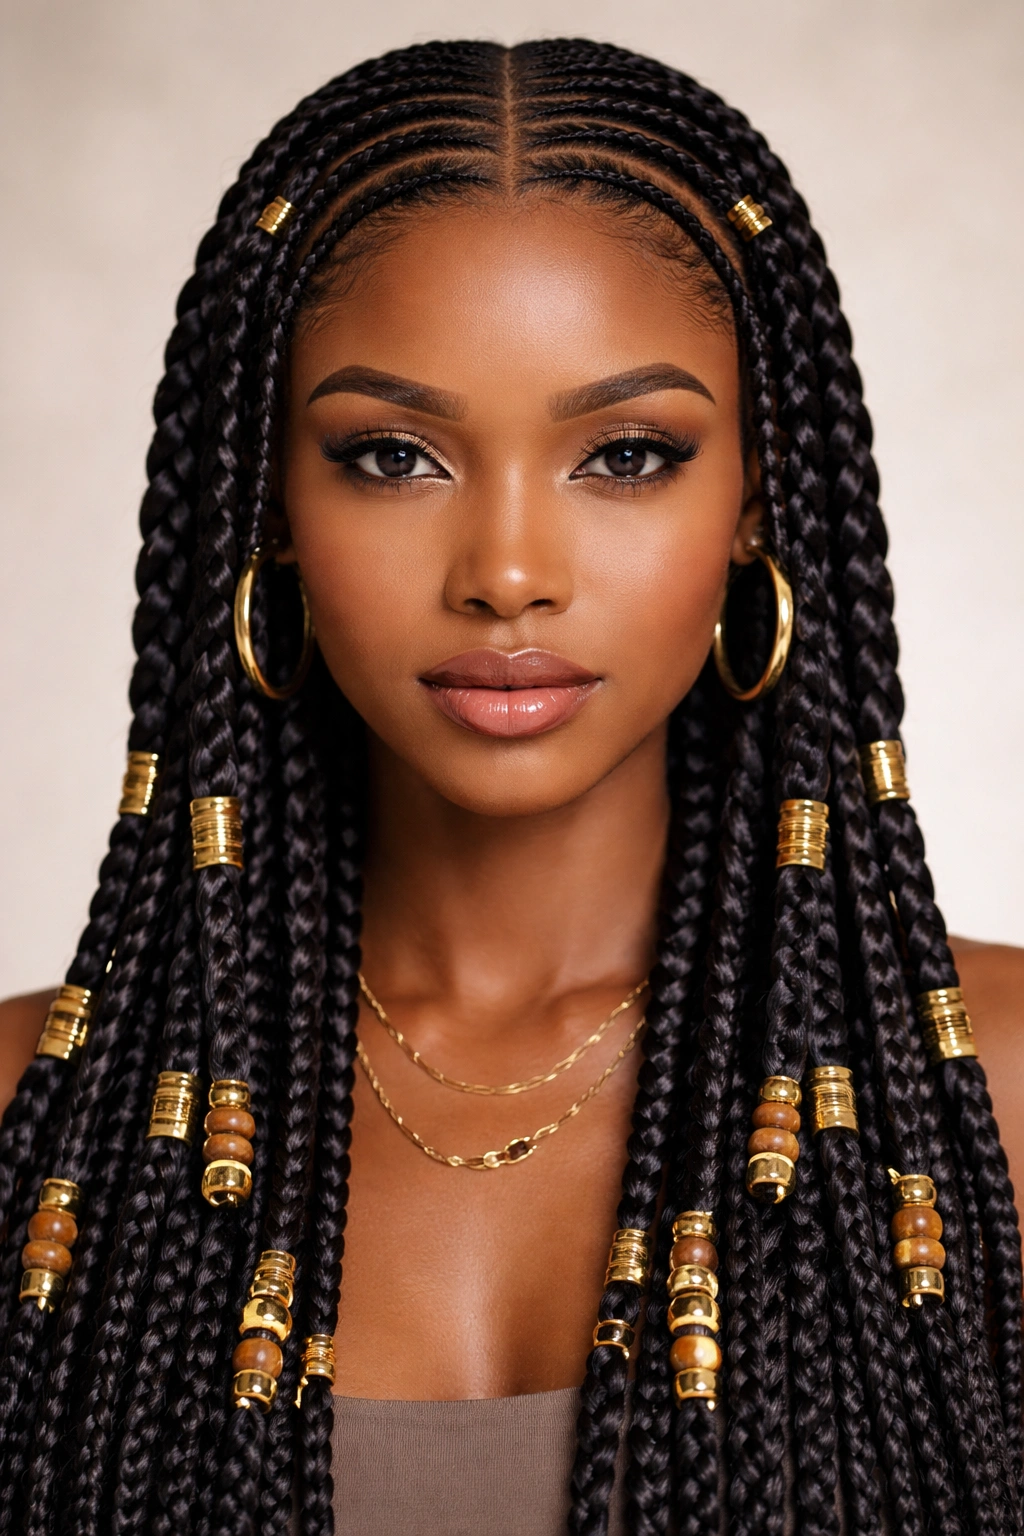
The beauty of protective braid styling isn’t just that it looks amazing—though these twelve styles are genuinely gorgeous. The real gift is knowing that while your braids look beautiful, your hair underneath is being protected, moisturized, and given space to grow stronger. You get to step out of your daily styling routine, feel confident and creative in what you’re wearing, and actually contribute to your hair’s long-term health simultaneously.
Finding your favorite protective braid style is personal. What works beautifully for your friend might not feel right for you, and that’s completely okay. Try different styles, pay attention to how your hair responds to each one, and notice which ones make you feel most like yourself. A good protective style is one you’ll actually maintain well—the most protective braids in the world won’t help if you neglect your scalp or get frustrated and remove them early.
Start by consulting with a stylist who specializes in protective braiding and has experience with your specific hair texture. Explain your goals—whether you’re trying to retain length, recover from damage, grow out your edges, or simply enjoy a break from daily styling. A good stylist will recommend styles that actually serve your needs, not just what’s trendy. Trust their expertise, take care of your scalp while wearing your braids, and enjoy the freedom and beauty that protective styling brings.
