



Afro extensions offer a transformative way to add volume, length, and creative styling options to natural hair without waiting months for growth. Whether you’re looking for a protective style, a dramatic length change, or a bold aesthetic shift, the right extension method can deliver exactly what you want while giving your natural hair a break from daily manipulation. The key is understanding which techniques work best for your hair type, lifestyle, and the specific look you’re trying to achieve.
The extension landscape for textured hair has expanded dramatically, moving far beyond basic braids and weaves. Modern techniques now blend traditional methods with innovative approaches, offering everything from lightweight twists to statement-making locs. Each style comes with its own installation process, longevity timeline, maintenance routine, and aesthetic possibilities—and what works beautifully for one person might not be the best choice for another based on hair texture, scalp sensitivity, and how much time you’re willing to spend on upkeep.
What makes choosing the right extension style so important is that it affects not just how your hair looks, but how it feels, how long it lasts, and ultimately, the health of your natural hair underneath. A style that’s too heavy can cause tension alopecia and scalp damage. A style that’s too light might not give you the dramatic length you wanted. The sweet spot is finding that intersection between your aesthetic goals, your hair’s actual needs, and a realistic maintenance commitment.
1. Passion Twists
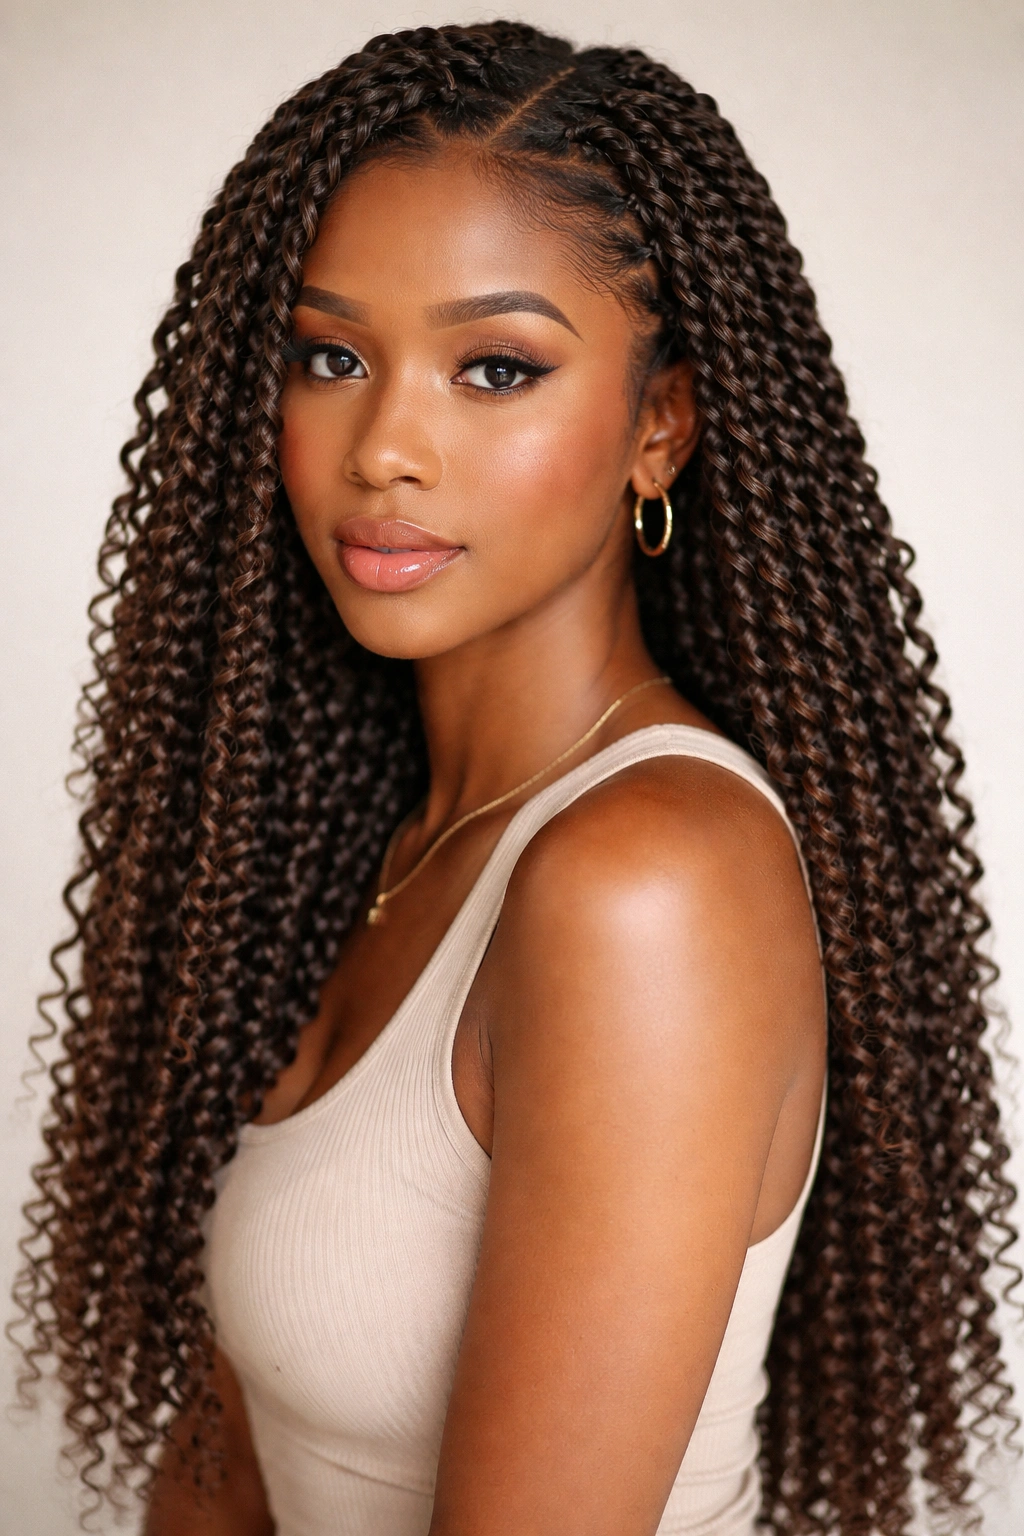
Passion twists have become a go-to style for people seeking a soft, romantic look with that coveted length without the bulk of traditional box braids. The technique involves wrapping an extension strand (usually a textured yarn or pre-twisted synthetic hair) around sections of your natural hair in a twisting motion, creating a thinner, more delicate aesthetic than box braids. They typically reach mid-back or longer depending on your natural hair length and how much extension you add.
Why They Stand Out
Passion twists sit in that sweet spot between protective and visually striking. They’re lightweight compared to many other extension styles, which means less tension on your scalp and easier long-term wear. The texture created—soft, curly, and bouncy—photographs beautifully and feels luxurious to the touch. Installation takes roughly 4 to 6 hours depending on your natural hair’s density and the number of twists you’re getting, making them less of a time commitment than sew-in weaves or some braiding styles.
Installation and Maintenance Essentials
- Installation typically costs $150 to $300 depending on stylist experience and location, though prices vary widely
- The process begins with sectioning clean, moisturized hair—usually 60 to 80 sections depending on thickness preference
- Synthetic extension hair is wrapped around each section using a two-strand twist technique; some stylists use pre-twisted extension hair to speed up the process
- Your natural hair stays braided or twisted underneath, protecting it from daily manipulation and environmental stress
- Maintain moisture by sleeping on a silk or satin pillowcase, using a bonnet, and applying water-based products to keep twists defined
- Passion twists typically last 4 to 8 weeks before they begin to unravel and lose their crisp appearance, though proper care extends this timeline
Pro tip: Use a lightweight leave-in conditioner and water spray on your twists every 2-3 days to keep them looking fresh and prevent your natural hair from drying out. This maintenance habit is what separates twists that look tired after three weeks from ones that hold their beauty for two months.
2. Spring Twists
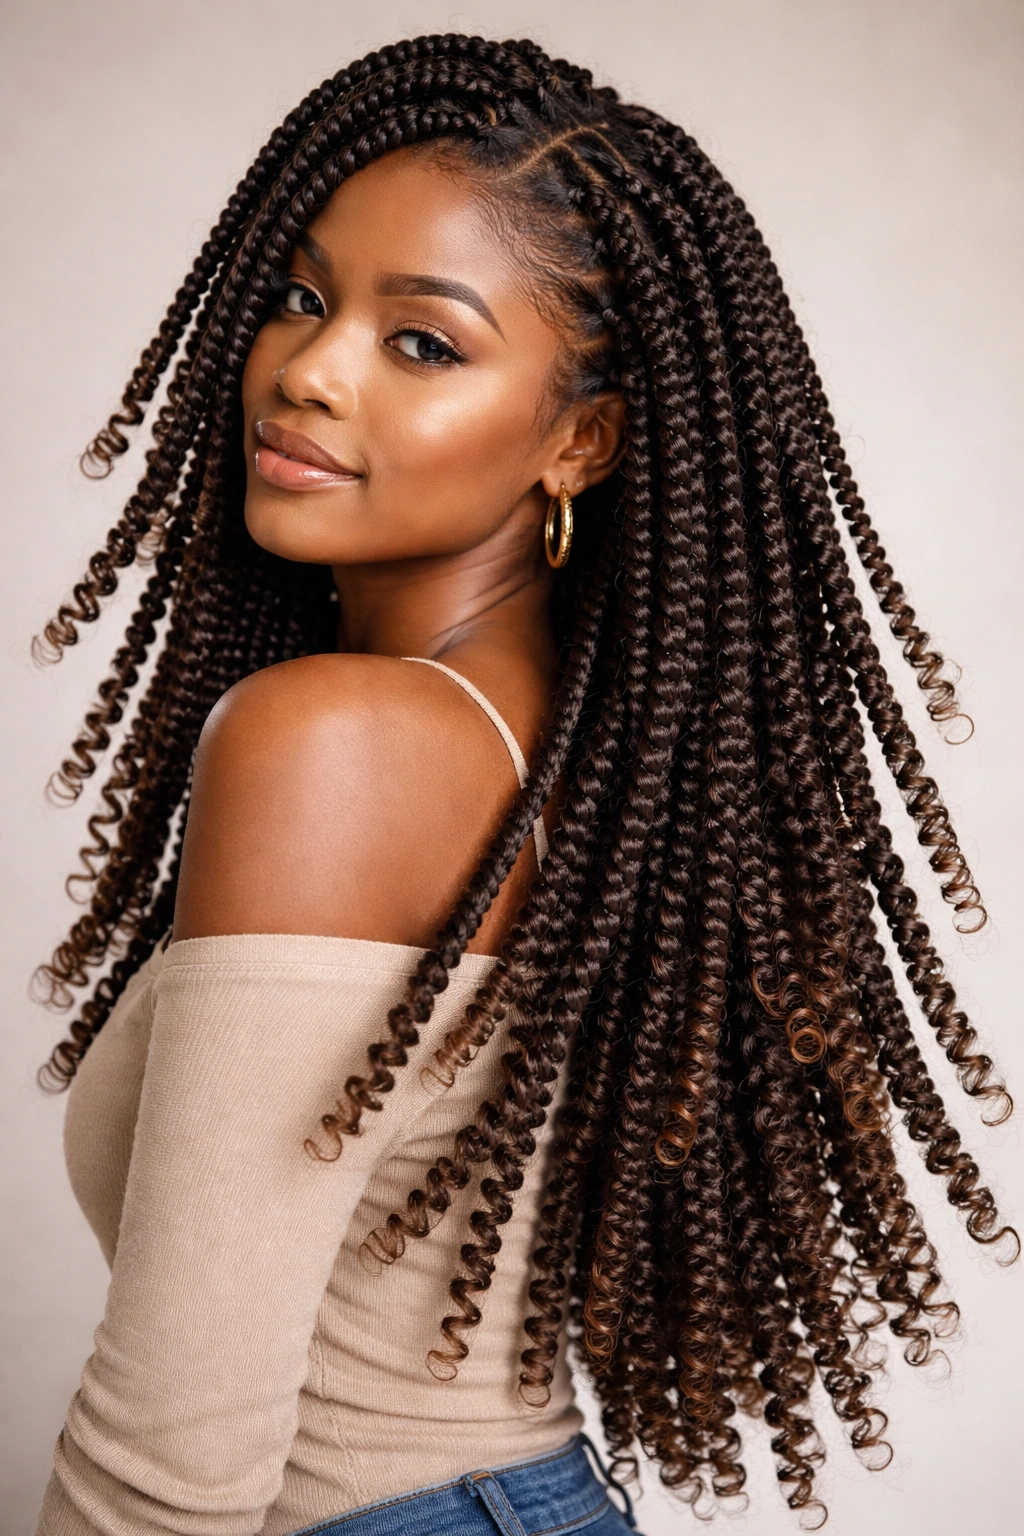
Spring twists are the younger, bouncier cousin of passion twists—literally springy to the touch thanks to the texture of the synthetic hair used. They’re created using pre-twisted spring-textured hair that’s wrapped around your natural hair sections, resulting in a coil-like appearance that bounces as you move. The effect is playful, dimensional, and surprisingly lightweight considering the dramatic length and volume they add.
What Makes Them Unique
The bounce factor alone makes spring twists visually distinctive. When you move, your twists move with you in a way that feels alive and dynamic. This style works particularly well for people with natural hair that’s on the finer side because the pre-twisted texture adds visual fullness without requiring as much extension hair as other styles. They also blend beautifully with natural coils or loose curls, creating a cohesive, blended appearance rather than looking obviously installed.
How to Keep Them Looking Fresh
- Installation runs 5 to 7 hours due to the complexity of applying the pre-twisted extension material—book accordingly
- Cost ranges from $200 to $350, sometimes higher depending on length and stylist demand
- The springiness means they shed slightly more easily than other styles; expect to see loose fibers throughout the first week
- Avoid excessive moisture initially (the first 24-48 hours) to allow the twists to fully set
- Use a microfiber towel or t-shirt to dry your hair instead of a regular towel—this reduces frizz and maintains definition
- Sleep with your twists in a pineapple (gathered loosely at the crown with a hair tie or bonnet) to prevent flattening and extend their lifespan
Worth knowing: Spring twists look their absolute best between days 3 and 35 of wear. After that point, you’ll notice the coils beginning to loosen and fuzzy hair starting to show at the base where your natural hair is growing. This isn’t a failure—it’s just the natural progression—but it’s good to know your style’s prime window.
3. Crochet Box Braids
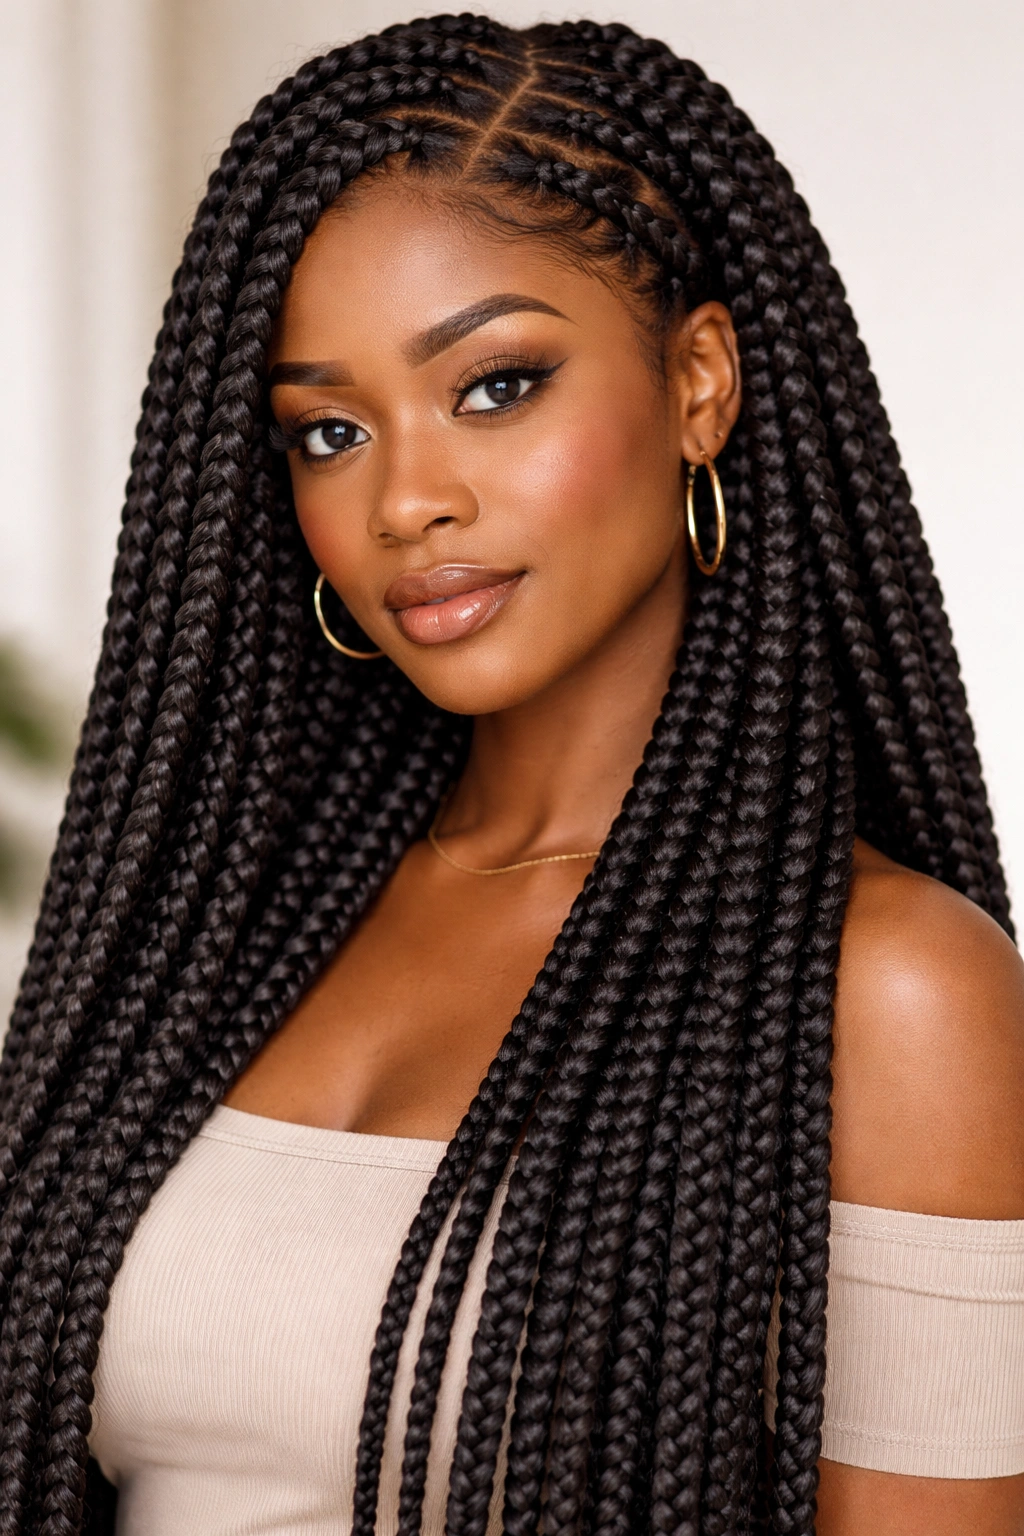
Crochet box braids offer the structured, sculptural look of traditional box braids with a fraction of the installation time. Instead of braiding extension hair into your natural hair from the root, your stylist uses a crochet hook to pull pre-made or pre-braided extension hair through your natural hair sections. The result is fuller, thicker braids with dramatic length that install in roughly 2 to 4 hours instead of 6 to 8.
Why Installation Speed and Results Matter
The crochet method is genuinely faster without sacrificing quality or durability. Your stylist creates small braids or twists in your natural hair, then uses a crochet hook to thread the extension braids through those bases. This technique works beautifully for people who want length and drama but can’t commit to an all-day installation appointment. The braids themselves are thicker and fuller than what you’d get from hand-braiding, so they look expensive and intentional even though they cost less and take less time.
Real-Talk Maintenance and Longevity
- Installation takes 2 to 4 hours for the full head, compared to 6 to 10 for hand-braided box braids
- Cost ranges from $100 to $250, making this one of the most affordable extension methods for dramatic length
- Because the extension is crocheted rather than braided, these tend to last 5 to 8 weeks with good care
- The base of your hair must be strong enough to support the weight—finer or compromised hair may experience breakage
- Wash your braids every 7 to 10 days using a sulfate-free shampoo and focus the lather on your scalp, not the braids themselves
- The point where the crochet hook pulled the extension through can sometimes catch on your natural hair, so be gentle when detangling
Real talk: Crochet box braids look stunning in photos and feel amazing for the first three weeks. After week four, you’ll notice more frizz and loosening at the base. They still look good—just not as crisp. Plan your style timeline around events or occasions where you want that fresh-installed polish.
4. Clip-In Extensions
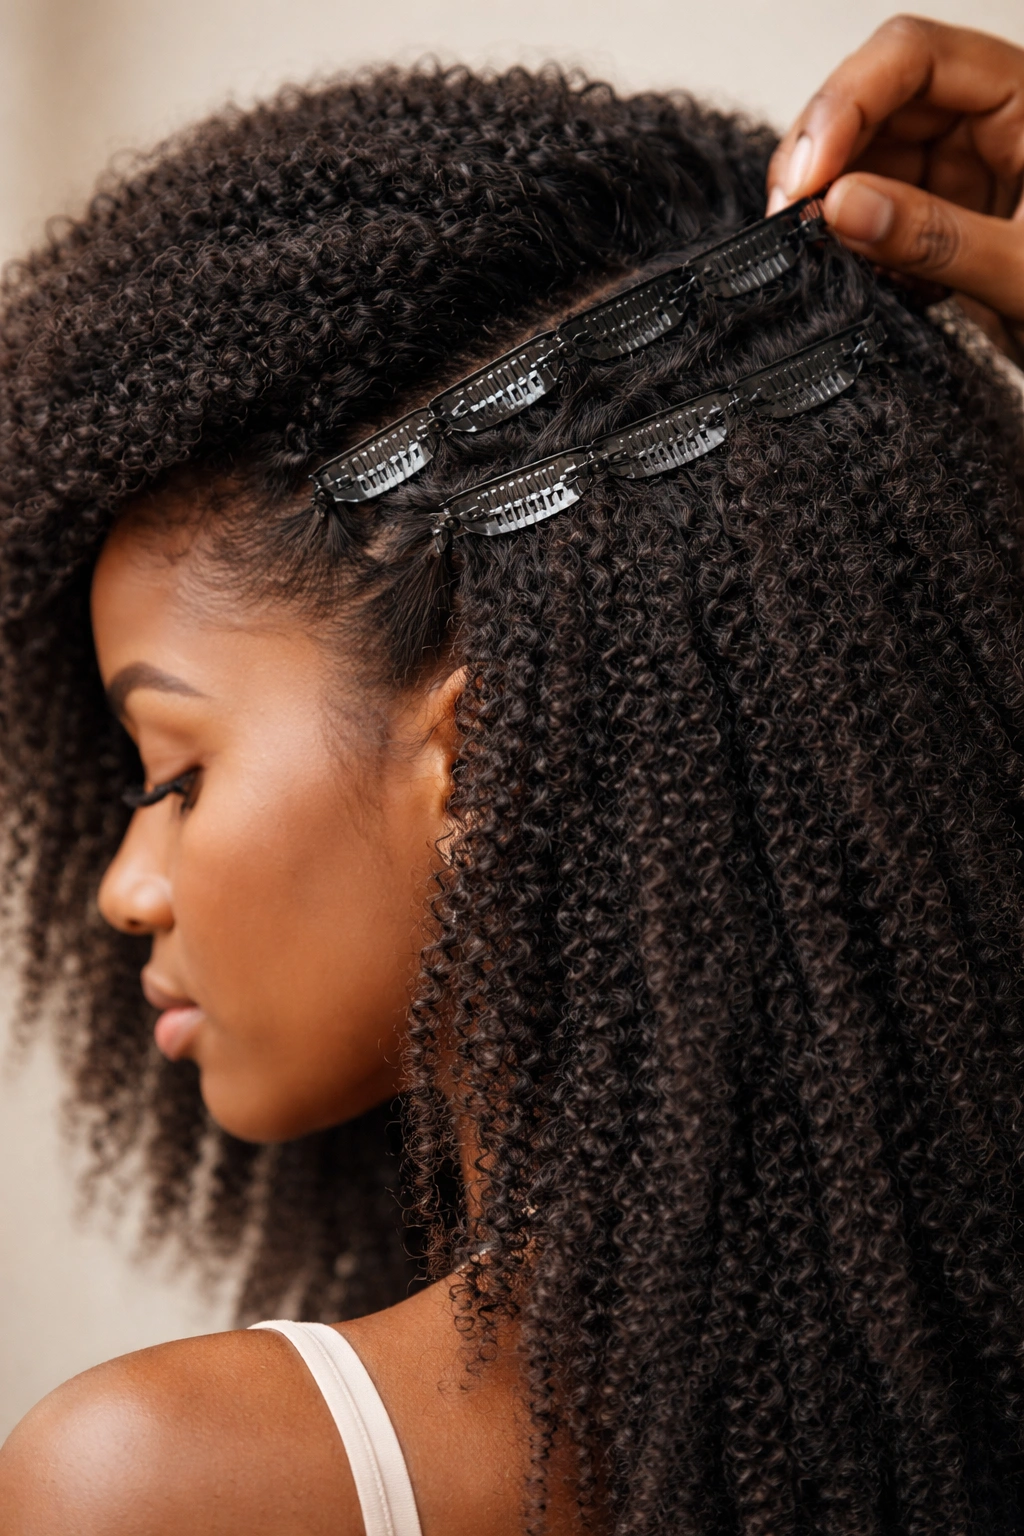
Clip-in extensions represent the temporary, low-commitment end of the extension spectrum. They’re sections of hair attached to small clips that you weave into your hair at the base, creating instant length and volume that you can remove at night. There’s no installation appointment, no installation fee, and your natural hair bears zero stress from protective styling.
The Appeal of Temporary Length
Clip-in extensions solve the problem of wanting dramatic change without permanent or semi-permanent commitment. You can wear them three days a week or whenever you feel like it. You can switch from waist-length to mid-back simply by using more clips or longer pieces. For people experimenting with extensions before committing to a longer-term style, clip-ins are the perfect testing ground. They also work beautifully as a last-minute solution when you need length for an event.
Selection and Care Essentials
- Quality matters dramatically with clip-ins—cheap synthetic versions look flat and plasticky, while human hair clips look natural and blend seamlessly
- Expect to spend $50 to $200 per clip set depending on length and hair quality; human hair costs significantly more but lasts exponentially longer
- You need between 5 and 10 clips across different sections to create balanced, full-looking length—not just one thick clip at the back
- Install clips by parting clean, dry hair at the root, sliding the clip through, and snapping it shut; the whole process takes 5 to 10 minutes
- Remove them every single night—sleeping in clip-ins causes matting, tangling, and potential damage to your natural hair where the clips sit
- Store clips in a cool, dry place and brush them out gently after each wear to maintain their shape and prevent tangles
Pro tip: Place your clips slightly above where you want them to sit, then slide them up into their final position. This gives you more control and prevents awkward gaps between your natural hair and the clips.
5. Sew-In Weaves
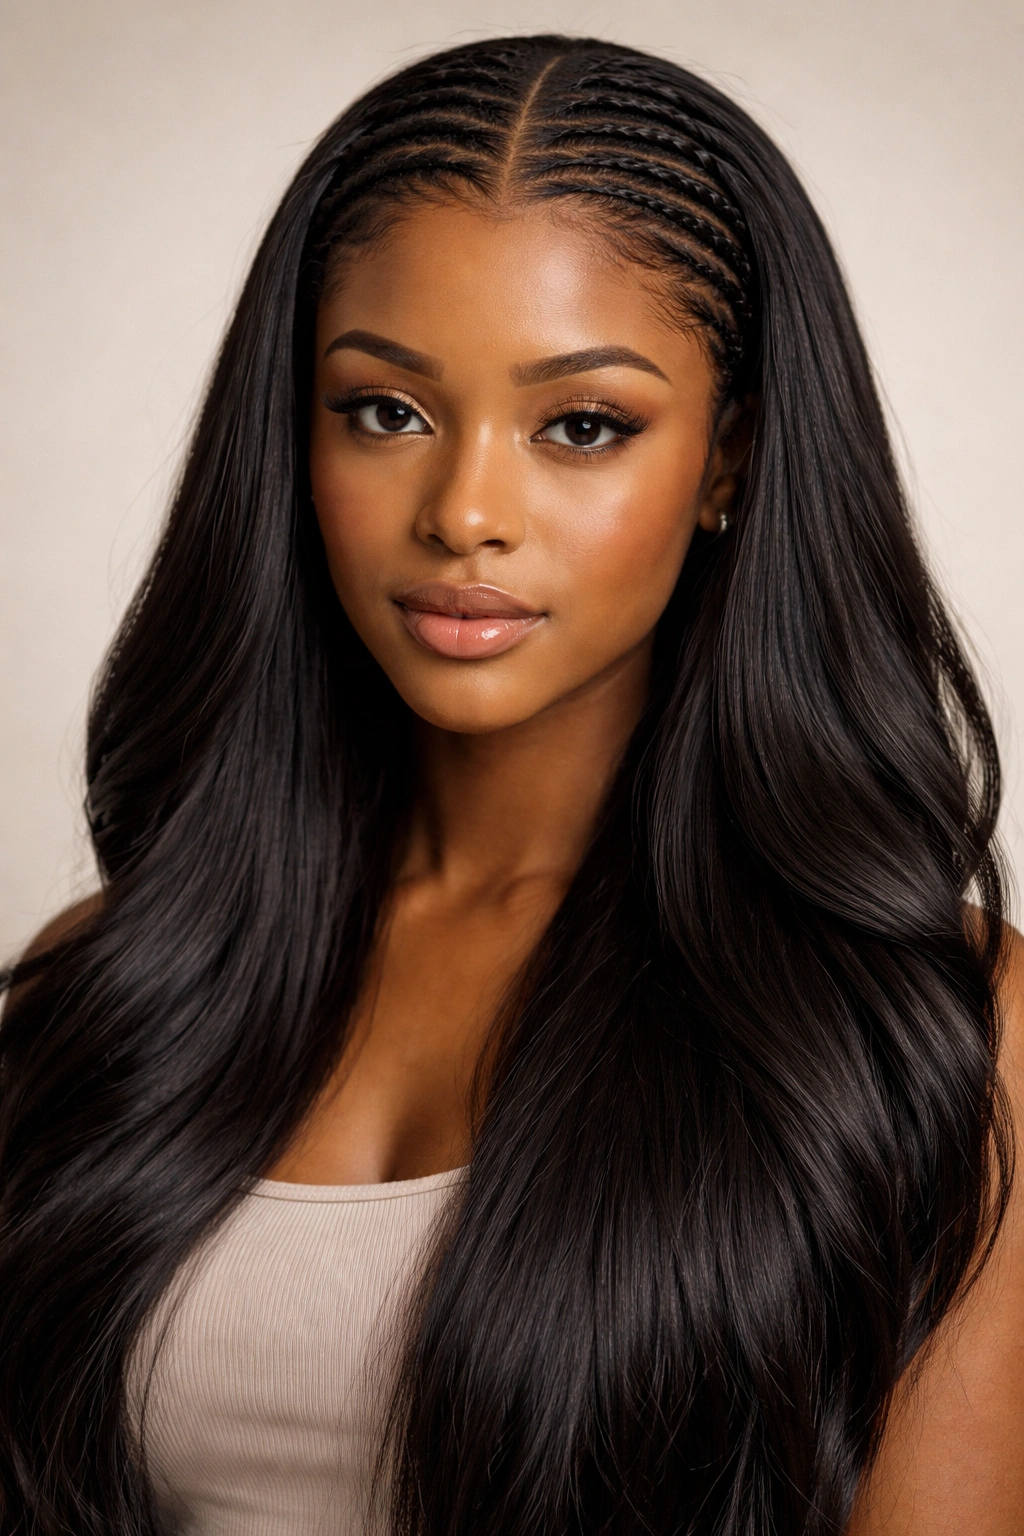
Sew-in weaves remain one of the most popular, time-tested methods for adding dramatic length and volume to natural hair. Your natural hair is braided into a flat pattern (called cornrows or plaits), and then weft tracks of extension hair are sewn onto those braids using a needle and thread. The result is a protective style that can last 6 to 12 weeks and creates the illusion of long, flowing hair.
Why Sew-Ins Remain a Gold Standard
When installed correctly by a skilled stylist, sew-in weaves are virtually undetectable—especially when the part is sewn underneath and blended well. They give you access to any hairstyle you want: straight, curly, wavy, colored—without any commitment to actually treating your natural hair that way. The method is proven, the techniques are refined, and the variety of extension hair available is vast. A quality sew-in can look fresh for 8 to 12 weeks with proper maintenance.
Installation Through Removal: What to Know
- Installation takes 3 to 6 hours depending on how much hair you’re installing and how many tracks you’re having sewn
- Cost ranges from $200 to $600+ depending on the amount of hair used, the stylist’s experience, and your location
- Your natural hair is braided in thin, tight cornrows to create a base for sewing
- The braiding itself can cause tension and scalp discomfort if done too tightly—speak up if it hurts during installation
- Extension wefts are sewn onto each braid using needle and thread; this is time-consuming but creates the most secure installation
- You must wash your hair at least every 7 to 10 days to prevent buildup on the wefts and scalp
- Removal requires careful cutting and unraveling of threads—never have someone rip them out, as this damages your braids and natural hair underneath
Worth knowing: The first 48 hours after installation, your scalp may feel tender or tight. This usually subsides. However, if tightness persists after three days or you develop redness or bumps, your braids are too tight and need to be loosened immediately.
6. Faux Locs
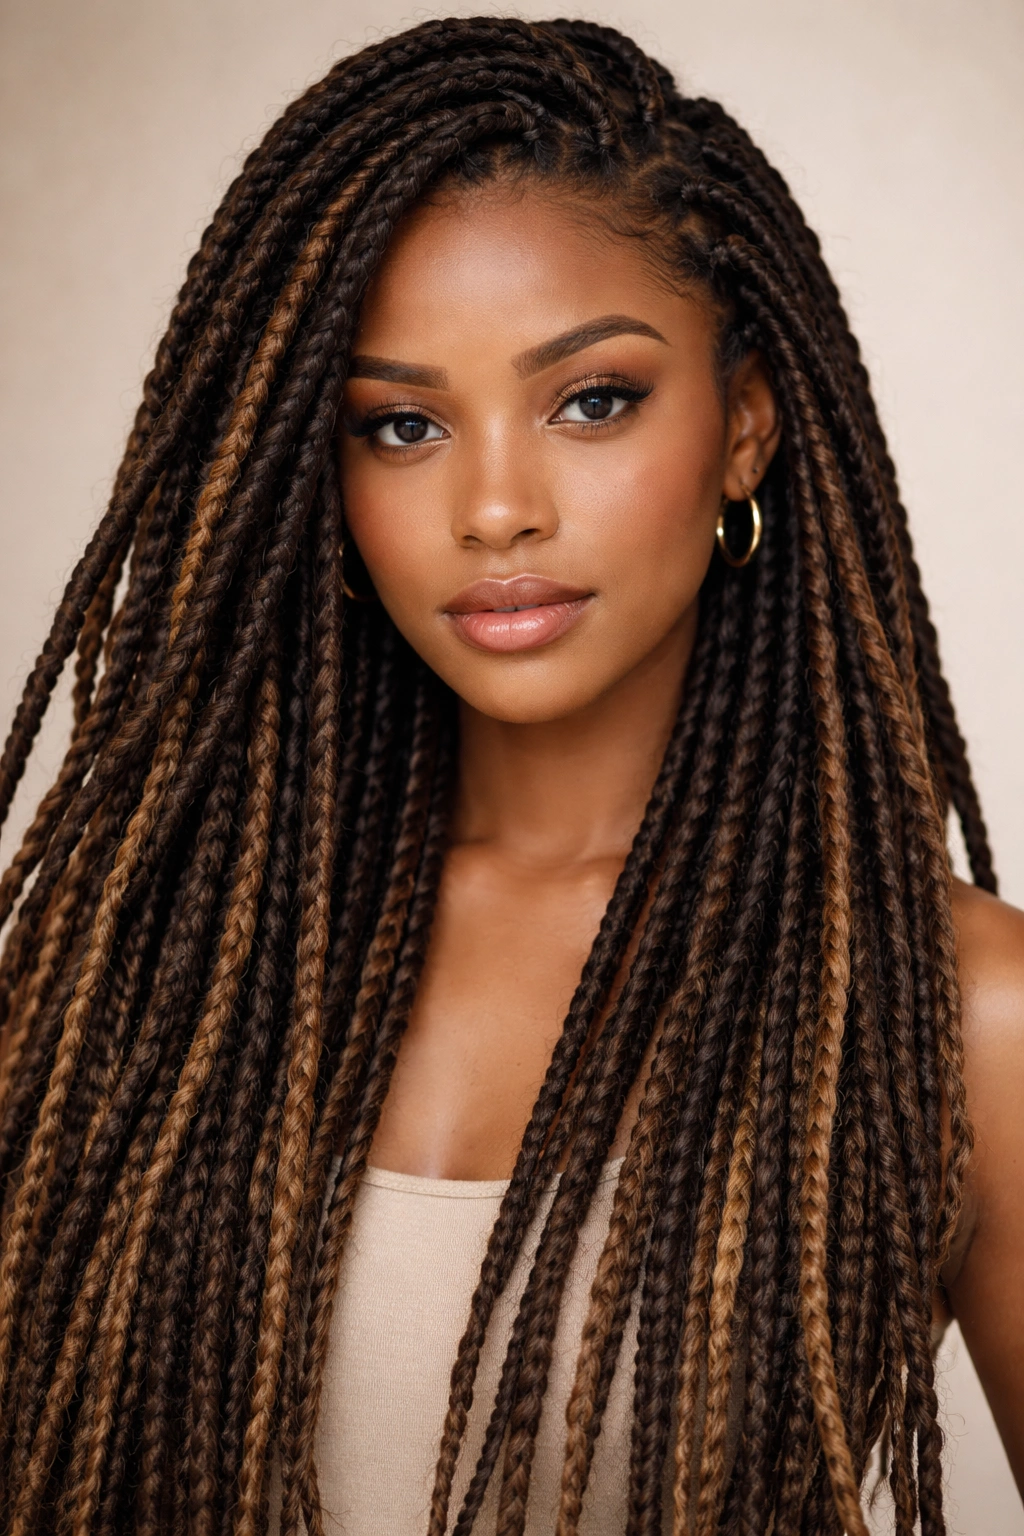
Faux locs capture the aesthetic of permanent locs without the long-term commitment or extensive maintenance. They’re created by wrapping extension hair around sections of your natural hair using a latch-hook or crochet method, creating the appearance of rope-like locs that can be styled, accessorized, and removed whenever you want. The effect is bold, statement-making, and available in any color or length imaginable.
The Visual and Practical Appeal
Faux locs offer styling drama that’s hard to achieve any other way. They photograph beautifully, they allow for creative expression through color and styling, and they protect your natural hair underneath from daily manipulation. The installation process is surprisingly quick—many stylists complete a full head in 4 to 6 hours. They work for any natural hair texture and can be worn up, down, half-up, or adorned with cuffs, beads, or wraps.
Everything About Wearing and Maintaining Them
- Installation takes 4 to 6 hours depending on how many locs you’re getting and their thickness
- Cost ranges from $150 to $350 depending on length, number of locs, and whether you’re using human hair or synthetic
- Pre-made faux locs install faster than locs wrapped from scratch; ask your stylist which option they offer
- Wash your locs every 7 to 14 days; use a shampoo designed for locs or textured hair, and rinse thoroughly to prevent buildup
- Faux locs last 6 to 12 weeks depending on how well you maintain them and how active your lifestyle is
- Sleep with your locs in a bonnet or pineapple arrangement to prevent frizzing, flattening, and loose fibers
- You can palm-roll loose locs or use a crochet hook to tighten them if they begin to unravel, extending their lifespan
- Styling is incredibly flexible—try high ponytails, buns, half-ups, side parts, or leave them down and wavy
Pro tip: Faux locs look their absolute best during weeks 1-6. After that, they naturally begin to loosen and frizz. Rather than maintaining them endlessly, plan your locs around a specific event or time period, enjoy them at their peak, and remove them when they’re ready.
7. Marley Twists
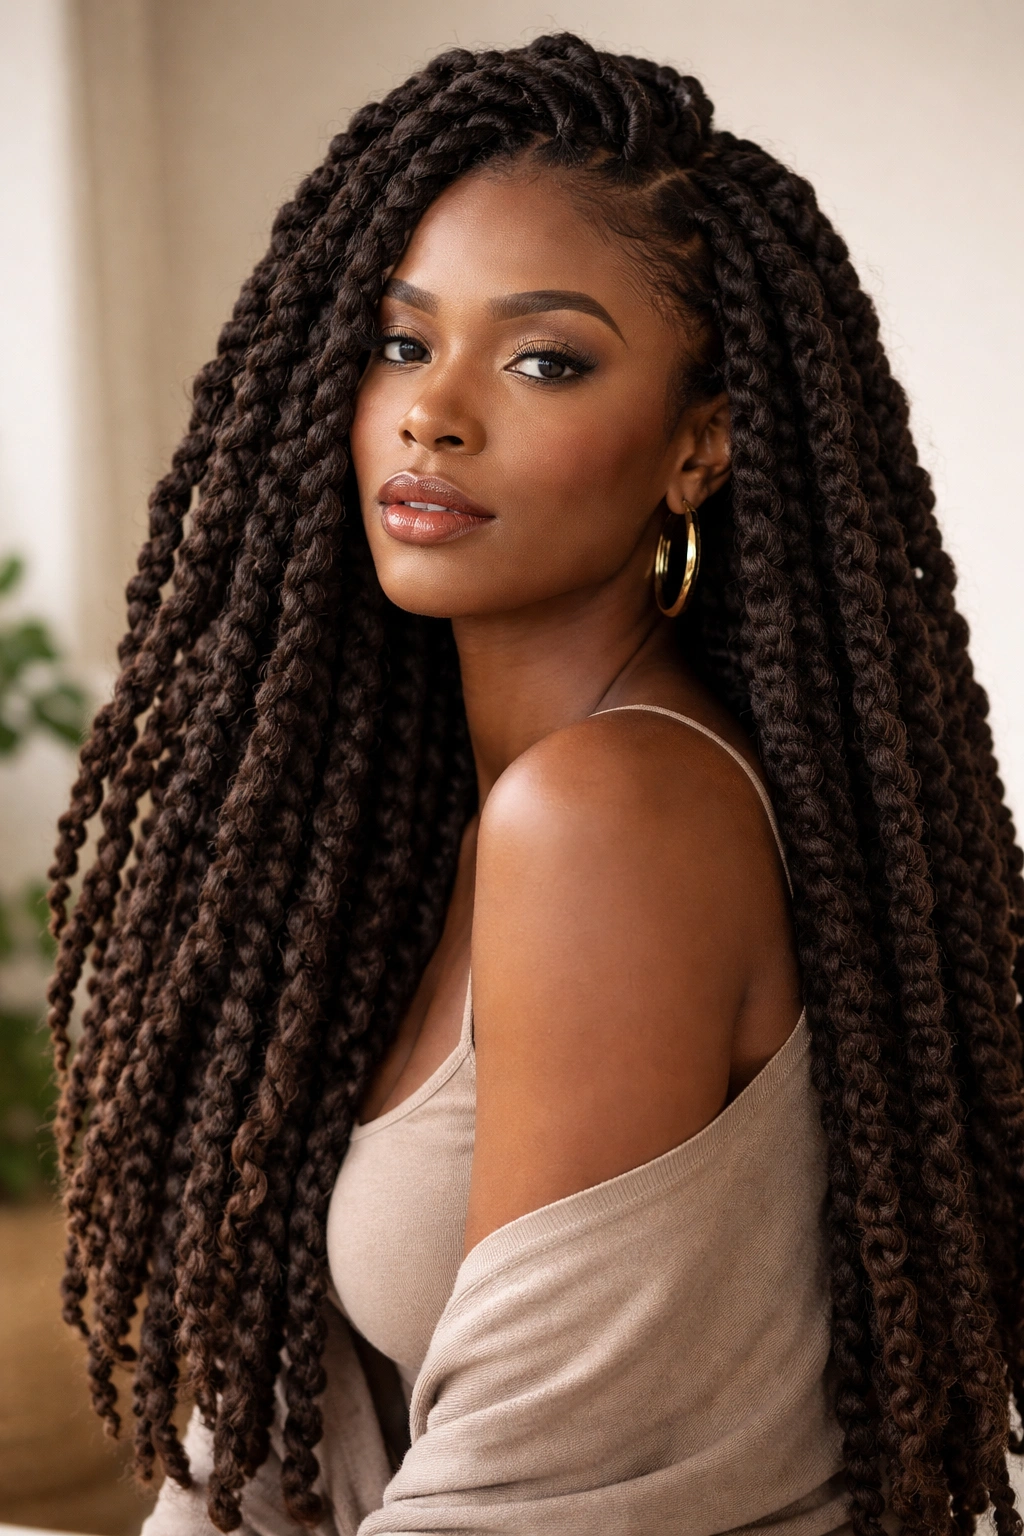
Marley twists are named after the texture and appearance of Bob Marley’s locs—they create chunky, textured twists using thick Marley hair (a specific type of synthetic extension that has a natural, slightly rough texture). They’re thicker and chunkier than passion twists or spring twists, making them a dramatic statement style that typically reaches mid-back or longer depending on extension length.
The Bold Aesthetic and Practical Benefits
Marley twists deliver serious visual impact. The texture is instantly recognizable, the chunky thickness creates volume, and they work beautifully for people who want their extensions to be obvious and intentional rather than blended. The installation is faster than some other twisting methods because you’re working with thicker sections, and the final style is incredibly versatile—you can wear them loose, in a pineapple, in an updo, or half-up depending on your mood and outfit.
Installation, Cost, and Care Realities
- Installation takes 3 to 5 hours for a full head, making it one of the faster twisting methods
- Cost ranges from $120 to $280 depending on length, density, and stylist location
- Marley hair has a distinctive texture that doesn’t completely match natural hair, so this style reads as obviously installed—which is intentional
- The twists are heavy enough that they may cause scalp tenderness for the first few days; ice your scalp if needed
- These twists are prone to frizzing faster than passion or spring twists because of the texture of the Marley hair itself
- Wash every 7 to 10 days, but be gentle with the twists because Marley hair can separate or unravel if handled roughly
- Marley twists typically last 4 to 6 weeks before significant unraveling and frizz makes them look tired
- You can retwist them halfway through their lifespan if you want to extend wear—your stylist can do this in 2 to 3 hours
Worth knowing: Marley twists shed noticeably during the first week. Don’t panic if you see loose fibers around your hairline and in your brush. This is normal and settles down after 7-10 days.
8. Senegalese Twists
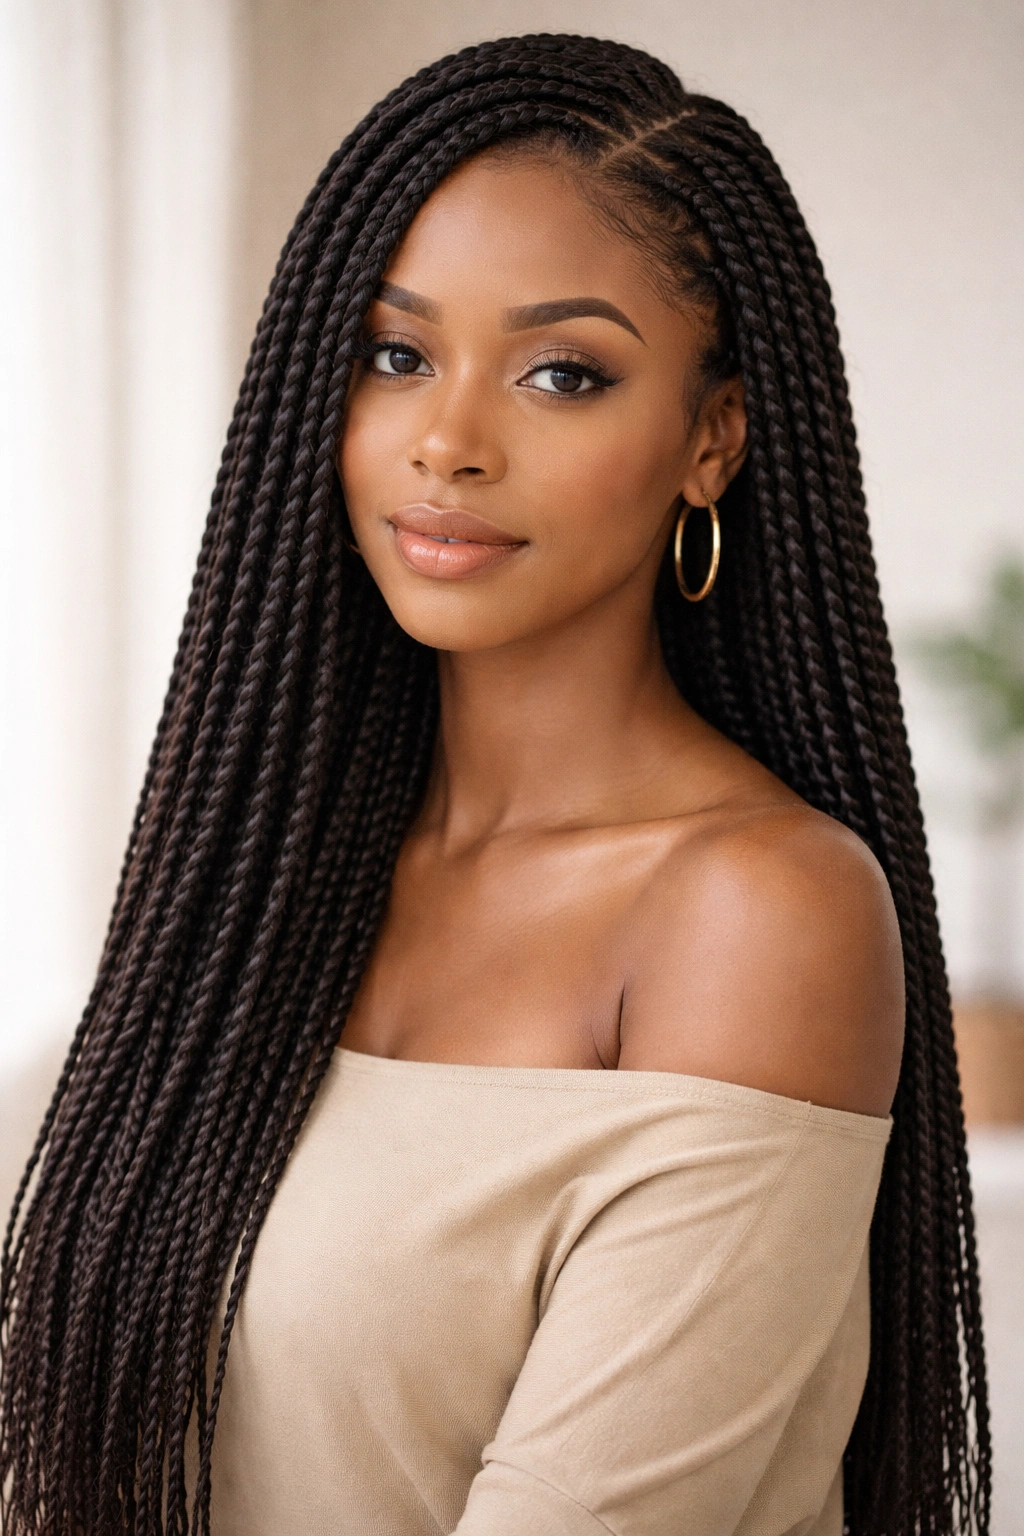
Senegalese twists are a refined, elegant twist style created by twisting two strands of extension hair around your natural hair sections, creating a smooth, tight, rope-like appearance. They’re sleeker and more polished-looking than thicker twist styles, with a sophisticated aesthetic that works for both casual wear and professional settings. The technique allows for dramatic length while maintaining an understated elegance.
Why Senegalese Twists Feel Refined
The two-strand twist method creates a cohesive, finished appearance that doesn’t feel chunky or overstated. They blend beautifully with natural hair, work with any hair texture, and can be styled dozens of different ways. Many people find Senegalese twists more comfortable than other styles because they’re less heavy and the installation causes minimal scalp tension when done properly. They photograph beautifully because the texture is defined without being bulky.
The Complete Installation and Maintenance Picture
- Installation takes 5 to 7 hours for a full head, depending on how many twists and how long they’re being
- Cost ranges from $150 to $320 depending on the stylist’s experience and your location
- The two-strand twist method requires slightly more precision than other twisting styles, so skill level of your stylist matters
- Your natural hair must be moisturized and detangled before installation to prevent breakage
- These twists are lighter than Marley twists, reducing scalp tension and potential for traction alopecia
- Wash every 7 to 14 days depending on your scalp; the tighter texture means less water penetration than other twist styles
- Senegalese twists last 6 to 10 weeks with good care, making them one of the longer-lasting twist options
- You can wear them down, in a high ponytail, in a low bun, or in an updo; they’re versatile enough for any occasion
- Retwisting is possible halfway through if you want to refresh them and extend wear
Pro tip: Use a light oil or oil-based moisturizing spray on your Senegalese twists every few days—this keeps them looking shiny and prevents them from looking dull or ashy as they age.
9. Braid-Out Extensions
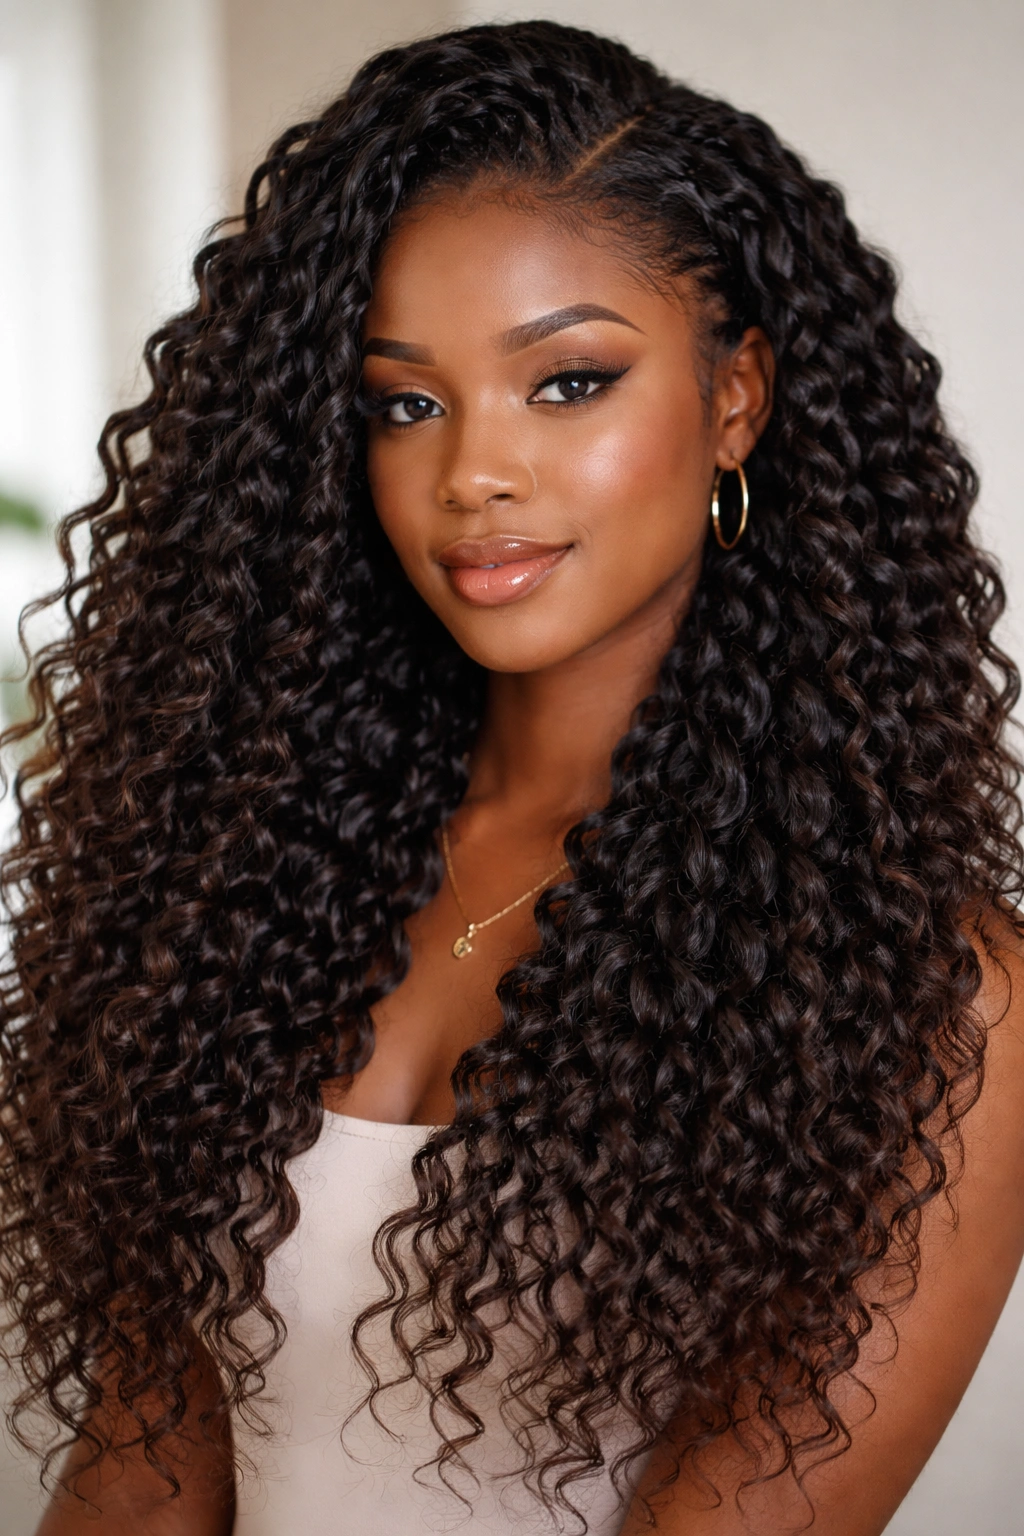
A braid-out extension style involves braiding your hair with extensions (usually box braids or cornrows) and then unraveling them to create a voluminous, textured look that combines the benefits of protective braiding with the dimensional, bouncy aesthetic of a braid-out. This style gives you waves, curls, and texture without heat while adding length and volume through the extensions themselves.
The Unique Texture and Versatility
Braid-out extensions offer something different from other styles—you get the protective benefits of having your hair braided while wearing them, then completely transform the look when you unravel them. The resulting texture is soft, curly, and dimensional, with added length from the extension hair. This style works beautifully for people who want versatility within a single protective style and enjoy playing with texture.
From Braiding Through Unraveling
- Installation takes 4 to 6 hours depending on how many braids you’re getting and their size
- Cost ranges from $100 to $250; you’re paying for braiding installation, not a more complex technique
- Box braids or cornrows are created using extension hair, then left in for 2 to 4 weeks as a protective style
- During the braiding period, you can wash, style, and live normally—just treat your braids gently
- After 2 to 4 weeks, you unravel each braid section by section, creating a beautiful, bouncy texture
- The unraveling itself takes 1 to 2 hours depending on how many braids you have
- Once unraveled, you have a textured style that lasts another 2 to 4 weeks depending on maintenance
- You can retwist sections to refresh the look or add more definition as the texture relaxes
Real talk: The texture from a braid-out extension is genuinely beautiful—it’s one of the most natural-looking, blended extension styles available. However, managing the unraveled sections without tangles requires some skill and product knowledge.
10. Goddess Locs
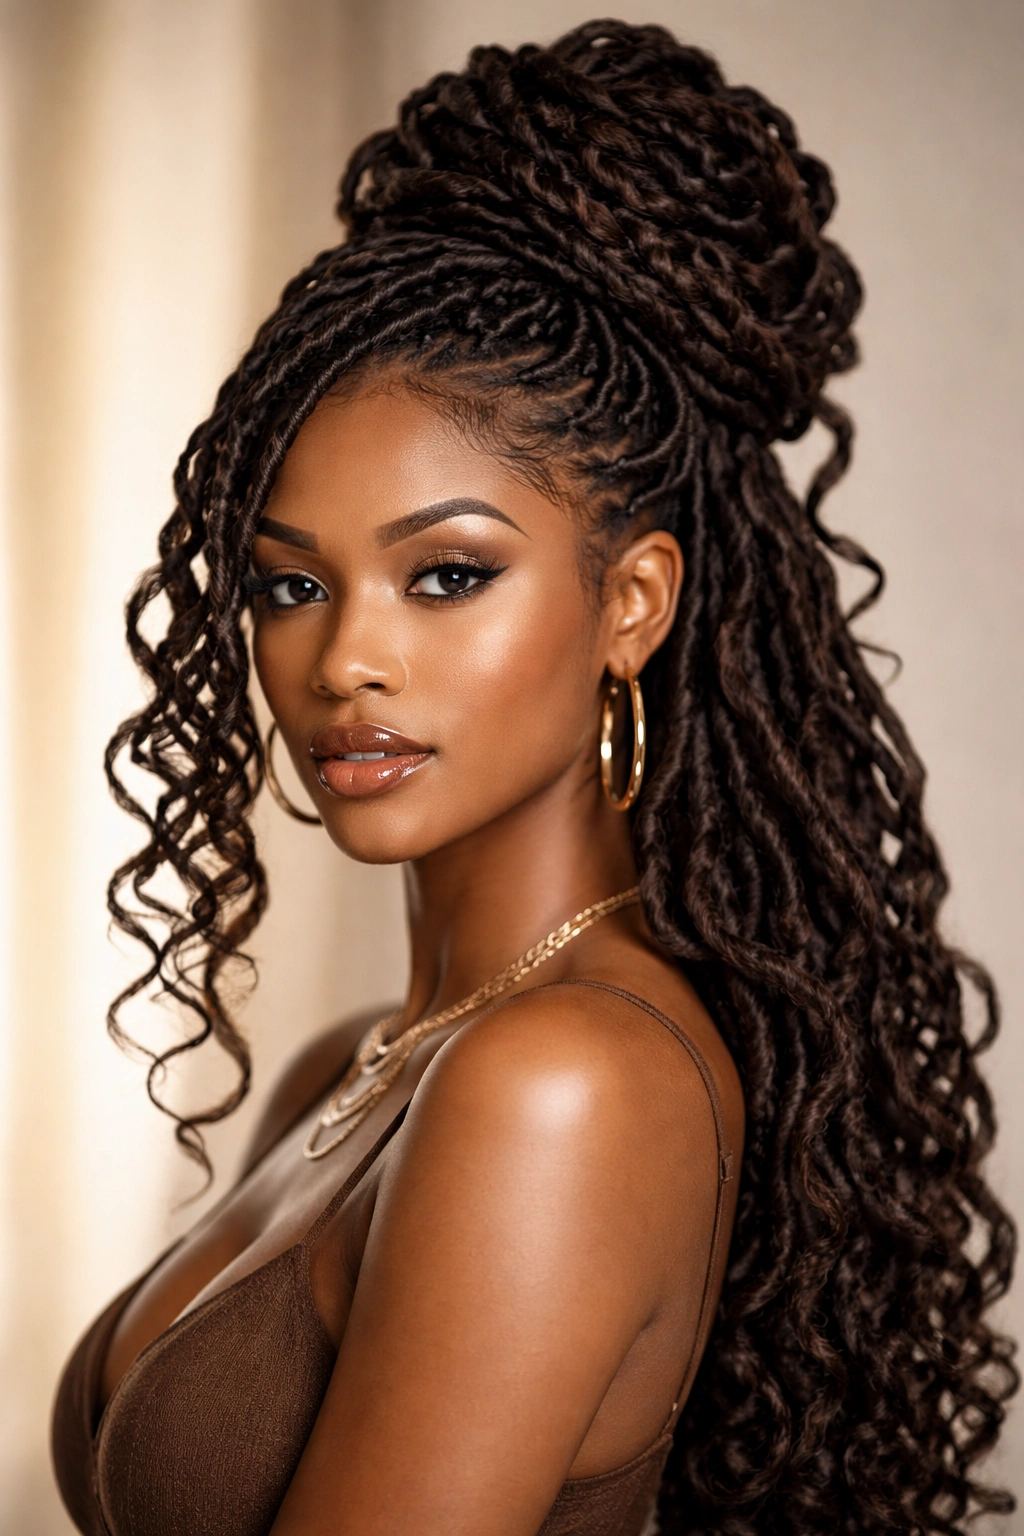
Goddess locs blend the aesthetic of traditional locs with the styling versatility of extensions, creating thick, rope-like twists that are often styled into updos, twists, and curls. They’re installed using a similar method to faux locs but are thicker and have a more deliberate, sculpted appearance. Goddess locs capture that bold, creative energy while being completely removable and adjustable.
Why Goddess Locs Command Attention
Goddess locs are visually striking in the best way—they’re thick, they’re dimensional, and they photograph beautifully. The styling possibilities are genuinely endless; you can wear them down, wrap them around your head, twist them into crowns, or style them into elegant updos. They work for any occasion from casual to formal, and they make a confident aesthetic statement. The installation includes styling them into waves or curls during the process, so they’re not just protection—they’re a complete finished look.
Installation, Styling, and Maintenance
- Installation takes 4 to 6 hours depending on how many locs you’re getting and whether they’re pre-made or created fresh
- Cost ranges from $200 to $400 depending on length, thickness, and whether you’re using human hair or synthetic
- Pre-styled goddess locs arrive with waves or curls already built in, so they’re ready to wear straight from installation
- The thickness means these locs are relatively heavy—ensure your natural hair and scalp are healthy enough to support the weight
- Wash every 7 to 14 days; use shampoo designed for locs and be thorough in rinsing to prevent buildup
- Goddess locs last 8 to 12 weeks with excellent care, making them one of the longer-lasting extension styles
- You can restyle them between washes—take down sections and re-wave or re-curl them as desired
- Removing them is straightforward; they simply unravel or can be cut out if you’re ready to be done
- This style works beautifully for people who want maximum styling versatility within a protective style framework
Pro tip: Goddess locs look their absolute best when they’re freshly styled with products that enhance shine and definition. Invest in a good loc refresher spray or lightweight oil to keep them looking polished throughout their wear period.
Final Thoughts
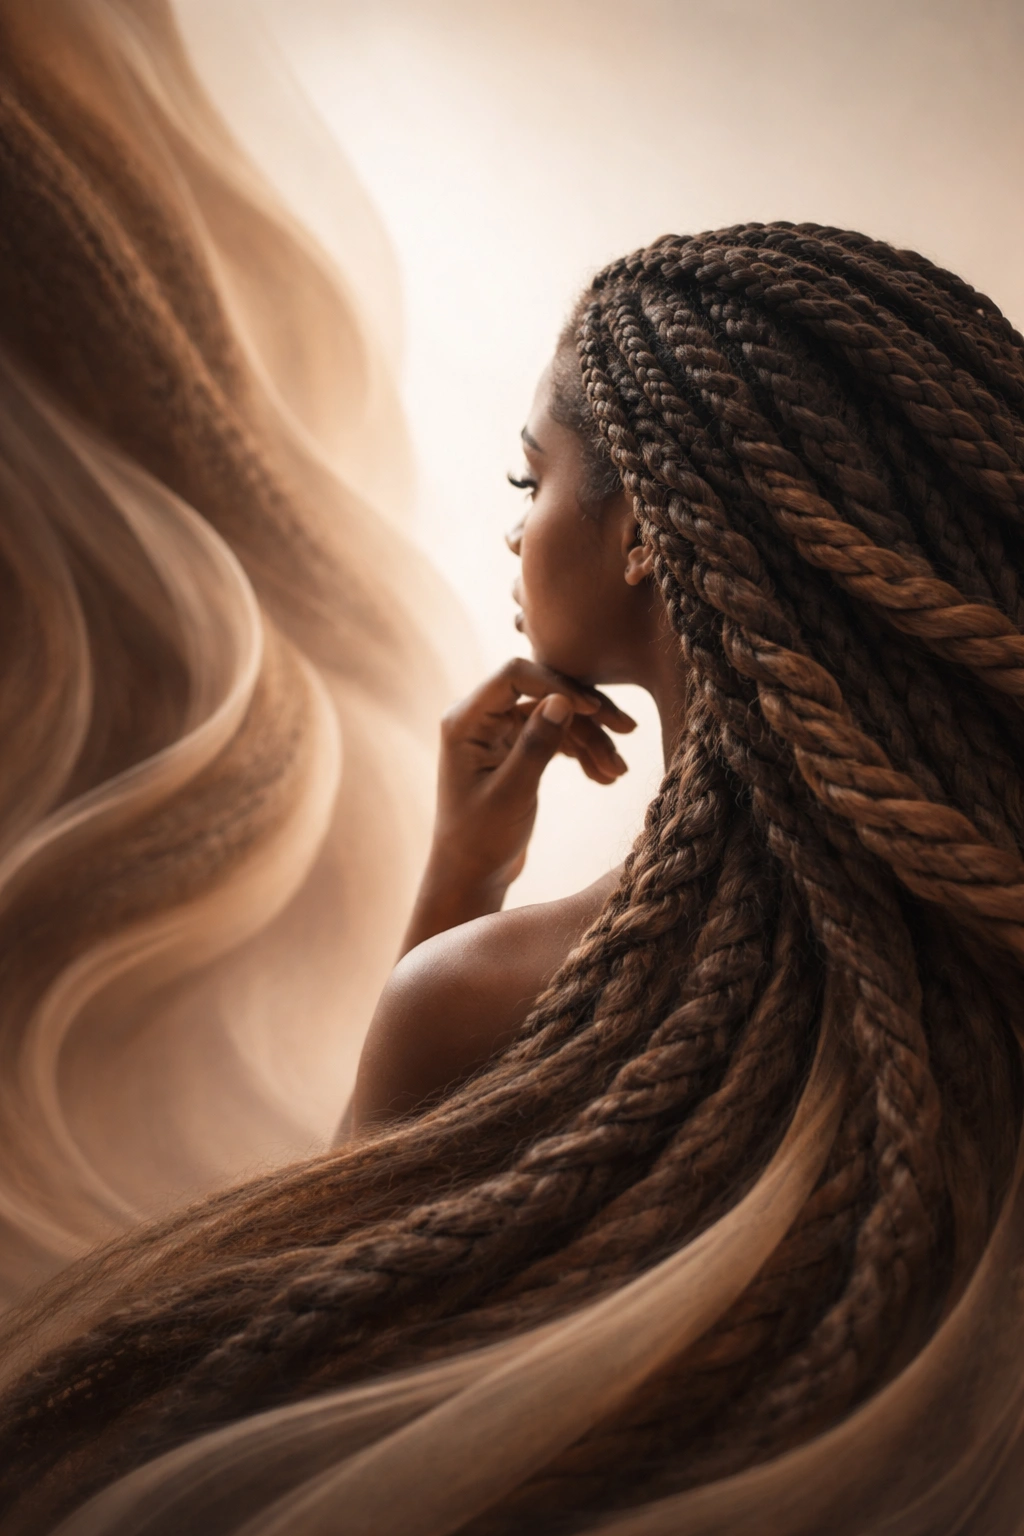
Choosing the right afro extension style comes down to honestly assessing three things: how much installation time and cost you’re willing to invest, how long you want the style to last, and what aesthetic you’re trying to achieve. Passion twists offer that soft, romantic aesthetic with relatively light weight. Spring twists deliver maximum bounciness. Crochet box braids give you dramatic length in minimal installation time. Clip-ins provide flexibility and zero commitment. Sew-in weaves remain the gold standard for dramatic transformation. Faux locs and goddess locs make bold creative statements. Senegalese twists offer refined elegance. Braid-outs give you protective styling plus texture options. Marley twists deliver chunky visual drama.
The most important factor in your success with any extension style isn’t the style itself—it’s the quality of installation and your commitment to maintenance. A beautifully installed style that you neglect will look tired by week three. An expertly maintained style installed by someone less experienced might still look better by week six than a premium installation you don’t care for. Find a stylist whose work resonates with you, whose pricing is transparent, and who listens to what you actually want. Ask to see their portfolio, read reviews, and ask questions before you commit.
Your natural hair’s health underneath every extension style is what matters most for your long-term hair goals. If a style causes scalp pain, pulls too tightly, or leaves your hair significantly damaged after removal, it’s not the right style for you—even if it looks amazing. Your comfort matters. Your natural hair’s integrity matters. The goal is extension styles that make you feel beautiful, confident, and like yourself—just with more length and more options.
