



Twist styles have become synonymous with natural hair care and protective styling for good reason—they’re versatile, stunning, and absolutely doable at home without expensive salon visits. Whether you’re looking for a low-maintenance everyday look or something more dramatic for a special occasion, twists offer endless possibilities for expressing your personal style while keeping your hair healthy and strong.
The beauty of twist styles is that they work beautifully on all types of natural hair textures, from loose waves to coily coils. They protect your ends, reduce manipulation and breakage, last anywhere from two to eight weeks depending on the style, and honestly, they just look undeniably good. The challenge for many people is knowing where to start when there are so many variations out there. That’s exactly why I’m breaking down ten distinct twist styles you can create at home with nothing more than your own two hands, some patience, and the right products.
1. Classic Two-Strand Twists
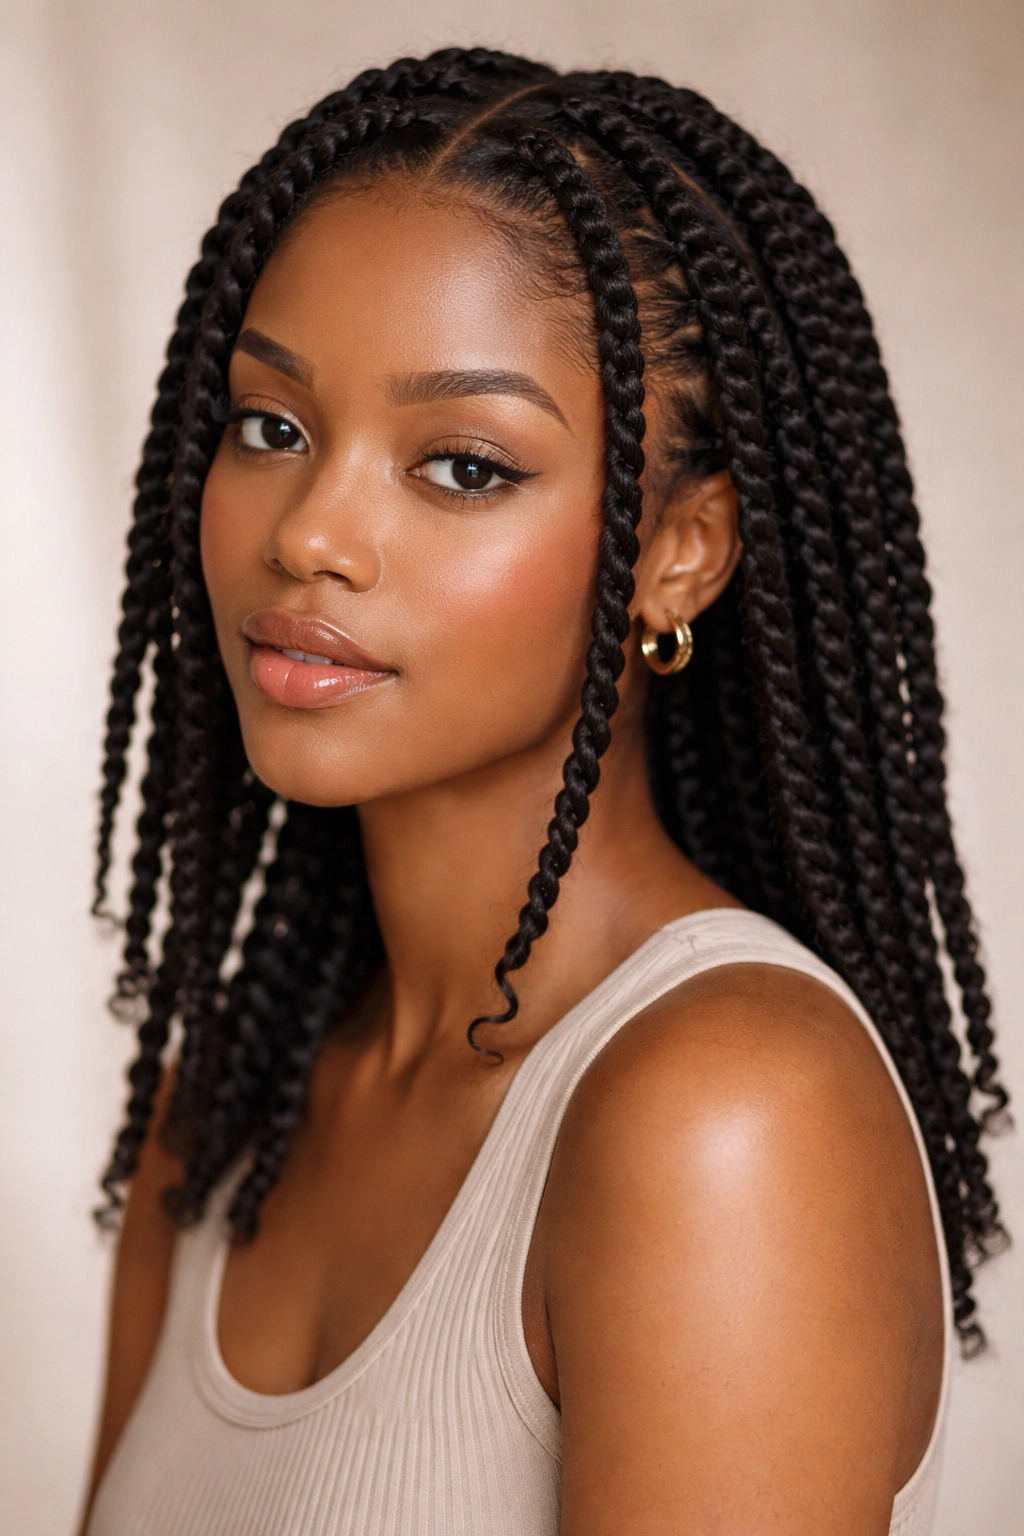
Two-strand twists are the foundation of twist styling—if you can master these, you’ve unlocked the door to countless variations and styling possibilities. This style involves taking two sections of hair and wrapping them around each other from root to tip, creating that iconic twisted rope effect. The beauty is in the simplicity: no extensions, no special tools, just your hair and your hands.
Why They’re the Perfect Starting Point
Classic two-strand twists are beginner-friendly because they’re straightforward and forgiving. Unlike some twist styles that require perfectly sectioned hair or specific tension, two-strand twists are incredibly adaptable. You can make them chunky and bold or thin and delicate, and they look intentional and polished either way. They also serve as a base that you can build on once you’ve mastered the basic technique.
What You Need to Know Before Starting
- Section size matters: Smaller sections create more intricate, detailed twists while larger sections are faster to install. For your first time, try medium sections about the width of a pencil.
- Moisture is essential: Apply a leave-in conditioner or twisting cream to each section before twisting—dry hair is harder to work with and more prone to breakage.
- Direction consistency: Twist each section in the same direction (clockwise or counterclockwise) so they look intentional rather than random.
- End styling options: You can leave the ends loose and fluffy, twist them all the way to the tip, or wrap the ends with thread for definition.
Pro tip: Two-strand twists last longer and look neater if you apply heat to them once they’re complete—a blow dryer on low heat or spending time in the sun helps them set and hold their shape for weeks.
2. Marley Twists
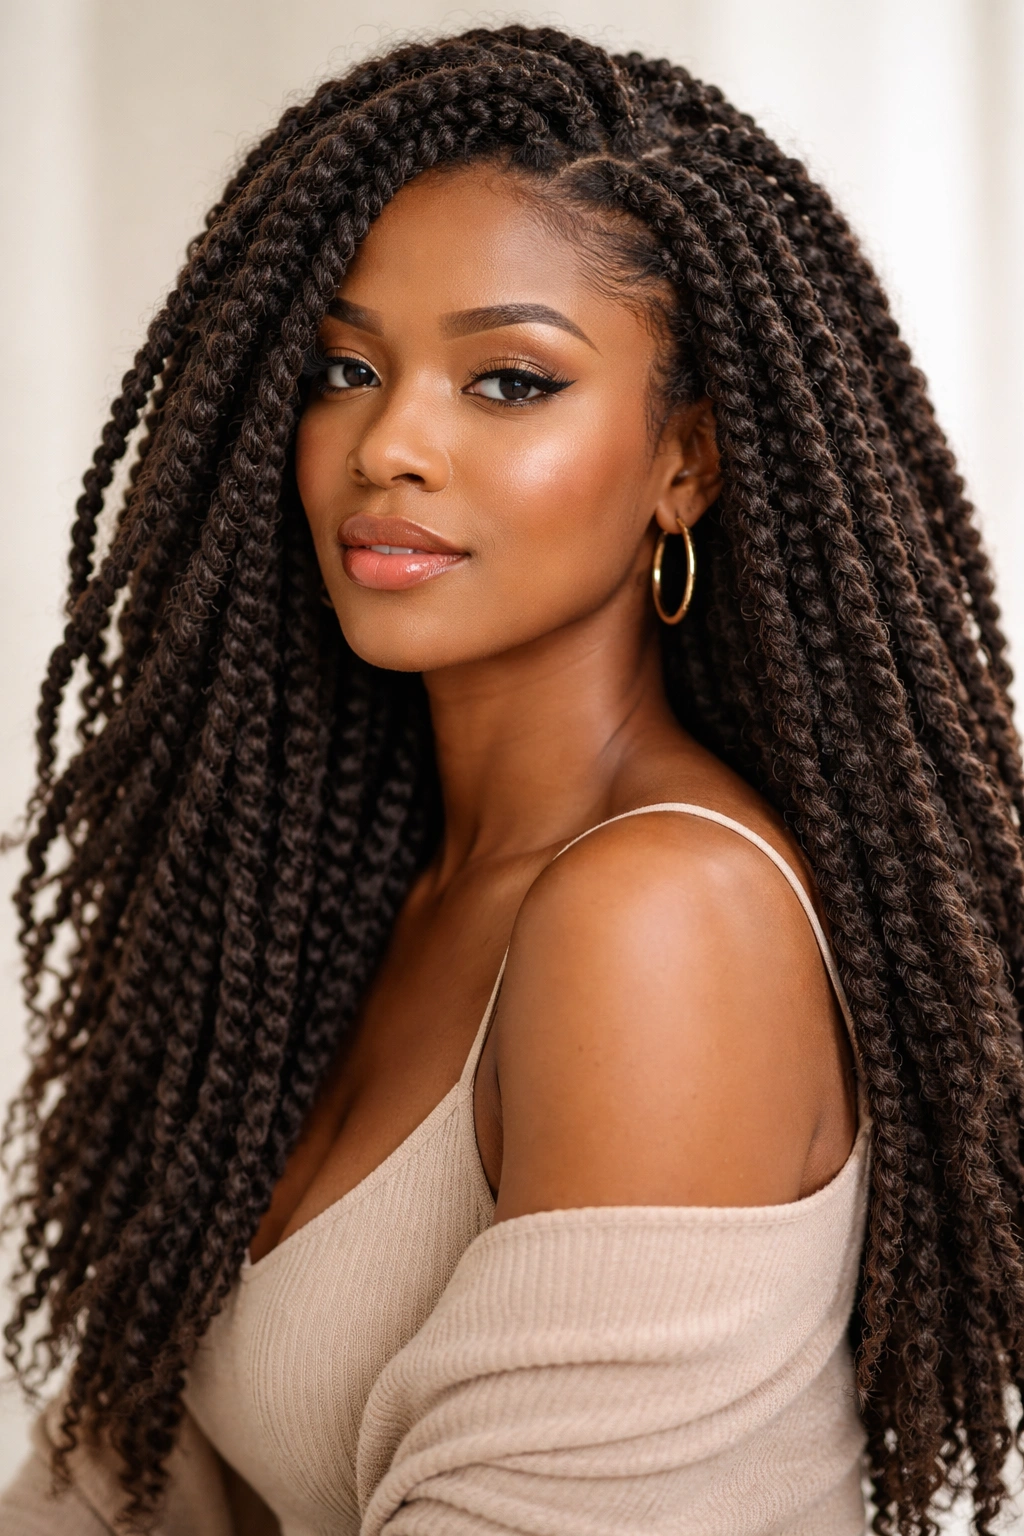
Marley twists are where twist styling truly becomes transformative. This style uses Marley hair (also called kinky twist hair), which is a textured synthetic extension that’s twisted together with your natural hair from root to tip. The result is a textured, voluminous protective style that looks incredibly full and has genuine movement and bounce.
Why Marley Twists Are Worth the Investment
The appeal of Marley twists goes beyond aesthetics. Because you’re using extensions, you’re minimizing tension and manipulation on your natural hair, which is the core principle of protective styling. The extensions bear most of the weight and stress, allowing your natural hair to rest and grow. Marley twists typically last 4-6 weeks and can withstand daily styling, swimming, and sweating without unraveling.
Installation and Maintenance Essentials
- Marley hair quality varies: Invest in higher-quality Marley hair if you can afford it—cheaper versions shed more, frizz faster, and don’t last as long.
- Installation takes time: Expect 3-5 hours for a full head, depending on section size and hair thickness. Plan for this and have entertainment ready.
- Sectioning is crucial: Divide your hair into even sections before you start. Uneven sections mean uneven twists and an unbalanced final look.
- Moisturizing your scalp matters: With extensions in place, it’s harder to reach your scalp. Use a spray bottle with a fine mist to target your scalp directly.
Insider note: The first 24-48 hours after installation is critical—sleep on a silk or satin pillowcase and avoid heavy manipulation so the twists can fully set and relax into their final shape.
3. Senegalese Twists
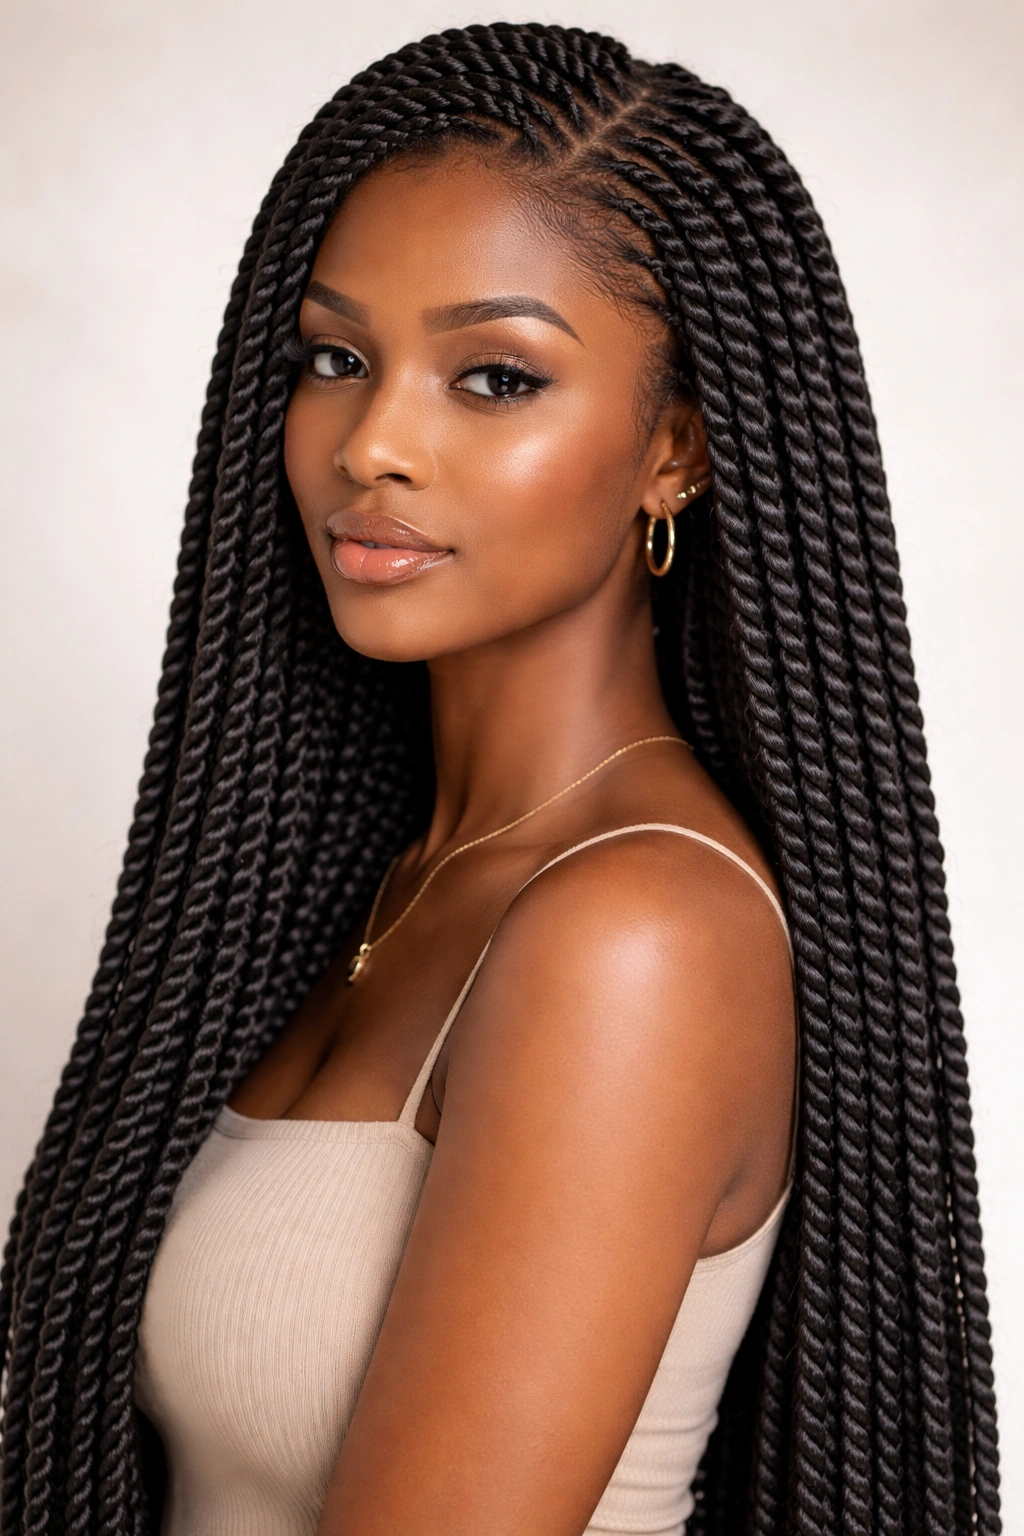
Senegalese twists are instantly recognizable by their smooth, rope-like texture and refined appearance. Unlike Marley twists, which use textured hair, Senegalese twists use smooth synthetic hair that’s twisted tightly around your natural hair, creating that sleek, polished look. They’re a step up in sophistication and are perfect for professional settings or when you want a more polished appearance.
What Makes Senegalese Twists Different
The smooth texture of the extension hair creates a very different aesthetic than rougher extensions. Senegalese twists have an almost sculptural quality—they catch light beautifully and look incredibly defined. They also tend to hold their shape longer because the smooth extension hair doesn’t absorb moisture like textured Marley hair does, so they resist frizz and maintain their clean lines for the entire wear period.
Installation Considerations and Tips
- Tension balance is everything: Senegalese twists need to be twisted tightly enough to look smooth and defined, but not so tight that they pull on your hairline or cause discomfort. This requires practice and intuition.
- Length options: You can make Senegalese twists as long or short as you want. Longer twists create a more dramatic statement, while shoulder-length twists are easier to manage for everyday wear.
- Color possibilities: Senegalese hair comes in virtually any color, and many people choose to contrast their twists with their natural hair color for visual interest.
- Lifespan: These typically last 5-8 weeks because the smooth hair is less prone to frizzing and unraveling.
Worth knowing: If you’re concerned about tension alopecia (hair loss from tight styles), Senegalese twists require more caution than some other styles. Make sure sections aren’t pulled too tightly, and consider doing them less frequently if you have a sensitive scalp.
4. Flat Twists
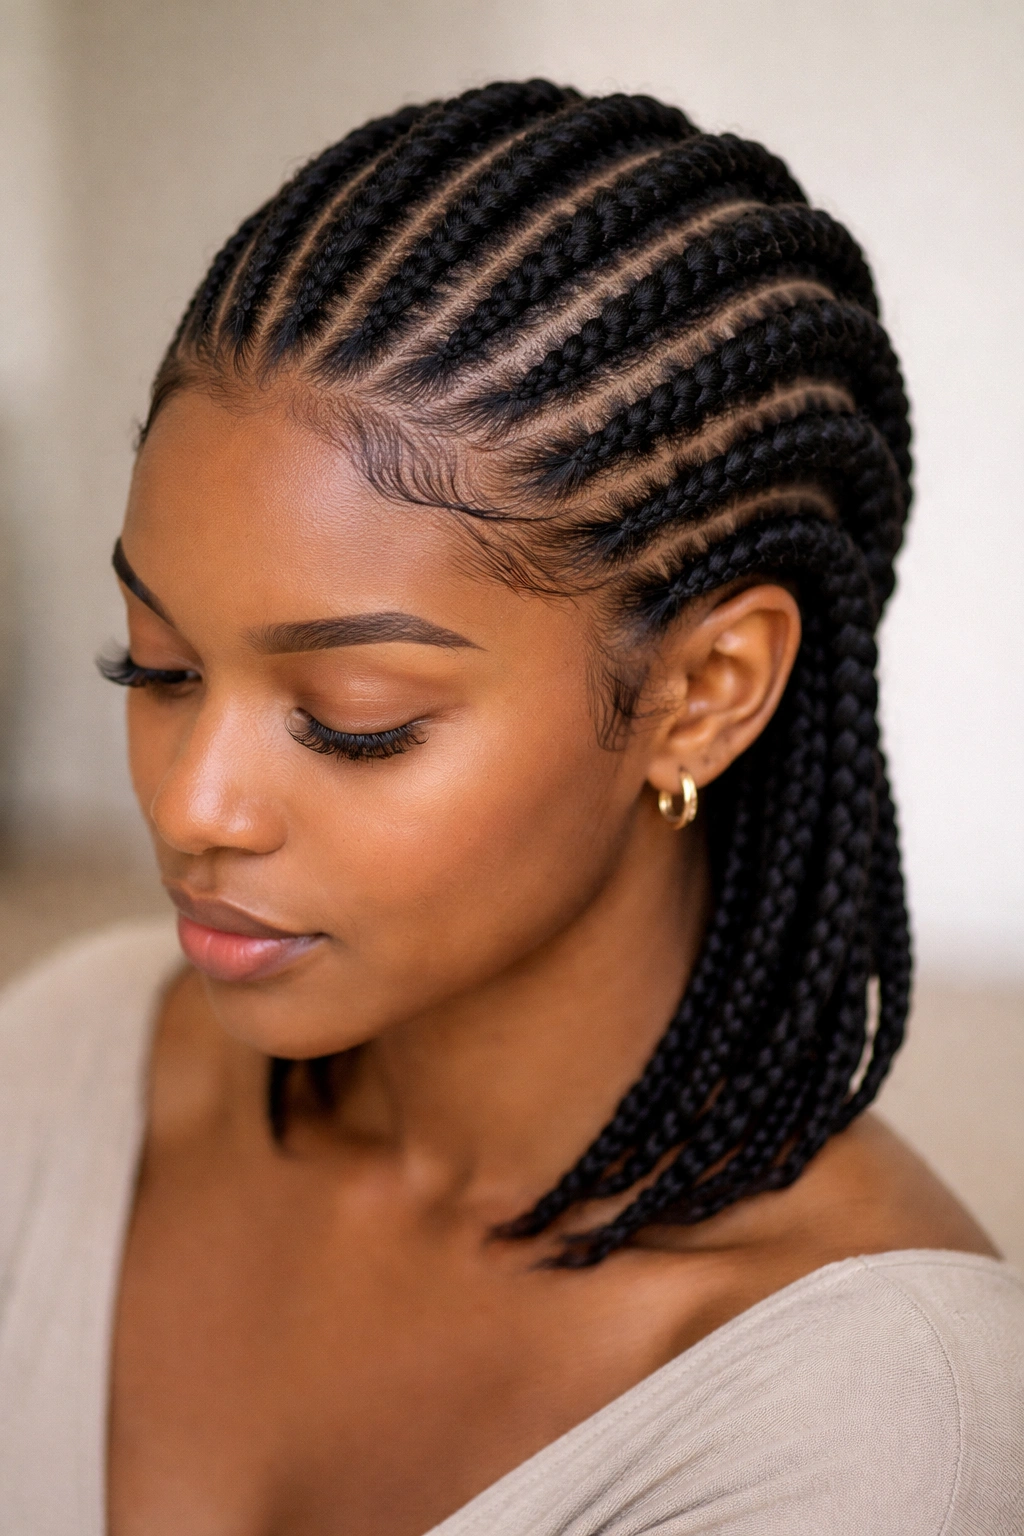
Flat twists are like cornrows’ elegant twin—they’re twists that lie flat against your scalp in a two-strand pattern. They work beautifully as a way to style the front of your hair while leaving the back down, or you can flat-twist your entire head for an intricate, almost braided appearance. They’re incredibly versatile for everything from casual to formal occasions.
Why Flat Twists Are a Styling Game-Changer
Flat twists give you the protective benefits of twists while creating distinctive, patterned designs on your scalp. They can frame your face, move the hair away from your forehead, and instantly elevate a simple style. You can do them in straight lines, curved patterns, or creative designs, which means flat twists are genuinely a form of hair art and self-expression.
Technique and Pattern Ideas
- Sectioning method: Start at the root and create even sections that form straight lines, curves, or patterns across your scalp. Use a rattail comb to keep lines neat and precise.
- Twisting grip: As you twist, use your fingers to push the twist flat against your scalp while simultaneously twisting the two sections around each other. This takes practice but becomes natural with repetition.
- Pattern possibilities: Simple side-swept flat twists, geometric grid patterns, circular designs, or combinations of straight and curved lines all work beautifully.
- Styling the ends: You can leave ends loose and fluffy for a softer look, continue twisting to the ends for a more finished appearance, or wrap ends with thread or yarn.
Pro tip: Flat twists look even more defined and last longer if you two-strand twist the loose ends of your hair (if you’re not twisting all the way down) or braid them for extra texture and hold.
5. Chunky Two-Strand Twists
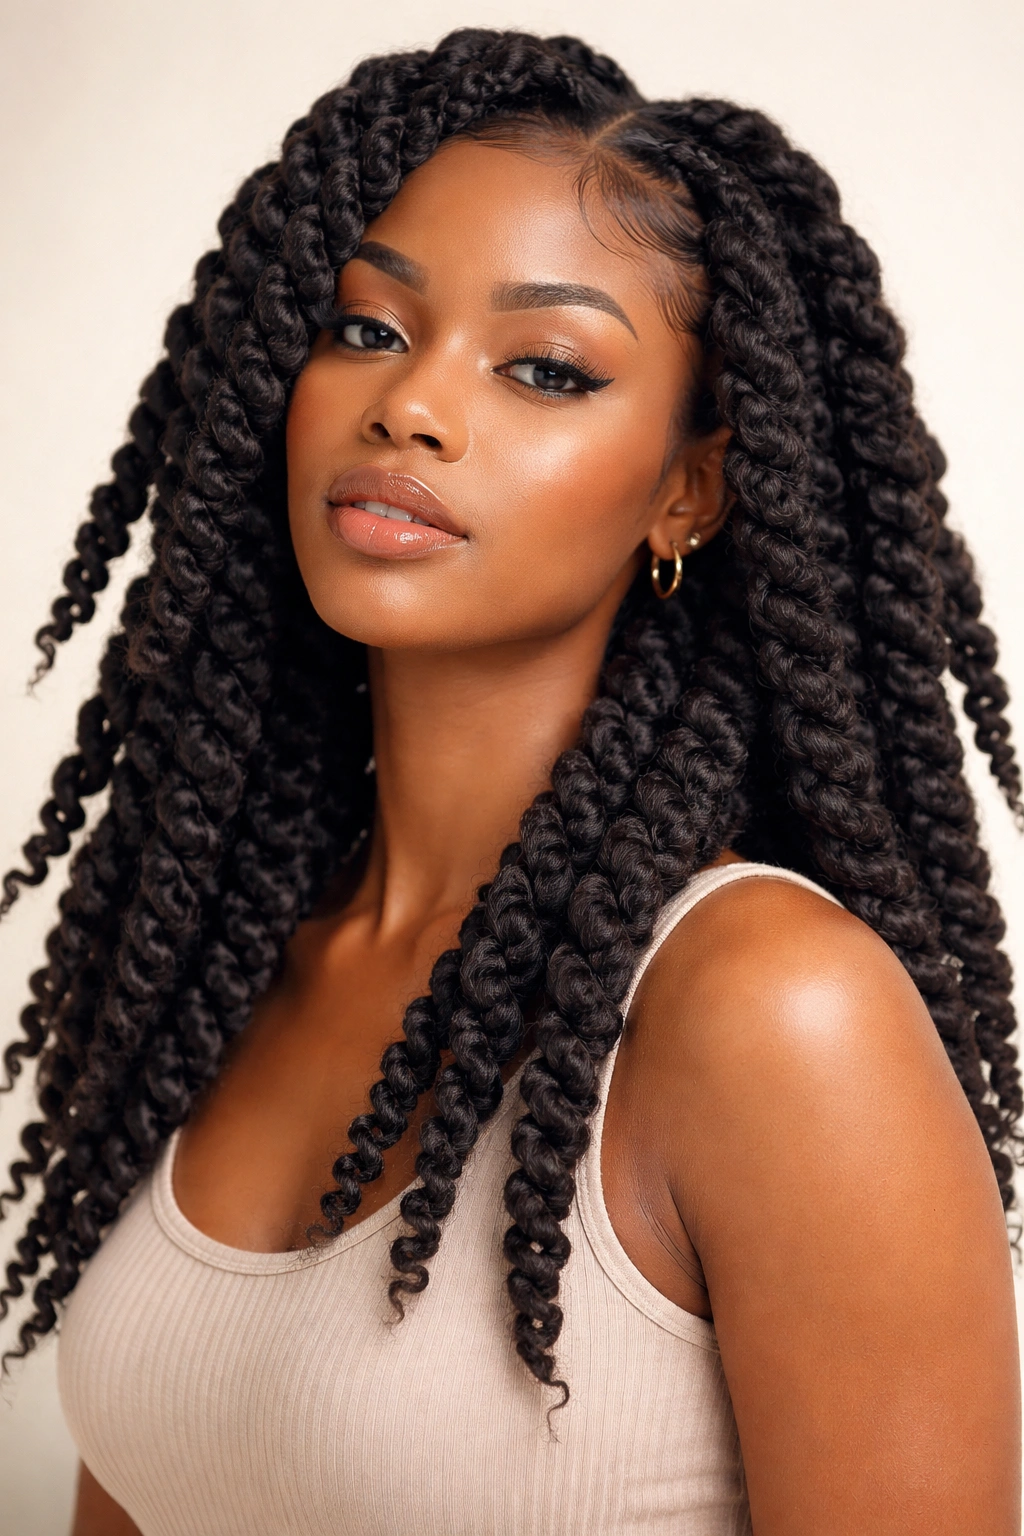
Chunky two-strand twists are the bold, dramatic statement version of classic twists. By using much larger sections of hair (sometimes 2-3 inches wide), you create substantial, eye-catching twists that work up much faster than finer twists and have real presence and movement. These are perfect if you want big impact without spending hours at home installing.
When Chunky Twists Make Sense
If you’re short on time, have finer or less dense hair, or simply prefer the bolder aesthetic, chunky twists are your answer. A full head can be done in 45 minutes to an hour, compared to 3+ hours for finer twists. The larger sections also put less tension on your hairline and scalp, making them a good choice if you prefer low-tension styles. Chunky twists look fantastic styled up in a high bun, wrapped into a crown, or left down and flowing.
Getting the Right Volume and Definition
- Section preparation is key: With larger sections, you need even more moisture and product than with smaller twists. Apply a twisting cream or gel to ensure smooth, defined twists without frizz.
- Tension matters less: Because the sections are larger and thicker, tension becomes less critical. Focus on making even sections rather than perfect tension.
- Extension options: You can do chunky twists with your natural hair alone, or add Marley or Senegalese hair extensions for more volume and length.
- Styling versatility: Chunky twists work beautifully as a standalone style or as a base for other looks—you can wrap them, bun them, or blend them with loose hair.
Insider note: Chunky twists actually tend to last longer than finer twists because there’s less manipulation and movement of each individual twist. The thickness provides stability and hold.
6. Micro Twists
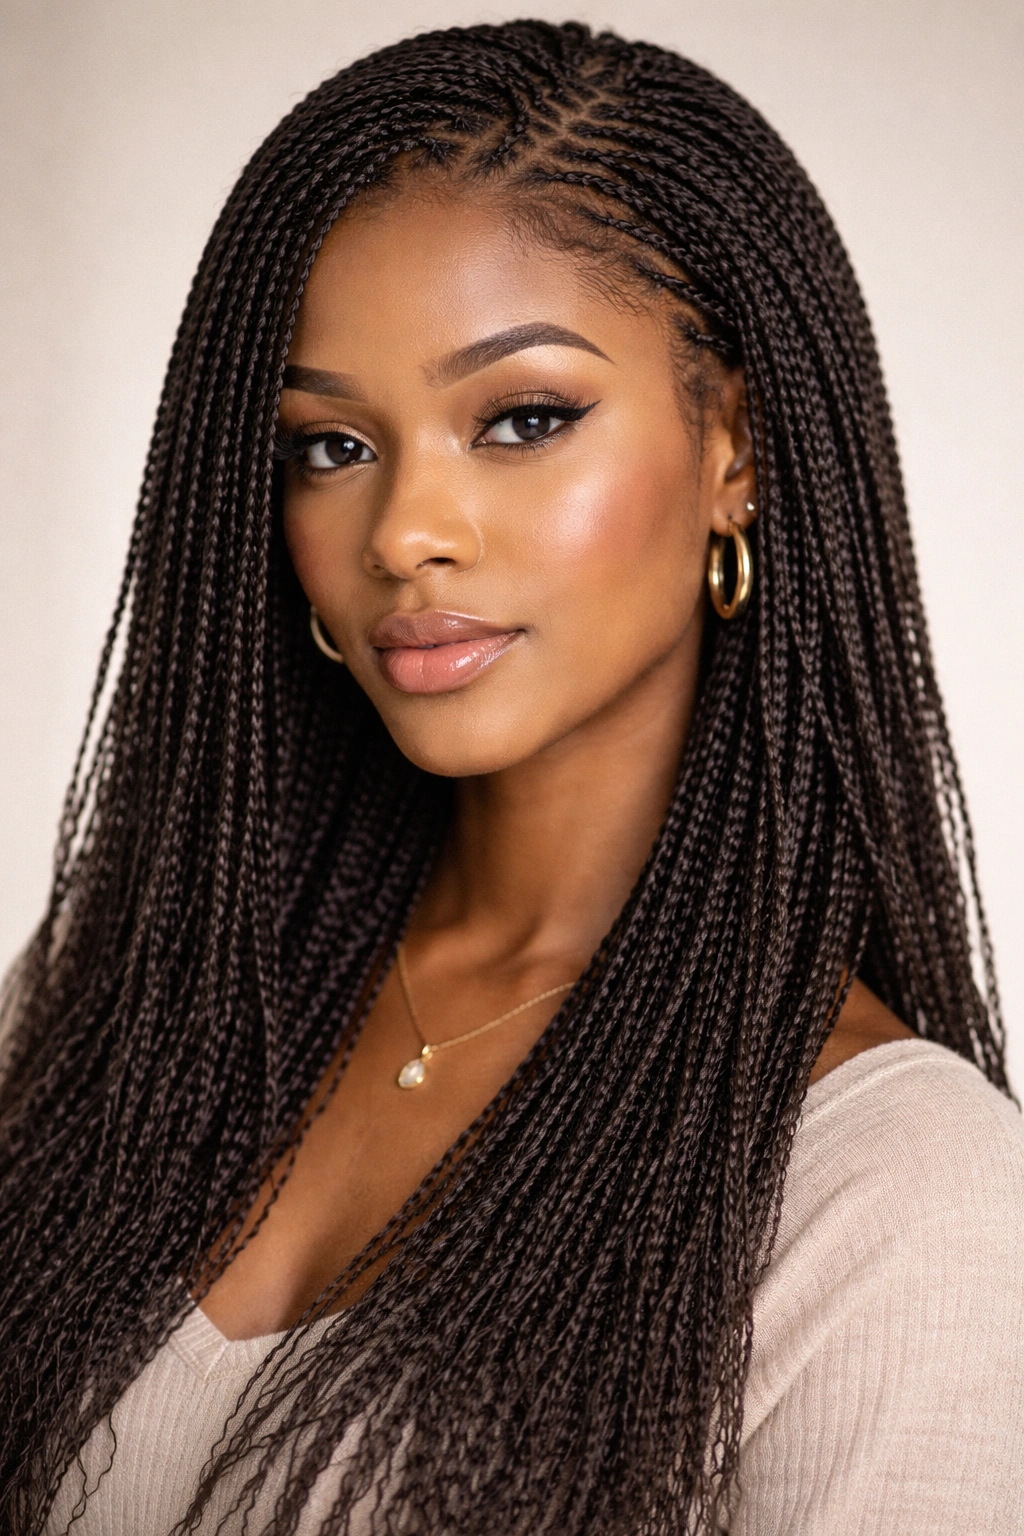
Micro twists are the polar opposite of chunky twists—they’re intricate, delicate, and genuinely require patience and dedication. Using tiny sections of hair (sometimes thinner than a toothpick), you create hundreds of detailed twists that cover your entire head in an almost lace-like pattern. They’re a commitment, but they’re absolutely stunning.
The Appeal of Micro Twists
There’s something incredibly satisfying about micro twists. They offer maximum protection because each twist is so small that there’s minimal exposure of your hair shaft to environmental stress. They last remarkably long—8-12 weeks is realistic. And aesthetically, they’re jaw-dropping. Micro twists photograph beautifully, they work for virtually any occasion, and they allow you to style your hair in countless ways without unraveling the entire set.
Realistic Expectations for Installation
- Time commitment: Be prepared to spend 6-10 hours for a full head of micro twists. This isn’t a weekend afternoon project—it’s a serious commitment. Many people split installation over 2-3 days.
- Assistance helps: Having someone else help with the back of your head makes the process faster and less frustrating. Your arms will thank you.
- Patience pays off: Rushing through micro twists usually results in uneven sections, loose twists, and a frustrated stylist. Go slowly and accept that this takes time.
- Product choice matters: Use a twisting cream rather than a gel for micro twists—it provides hold without the flaking and dryness that can come with gel.
Worth knowing: Micro twists are actually less stressful on your hair than you might expect. The small size means the weight is distributed across many twists rather than concentrated on a few thick ones. Just make sure you’re starting with healthy hair and moisturizing your scalp regularly throughout the wear period.
7. Spring Twists
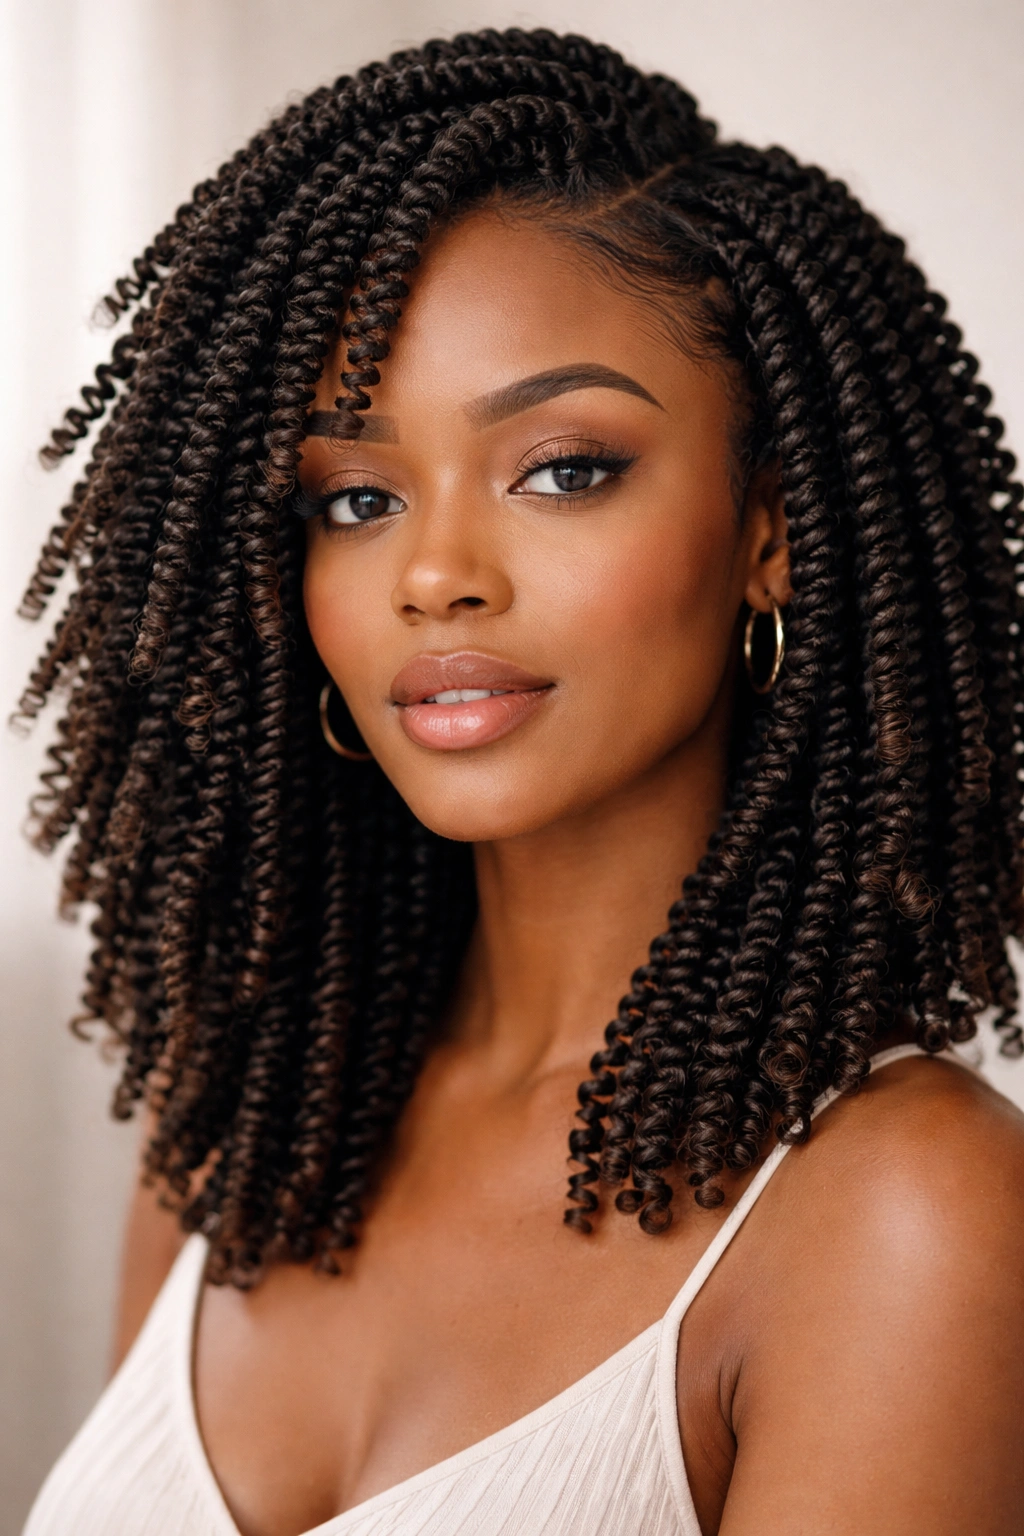
Spring twists are a modern, playful evolution of traditional twists—they’re created by wrapping your natural hair around a spring-like textured extension, creating tight, coiled spirals that have a bouncy, springy quality (hence the name). They’re eye-catching, fun, and have become increasingly popular for people who want something more distinctive than standard twists.
What Makes Spring Twists Special
Spring twists sit somewhere between twists and locks in appearance. They have incredible texture and visual interest, they’re surprisingly lightweight, and they create a very modern aesthetic. Because the extensions are tightly coiled, they hold their shape and definition for the entire wear period without any frizzing. They’re also relatively quick to install compared to micro or Marley twists—usually 2-3 hours for a full head.
Installation and Styling Details
- Extension selection: Spring twist hair comes in various textures and colors. Choose extensions that match your hair color closely or intentionally contrast depending on your aesthetic preference.
- Wrapping technique: Rather than twisting two strands together, you’re wrapping your natural hair around the pre-coiled extension. This requires a slightly different hand motion than traditional twisting.
- Scalp protection: Spring twists can sometimes feel heavier or denser than traditional twists because of the coiled texture. Make sure you’re starting with a healthy scalp and not applying too much tension.
- Styling options: Spring twists look fantastic alone, pinned up, or incorporated into other hairstyles. Because they have natural volume, they’re great for creating dimension.
Pro tip: Spring twists often soften slightly after the first week as they relax and settle into place. Don’t judge them on day one—give them time to fully set before deciding if you love them.
8. Crochet Twists
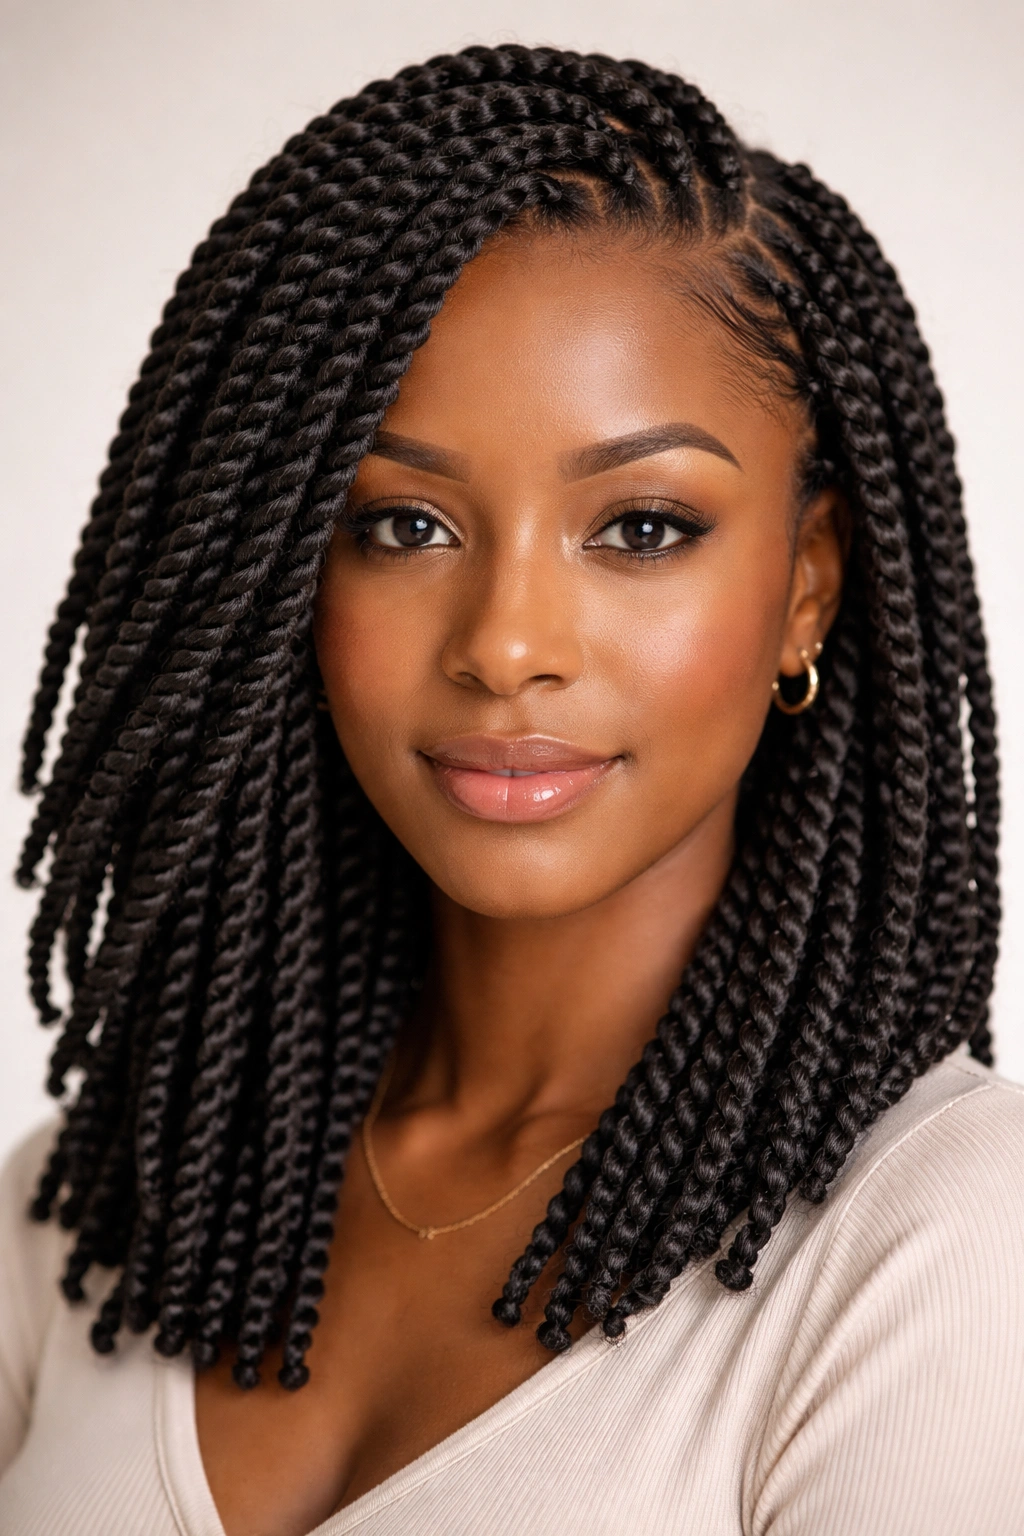
Crochet twists use a crochet hook to pull your natural hair through pre-twisted extension hair, creating a protective style in a fraction of the time it takes to hand-twist extensions. This method has revolutionized protective styling by making it more accessible and faster for people with limited time or physical limitations.
Why Crochet Method Changed Everything
The genius of crochet twists is the speed and ease of installation. A full head can be done in 1-2 hours, compared to 3-5+ hours for hand-twisting. The crochet hook does the work of looping and pulling your hair through the extensions, which is much faster than hand-twisting. This method also tends to create very uniform, neat twists because the crochet hook creates consistent loops and tension.
Getting Started with Crochet Twists
- Finding a crochet hook: You’ll need a hook specifically designed for hair—usually a size H or I hook. Make sure it’s smooth and has no rough spots that could snag hair.
- Extension selection: Crochet twists work with most extension types—Marley hair, Senegalese hair, or pre-twisted hair made specifically for crochet installation.
- Hair preparation: Your natural hair should be detangled and moisturized before crochet installation. Damp hair works slightly better than dry hair.
- Longevity: Crochet twists typically last 4-8 weeks, depending on how well you maintain them and how much movement and friction they experience.
Insider note: Not all hair texture works equally well with crochet twists. If your natural hair is very fine or thin, you may find that crochet twists don’t hold as well because there’s less hair to work with. In those cases, hand-twisting might be a better option.
9. Double-Wrapped Twists
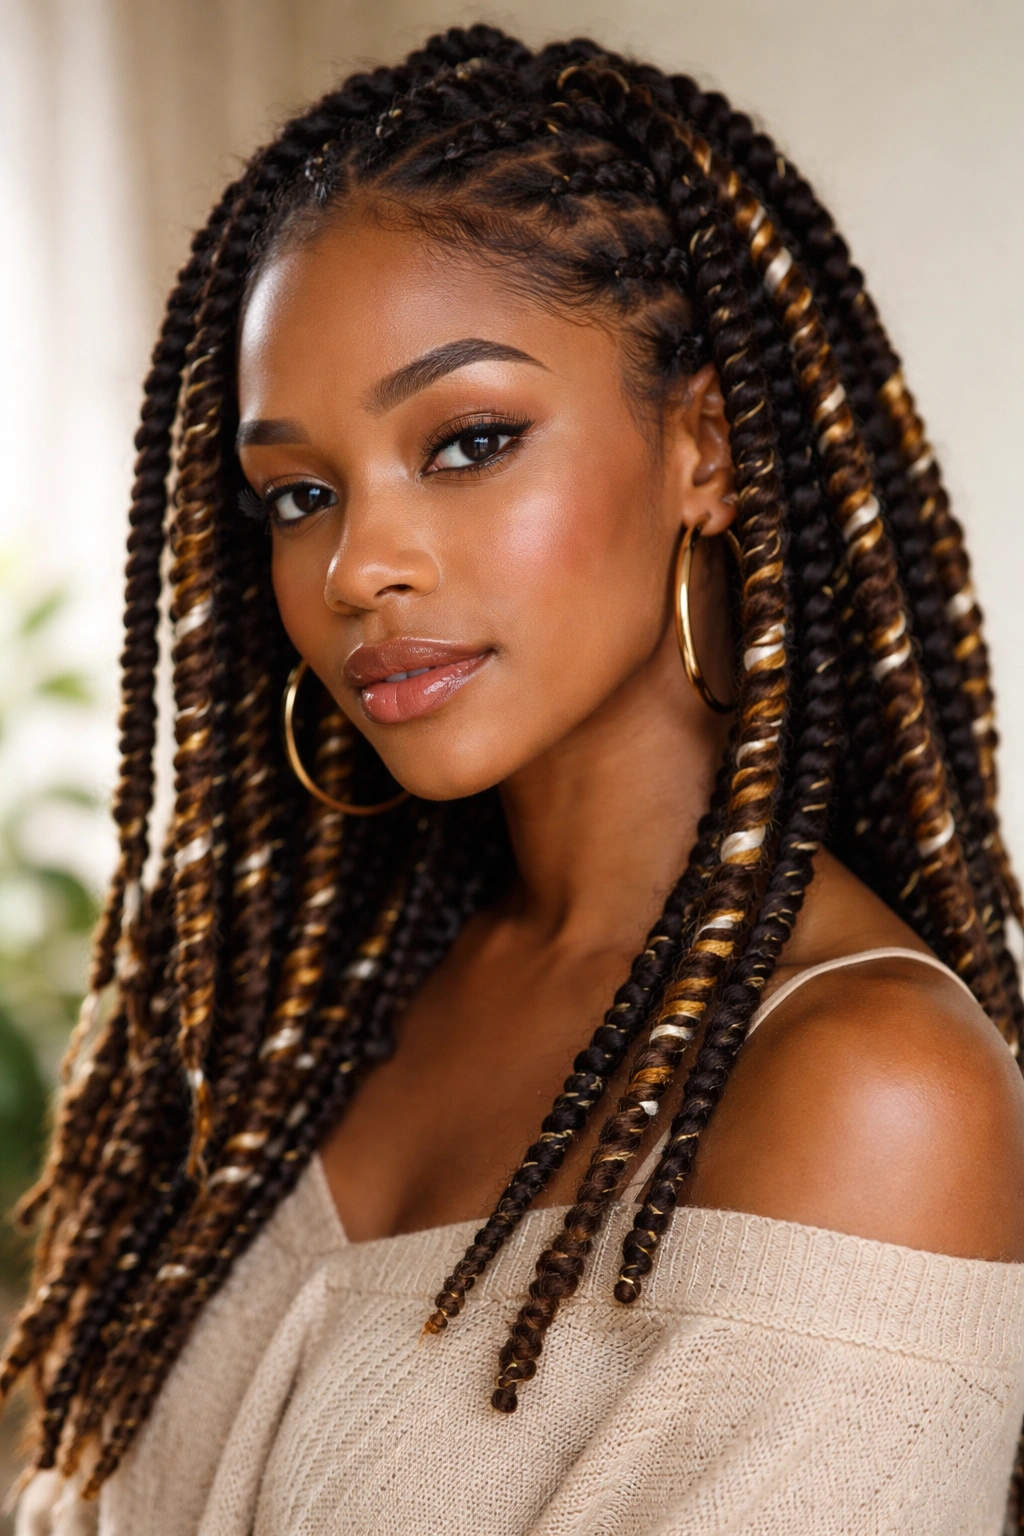
Double-wrapped twists are classic two-strand twists with an added layer of texture and definition—you twist two sections of hair together, then wrap a third piece of hair (often in a contrasting color) around the completed twist. This technique creates dimension, visual interest, and a really polished, intentional look that stands out from basic twists.
The Visual and Practical Impact
Double-wrapped twists are a simple technique that completely elevates your twist game. The wrapping adds color contrast, creates definition and separation between twists, and makes the overall style look more refined and deliberate. You can use yarn, thread, or thin sections of hair for wrapping, which gives you endless color and texture combinations.
Wrapping Techniques and Options
- Thread wrapping: Using embroidery thread in gold, silver, copper, or bright colors is an easy way to add visual interest. Wrap thread around the completed twist in a continuous spiral or in sections for different effects.
- Yarn wrapping: Yarn comes in countless colors and creates a thicker, more visible wrap than thread. This works especially well for chunky twists.
- Hair wrapping: You can wrap completed twists with thin sections of contrasting colored hair for a completely natural look. This requires more time but looks seamlessly integrated.
- Wrapping placement: You can wrap the entire twist from root to tip, or just wrap sections (the bottom third, for example) for a subtler effect.
Pro tip: If you’re using thread or yarn, secure the end by tying a knot and weaving the ends back into the twist so they don’t unravel. For hair wrapping, simply continue twisting the wrapping section until it reaches the end.
10. Twisted Crown or Halo Braid
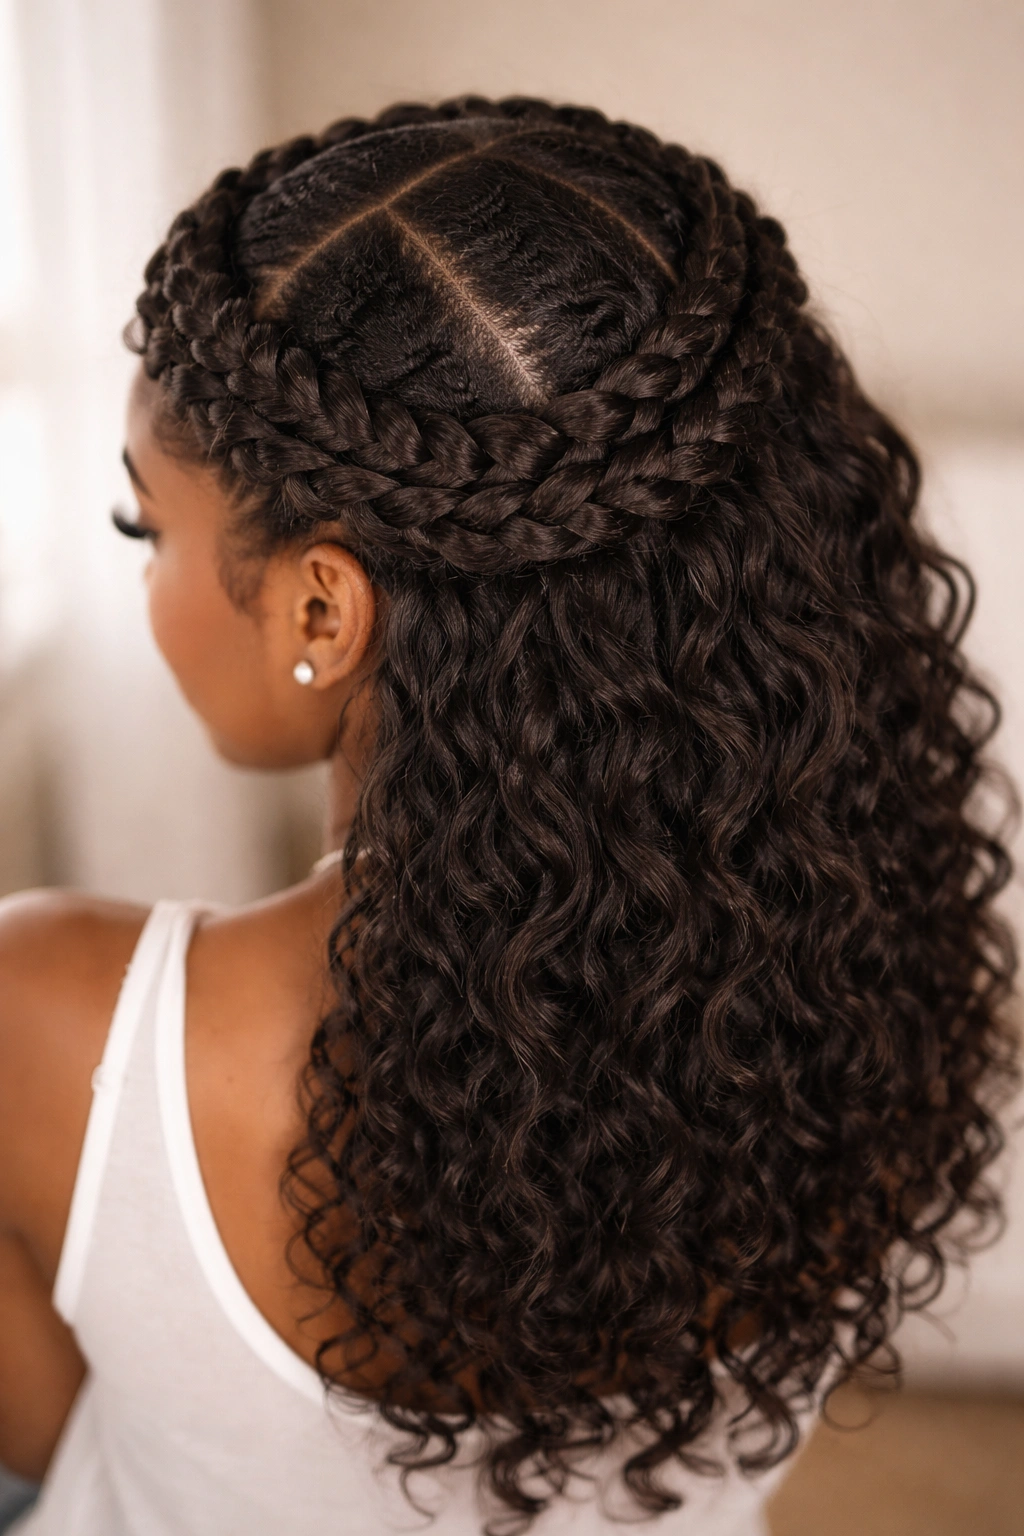
A twisted crown is a beautiful protective style that uses flat twists to create a crown or halo pattern around your head, with loose hair flowing down or pinned up. This style is incredibly romantic, works for formal occasions, and is distinct enough that people will genuinely compliment your creativity and skill.
When a Twisted Crown Works Best
Twisted crowns are perfect for special events—weddings, graduations, date nights, or anywhere you want to look polished and put-together. They also work as everyday styles if you want something more interesting than wearing your hair down. The fact that the crown itself is a protective style means you can wear this look and still be taking care of your hair. Plus, if you’ve mastered flat twisting, you have the technical skills to create this style.
Creating Your Crown Design
- Planning your pattern: Before you start, use a comb to mark the lines where your twists will go. For a crown, you typically start at one temple and twist around the back of your head to the other temple.
- Section and twist carefully: Flat-twist along your marked lines, keeping twists even and flat against your scalp. This is where precision matters—uneven twists will create an unbalanced crown.
- Securing the ends: As your twists reach the other side of your head, you can wrap them around and pin them into place, blend them with loose hair, or tuck them into a bun.
- Styling the rest: You can leave the remaining hair down for a soft, romantic look, pull it into a high or low bun, or create another set of twists in the back for a fully protective style.
Worth knowing: Twisted crowns look best when created on the second or third day of having your hair down—your natural hair has natural oils and texture that help the twists stay in place. Freshly washed hair can be too slippery for the twists to hold well throughout the day.
Final Thoughts
Twist styles offer incredible versatility for protective styling, and the wonderful part is that you have full control over installation, costs, and timing when you do them at home. Whether you’re drawn to the simplicity of classic two-strand twists, the boldness of chunky twists, or the intricacy of micro or spring twists, there’s a twist style that fits your lifestyle, hair texture, and personal aesthetics.
The key to successful twist styling at home is starting with a realistic assessment of your time and skill level. If you’re new to twists, begin with chunky two-strand twists or flat twists rather than jumping straight to micro twists or Marley twists. Your first attempt won’t be perfect, and that’s completely normal. Every time you practice, you’ll build muscle memory, develop better hand coordination, and create neater, more polished twists.
Pay attention to your scalp and hairline throughout your twist journey. If you notice any irritation, tenderness, or hair loss, that’s your signal to either loosen your twists, extend the time between protective styles, or try a different style altogether. Protective styling should protect your hair, which means it should never come at the cost of your scalp health. Take the time to moisturize your hair and scalp, sleep on silk or satin to reduce friction, and give your hair breaks between styles.
The best twist style is the one you’ll actually enjoy wearing and that makes you feel confident and beautiful. Spend time experimenting, watching tutorials, and practicing techniques until something clicks. Once you’ve mastered a few twist styles, you’ll have skills and knowledge that keep giving—a lifetime of gorgeous, protective, personalized hairstyles that celebrate your natural hair texture and your own creativity.
