Thick curly hair is a gift that comes with incredible versatility and natural volume—but it also demands styling approaches that work with your texture rather than against it. The challenge isn’t finding styles that will work on your hair; it’s finding styles that enhance your curls while keeping them manageable, healthy, and looking intentional. Many people with this hair type default to the same predictable styles because they haven’t discovered options that actually complement their curls and lifestyle.
The reality is that thick curly hair responds beautifully to specific cuts, arrangements, and techniques designed for textured strands. When you choose a style that honors your curl pattern instead of fighting it, you unlock styling ease and a level of natural volume that straighter hair types have to create artificially. The key is understanding which styles work with your curl’s weight, density, and moisture needs.
Whether you’re looking for everyday wear, special-occasion elegance, protective styling, or something in between, there are proven hairstyles that will make your thick curls look their absolute best. Let’s explore twelve of the most flattering, functional, and fabulous options for your hair type.
1. The Layered Shag Cut
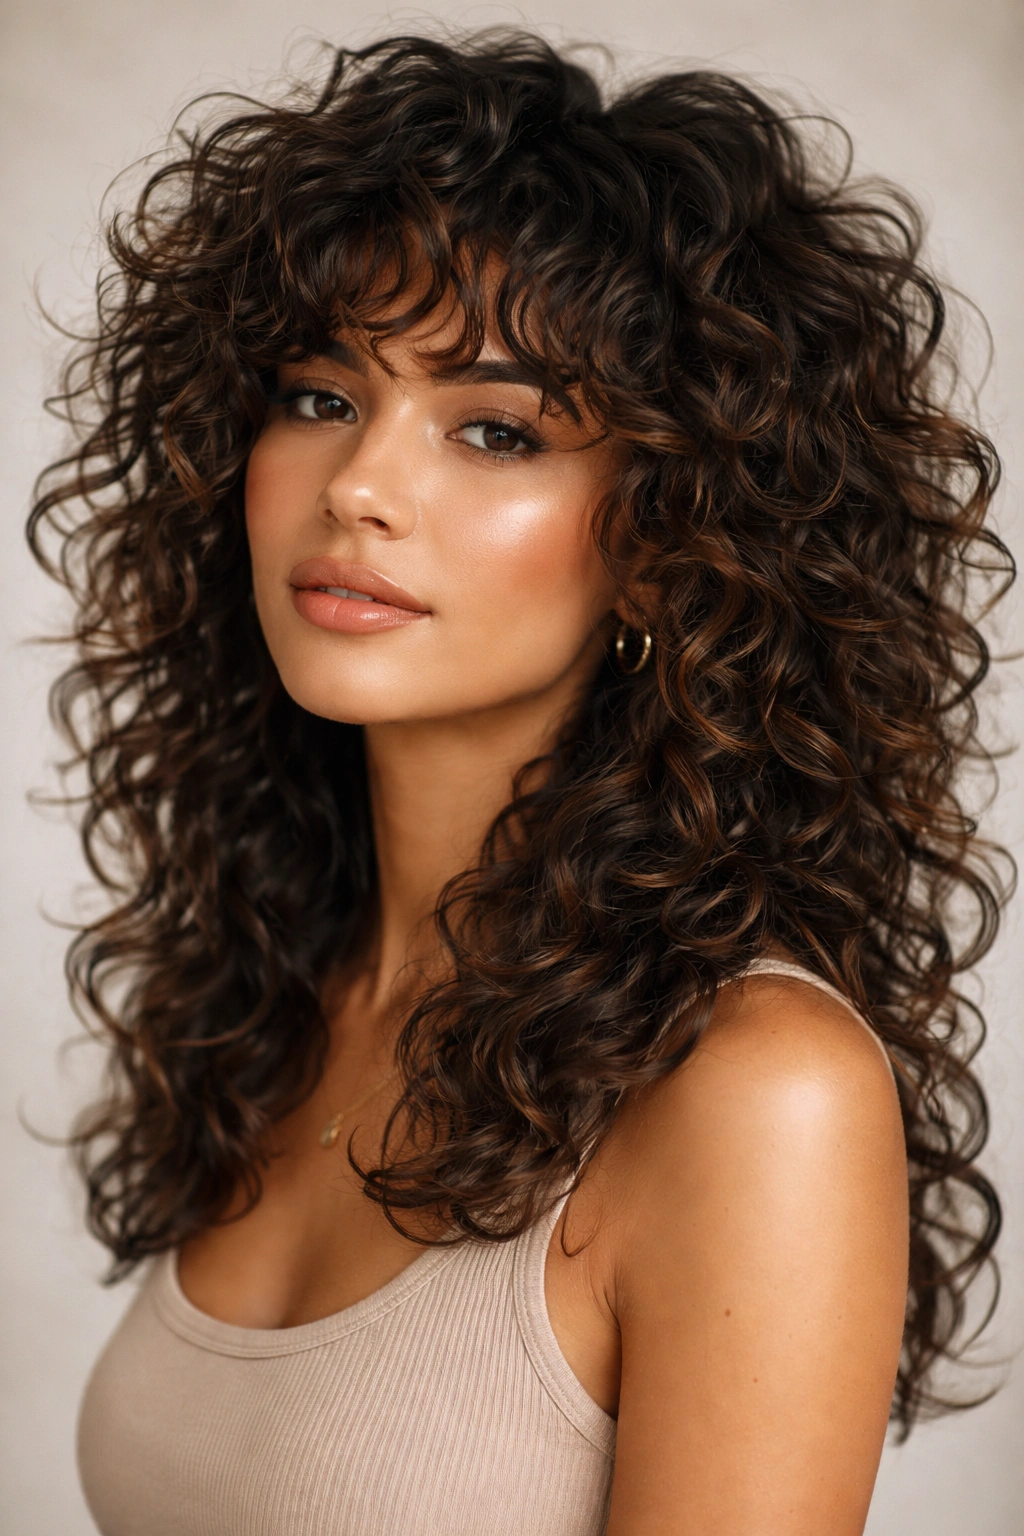
A layered shag is one of the most liberating cuts for thick curly hair because it removes bulk strategically while preserving volume where you need it most. Rather than creating a uniform length that can look boxy or heavy, layers work with your natural curl pattern to add movement and definition throughout. The shorter layers at the crown lift your curls upward, while longer layers underneath provide length and shape without the weight.
Why This Works for Thick Curls
A shag cut excels on thick curly hair because it reduces density without sacrificing the visual impact of your curls. Layers actually make curly hair easier to manage—you’re not fighting against a solid block of dense hair, and your curls can move more freely. The cut creates natural texture and dimension that makes your curls look intentional and chic, even when you’re just air-drying your hair.
Key Benefits and Styling Notes
- Reduced frizz through strategic layering that breaks up the weight and allows moisture to distribute more evenly
- Natural movement that looks intentional—your curls won’t clump together as much because there’s less weight pressing them down
- Styling flexibility that lets you wear your hair down, half-up, or pulled back without it looking flat or shapeless
- Low daily maintenance once you’ve established a good curl routine—your cut does much of the work for you
Pro tip: Ask your stylist to use point-cutting or razor techniques on the ends rather than blunt scissors—this creates softer layers that blend more beautifully with your curl pattern and produces less frizz at the ends.
2. The Defined Twist-Out

A twist-out transforms thick curly hair into a gorgeous texture-packed style with definition and visual interest. You create the look by sectioning damp hair, twisting each section to smooth the cuticle and encourage curl formation, then unraveling the twists once they’re dry to reveal beautifully defined curls. It’s a protective style that lives somewhere between wash-and-wear and intentional styling.
The Science Behind Defined Curls
When you twist damp curls, you’re not fighting your natural texture—you’re amplifying it. Twisting smooths down the hair cuticle, which reduces frizz and allows light to reflect more evenly across each curl. When you unravel the twist, you get curls with crisp definition and a polished appearance that looks like you spent hours styling, even though most of the work is done while your hair dries.
How to Create and Style a Twist-Out
- Section hair into 4-8 large sections depending on your curl pattern and desired definition level (more sections = tighter definition)
- Twist each section while hair is damp and you’ve applied leave-in conditioner and styling cream
- Allow twists to dry completely—at least 8-12 hours or overnight for the best definition
- Unravel twists gently starting from the bottom and working upward, separating curls with your fingers for a fuller look
- Redefine edges and flyaways with a small-tooth comb and edge control if needed
Worth knowing: The larger your twist sections, the bigger and bouncier your curls will be. If you want tighter, more defined coils, use smaller sections and thinner twists.
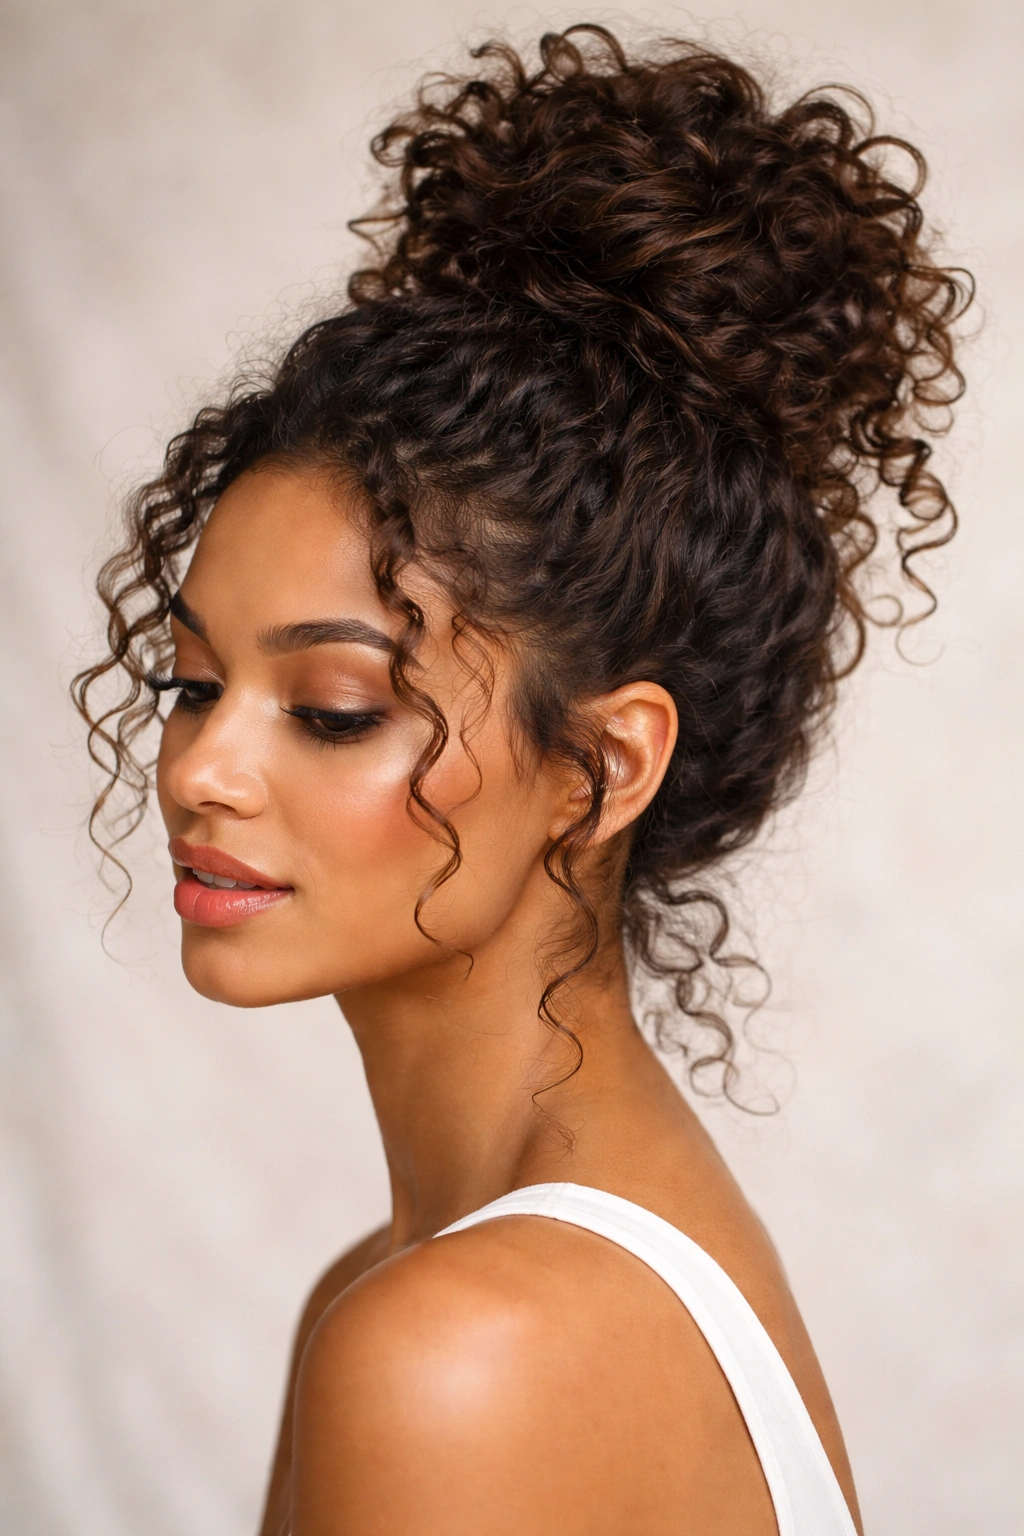
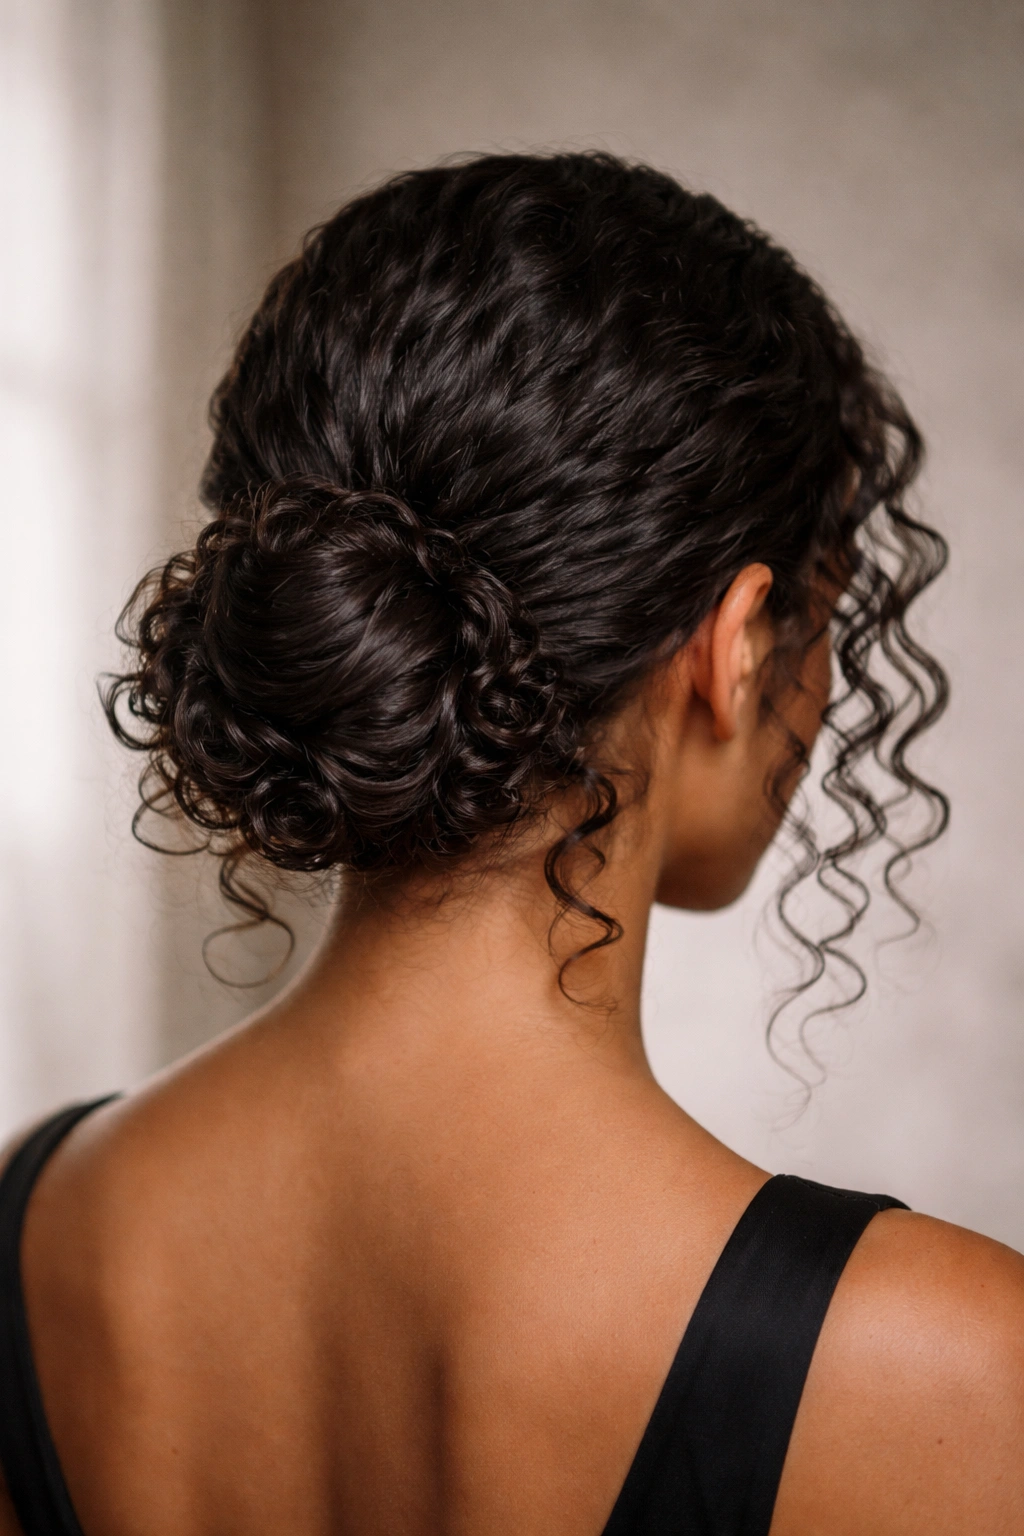
3. The High Pineapple Ponytail
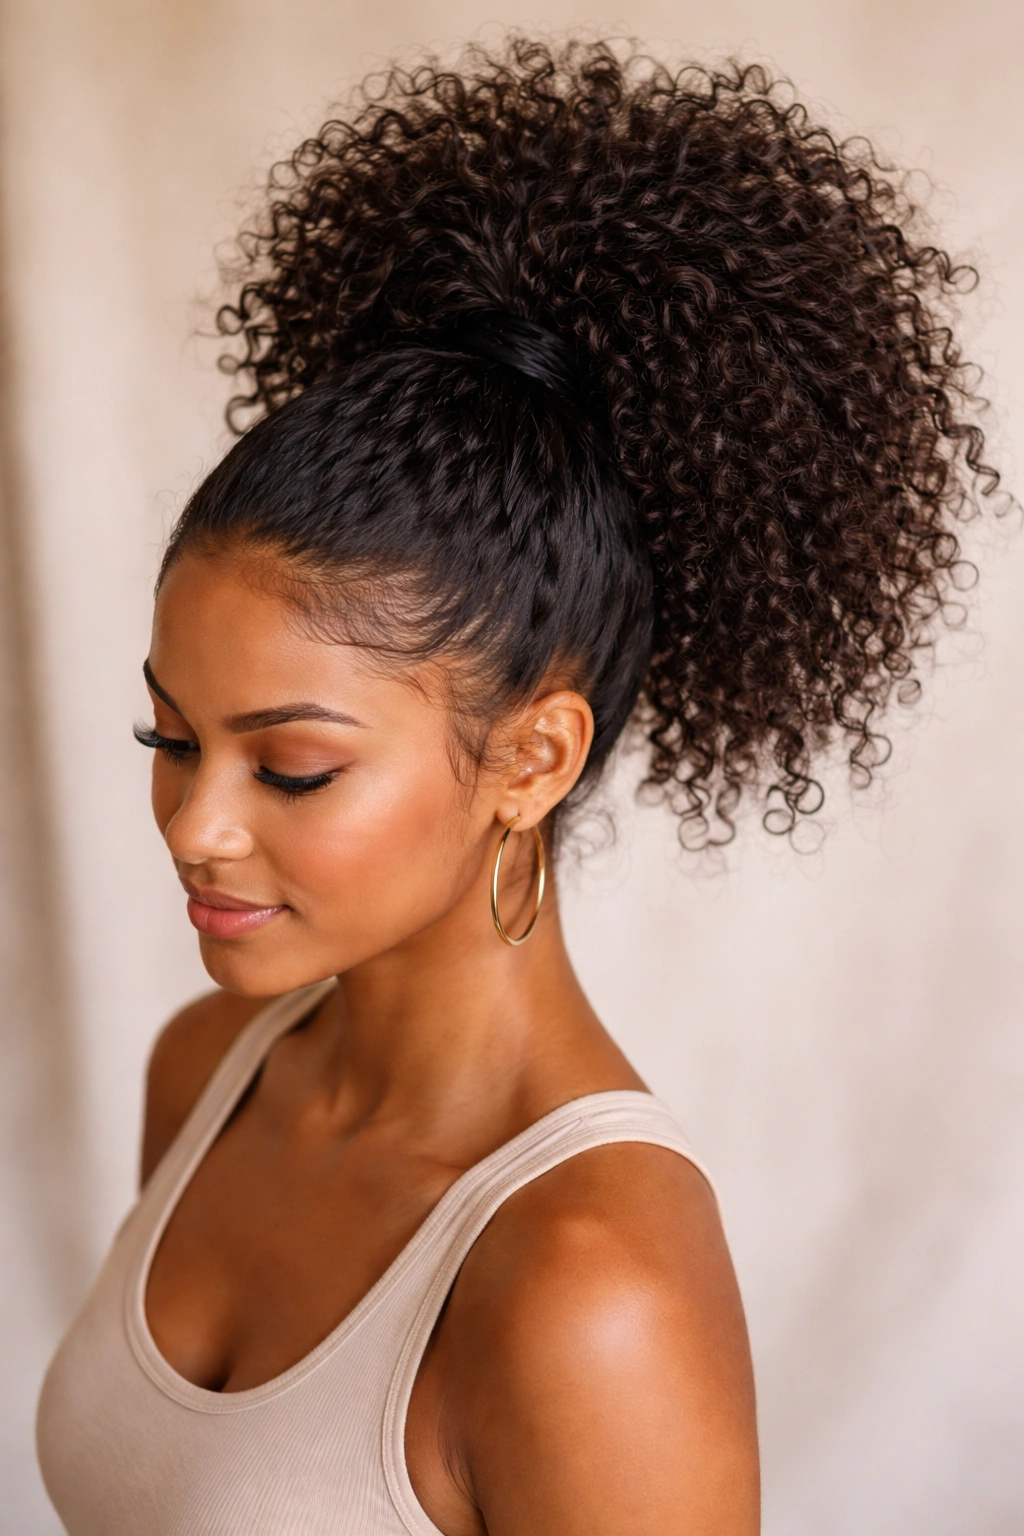
The pineapple—a loose, gathered ponytail positioned high on the crown—is the gold standard for protecting curls overnight and creating an easy, elevated daytime style. For thick curly hair specifically, this style prevents curls from getting crushed while you sleep and actually creates volume at the crown that makes your face look lifted and your whole appearance more polished.
Why This Works as Protection and Style
A high pineapple does double duty: it protects your curls from friction damage while you sleep (or sit in a car, or lean against chairs throughout the day), and it gathers your curls in a way that creates intentional height and shape. The weight of your thick curls is distributed evenly around the ponytail, so nothing gets flattened or creased unevenly. You wake up with curls that still look fresh and shaped instead of matted or bent.
Daily and Nighttime Pineapple Techniques
- Use a silk or satin scrunchie rather than elastic—this prevents creasing and reduces friction that causes breakage
- Position the ponytail on top of your crown, not at the back of your head—this creates the signature lift and volume
- Keep it loose enough that you could slip a finger comfortably between your hair and the scrunchie (tight ponytails cause tension and breakage)
- Tuck short layers or baby hairs around your face using bobby pins or edge control for a finished look
- Refresh the pineapple in the morning by gently loosening it, misting with water or refresher spray, and re-gathering if needed
Insider note: If your pineapple falls out during sleep, you didn’t make it high enough or loose enough—the goal is balance between secure enough to stay put and loose enough not to damage your hair.
4. The Spiral Curls with Flexi-Rods
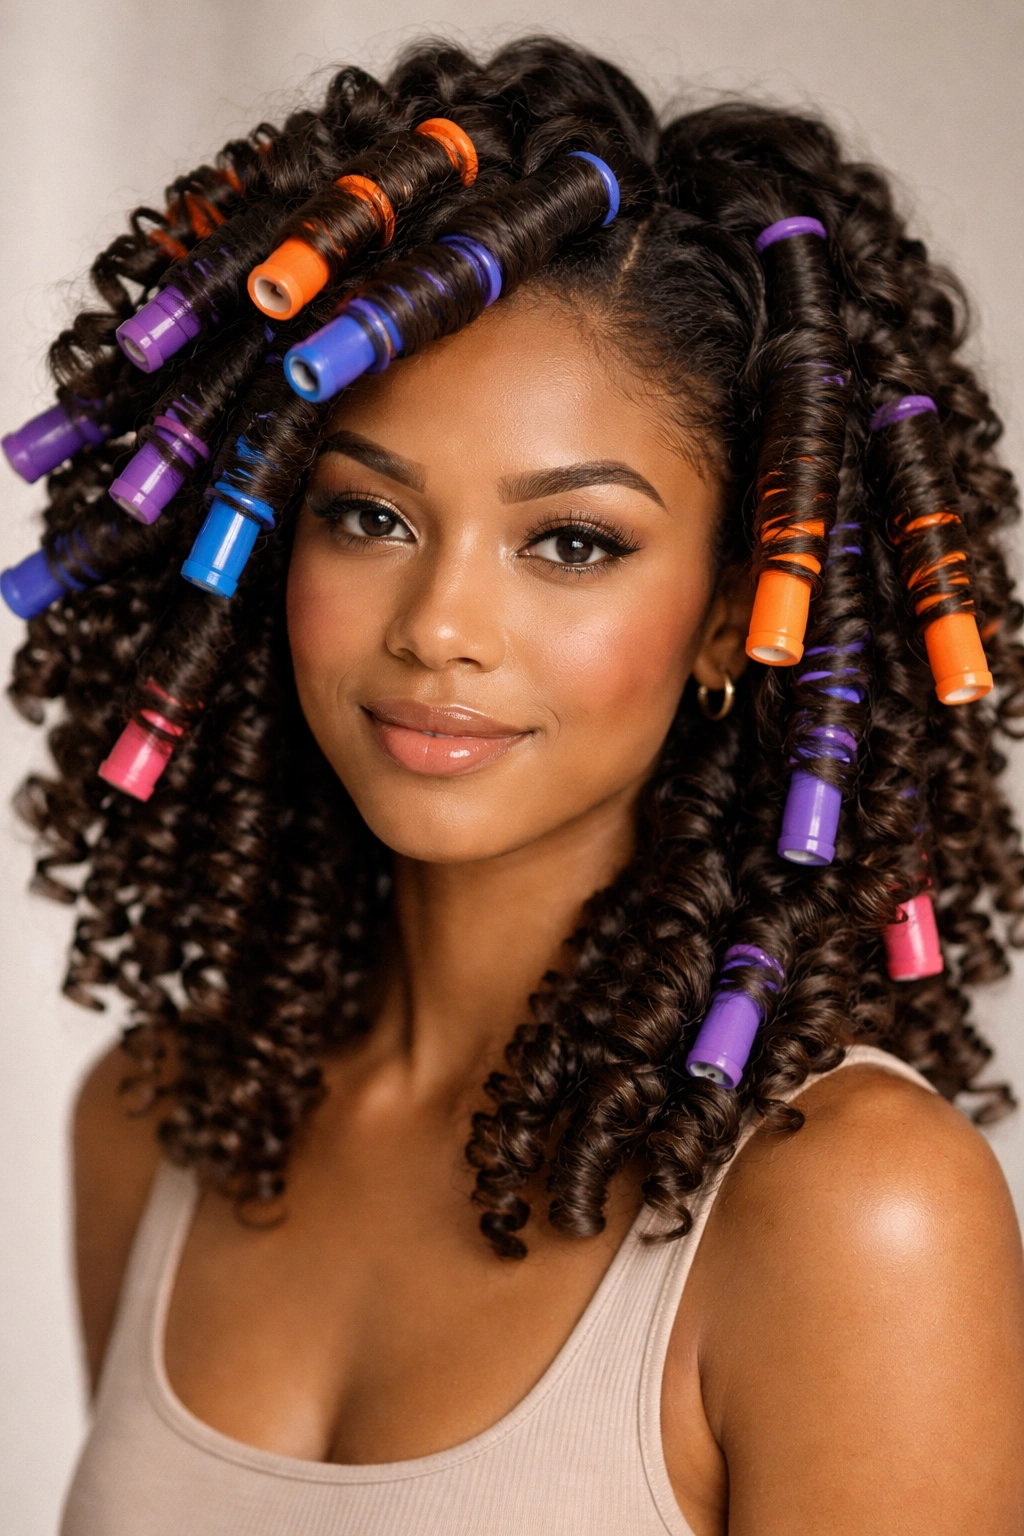
Flexi-rods create tight, bouncy spiral curls that look salon-perfect and add dramatic volume to thick curly hair. These flexible rubber rods let you roll damp sections of hair around them, then once they dry, you unroll them to reveal uniform spirals. The result is a polished, defined style that looks intentionally styled rather than naturally occurring.
Achieving Picture-Perfect Spiral Definition
Flexi-rods work exceptionally well on thick hair because the weight of your curls has somewhere to go as they dry—the rod holds the shape without your curls fighting against it. The result is crisp spirals that catch light beautifully and look dramatically voluminous. This is one of the few styles that actually makes your thick hair feel like an advantage rather than something to manage.
Step-by-Step Flexi-Rod Application
- Section damp hair into 1-to-2-inch sections throughout your entire head
- Apply curl-defining cream or gel to each section to encourage hold and definition
- Roll each section tightly around a flexi-rod, starting at the ends and rolling toward the scalp
- Allow rods to dry completely—at least 8-12 hours; you can sit under a blow dryer to speed up the process
- Gently unroll each rod starting at the bottom and working upward
- Separate curls with your fingers to create the fullness you want—tighter or looser depending on preference
Worth noting: The size of your flexi-rod determines your curl tightness (smaller rod = tighter spirals, larger rod = looser waves). For thick hair, medium rods typically give the best balance of definition and movement.
5. The Braided Crown Updo
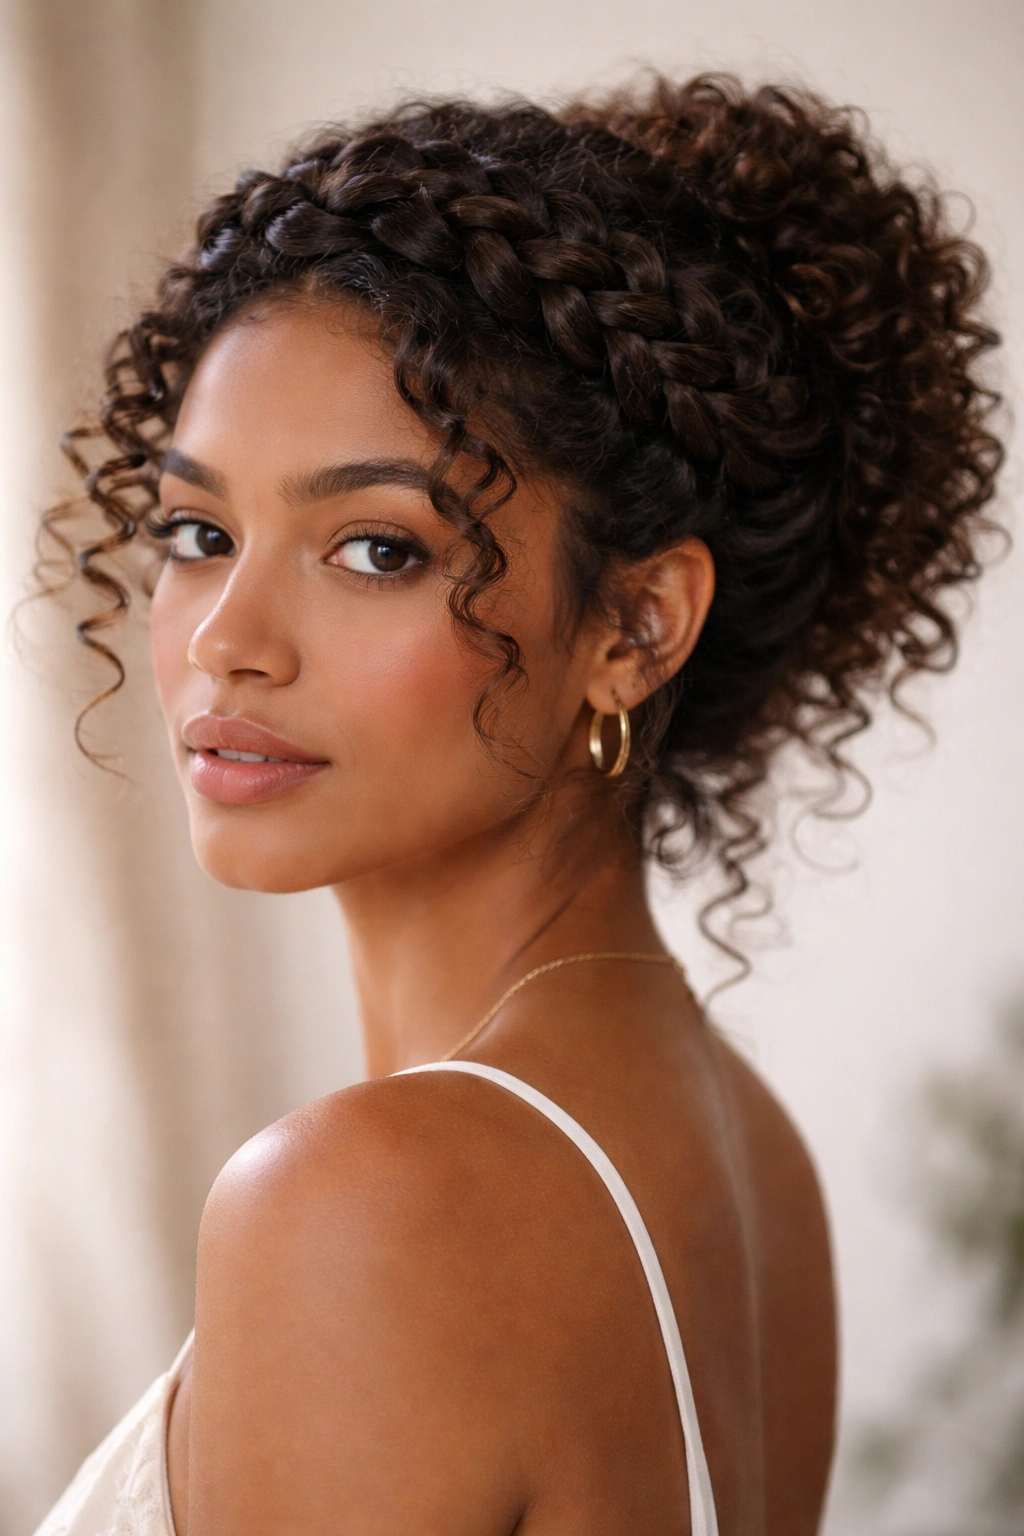
A braided crown transforms thick curly hair into an elegant, special-occasion style that looks infinitely more complex than it actually is. You create the look by braiding sections of your curls and wrapping them around the crown of your head, pinning the remaining curls into a loose bun or leaving them down. It’s protective, romantic, and surprisingly wearable for both formal events and creative everyday looks.
Building a Braided Crown Framework
A braided crown works beautifully on thick curly hair because your curls provide natural texture and grip within the braids—they don’t slip or fall flat like straight hair might. The thickness of your hair also means the braids look full and impressive without requiring tons of sections. Your curls peek through the braids, adding dimension and visual interest that perfectly coordinates with the braided structure.
Creating Your Own Braided Crown
- Section off the front and sides of your hair, leaving the back longer for gathering into the crown
- Create two or three braids depending on the thickness of your sections—thin, delicate braids or thick, chunky braids both work beautifully
- Wrap each braid around the crown of your head toward the back, pinning as you go
- Gather remaining curls at the nape of your neck into a low bun, or leave them down and curled for a softer look
- Secure flyaways with bobby pins and edge control for a polished finish
Pro tip: Leave some smaller curls loose around your face to soften the style and create a more romantic, less formal appearance—this detail is what transforms it from costume-y to genuinely elegant.
6. The Twisted Topknot
A twisted topknot is an effortless updo that works particularly well on thick curly hair because your curls naturally create volume and texture within the knot. Rather than a tight, polished ballet bun, this is a loose, romantic, textured knot that celebrates your curl pattern while keeping hair off your face and neck. It’s the perfect go-to for casual days, workouts, or any time you want your hair secured but still looking intentional.
Why Topknots Suit Thick Curly Hair
A topknot on thick curly hair looks inherently fuller, softer, and more modern than it does on straighter textures. Your curls prevent the knot from looking thin or slicked-back—instead, it looks effortlessly voluminous. You’re not fighting your texture; you’re working with it to create a style that looks relaxed and intentional rather than trying too hard.
Securing a Textured Topknot
- Gather hair at the crown or slightly toward the back of your head—higher placement creates more lift
- Twist the gathered section gently as you bring it upward (this adds visual interest and helps hold the shape)
- Wrap hair around the base to form a loose knot, leaving some curl texture visible rather than smoothing everything flat
- Secure with bobby pins in multiple places so the knot stays put throughout the day
- Leave shorter sections or baby hairs loose around your face for a softer, more modern appearance
Worth knowing: This style works best on second or third-day hair that has a bit of texture and grip already—freshly washed curls sometimes slip out because they’re too smooth and heavy.
7. The Bantu Knots Protective Style
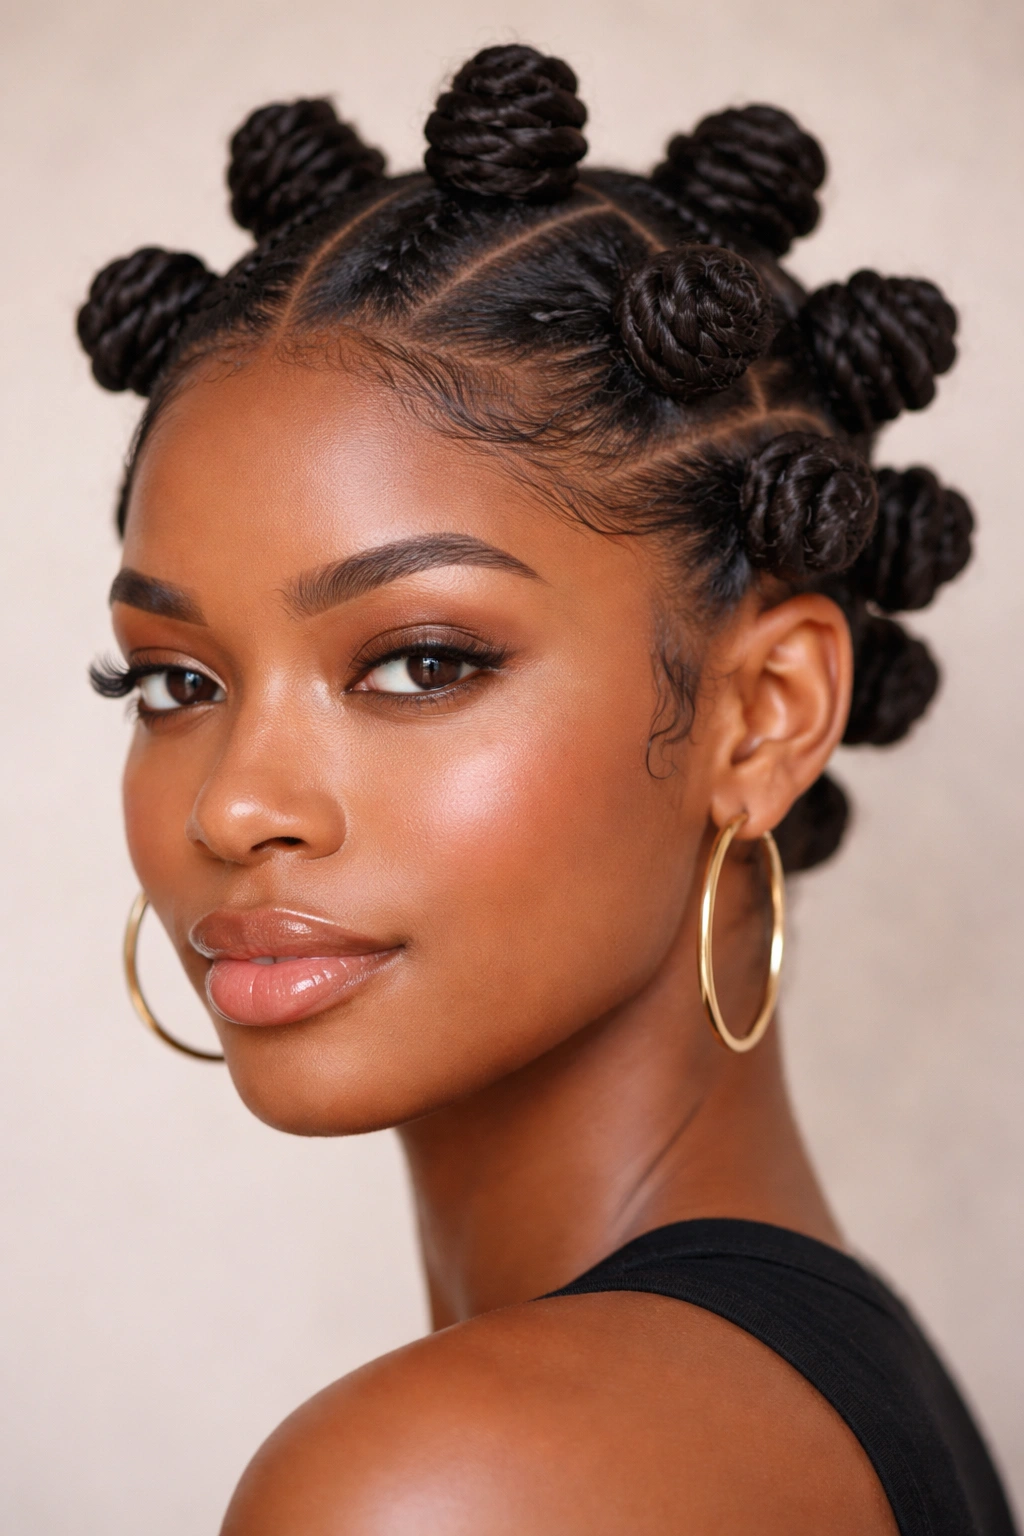
Bantu knots are a protective style where you section hair, twist each section, and coil it on top of itself to create small, raised knots throughout your head. Beyond being a gorgeous protective style on their own, they also create stunning waves or curls when you unravel them—they’re essentially a double-duty style that protects your hair while creating a completely different curl pattern.
Understanding the Protective Benefits
Bantu knots reduce manipulation and friction throughout your daily wear because your hair isn’t moving against clothing, pillows, or your shoulders. For thick curly hair, this is valuable because you have so much hair that it’s prone to tangling and breakage from friction. Wearing your hair in Bantu knots keeps your curls contained, protected, and healthy while still looking intentional and stylish.
Creating Defined Bantu Knots
- Section dry or lightly damp hair into 8-12 sections depending on desired knot size and head coverage
- Twist each section tightly from the root to the ends
- Coil the twisted section around itself at the base, creating a raised knot that stands away from your scalp
- Secure the knot with bobby pins so it stays in place
- Allow knots to set overnight or longer for the wave pattern to fully develop
- Gently unravel each knot to reveal waves or curls depending on how long you left them in
Pro tip: Apply a light leave-in conditioner or curl cream before sectioning to encourage better definition and make the twisting process smoother—this also prevents your hair from drying out during the protective wear period.
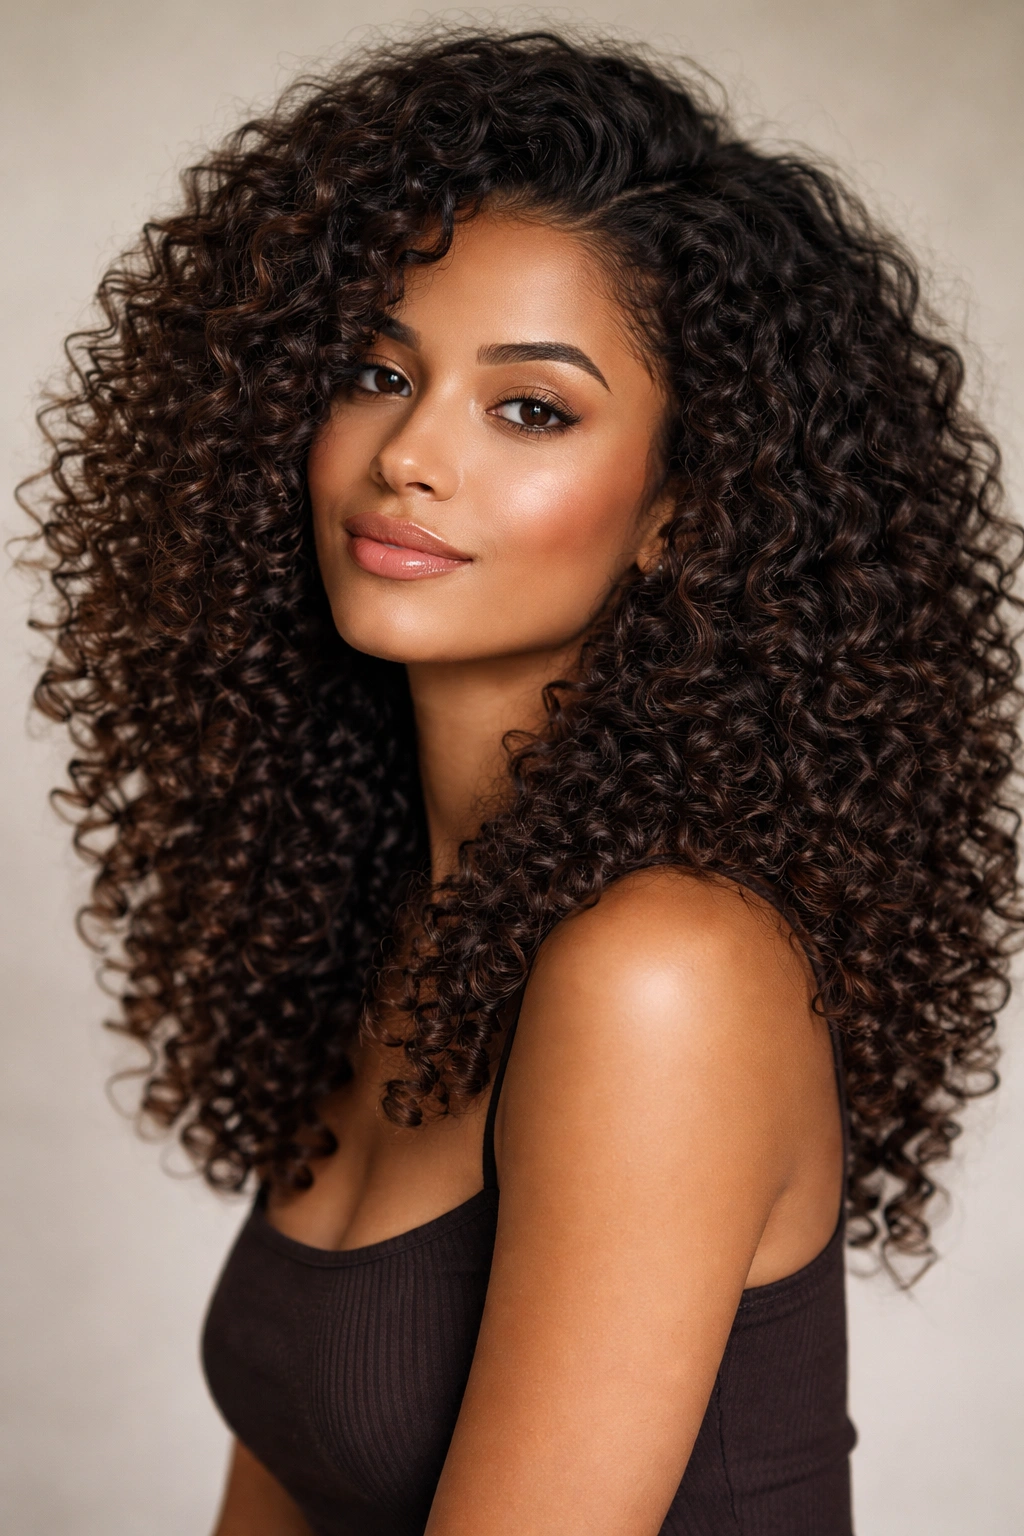
8. The Long Layers with Frequent Trims
This isn’t a single style so much as a maintenance approach that dramatically improves how every style looks on thick curly hair. Long layers throughout your length remove bulk without sacrificing length, while frequent trims (every 6-8 weeks) keep your curl pattern defined and your ends healthy. When your ends are blunt and dried out, every style looks frizzy and tired; when your ends are healthy and properly layered, every style looks intentional and polished.
Why Layers Transform Thick Curly Hair
Thick curly hair can easily become weighed down by its own density and the drying effects of the environment. Layers distribute that weight throughout your length, allowing your curls to spring up rather than flatten. Long layers also create visual movement and dimension that makes your hair look more styled even when you’re just air-drying. The key is finding a stylist who understands curl patterns and knows how to layer curly hair so it looks intentional, not choppy.
Layering Strategy for Maximum Effect
- Keep layers longer on straight hair, shorter on tight curls—you don’t want so many short layers that your hair looks too short overall
- Focus layers on the crown and sides where you want lift, with less aggressive layering in the back
- Use point-cutting or razor techniques that create soft transitions rather than blunt steps
- Visit a curl-specialist stylist who understands how hair behaves when it dries and curls up (dry cuts on curly hair are worth the investment)
Worth noting: After a cut, your curls will tighten up as they fully dry and settle—what looks like a longer length when damp may look shorter once your curl pattern fully springs up. A good curl stylist accounts for this.
9. The Half-Up Half-Down with Twisted Sections
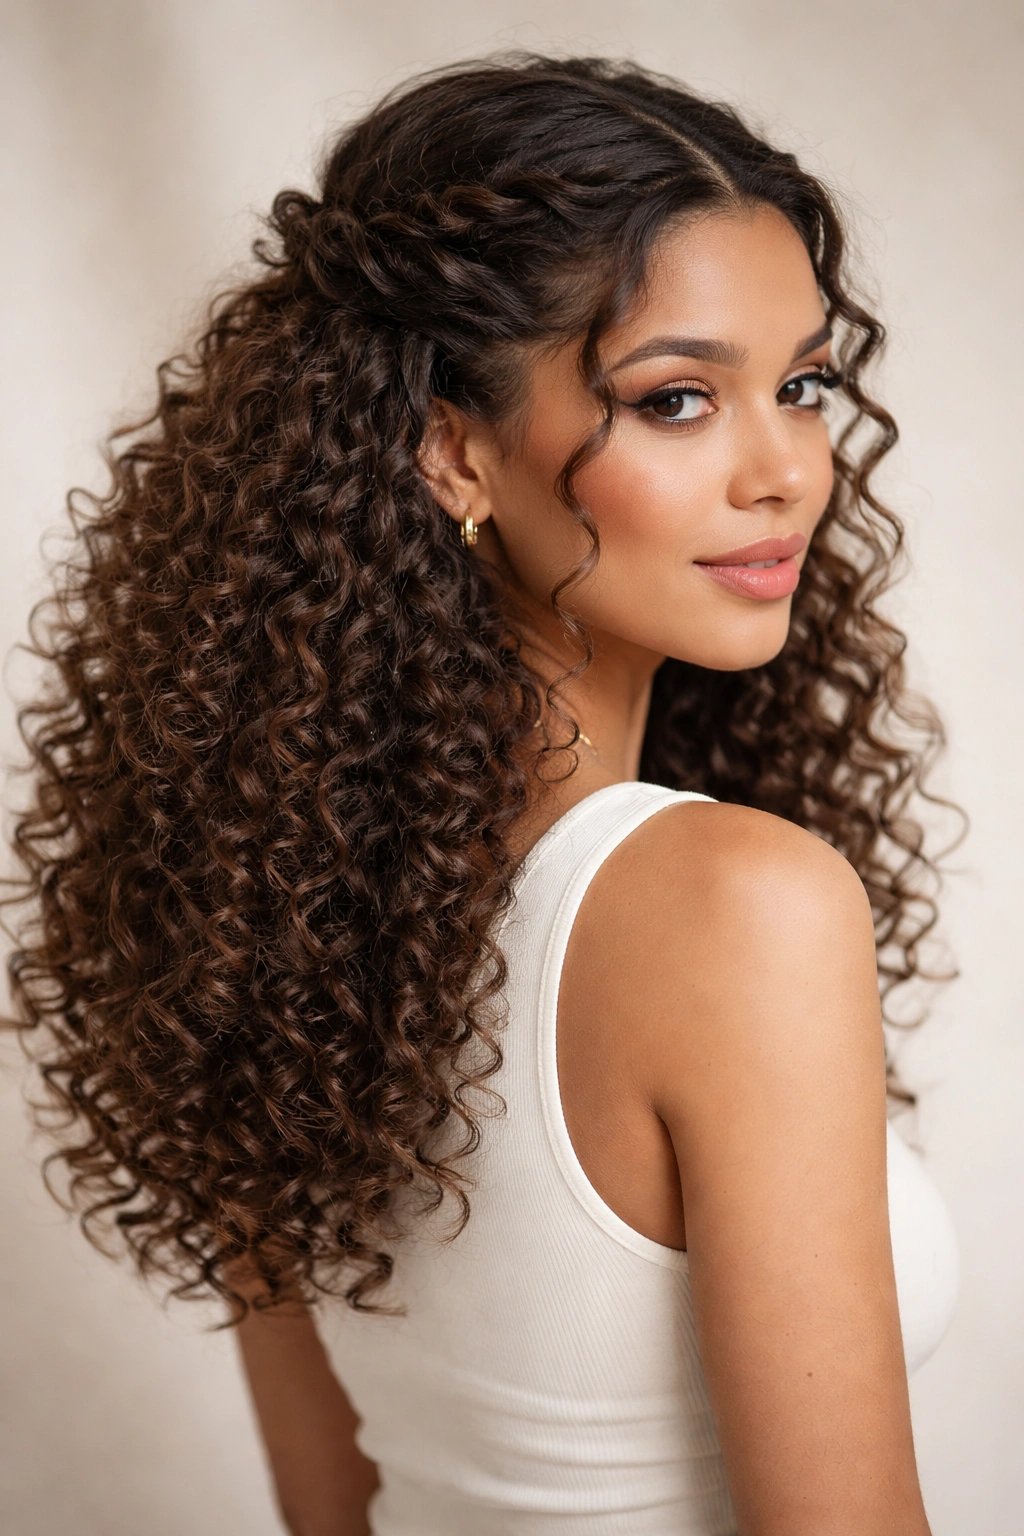
This style combines the ease of wearing your curls down with enough structure to keep them out of your face and add intentional shape. You create it by gathering hair from the sides or crown, twisting those sections, then securing them at the back while leaving the rest of your curls down. It’s elegant enough for special occasions but casual enough for everyday wear.
Balancing Volume and Structure
A half-up style on thick curly hair looks effortlessly voluminous because you have enough hair that even with half of it gathered, the remaining curls still look impressively full. The twisted sections add visual interest and sophistication without requiring heat styling or complicated techniques. Your natural curl pattern does the heavy lifting; you’re just adding structure and intention.
Creating a Polished Half-Up Look
- Section hair from each temple backward toward the crown, or gather sections from the very crown
- Twist each section tightly as you bring it backward
- Secure the twisted sections at the back with bobby pins or a small claw clip
- Leave the front section loose around your face for a soft, romantic frame
- Fluff and shape the down curls with your fingers so they look full and intentional rather than flat
- Use edge control lightly on baby hairs and the front section for a polished finish
Pro tip: This style photographs beautifully because the twisted sections create definition that catches light, while the down curls show off your full curl pattern.
10. The Sleek Low Bun with Curl Detailing
A sleek low bun offers polish and sophistication while still celebrating your curl pattern through textured detailing around the bun itself. Rather than a tight, slicked-back bun, this version keeps some curl texture visible in the gathered section and around the edges, creating a modern, intentional look that doesn’t sacrifice your natural texture for smoothness.
Achieving Polished-Yet-Textured Definition
A sleek low bun on thick curly hair looks inherently more voluminous and interesting than it does on straighter textures. You can use edge control or gel to smooth your hairline and create definition, while still maintaining visible curl texture within the actual bun. It’s the perfect balance between professional polish and embracing your natural texture.
Building Your Low Bun Structure
- Brush or comb your curls gently to smooth them slightly without completely disrupting the curl pattern
- Gather hair at the nape of your neck into a low ponytail
- Twist or braid the ponytail to create visual interest
- Coil the twisted/braided section around itself to form a bun
- Secure the bun with bobby pins in multiple places
- Use edge control on your hairline and around the bun perimeter for a sleek frame
- Leave some texture visible within and around the bun rather than trying to make everything smooth
Worth knowing: This style stays put all day on thick hair without constant adjustment—the weight and density of your curls actually work in your favor for holding a secured updo.
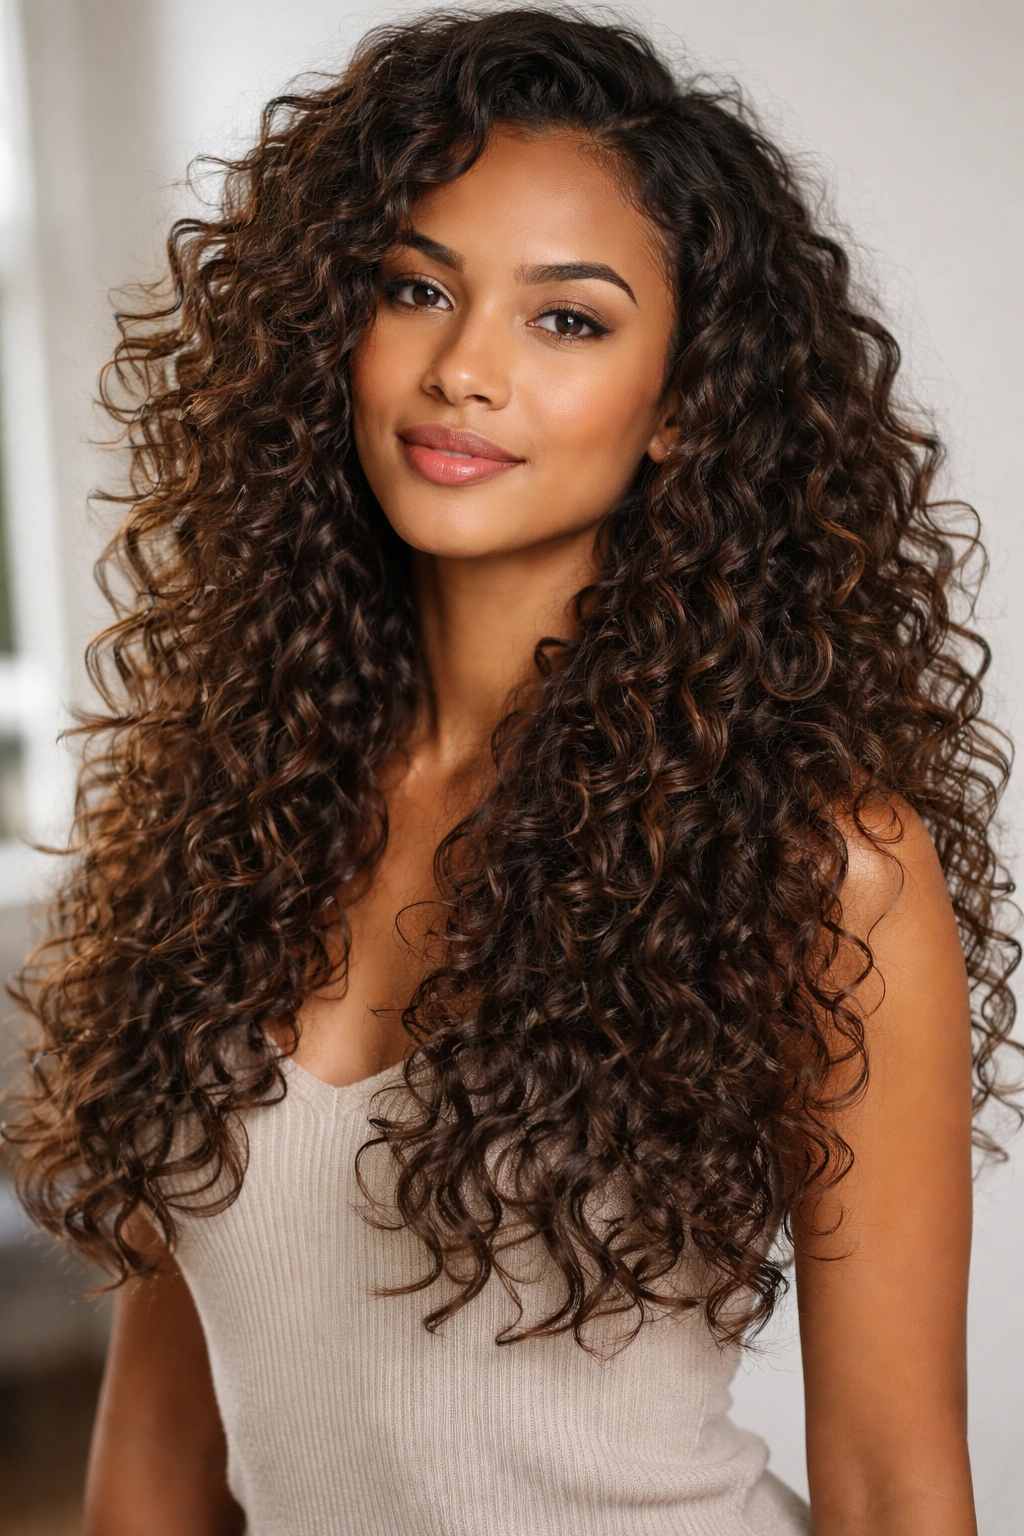
11. The Wash-and-Go with Product Layering
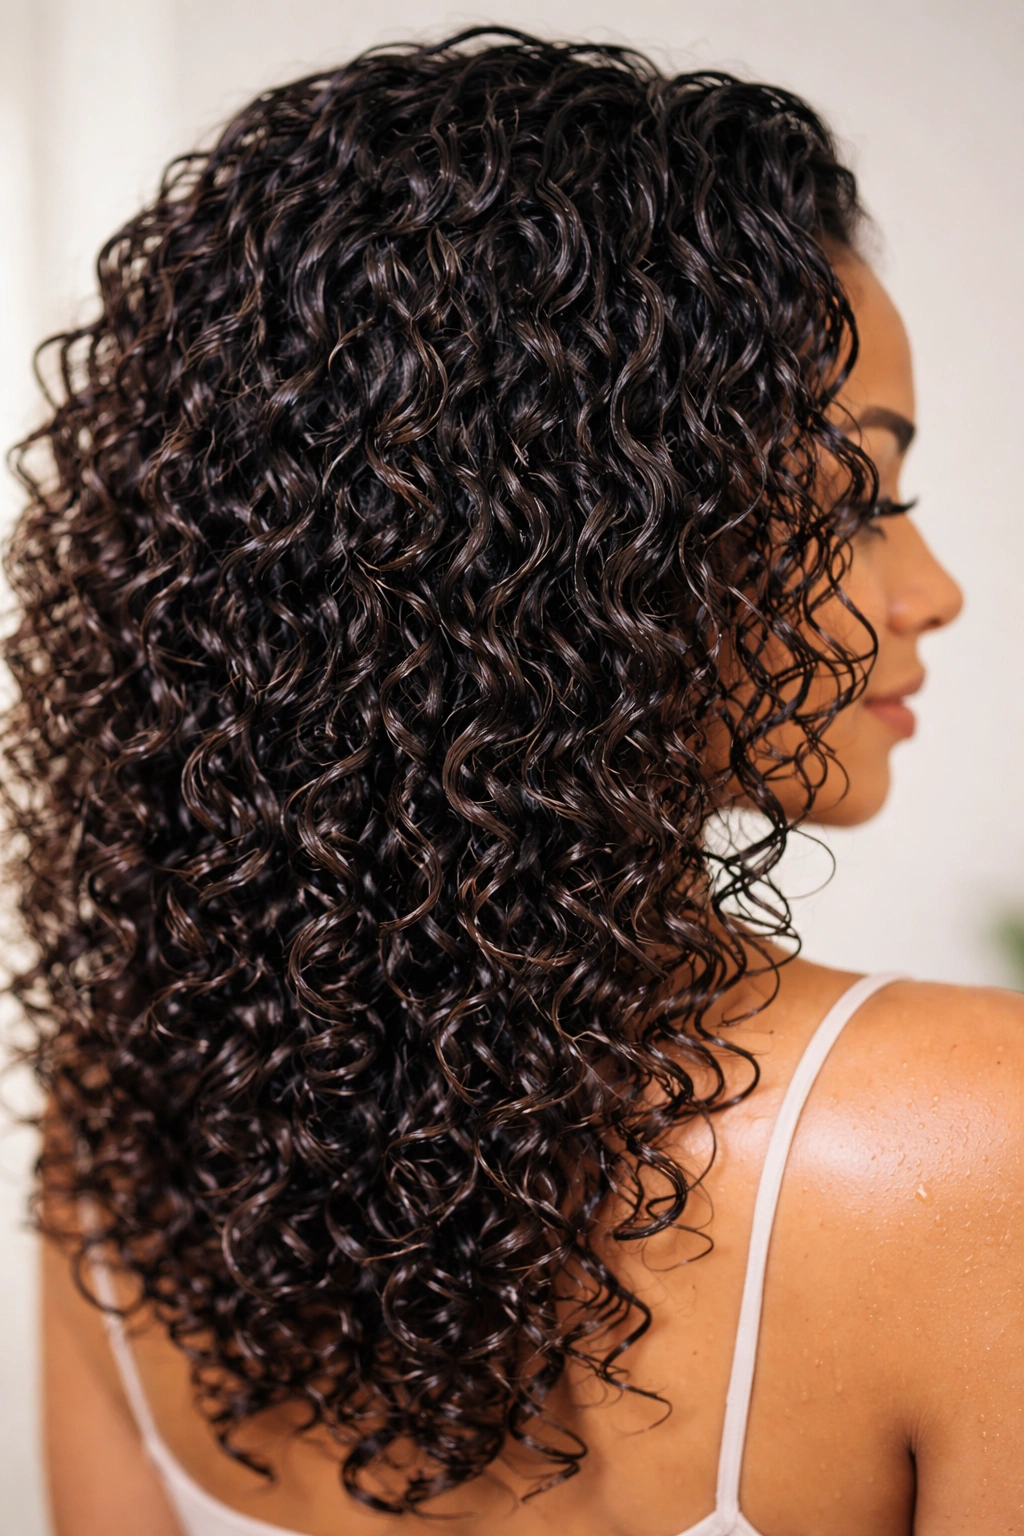
A true wash-and-go means applying products to clean, wet hair and allowing it to air dry into your natural curl pattern without manipulation or tools. For thick curly hair, this works best when you use a strategic layering system: a leave-in conditioner for hydration, a curl-defining cream for shape and hold, and a gel or mousse for long-lasting definition. Done properly, this style showcases your curl pattern at its absolute best.
The Science of Product Layering
Each product layer serves a specific purpose in creating definition, hold, and hydration without crunch or flaking. Leave-in conditioner seals moisture into your curls, preventing them from drying out and frizzing. The curl cream adds shape and encourages your natural curl pattern to form beautifully. The gel or mousse provides hold and longevity. When these layers work together, your curls dry with definition, bounce, and softness rather than frizz or flatness.
The Wash-and-Go Process for Best Results
- Start with a sulfate-free shampoo or co-wash that cleanses without stripping moisture
- Apply leave-in conditioner generously to soaking-wet hair, making sure every curl is coated
- Apply curl-defining cream using praying hands or raking methods, distributing evenly throughout
- Apply gel or mousse to damp (not soaking) hair for hold without excessive weight
- Allow hair to air dry completely before touching it—at least 4-6 hours, preferably overnight
- Scrunch out any gel cast once completely dry to reveal soft, defined curls
Pro tip: The “praying hands” method (applying product between your palms, then pressing your hands together with hair between them) creates less disruption to your curl pattern than raking product through with your fingers.
12. The Curly Lob with Side Part
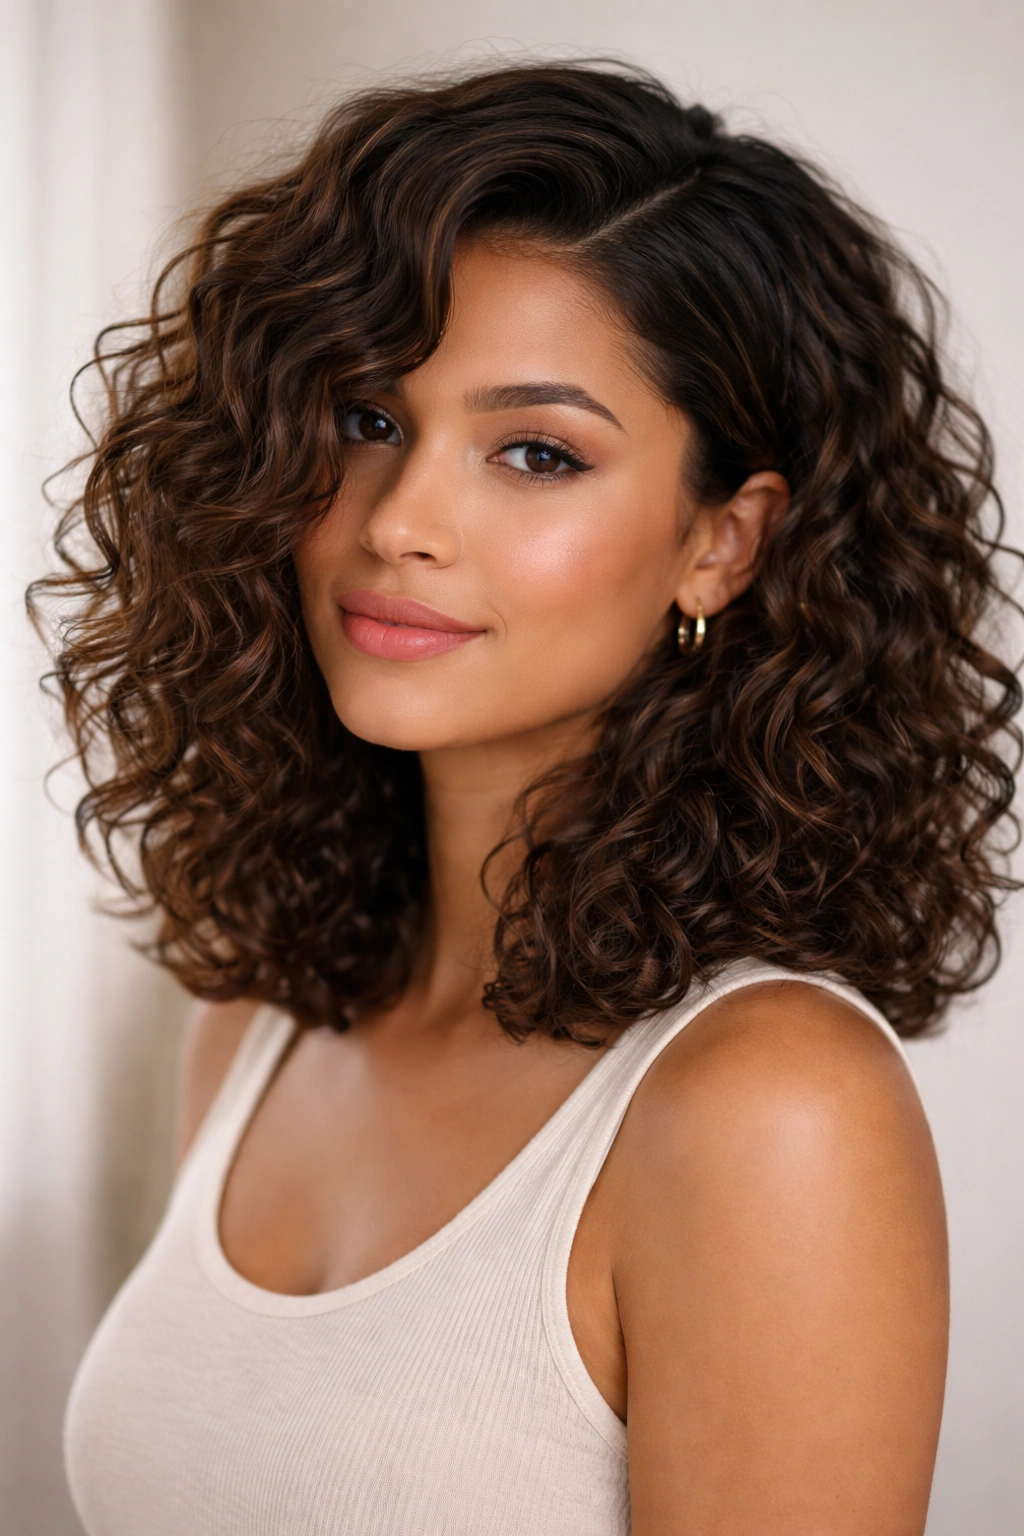
A curly lob—a shoulder-length cut with layers—offers the perfect balance between length and manageability for thick curly hair. A side part adds asymmetry and visual interest while making the style look more intentional and less obviously curly. This length is long enough to show off your curl pattern beautifully, but short enough that the weight doesn’t pull your curls flat or make them look heavy.
Why This Length Flatters Thick Curls
Shoulder-length hair on thick curly texture provides maximum visual impact—your curls have enough length to show movement and definition, but not so much that their weight overwhelms the curl pattern. A side part disrupts symmetry in a flattering way, creating dimension and allowing you to wear your hair both ways depending on your mood. This is one of the most versatile lengths for thick curly hair.
Styling Your Curly Lob
- Get a quality layered cut from a stylist who specializes in curly hair—layers are essential for this length to look intentional
- Use a side part either natural or created with a side-swept motion of your curls
- Style with your regular curl routine—a wash-and-go, a twist-out, or flexi-rods all look gorgeous at this length
- Refresh between washes with a refresher spray and light scrunching to reactivate your curl pattern
- The side part can be swooped one direction or shifted to the other side throughout the week for style variation
Worth noting: This length looks dramatically different depending on your curl pattern—tight coils will appear shorter than loose waves, so discuss your actual curl type with your stylist when determining the ideal length.
Conclusion
The styling options for thick curly hair are far more extensive than most people realize, and the key to finding your signature look is understanding what each style requires from your curl pattern and what each style brings out visually. Whether you’re drawn to protective styles that keep your hair healthy, wash-and-go styles that celebrate your natural texture, or intentionally styled looks that feel polished and intentional, there’s an option that will make you feel confident and beautiful.
Your thick curls are genuinely an asset—they create volume, they hold styles beautifully, and they allow you to wear looks that wouldn’t be possible with finer or straighter hair. The styling challenge isn’t a limitation; it’s an invitation to work with your texture instead of against it. When you choose cuts and styles that honor your curl pattern and keep your curls healthy, you’ll find that getting ready becomes easier and your hair looks better than you ever thought possible.