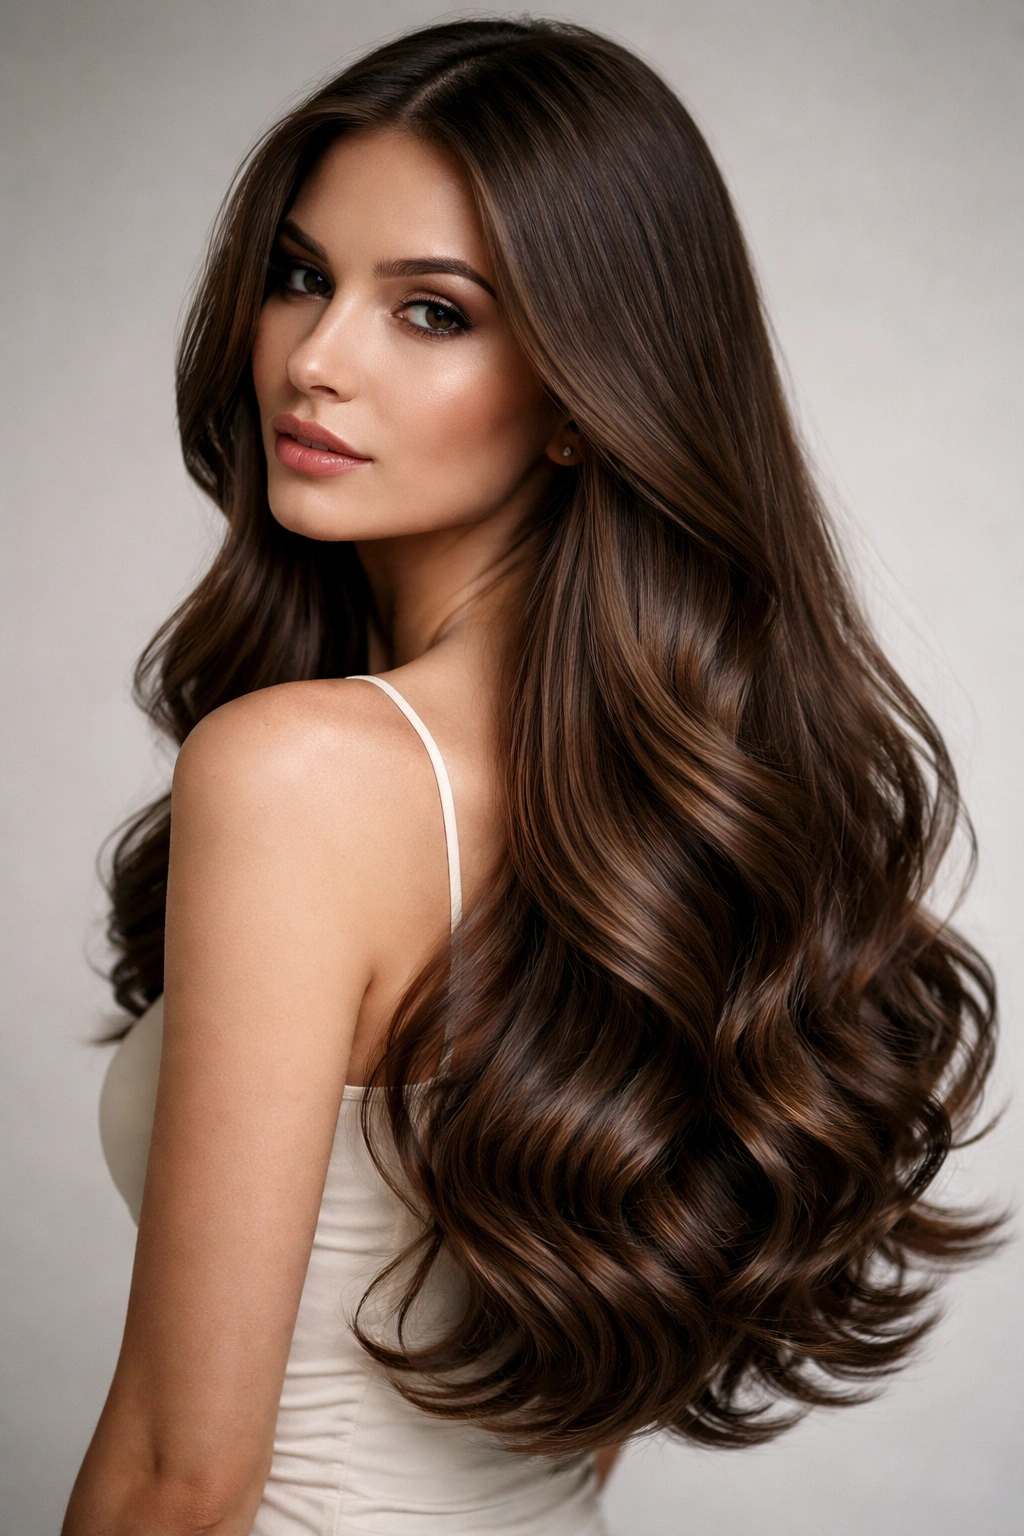
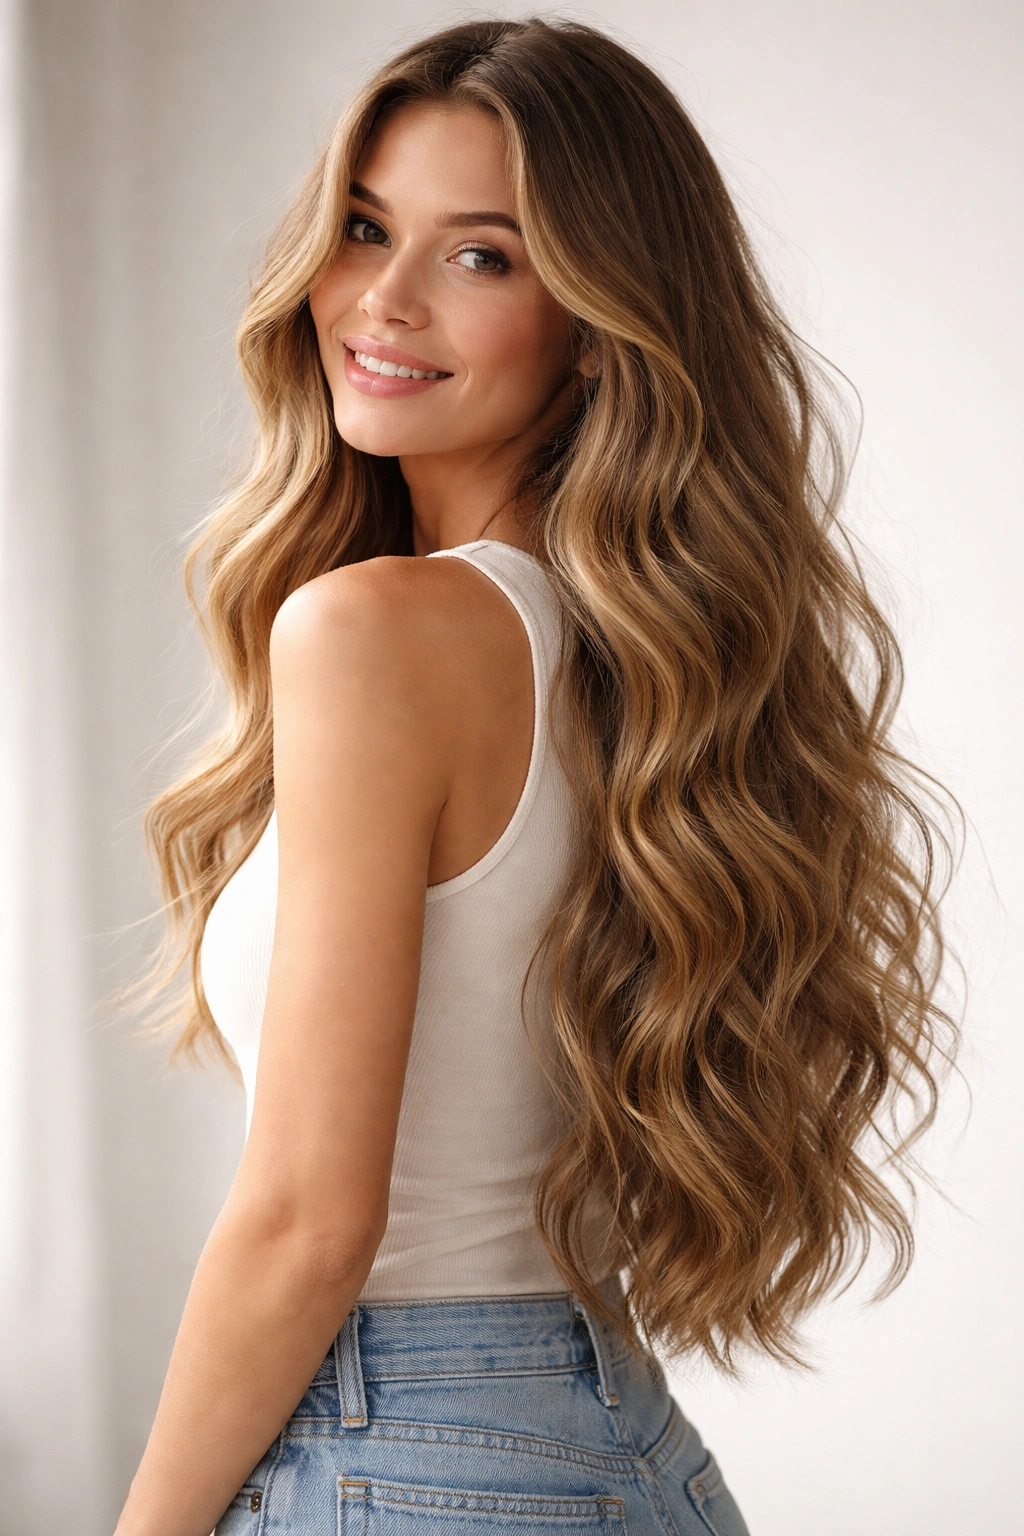
There’s something undeniably beautiful about long wavy hair that catches light, moves with intention, and looks effortlessly polished—whether you’re heading to a casual weekday or something more intentional. The thing is, achieving that coveted texture doesn’t require hours at a salon or complicated techniques that need a master’s degree to execute. Long wavy hairstyles have this magical quality where they look undone while actually being completely intentional, and that’s exactly why so many people chase that look.
The real secret? Waves work because they flatter almost every face shape, they’re surprisingly forgiving (which means you can actually rush getting ready), and they bridge the gap between effortlessly casual and genuinely put-together. Whether your hair naturally leans wavy or you’re creating the texture from scratch, what matters most is understanding how to position waves, where to anchor them, and which styling tricks actually hold without turning your hair into a crunchy, product-laden mess. Not all wave styles are created equal, and some take genuine skill while others are legitimately achievable in under 10 minutes.
What you’re about to see are ten styling approaches that work on genuinely long hair and don’t require you to be a professional. Some rely on braiding, some use heat, some lean on the texture you already have, and some are all about clever positioning and holding techniques. The common thread? They all look intentional enough for photos or special moments, but casual enough that you won’t feel overdone in daily life.
1. Half-Up Beach Waves

This is the entry-level wavy hairstyle that somehow manages to look both relaxed and refined at exactly the same time. You’re leaving roughly half your hair down while securing the top portion, which creates dimension and keeps the look from feeling flat against your face. The waves themselves sit lower, which gives you a longer face frame and makes the style feel less severe than wearing everything up.
Why This Works for Long Hair
Half-up styles work beautifully on long hair because the weight of the lower half keeps the secured portion from feeling too tight or pinched. The visual contrast between the structured top and the loose, wavy bottom creates movement that reads as intentional styling rather than just “my hair fell a certain way.” This style genuinely suits every texture and works whether your waves are dramatic or subtle.
How to Get This Look
- Blow-dry or air-dry your long hair with some texture already built in—this could be from braiding overnight, using a salt spray, or curling sections with a waver tool
- Flip your head forward and back-comb the crown area lightly to create volume at the top
- Use your fingers to gather the hair from both temples back to the center crown and secure with a bobby pin or small elastic, leaving the rest flowing free
- Gently pull a few face-framing pieces loose to soften the front
- Mist everything with a light texture spray if your waves need reinforcement
Pro tip: The half-up works best when your lower waves are more pronounced than your top—if you have uniform waves throughout, the style reads as less intentional. Spend extra time wavy the bottom half.
2. Braided Long Waves
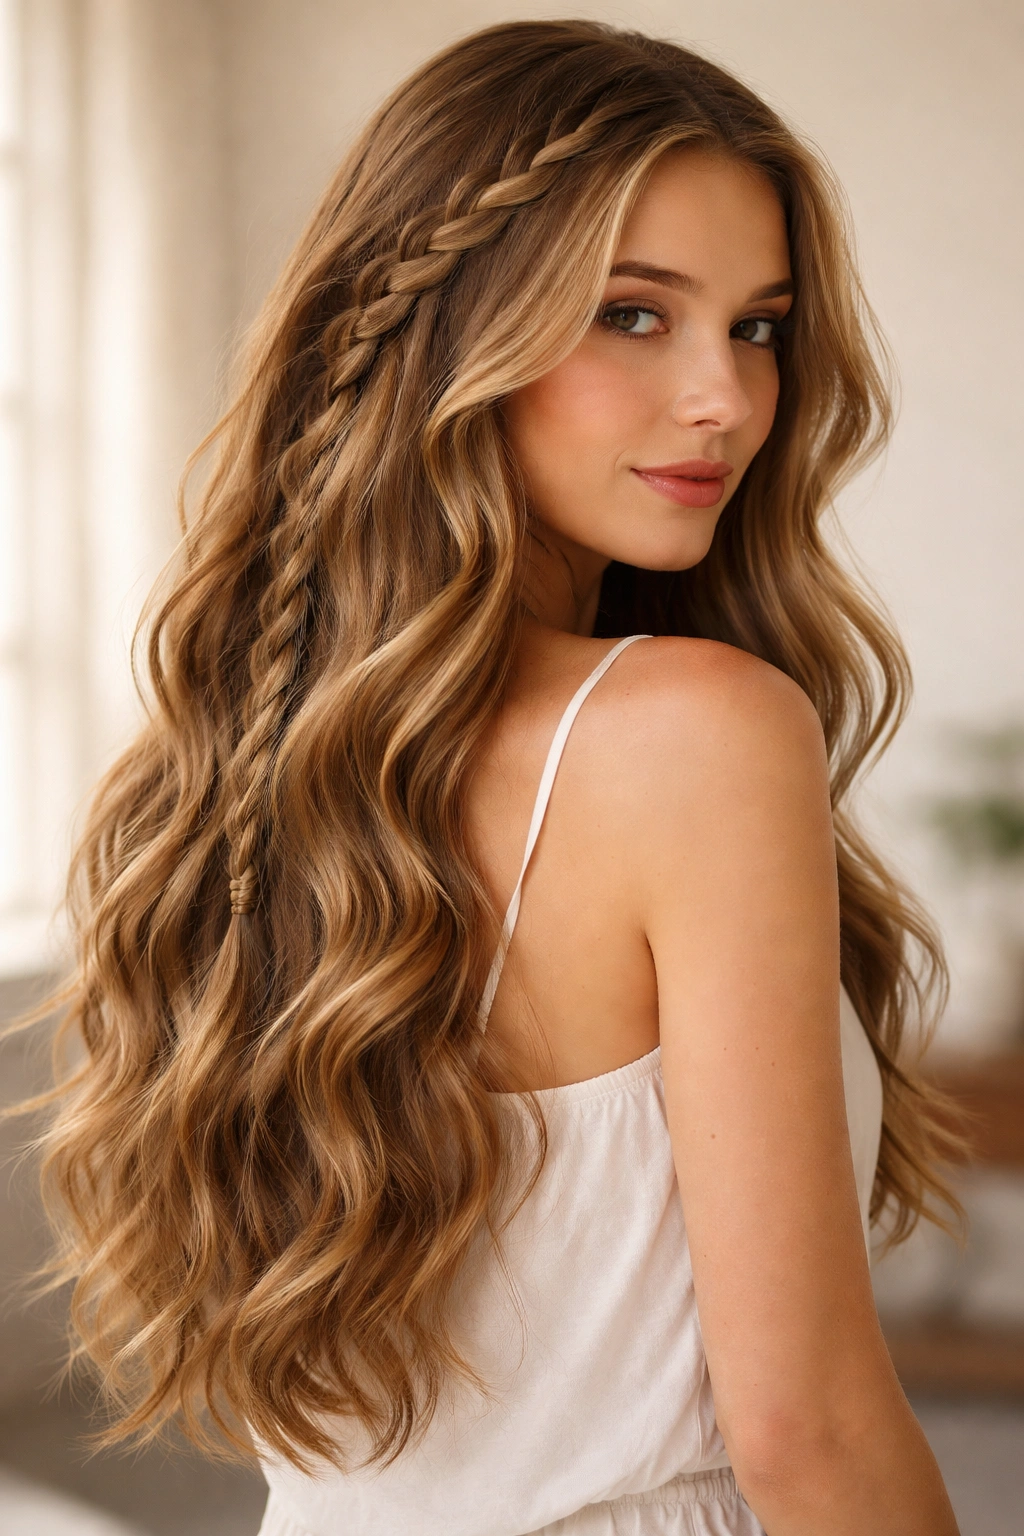
Braids add structure to long wavy hair while simultaneously creating dimension that simple waves alone can’t achieve. When you release a braid, it leaves this beautiful crimped, ribbon-like pattern through your waves that catches light in a completely different way than loose texture does. The braids don’t have to be tight or complicated—loose, three-strand braids work just as well as intricate patterns and honestly look more contemporary.
Why This Creates Texture That Lasts
Braids physically section your hair in a way that holds waviness much longer than loose curling would. When you release the braid, the hair has “memory” from where it was positioned. This means your waves won’t fall out by midday—they’re actually reinforced by the braiding structure underneath. You can braid one thick section down the back, multiple side braids, or even just braid a smaller section that winds through loose waves.
How to Execute This Style
- Start with towel-dried or damp hair if possible—damp hair braids more easily and holds the texture better as it dries
- Create one side braid from your temple to the back, or create two symmetrical braids from the nape of your neck upward
- Braid loosely and pull gently on the braid sections to create a thicker, softer look rather than tight, thin braids
- Leave braids in as your hair dries completely—if you’re in a hurry, heat-dry the braids with a blow-dryer, which locks in the texture faster
- Carefully unbraid by gently working backward through the braid with your fingers rather than just pulling
- Run your hands through the released braids to soften them and create waves rather than stiff crimps
Worth knowing: The longer you leave braids in, the more pronounced your waves will be—overnight braiding gives the most dramatic, long-lasting texture, but even two hours of braiding while you get ready makes a noticeable difference.
3. Side-Swept Wavy Layers
This style is all about positioning. Rather than waves distributed evenly across your head, you’re sweeping most of the texture to one side, which creates a sophisticated silhouette that’s particularly flattering for longer faces. The layers catch light and movement differently depending on how you move, which keeps the style from feeling static. This works especially well if your hair is already cut with some layering already built in—the layers act as a natural skeleton for the waves.
The Visual Magic of Side Sweeping
Side-swept waves draw attention horizontally across your face rather than vertically, which is why this works so well for longer faces or if you want to minimize height. The asymmetry feels more modern and intentional than centered waves, and it photographs beautifully. The layers in long hair catch and hold wave texture differently on each side, creating depth that solid, blunt-cut hair can’t achieve.
How to Style This Approach
- Create your wave texture first using whatever method works for your hair—curling iron, wave wand, salt spray with air-drying, or braiding
- Use a velvet or fabric hair tie to secure hair at the back of your head, off to one side slightly, leaving the bulk of your waves loose and falling forward
- Gently brush or comb the loose side so waves flow downward and across rather than sticking up
- Pin down a few shorter layers on the “sweep” side so they stay in place and create a smooth line
- Use a flexible hold spray to support the style without making it stiff
Pro tip: This works best when the sweep side has more texture and the back is more sleek—the contrast makes the asymmetry feel intentional rather than accidental.
4. Textured Messy Bun with Waves
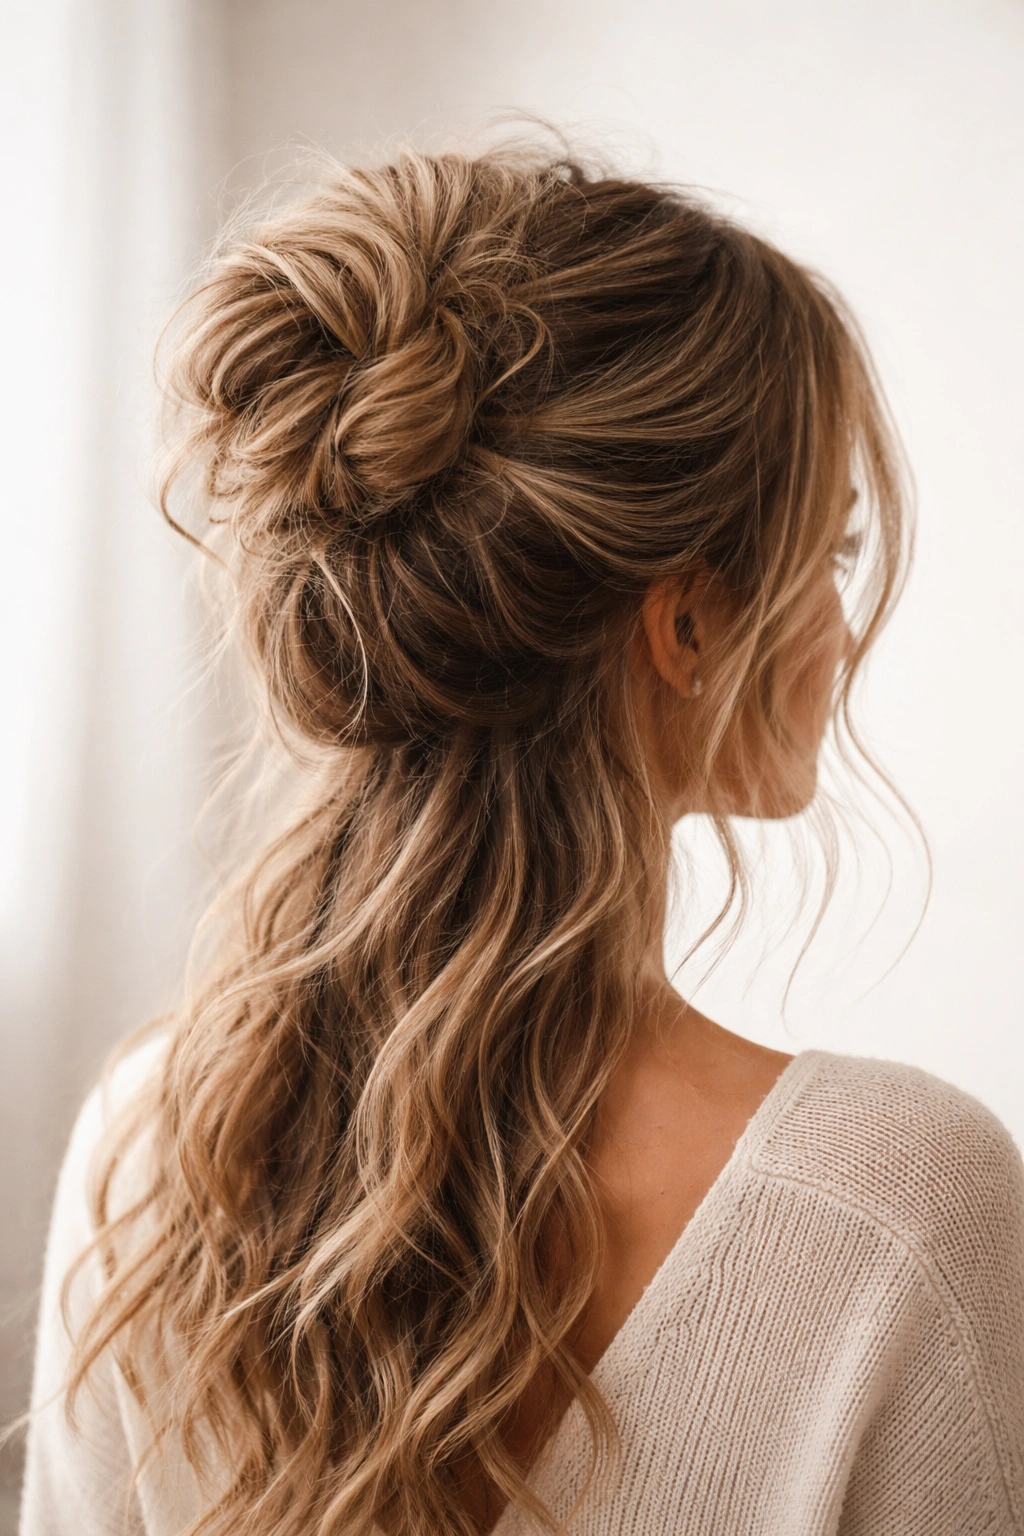
A messy bun on long wavy hair keeps everything off your face while showing off your texture at the same time. Rather than creating a smooth, polished ballet bun, you’re aiming for something that looks deliberately undone—pieces falling loose, waves visible throughout the twisted sections. This is the style you wear when you want to look effortlessly put-together without actually trying hard, which is the entire appeal.
Why “Messy” Actually Means Strategic
The messy bun isn’t about having bed head and throwing your hair up. It’s about creating visible texture while maintaining enough structure that everything holds throughout your day. The waves you’ve created beforehand form the actual shape and visual interest of the bun—the pile of hair at the back of your head becomes the structure rather than being concealed. Long hair works perfectly here because you have enough length to wrap around and create volume without needing to tease excessively.
Steps to Get This Right
- Start with already-textured wavy hair—either from previous styling, overnight braiding, or using heat tools
- Tip your head upside down and gather all your hair to the nape of your neck, securing loosely with a hair elastic
- Twist or loosely coil the length of hair around the base elastic, wrapping it around itself to form a loose bun shape
- Secure with bobby pins strategically placed so the bun holds but doesn’t look overly constructed
- Deliberately pull out shorter pieces from around the bun and tease them slightly so they frame your face and catch light
- Use a texture spray or dry shampoo at the roots to give additional grip and volume
Worth knowing: The looser you twist the bun, the messier and more modern it looks—but the less stable it becomes. Find your balance by using enough bobby pins that you’re confident it won’t slide, but place them where they won’t show in the actual bun structure.
5. Wet-Look Waves with Sleek Back

This is the inverse of the traditional soft wave—you’re pairing dramatic waves with a slicked, almost wet-looking back section that’s pinned tight. The contrast is what makes this work. You’re essentially combining two opposite aesthetics (controlled and free, sleek and textured) which creates visual interest and reads as high-fashion. This works especially well if you have thick, long hair with enough density that sleek sections don’t look flat.
The Formula Behind This Style
The wet-look, slicked-back effect comes from using a strong-hold gel or styling cream smoothed through damp hair and pinned in place. Rather than letting this sleekness extend all the way through your hair, you transition into full waves halfway down, which creates a dramatic before-and-after that’s genuinely eye-catching. The sleek back also keeps everything off your face, which means your wave texture gets all the visual attention without competing with hair covering your features.
How to Create This Contrast
- Dampen your hair lightly and apply a gel or strong-hold styling cream to the crown and upper-back section—you want it to have that wet appearance
- Comb this section straight back smooth and pin firmly in place using multiple bobby pins or a sleek clip
- Use a waver tool or curling iron on the lower half and all the length of your hair to create distinct, defined waves
- Make sure the transition between the sleek back and the wavy length is clear—this is what makes the style feel intentional
- Set everything with a flexible hold spray that won’t crack or flake
- You can add a small decorative clip or hair pin where the sleek back meets the waves for extra definition
Pro tip: Wet-look gels photograph beautifully but can feel heavy—apply less than you think you need initially and add more if it dries and loses that sheen.
6. Twisted Crown Waves
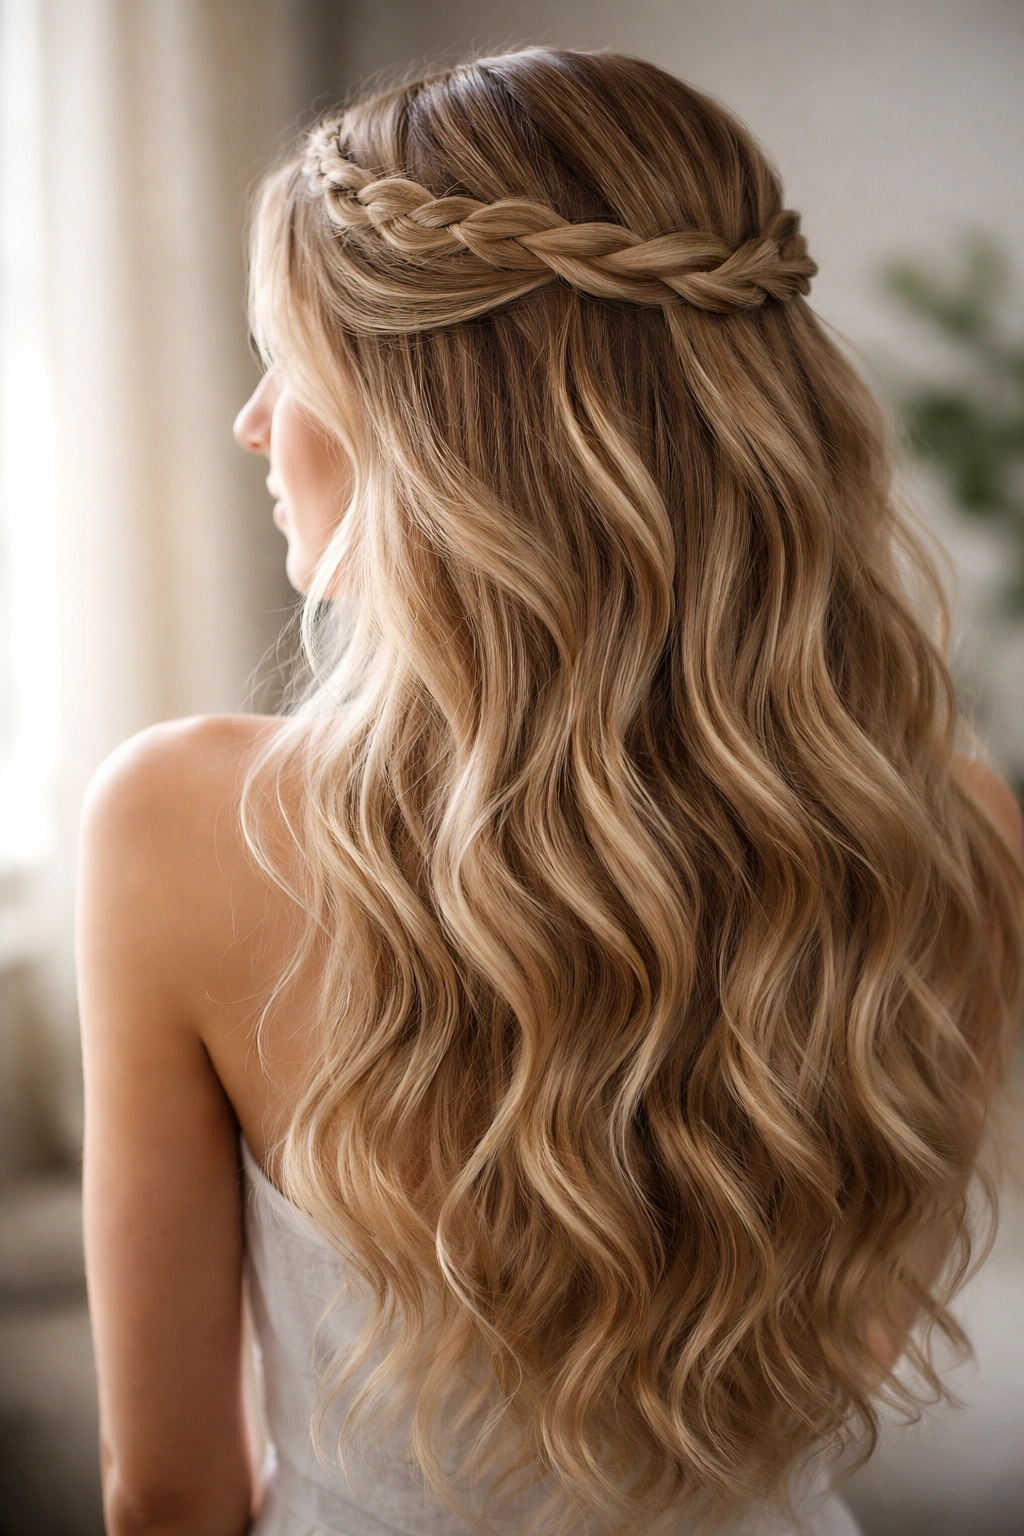
This style builds waves directly into a crown-shaped twisted section that sits at the top of your head, with the rest of your hair flowing in loose waves down your back. It’s more intricate than a simple half-up style but less complicated than a full braid, and the twisted crown creates a halo effect that’s genuinely elegant. This works best if you have medium to thick hair—finer hair can look a bit sparse with this style.
Why Twisted Crowns Look Polished
Twists are visually interesting because they show movement and dimension in a way that smooth hair doesn’t. When you twist the hair at your crown, you’re building structure that holds the style in place while simultaneously creating the appearance of intentional styling. The twisted section catches light differently than regular hair, which adds sophistication. The waves flowing below the twist get extra visual weight because they’re framed by the structured crown.
How to Build a Twisted Crown
- Start with damp or textured hair and blow-dry or air-dry it first so it has some substance and hold capability
- Take a small section of hair from one temple and twist it loosely as you move backward along your crown
- As you twist, gently incorporate small sections of hair from around the crown area into the twist to build the width
- Continue twisting all the way to the other temple, pinning the end of the twist in place at the back
- The twist should sit loosely enough that it looks relaxed rather than tight—this creates the softer, more modern appearance
- Gently pull the twist slightly to widen it and create a fuller halo effect
- Wave the remaining long hair with a curling tool or let naturally textured hair flow free
- Mist with texture spray to encourage waves and hold the twist
Worth knowing: If your twist starts to feel too tight as you build it, you’ve grabbed too much hair too aggressively—redo it with smaller, looser sections and the style will look much more contemporary.
7. Curled Ends Waves with Movement
Sometimes the most dramatic way to style long wavy hair is to concentrate your wave texture entirely in the ends and lower half, keeping the crown and upper hair relatively smooth. This creates movement at the bottom that catches light and creates the illusion of more texture throughout. The effect is polished rather than casual, and it’s perfect when you want something refined without looking overdone. This works best with longer lengths where you actually have several inches of hair to work with below the ends.
Why This Approach Reads as Intentional
When you curl or wave only the bottom third of very long hair, you’re creating visual weight at the ends that makes the entire length feel more intentional. The smooth upper portion gives structure, and the wavy ends provide the beauty and movement. This isn’t accidental texture—it’s clearly styled, but in a sophisticated, editorial way rather than a casual beach-wave way. The contrast between smooth and textured reads as high-fashion, similar to the sleek-back wavy style.
How to Execute Curled Ends
- Blow-dry your hair smooth through the crown and upper half—you want this section to have minimal texture
- Starting roughly where your bra strap sits (for most people, this is the lower third), use a 1½-inch curling wand or barrel to curl large sections of hair
- Curl each section away from your face, holding the curl for 10-15 seconds before releasing
- Don’t brush out the curls immediately—let them cool and set for a few minutes so they hold their shape
- Once cooled, gently run your fingers through the curled sections to break them into waves rather than defined ringlets
- Use a flexible hold spray that won’t make the ends feel stiff or crunchy
- This style works beautifully with minimal or no makeup and a simple outfit—the hair does all the statement-making
Pro tip: Thicker, coarser hair holds curls much longer, so if you have fine hair, use a stronger heat tool setting and hold curls longer before releasing. Fine hair releases heat quickly and curls can drop within minutes.
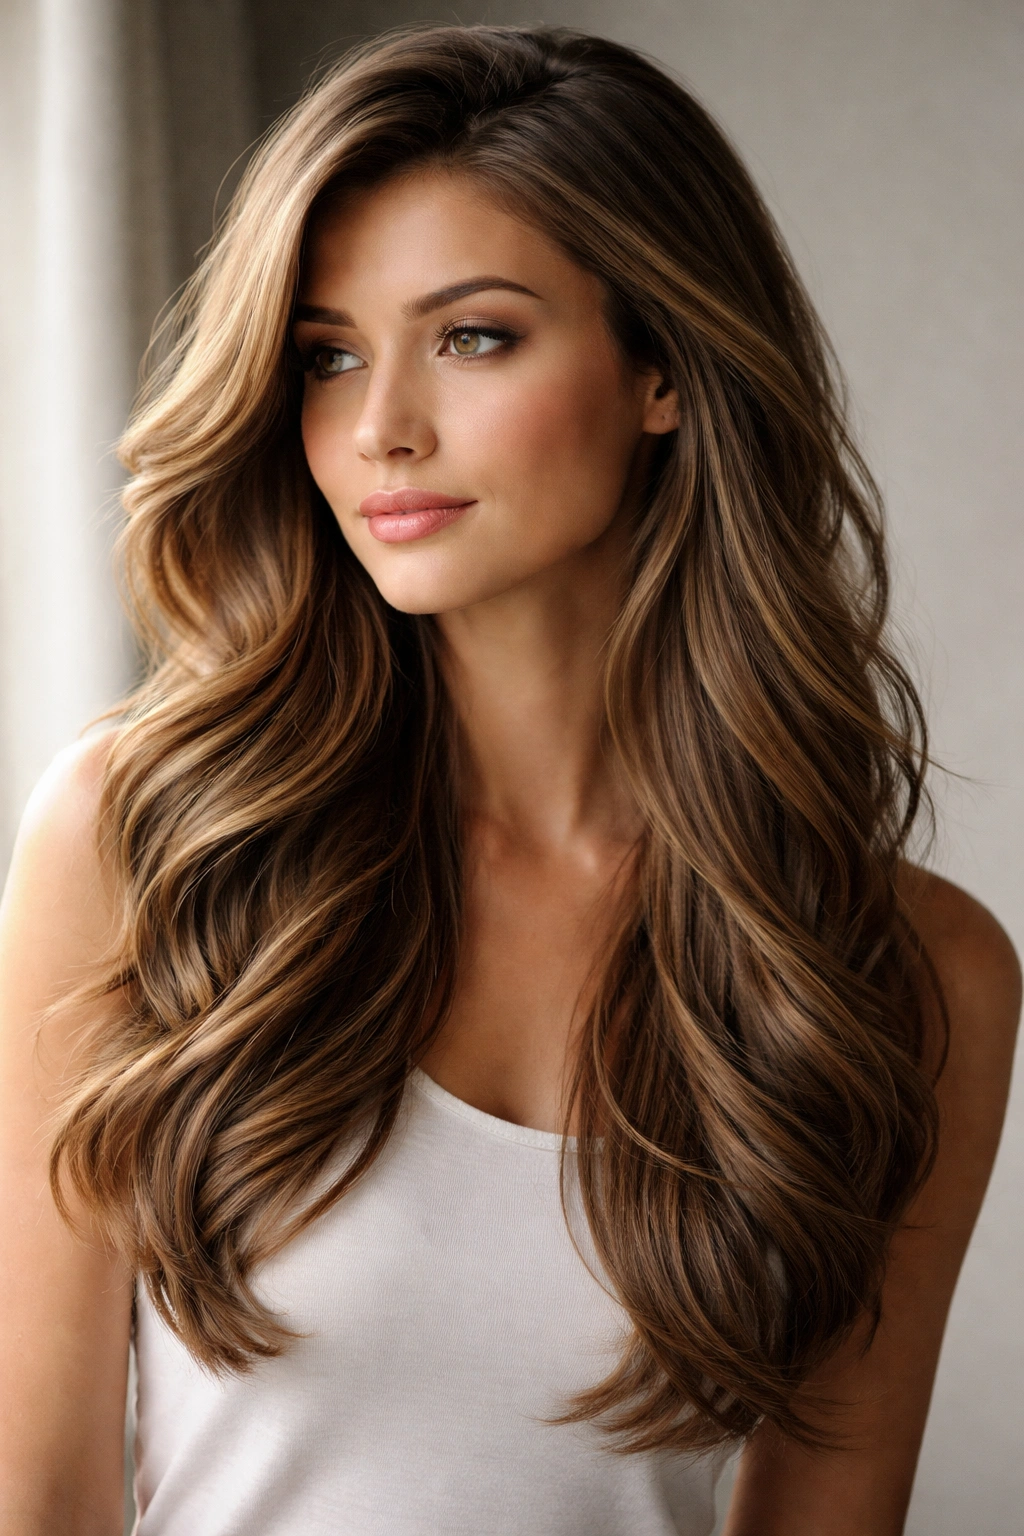
8. Loose Ringlet Waves
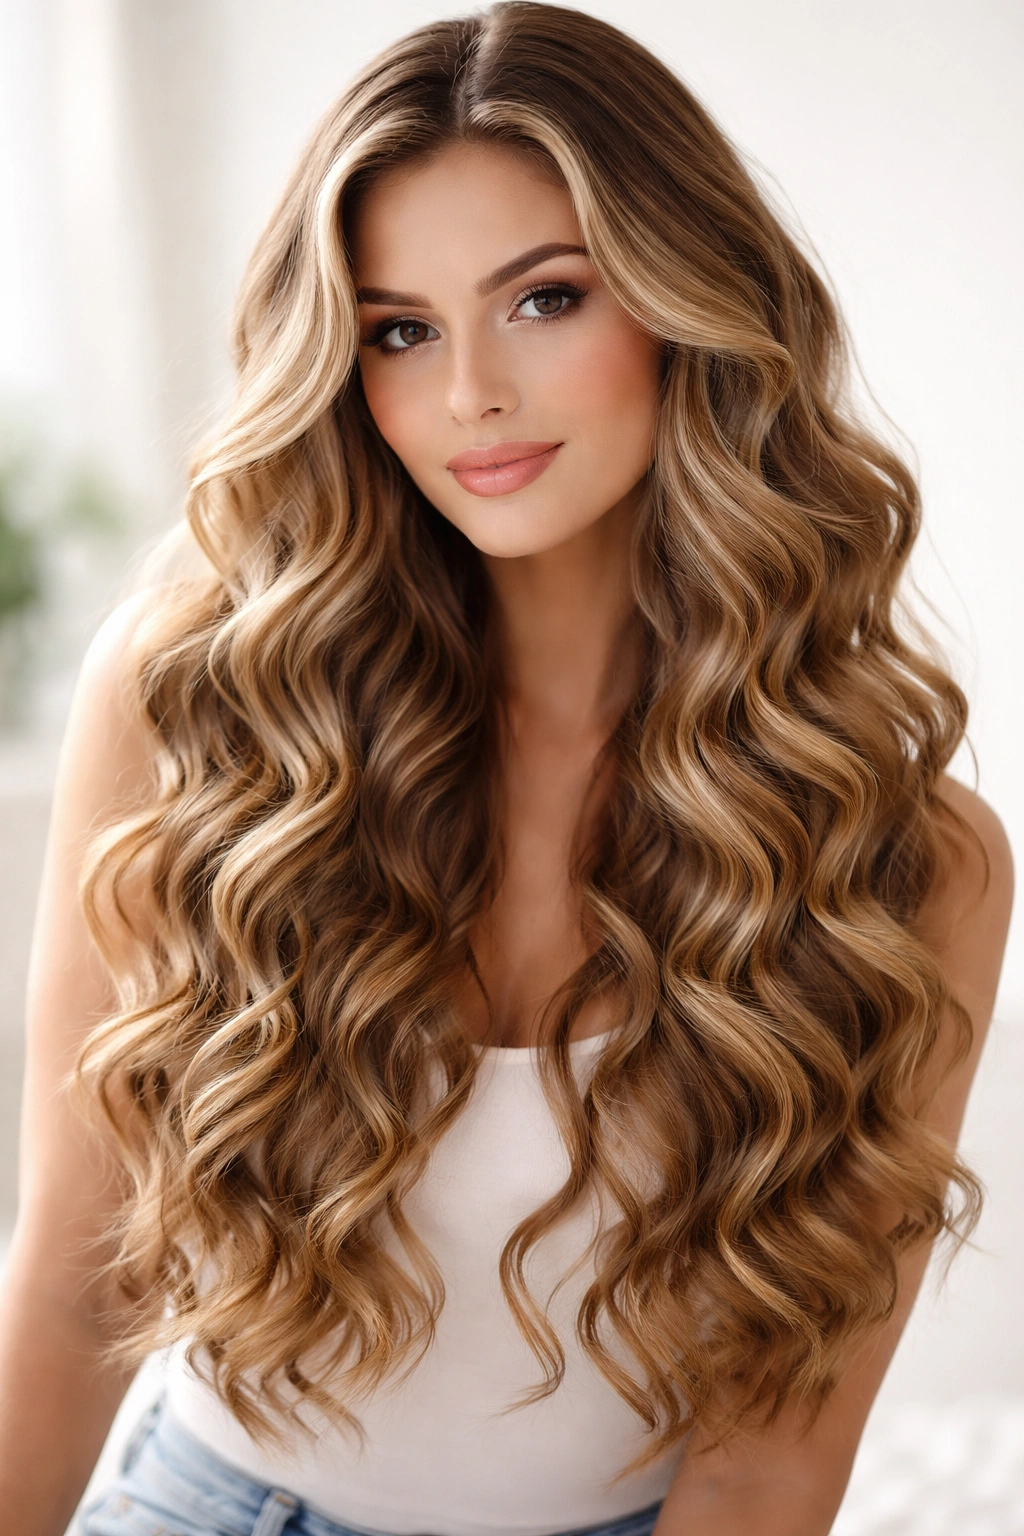
This is classic long wavy hair at its most beautiful—deep, voluminous waves that spiral down the length with visible dimension and movement. The waves are defined enough that you can see each spiral, but soft enough that they don’t look crunchy or overdone. This takes more effort than some of the other styles on this list, but it’s the approach you use when you want genuinely show-stopping texture. Loose ringlets look particularly stunning when photographed and work beautifully for special occasions or days when you want to feel genuinely beautiful.
The Technique That Creates Lasting Ringlets
Loose ringlets hold best when you use consistent heat throughout, maintain the curl long enough for it to fully cool and set, and use products that add grip without making hair feel sticky. The ringlets themselves are created by curling large sections around a barrel—the larger the barrel, the looser the ringlet. You’re aiming for waves that look naturally beautiful rather than tightly crimped, which means not using ultra-small barrels and not curling every single piece of hair.
How to Create Hollywood-Level Waves
- Blow-dry your hair completely dry—wet hair won’t hold curls, and damp hair loses them partway through the day
- Divide your hair into 6-8 thick sections and clip them up, leaving one section loose to work with
- Take your curling tool (a 1½-inch or larger barrel) and wrap a thick section of hair around it
- Hold the barrel in place for 15-20 seconds—longer holds mean stronger, longer-lasting curls
- Release the curl gently and let it cool completely before touching it
- Move to the next section and repeat, curling each section away from your face
- Once all sections are curled and cooled, gently flip your head side to side to encourage the curls to fall into waves rather than staying in tight spirals
- Run your fingers through the waves to soften them and create that intentional-but-effortless appearance
- Set with a flexible hold spray that provides support without stiffness
Worth knowing: The single biggest mistake people make with ringlet waves is brushing them out too early or too aggressively, which turns beautiful curls into frizz. Wait at least 30 minutes after creating curls, and when you do touch them, use your fingers rather than a brush.
9. Cascading Side Waves
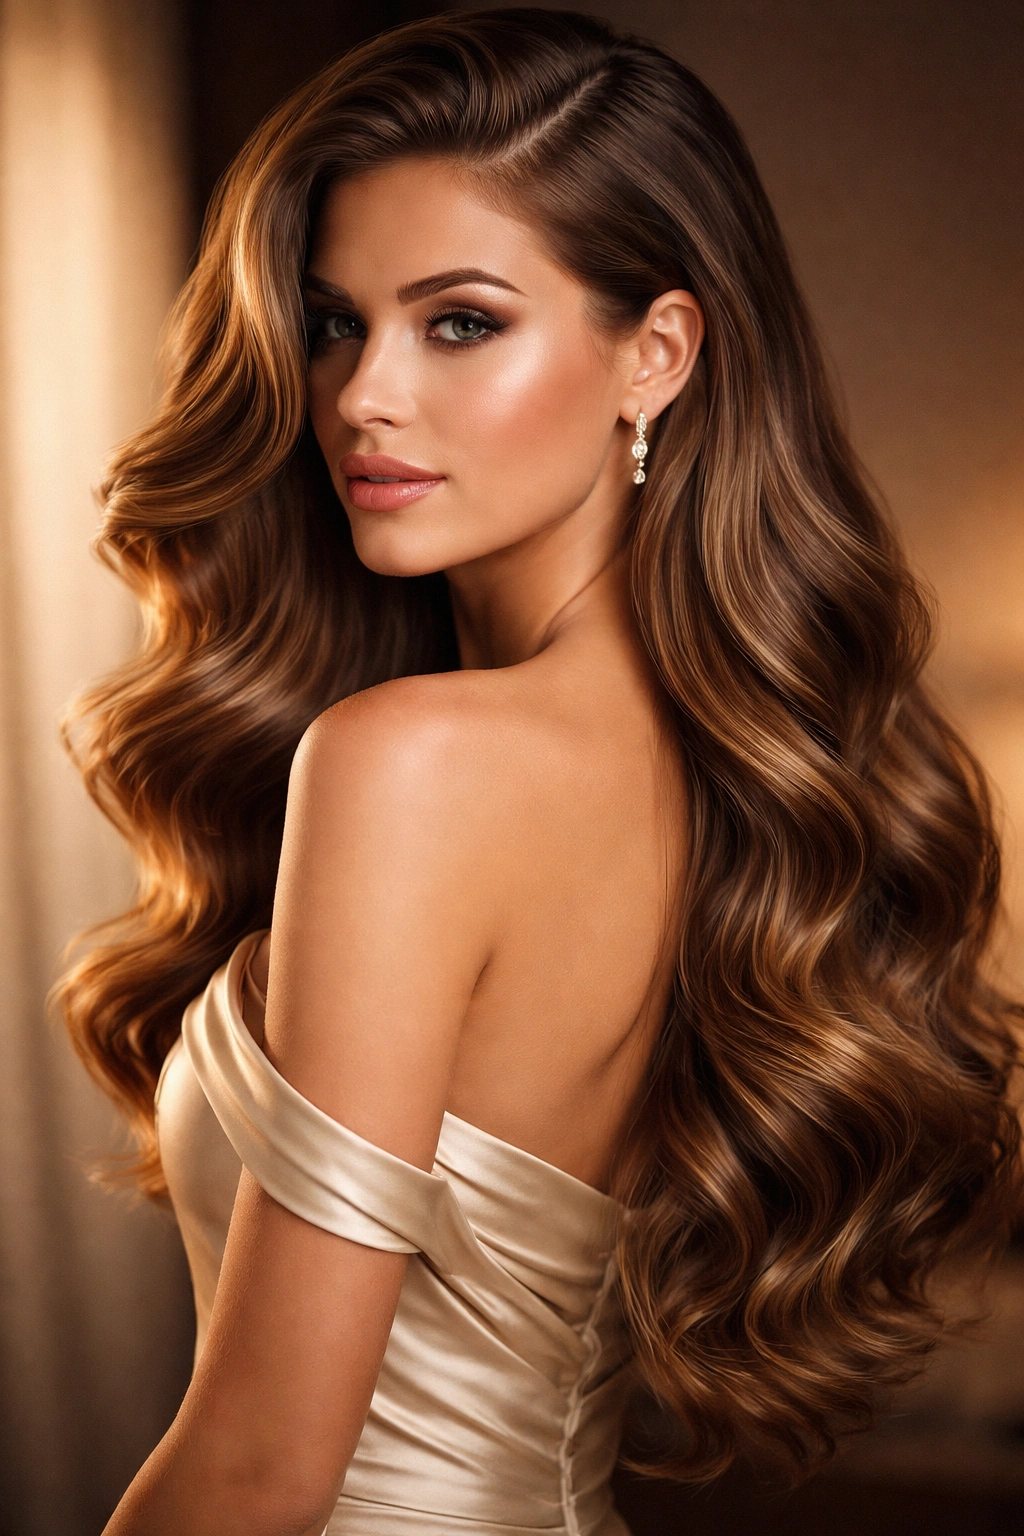
This style positions your long wavy hair entirely over one shoulder in a dramatic cascade that moves and flows with you. It’s not half-up or gathered in any way—the entire length is loose—but the styling creates a clear visual statement where one side is emphasized. This works beautifully for formal occasions, photoshoots, or when you want to make a genuine entrance. The cascading element works because long hair has enough length to actually move when it’s positioned over one shoulder.
Why Cascading Creates Drama
Cascading waves draw focus downward and horizontally, which works beautifully on most body types and face shapes. The positioning feels feminine and intentional, and if you’re wearing anything sleeveless or with an interesting neckline, the cascading waves frame that beautifully. The style works because all your texture is visible and catching light—nothing is hidden under other hair or secured in a way that covers the wave detail.
How to Create the Cascade
- Create your wave texture throughout using your preferred method—heat tools, braiding, product, or natural texture
- Once waves are set, add volume at the crown by gently back-combing or using a volumizing powder at the roots
- Use your fingers (not a brush) to comb one side of your hair over your shoulder—essentially sweeping all your length to one side
- Pin the hair at the nape of your neck very subtly so it stays in the cascading position but the pins don’t show
- Allow waves to tumble down your back and over your front shoulder in a flowing movement
- Make sure you’re not gripping the base too tightly—the cascade should look relaxed and effortless even though it’s actually pinned
- Mist with a light texture spray to support the waves without the weight of heavy product
Pro tip: If your waves tend to flatten where they’re pinned at the nape, use a texture powder or dry shampoo on that section before pinning—it gives grip that keeps everything voluminous rather than pressed flat.
10. Tousled Waves with Accessory Detail
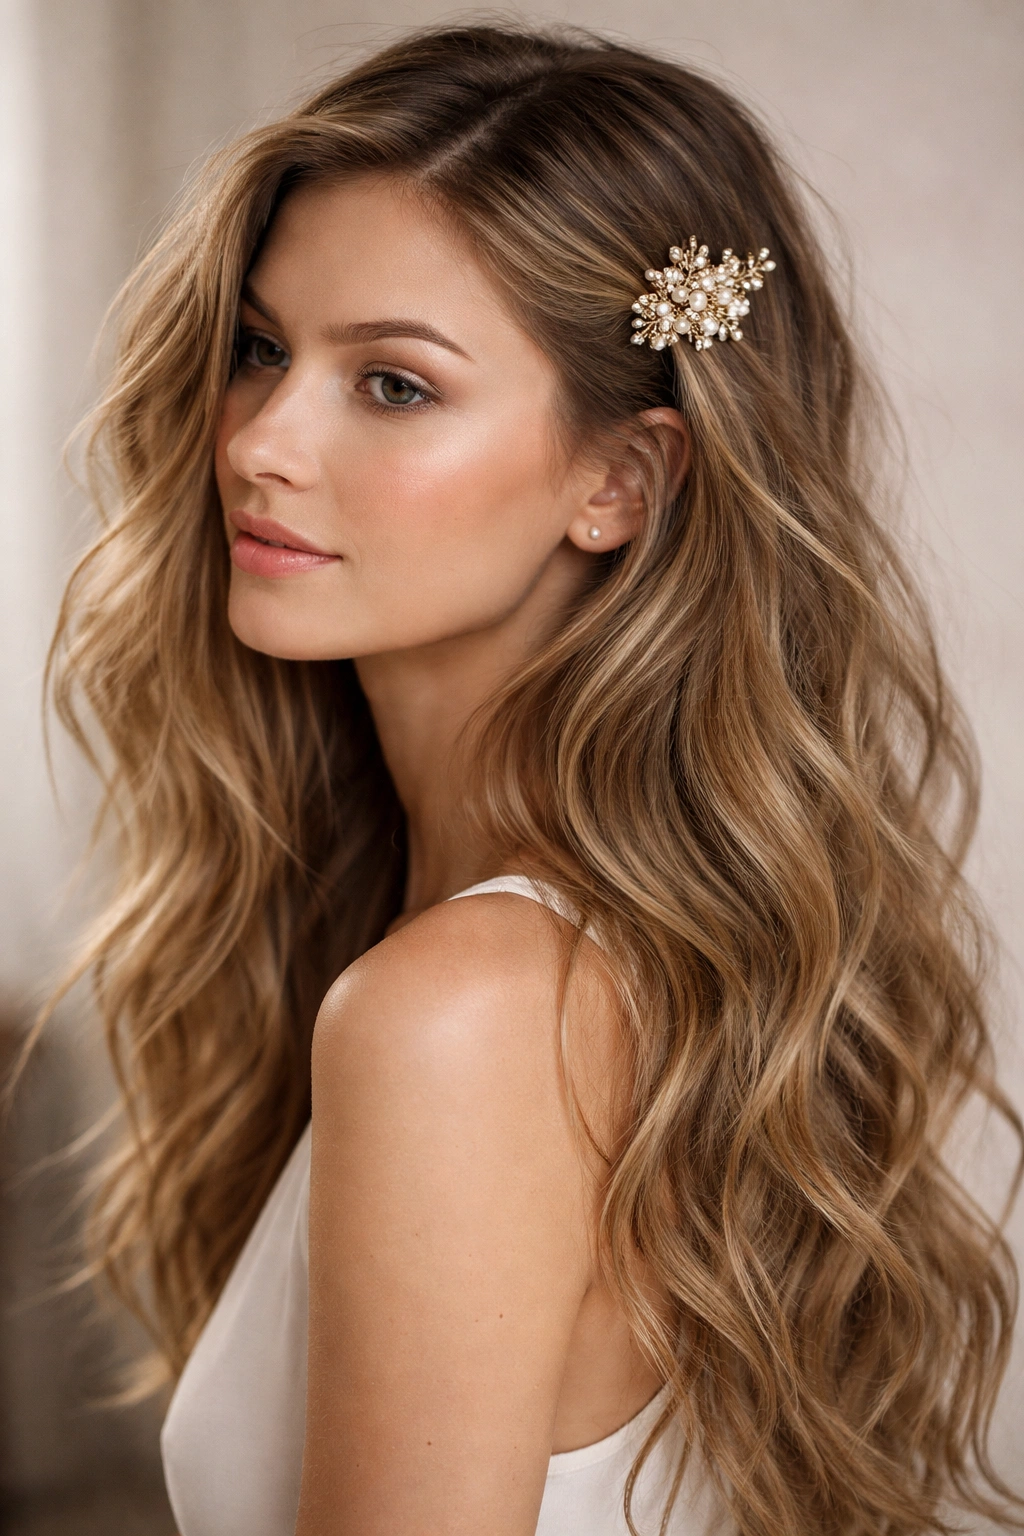
This final style is about creating soft, lived-in waves and then anchoring them with a strategic accessory—a claw clip, decorative barrette, hair pin, or headband that draws attention and adds polish. The waves themselves are intentionally relaxed and undone, but the accessory transforms them from “just my hair” into “intentionally styled.” This works because the accessory becomes the statement piece while the waves provide texture and movement without demanding perfection.
How Accessories Elevate Simple Waves
The right accessory instantly makes soft waves read as styled rather than casual. Whether you’re using a vintage clip, a delicate hair pin, a pearl barrette, or a decorated headband, the accessory becomes the focal point while the waves underneath provide supporting beauty and texture. This is clever styling because you’re achieving a polished look without needing perfectly executed waves—slightly imperfect waves actually look better because they read as more intentional and modern when paired with a accessory.
How to Style This Look
- Create soft waves throughout your hair using a large barrel, salt spray and air-drying, or overnight braiding—you want texture that’s visible but relaxed
- Don’t create too much volume at the crown—you want this style to feel effortless rather than heavily styled
- Flip your head upside down briefly to add volume to the roots, then flip back and shake out
- Position your accessory—this could be a claw clip at the back of your head gathering a small section, a hair pin threaded through a soft twist, or a headband that sits at the crown
- Make sure the accessory sits where light hits it so it’s clearly visible and becomes the styling statement
- Allow waves to flow naturally around the accessory rather than tightly controlling them
- Use a light texture spray that adds hold without weight
Worth knowing: The accessory should feel like the smallest possible anchor for your style—you want waves to dominate the visual while the accessory provides that final polish. A huge clip holding back all your hair defeats the purpose, but a delicate pin or small clip holding just one section creates balance and intentionality.
Final Waves
Honestly, the best long wavy hairstyle is the one you’ll actually stick with, which means choosing an approach that fits your hair texture, matches your daily effort level, and makes you feel genuinely confident. Some of these styles take genuine time and heat tools, while others work beautifully with just a hair tie and some texture spray. The magic of long hair is that waves look beautiful regardless of whether they’re perfectly executed or deliberately imperfect—what matters is that they move, catch light, and frame your face in a way that feels right for you.
The techniques that matter most are learning how your specific hair holds texture (some people can braid overnight and have waves for days, while others need heat to make anything stick), understanding which positioning makes you feel most beautiful, and investing in products that support your texture without weighing it down. Whether you gravitate toward the polished sophistication of the curled ends style, the effortless appeal of half-up beach waves, or the drama of cascading side waves, the goal is always the same—hair that looks intentional, beautiful, and completely yours.