



Afro twist braids are a beautiful way to protect your natural hair while expressing your personal style and celebrating your texture. These protective styles combine the elegance of braiding with the defined texture of twists, creating dimension, movement, and visual interest that works across every hair length and thickness level. Whether you’re working with short, closely cropped hair or long, flowing locs, there’s a twist braid variation that will showcase your hair’s unique beauty while keeping it healthy and manageable.
The real power of twist braids lies in their flexibility. You can wear them sleek and polished for professional settings, voluminous and statement-making for everyday wear, or intricate and layered for special occasions. They protect your hair from daily manipulation and environmental stressors while giving you the freedom to switch up your look without starting from scratch each time. Best of all, once you understand the fundamental technique—which is simpler than you might think—you can customize it endlessly with different parting patterns, sizes, textures, and finishing touches.
Getting Your Hair Ready for Twist Braids
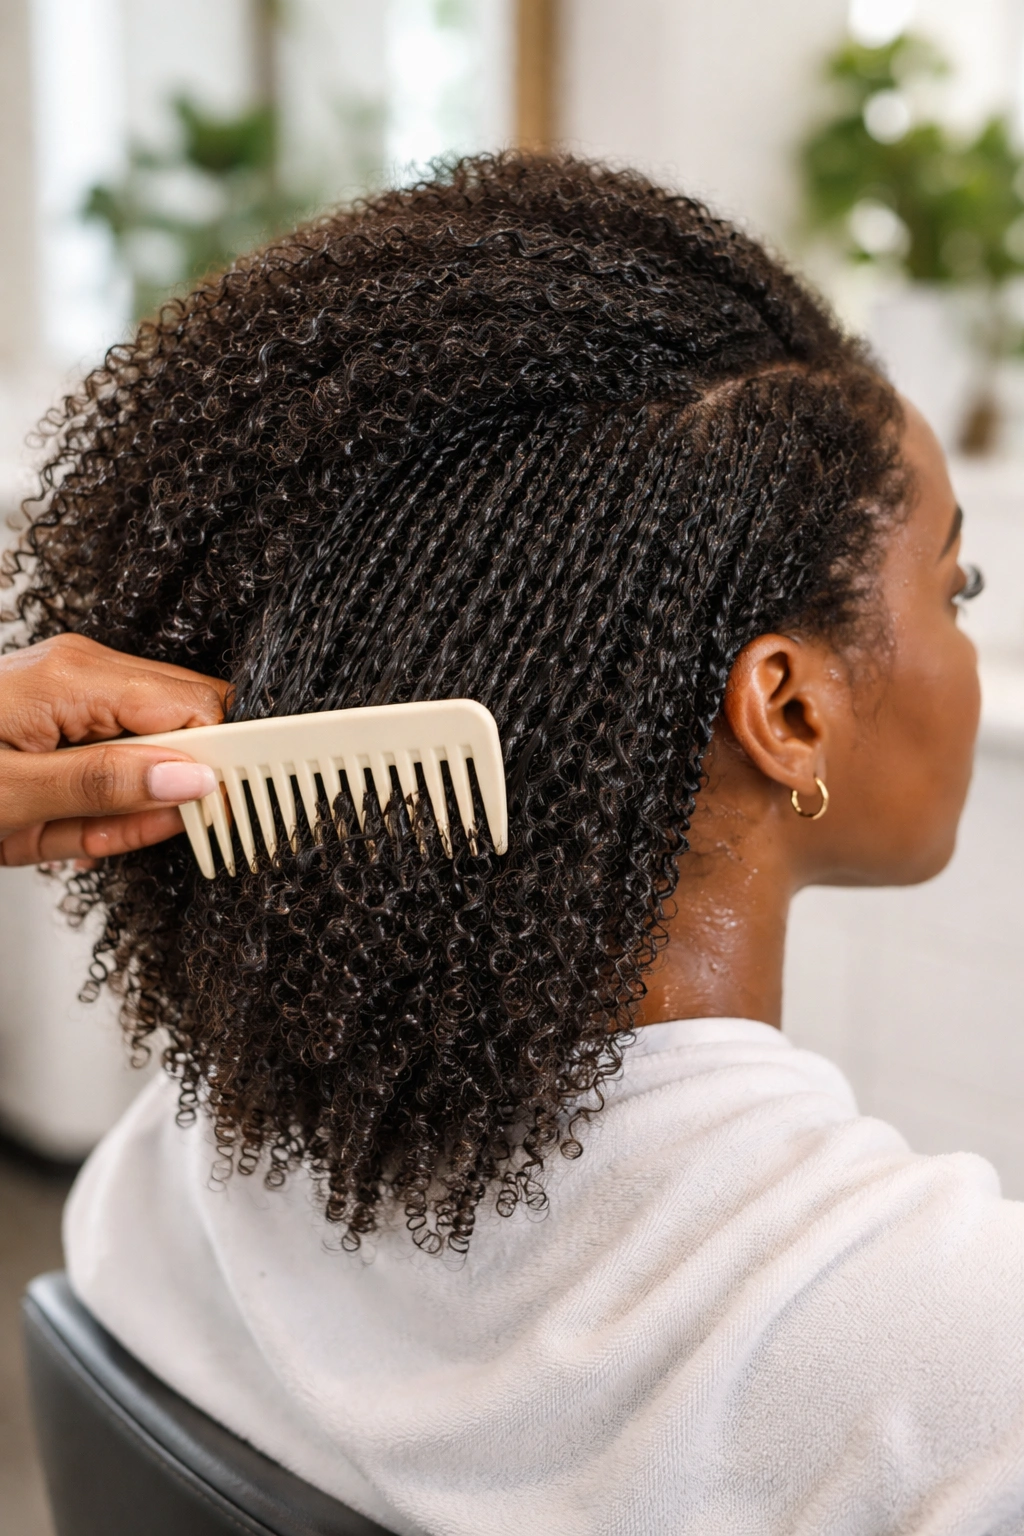
Before you start sectioning and twisting, preparation is everything. Starting with clean, well-moisturized hair makes the entire process smoother and helps your twists last longer without frizzing or unraveling. Begin by washing your hair with a sulfate-free shampoo and following with a deep conditioning treatment—this is the foundation that determines how your braids will look and perform over the following weeks.
Detangle your hair thoroughly while it’s still damp and saturated with conditioner. Using a wide-tooth comb or detangling brush, work from the ends upward in small sections, never pulling or forcing through knots. Rushing this step leads to breakage and frustration later. Once your hair is completely detangled and conditioned, apply a leave-in conditioner and a light oil to seal in moisture. Your hair should feel soft, hydrated, and supple before you begin creating sections.
Dry your hair using your preferred method—air drying, blow drying, or a combination—and make sure it’s completely dry before you start. Moisture left in the hair will cause mildew and prevent the twists from setting properly. If you’re blow drying, use a concentrator nozzle to smooth the cuticle and create a sleeker base. Once dry, lightly oil your scalp and hair again, then use a rat-tail comb to create clean, precise sections. The straighter your sections, the more polished and intentional your twists will appear.
1. Double Strand Twist
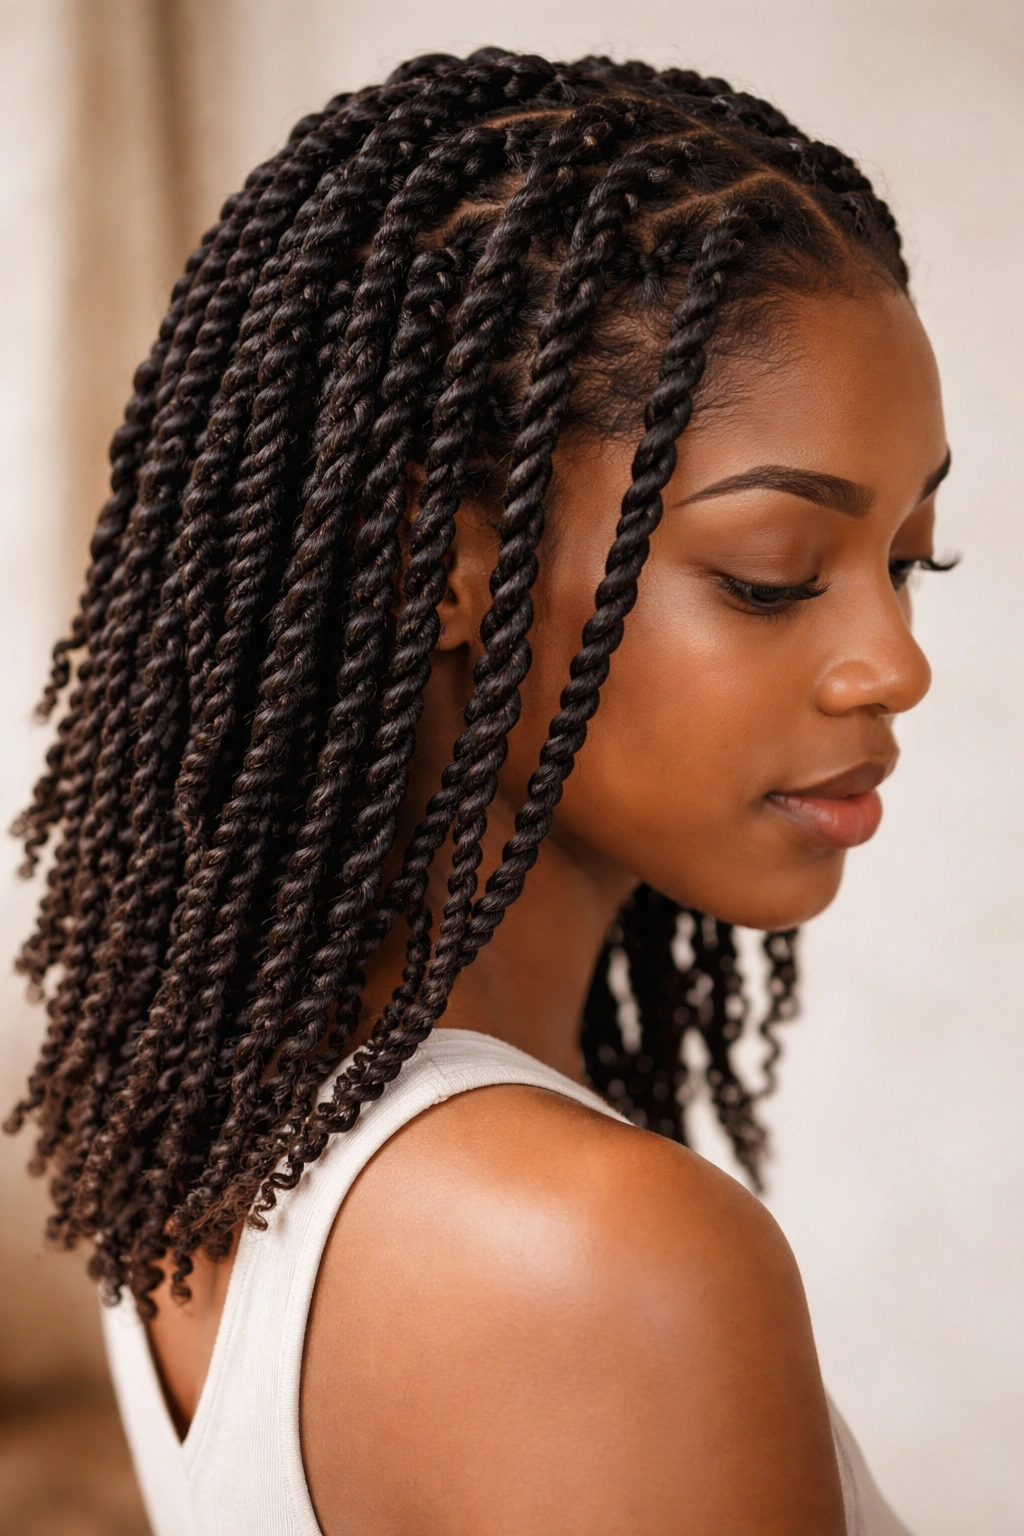
Double strand twists are the quintessential protective style—the perfect entry point if you’re new to twist braids or the go-to choice when you want a timeless, versatile look that works for every occasion. This style involves creating two strands from each section of hair and twining them around each other, creating that signature twisted texture that’s both defined and visually striking.
Why They’re So Effective
Double strand twists work on every hair length, from tapered cuts just two inches long to waist-length hair and beyond. The two-strand technique creates a cleaner, more defined twist compared to thicker rope twists, and the individual sections make them ideal for scalp protection since you’re not creating thick, heavy sections that pull on the roots. You get lasting style for weeks while your hair remains in a low-manipulation state, which is exactly what natural hair thrives on.
Application Tips and Sizing
- Start with medium-sized sections (roughly the size of a grape or a pea, depending on your desired thickness) for a balanced look that’s not too thin and not bulky
- Divide each section into two equal strands and twist them around each other from root to tip, alternating which direction you pull the strands
- You can apply twist extensions if you want added length, volume, or protective coverage—Marley hair, human hair, or synthetic options all work beautifully
- Let twists air dry overnight or use a bonnet to help them set into their final shape
- Once fully dry, you can unravel them slightly for a softer, fluffier appearance, or keep them tight for a sleeker aesthetic
Pro tip: Two strand twists last longer and hold their shape better if you slightly dampened them with a spray bottle, wrapped them in a bonnet, and left them undisturbed for 24 hours after installation.
2. Senegalese Twist
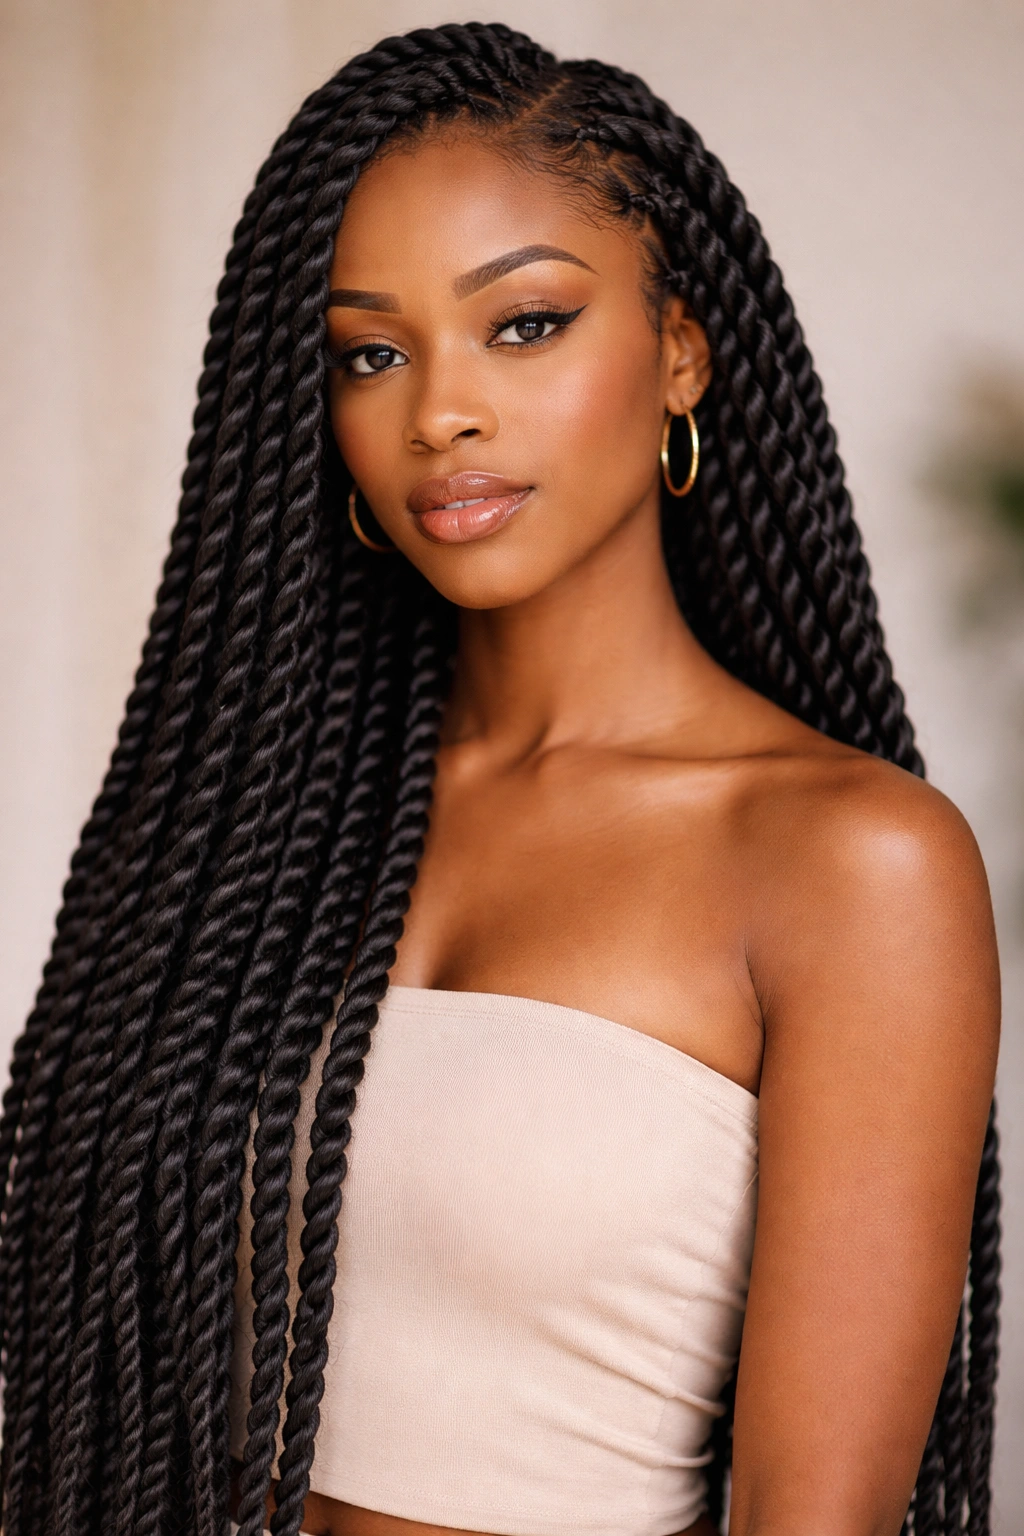
Senegalese twists bring an elevated, almost artistic quality to protective styling. This technique involves wrapping hair around a core of extensions—typically synthetic Marley hair or wool—to create a smooth, rope-like twist that’s thicker and more defined than traditional double strand twists. The result is a sophisticated, long-lasting style that works beautifully on longer hair lengths.
What Makes Them Stand Out
Senegalese twists are incredibly durable and hold their shape exceptionally well, often lasting four to six weeks with proper care. The core extension material prevents the twists from unraveling, and the smooth, polished appearance makes them appropriate for work environments, formal events, or anytime you want your style to look intentionally finished. They’re heavier than double strand twists, which some people find grounding and protective, though they’re not ideal if you experience scalp tension or have very fine, delicate hair.
Installation and Care Specifics
- Choose your extension material carefully—Marley hair creates a slightly more textured look, while wool creates ultra-smooth twists
- Wrap the extension around your natural hair sections as you twist, pulling both materials around each other to create that rope-like effect
- Senegalese twists typically need two to three hours for installation if you’re doing medium-sized twists covering your entire head
- Sleep in a bonnet and refresh the twists weekly by running your fingers over them to maintain shape and prevent frizz
- Unravel them gently when you’re ready to remove them, and plan for a thorough deep conditioning session afterward
Worth knowing: The weight of Senegalese twists can sometimes cause slight tension at the roots, so if you’re sensitive to scalp pressure, consider installing them with looser tension or using smaller, lighter sections.
3. Passion Twist
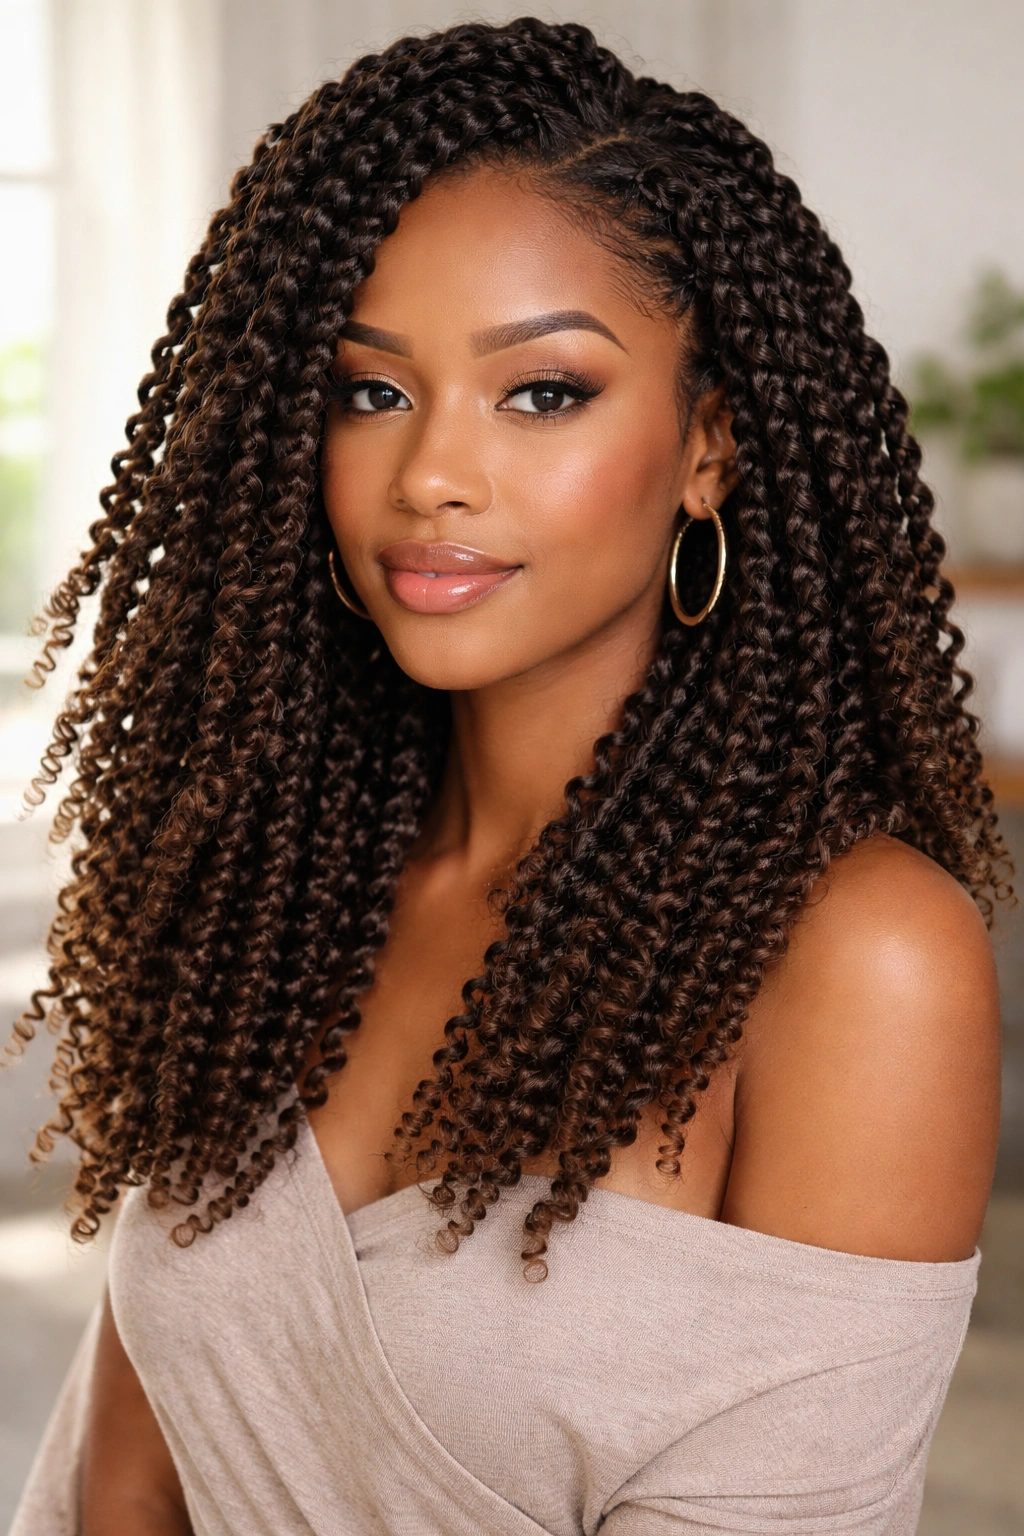
Passion twists are the softer, airier cousin of Senegalese twists—they have that same rope-like quality but with a noticeably bouncier, fluffier texture that’s absolutely stunning and modern. This style has gained serious popularity because it photographs beautifully, holds its shape remarkably well, and actually protects your hair while looking intentionally fashionable rather than strictly utilitarian.
Why They’re Worth the Investment
Passion twists create an eye-catching fluffy, textured look that’s impossible to ignore. The technique uses thin, pre-twisted extension hair (usually synthetic Passion Twist hair or similar products) wrapped around your natural hair sections, and the result is lightweight, bouncy, and infinitely customizable through color choices. They work especially well on shoulder-length to long hair where you can really showcase the movement and volume, though they’re adaptable to shorter lengths too.
How to Install and Style Them
- Use pre-twisted or loosely coiled extension hair designed specifically for passion twists—this is crucial to getting that fluffy, defined texture
- Divide your hair into small to medium sections, then wrap the pre-twisted extension around each section as you gently twist the whole thing together
- The installation is actually faster than traditional twists because you’re not creating the twist from scratch—the extension does much of the work
- Once installed, lightly separate or fluff each twist with your fingers to create that signature voluminous texture
- Wrap your twists in a bonnet at night and refresh them every 5-7 days by gently re-fluffing
Insider note: Passion twists typically last three to four weeks before they start looking loose and tired, which is shorter than Senegalese twists but longer than regular double strands, and the tradeoff is worth it if you prioritize that modern, intentional appearance.
4. Crochet Twist (Boho Twist)
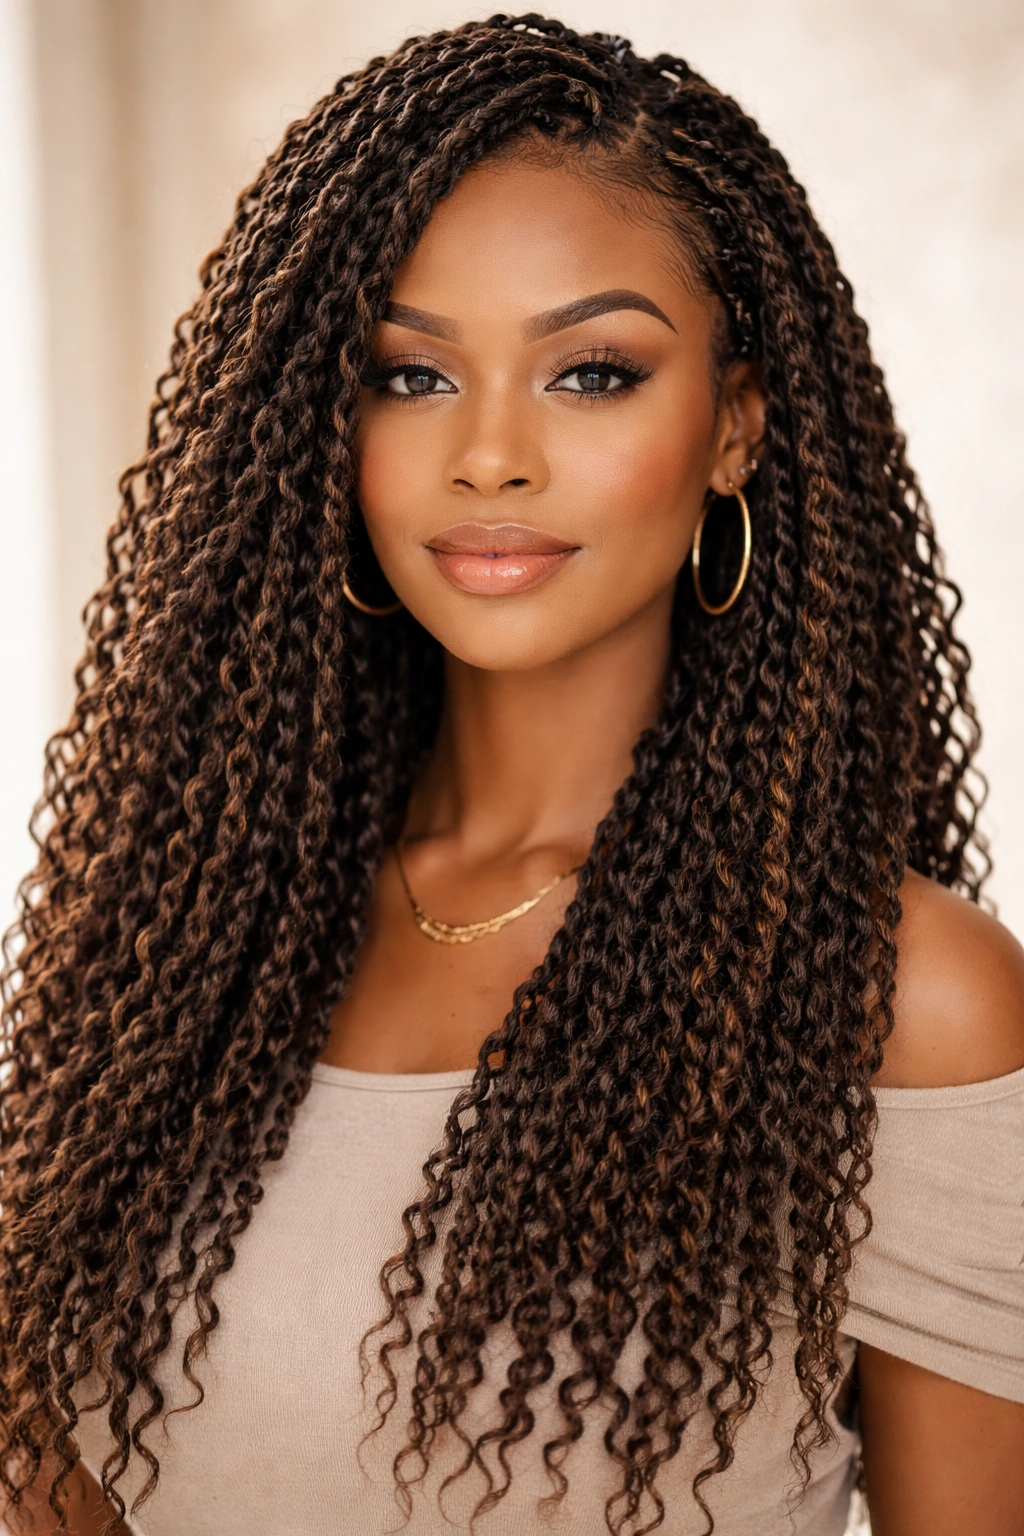
Crochet twists, often called boho twists, are installed using the crochet method where extensions are looped through your natural hair sections using a crochet hook. The result is a textured, bohemian-looking twist that’s incredibly lightweight and quick to install—making it perfect if you want protective styling without spending four hours in a chair.
What Makes Crochet Twists Special
The crochet installation method is genius: instead of twisting extensions manually into your hair, the crochet hook allows you to literally hook extension hair into each section of your natural hair with impressive speed. You get a protective style that looks beautifully textured and intentional, and the lightweight installation means there’s minimal tension on your scalp and edges. This style works across all hair lengths and is particularly stunning on mid-length to longer hair where you can appreciate the textured movement.
Installation and Longevity
- A crochet twist installation typically takes one to two hours versus four to six hours for hand-twisted styles—that’s a significant time difference
- Use textured extension hair (kinky curly, spring curl, or wavy textures all work beautifully) and a size J or K crochet hook depending on your hair thickness
- After installation, you can lightly separate the sections or leave them as they are, depending on the look you’re going for
- Crochet twists last three to five weeks depending on how much your natural hair grows and how well you maintain them
- Refresh them weekly by gently fluffing and re-separating the twists
Pro tip: If you want even faster installation, have a professional install crochet twists for you—the speed difference between DIY and professional installation is worth it if your time is limited.
5. Faux Locs (Twist-Styled)
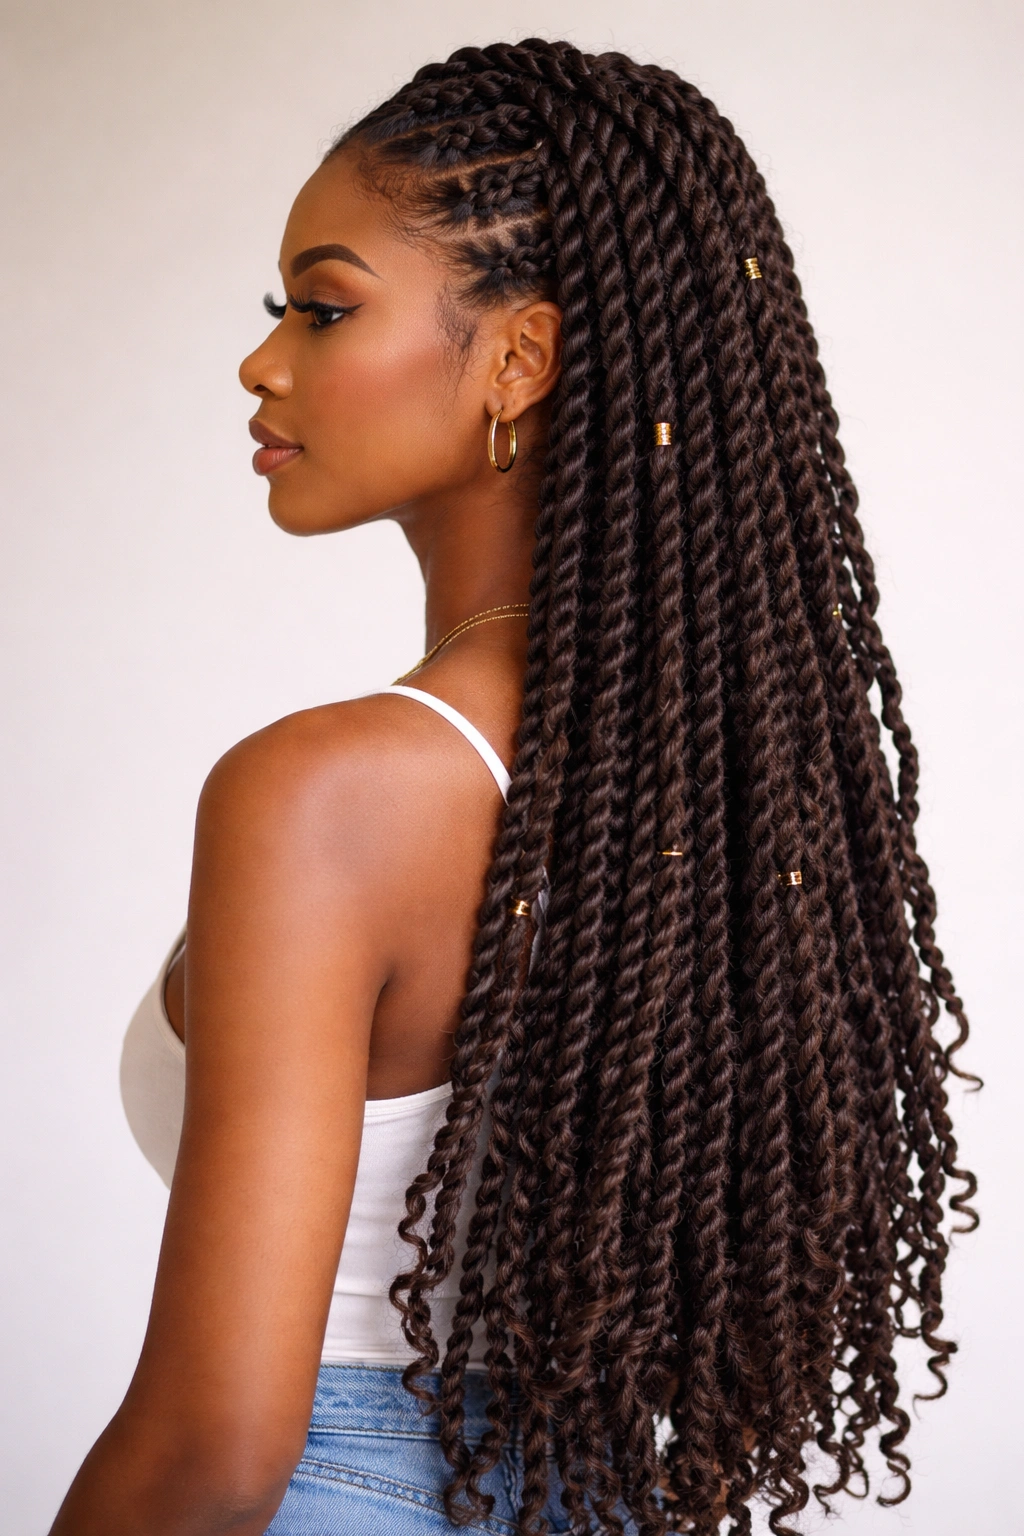
Faux locs are a longer-commitment protective style that channels the aesthetic of permanent locs while remaining temporary and completely reversible. When installed using the twist method rather than braiding, they create an incredibly sophisticated, statement-making look that works beautifully on longer hair lengths or on people who want their protective style to be a true focal point.
The Appeal of Faux Locs
Faux locs create that coveted instant-loc aesthetic—that mature, intentional, artistic appearance—without the permanent commitment or the extensive time it takes to grow real locs. Installed with extensions, they can be any length from mid-thigh to floor-length, and you can play with colors, textures, and finishes in ways that actual locs might limit. They’re a statement style, undeniably, and they work best when you’re ready to commit four to six hours to installation and you plan to keep them in for at least three to four weeks.
Installation and Commitment Level
- Faux locs are typically installed using Marley hair, human hair, or braiding hair twisted or wrapped around each natural hair section to create a thick, rope-like loc texture
- Installation requires patience and precision—you’re creating dozens of individual locs that all need to be even in size, tension, and finish
- Once installed, faux locs can last four to six weeks with proper maintenance, though some people keep them for even longer
- They’re heavier than most other protective styles, so they’re not ideal if you have tension-sensitive hair or delicate edges
- You’ll sleep in a loc wrap or bonnet and can refresh them by re-twisting them monthly if you keep them long-term
Worth knowing: Faux locs photograph beautifully and make a bold personal or fashion statement, but they’re definitely a commitment in terms of installation time, scalp attention, and daily care.
6. Mini Twist
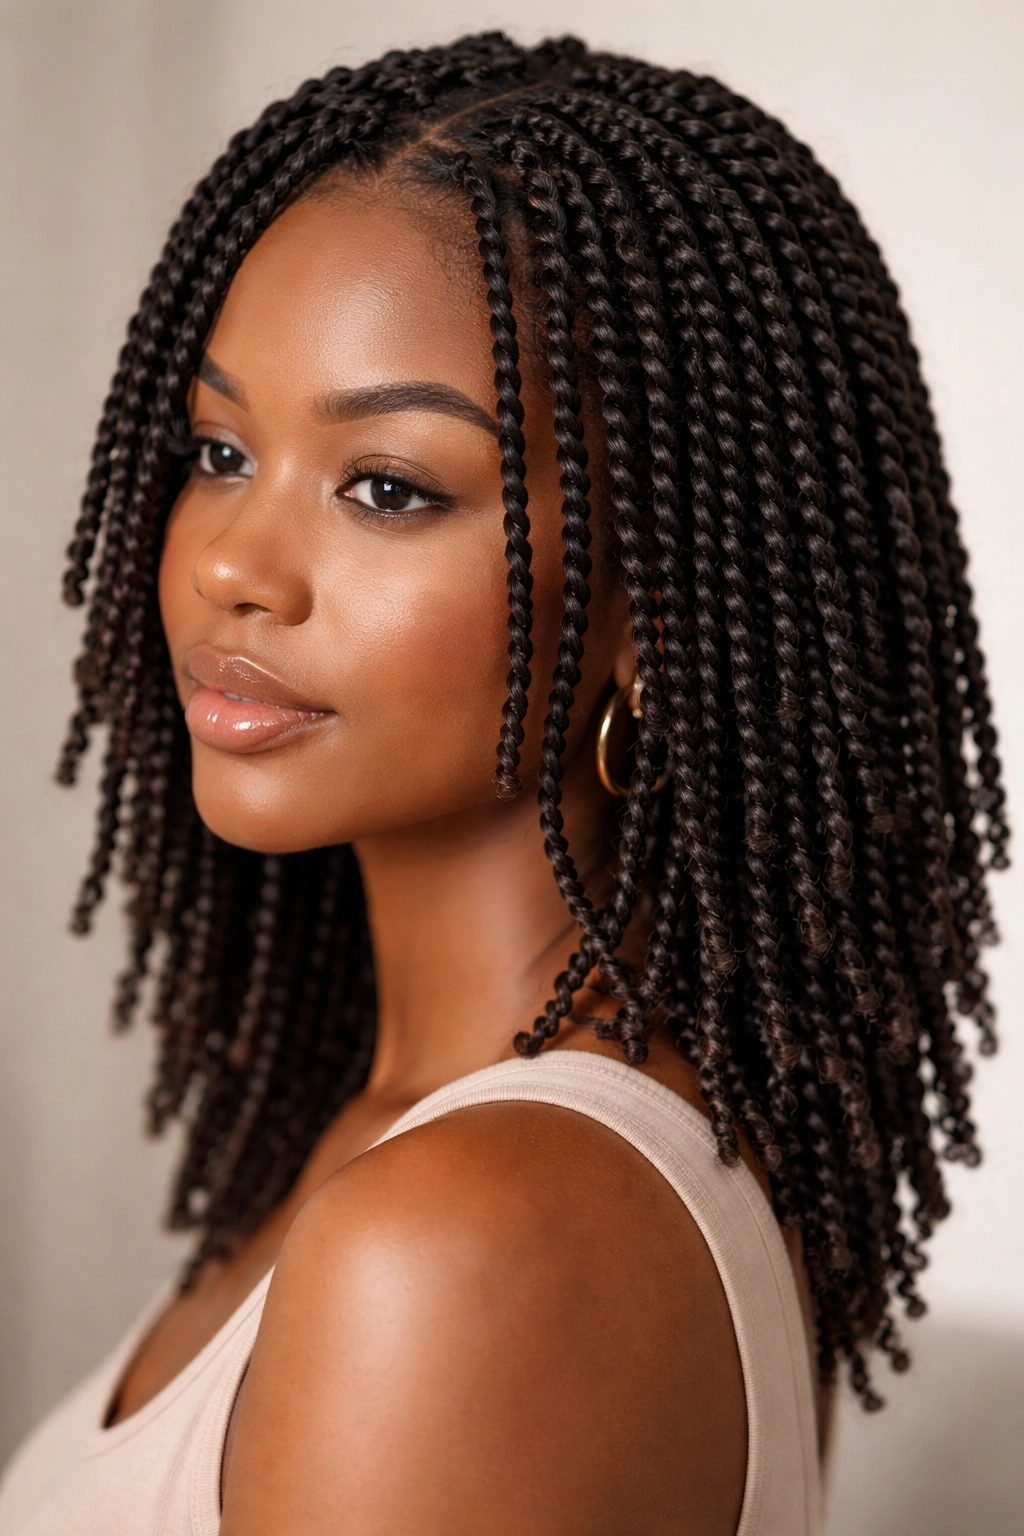
Mini twists are the delicate, intricate version of double strand twists—you’re creating many small sections and twisting each one individually, resulting in a style with incredible detail, definition, and visual interest. This style works beautifully on every hair length, from short TWA’s to long, flowing hair, and it’s the perfect choice if you love the twisted aesthetic but want something more intricate and artistic.
The Appeal of Mini Twist Styles
Mini twists create that high-definition look that makes people stop and stare—each individual twist is visible and defined, giving your style an intentional, carefully considered appearance. Because the sections are small, they provide excellent scalp protection and allow water and products to access your roots easily. Mini twists also age beautifully; even as your hair grows and the roots loosen, the style maintains its polished appearance because the twists don’t look thin or stretched-out the way larger twists sometimes do.
Sizing, Installation, and Timeline
- Mini twists typically involve sections about the size of a small pea—this is smaller than regular double strand twists but requires more precision
- You can install mini twists without extensions (using just your natural hair) or add extensions for added length and volume
- Installation is time-intensive—expect four to six hours for a full head of mini twists, longer if you’re adding extensions
- Mini twists typically last four to six weeks before the roots begin loosening noticeably, though they hold their definition longer than some other styles
- Refresh them by re-twisting the roots weekly or every two weeks, depending on how quickly your hair grows
Pro tip: If you’re installing mini twists yourself, work in smaller sections (front to back or left to right) to stay organized, and don’t rush—mini twists reward patience and precision with that flawless finished appearance.
7. Rope Twist
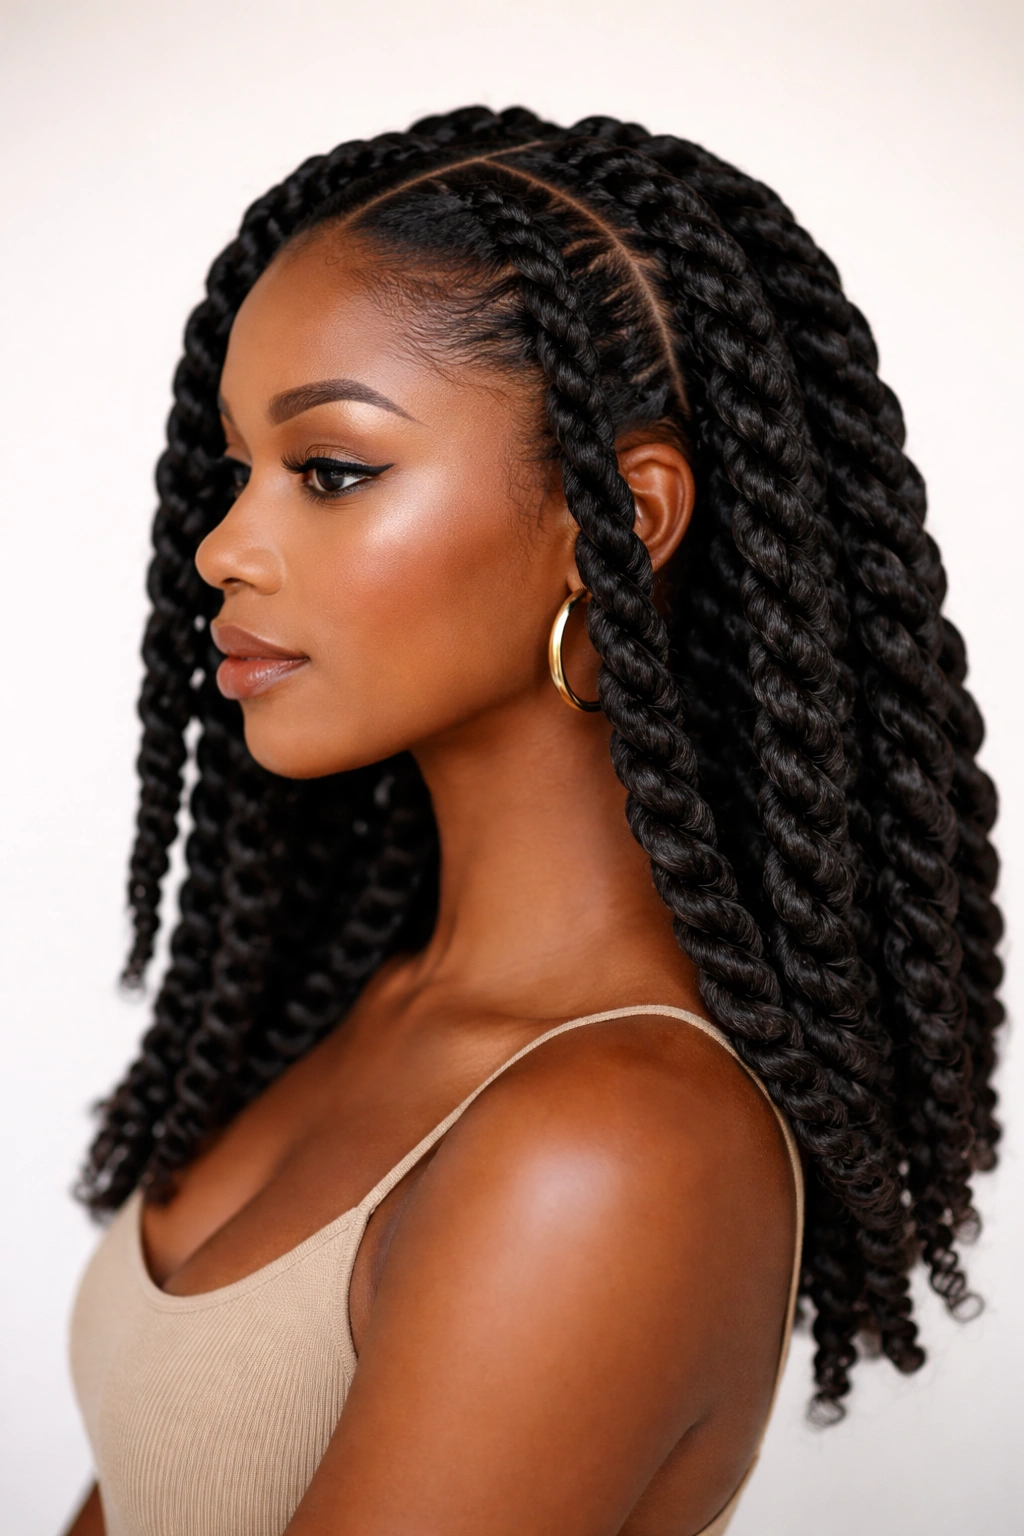
Rope twists take the double strand twist concept and make it bigger, bolder, and more dramatic. Instead of two strands twisted together, rope twists involve either four strands braided into a twist pattern or two thick cords twisted around each other, creating a substantial, almost sculptural look that works beautifully on longer hair or as a statement protective style.
Why Rope Twists Make a Statement
Rope twists are instantly striking—they’re thicker and more visually prominent than standard twists, which makes them perfect if you want your style to be a true focal point. They’re also quite fast to install compared to mini twists or intricate braiding styles, so you get a high-impact look without the four-hour installation time. Rope twists work especially well on shoulder-length to long hair where that thickness and weight look intentional and beautiful rather than bulky.
Installation Variation and Care
- Create rope twists by taking four-strand sections and either braiding them into a twisted pattern or using two thick double-strand twists and braiding those two twists together
- You can install them with extensions for added volume and length, or create them entirely from your natural hair
- Rope twists typically take two to three hours for a full head installation, making them relatively quick
- They last three to four weeks before the roots start loosening visibly, though their larger size means they maintain their shape well even as they age
- Wrap rope twists in a bonnet at night to prevent frizzing and maintain their definition
Worth knowing: The weight of rope twists means they’re best suited for people without sensitive scalps, and they work better on hair with some length to show off the thickness and movement.
8. Micro Twist
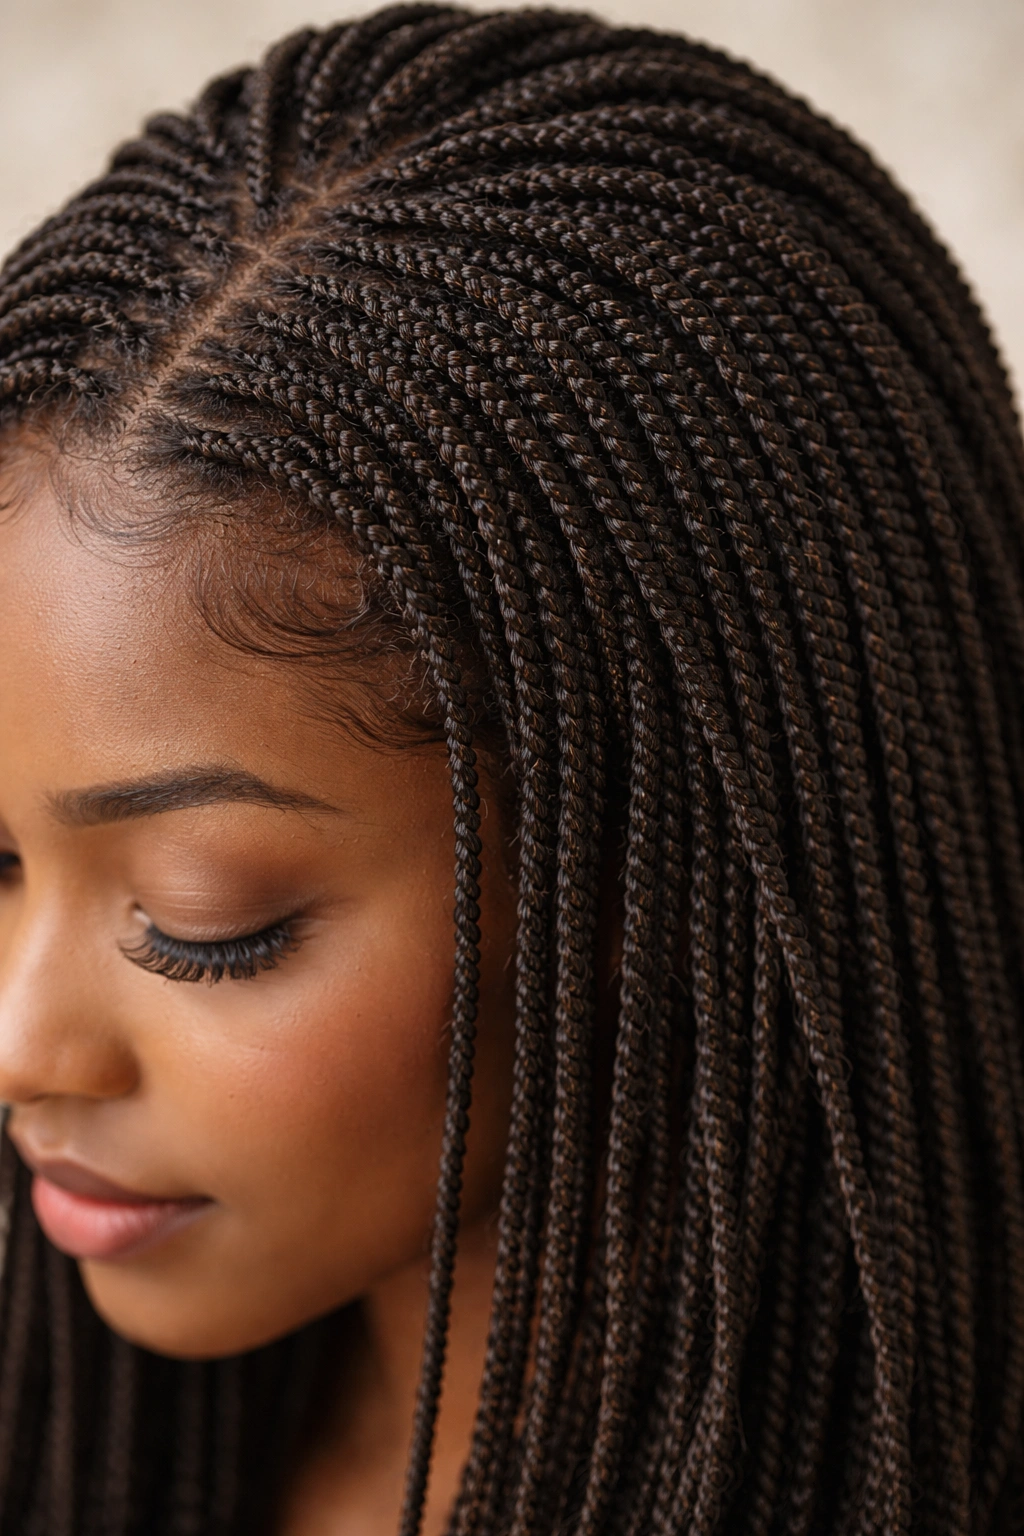
Micro twists are the ultimate expression of twisted artistry—they’re ultra-small, ultra-defined, and require serious patience and skill, but the result is a style so beautiful and detailed that it’s worth every minute of installation time. This is the protective style for people who love precision, who want their hair to look like wearable art, and who are willing to invest significant time for a genuinely stunning finished product.
The Artistry of Micro Twists
Micro twists create an effect that’s almost jewel-like in its precision and detail. Each twist is individually visible, contributing to an overall pattern that’s mathematically interesting and visually captivating. They’re perfect for showing off your hair’s texture and curl pattern, and they work beautifully on every hair length—from tapered cuts where the detail really pops to long hair where you can create intricate patterns and designs. Micro twists photograph beautifully and feel like a genuine accomplishment when you look in the mirror.
Installation, Longevity, and Reality
- Micro twists involve sections about half the size of mini twist sections, requiring incredible precision and patience
- Installation typically takes six to eight hours for a full head, and many people choose professional installation because of the time commitment
- You can install micro twists without extensions (using just your natural hair) or add extensions for additional length and visual interest
- Once installed, micro twists last three to four weeks before the roots begin showing noticeably, though their small size means they age gracefully
- Plan for weekly refreshment by re-twisting the roots or using a crochet hook to re-hook them back into place
Pro tip: If you’re considering micro twists, either budget time for professional installation or clear your entire day and plan for patience—rushing micro twists leads to uneven sections and an unfinished appearance.
9. Twist-Out Style (Stretched Twist)
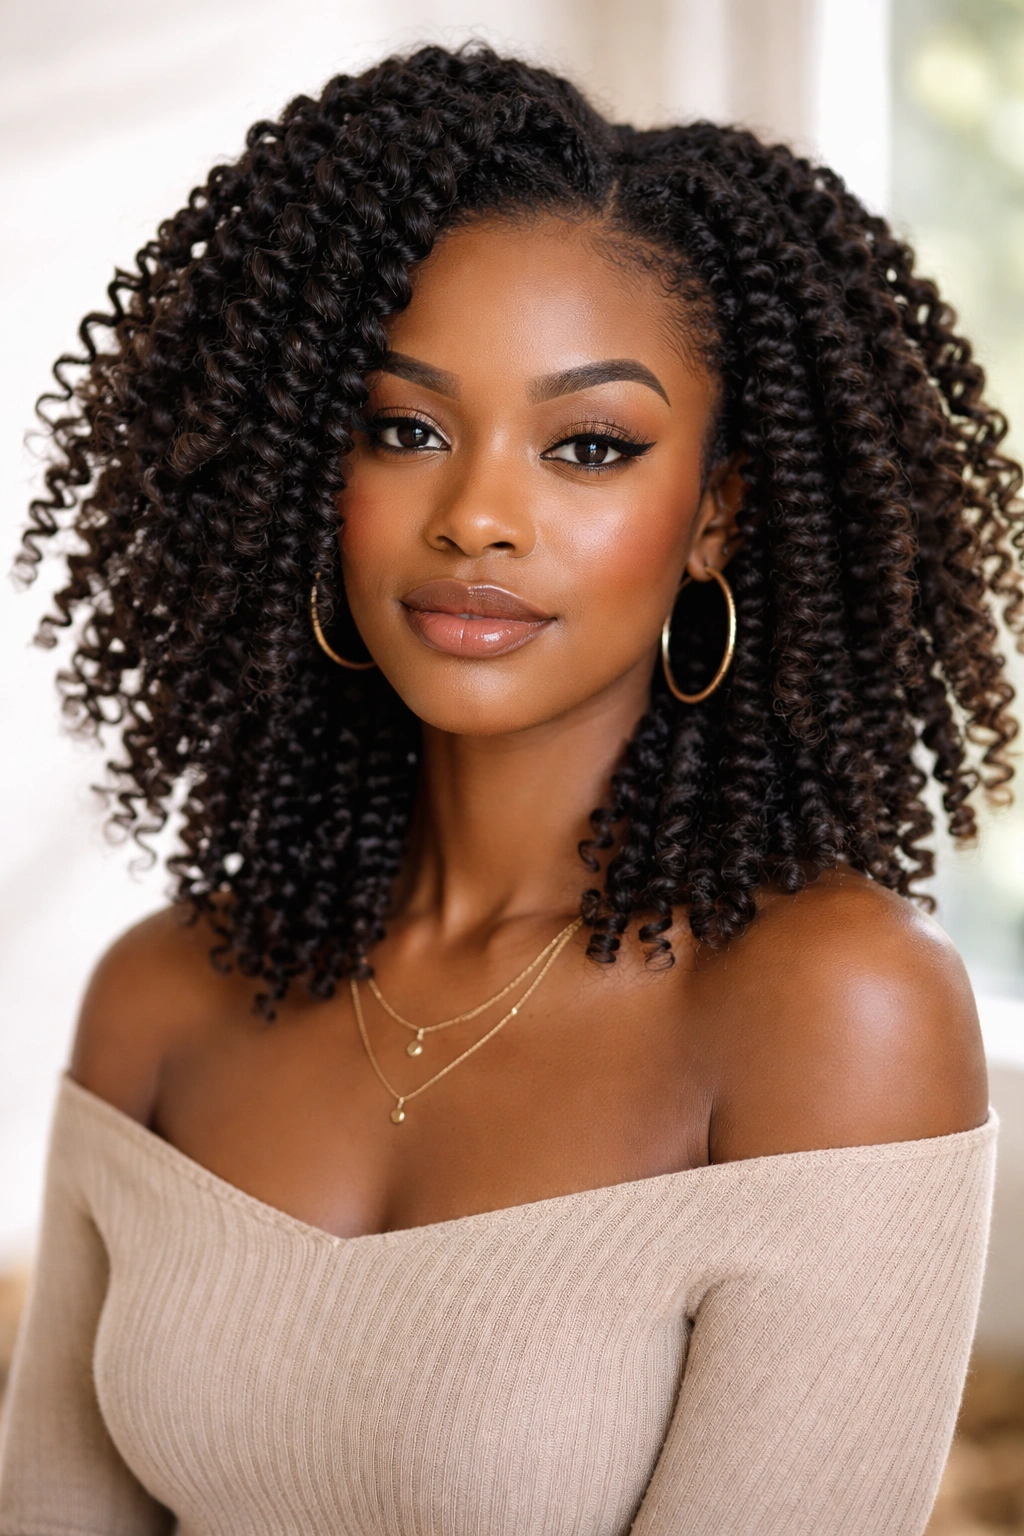
A twist-out is when you install two-strand twists, let them set for 24-48 hours, and then gently unravel each twist to create a stretched, textured curl pattern that’s absolutely stunning and versatile. This style is perfect for people who want volume, dimension, and that natural-curl aesthetic without committing to traditional braided styles. It works beautifully on textured hair of every type and length, and you can create dramatically different looks just by how much you separate the unraveled twist sections.
The Genius of the Twist-Out Method
Twist-outs give you the protective benefits of installed twists while creating the appearance of natural curl or textured hair—it’s the best of both worlds. The unraveled texture is softer and fluffier than the individual twists, making this style ideal if you love volume. You get that beautifully defined natural-looking curl pattern, and you can completely customize the final appearance by deciding how much you separate each section (leave them chunky for a defined curl pattern, separate them heavily for a fluffy, afro-like texture, or separate them moderately for a balanced look).
How to Create the Perfect Twist-Out
- Install two-strand twists using the method you prefer (with or without extensions, large or small sections)
- Let the twists set completely for at least 24 hours, ideally 48 hours, so they “cure” into their final shape
- Mist each twist very lightly with water or a curl-refreshing spray, then gently and slowly unravel each one, working your fingers through from root to tip
- Decide on your separation level based on your desired final appearance, then set the style by wrapping your hair in a bonnet while damp
- Twist-outs typically last three to five days before they begin loosening and losing their definition
Worth knowing: Twist-outs require slightly more maintenance than keeping the twists in (daily moisturizing and nightly bonnet-wearing), but if you love the voluminous, textured aesthetic, they’re absolutely worth the extra care.
10. Side-Parted Asymmetrical Twist
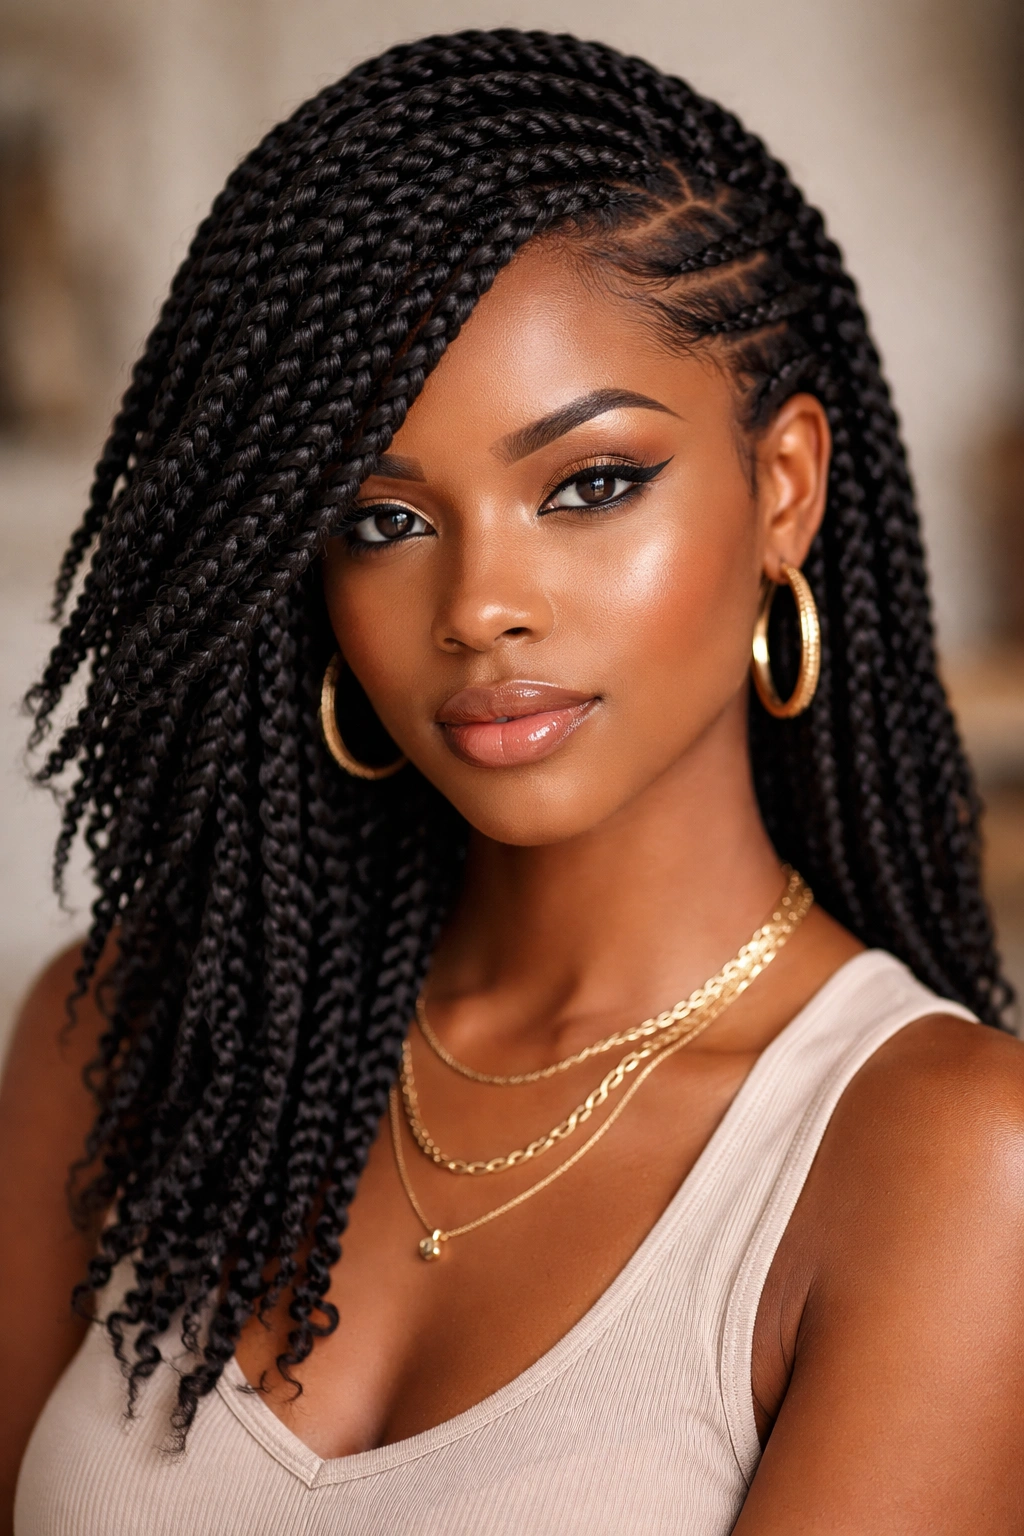
An asymmetrical twist style—where you create a dramatic side part and install twists of varying sizes across your head to create visual movement and asymmetry—is for people who want their protective style to also be a fashion statement. You might install larger twists on one side and smaller twists on the other, or create a tapered effect from longer twists on top to shorter ones closer to the nape, or vary your twist directions for added interest. This approach elevates protective styling into actual personal expression.
Making Asymmetry Work
Asymmetrical twist designs showcase your hair as an intentional canvas for artistic expression rather than just protection. The varying sizes create visual interest and movement, and the deliberate side parting adds sophistication. This style works beautifully on longer hair where you have room to create visual variation, though it’s also stunning on shorter lengths where even small variations in twist size become prominent. The key is committing to the asymmetry—half-hearted asymmetry looks accidental rather than artistic.
Design, Installation, and Styling
- Sketch out your design before you start: decide which side will have larger twists, where you want your major part line, and whether you want uniform thickness or intentional variation
- Create a deep side part, then section and install your twists accordingly—being methodical about your section sizes ensures your final design looks intentional
- You can create asymmetry through twist size alone, through varying your twist directions, or through using extensions on one side and natural hair on the other
- Asymmetrical twist installations typically take three to five hours depending on complexity
- Style your twists to emphasize the asymmetry—sweep them to one side, pin up sections on the fuller side, or use styling accessories to accentuate your design
Pro tip: If you’re nervous about creating asymmetry yourself, work with a stylist who specializes in creative natural hair styling—they can help you realize your vision and ensure it looks polished rather than chaotic.
Styling and Maintenance Essentials
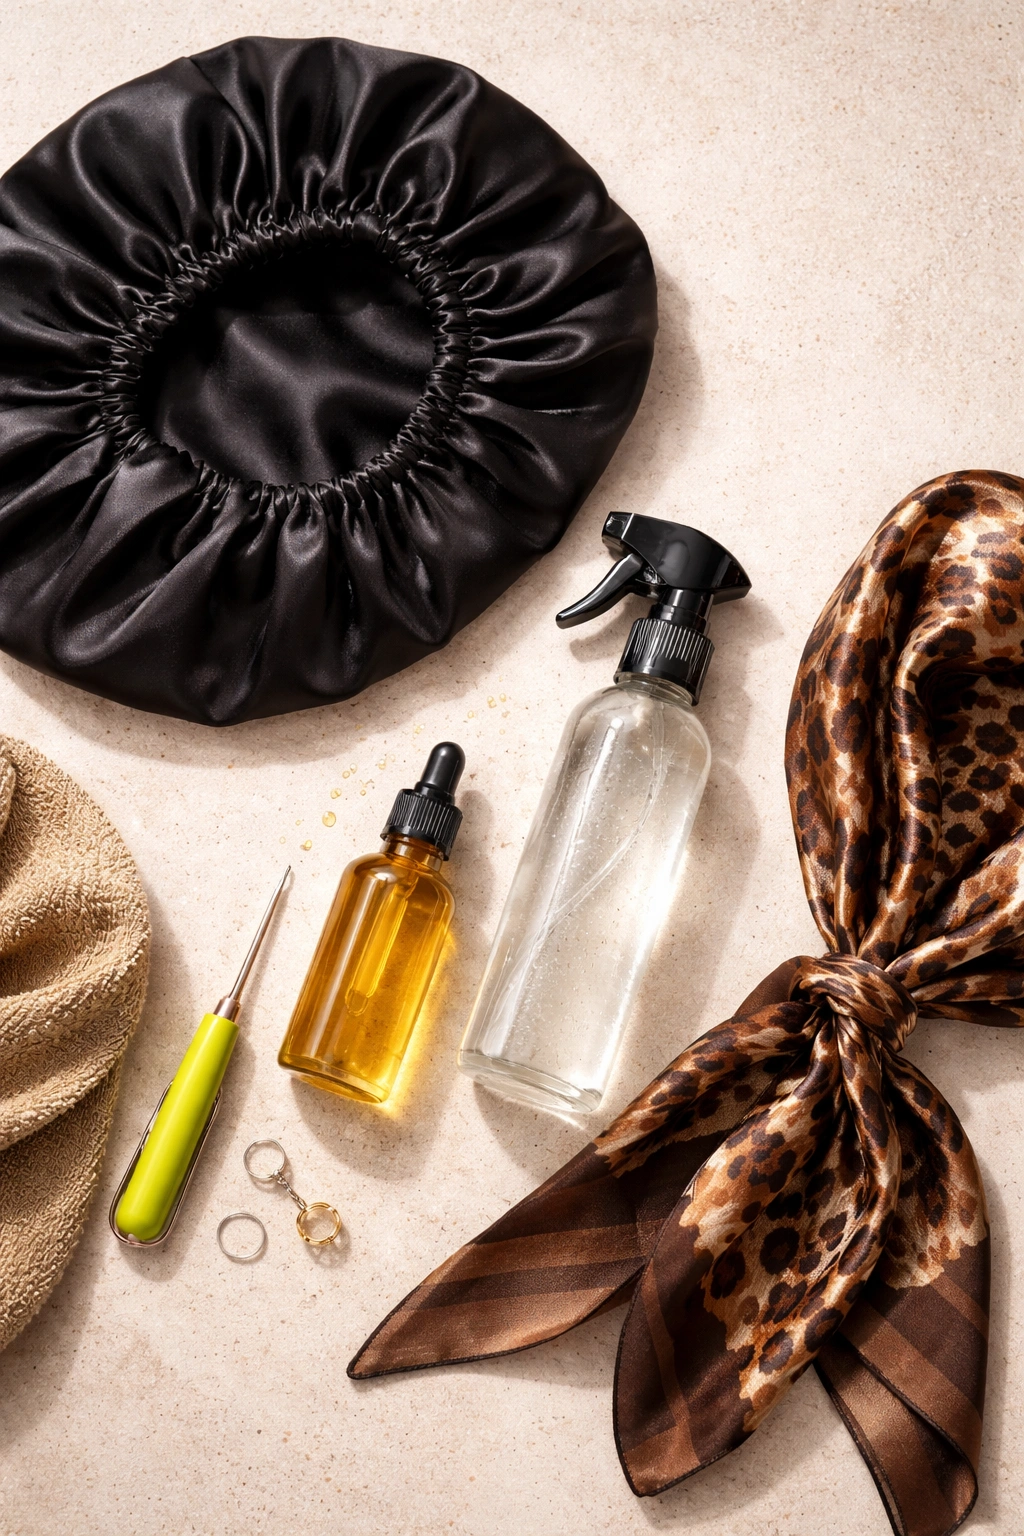
No matter which twist style you choose, proper maintenance is what determines whether your twists look fresh and intentional or tired and unraveling after just two weeks. Start by establishing a nighttime routine—sleeping in a pineapple (twists gathered loosely on top of your head) or wrapped in a bonnet or silk scarf prevents friction that causes frizzing and unraveling. Every morning, lightly mist your twists with a hydrating spray and apply a light oil or twist refresher cream to any areas that look dull or frizzy.
Weekly refreshment is crucial, especially for the roots. Use a crochet hook to gently re-hook any twists that have loosened at the base, or carefully re-twist the roots by hand if they’re not too loose. For twists with extensions, focus on the root area since that’s where loosening happens first. Every two to three days, moisturize your scalp with a lightweight oil and massage it gently to keep your roots healthy and prevent itching.
Wash your twists every 7-10 days using a sulfate-free shampoo and focusing primarily on your scalp and the roots of your twists. You don’t need to wash the entire length of each twist—just let the water run through them as you rinse. After washing, apply a moisturizing leave-in conditioner and seal it with an oil, then let your twists air dry completely before sleeping on them. Plan for a deep conditioning session every 2-3 weeks to keep your natural hair hydrated and healthy underneath the protective style.
Choosing the Right Twist Style for Your Hair Length
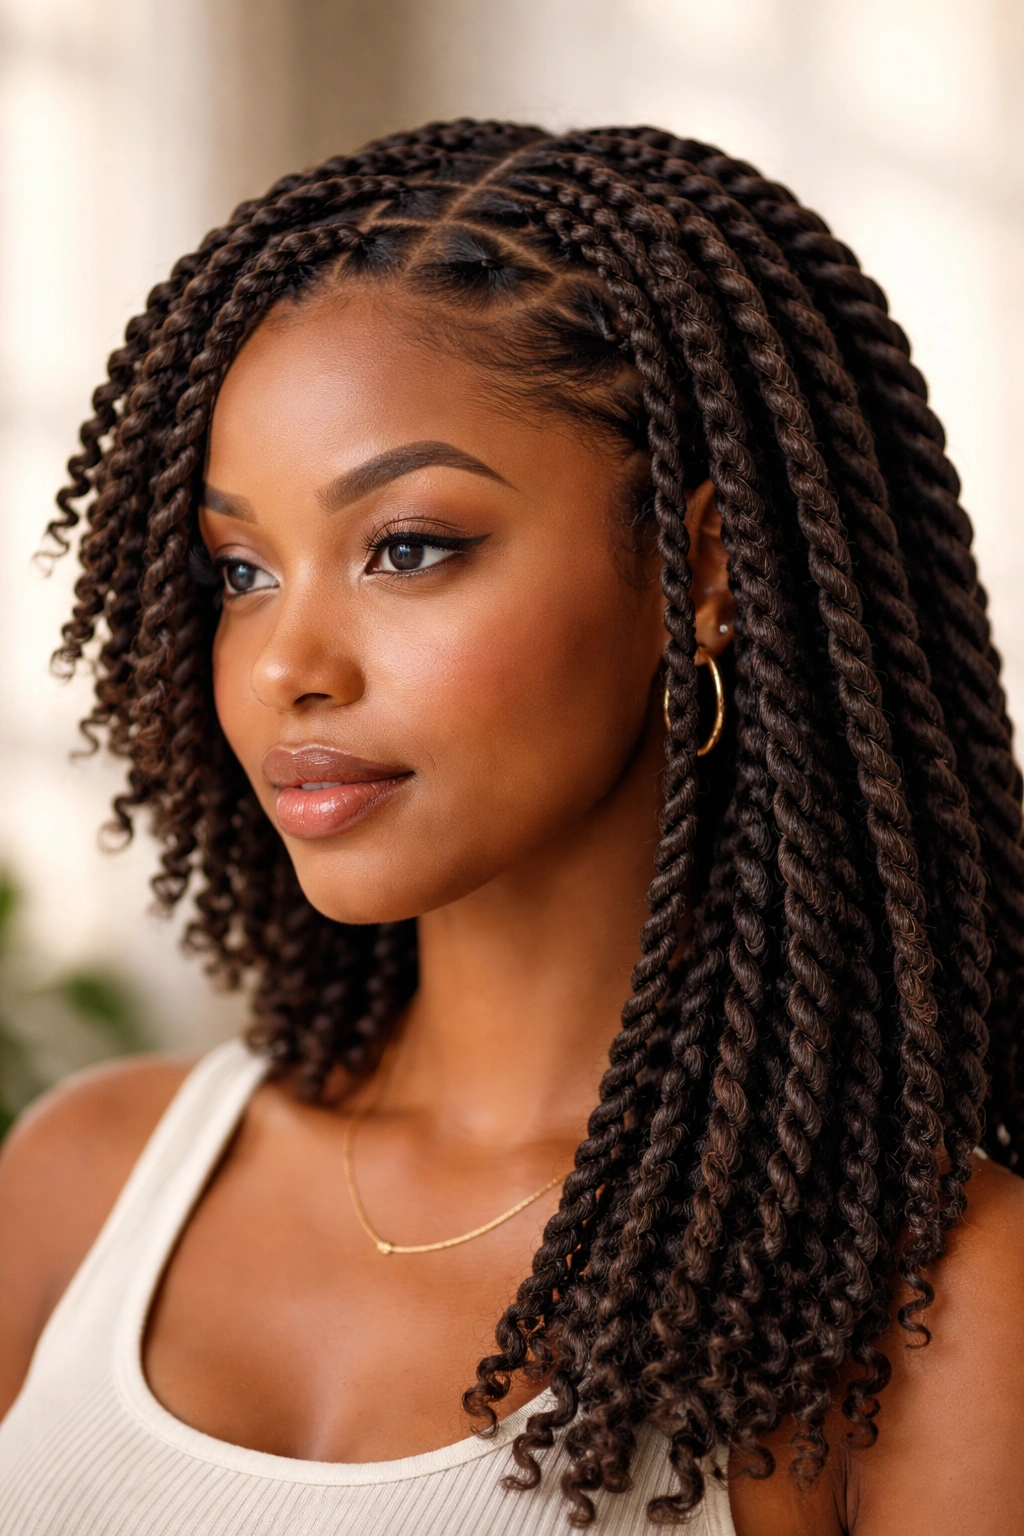
Your hair length is one of the most important factors in determining which twist style will work best for you and which will look most stunning. For short hair (pixie cuts, tapered cuts, or hair under two inches all over), double strand twists and mini twists work beautifully without looking sparse or struggling with weight. Crochet twists are also perfect because the lightweight installation doesn’t pull on your short lengths. Avoid rope twists and faux locs, which require more length to look proportional.
Shoulder-length hair opens up unlimited possibilities. Double strand twists, Senegalese twists, passion twists, crochet twists, and rope twists all work beautifully at this length. You have enough hair to show off thickness and texture, but not so much length that heavier styles create tension. Asymmetrical designs start working well at this length too, giving you room to create visual interest through varying sizes and directions.
Mid-back length or longer is where you can really play with everything. Faux locs shine at longer lengths where you can create dramatic, floor-length designs. Rope twists look bold and statement-making. Crochet twists, passion twists, and Senegalese twists all look sophisticated with tons of movement and dimension. At this length, you can also create more intricate parting patterns and asymmetrical designs that might look too busy on shorter hair.
Understanding Twist Installation Time and Commitment
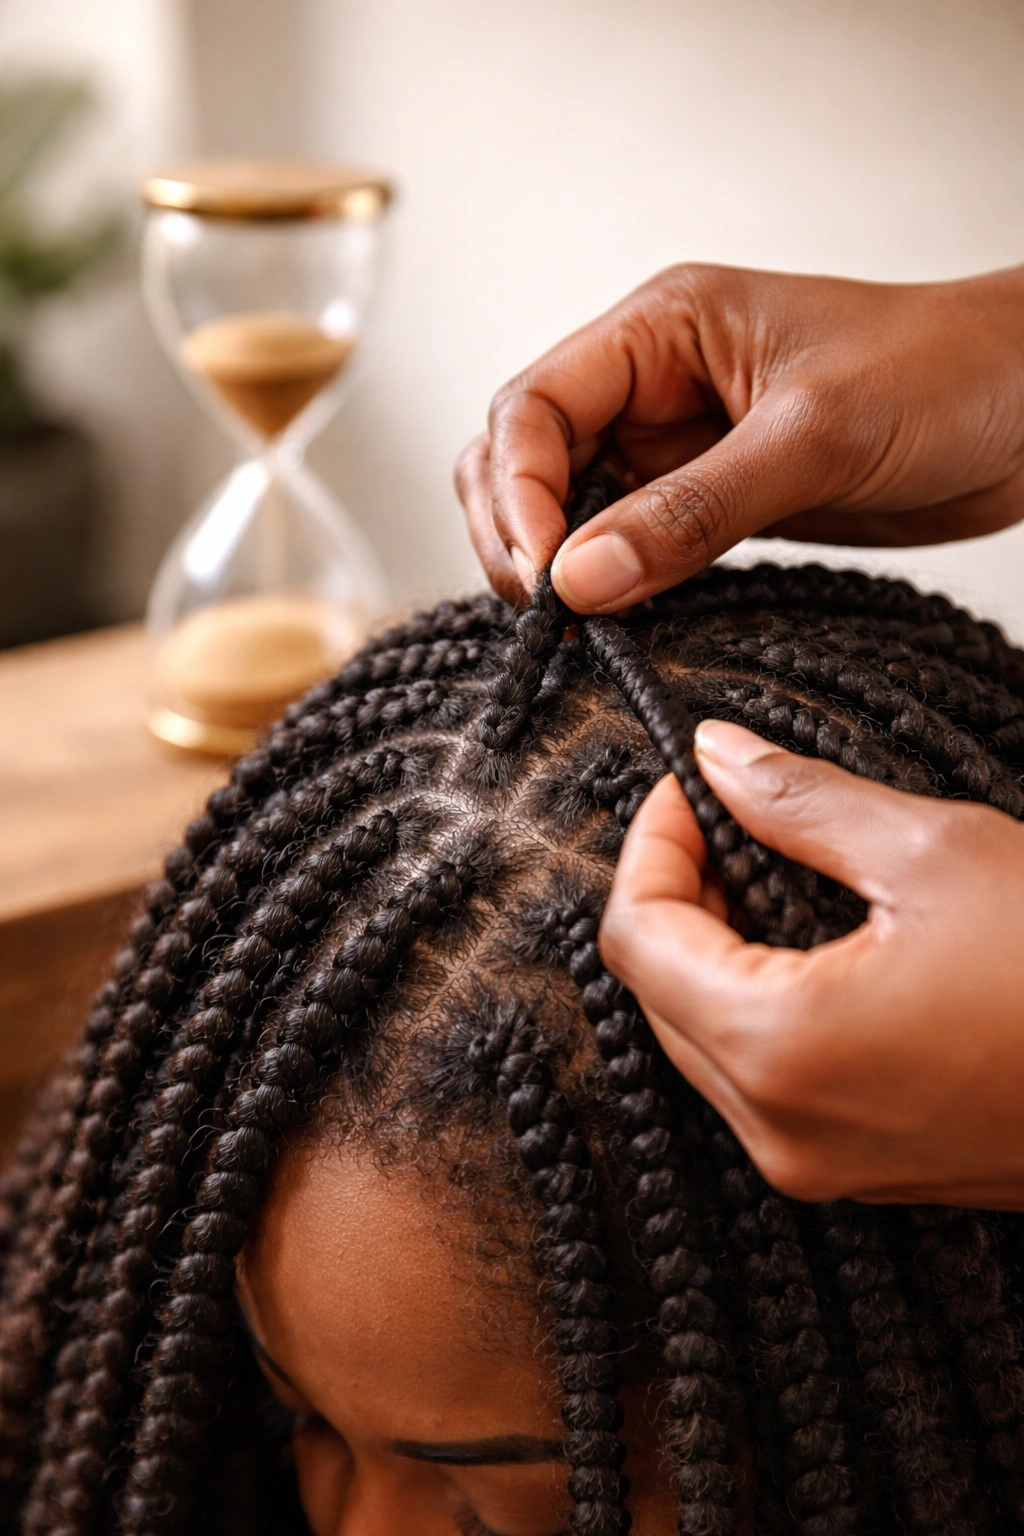
Installation time varies dramatically depending on the style and size, and it’s important to choose a style based on whether you have the time available. Quick installs (one to two hours) include rope twists and larger crochet twists—perfect if you want a style without a full-day commitment. Moderate installs (two to four hours) include regular Senegalese twists, standard double strand twists, and passion twists—these are the most popular choices because they balance installation time with lasting longevity and beautiful appearance.
Time-intensive installs (four to eight hours or more) include mini twists, micro twists, and faux locs. These styles are worth the time investment if you plan to keep them in for several weeks and want that high-definition, detailed appearance. If you’re doing the installation yourself, plan to work in chunks rather than trying to do your entire head in one marathon session—your hands and arms will thank you, and you’ll likely do more precise, even work when you’re fresh.
Professional installation always takes less time than DIY because stylists have been doing this for hundreds of hours and have incredible efficiency. A professional can install styles that might take you eight hours in five or six. Budget accordingly—installation costs vary by location and stylist, but professional work typically costs $75-300 depending on style complexity and location. If you choose DIY installation, invest in quality tools (a good comb, clips for section separation, good lighting) and take your time; rushing leads to uneven sections and frustration.
Final Thoughts
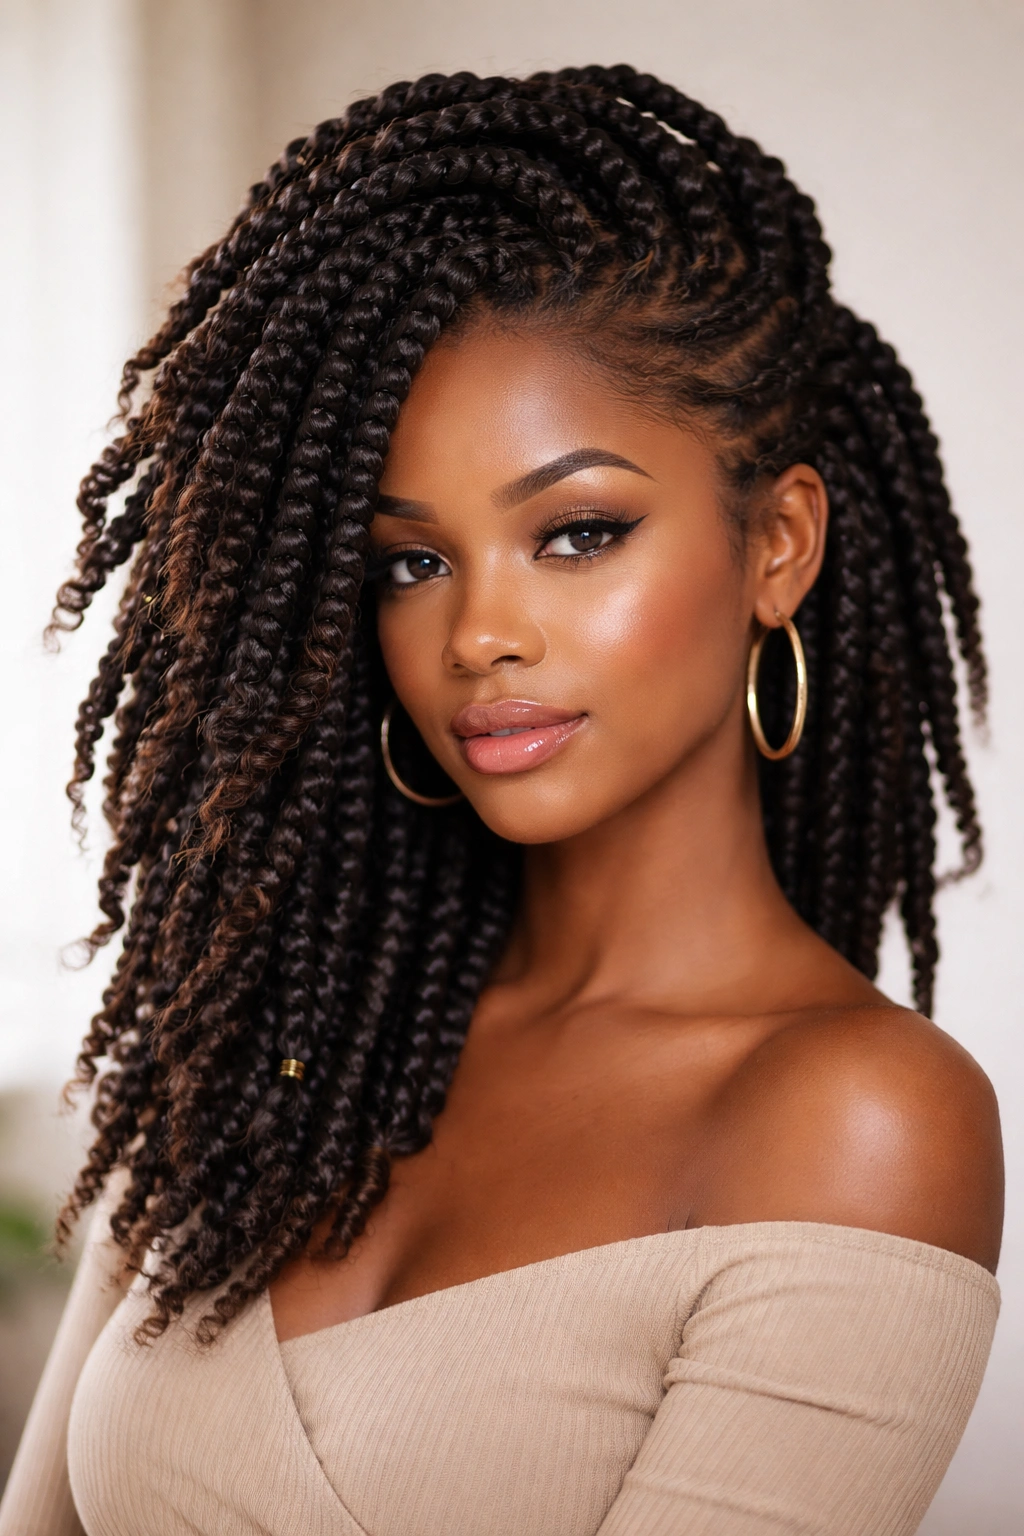
Afro twist braids are more than just a protective hairstyle—they’re a canvas for expressing your creativity, celebrating your natural hair texture, and caring for your hair while looking absolutely stunning. Whether you choose the timeless elegance of double strand twists, the architectural detail of micro twists, the voluminous appeal of passion twists, or the artistic statement of an asymmetrical design, you’re choosing a style that protects your hair while making you feel confident and beautiful.
The key to getting the most from any twist style is matching it to your hair length, lifestyle, and maintenance capacity. There’s no “best” twist style—only the best style for you right now, at this moment, with your specific hair, your available time, and your personal preferences. Start with a style that excites you, follow the installation and maintenance guidelines, and give yourself grace as you learn. Your twists are a form of self-care and self-expression, and that’s worth celebrating every single time you look in the mirror.
