



The afro puff is one of the most versatile, protective, and honestly beautiful hairstyles for natural hair. Whether you’re rocking a wash-and-go situation, protecting your ends during styling, or just looking for a no-fuss option that looks intentional and polished, afro puffs offer endless possibilities. The beauty of this style lies in its simplicity — it requires minimal products, can be done in under five minutes once you understand the technique, and looks fantastic regardless of your curl pattern or hair density. From sleek and polished versions to textured, tousled takes, afro puffs work for every season, every occasion, and every mood.
What makes afro puffs so special is that they celebrate natural texture rather than fighting against it. Unlike styles that require heat tools or heavy manipulation, puffs showcase the gorgeous volume and definition that comes naturally when you gather your hair and let it do its thing. They’re also incredibly practical — they keep hair off your face, reduce daily manipulation and breakage, and give your styling routine a break while still looking intentional and put-together. Whether you’re heading to the gym, the office, or out for the evening, there’s an afro puff variation that fits the vibe.
The versatility doesn’t stop at basic styling either. You can dress up a puff with accessories, combine it with braids or twists, play with placement on your head, and create everything from romantic to bold looks using the same fundamental technique. The best part? Once you master the foundational puff, you’ll find yourself naturally experimenting with variations and making the style completely your own.
1. Classic High Afro Puff
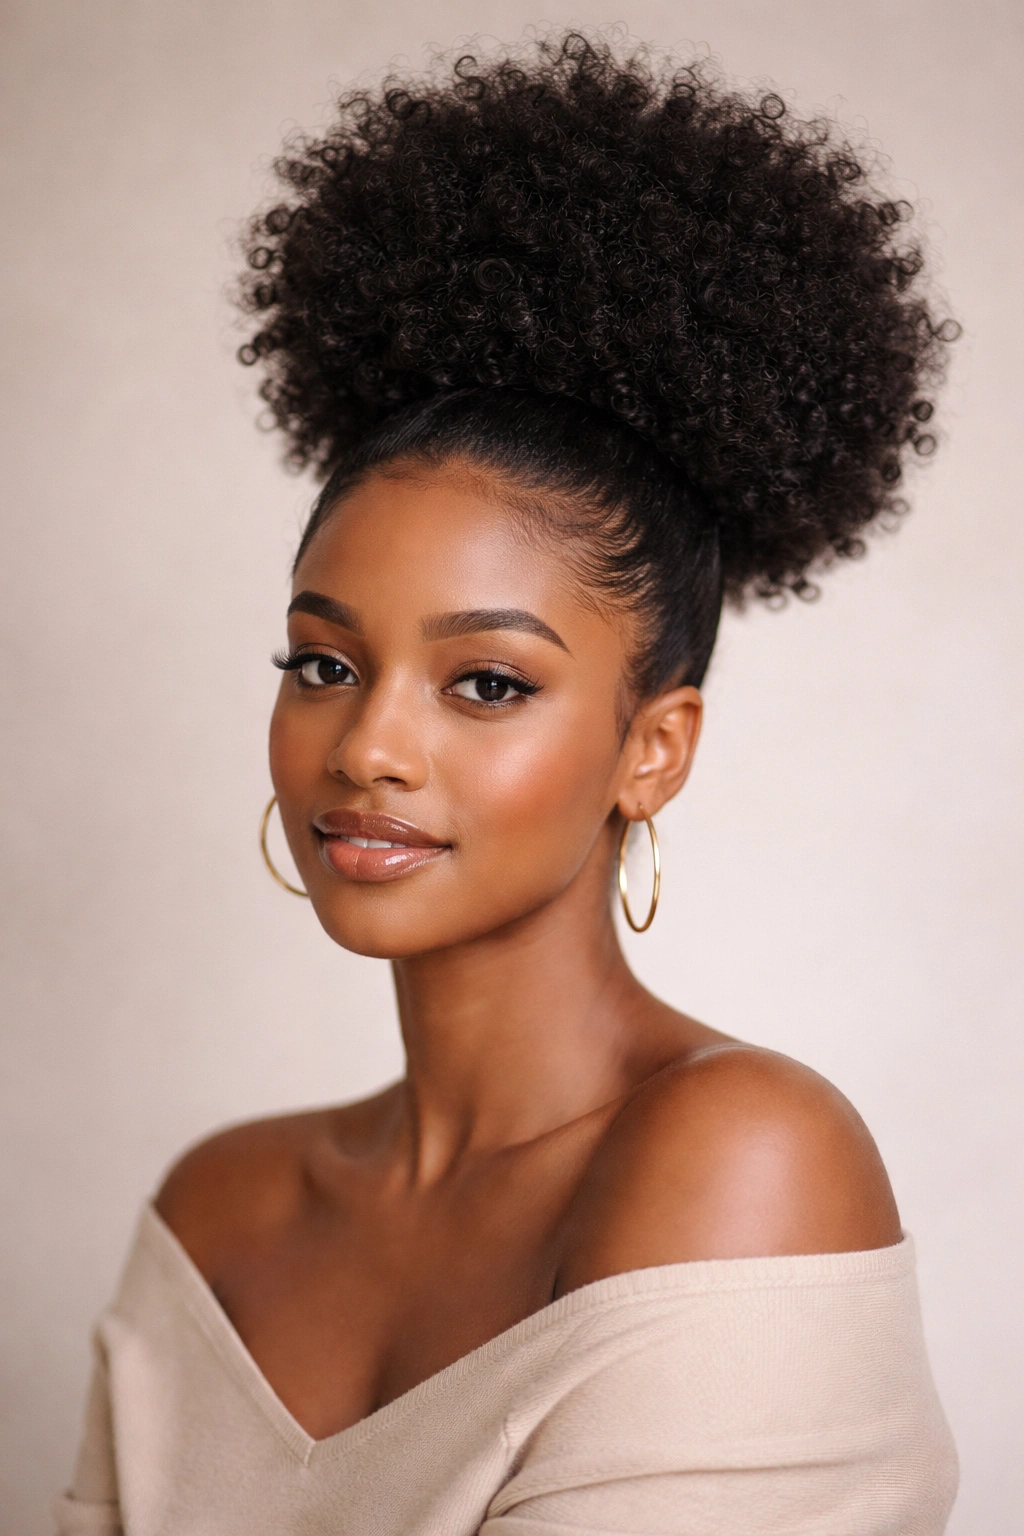
The classic high afro puff sits at the crown of your head, gathering your hair into a full, rounded shape that’s both effortless and striking. This is the version most people picture when they think “afro puff,” and for good reason — it’s universally flattering, works with any hair length (as long as you have enough to gather), and delivers maximum volume and drama with zero effort. The height of a high puff naturally frames your face beautifully while showing off your hairline and facial features, making it work whether you’re keeping it casual or dressing up.
Why It Works for Every Look
The high puff’s position creates the illusion of lifted, open space around your face, which brightens your complexion and gives you an instantly polished appearance. Because the puff sits at your crown rather than lower on your head, it creates visual lift and elongates your neck — a flattering effect that works for different face shapes. The gathered style also means your hair stays secure throughout the day without constant re-touching, so you get that “just right” look that lasts from morning through evening.
How to Create the Perfect High Puff
- Flip your head forward and gather all your hair at the crown — this position helps you collect every strand evenly
- Use a smooth or textured hair tie (depending on whether you want sleek or tousled) to secure the puff about two inches from the roots
- Gently tease or fluff the puff with your fingers to create volume and dimension
- Release a few baby hairs or face-framing pieces if desired for a softer, more romantic feel
- Spritz with light-hold spray to keep everything in place without stiffness
Pro tip: If your puff feels flat on one side, try repositioning your parting slightly or gathering hair from that section with a bit more tension to build symmetry.
2. Double Afro Puffs
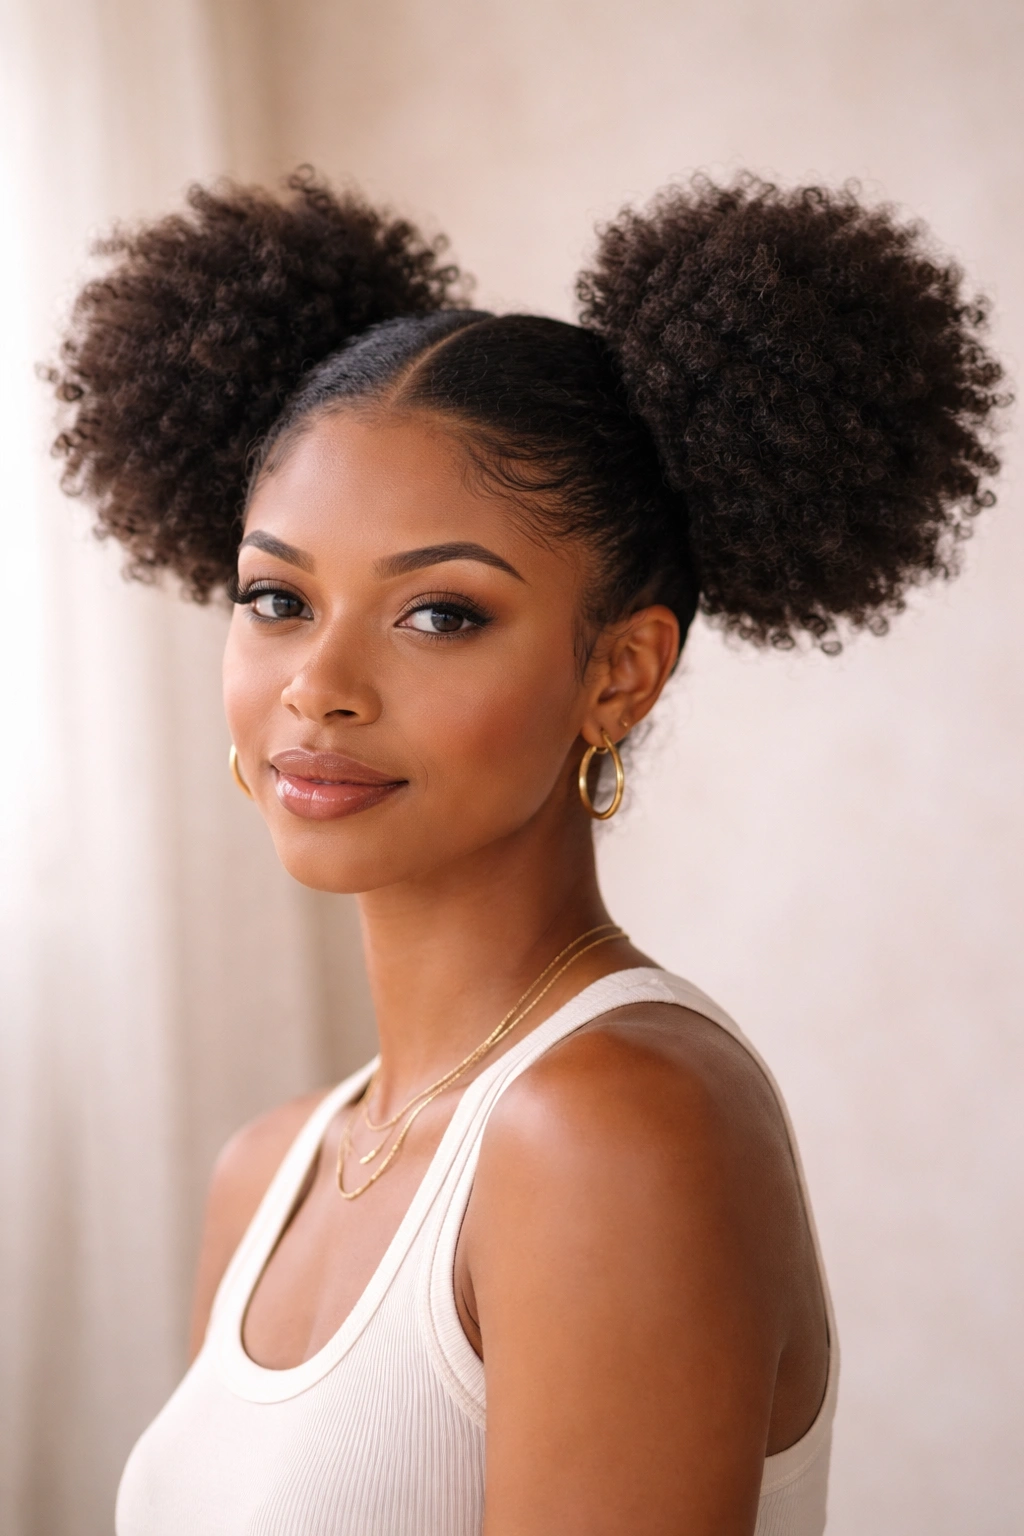
Double puffs are fun, youthful, and genuinely playful — they deliver instant personality and work beautifully whether you’re going for cute and casual or bold and statement-making. Placing one puff on each side of your head (roughly where your ears are, maybe slightly higher) creates perfect symmetry and gives you a look that’s both polished and undeniably joyful. This style is particularly flattering on rounder face shapes because the two puffs create visual vertical line, and it’s genuinely fun because it feels different every single time you style it.
Why Double Puffs Make Such an Impact
The symmetry of two puffs is inherently pleasing to the eye and creates a balanced, intentional appearance that reads as put-together even when you’ve barely touched your hair. Double puffs also distribute your hair volume more evenly across your head, which can be more comfortable if you have very thick or heavy hair — instead of gathering everything at one point, you’re spreading the weight across two anchor points. This style also tends to last longer throughout the day because the tension is distributed, meaning less stress on your roots and less likelihood of the puff drooping.
Steps to Style Perfect Double Puffs
- Create a clean center part from your hairline to the nape of your neck
- Gather one half of your hair (from temple to back) and secure it with a hair tie at about ear level, positioning the tie toward the back of where that section naturally clusters
- Repeat on the other side, making sure both puffs sit at the same height for symmetry
- Fluff each puff with your fingers, working gently to create rounded, full shapes
- Smooth down your center part with a small brush and edge control for definition
- Tease the puffs slightly if you want extra volume and texture
Worth knowing: Double puffs work especially well with slightly damp hair because damp hair holds its shape better when gathered, preventing that flat look that sometimes happens with bone-dry puffs.
3. Textured Top with Puff
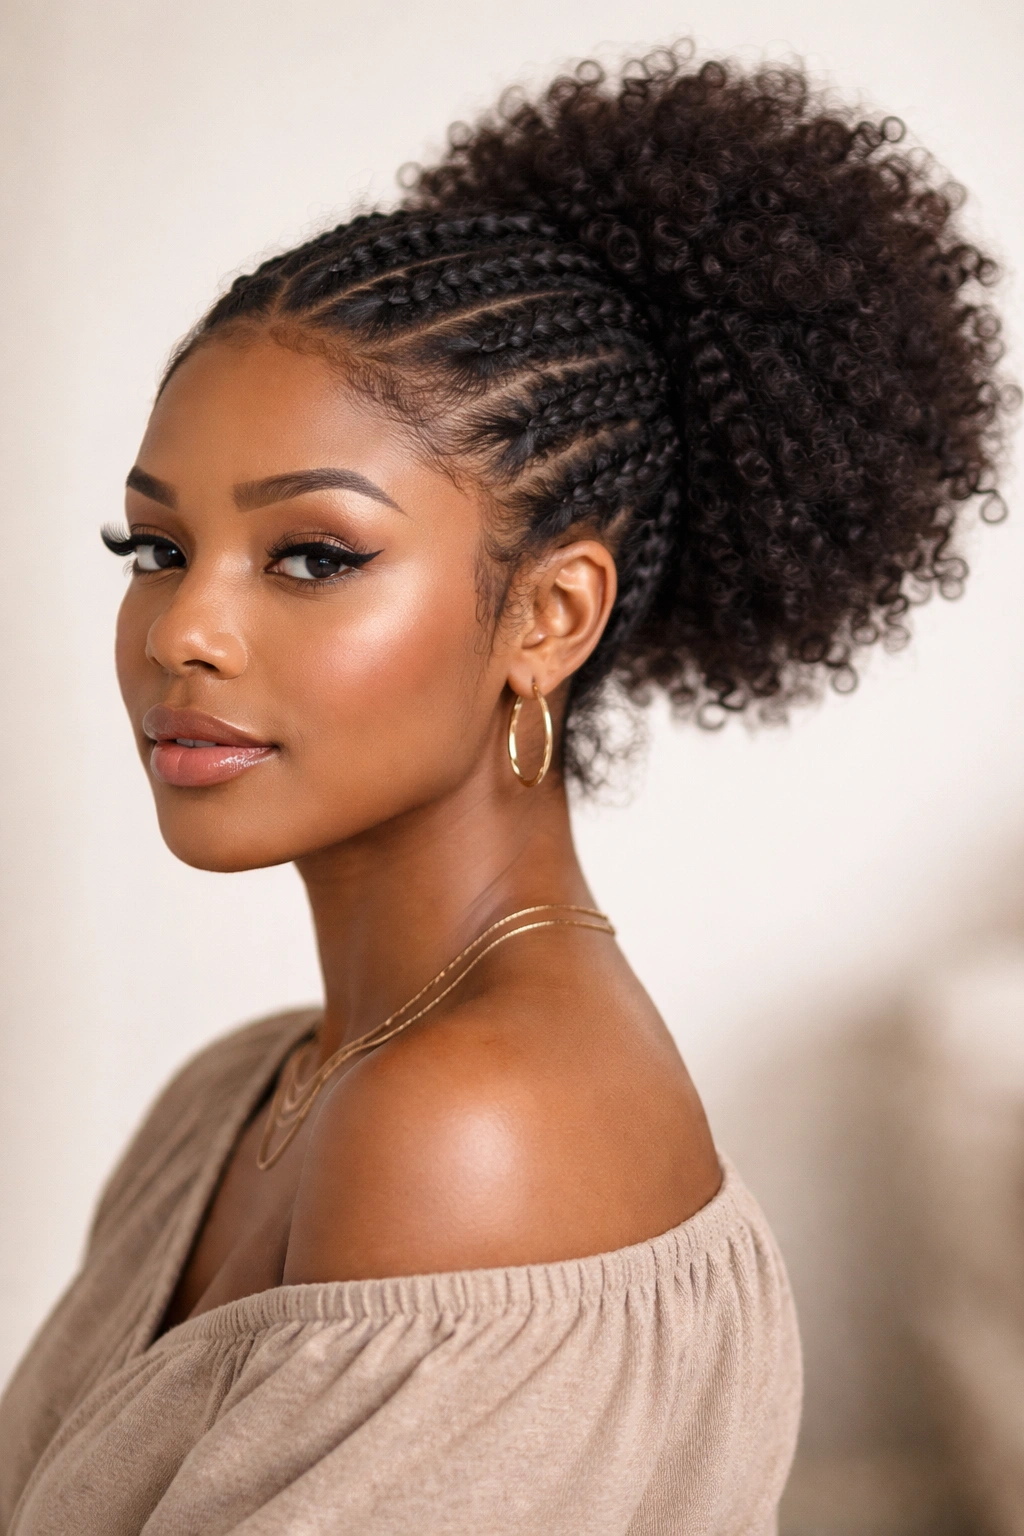
This style is all about creating visual interest and dimension by leaving the hair around your crown slightly loose or braided while gathering the bulk of your hair into a puff lower down. The effect is sophisticated and modern — you get all the practical benefits of a puff while maintaining some of that textured, piece-y aesthetic that makes natural hair so gorgeous. This approach works beautifully for special occasions when you want something more elevated than a basic puff but still want that signature gathered look.
What Makes This Style So Dynamic
The layering of texture creates depth and movement that a simple puff alone can’t achieve. By leaving some hair out at the crown or creating small braids or twists that lead into the puff, you’re adding an intentional design element that shows you’ve put thought into your styling. This technique also works well if you have some shorter pieces or layers in your hair that don’t fit neatly into a traditional puff — instead of fighting against them, you’re incorporating them into the design.
How to Build a Textured Top Look
- Start with clean, detangled hair that’s slightly damp or damp-ish for easier styling
- Create two or three small two-strand twists or French braids starting at your crown and leading toward the back of your head
- Gather your remaining hair (including the ends of the braids) into a puff at the nape of your neck or mid-back area
- Leave the twisted or braided sections showing at the top, which creates that dimensional, intentional look
- Gently fluff the puff and use your fingers to shape the braids for a softer appearance
- Secure any flyaways with a light-hold styling cream
Insider note: This style is a great way to add visual interest without extra length requirements, making it perfect even if your hair is shorter or you’re transitioning between protective styles.
4. Side-Swept Afro Puff
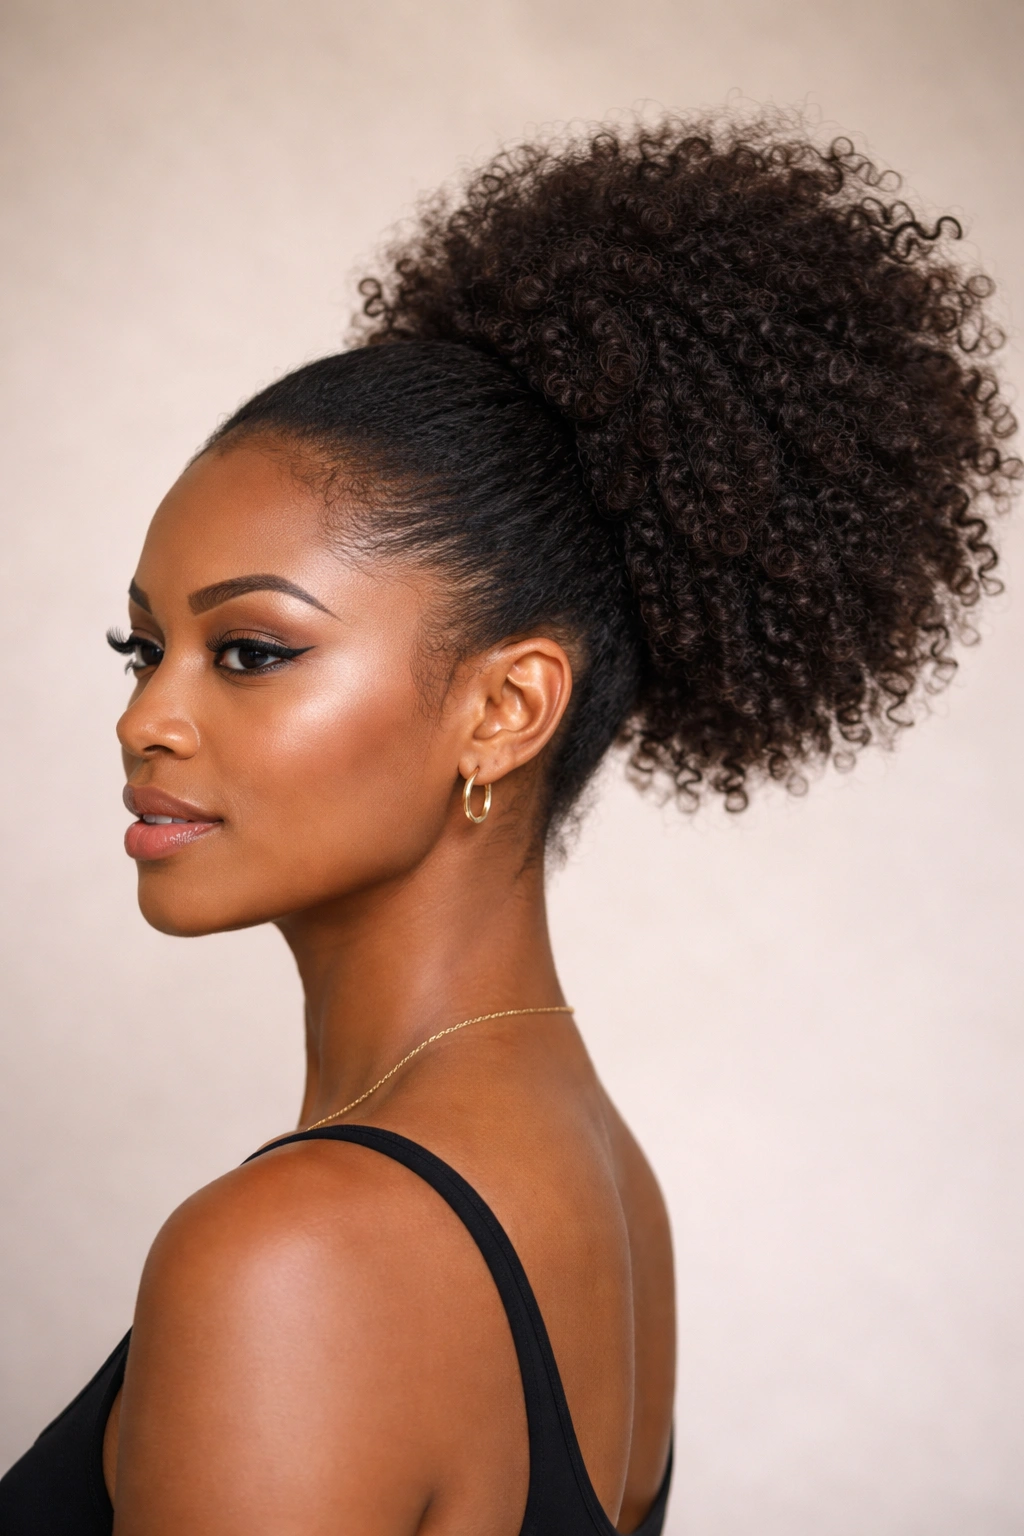
A side puff shifts your gathered hair to one side of your head, creating an asymmetrical, flirty look that feels modern and intentional. Instead of gathering at the crown or splitting down the middle, you’re creating all your volume on one side — left, right, or somewhere in between — which gives your face asymmetrical framing and feels both playful and sophisticated. This variation works beautifully if you prefer one side of your face or if you’re just looking for something different from the classic crown placement.
Why Side Puffs Photograph So Well
The asymmetry of a side puff is inherently flattering to many face shapes and actually draws attention to your facial features rather than pulling focus upward like a high puff does. The side placement also creates a beautiful neckline and shoulder line, which is why this style photographs so well and why it’s become increasingly popular for special events and photo shoots. There’s also something undeniably romantic about a puff positioned to one side — it feels intentional and styled without being overdone.
Creating Your Side Puff
- Determine which side feels more natural for you — flip your head gently to decide
- Gather your hair predominantly toward that side, collecting hair from both the back and opposite side to funnel it all into one puff
- Position your hair tie toward the back of your head on your chosen side, securing the gathered hair
- Fluff and shape the puff to create volume in the direction you want
- Leave a few pieces out around your face on the side without the puff to balance the asymmetry
- Use a side part or parting that complements the side you’ve chosen for your puff
Pro tip: If your side puff feels unbalanced, try leaving slightly more hair out on the opposite side of your face to create visual equilibrium even though your gathered hair is asymmetrical.
5. Twisted Afro Puff
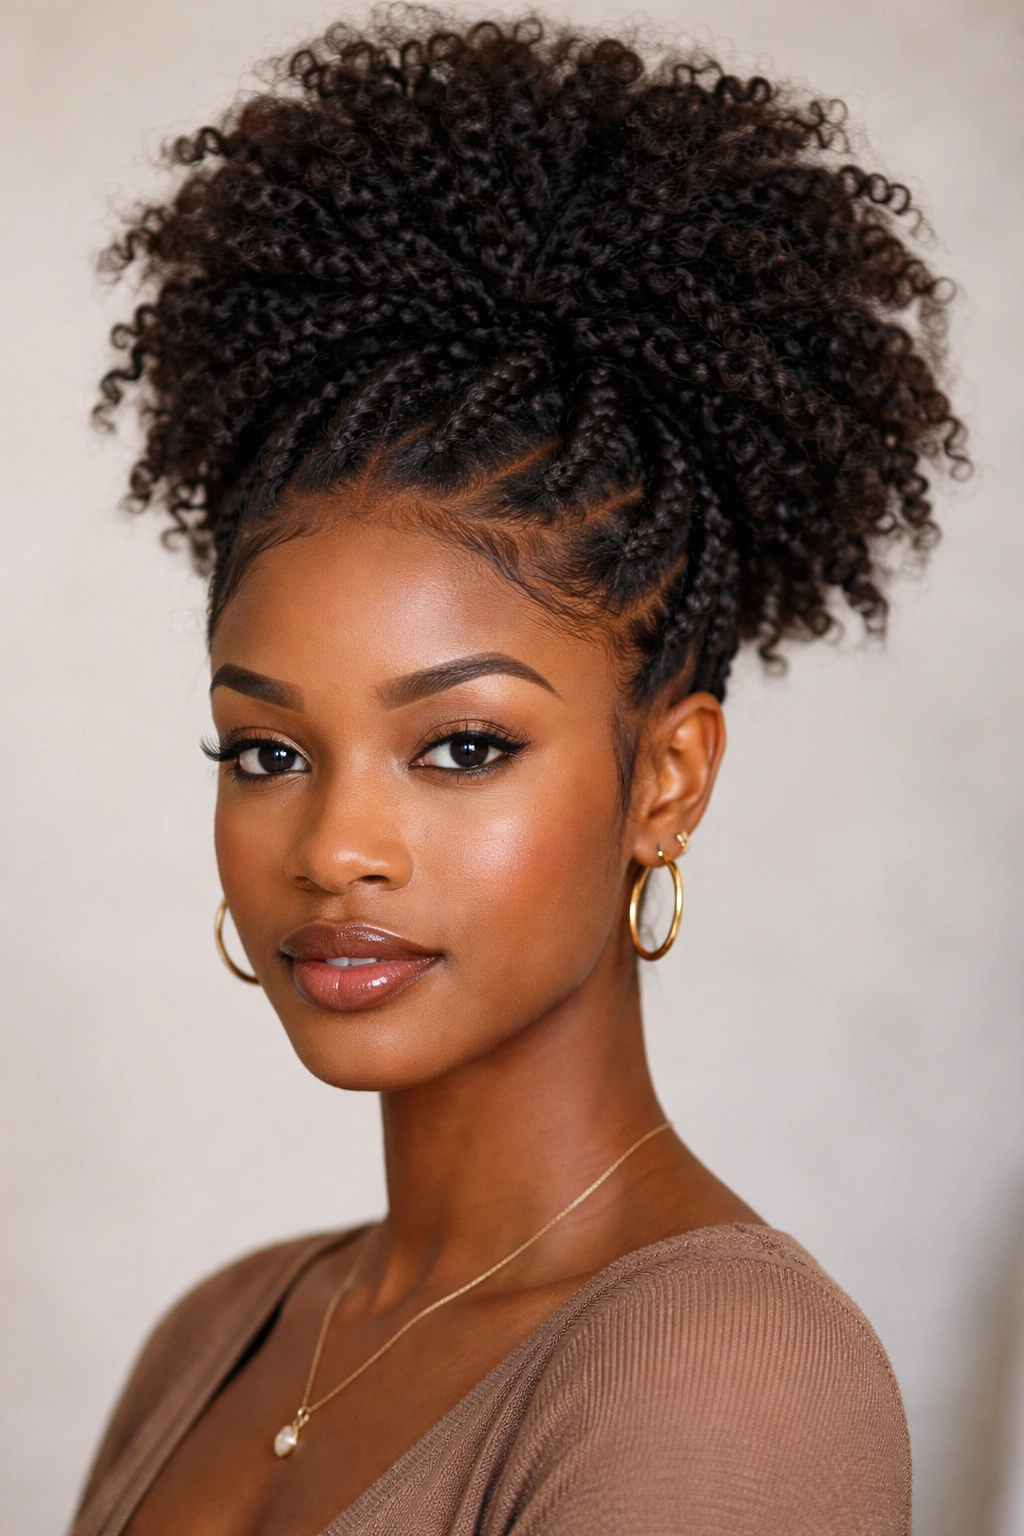
A twisted puff incorporates two-strand twists into the style, either by twisting small sections and gathering them into a puff, or by creating twists throughout your gathered hair and puff. This approach adds texture, definition, and intentionality to what could otherwise be a basic style. The twists give your puff incredible dimension and show that you’ve invested thoughtfulness into your styling — which makes it work beautifully for occasions when you want your hair to feel special while still being practically protective and manageable.
The Visual Impact of Twists
Twists create line and definition that play beautifully with light and shadow, making your hair look more voluminous and sculpted than a smooth, untwisted puff. The texture of twists also holds better throughout the day, meaning your puff is less likely to flatten or lose its shape. Additionally, twists are protective — by twisting your hair before gathering it into a puff, you’re reducing direct manipulation of your curl pattern and protecting your ends, making this a great option if protective styling is part of your routine.
Steps to Create a Twisted Puff
- Start with damp hair and apply a light moisturizer or styling cream
- Create two-strand twists starting from one side of your head, twisting sections as you move toward the back
- Gather all your twisted and untwisted hair into a puff at your crown or preferred placement
- Gently coil the ends of some twists around the base of your puff for added dimension
- Allow twists to dry (or blow dry gently) so they hold their shape and definition
- Separate the twists slightly with your fingers once dry to create texture
Worth knowing: Twisted puffs actually work well left in overnight and re-fluffed the next morning, making them a sustainable style that lasts multiple days with minimal daily re-styling.
6. Sleek Afro Puff
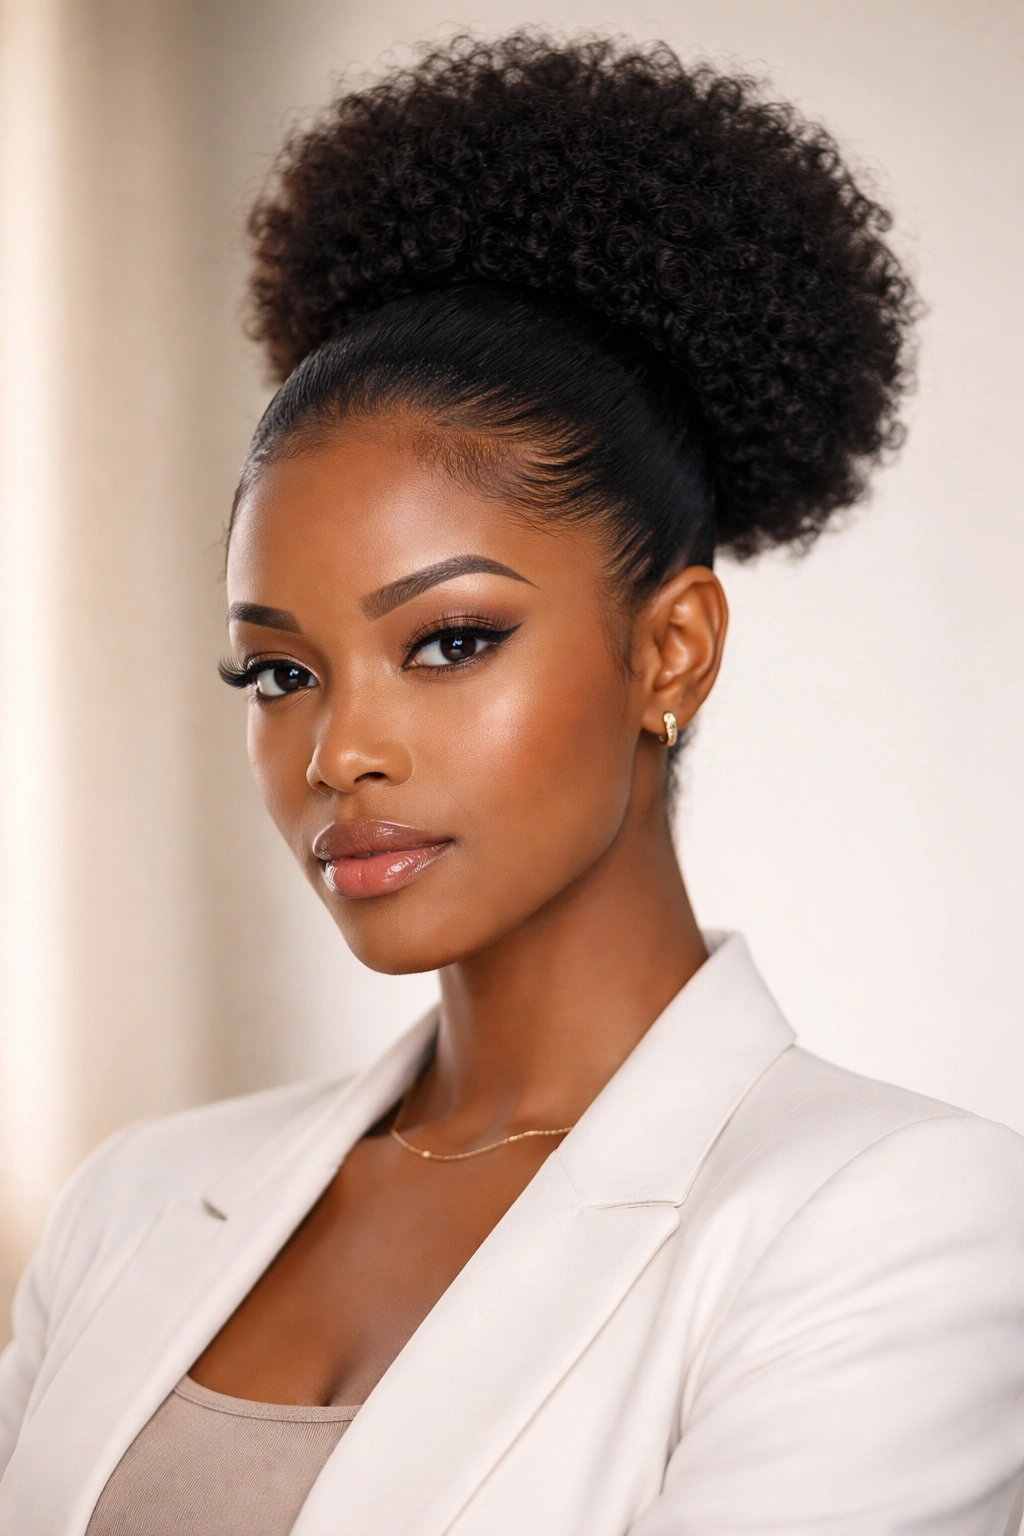
A sleek puff is the polished, sophisticated cousin of the textured variety. Instead of leaving pieces out or embracing your natural texture, you’re smoothing your hair back with edge control and creating a puff that’s rounded and full but with a clean, refined appearance. This style bridges the gap between natural hair and more formal looks, making it perfect for professional settings, special events, or whenever you want your hair to feel intentional and groomed without being complicated or time-intensive.
Why Sleek Puffs Are Timeless
The sleek puff has been a go-to style across cultures and generations because it’s inherently flattering and works in virtually any setting. The smoothed-back look elongates your face and neck, shows off your features and accessories, and reads as polished and intentional. There’s also something deeply satisfying about the clean lines of a sleek puff — it feels put-together and professional without requiring heat tools or complicated styling techniques.
How to Create a Sleek Puff
- Start with clean, damp hair and apply a smoothing cream or gel to your edges and hair
- Use a fine-tooth comb or brush to smooth your hair back toward your crown, working out any lumps or bumps
- Gather your hair at your crown and secure with a smooth hair tie
- Use edge control to smooth down your hairline, creating clean lines from your parting to your puff
- Gently shape your puff, making sure it’s rounded and full without being too voluminous
- Finish with a light-hold spray to keep everything smooth and in place
Pro tip: For an extra-polished look, use a small brush to create a clean part and apply edge control precisely along that parting line — the clean part makes the entire style feel more intentional.
7. Half-Up Afro Puff
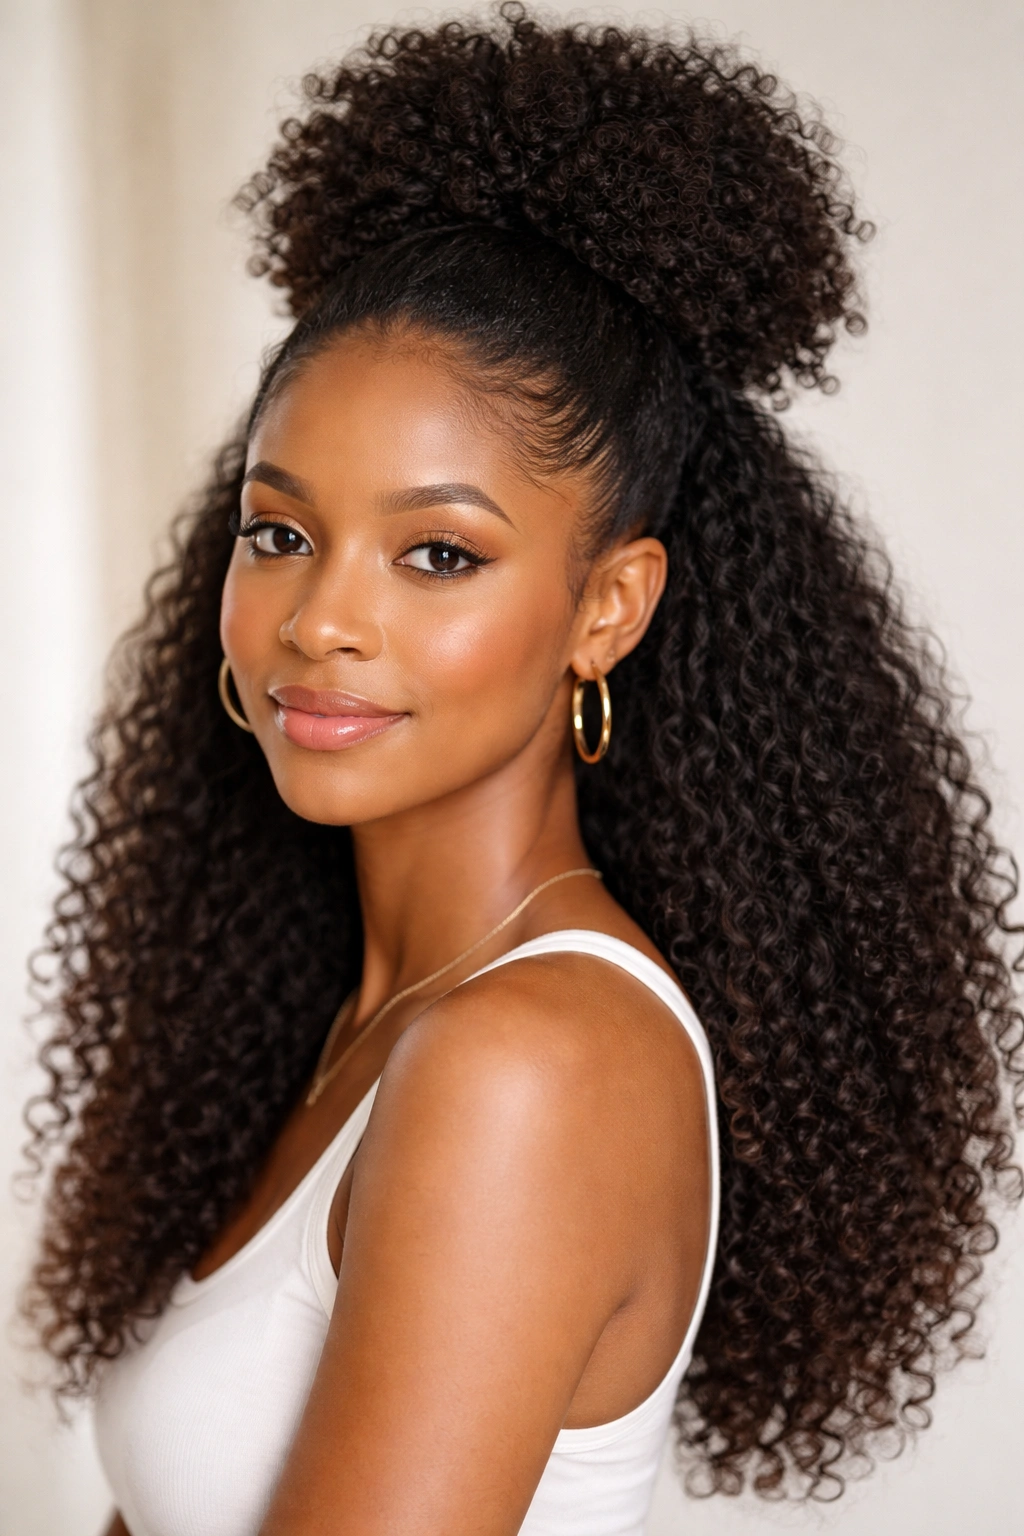
A half-up puff gathers only the hair on top of your head into a puff while leaving your bottom half down, creating a style that feels both loose and gathered, casual and intentional. This version is perfect when you want the benefits of a puff without completely committing to the fully gathered look — it gives you volume and style on top while showing off the length and texture of your full hair. This is also an excellent option if your hair is very thick or heavy, as gathering only half of it reduces the weight concentrated at one point.
Why Half-Up Puffs Feel So Balanced
The half-up approach creates visual balance and dimension that a full puff alone might not achieve. You’re getting the lifted, framing effect of gathered hair while maintaining the length and flow of your full hair, which creates a more romantic, multidimensional look. This style also feels versatile — depending on how much hair you gather and how you fluff the puff, it can look casual and beachy or intentional and styled for something special.
Creating a Half-Up Puff
- Flip your head forward and gather the hair from roughly your temples back to your crown
- Secure this gathered section with a hair tie, creating a puff at the top of your head
- Leave your bottom half of hair completely down or slightly wavy
- Fluff the gathered puff to create volume and dimension
- Optional: tease the puff gently at the roots to increase height
- Smooth the hair that’s left down with your fingers or a light product
Worth knowing: Half-up puffs work beautifully with curled or waved bottom sections, creating a romantic, layered effect that feels intentional without being overly complicated.
8. Braided Afro Puff
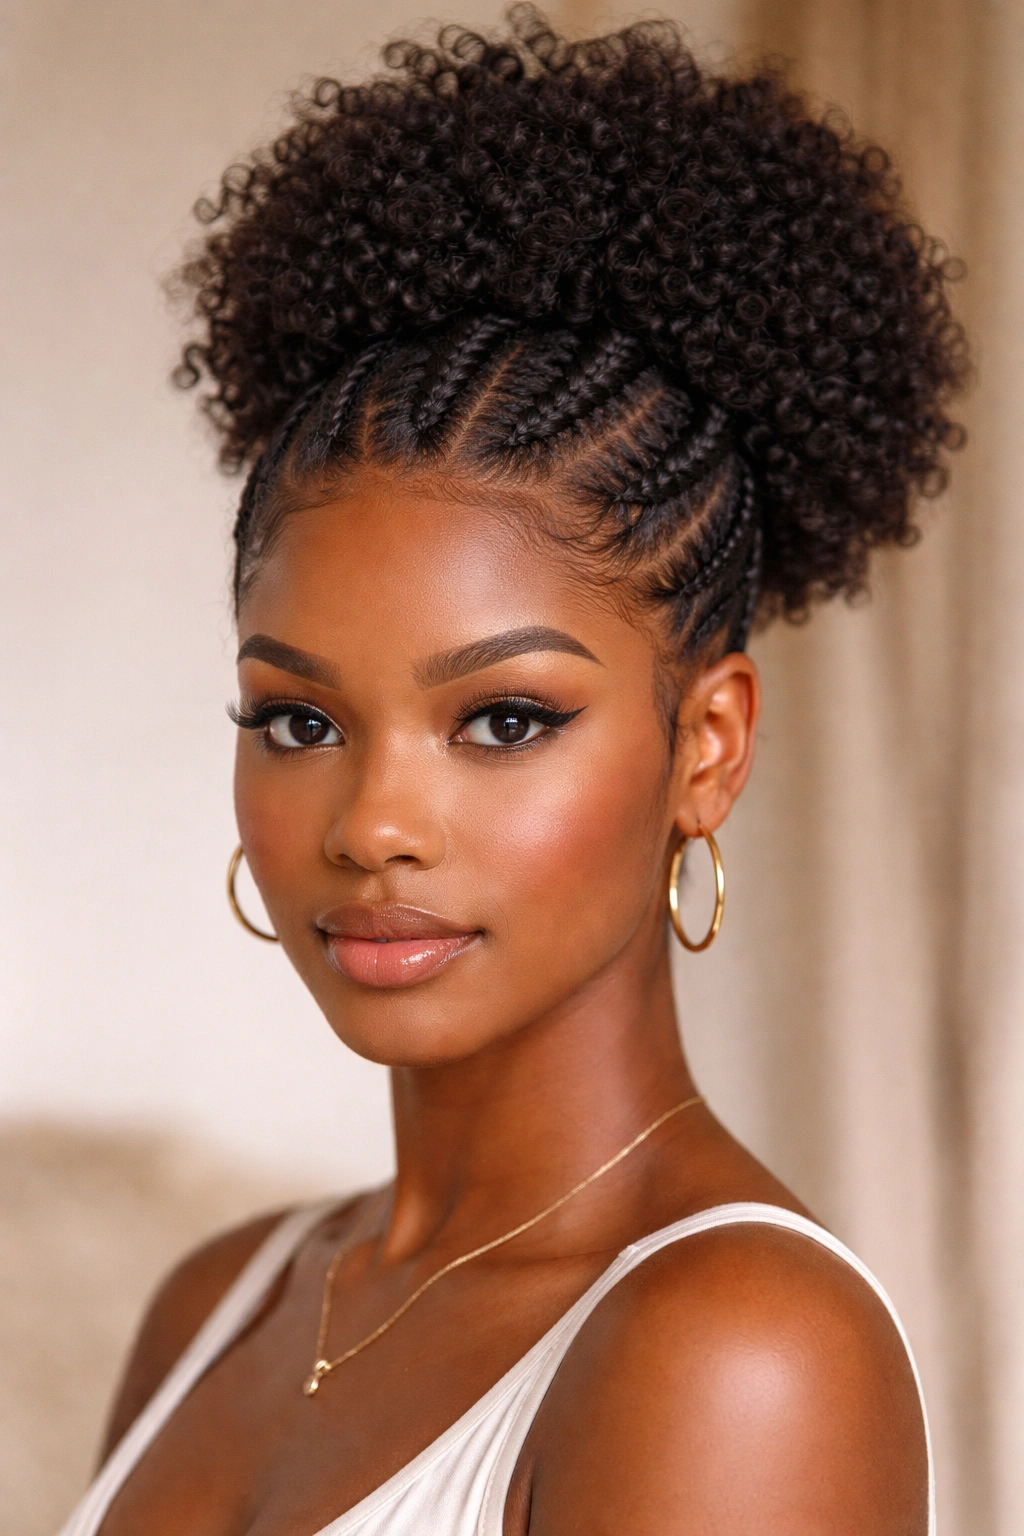
A braided puff combines the protective benefits of braiding with the gathered appeal of a puff. You can either braid sections and gather them into a puff, or braid around the base of an existing puff for added detail and definition. This style is particularly protective because braiding means less direct manipulation of your curl pattern, and it looks incredibly intentional and designed — perfect for when you want your styling to feel special and thoughtful rather than thrown-together.
The Protective and Aesthetic Benefits
Braiding your hair before gathering it into a puff means you’re reducing daily manipulation and potential breakage, making this a genuinely protective style even though it looks decorative and stylish. Braids also add texture, definition, and visual interest that make your puff feel less like a simple gathered style and more like a curated design. Additionally, braids hold their shape beautifully throughout the day, so a braided puff is less likely to flatten or lose its character as the day goes on.
How to Style a Braided Puff
- Section your hair into 4-6 parts, depending on thickness and desired detail
- Create a neat braid in each section, working from your roots toward the ends
- Gather all the braided sections together at your crown or preferred placement
- Secure with a hair tie, allowing the braids to coil naturally into the puff
- Gently separate and fluff the braids around the puff to create dimension
- Optional: wrap a small section of hair around the base of the puff to hide the hair tie
- Set with light-hold spray to maintain definition
Pro tip: This style actually improves over a day or two as the braids relax and soften slightly, so don’t feel like you need perfect, super-tight braids — slightly looser braids will feel more comfortable and look more romantic as they relax.
9. Curly Bang Puff
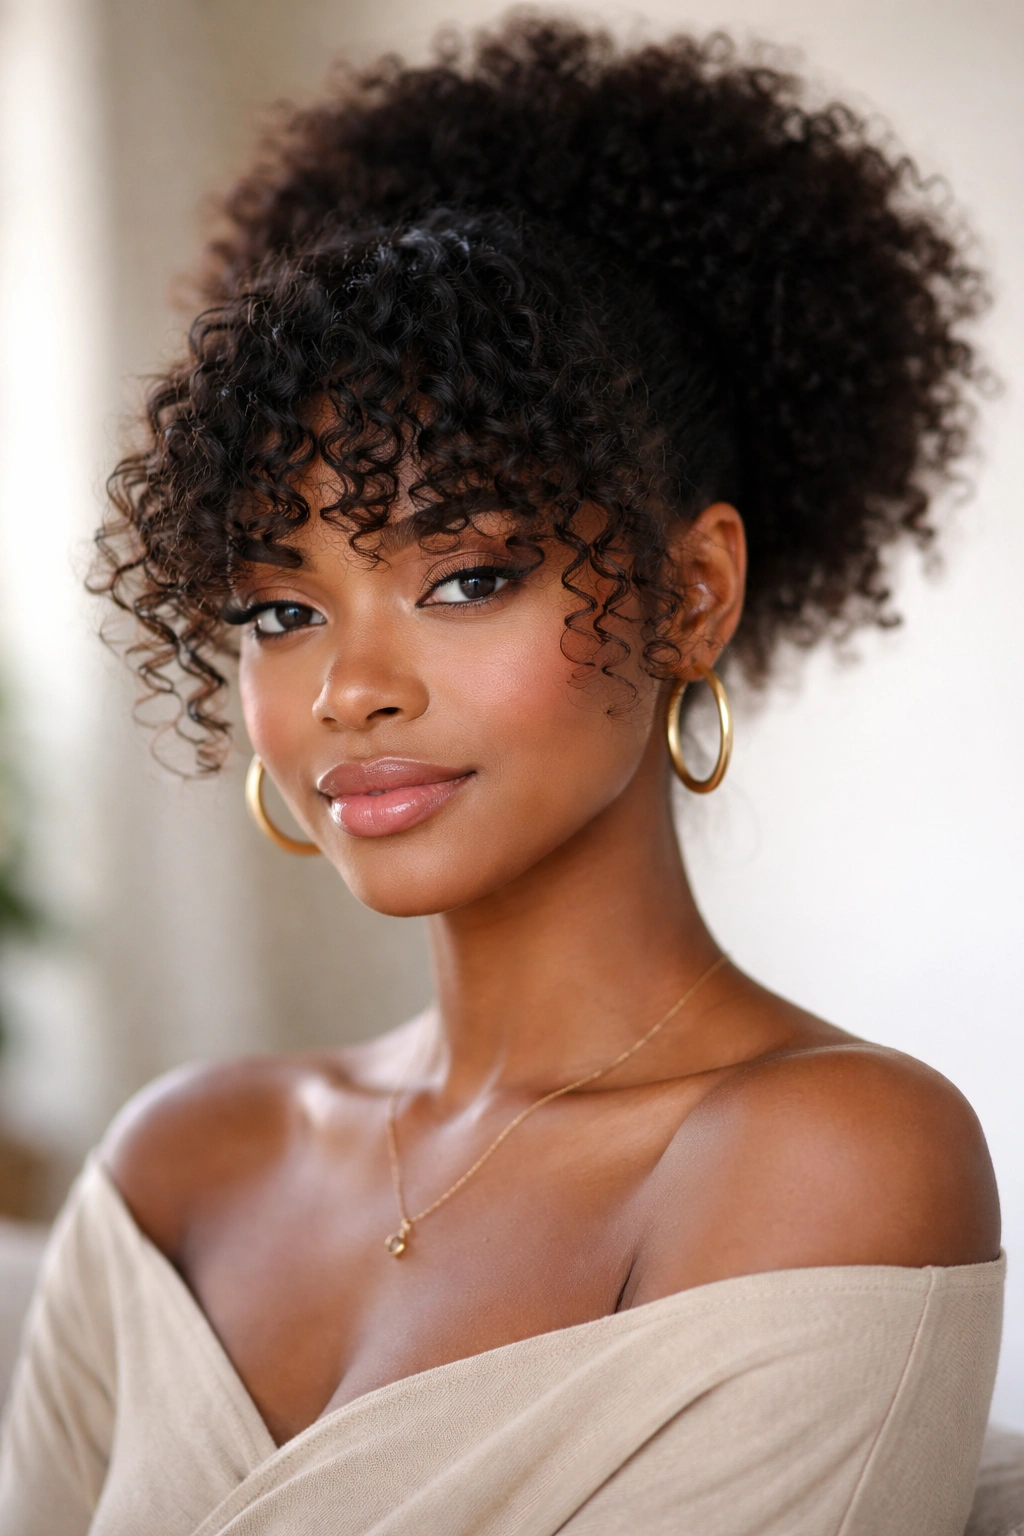
A curly bang puff creates volume and framing at the front by leaving a section of hair out in front of your face (creating “bangs”) while gathering the rest into a puff. This approach combines the practicality of a gathered style with the face-framing appeal of bangs, creating a look that feels feminine, youthful, and intentional. The curly bangs frame your face beautifully while the puff keeps everything else controlled and styled, making this a perfect middle-ground style for days when you want dimension without complexity.
Why Curly Bangs Add So Much Impact
Curly bangs — even loosely defined, softly face-framing ones — instantly change the entire feeling of a hairstyle and draw attention to your eyes and facial features. The texture and movement of curly bangs also adds visual interest and softness that a completely slicked-back puff might not provide. This style works beautifully for different face shapes and actually tends to be one of the most photogenic puff variations because of how it frames the face.
Steps to Create Curly Bangs with Your Puff
- Decide how much hair you want to leave out in front — this might be a small section on each side of your face or a slightly larger piece down the center
- Use a comb or your fingers to gently separate this front section from the rest of your hair
- Gather all your remaining hair into a puff at your crown or preferred location
- Secure the puff with a hair tie
- Take your curly bang section and gently shape it around your face — you can flip it side to side, flip it back, or let it flow naturally
- Use a light styling cream or gel on the bangs to encourage your curl pattern and keep them shaped as desired
Insider note: This style works especially well if you already have a natural curl pattern with definition — the curly bangs won’t require straightening or much manipulation, just some gentle shaping and product.
10. Puff with Accessories
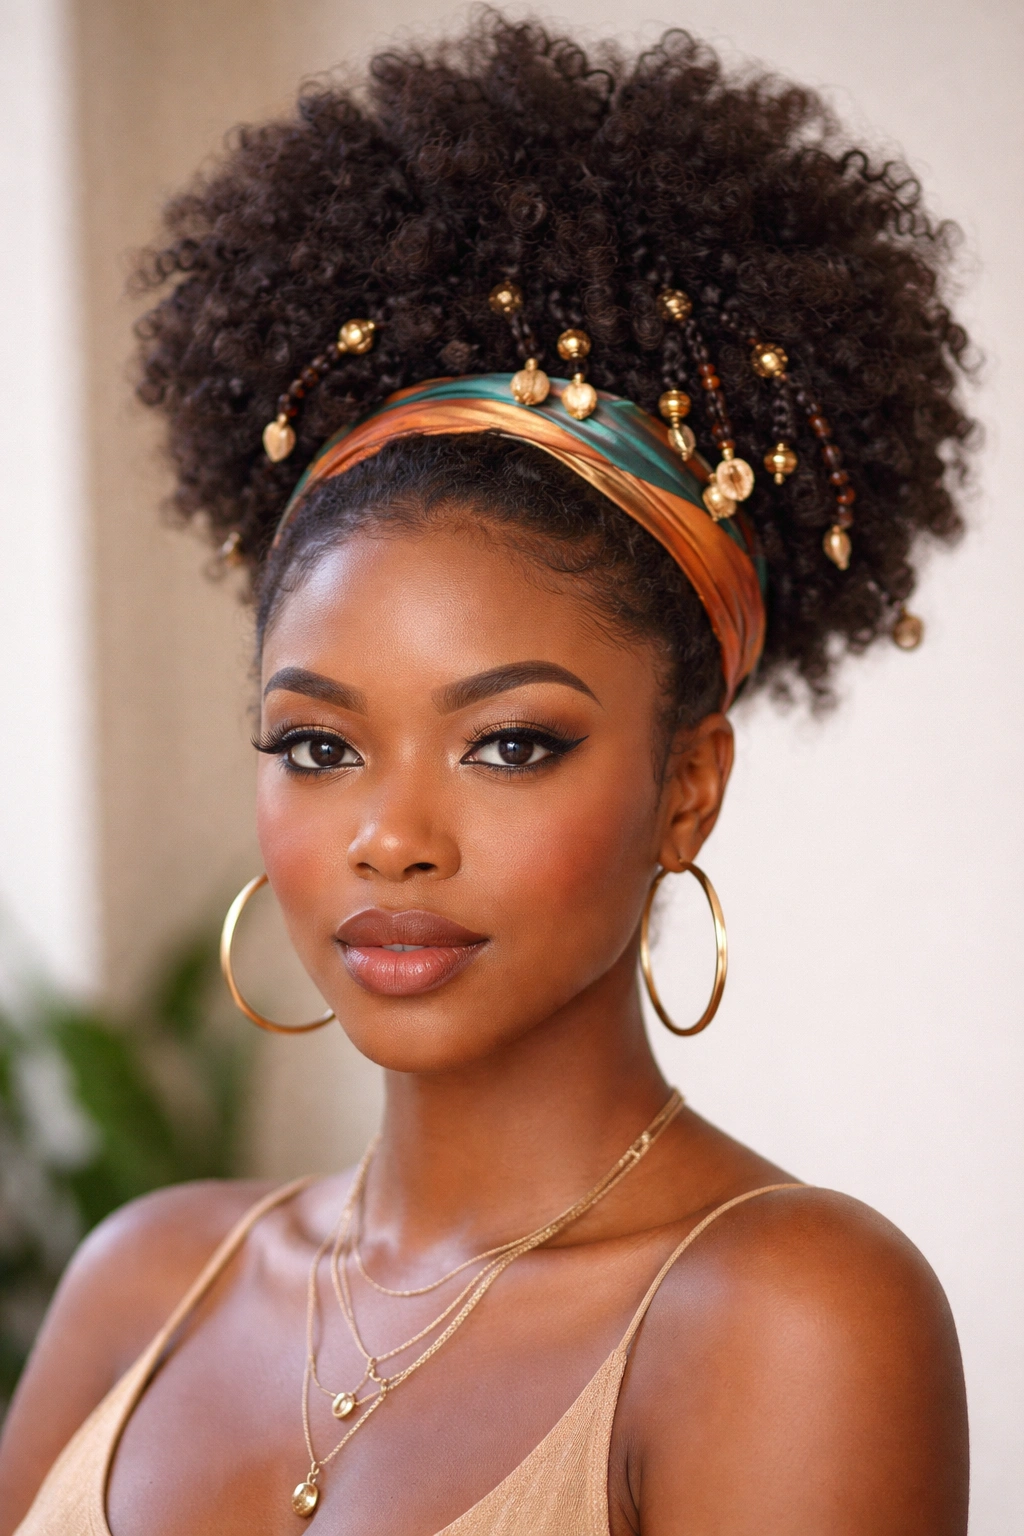
Your afro puff becomes an entirely different style when you add the right accessories. Whether you’re using fabric hair ties, decorative clips, headwraps, beads, shells, scarves, or hair jewelry, accessories transform a basic puff into something statement-making and special. This is where personalization really shines — your puff can reflect your mood, your cultural identity, your style aesthetic, or just the fact that you felt like adding something fun to your day.
How Accessories Change Everything
Adding accessories to your puff doesn’t require any additional styling technique — you’re just building on what you’ve already created. A colorful hair tie can make your puff feel playful and fun. A silk headwrap can turn your puff into a polished, intentional style. Beads or shells woven through your puff add movement, sound, and cultural significance. Hair clips can add shine and definition to your puff without any extra work. The beautiful thing is that you can change your accessories multiple times a week, essentially creating multiple looks from the same basic style.
Accessory Ideas to Elevate Your Puff
- Use a silk or satin hair tie instead of elastic to reduce friction and protect your hair
- Wrap a colorful silk scarf around the base of your puff for added color and texture
- Add decorative hair clips along the perimeter of your puff for shine and definition
- Weave beads, shells, or metallic pieces through sections of your puff for movement and cultural expression
- Use a decorative headwrap looped through your puff for added sophistication
- Layer multiple smaller clips around your puff for a modern, artistic look
- Add a hair cuff or metallic band around the base of your puff for instant polish
Worth knowing: When using decorative accessories, consider the weight — lighter accessories work better if you’re styling your puff high, while heavier pieces might feel more comfortable anchoring a lower, side, or half-up puff where the tension is naturally less pronounced.
Final Thoughts
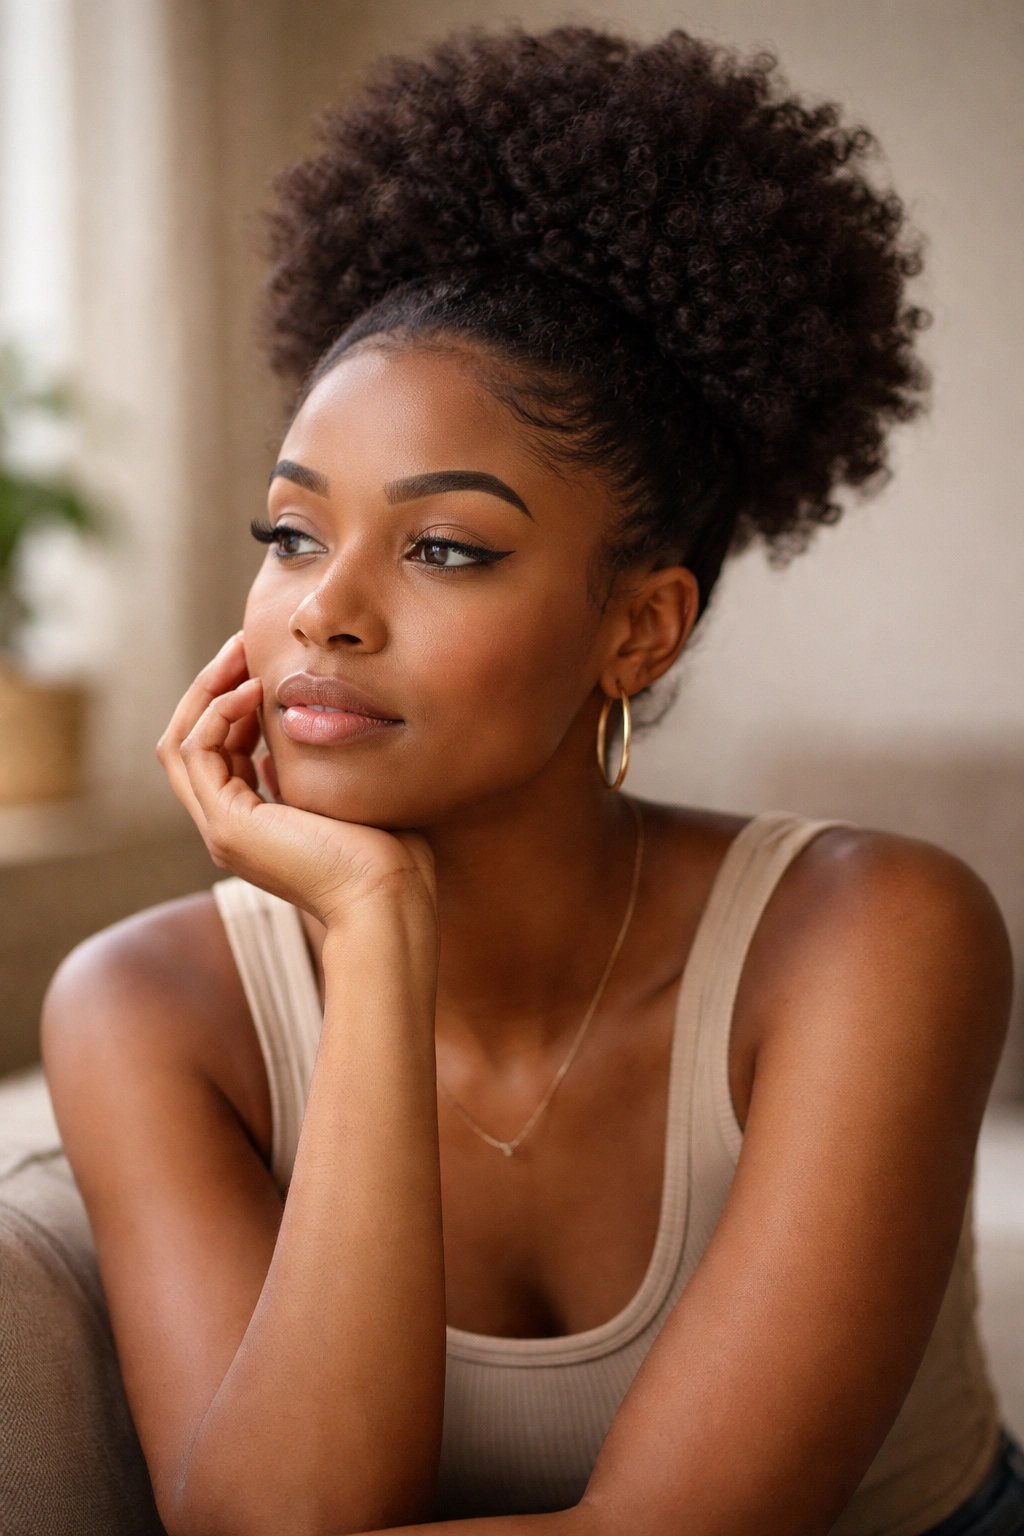
Your afro puff is genuinely one of your most powerful styling tools, and the best part is that you probably already have everything you need to create multiple variations. Whether you’re going for sleek and professional, textured and artistic, fun and youthful, or romantic and dimensional, there’s a puff style that matches your mood, your time availability, and your hair goals. The real magic is that once you master the basic technique of gathering your hair and creating volume, you can adapt and personalize it endlessly.
The styles we’ve covered here represent different approaches, placements, and embellishments, but they’re really just jumping-off points for you to experiment and create what works for your hair, your face shape, and your personal aesthetic. Pay attention to which styles make you feel most confident, which ones last longest in your hair, and which ones feel easiest to recreate on busy mornings. Build your styling repertoire slowly, trying one or two new variations until they feel natural, then moving on to the next.
Most importantly, remember that your natural hair is beautiful exactly as it is, and a puff celebrates that beauty rather than covering it up or working against your texture. Whether you’re wearing a puff as a protective style, a practical everyday choice, or a statement look for something special, you’re making an intentional choice to style your hair in a way that honors who you are. That’s the real power of afro puffs — they’re simple enough to do in five minutes but meaningful enough to make you feel like yourself.
