



Twist outs are one of the most transformative styling techniques for natural afro hair, creating defined curls and coils from a protective twist set. The beauty of a twist out lies in its versatility — the same technique yields dramatically different results depending on which twist out look you choose, how you section your hair, how tight you twist, and what products you use. Whether you’re aiming for sleek and polished, playfully tousled, voluminous and bouncy, or something unexpected and editorial, twist outs can deliver exactly what you’re imagining.
The technique itself is straightforward: you divide your hair into sections, twist each section from roots to ends, allow the twists to set (either overnight or while damp), then unravel them to reveal beautiful curl definition. But the look you end up with depends entirely on the choices you make during that process. Two people can follow the exact same twisting method and end up with completely different results simply because they approached the technique with a different vision.
What makes twist outs so special is that they’re both a protective styling method and a way to achieve stunning aesthetic results without heat damage. You’re not straightening your hair and then curling it — you’re working with your hair’s natural texture and enhanced curl pattern to create something intentional and beautiful. Once you understand the variables that shape the final look, you’ll be able to customize twist outs to match your mood, your schedule, and what you’re trying to accomplish with your styling.
Understanding Twist Outs and How They Work
Before diving into the eight distinct looks you can create, it helps to understand the mechanics of why twist outs work the way they do. When you twist sections of damp or wet hair, you’re setting a curl pattern into each strand as it dries. The tighter you twist, the tighter the curl you’ll get when you unravel. The looser you twist, the more relaxed and wave-like your unraveled curl will be.
The time your twists set matters tremendously. A four-hour set while damp will give you definition, but an overnight set allows your hair to fully dry and lock in a more durable curl pattern. Sleeping on twists or leaving them in for 12+ hours typically produces more pronounced, longer-lasting definition than removing them while your hair is still slightly damp.
Your hair texture, density, and individual curl pattern also influence how your twist outs look. Fine-textured hair with loose curls might produce softer waves from the same twist method that creates tight coils in coarser-textured hair. This isn’t better or worse — it’s just different, and understanding your own hair’s response is key to consistently achieving the look you want.
What You Need Before You Start Twisting
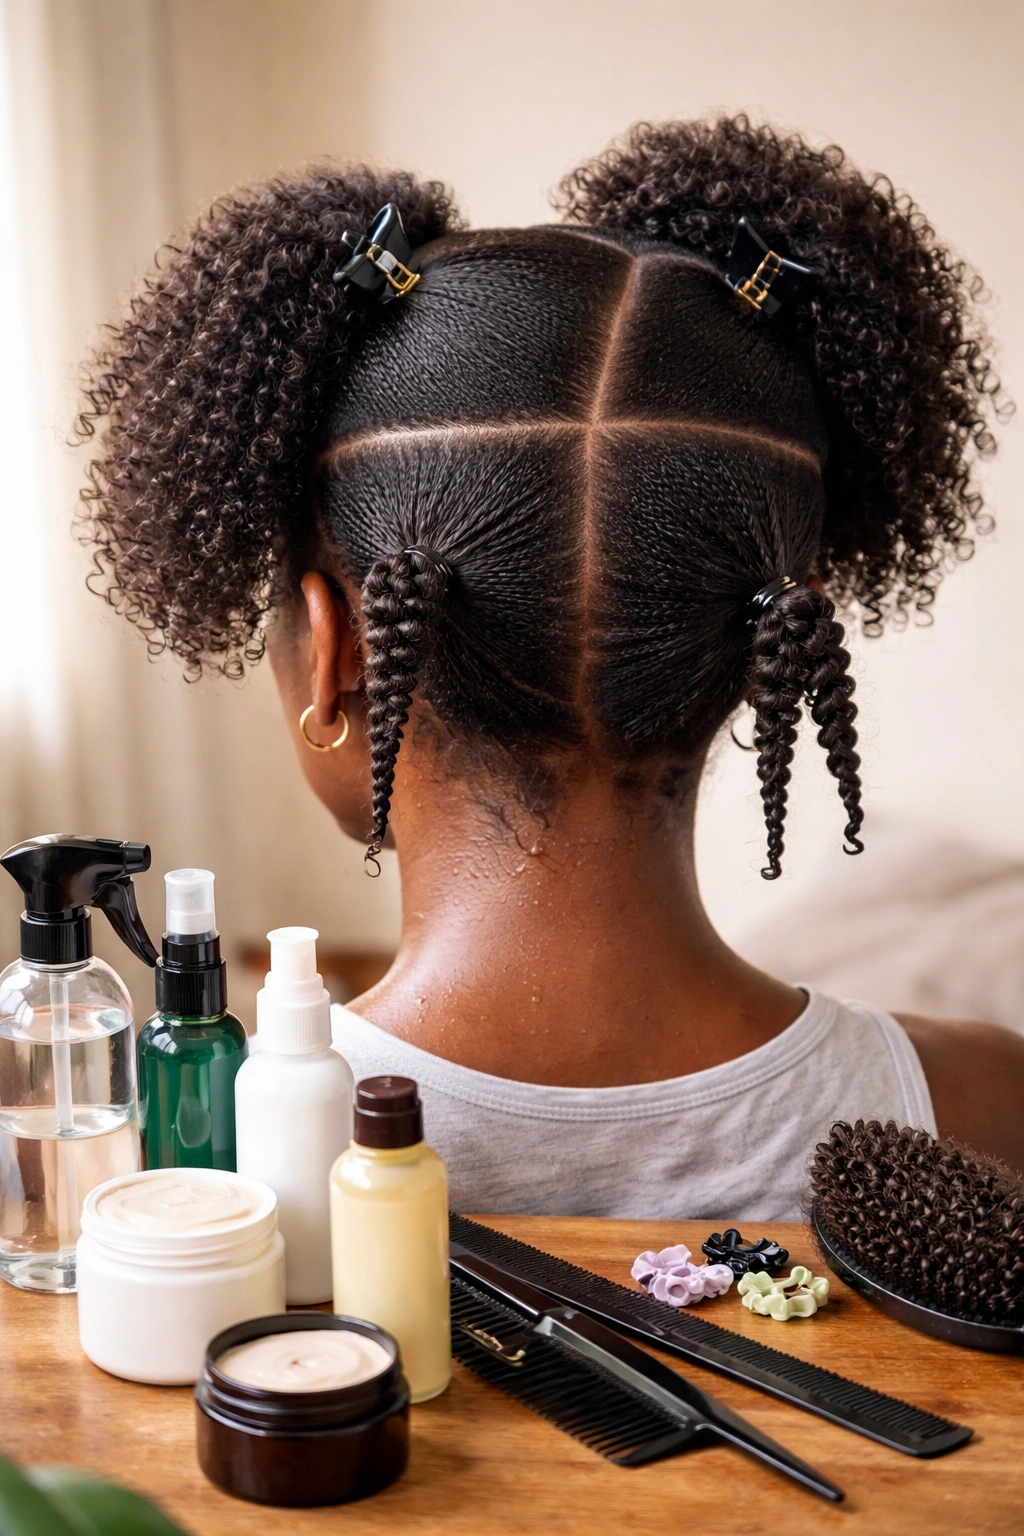
Your product choices directly affect the finished look. A lightweight gel creates more defined, separated curl definition. A heavier cream-based leave-in creates softer, more blended curls. Oil-based products give you shine and smoothness, while water-based products tend to enhance curl clarity.
Sectioning pattern shapes everything. Smaller, thinner sections produce tighter twists and more defined curls. Larger, thicker sections create looser, bouncier curls. Horizontal sections lay differently than vertical sections. Diagonal sections create diagonal curl direction. Before you start twisting, decide what curl direction and tightness you want, because your sectioning determines it.
The twist tension you apply while twisting influences your final curl size and definition. Tight twists throughout create tight, defined curls. Medium tension twists create mid-sized, bouncy curls. Loose twists create soft, wave-like results. You can also vary your tension — tight at the roots and loose as you reach the ends, for example — to create different effects.
1. Defined and Separated Twist Out
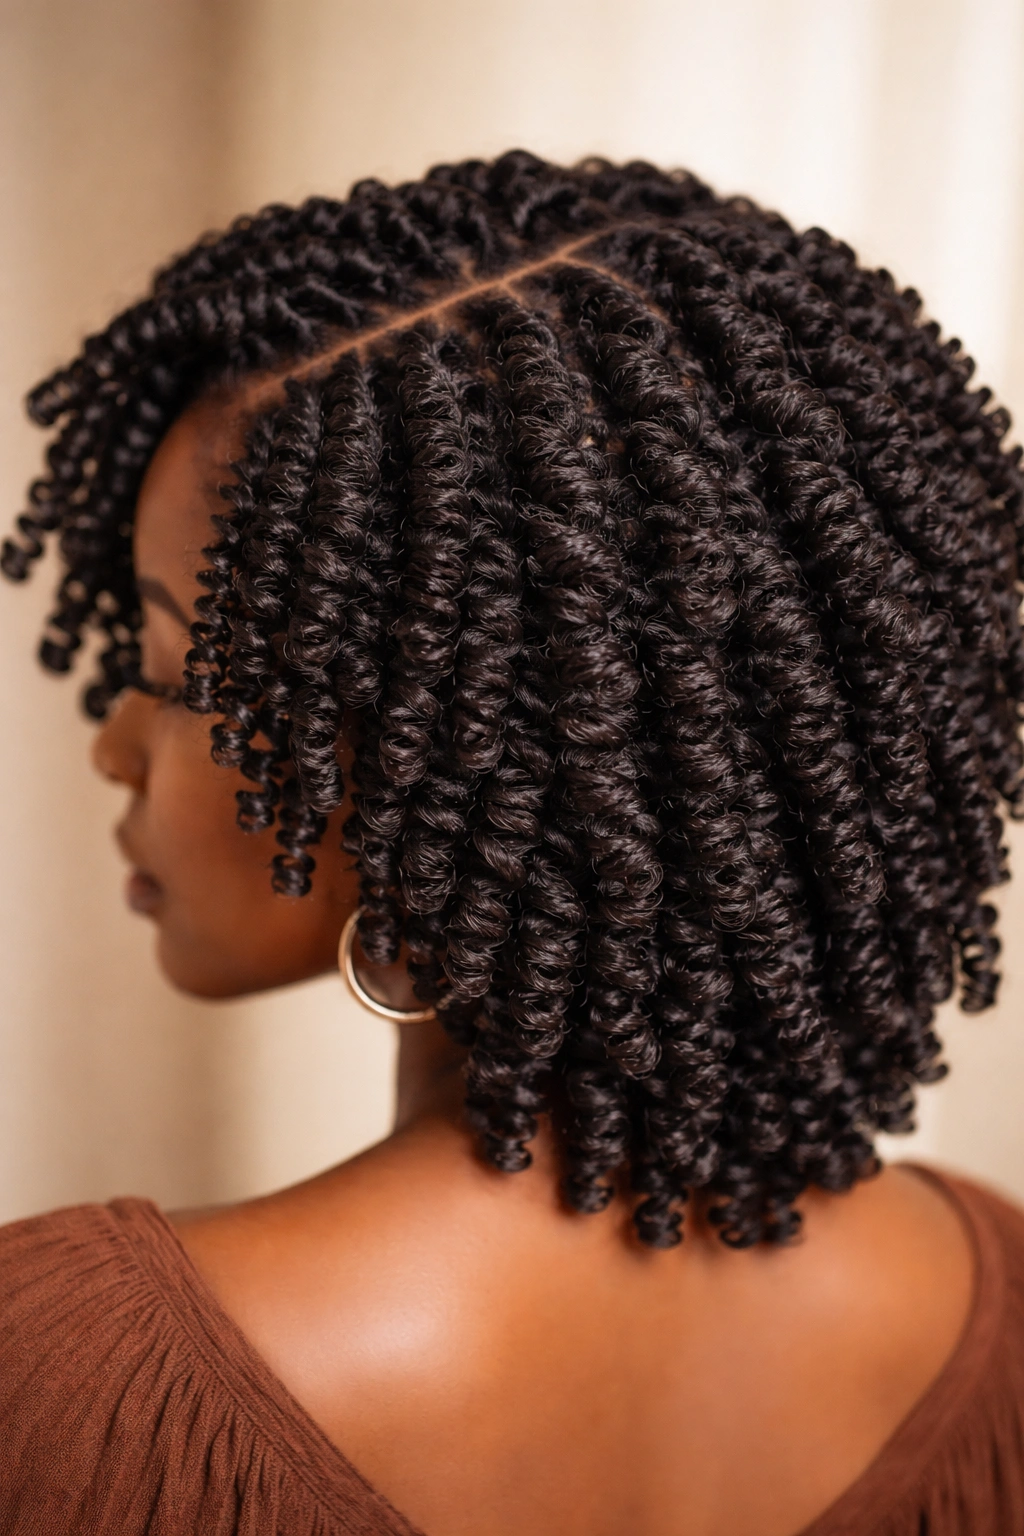
This is the crisp, salon-polished twist out where each curl is clearly visible and stands distinct from its neighbors. You can count individual curls, see the spiral from root to tip, and the overall effect is precise, intentional, and refined. This look photographs beautifully and reads as deliberately styled.
What Creates Defined Separation
The key to separation is using smaller sections and a lightweight, curl-defining product. Divide your hair into thinner sections — aim for sections no thicker than a pencil — and twist each one firmly and evenly from root to end. Use a gel or mousse-based product that provides strong hold without making hair crunchy. The smaller your sections, the more defined and separated each individual curl will be.
How to Achieve This Look
- Apply a lightweight leave-in conditioner to soaking-wet hair first to ensure softness
- Use a curl-defining gel on each small section before twisting
- Twist firmly and keep tension consistent throughout the entire length
- Leave twists in for at least 12 hours, preferably overnight or longer
- Unravel each twist slowly and gently from the bottom up
- Shake out your hair very gently to separate curls without frizz
- Optional: use a light oil spray between curls for definition-with-shine
Pro Tip
Use alligator clips or small hair clips to keep your larger sections separated while you work on smaller subsections. This prevents you from accidentally combining sections and ending up with thicker twists than you intended. Precision during the twisting phase directly translates to separation in the finished look.
2. Soft and Blended Twist Out
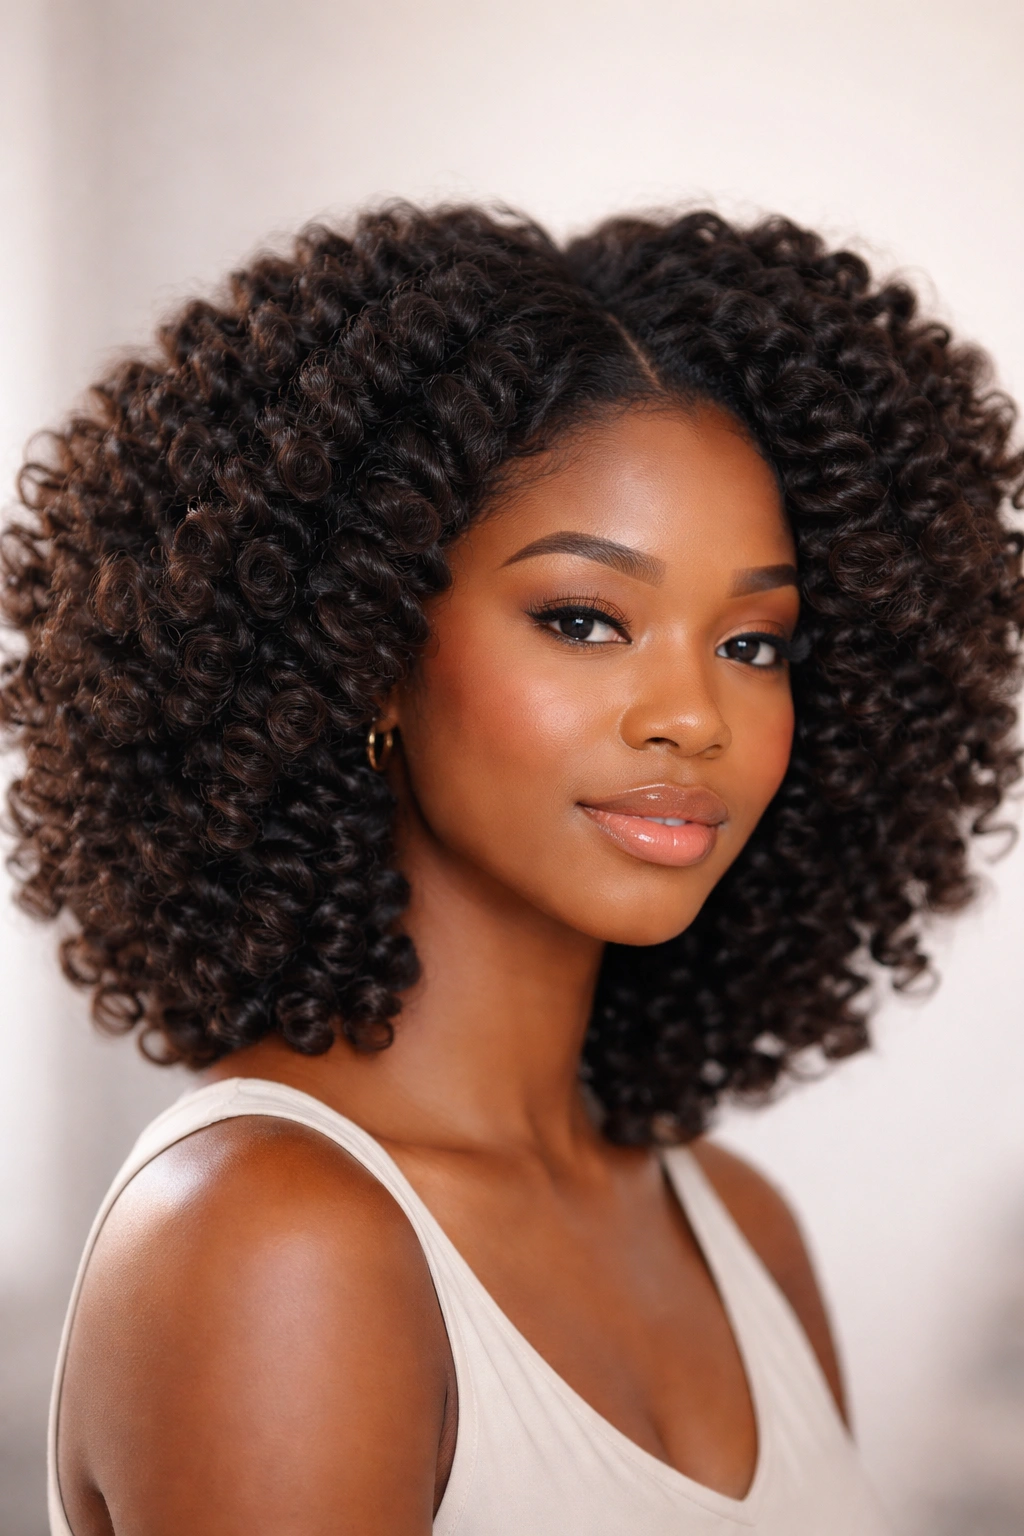
The opposite aesthetic — where curls blend together into a cohesive, cloud-like shape rather than standing as distinct individual curls. This look feels romantic, voluminous, and effortlessly beautiful rather than sharply defined. Curls still have gorgeous texture and movement, but they read as one unified shape rather than many separate pieces.
What Creates the Blended Effect
Use thicker sections and cream-based styling products that encourage curls to blend and fuse together at the roots. Your hair won’t dry with as much separation between curl clusters, creating a softer overall silhouette. Larger sections naturally create larger curl groupings that blend together more readily than tiny separated curls.
How to Achieve This Look
- Apply a rich, creamy leave-in conditioner to damp hair
- Use a smoothing cream or curl cream that’s heavier in weight
- Create sections that are about the thickness of your index finger, not pencil-thin
- Twist with medium tension, not tight
- You can leave twists in overnight or just for a few hours while damp
- When you unravel, gently run your fingers through each twist rather than shaking them apart
- The curls will naturally cluster and blend together
What Makes It Different
The difference between this and defined-and-separated isn’t subtle — it’s a completely different aesthetic. Where defined looks say “look at each perfect curl,” blended looks say “look at the beautiful volume and shape.” Both are gorgeous, but they give off totally different vibes. Choose this when you want softness and flow over architectural precision.
3. Voluminous Bouncy Twist Out
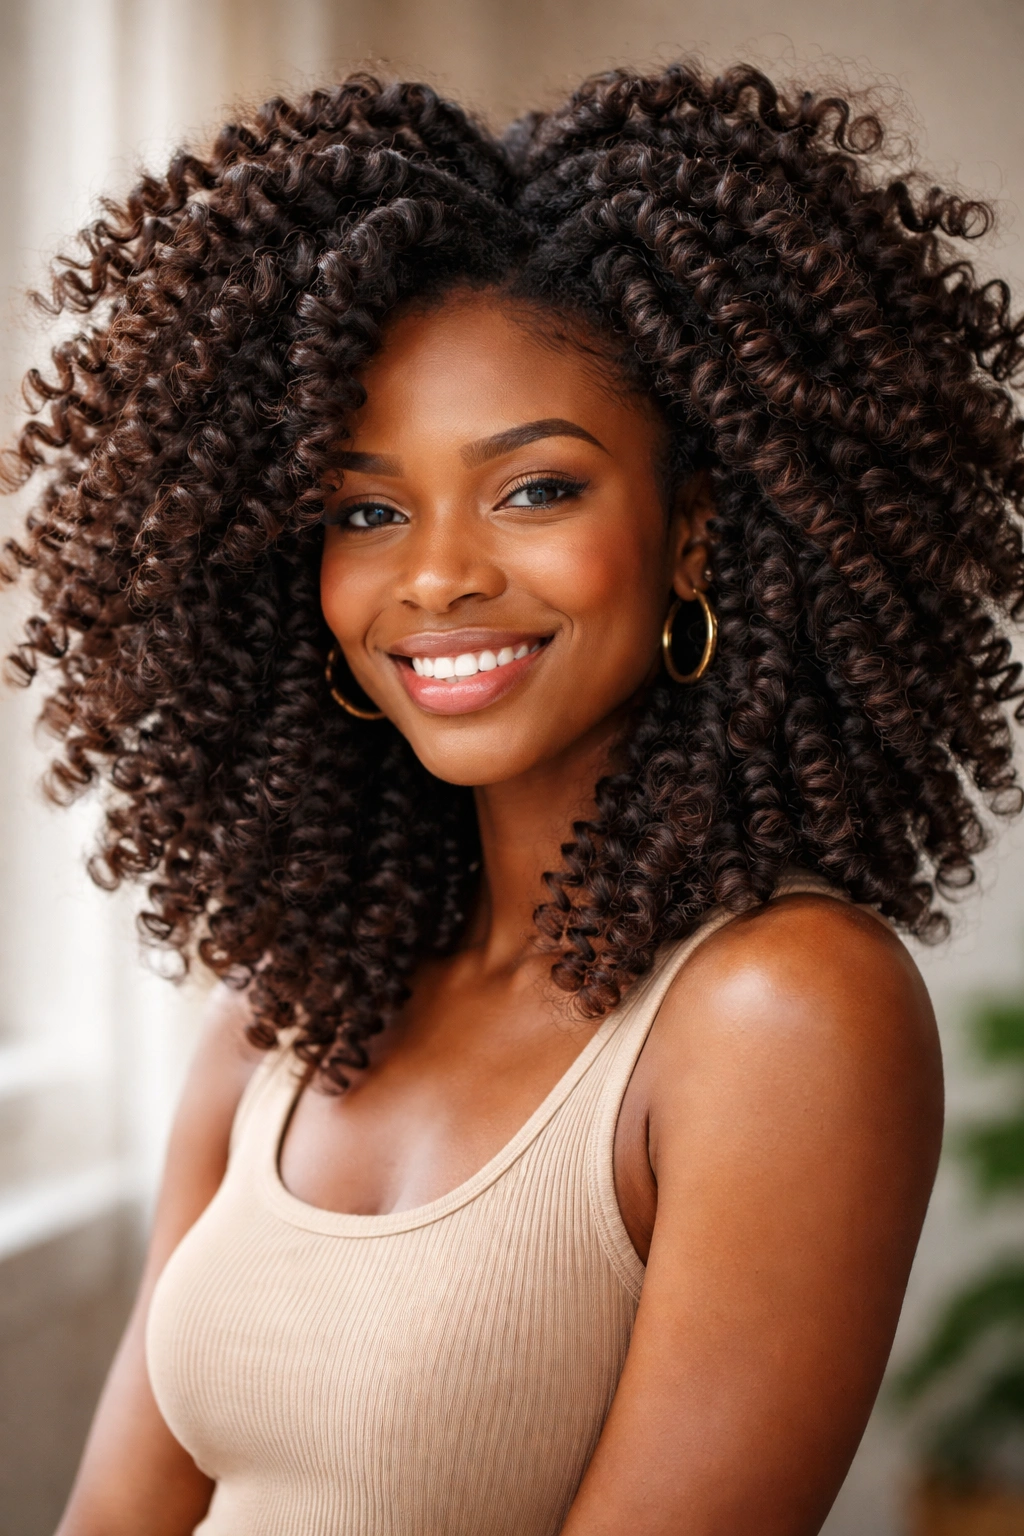
Maximum volume and movement — your hair bounces when you move, has tremendous height at the roots, and creates an enlarged silhouette overall. This is the look you want when you’re going for impact and presence. Individual curls have lots of spring and recoil.
What Creates Maximum Bounce
Loose twists combined with products that add lightweight hold without weighing hair down. Mousse, lightweight gels, and volumizing sprays are your friends here. The looser your twists, the bouncier your curls. Very loose twists almost feel like you’re not actually twisting as much as you’re coiling and wrapping hair.
How to Achieve This Look
- Apply a volumizing mousse to damp hair at the roots and throughout
- Use a lightweight, bouncy-hold gel on the mid-lengths and ends
- Create sections at medium thickness
- Twist very loosely — imagine your twists have just enough tension to hold together, not tight tension
- Leave twists in for only 4-6 hours while damp, or sleep on them and unravel first thing in the morning
- Unravel with your fingers, separating and fluffing as you go
- Flip your head upside down and shake gently to activate root lift
Pro Tip
The tighter you twist, the tighter your curl — but the less bounce. The looser you twist, the bouncier your curl — but the less definition. For bouncy curls, favor loose twists over super-tight ones. You’re prioritizing movement and spring over crisp definition, and loose twists deliver that.
4. Polished Chunky Twist Out
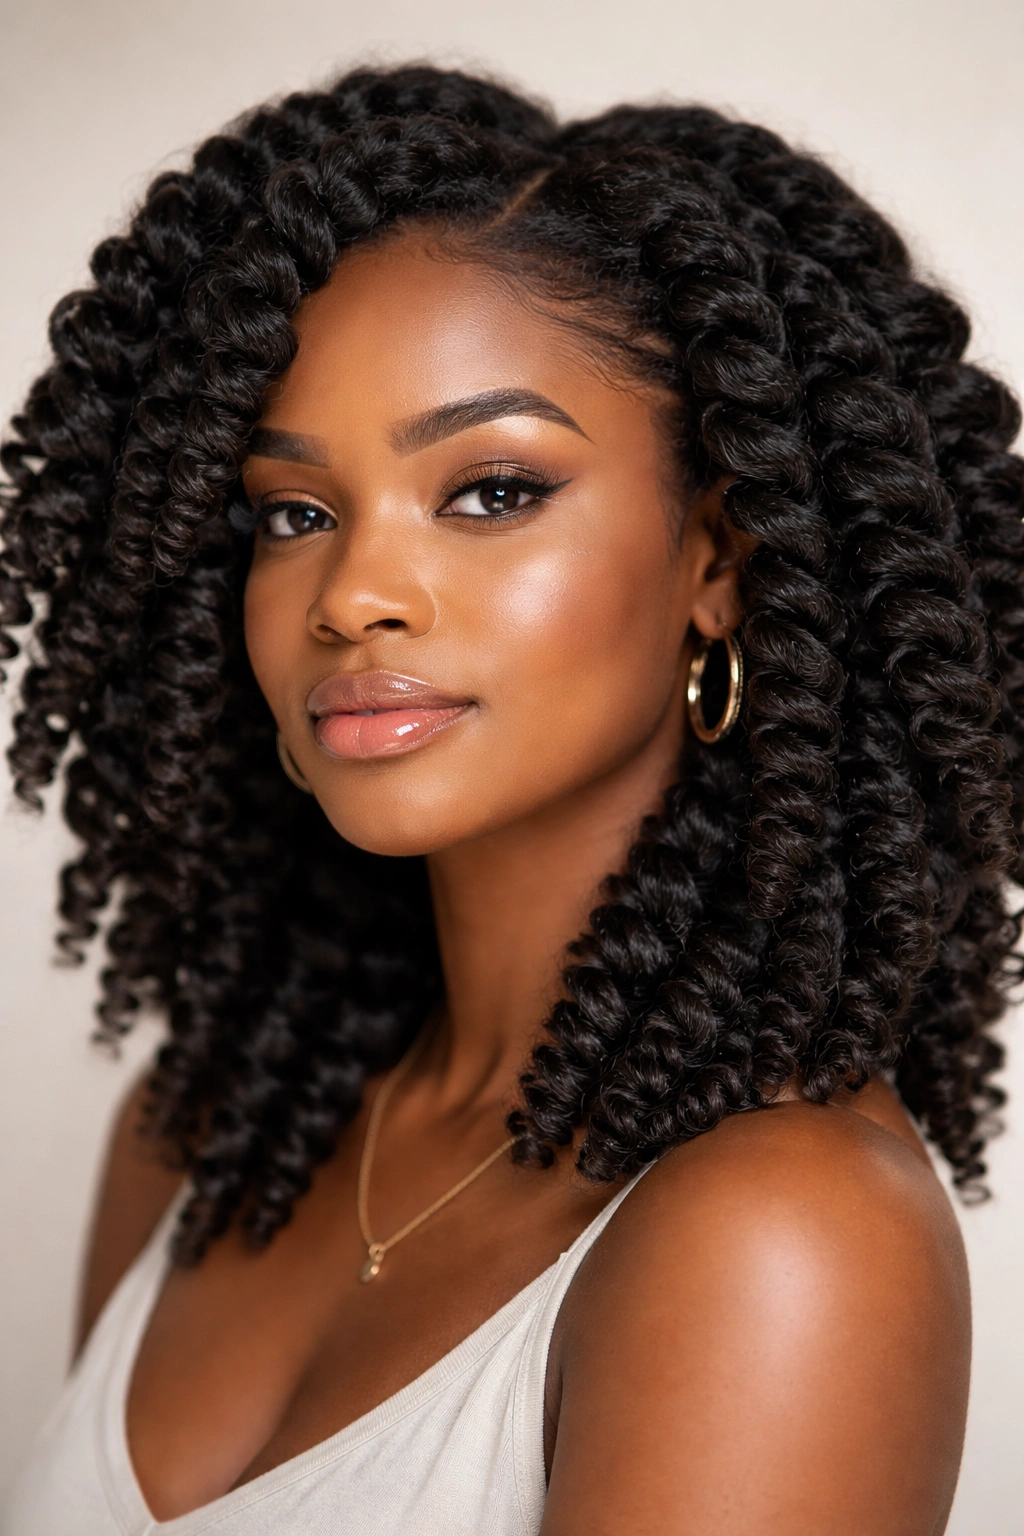
This look features bigger curl clusters — what you get when you work with thicker, chunkier sections. Each curl unit is noticeably larger, creating a bolder texture pattern and a different visual rhythm than tighter, thinner-section twists. This look works beautifully for people with thicker, coarser hair textures, though anyone can achieve it by choosing thicker sections.
What Creates Chunky Curls
Divide your hair into thicker sections — about the thickness of a marker or your pinky finger — and twist each one. Thicker sections naturally create thicker twists and larger curl units when unraveled. The visual effect is bolder and more statement-making than finer, more delicate curls.
How to Achieve This Look
- Work with 12-20 twists depending on your hair volume, rather than 40-60 thinner twists
- Use a smoothing cream or curl-defining cream as your styling product
- Twist each thicker section firmly and evenly from root to end
- Leave twists in overnight for best results
- Unravel gently and run your fingers through to shape and blend slightly
- This naturally polished look requires less manipulation than smaller-section twist outs
Who This Suits
Chunky twist outs are especially beautiful on people with thick, coarse, or very dense hair. They reduce styling time because you’re working with fewer, larger twists. They also photograph stunningly because the bold curl pattern reads from a distance. If you have a lot of hair and a lot of styling time, thinner sections offer more styling options, but chunky twist outs are lower-maintenance while still looking completely intentional.
5. Sleek and Smooth Twist Out
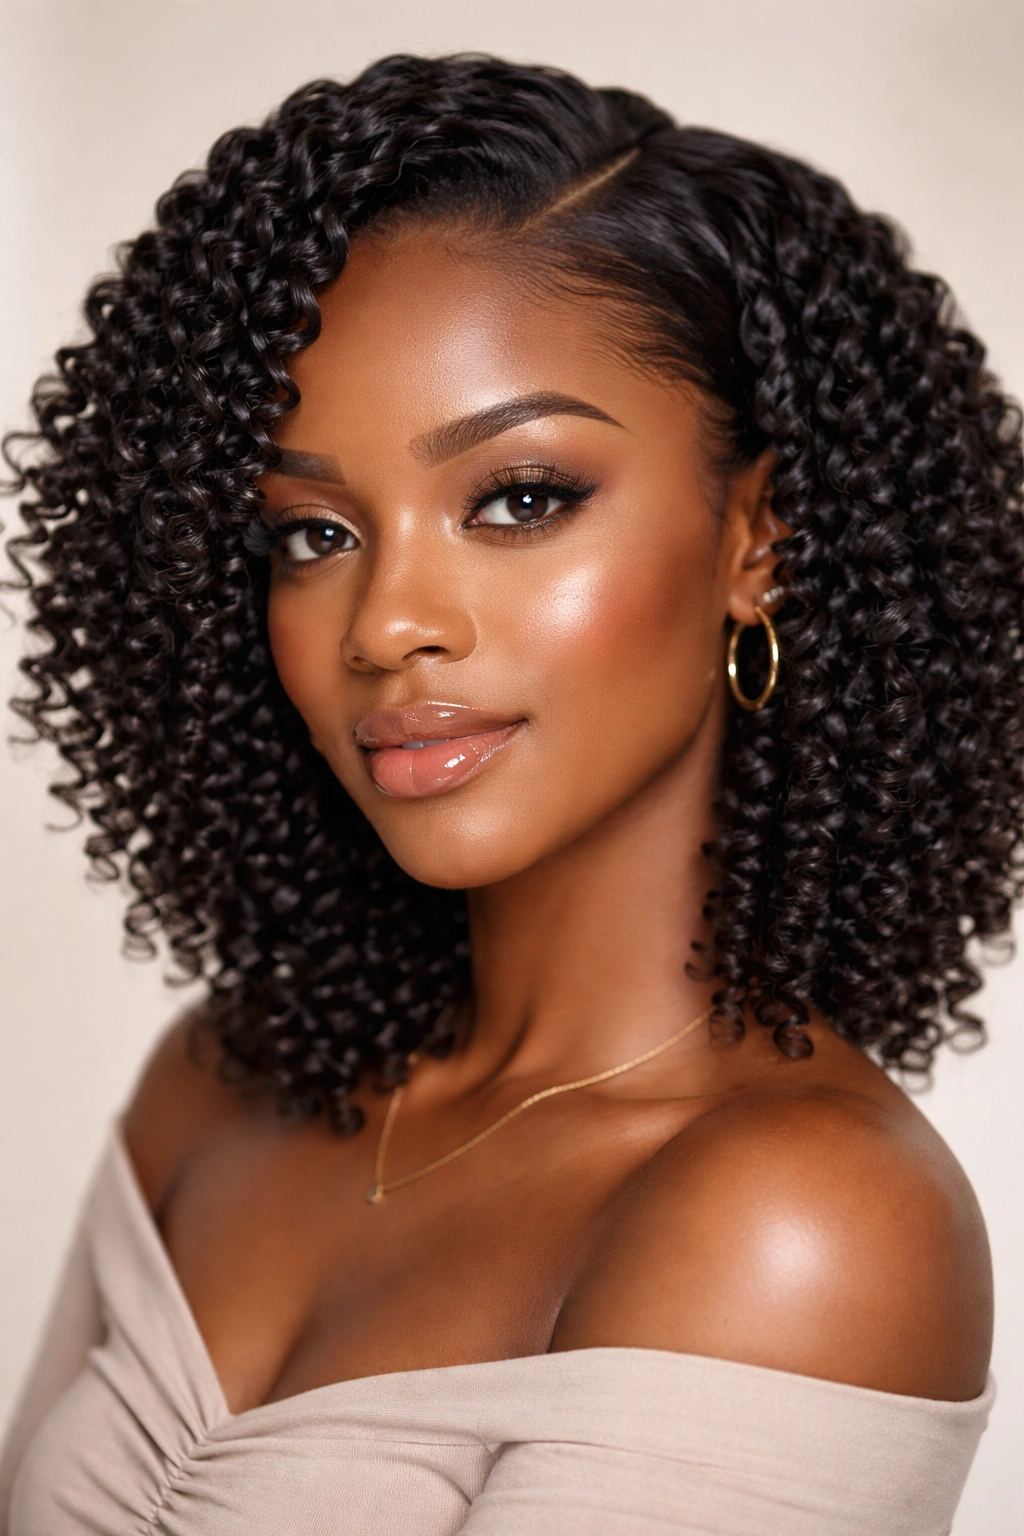
A departure from the typical textured twist out — this version emphasizes smoothness and shine alongside curl definition. Your curls are defined, but they’re also smooth and polished rather than chunky or textured. This hybrid look is perfect when you want curl definition without a “kinky” or “coily” aesthetic.
What Creates Smoothness With Curl Definition
Use a smoothing serum or oil-based product combined with a defining gel. Apply the smoothing product first to seal the cuticle and create shine, then add your defining gel on top. This layering approach gives you definition without the textured, chunky feel. You can also use a smoothing cream that has some light hold built in.
How to Achieve This Look
- Divide damp hair into small-to-medium sections
- Apply a curl-smoothing serum or lightweight oil first
- Follow with a lightweight curl gel on top
- Twist each section with firm, even tension
- Leave twists in for 12+ hours
- Unravel very gently and don’t separate curls much — let them stay somewhat blended
- Consider lightly spraying with a smoothing mist after unraveling for extra polish
The Science Behind It
Oils and serums smooth down the hair cuticle, which catches light and creates shine while also making the curl pattern appear smoother and sleeker. When you layer this under your defining product, you get definition and shine simultaneously — the best of both worlds. This is also a great approach if you’re trying to minimize frizz while maintaining curl clarity.
6. Textured and Tousled Twist Out
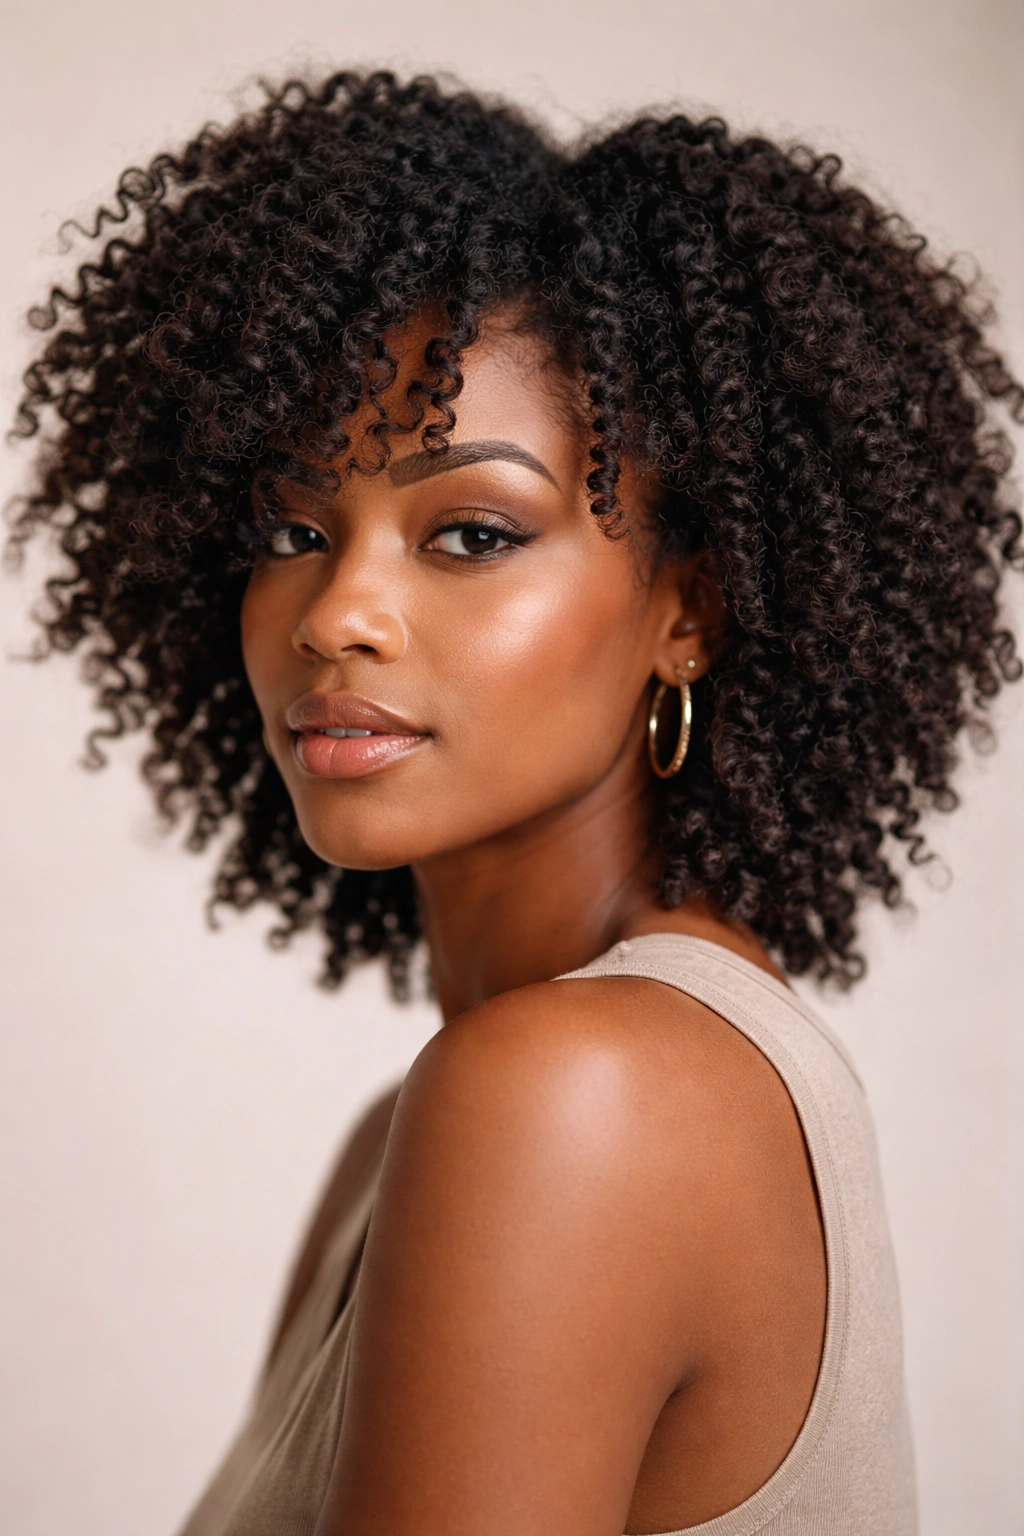
An intentionally undone, effortlessly beautiful look where curls have texture, dimension, and a slightly messy quality. This isn’t sloppy — it’s deliberately styled to look like you didn’t style it much, which requires thoughtful technique to pull off. Curls are visible but not overly separated, and the overall effect is casual, youthful, and undeniably cool.
What Creates Textured Tousle
Use a texturizing product like a mousse or a light defining cream, and avoid over-perfecting during the unraveling phase. Don’t separate every single curl — let some stay clustered. Don’t flip your head and shake out all the natural fallout — let your twists develop texture and loose curls. Keep some texture and movement rather than aiming for polish.
How to Achieve This Look
- Apply a texturizing mousse or light cream to damp hair
- Divide hair into medium sections
- Twist with loose-to-medium tension
- Leave twists in overnight or for 12+ hours
- When unraveling, do it gently and don’t separate aggressively
- Let some frizz and loose texture remain — that’s part of the aesthetic
- Shake gently to loosen everything up, then let it settle naturally
- Don’t try to “fix” what looks slightly imperfect
Pro Tip
The key to pulling off “effortlessly tousled” is embracing a little texture and not trying to perfect everything. If you have a few flyaways, loose curls, or sections that didn’t unravel perfectly evenly, that’s actually the goal. This look celebrates natural texture rather than trying to hide it.
7. Side-Swept and Directional Twist Out
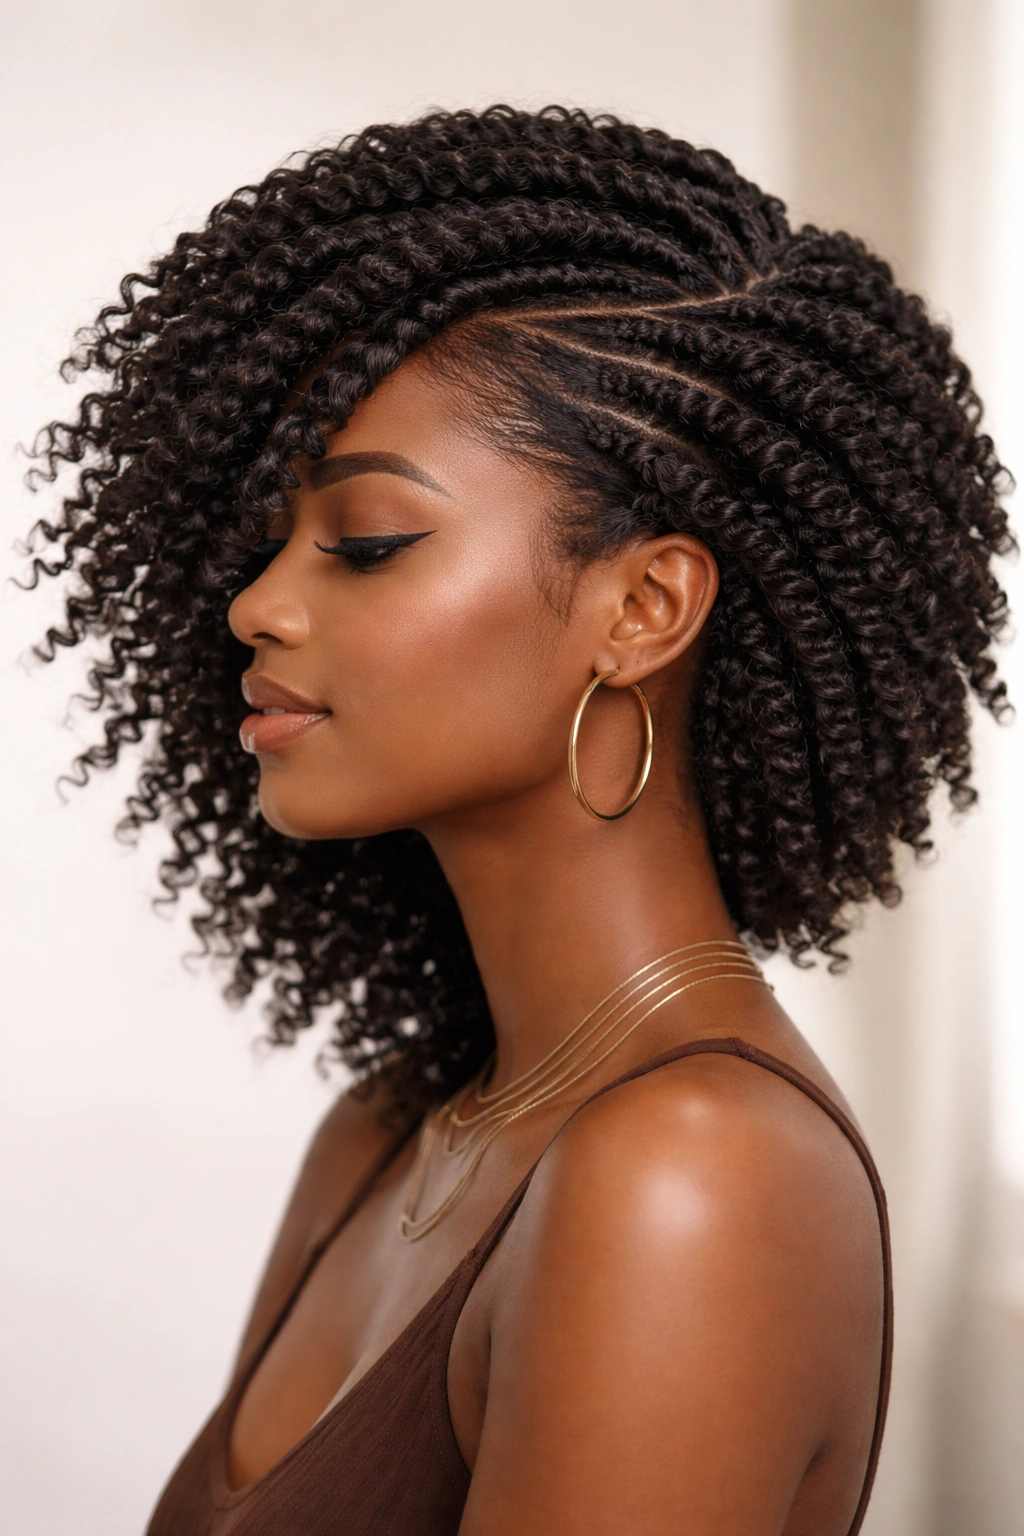
Rather than twisting your hair straight back from your scalp, you twist in a specific direction — usually from one side toward the other — creating directional curl patterns. Your hair sweeps to one side, curls follow a particular direction, and the overall look has movement and intention. This is architectural styling that works especially well for smaller twist sets or two-strand twist outs.
What Creates Directional Flow
Twist your sections at an angle rather than straight back. If you want your curls to flow left, start twisting from the right side. If you want them to sweep right, start from the left. Your curl direction will follow your twist direction. You can also twist diagonally across sections to create diagonal curl patterns.
How to Achieve This Look
- Divide your hair into sections that angle diagonally across your head
- Twist each section at an angle, not straight back
- If you want curls to sweep left, twist from right toward left
- Use a firm twist tension so the direction holds through drying
- Leave twists in overnight
- Unravel in the direction of the twist to maintain the curl flow
- Style by gently sweeping curls in their natural direction
When to Use This Technique
Directional twists are perfect for creating editorial, fashion-forward looks. They also work beautifully if you’re trying to style one side of your head more dramatically than the other, or if you want an asymmetrical appearance. This technique gives you control over where every curl lands, which is powerful if you have a clear styling vision.
8. Loose Wavy Twist Out
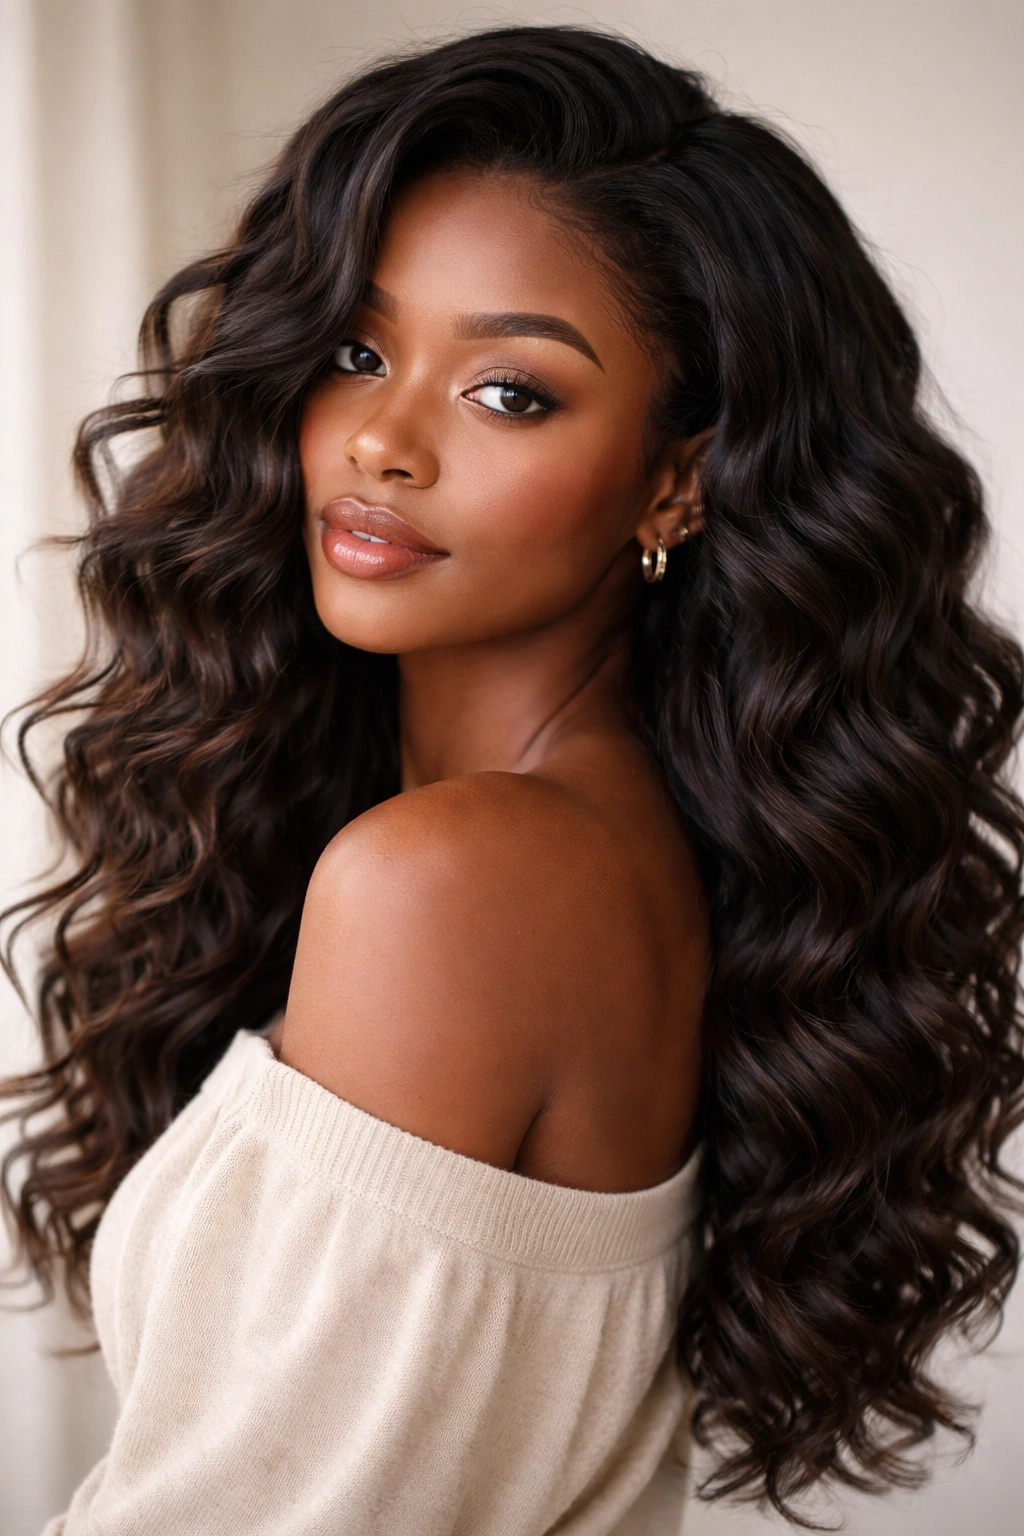
The softest, waviest version — where twists create loose, flowing waves rather than defined curls. This look is romantic, flowing, and works especially well if you have naturally looser curl patterns or if you want a more relaxed aesthetic. Waves have visible dimension and texture without crisp curl definition.
What Creates Loose Waves
Use very loose twists, almost wrapping your hair more than twisting it. Work with thicker sections so the “twist” is more of a loose coil. Use lightweight products that don’t add too much hold. The less you twist, the less defined your curls, and the more wave-like they become.
How to Achieve This Look
- Create sections at medium-to-thick thickness
- Twist very loosely — you should be able to easily slide your finger into the twist
- Use a lightweight leave-in conditioner and a light mousse or flexible gel
- Leave twists in for 4-8 hours while damp, not overnight
- Unravel gently and run your fingers through immediately
- Don’t wait for complete dryness — slightly damp unraveling creates waves rather than crisp curls
- Shake out and let waves settle into their natural pattern
The Difference in Timing
The less time you leave twists in, and the damper your hair is when you unravel them, the looser and wavier the result. If you left very loose twists in overnight and completely dried, you might get more curl than wave. For true waves, work with damp hair and loose twists, then unravel before everything is bone-dry.
Essential Products and How They Shape Your Twist Out
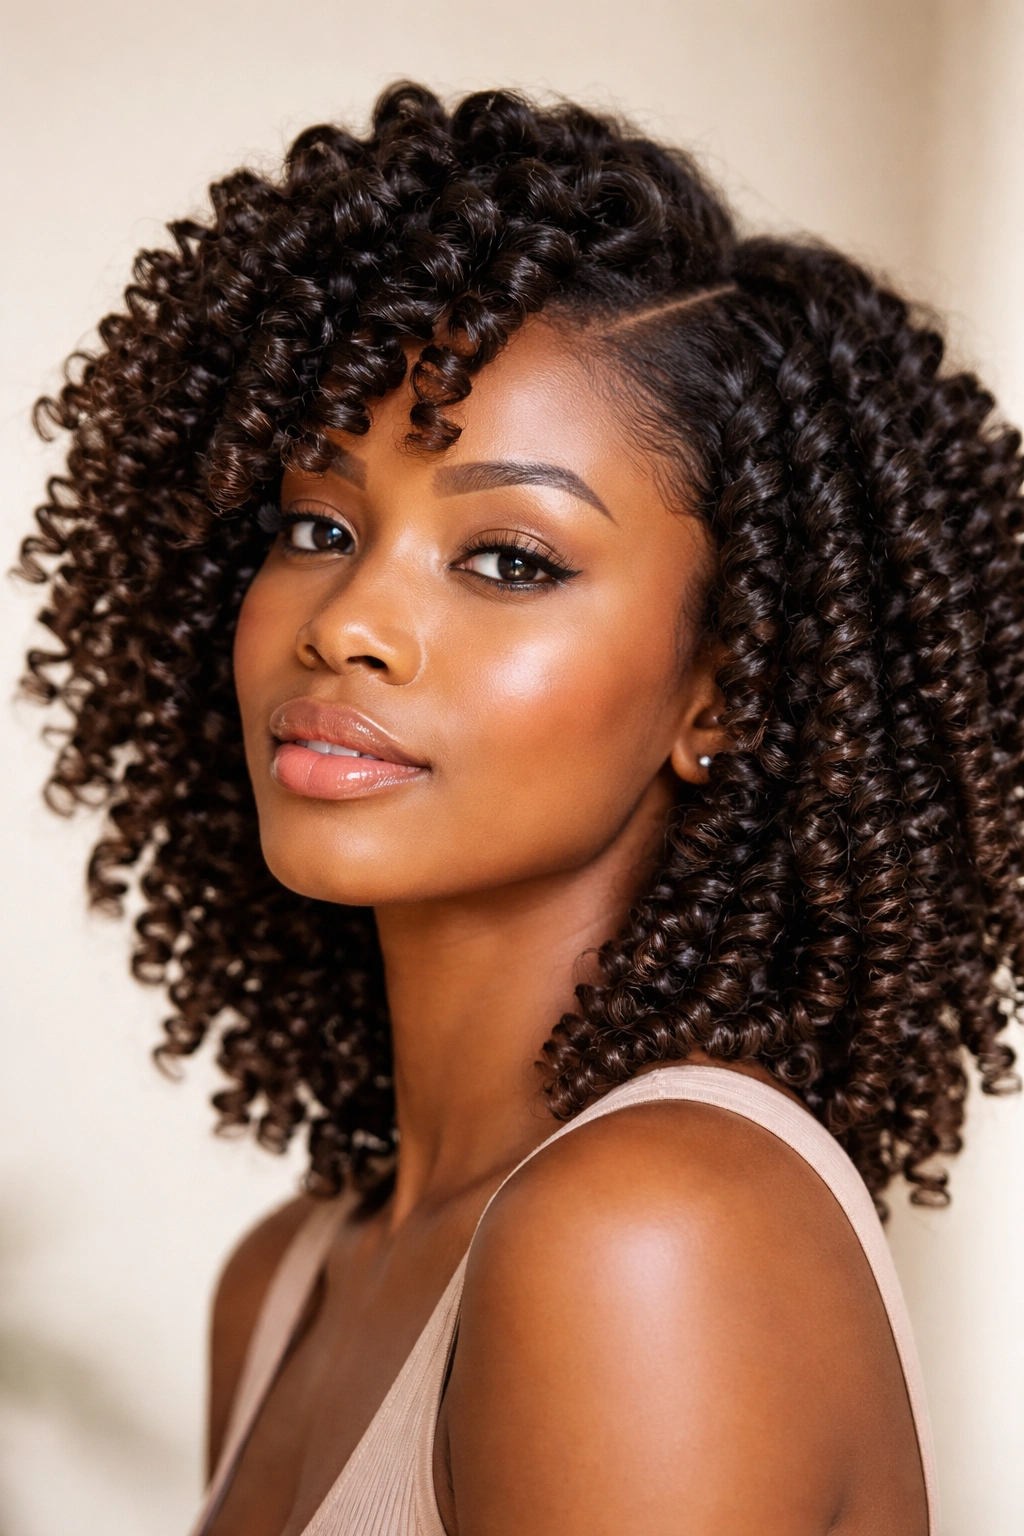
Product choice is not a minor detail — it’s one of the primary factors determining how your twist out looks. A lightweight gel produces a totally different result than a rich cream, even if you follow identical twisting technique.
Gels and mousses create the most definition and the cleanest curl separation. They set curls firmly and create that “stacked” coil look many people associate with twist outs. Use gels if you want defined, separate curls.
Leave-in conditioners and creams soften curls, encourage them to blend together, and create a more relaxed aesthetic. They’re also gentler on hair if you’re trying to minimize frizz and breakage. These work best for blended, soft, or voluminous looks.
Oils and serums add shine and smoothness, seal the cuticle, and reduce frizz. Layer them under other products for smooth-with-definition, or use them alone after unraveling for a sleek finish. They’re crucial if you’re going for a polished or smooth twist out.
Stylers with built-in protein add firmness and definition, especially useful for finer textures or looser curl patterns. Lightweight formulas work for people with fine hair or who want less hold. Rich, heavy formulas suit thicker, coarser textures and create more sculptural curl shapes.
How Sectioning Pattern Changes Everything
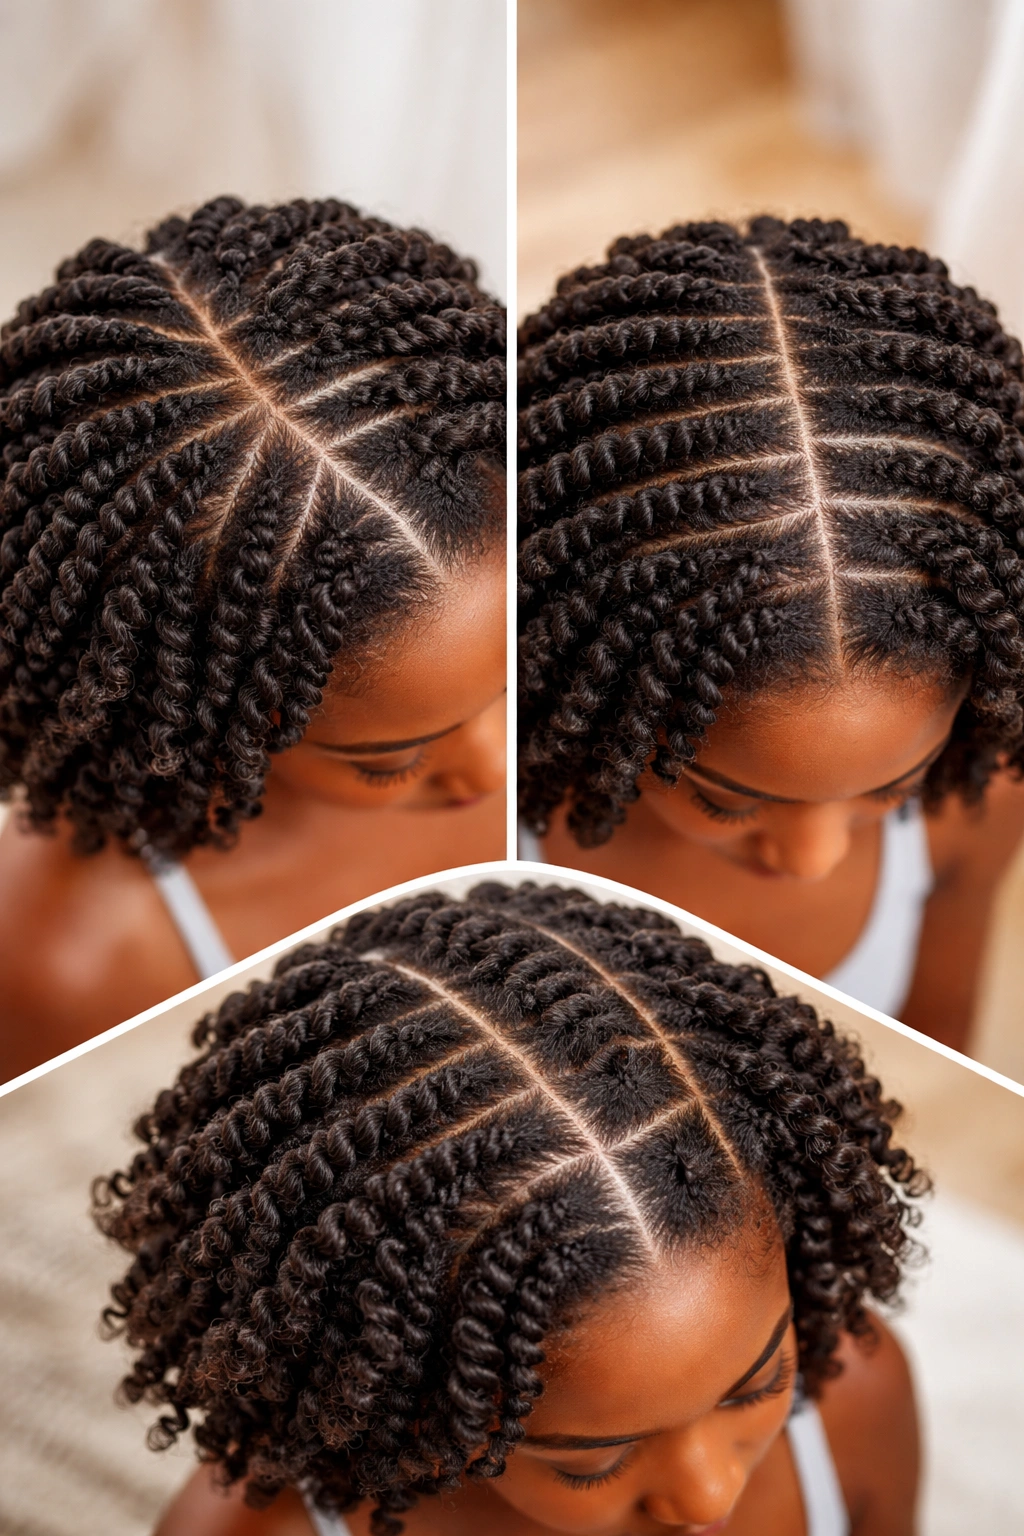
The way you divide your hair before twisting directly shapes the overall look in ways many people underestimate. Sectioning is not just a practical step — it’s a design choice.
Smaller sections create more numerous, tighter, more defined curls. This takes longer to accomplish but produces the most detailed, intricate look. Perfect for defined or sleek twist outs.
Larger sections create fewer, bigger, bolder curls that look more relaxed and effortless. These twists set faster, dry faster, and take much less styling time. Great for chunky or voluminous looks.
Diagonal sections create diagonal curl patterns that sweep across your head. Horizontal sections create horizontal-flowing curls. Vertical sections create vertical curl patterns. Your sectioning line direction becomes your curl flow direction.
Alternating pattern sections — where you section one way on one side of your head and another way on the other side — create asymmetrical, editorial looks with multiple directions of movement.
Spend a few minutes planning your sectioning pattern before you even touch water or product. This decision shapes everything that follows.
Factors That Affect How Long Your Twist Out Lasts
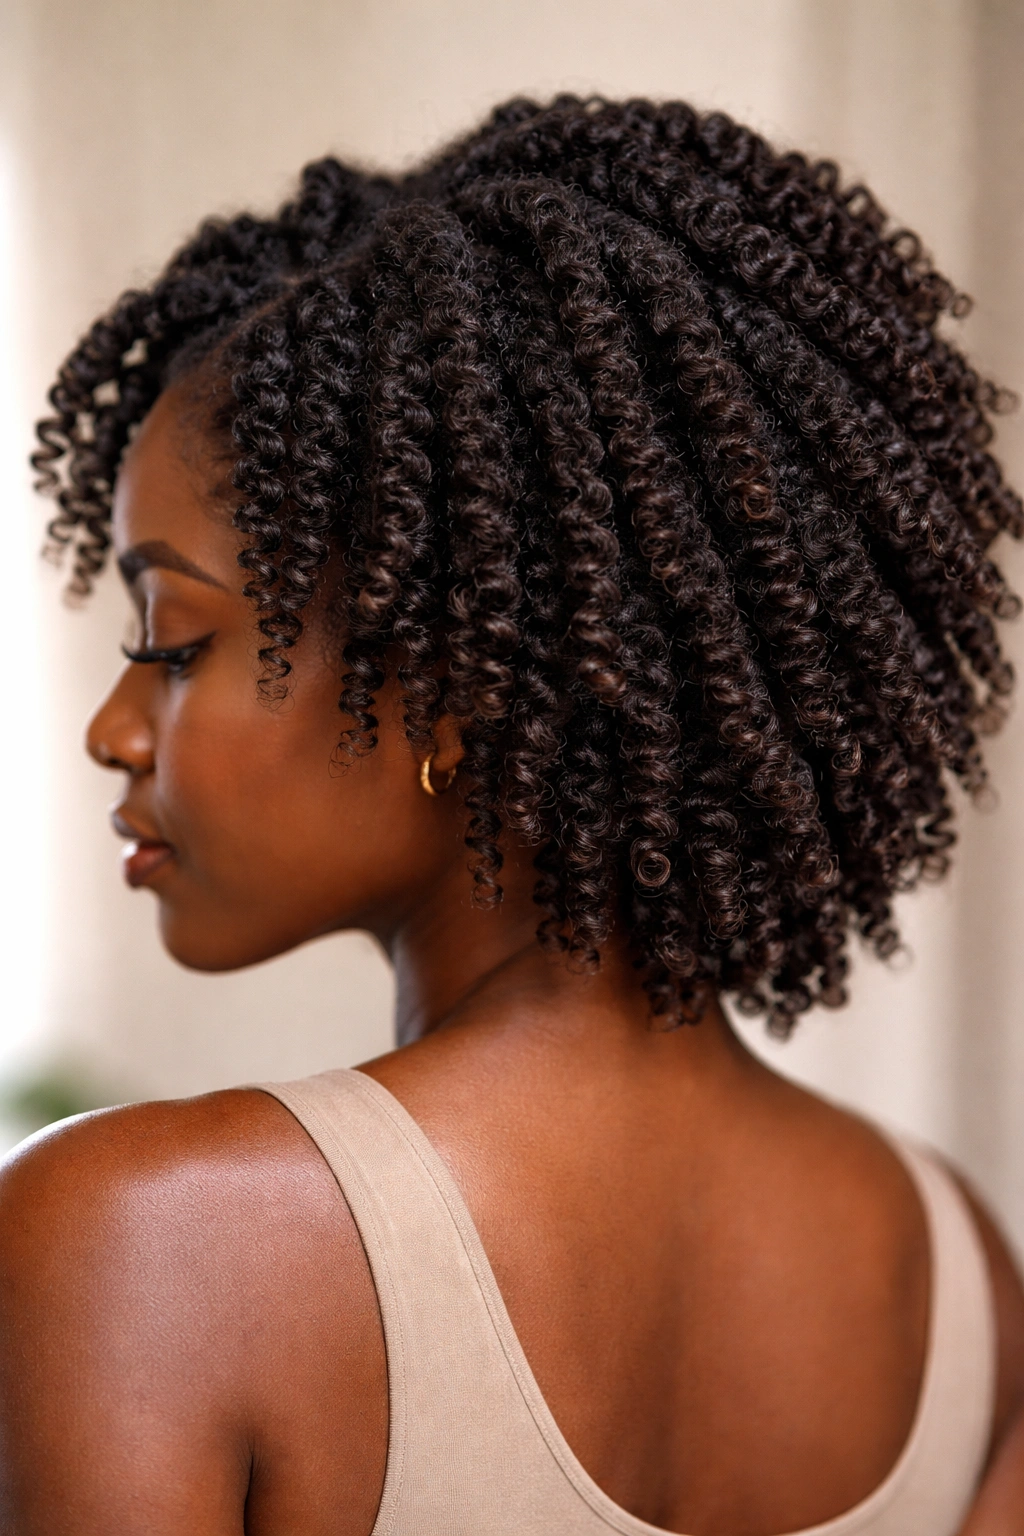
Once you’ve created your beautiful twist out, you probably want it to last as long as possible. Several factors influence longevity.
Moisture level is critical. Drier twist outs lose definition faster because the curls relax without moisture holding them. Keep your hair moisturized with a light leave-in spray or a refreshing moisturizer to extend the life of your twist out. Many people refresh with a spray and gel every second or third day.
Product weight and hold determines how well curls maintain their shape. Lightweight products may look gorgeous but won’t hold through humidity or multiple days. Heavier products hold longer but may feel stiff. Find your sweet spot — enough hold to last but light enough to feel good.
Climate and humidity dramatically affect longevity. High humidity relaxes curls faster. Very dry climate can make hair feel brittle. Adjust your product choices and refresh frequency based on what the weather is doing.
Sleep habits and pillowcase choice matter more than most people realize. A regular cotton pillowcase creates friction that frizzes and flattens curls. A silk or satin pillowcase, or sleeping on a silk scarf or bonnet, protects twist outs dramatically. Many people get an extra 3-4 days of wear just by switching their pillowcase.
Gentle handling keeps twist outs looking fresh. The more you touch, manipulate, shake, and separate your curls, the faster they relax. Light handling and minimal manipulation extends their lifespan significantly.
Refreshing Your Twist Out Between Washes
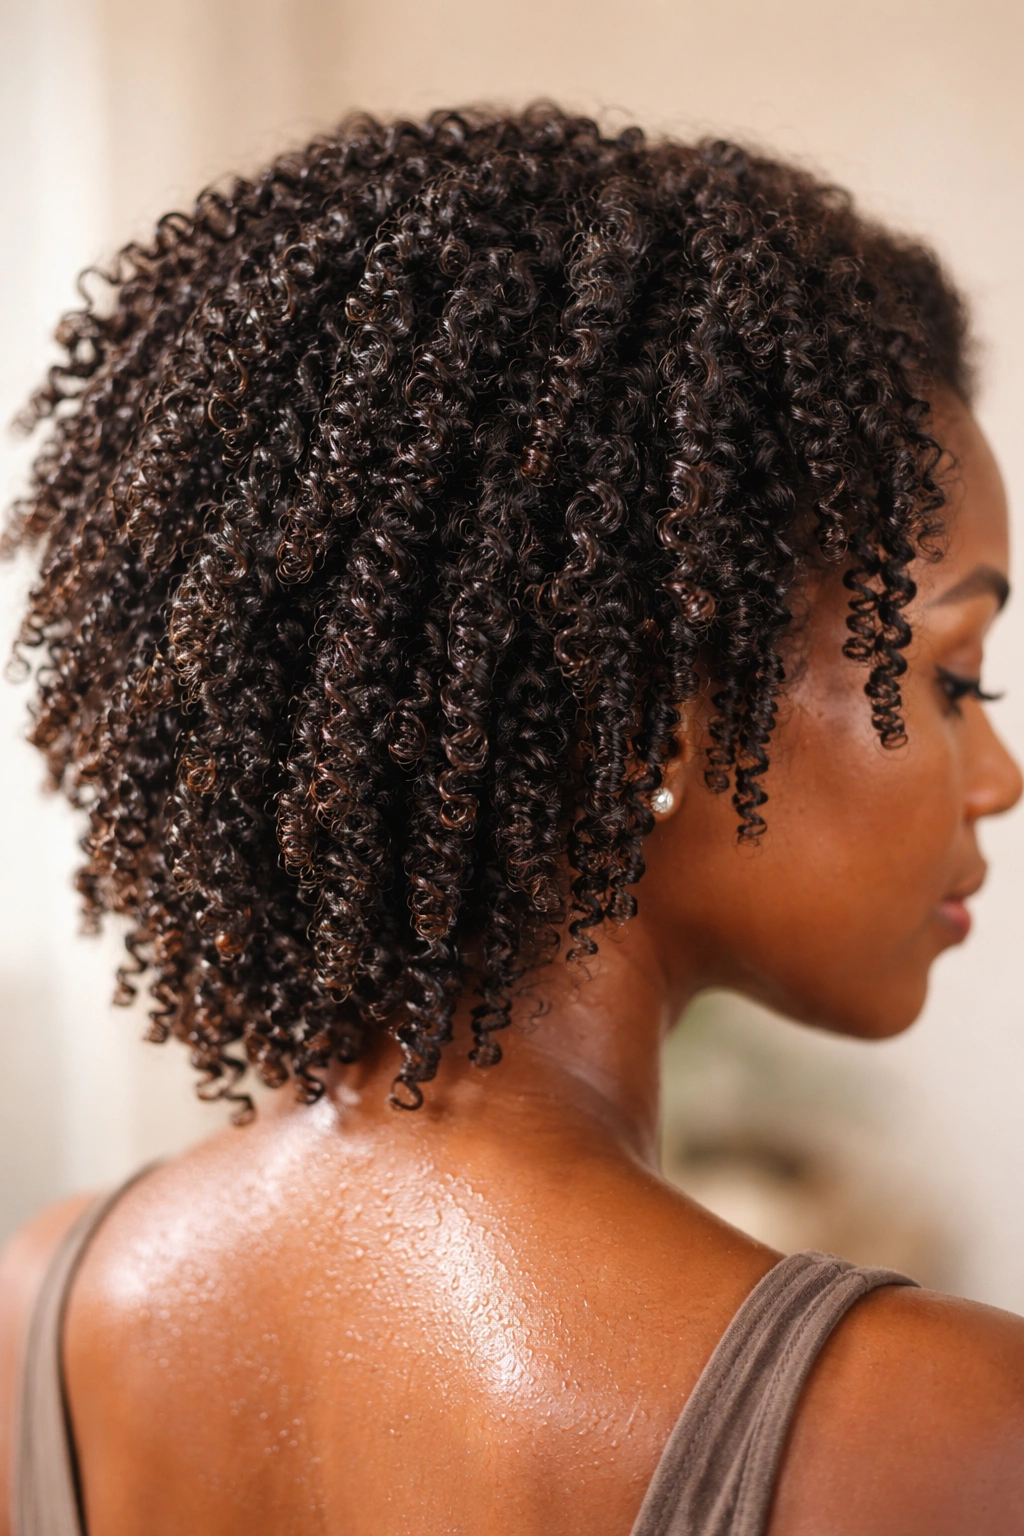
You don’t have to take out your twist out when it starts to relax slightly. You can refresh it multiple times before washing.
Spray your hair with a water-based refresh spray or a mixture of water and leave-in conditioner. Apply just enough moisture to dampen (not saturate) your curls. Use your fingers or a wide-tooth comb to gently reshape curls. You can reapply a tiny bit of gel or mousse to loosened areas if you want extra hold.
Some people prefer sleeping on their twist out one additional night after refreshing — this allows curls to reset while damp. Others prefer air-drying during the day. Experiment to see what works for your hair and schedule.
You can typically refresh a twist out 2-4 times depending on your hair type, climate, and how much manipulation your curls can handle before they break. If curls start looking damaged or feeling straw-like, that’s your signal to wash out and start fresh.
Protecting Twist Outs While Sleeping

Because twist outs are relatively delicate compared to protective styles, sleep protection is worth prioritizing.
A silk or satin bonnet is the easiest solution — you wrap it around your head before sleeping, and it protects your curls from friction without requiring you to sleep a certain way. Look for one that covers all of your hair and has an adjustable tie to keep it secure.
A silk or satin pillowcase works if you always sleep on that specific pillow. It reduces friction, which means less frizz and less curl relaxation. Some people use a silk scarf wrapped around their hair instead.
Pineappling — gathering your curls into a high, loose ponytail on top of your head — protects them while sleeping and often refreshes them by morning. This works if you have enough length and density. Use a satin hair tie or wrap a silk scarf around the ponytail.
Plaits or loose braids made from your twist outs protect the curls and can actually refine them overnight. In the morning, unbraid and your curls will look sharper and more defined.
Final Thoughts
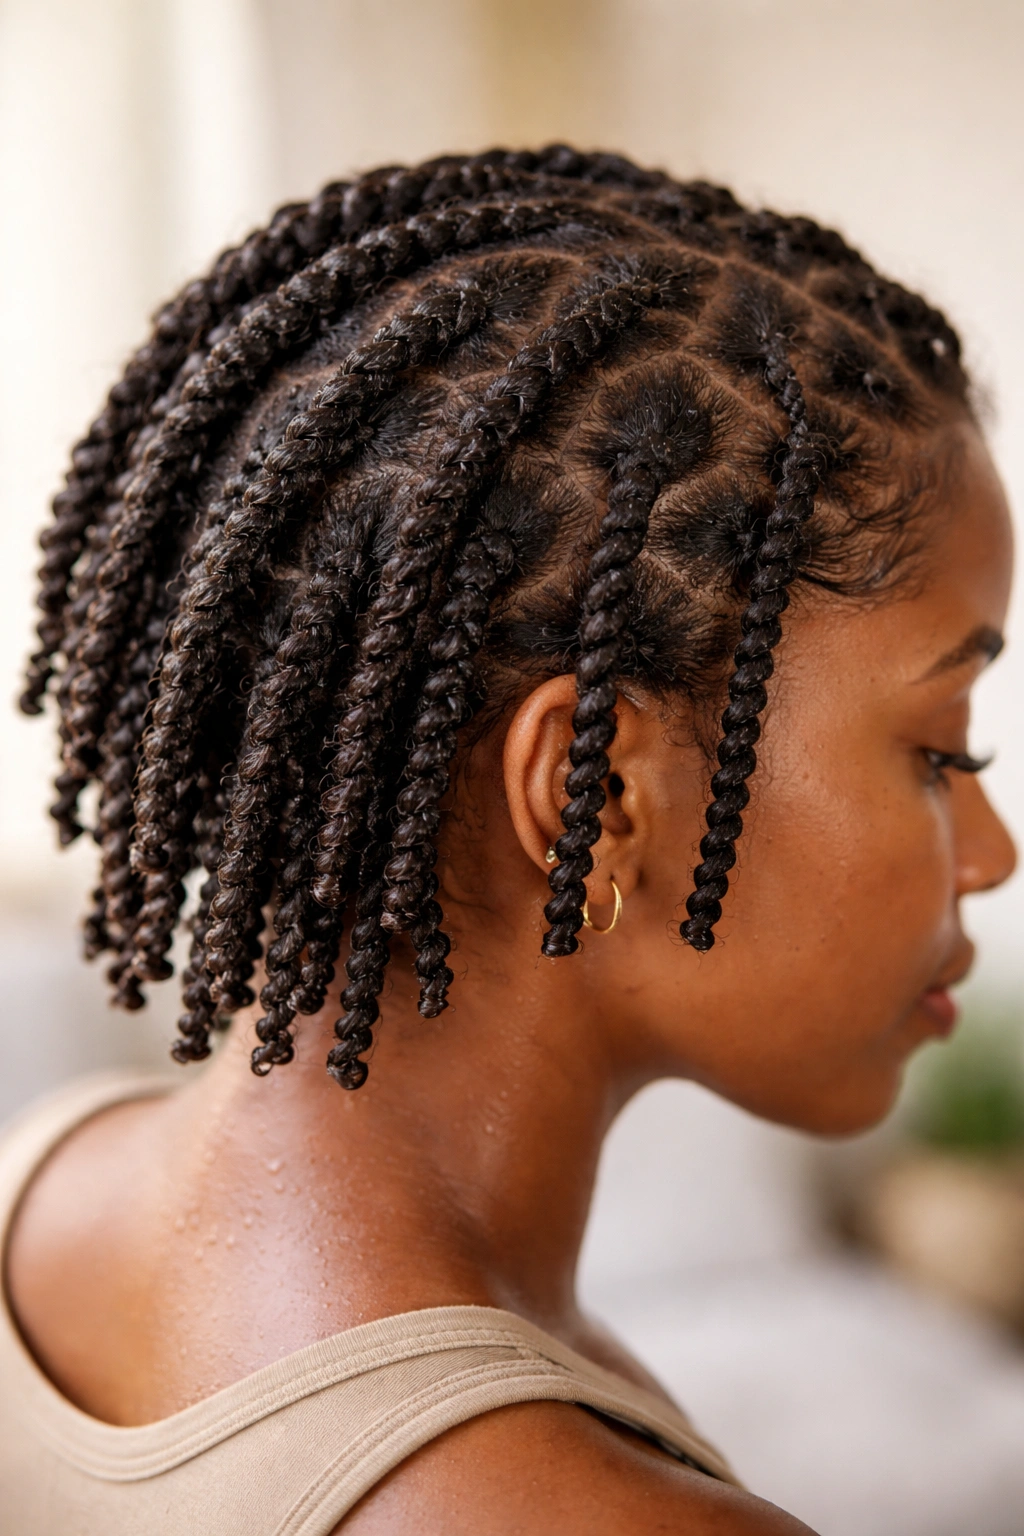
Twist outs offer remarkable versatility once you understand how sectioning, product choice, twist tension, and timing combine to shape the final look. The same basic technique — dividing hair into sections and twisting each one — can produce anything from sleek and polished to textured and tousled, from delicate and separated to bold and chunky.
Start with one of these eight looks that resonates most with you, follow the specific instructions carefully, and then note what happened — what worked beautifully, what didn’t feel right, how your hair responded to the product choices and timing. Your hair will teach you what it needs. Over time, you’ll develop intuition about which approach creates which result on your specific hair texture and density.
The beauty of twist outs is that they’re endlessly customizable and repeatable. You’re not making a permanent decision — if you don’t love how one twist out turns out, you wash it out and try again with different choices. That freedom to experiment is what makes twist outs such a beloved styling method for natural afro hair. Give yourself permission to try, adjust, and refine until you find the looks that make you feel genuinely beautiful.
