Quick weave extensions give you instant length, volume, and styling versatility without the commitment of permanent installations. But figuring out how to style them beyond a basic ponytail can feel limiting if you don’t know what’s possible. The truth is, quick weaves work beautifully for a surprising range of ponytail styles—from sleek and polished to textured and playful—and most of them come together in under 15 minutes.
The appeal of quick weave ponytails goes beyond just speed. These styles protect your natural hair while you experiment with different looks, textures, and colors. You can refresh your style every few days without damaging your edges or spending hours in a salon chair. Plus, once you understand the fundamentals of working with weave texture, styling becomes intuitive—and you’ll start seeing opportunities for creativity you might have missed before.
What makes these 12 styles so effective is that they work with the weave’s natural qualities rather than fighting against them. Weave hair has its own movement, weight, and behavior that’s different from your natural hair, and knowing how to leverage those qualities is what separates a mediocre ponytail from one that actually looks intentional and polished. The styles below range from minimal-effort everyday looks to more intricate designs you can save for special occasions—but all of them are genuinely achievable, even if you’re new to styling quick weaves.
1. The High Sleek Ponytail
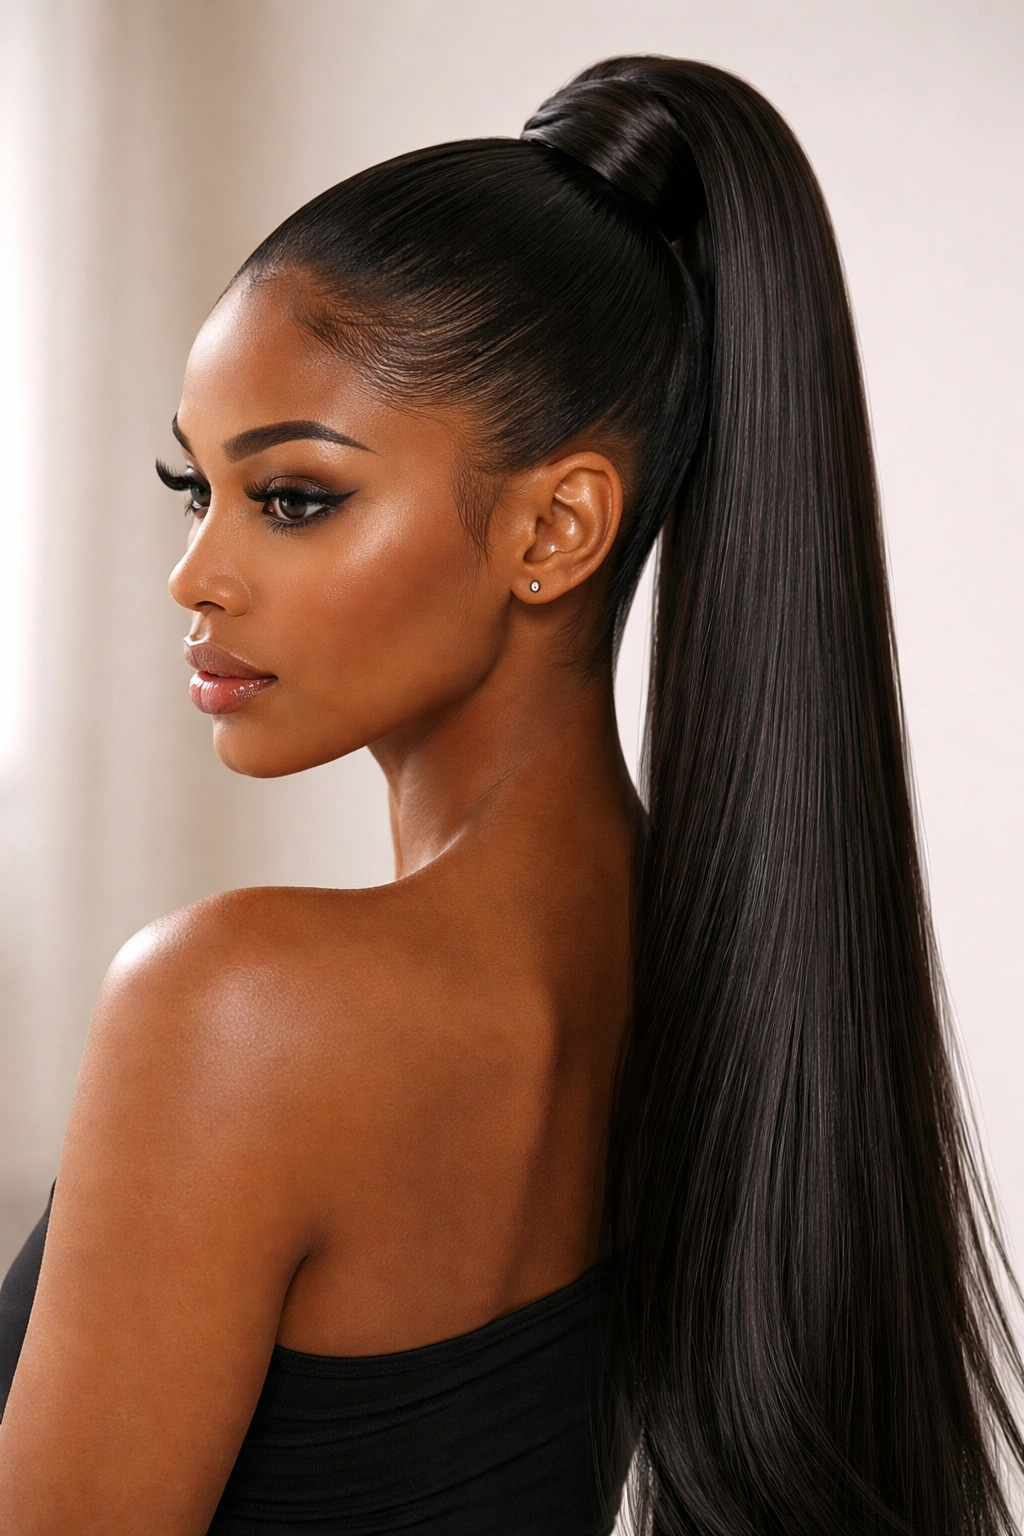
A high sleek ponytail is the quickest way to look polished and put-together, and it works beautifully with quick weave hair because the weight and smoothness of the extensions create that coveted sleek finish naturally. This style pulls the weave straight back from your hairline and gathers it at the crown, creating a clean, elongated line from your face down your spine.
Start by applying a smoothing cream or edge control to your hairline and brush the weave straight back toward the crown using a fine-tooth comb. The key is working in one smooth, consistent direction rather than multiple passes—this prevents frizz and keeps the surface flat. Gather all the weave at the crown and secure it with a hair tie, making sure you’re holding it high enough that the ponytail sits at the very top of your head. If any pieces are loose around your edges, smooth them back with a light touch of gel and a fine brush.
What Makes It Stand Out
The high sleek ponytail works because it creates an immediate sense of polish and intention. Your face looks more open and lifted when your hairline is fully visible, and the straight lines are flattering to most face shapes. This style also puts zero stress on your natural hair because the weave is bearing all the weight.
How to Elevate It
- Wrap a small piece of weave around the base of the ponytail to hide the elastic completely
- Use a smoothing serum that adds shine without weighing the weave down
- Finish with a light hairspray to hold flyaways in place without creating crunch
- Add a gold or silver cuff around the base for an understated accessory touch
This style stays in place all day without needing touch-ups, and it works whether you’re heading to the gym or a work meeting. The versatility is part of what makes it such a reliable go-to.
2. The Bubble Ponytail
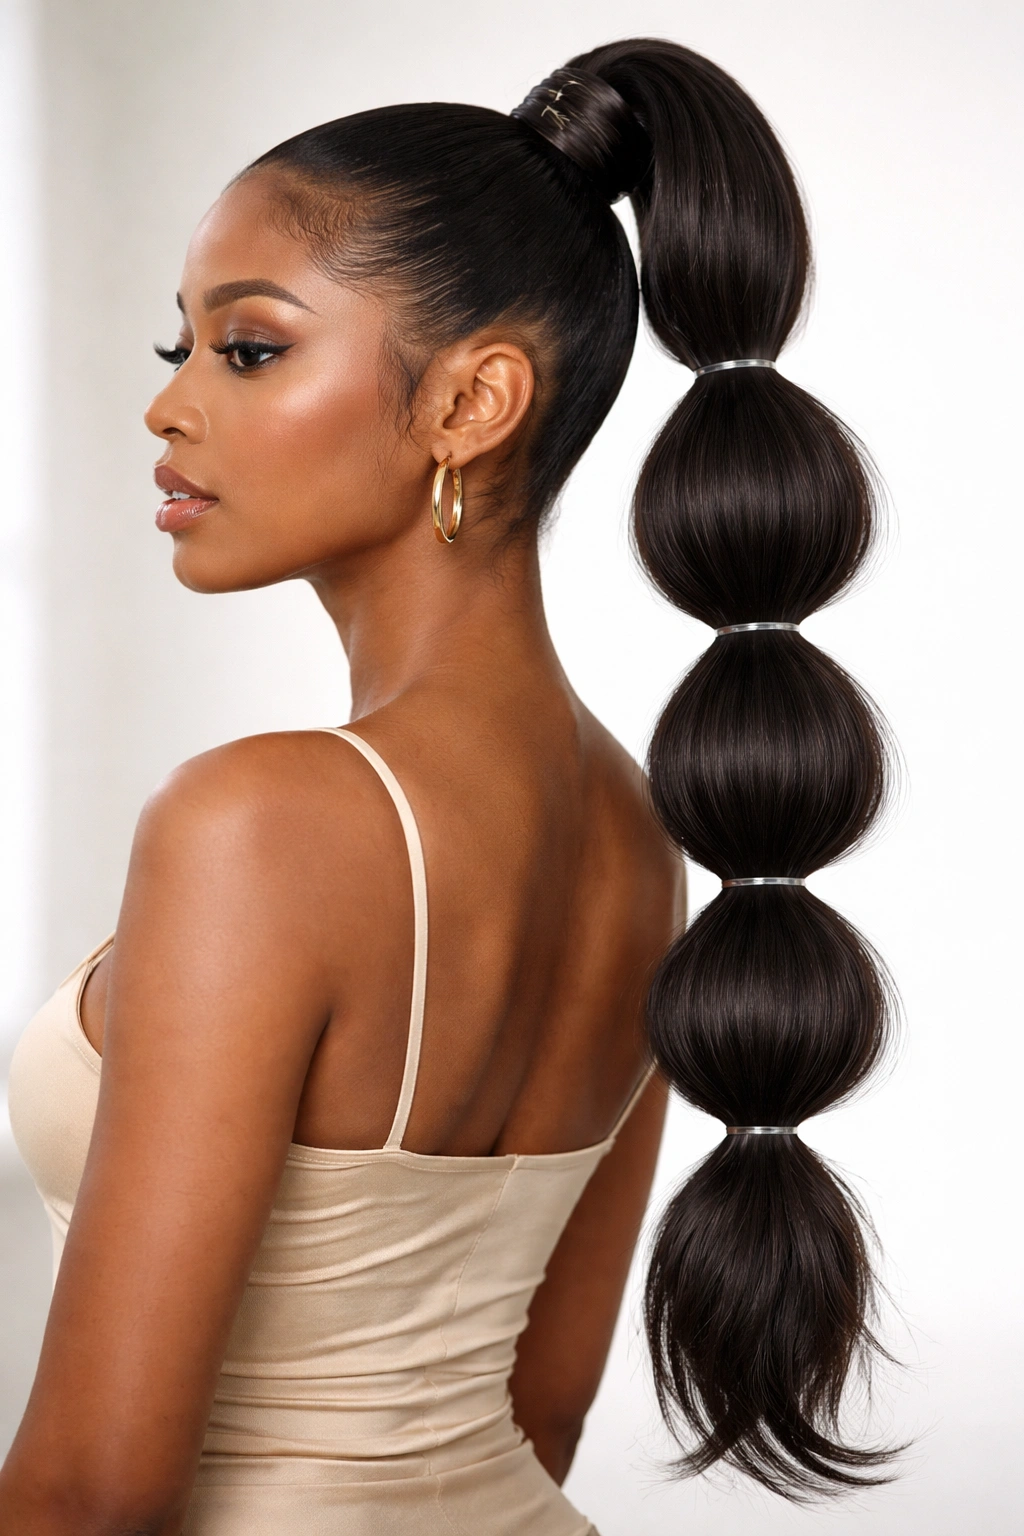
A bubble ponytail stacks multiple hair tie sections down the length of your ponytail, creating distinct rounded bulges that add visual interest and dimension. It’s playful, youthful, and surprisingly easy to execute with weave hair because the extensions hold their shape so well.
Create your initial high or mid-height ponytail and secure it with a hair tie. Then, place a second hair tie about 2-3 inches down from the first one and gently push the hair between the two ties upward to create a bubble shape. Continue this pattern down the entire length of your ponytail, spacing each tie evenly. You can make the bubbles tighter (more defined) or looser (more relaxed) depending on your preference and the thickness of your weave.
What Makes It Stand Out
Bubble ponytails add texture and movement to weave hair in a way that feels intentional rather than accidental. Each bubble catches light differently, creating depth that a regular ponytail doesn’t have. This style is also surprisingly flattering because the stacked effect makes your ponytail appear fuller and more voluminous than it actually is.
Quick Styling Notes
- Use clear or matching hair ties so they disappear into the weave
- Space your bubbles consistently—uneven spacing looks accidental rather than designed
- Slightly backcomb each bubble section before pushing it up for more definition
- Experiment with bubble size—smaller, tighter bubbles feel modern; larger, looser bubbles feel more relaxed
The bubble ponytail appeals to people who want something a little different without needing advanced styling skills. It genuinely transforms your look in about 10 minutes.
3. The Low Side Ponytail
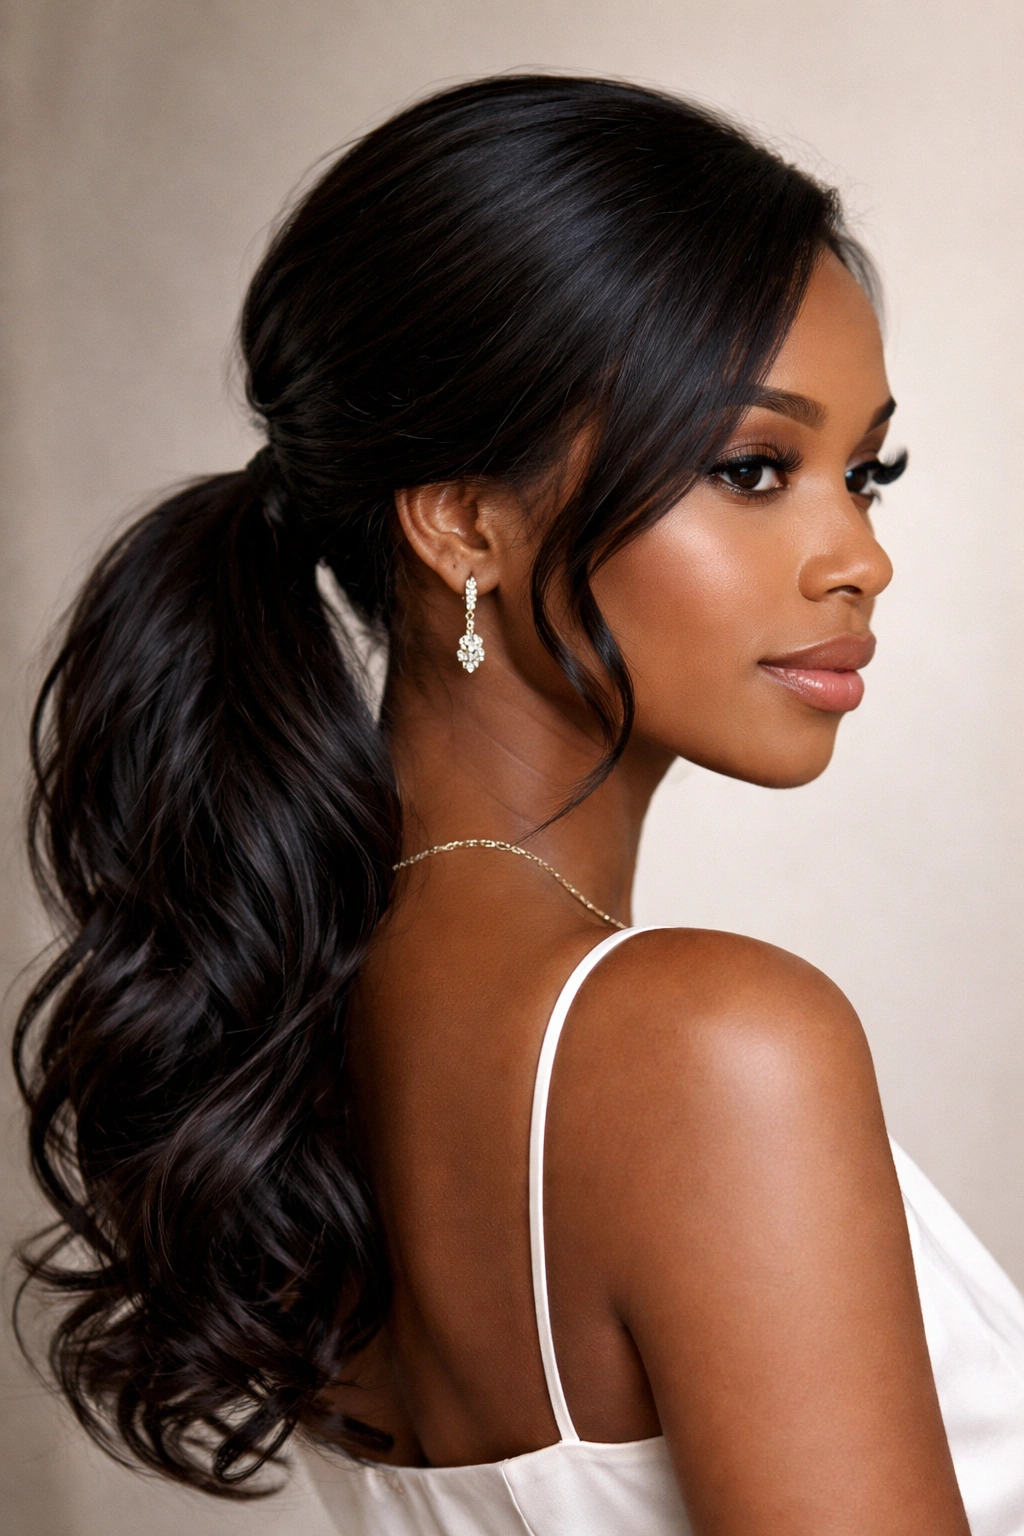
A low side ponytail gathered at the nape of your neck but positioned slightly off-center creates an elegant, effortless vibe. This style flatters most face shapes because it doesn’t pull your features as tightly as a center ponytail, and it photographs beautifully from any angle.
Start with your weave down and unstyled, or loosely brushed. Create a deep side part that matches your natural hairline, then brush all of your weave toward the side of your neck opposite that part. Gather it into a low ponytail at the nape and secure it with a hair tie. The beauty of this style is that it doesn’t need to be perfectly smooth—a slightly tousled, lived-in texture actually enhances the relaxed vibe.
What Makes It Stand Out
Low side ponytails have an inherently romantic, approachable quality that reads as intentional styling without looking overdone. The side positioning creates asymmetry, which is more visually interesting than center-gathered styles. With weave hair, you can create a side ponytail that stays put all day without pins or product buildup.
How to Style It
- Use a soft-bristled brush rather than a fine-tooth comb for a slightly textured, less severe look
- Leave a few face-framing pieces loose around your temples for softness
- Add a curved side part by brushing your weave and then softly redirecting it at your hairline
- Finish with a light texturizing spray to enhance the relaxed quality
This works for everything from casual dates to more formal occasions—it’s that versatile. The low positioning also means there’s minimal tension on your hairline, making it an especially good choice if you’re concerned about breakage.
4. The Braided Wraparound Ponytail
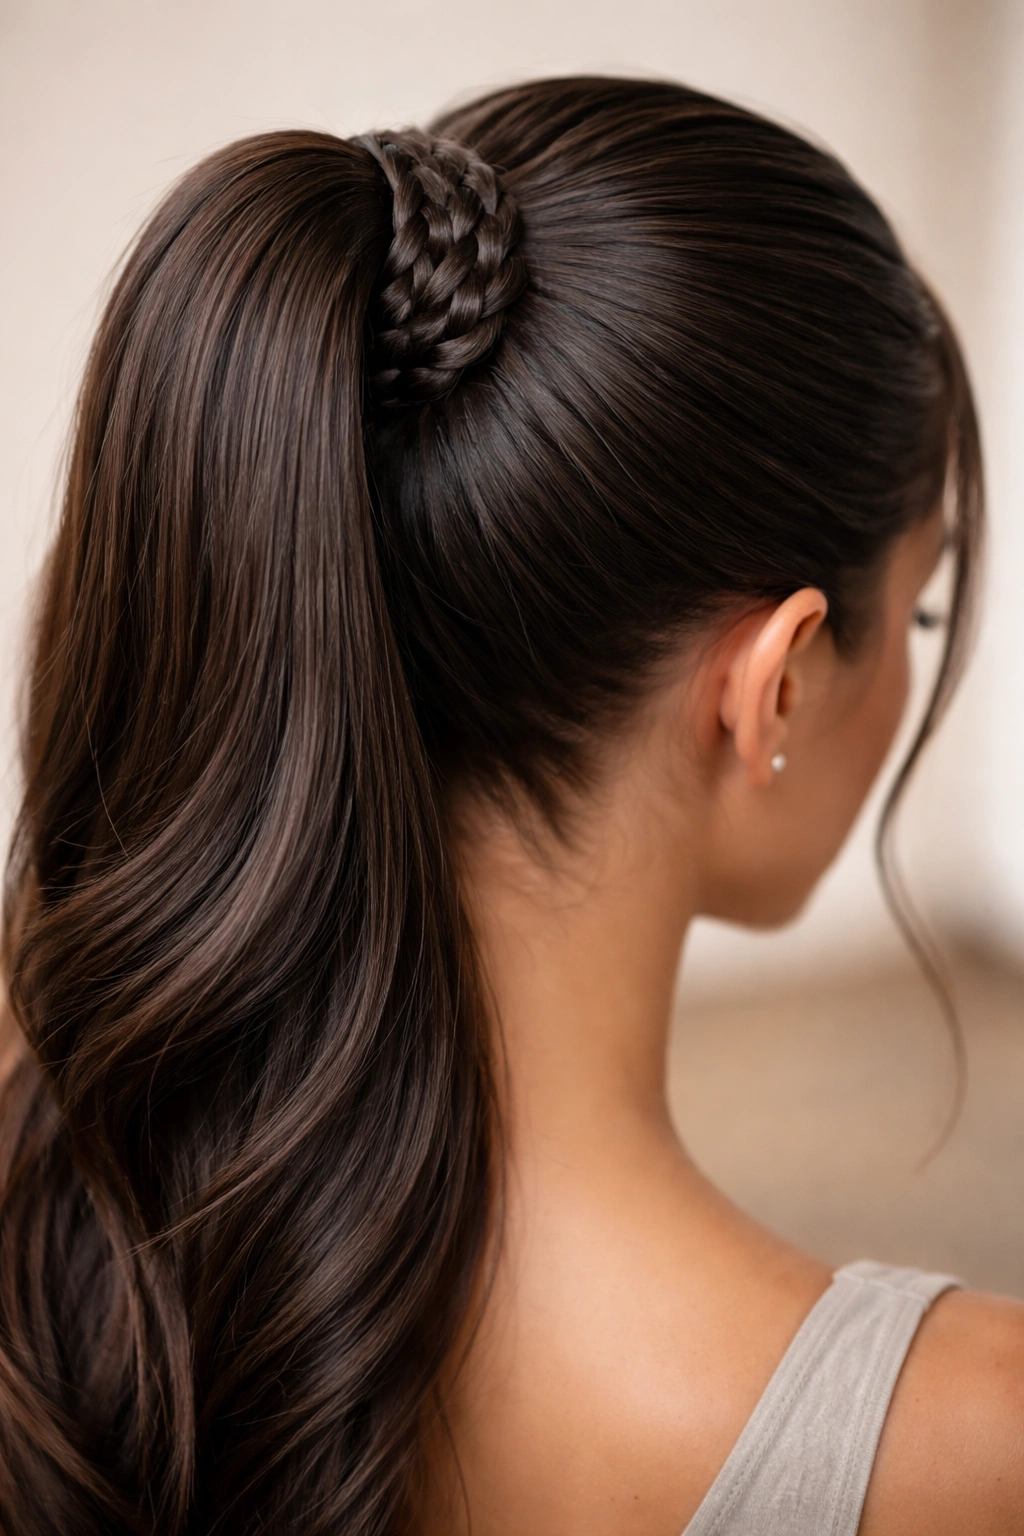
A braided wraparound takes your basic ponytail and elevates it by wrapping a three-strand or Dutch braid around the base, creating texture and visual interest without requiring complex technique. This hybrid style combines the simplicity of a ponytail with the detail of braiding.
First, create your ponytail—high, mid-level, or low depending on your preference. Secure it firmly with a hair tie. Then, take a small section of weave from the side of the ponytail base and divide it into three strands. Braid this section around the circumference of your ponytail base, incorporating new hair as you go (this is a Dutch braid technique). Once you’ve completed the wrap, secure the braid with a tiny elastic or bobby pin that matches your weave color. Gently tease the braid slightly with a fine comb to add dimension and texture to the weave.
What Makes It Stand Out
The braided wraparound transforms a basic ponytail into something that looks intentional and detailed. It’s the styling equivalent of adding a crisp belt to a simple outfit—it changes the whole impression. The braid also serves a practical purpose: it helps keep flyaways contained and ensures your ponytail stays neat for hours.
Key Techniques
- Use a fine-tooth comb to gently backcomb your braid before wrapping it for maximum texture
- Keep your braid sections consistent in size for an even, polished appearance
- Make sure you’re braiding tightly enough that it doesn’t slip but loosely enough that you can gently fluff it afterward
- Use a shine spray on the braid to highlight the dimension of each strand
This style takes about 15 minutes but looks like you spent 45 minutes styling. It’s perfect for dates, work presentations, or any time you want to look like you put genuine effort into your appearance.
5. The Curly Weave Ponytail
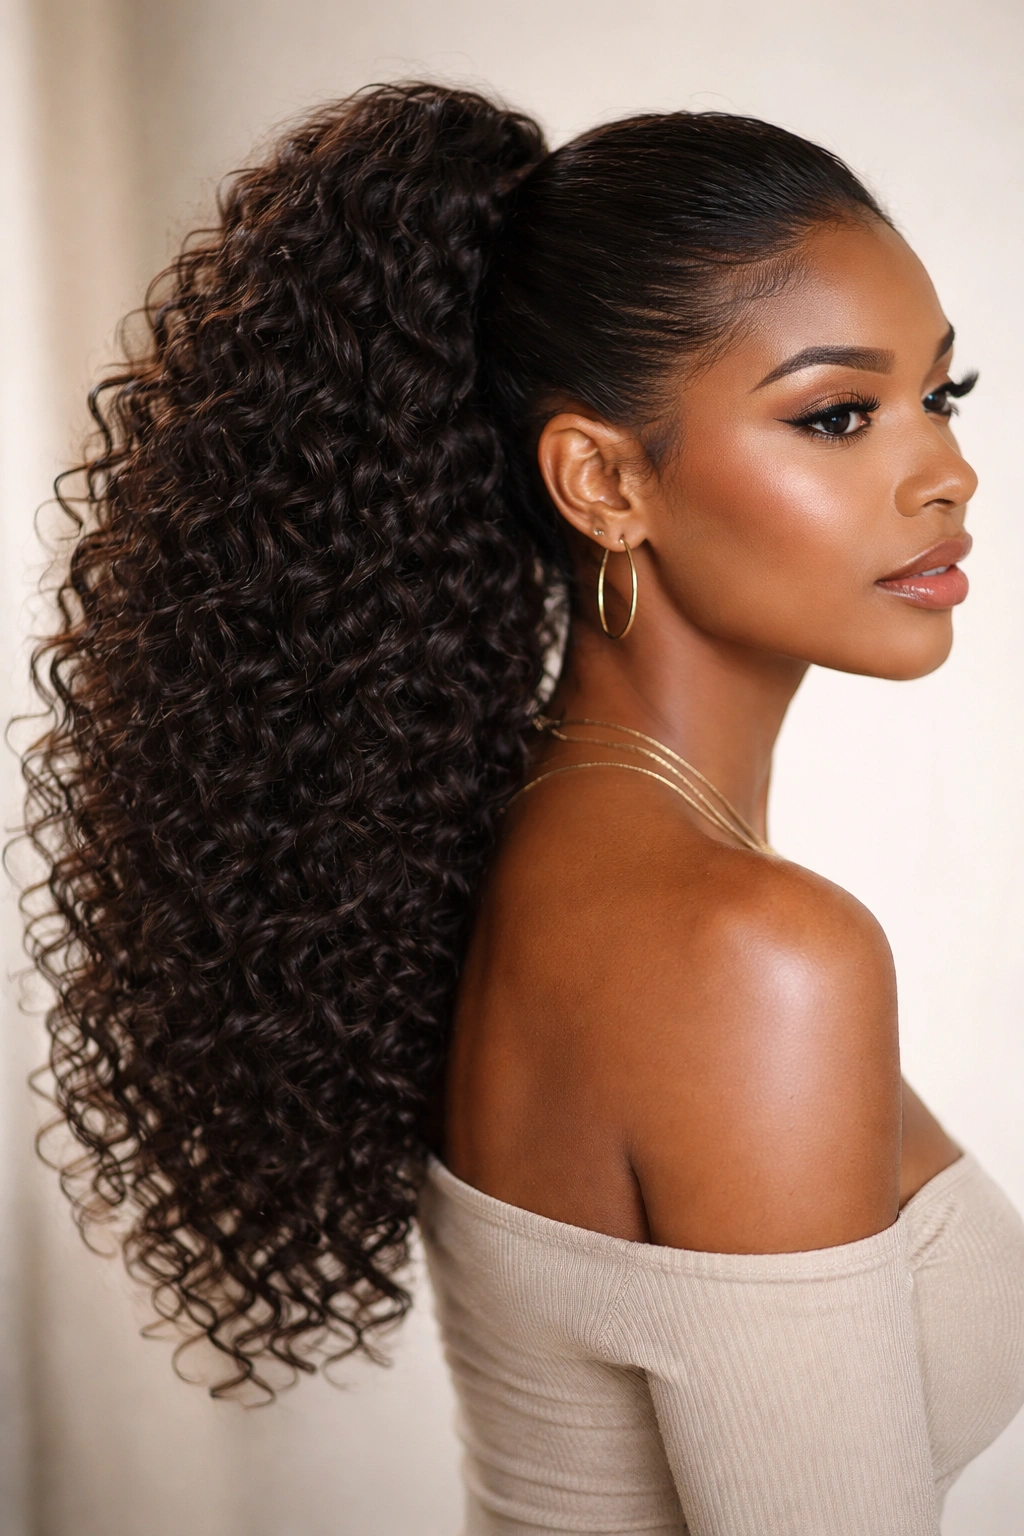
If your quick weave has a curly or textured pattern, gathering it into a ponytail showcases that texture beautifully while keeping hair off your face. Curly weave ponytails have movement and volume that straight extensions just can’t match, and they require virtually no smoothing product to look intentional.
Flip your head upside down and rake your fingers through the curls gently, separating them as you go. This creates a lifted, volumized base. Flip back upright and shake your head side to side to enhance the natural pattern. Then gather your curls into a ponytail at whatever height you prefer—high curly ponytails look youthful and playful, while mid or low ponytails feel more sophisticated. Don’t smooth the ponytail; instead, use your fingers to position curls and create shape.
What Makes It Stand Out
Curly ponytails are inherently more forgiving than sleek ones because the texture hides minor imperfections and doesn’t show single stray hairs. The volume that curly weave naturally provides means your ponytail looks fuller and more substantial without backcombing or teasing. This style celebrates the texture rather than fighting it.
Styling Approach
- Separate curls with your fingers rather than a comb to maintain the curl pattern
- Use a curl-defining cream or lightweight mousse on the ponytail itself for definition and shine
- Avoid touching the ponytail too much once it’s gathered—let the curls do the work
- Pin down any flyaways with bobby pins that match your weave color rather than trying to smooth them
Curly ponytails work for any occasion and require the least amount of daily maintenance. You can refresh this style by simply spritzing with water and finger-separating the curls in the morning.
6. The Twisted Ponytail
A twisted ponytail creates the visual interest and dimension of braiding without requiring three separate sections or advance braiding knowledge. You simply twist two sections of weave together, wrap them around your ponytail base, and secure—it’s genuinely that simple but looks remarkably polished.
Create your ponytail first and secure it with a hair tie. Take a small section of weave from one side of the ponytail base and divide it into two strands. Twist these two strands around each other as you move around the circumference of your ponytail base, wrapping them as you go. Once you’ve completed the full wrap around the base, tuck the end underneath and secure it with a bobby pin or tiny elastic.
What Makes It Stand Out
Twists are more approachable than braids for people who struggle with three-strand coordination, but they create similar visual impact. The twisted wrap around your ponytail base adds dimension and sophistication that a plain elastic can’t provide. Because twists inherently have a slightly looser, more relaxed quality than braids, they work beautifully for both casual and polished settings.
How to Maximize the Effect
- Backcomb your twist sections slightly before wrapping them for extra texture
- Keep your twist sections even in thickness for a balanced appearance
- Gently fluff the twist after securing it to add dimension
- Use a light texturizing spray to enhance the twisted effect
This style is perfect for when you want something more detailed than a basic ponytail but don’t have 20 minutes to spend styling. The twist takes about 5 minutes once your initial ponytail is complete.
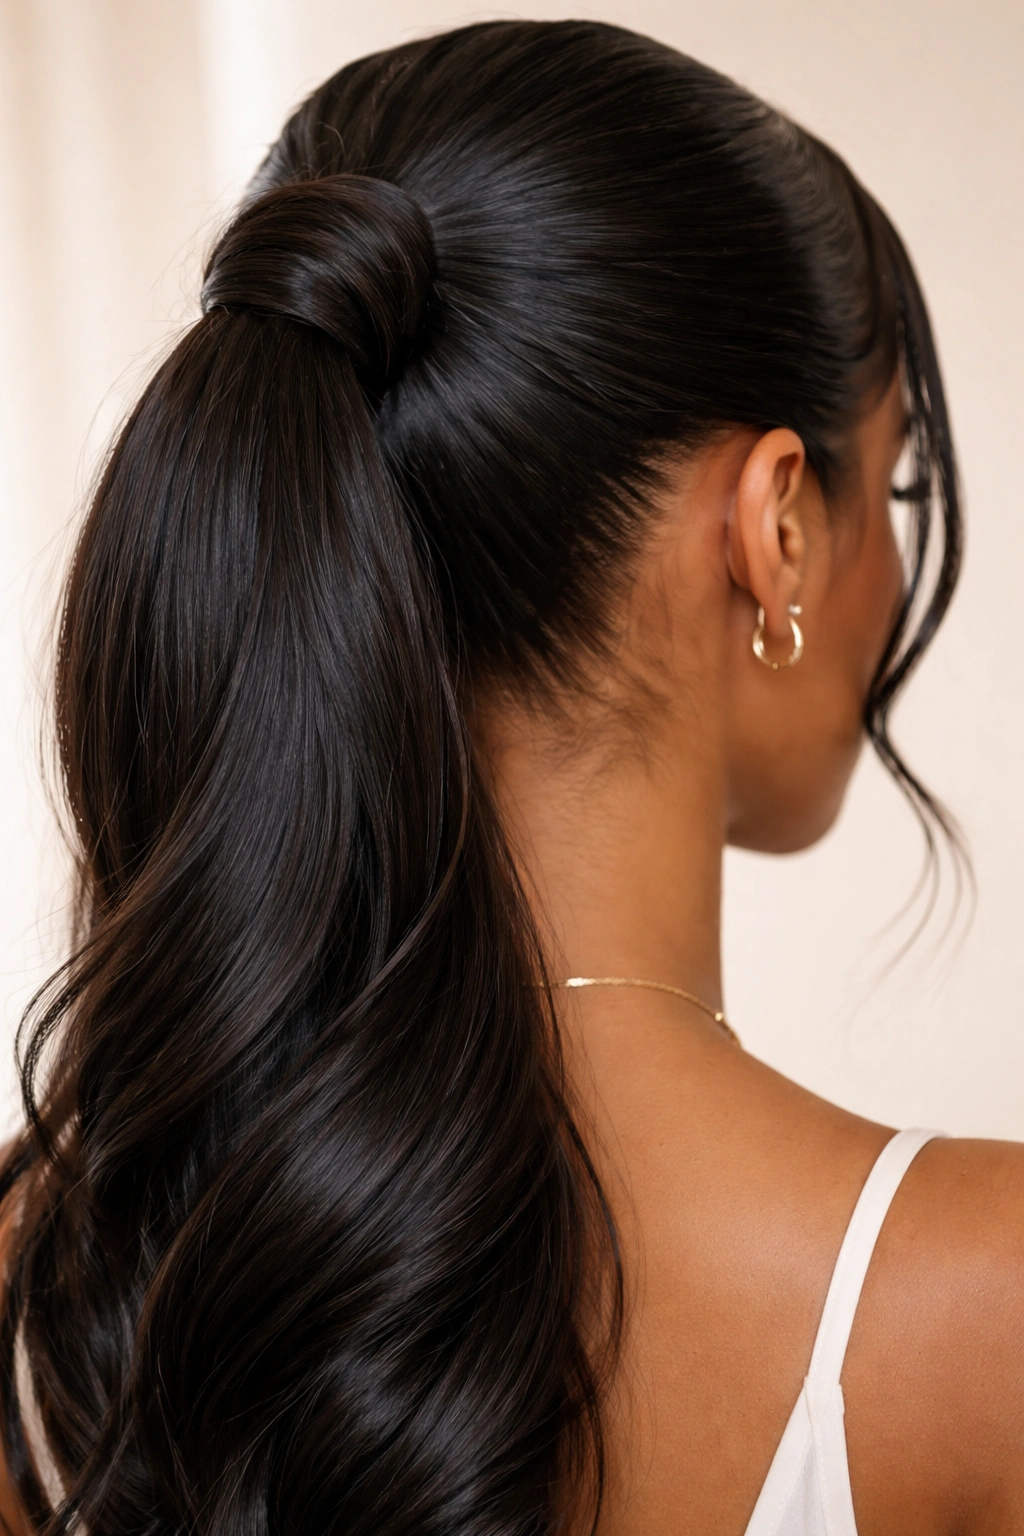
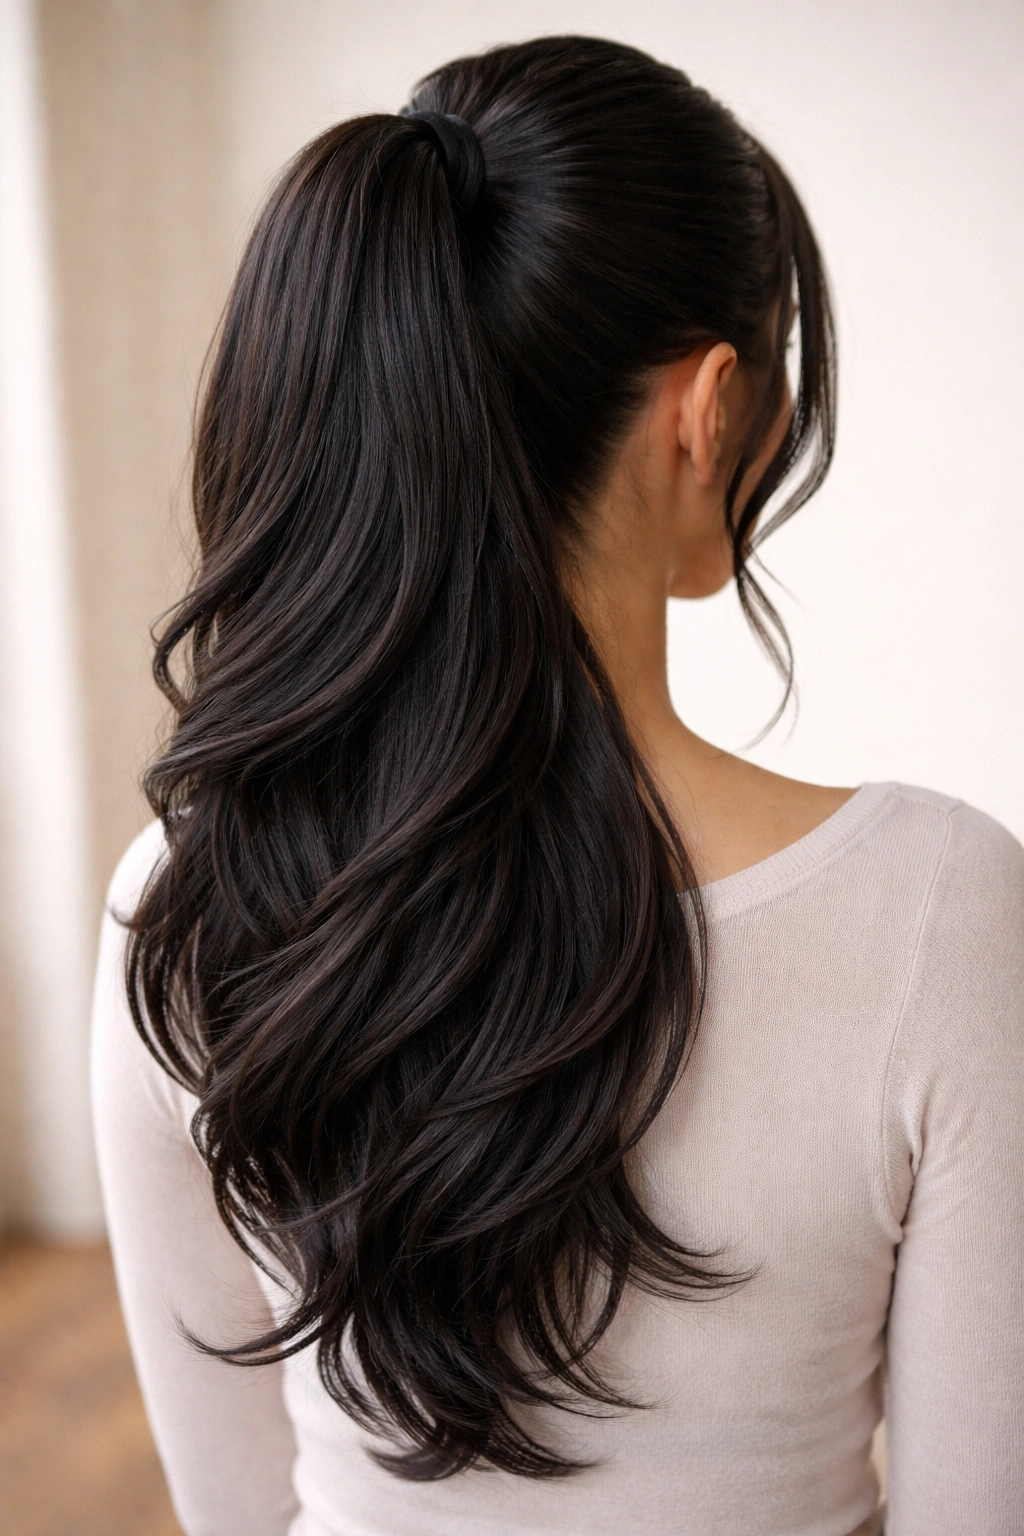
7. The Half-Up Weave Ponytail
A half-up ponytail gathers only the upper portion of your weave, leaving the bottom section down and loose. This style splits the difference between a full ponytail and wearing your hair fully down, creating a balanced, intentional look that works for almost any setting.
Create a horizontal part line at roughly ear level—you can adjust this up or down depending on how much weave you want gathered. Take the section above this line and brush it straight back toward the crown. Gather it into a ponytail and secure it, leaving the lower section completely loose and unstyled. You can leave this style as-is for a textured, lived-in look, or you can lightly curl or wave the bottom section for more dimension.
What Makes It Stand Out
Half-up ponytails are flattering because they keep hair off your face while still showcasing length and volume. They’re also incredibly versatile—they work for casual settings, professional environments, and formal occasions depending on how you finish the style. With weave hair, a half-up ponytail looks fuller and more intentional than it would with thinner natural hair.
Customization Options
- Leave the bottom section completely straight for a clean, modern look
- Lightly wave the bottom section for a romantic, layered appearance
- Backcomb the gathered section for extra volume at the crown
- Leave a few face-framing pieces loose around your temples for softness
- Add a decorative hair clip or cuff where the ponytail is gathered
The half-up is genuinely one of the most versatile weave ponytail styles. You can wear it three days in a row and style it differently each time without it feeling repetitive.
8. The Top Knot Bun Ponytail

A top knot bun created from gathered weave is the ultimate “I’m not trying but I look put-together” style. It sits high on the crown, creates beautiful dimension, and works whether your weave is straight, wavy, or curly. The beauty of a top knot is that it doesn’t need to be perfectly neat—a slightly tousled, lived-in quality actually enhances the style.
Create a high ponytail at the very crown of your head and secure it firmly with a hair tie. Then, twist the ponytail loosely or divide it into two sections and loosely braid it. Wrap this twisted or braided section around the base of the ponytail to form a bun shape, and secure it with bobby pins. Gently pull at the bun to create a fuller, more relaxed shape—you want it to look intentional but not overly polished.
What Makes It Stand Out
Top knots are effortlessly cool because they read as “I threw this together” even when you’ve clearly put thought into it. They’re also incredibly practical: all your hair is off your face and neck, but your style still looks intentional and put-together. Top knots also create a lifted, youthful line from the back of your neck to the crown.
Styling Variations
- Keep the bun tight and neat for a polished, contemporary look
- Gently tease and pull at the bun for a relaxed, undone aesthetic
- Leave two face-framing pieces loose around your temples
- Add bobby pins or clips decorated with pearls or metallic finishes for subtle glamour
- Use a texturizing spray to enhance the weave’s natural pattern within the bun
You can create a top knot in under 10 minutes and it genuinely stays in place all day. This is the style you reach for when you want to look intentional without spending time on your hair.
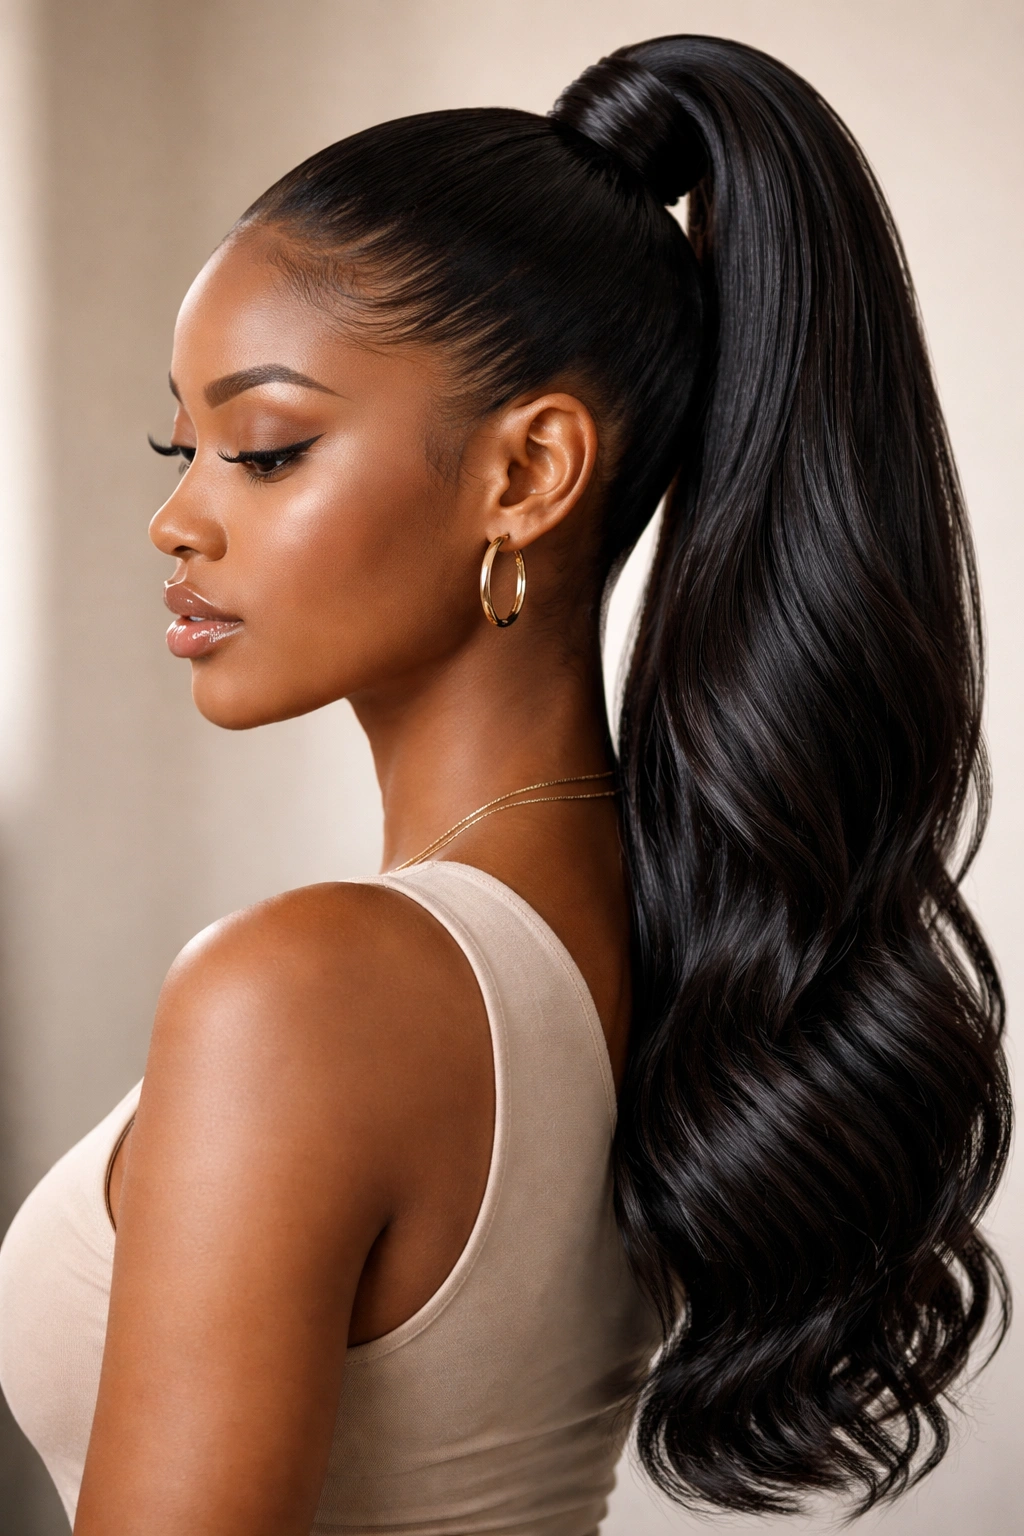
9. The Slicked-Back High Ponytail
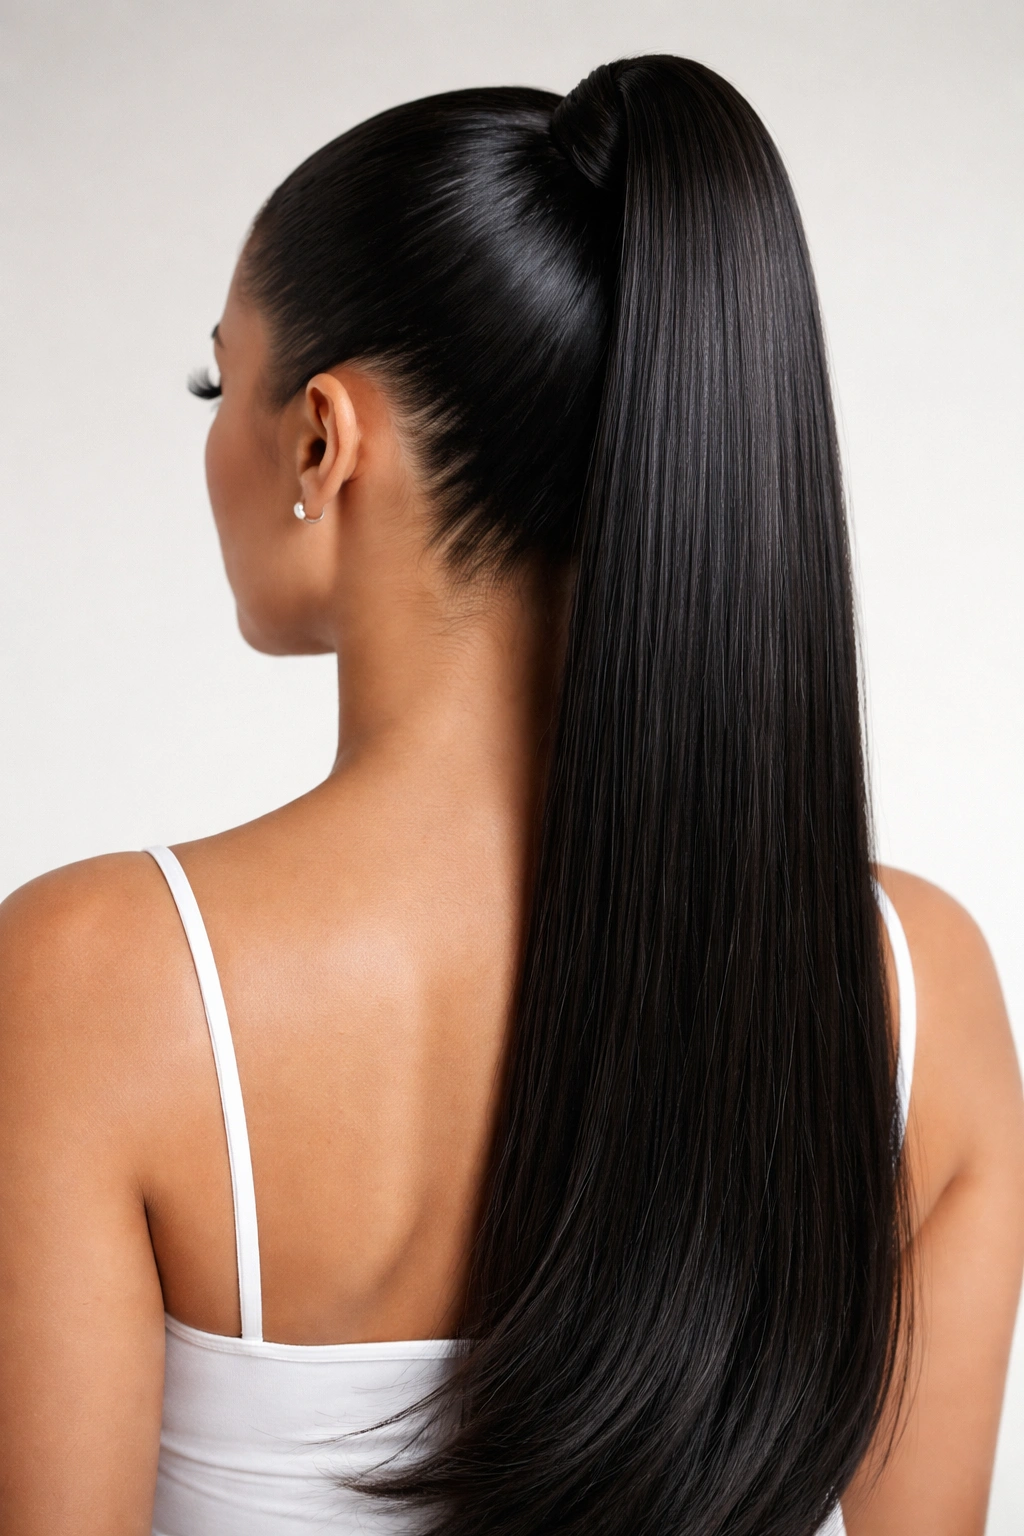
A slicked-back ponytail uses edge control and smoothing product to create an ultra-sleek, polished look where every strand lies perfectly flat. This style is bolder than a basic sleek ponytail because it emphasizes your face and doesn’t allow for any softness or texture—it’s pure clean lines.
Apply a strong-hold edge control or smoothing gel to your hairline and brush your weave straight back toward the crown using firm, consistent strokes. You want to smooth it so completely that the weave appears almost wet. Once you’ve pulled everything back, gather it into a high ponytail and secure it with a hair tie. Smooth any remaining flyaways with a fine brush and additional edge control, then finish with a light hairspray to lock everything in place.
What Makes It Stand Out
Slicked-back ponytails are undeniably bold—they fully expose your face, forehead, and bone structure, which requires confidence but also creates an incredibly striking appearance. This style looks expensive and intentional in a way that other ponytails don’t. It’s particularly striking with certain weave colors, like platinum blonde, jet black, or rich burgundy.
Application Notes
- Use products that provide actual hold, not just shine—your ponytail needs to stay put all day
- Apply product to your hairline while your hair is slightly damp for the smoothest finish
- Use a fine-tooth comb with firm pressure for the sleekest appearance
- Secure your ponytail at the exact crown—too low and the style loses its impact
- Finish with hairspray to prevent any movement throughout the day
This style works beautifully for bold makeup looks or when you want to showcase interesting jewelry, since your neck and face are fully visible.
10. The Layered Weave Ponytail
A layered ponytail creates depth and movement by gathering weave at two different heights and securing them separately, then allowing the lower section to fall slightly in front of the upper section. This technique creates a cascading effect that’s visually interesting and surprisingly flattering.
Create your first ponytail about 2-3 inches above where you want your final ponytail to sit. Secure it with a hair tie. Then, gather all your weave (including the first ponytail) into a second, larger ponytail lower on your head and secure that as well. Gently pull the lower ponytail slightly forward so it sits slightly in front of the upper one, creating visible layers and depth. You can leave both sections as they are, or you can gently backcomb or tease each section for extra volume.
What Makes It Stand Out
Layered ponytails create an illusion of thickness and volume that genuinely makes thinner weave look fuller and more substantial. The cascading effect also creates visual movement and dimension that reads as more intentional and detailed than a single ponytail. This style works beautifully for special occasions because it shows you’ve put effort into your appearance.
Execution Details
- Make sure both hair ties match in color so they blend into your weave
- Create consistent spacing between your two ponytails for a balanced appearance
- Adjust the forward pull of the lower ponytail based on how much visibility you want
- Gently backcomb each section before pulling it down for maximum volume
- Use a light texturizing spray to enhance the separation between layers
This style takes about 15 minutes but creates impact that typically requires significantly more styling time. It’s perfect for situations where you want to look polished and intentional.
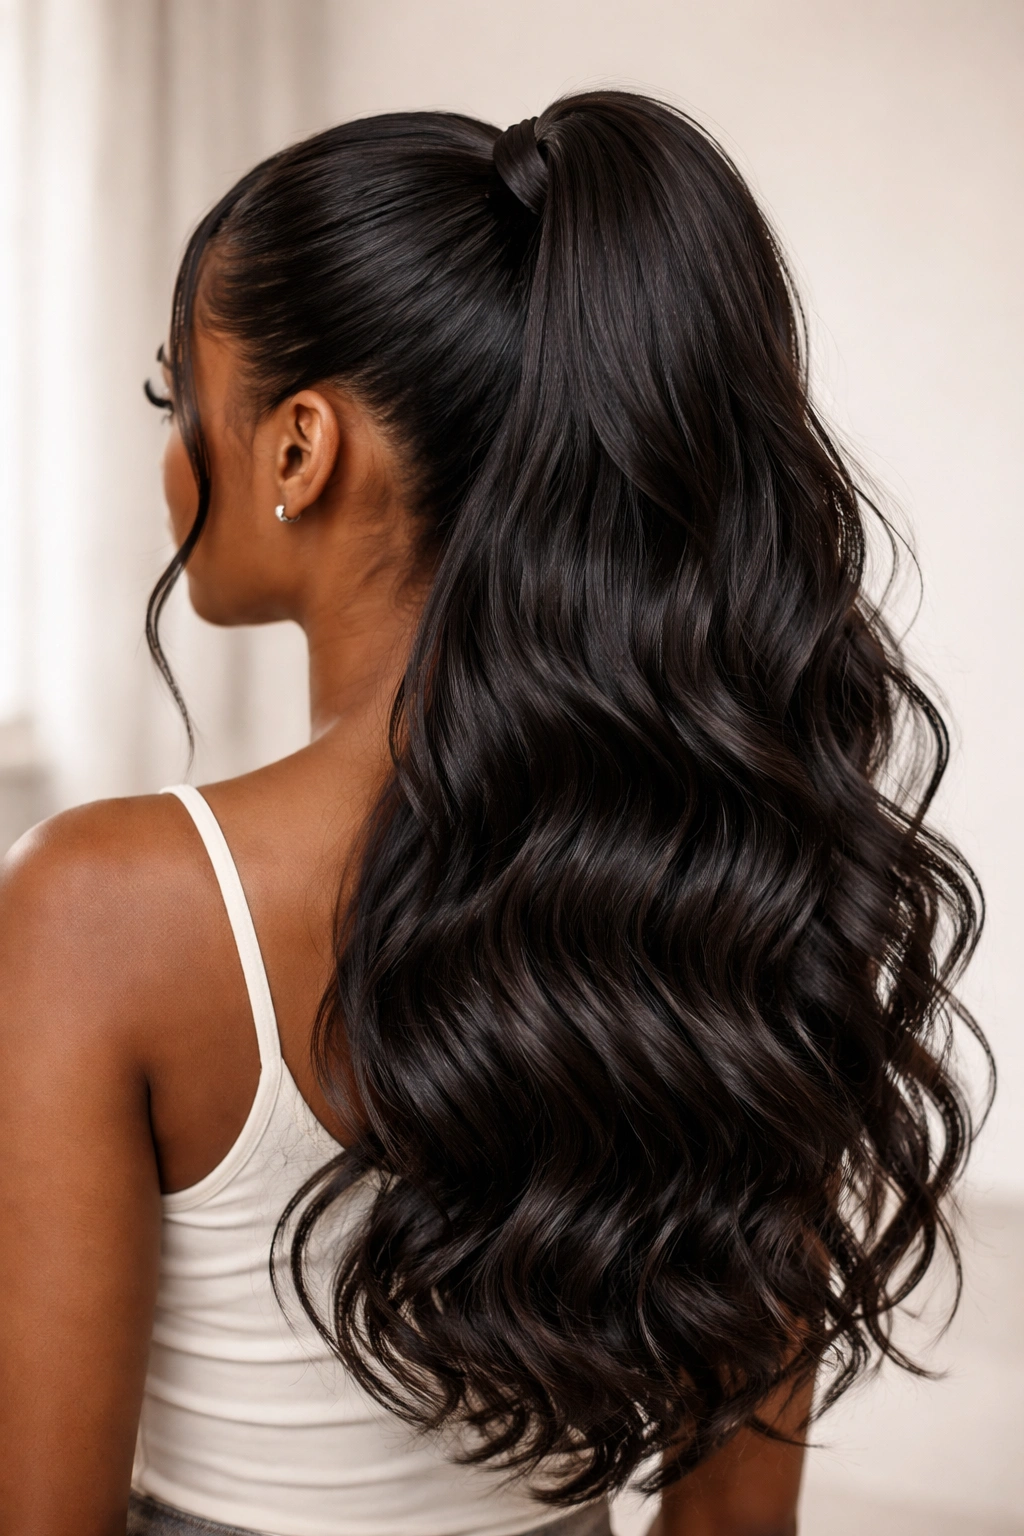
11. The Textured Weave Ponytail with Waves
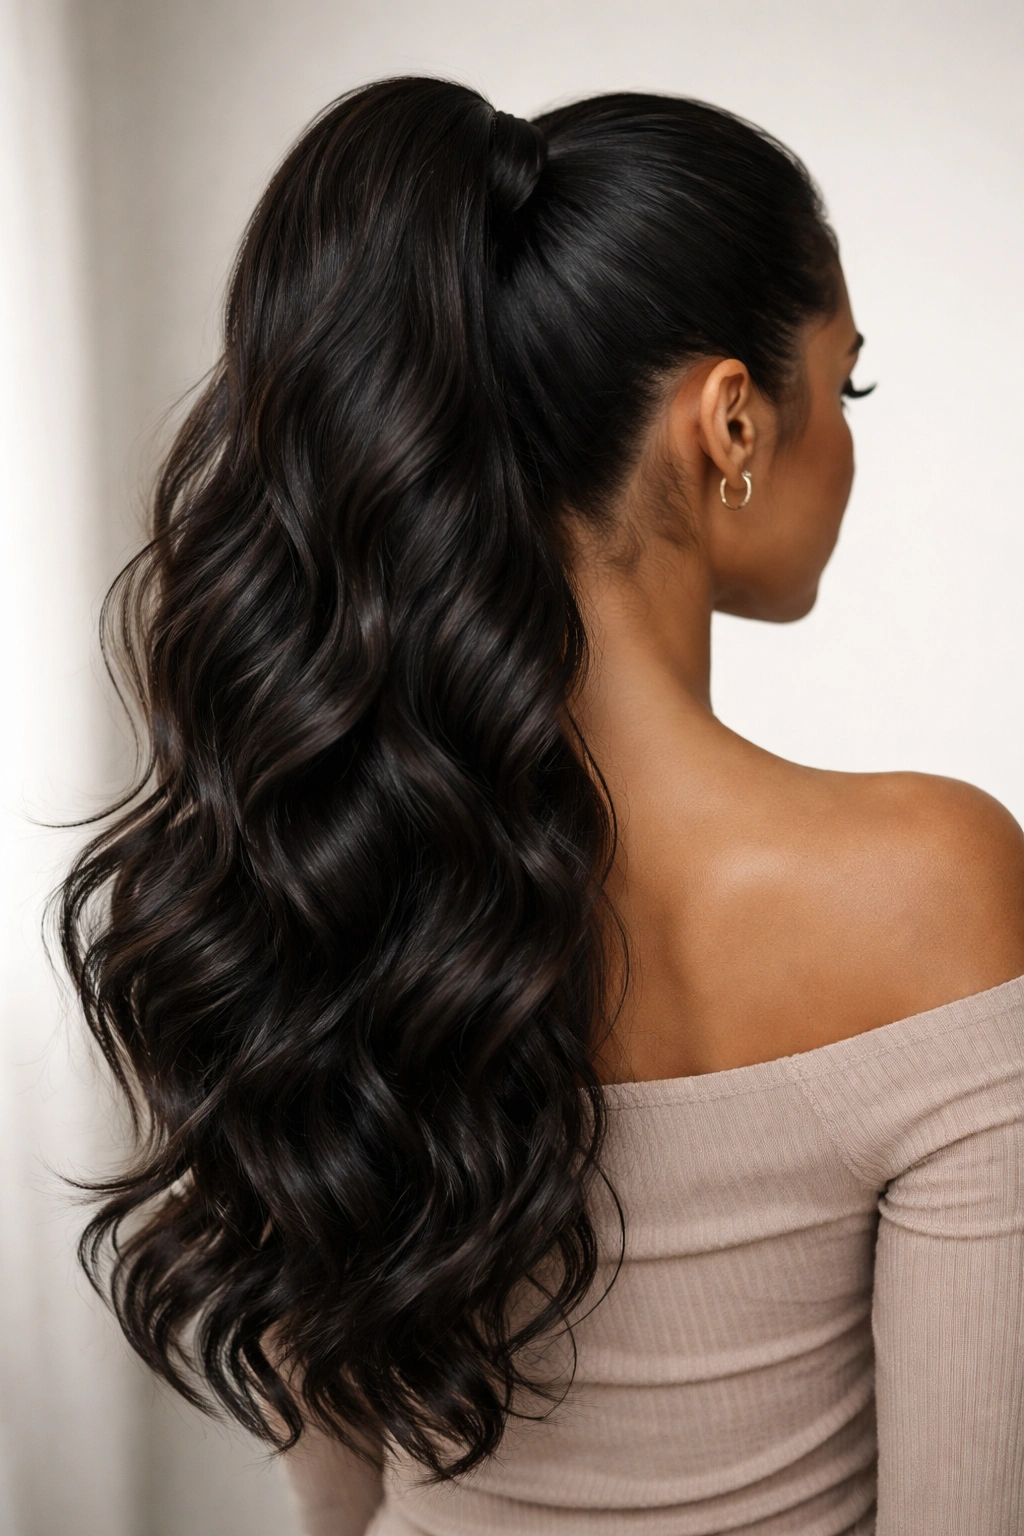
If your quick weave is straight, adding waves creates texture and dimension that transforms a basic ponytail into something more dynamic and interesting. You can use a curling iron, wand, or even braiding method to create waves, and the weave holds these waves beautifully.
Create your ponytail at whatever height you prefer. Then, take sections of the ponytail and wrap them around a 1.25-inch curling iron, holding each section for about 8-10 seconds. Work your way down the entire ponytail, alternating the direction you wrap (away from your face, then toward your face) for a natural, undulating wave pattern. Once you’ve curled the entire ponytail, run your fingers through it to soften the curls and create a more relaxed wave. Finish with a light hairspray or texturizing spray.
What Makes It Stand Out
Waves add movement and dimension to weave that makes it look thicker, bouncier, and more vibrant than straight hair. The waves also catch light differently at different angles, creating depth. This style works for both casual and polished settings—you can make the waves tight and defined for drama, or loose and relaxed for an effortless vibe.
Wave-Creating Techniques
- Alternate the direction you wrap each section around the curling iron for natural movement
- Let the curls cool completely before running your fingers through them for longer-lasting waves
- Use a texturizing spray instead of hairspray for a more relaxed, undone wave pattern
- Create thicker waves by taking larger sections of hair; thinner waves come from smaller sections
- Add beach salt spray to the ponytail before curling for extra texture and grip
Textured ponytails work beautifully for date nights, social gatherings, or any time you want your style to feel dynamic and intentional.
12. The Accessorized Statement Ponytail
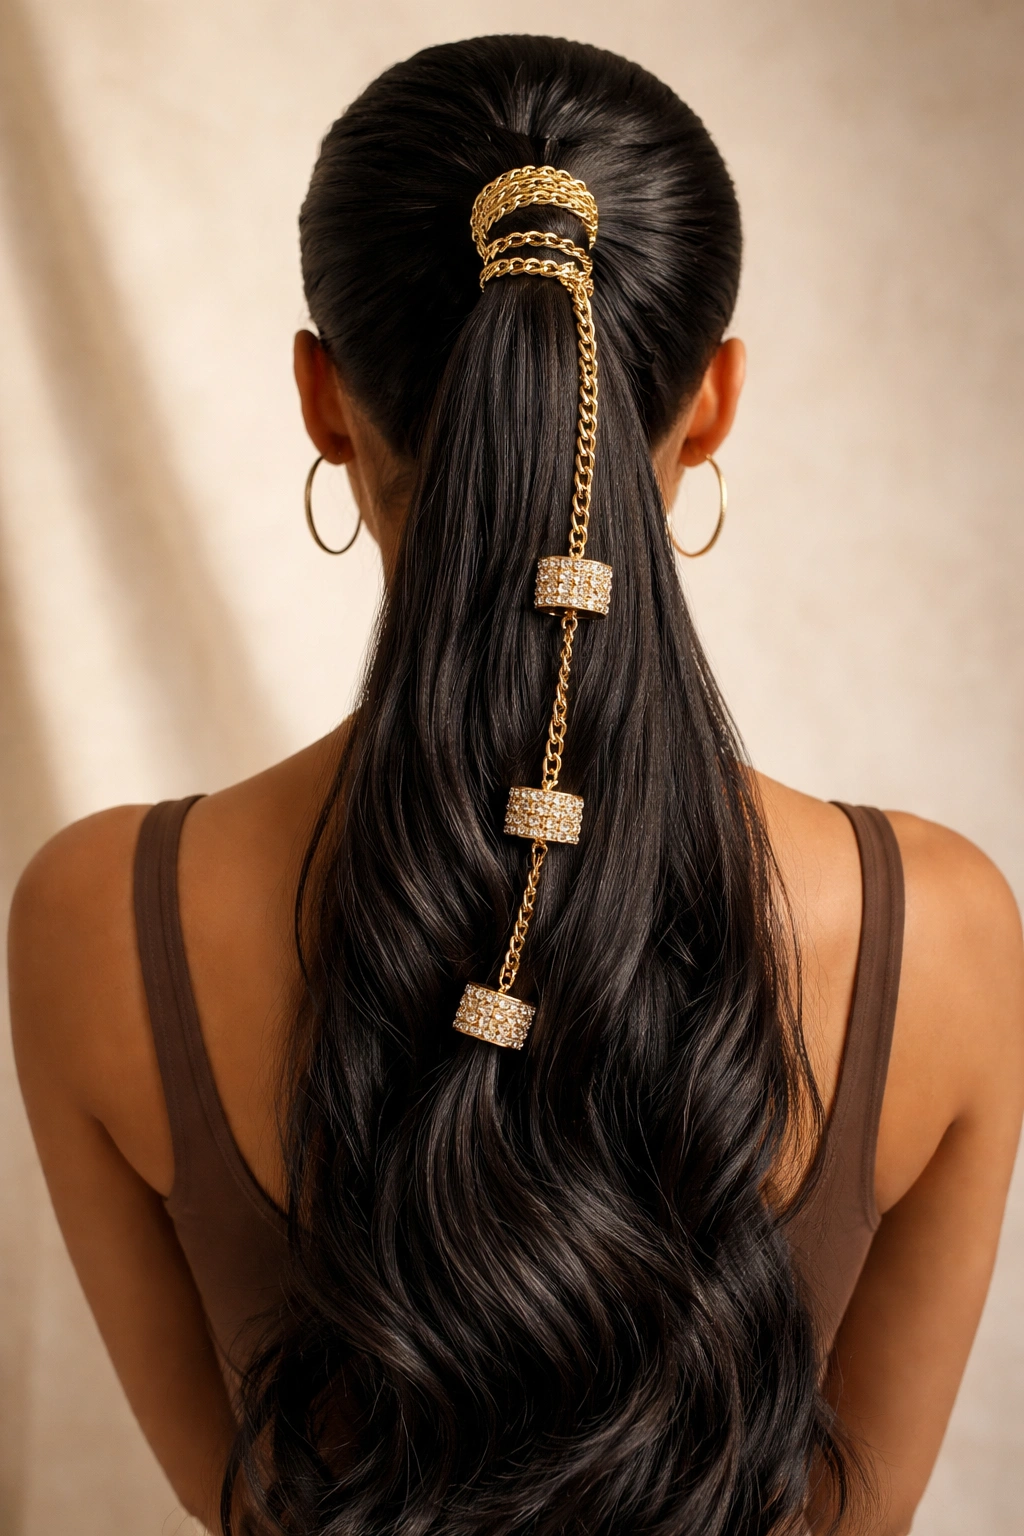
An accessorized statement ponytail takes any basic ponytail style and elevates it with decorative elements—hair cuffs, chains, fabric wraps, jewelry, or clips—that transform it from ordinary to eye-catching. The accessory becomes the focal point, allowing you to express personality and style through your hair.
Create your basic ponytail using any of the methods described above—high, low, sleek, textured, it doesn’t matter. Once your ponytail is secure, add your chosen accessory. Gold or silver cuffs can be slid directly over your ponytail base. Fabric wraps can be tied or wound around the base of your ponytail. Hair chains or jewelry can be woven through or clipped into your ponytail. Decorative clips work anywhere along the length of your ponytail.
What Makes It Stand Out
Accessories completely transform the visual impact of a ponytail without requiring any complex technique. A simple high ponytail becomes instantly elevated with the right cuff or chain. Accessories also let you coordinate your hair with your outfit, makeup, or jewelry, creating a more polished, intentional overall appearance. Because you’re relying on the accessory for visual impact, your base ponytail can be simple—this is actually preferable because it lets the accessory shine.
Accessory Ideas and Styling Tips
- Gold cuffs work beautifully with warm undertones and pair well with earth tones or jewel tones
- Silver chains create a modern, edgy vibe and work with cooler undertones and neutral palettes
- Silk or fabric scrunchies add texture and visual interest while being gentle on your weave
- Pearl clips or cuffs create a romantic, feminine aesthetic
- Metallic or jeweled hair clips add glamour without being overwhelming
- Leather cuffs create an edgy, contemporary look
- Mix metals for an intentionally eclectic appearance
The beauty of accessorized ponytails is that they’re completely customizable to your personal style. You can create a different look with the same basic ponytail by simply changing the accessory.
Final Thoughts
Quick weave ponytails offer remarkable versatility once you understand the few fundamental techniques that make them work. Whether you’re going for sleek and polished, relaxed and textured, or bold and statement-making, your weave has the weight, texture, and durability to hold these styles all day without requiring constant maintenance or product reapplication.
The styles above work best when you think of your weave as a tool with its own qualities—weight, texture, movement—rather than trying to force it to behave exactly like your natural hair. Weave holds shape beautifully, responds well to product, and creates volume that many natural hair textures struggle to achieve. Work with these qualities rather than against them, and you’ll find that styling becomes faster and more intuitive.
Start with whichever style speaks to you most, practice it a few times, then branch out to others. Most of these ponytails become faster the more you do them—what takes 20 minutes on your first attempt will take 10 minutes after you’ve done it a few times. The investment in learning these techniques pays off in the form of quick, polished styling options that you can rotate through constantly without your look ever feeling stale or repetitive.