Low frontal ponytails have become a go-to option for anyone wanting to look polished without the effort of a full blowout or complicated styling. The magic of this style lies in how it frames your face while keeping hair off your neck—perfect for everything from a casual Friday at the office to a night out with friends. What makes a low frontal ponytail actually seamless, though, isn’t just about pulling your hair back. It’s about understanding the specific technique, knowing which hair texture it works best on, and having the confidence to customize it for your own face shape and hair type.
The “frontal” element refers to the way you section and position your hair—you’re working with pieces that frame your face while anchoring everything low at the nape of your neck. This creates a soft, intentional look that feels effortless even though there’s real technique behind it. Unlike a standard low ponytail that pulls everything straight back, a low frontal ponytail keeps face-framing elements loose and flowing, which is why it looks so naturally seamless.
Getting this style right means understanding how to section your hair properly, choosing the right products to keep flyaways in check, and knowing whether to go sleek, textured, or somewhere in between. The 12 versions below each take a slightly different approach—some are romantic and undone, others are polished and professional, and a few blur the line between casual and glammed-up. Each one is totally achievable at home, and each one works beautifully on different hair types, lengths, and textures.
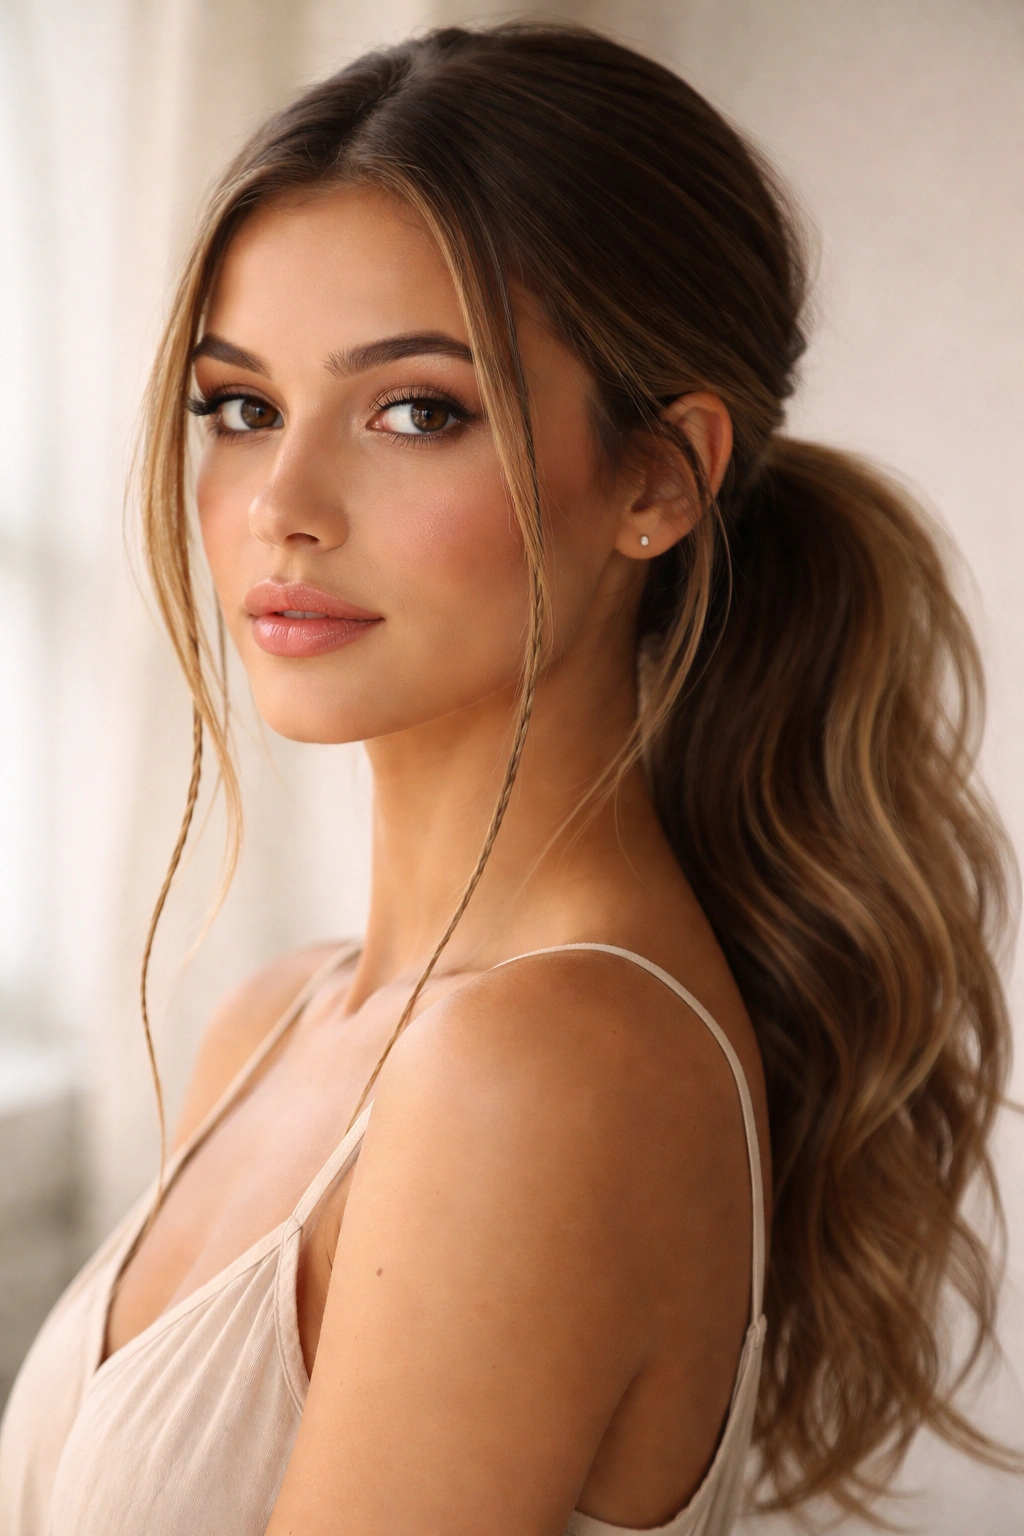
1. The Soft Romantic Ponytail with Loose Waves
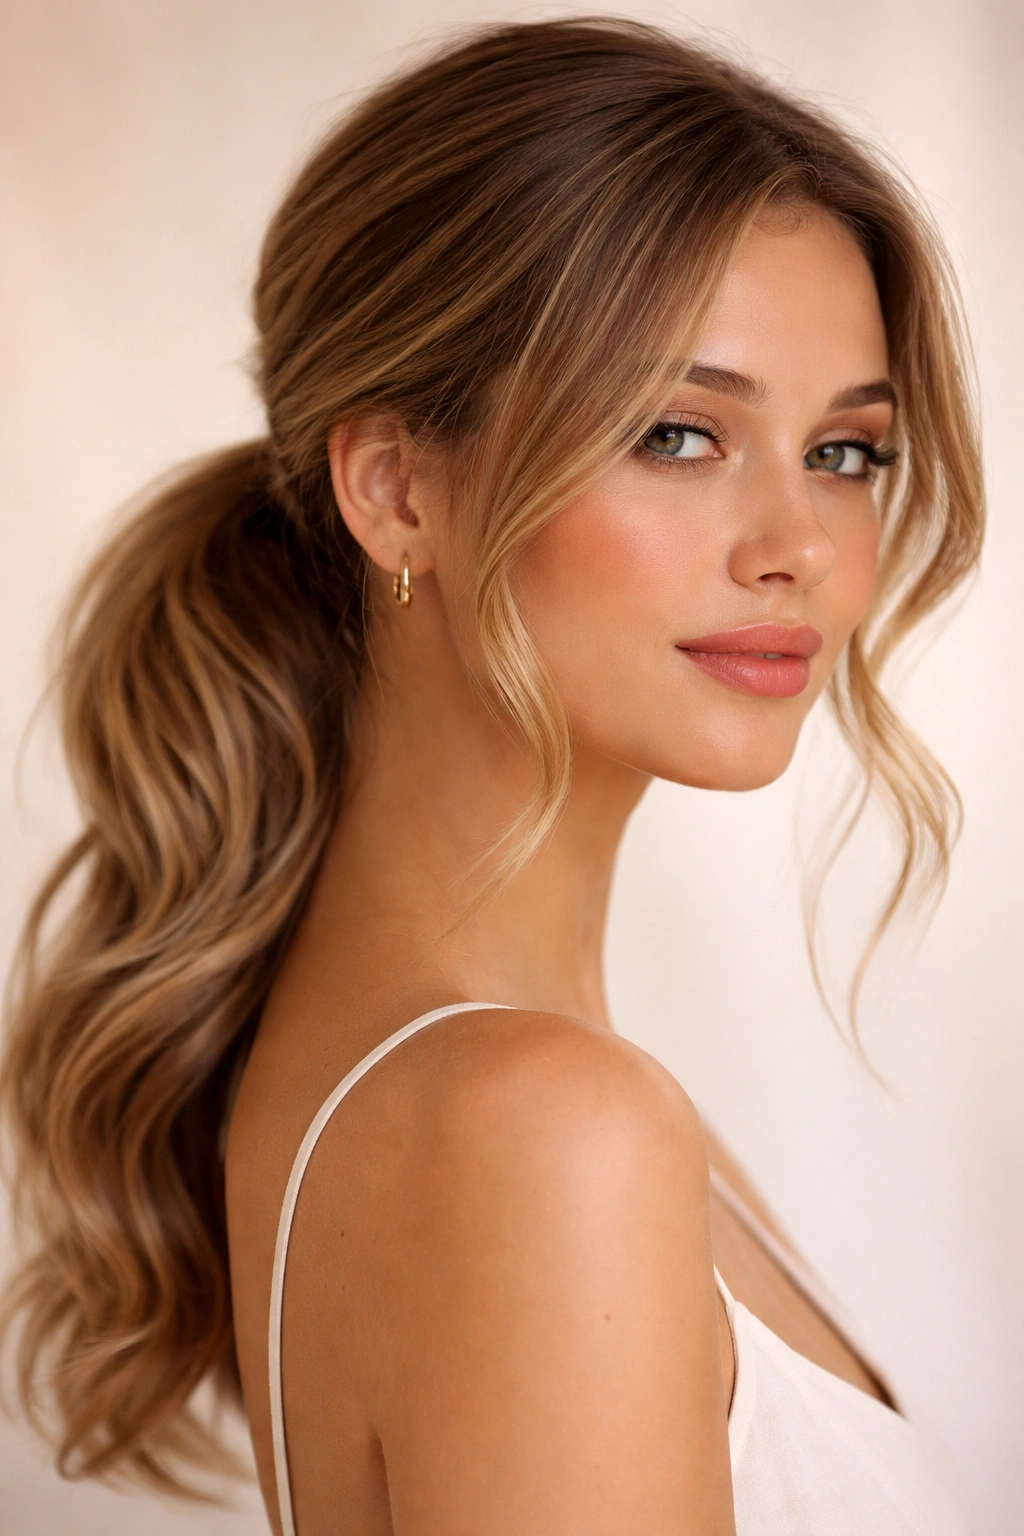
This version is all about that effortless, just-stepped-out-of-the-salon vibe. You’re creating a low ponytail at the base of your neck with loose, piece-y waves throughout, allowing several strands to fall freely around your face. The waves are loose and undefined—not tight ringlets, but rather that natural movement you’d get if you’d braided your hair overnight and then run your fingers through it.
How to Achieve This Look
Start with hair that’s either naturally wavy or second-day textured hair. If you’re working with freshly washed straight hair, apply a sea salt spray to damp hair, scrunch it gently, and let it air dry or diffuse it with your blow dryer. Once your waves are set, take a section from each temple and pull everything back loosely into a low ponytail positioned about two inches above the nape of your neck. Don’t pull it tight—you want that soft, relaxed gathering that feels almost accidental.
Why This Works So Well
The loose waves create texture and movement, which instantly disguises any flyaways or baby hairs that might otherwise look messy. Waves also soften the line of the ponytail itself, making the overall style feel intentional rather than hastily thrown together. This version works particularly well on fine or thin hair because the texture creates the illusion of fullness, even if your hair isn’t naturally thick.
Pro tip: Use a flexible hair tie or a silk scrunchie instead of a standard elastic. The softer hold keeps the ponytail from looking too tight and helps preserve the relaxed wave pattern throughout the day.
2. The Sleek Low Frontal with Gel and Shine
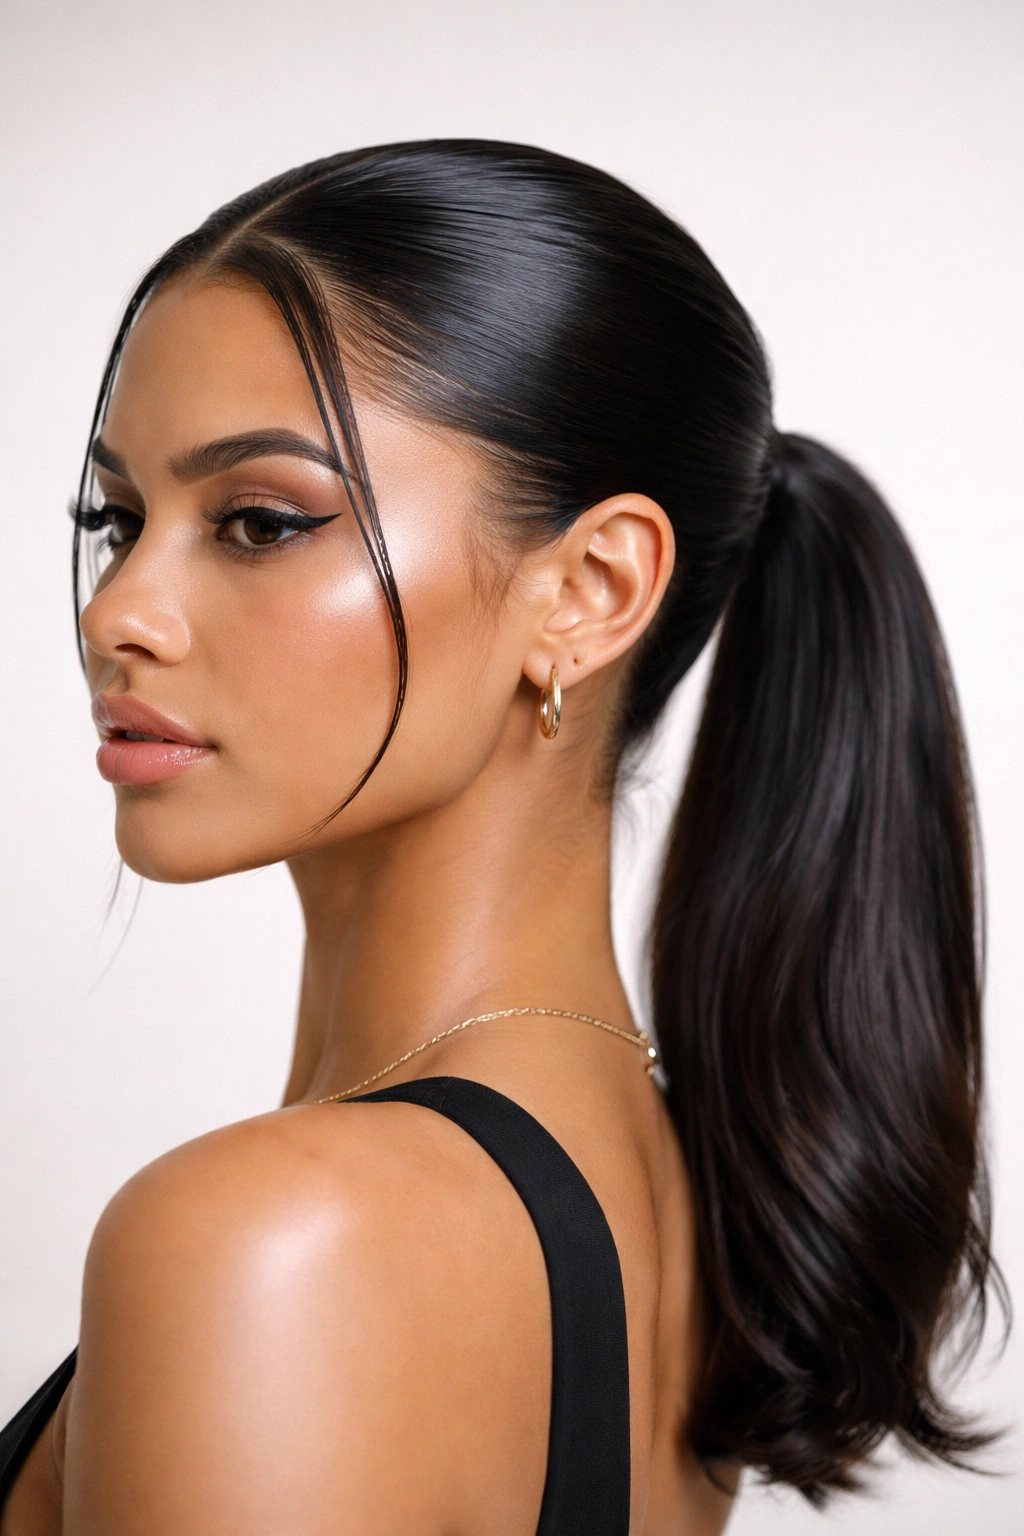
For anyone who loves a polished, modern aesthetic, this sleek version delivers major sophistication. Every hair is smoothed back and sealed in place with a lightweight gel, creating a glossy finish that catches the light. The face-framing elements are intentionally placed, not loose—think controlled sophistication rather than romantic softness.
How to Achieve This Look
Start with smooth, brushed-back hair. If you have natural texture, you’ll want to blow-dry your hair straight first or use a flat iron to create a sleek base. Apply a lightweight gel or styling cream to damp hair before drying, focusing on the front sections and the crown. Use a fine-tooth comb to smooth everything back into a low ponytail positioned at the base of your skull. Secure it with a tight elastic, and then apply a touch more gel around the hairline to tame any flyaways and create that polished shine.
Why This Works So Well
Gel creates that high-fashion finish that reads as intentional and put-together instantly. The smoothness of this style emphasizes cheekbones and facial structure, which is why it’s such a favorite for professional settings and special occasions. It’s also incredibly practical—once it’s set, this ponytail won’t budge, making it perfect for a full day of work or an evening out.
Worth knowing: Lightweight gels work better than heavy pomades for this look. Heavy products can weigh down fine hair and often leave a waxy residue. Look for gel formulas designed specifically for slicked-back styles—they’ll give you hold without the shine that looks artificial.
3. The Textured Low Ponytail with Waved Strands
This style sits right in the middle between fully sleek and totally undone. You’re taking textured, crimped, or crinkled hair and gathering it into a low ponytail while keeping the texture visible. The result is a style that looks more intentional than a simple wave, but softer than the sleek version.
How to Achieve This Look
Use a crimping iron or a wavy hair tool to create texture throughout your hair. If you don’t have these tools, you can braid damp hair tightly and let it dry overnight—the braids will create a similar crinkle-textured effect. Once your texture is set, gather your hair into a low ponytail, leaving a few face-framing pieces undone. The texture should remain visible throughout, creating that dimensional, piecey appearance.
Why This Works So Well
Textured hair naturally camouflages flyaways and baby hairs. This style works wonderfully on curly or wavy hair because the natural texture is enhanced rather than fighting against it. The combination of texture and the low placement creates a look that’s contemporary without feeling overly trendy—it’s the kind of style you’ll still love wearing five years from now.
Pro tip: Apply a texturizing spray or dry shampoo before crimping or braiding. These products add grip to your hair, which helps the texture hold longer and creates more defined waves.
4. The Sleek Low Ponytail with a Braided Section
Adding a braid element to your low frontal ponytail elevates the look instantly. You’re creating a sleek ponytail but incorporating a simple three-strand braid that wraps around or accents the base. This small detail transforms a basic style into something that looks more intricate than it actually is.
How to Achieve This Look
Blow-dry your hair sleek and straight. Gather your hair into a low ponytail as you normally would, securing it with an elastic. Once the ponytail is in place, take a small section from one side of the ponytail and braid it loosely, then wrap that braid around the base of the ponytail and pin it in place with bobby pins that match your hair color. You can also braid before securing the ponytail—pull back a small section from one side, braid it, and then incorporate that braided section into your main ponytail.
Why This Works So Well
A braid adds visual interest and feels more special than a standard ponytail, but it doesn’t require a dramatic change in technique. This works beautifully on medium to long hair. The braid draws the eye to the base of the ponytail, which creates a more flattering silhouette and adds depth to what might otherwise feel like a flat hairstyle.
Worth knowing: Loose braids feel more modern and romantic, while tight, controlled braids feel more sporty or athletic. Choose your braid tightness based on the overall vibe you’re going for.
5. The Low Ponytail with Face-Framing Baby Braids
For a bohemian, romantic aesthetic, this version incorporates tiny braids that frame your face while the rest of your hair is gathered into a low ponytail. It’s the kind of style that looks delicate and whimsical but requires only a few minutes of work once you understand the technique.
How to Achieve This Look
Starting with textured or wavy hair, take a small section from just above one ear and create a thin three-strand braid. Do the same on the other side. Once both braids are complete, gather the remaining hair plus the two braids into a low ponytail at the base of your neck. The braids should be visible as delicate accents framing your face, not hidden inside the ponytail.
Why This Works So Well
Baby braids create a soft, feminine frame for your face without requiring sleek styling. This works wonderfully if you want an intentional, styled look without the polish of gel or the fullness of waves. On curly or wavy hair, the braids blend seamlessly with the rest of your texture, creating an effortless vibe. On straight hair, the braids provide textural contrast that makes the style more interesting.
Pro tip: Use clear or gold bobby pins to secure the braids rather than hiding them. This draws attention to the detail work you’ve done and makes the style feel more intentional.
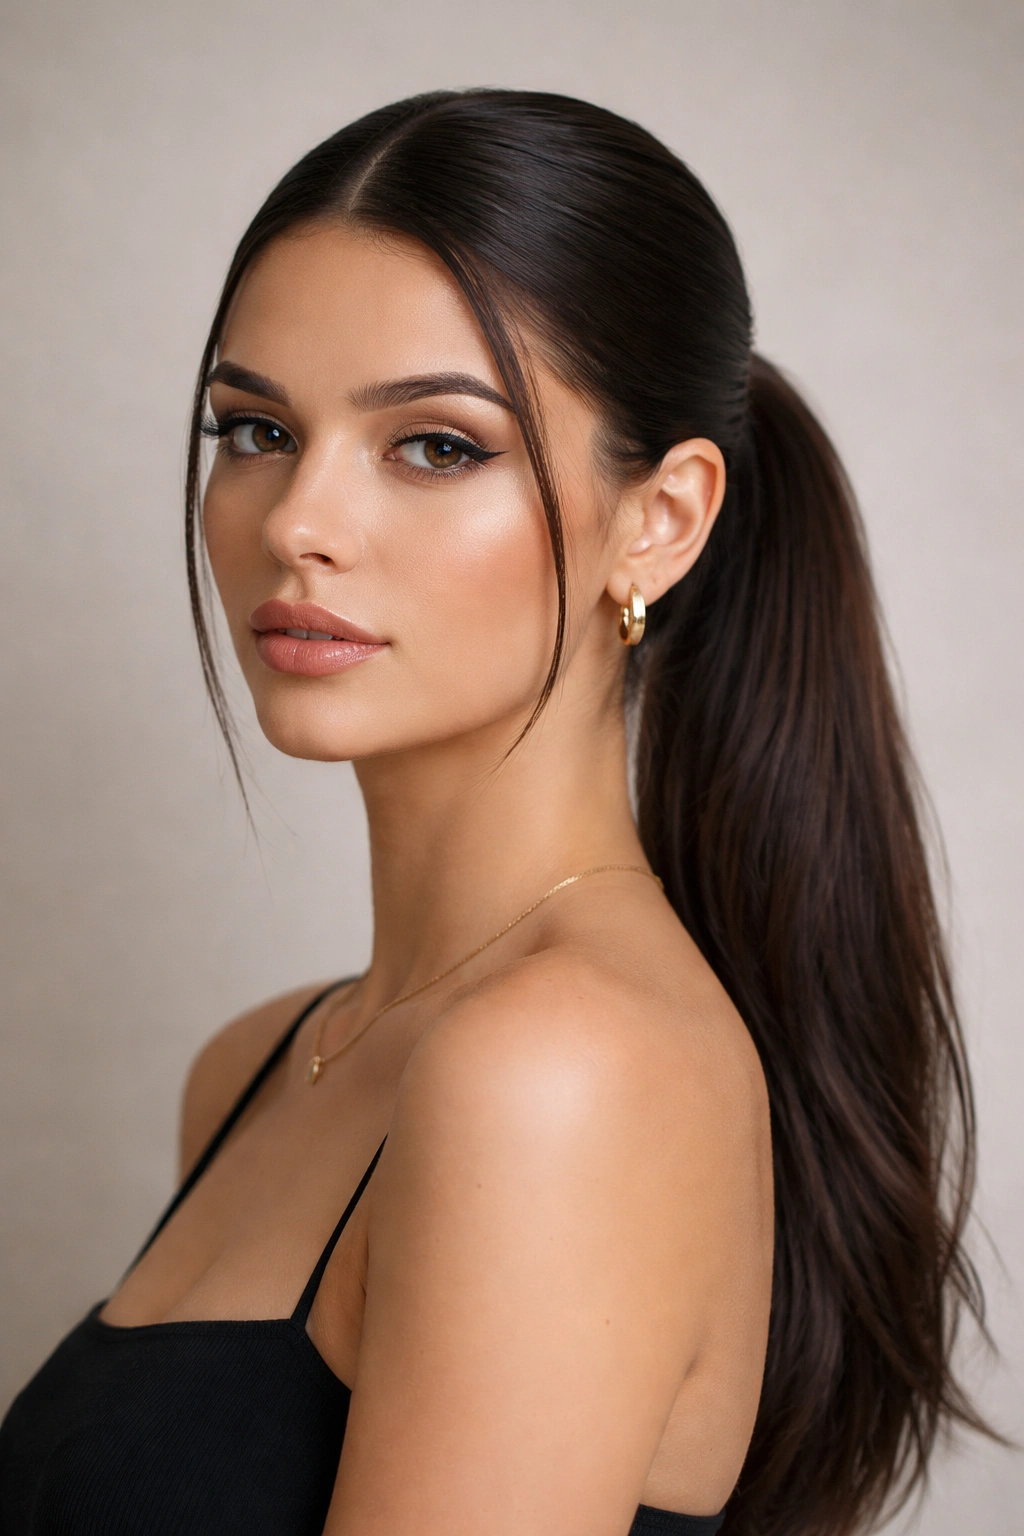
6. The Sleek Low Ponytail with a Thin Face-Framing Layer
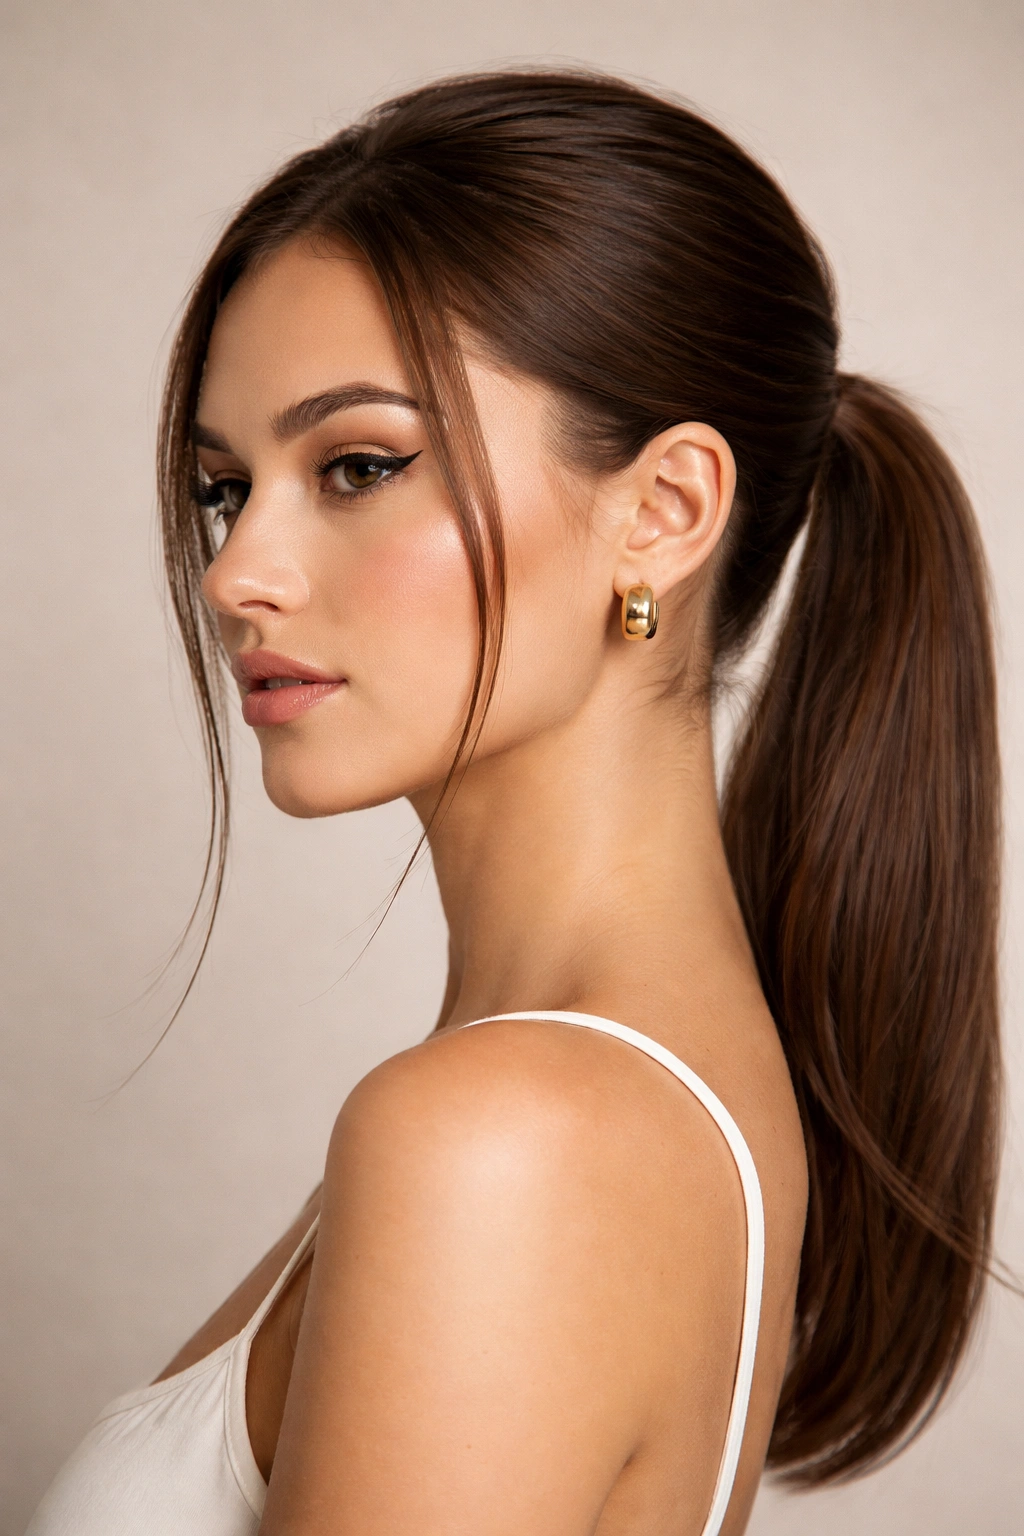
This version is incredibly subtle but makes a major difference in how the style frames your face. You’re pulling most of your hair back into a sleek low ponytail, but leaving one very thin strand on each side of your face to create soft movement and break up the sleekness of the back.
How to Achieve This Look
Blow-dry your hair smooth, then apply a smoothing serum or lightweight gel. Gather your hair as if you’re making a standard sleek low ponytail, but before securing it with an elastic, pull out a very thin section from each temple area. Smooth these sections with your fingers, apply a touch of gel to keep them in place, and let them fall naturally along your cheekbones. Then secure your main ponytail. The face-framing pieces should frame your face delicately without looking like you just have loose hairs.
Why This Works So Well
This achieves that sweet spot between polished and soft. The sleek back reads as intentional and professional, while the tiny face-framing pieces add approachability and prevent the style from feeling too severe. This works on any hair type and is especially flattering on round or square face shapes because the vertical lines of the face-framing pieces add length to your face.
Worth knowing: Gel is essential here. Those thin pieces need to stay in place throughout the day, or they’ll start looking like stray hairs rather than intentional styling.
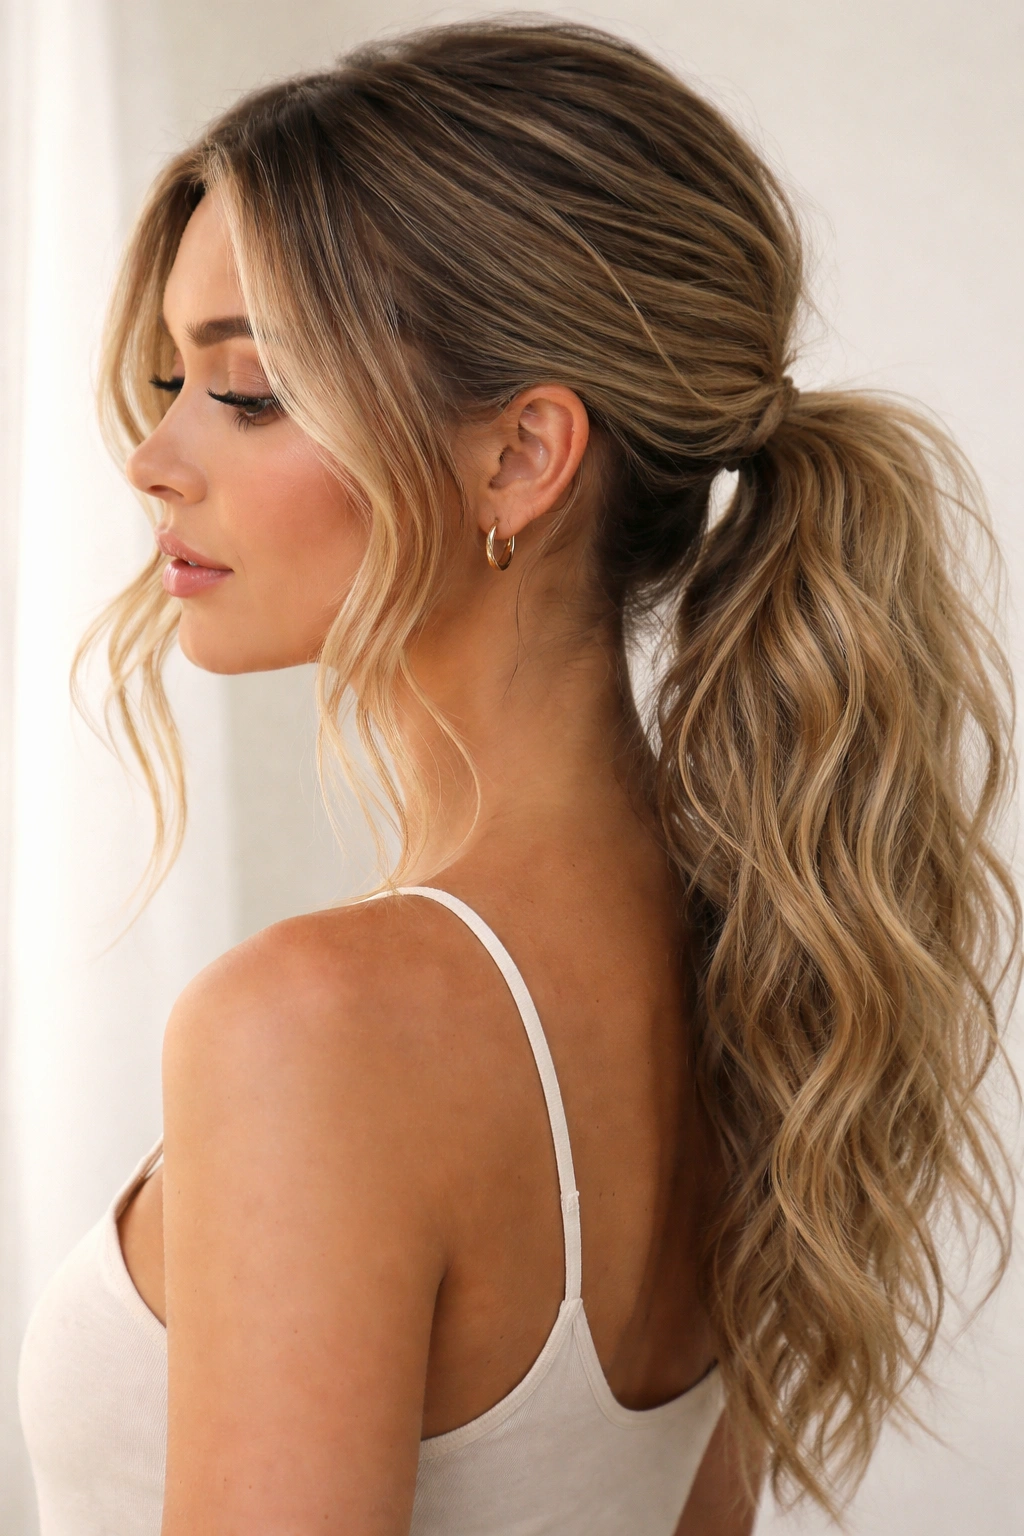
7. The Voluminous Low Ponytail with Teased Crown
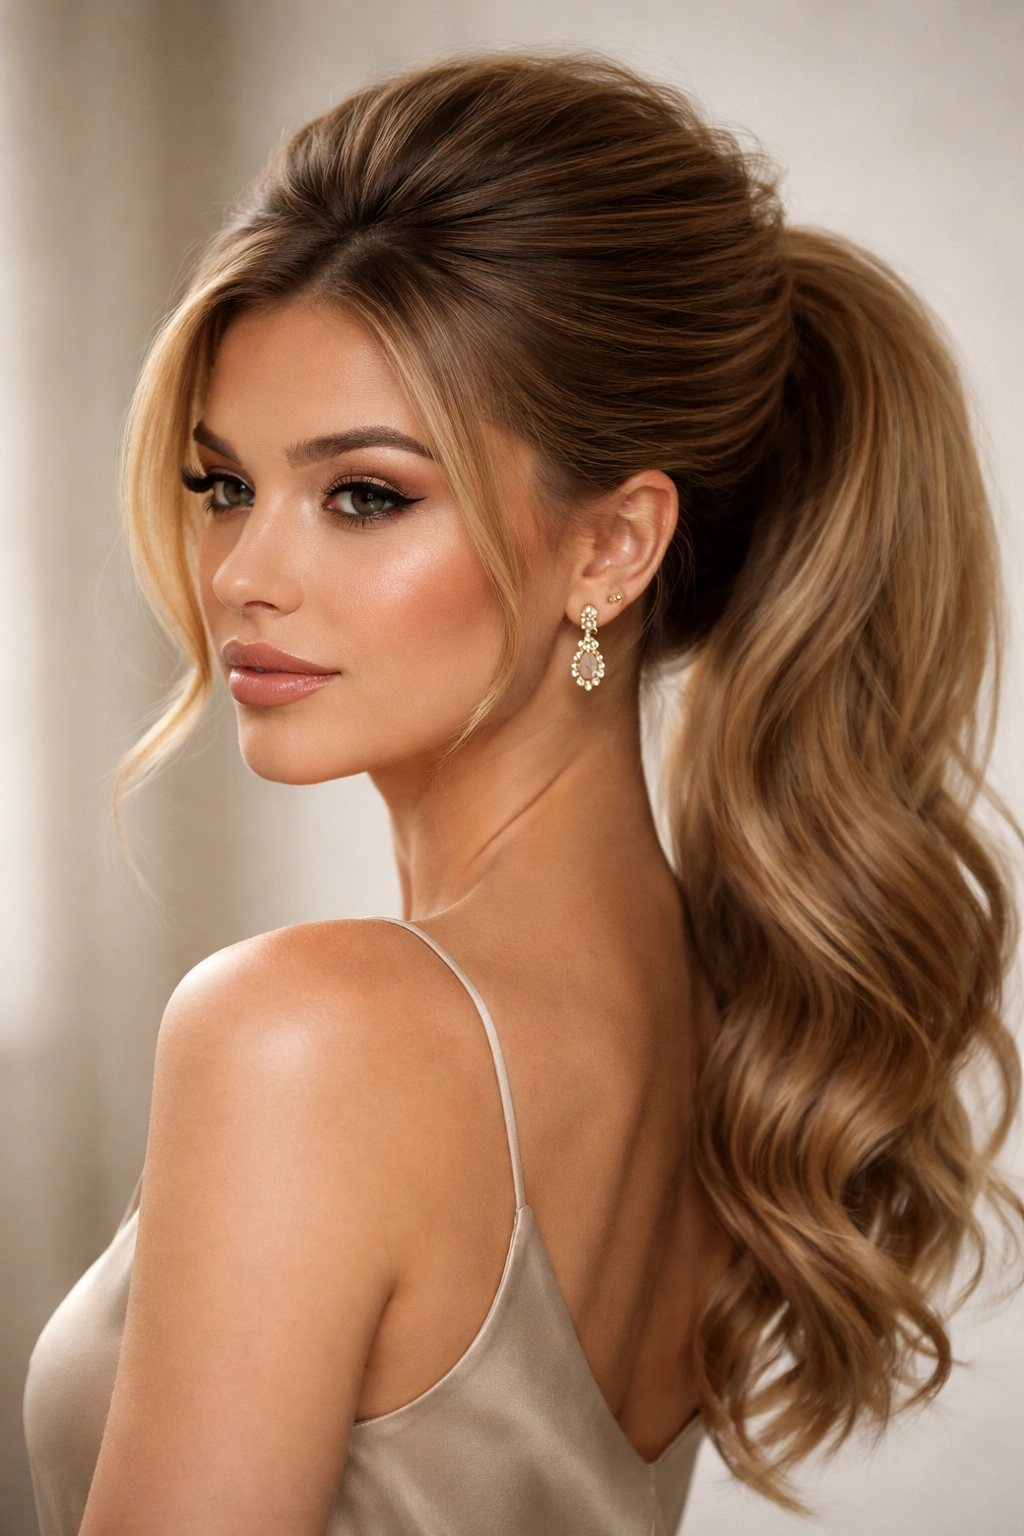
If you love a fuller, more glamorous feel, this version uses teasing and backcombing to create volume at the crown while still maintaining that low placement at the nape. It’s a style that works beautifully for events or any time you want your hair to feel more substantial.
How to Achieve This Look
Blow-dry your hair with volume in mind—use a round brush and lift the crown as you dry. Once your base is dry, use a teasing brush to gently backcomb the crown section, building height. Smooth the top layer lightly so it looks polished rather than obviously teased. Then gather your hair into a low ponytail, making sure the teased crown stays visible from the front and sides. The height at the crown should be obvious when someone looks at your profile.
Why This Works So Well
Volume at the crown creates a flattering silhouette for almost every face shape. It elongates your face, adds a sense of glamour, and makes even thin hair feel fuller. Because the bulk of the volume is at the crown rather than loose throughout, this style works beautifully on straight, wavy, and curly hair alike.
Pro tip: Use a texturizing spray before teasing. It gives your hair more grip, which makes backcombing easier and helps the teased section hold longer throughout the day.
8. The Textured Low Ponytail with Ribbon or Hair Tie Accent

Here’s where you add a fun, intentional element that completely changes the feel of your low ponytail. You’re creating a textured low ponytail and then wrapping a silk ribbon, decorative hair tie, or even a small fabric scrunchie around the base. This is a styling trick that’s easy but feels extra and thought-out.
How to Achieve This Look
Start with textured, wavy, or curly hair. Gather it into a low ponytail, leaving it fairly loose and relaxed rather than pulled tight. Secure with a standard elastic, then wrap a silk ribbon, delicate chain, or decorative hair tie around the base of the ponytail, covering the elastic. You can tie it in a bow, wrap it multiple times around, or let it drape naturally—the specific technique depends on the accessory you choose.
Why This Works So Well
An accent piece transforms a basic ponytail into something that looks more intentional and special. This works on any hair texture and any hair color because you can choose an accent that complements your specific look. It’s also a clever way to hide an elastic that might otherwise be visible. This style feels modern and fashion-forward without requiring any change to your actual hair technique.
Worth knowing: Silk ribbons and fabric wraps are gentler on your hair than standard elastics, so this styling choice is actually protective as well as pretty.
9. The Low Ponytail with Curled Ends

Instead of leaving your ponytail ends blunt, this version curls the ends of your ponytail for a more finished, polished look. You can create loose waves, tight curls, or anything in between—the key is that the ends are intentionally styled rather than left straight.
How to Achieve This Look
Gather your hair into a low ponytail as normal. Once secured, take sections of the ponytail and curl them with a curling iron or wand. You can create uniform curls by rolling each section the same way, or you can vary the direction and tightness for a more undone appearance. Leave the curls in place for a minute or two before releasing them to help them hold.
Why This Works So Well
Curled ends make a low ponytail feel more intentional and finished, like you’ve styled it for a specific occasion. This works beautifully on all hair types and all hair lengths. Even a short ponytail feels more substantial when the ends are curled. The curls also add movement and prevent your ponytail from looking too flat or one-dimensional.
Pro tip: Curl the ends away from your face on each side for a flattering effect. This creates a subtle frame that’s more flattering than curling everything in the same direction.
10. The Low Ponytail with Delicate Pin Details
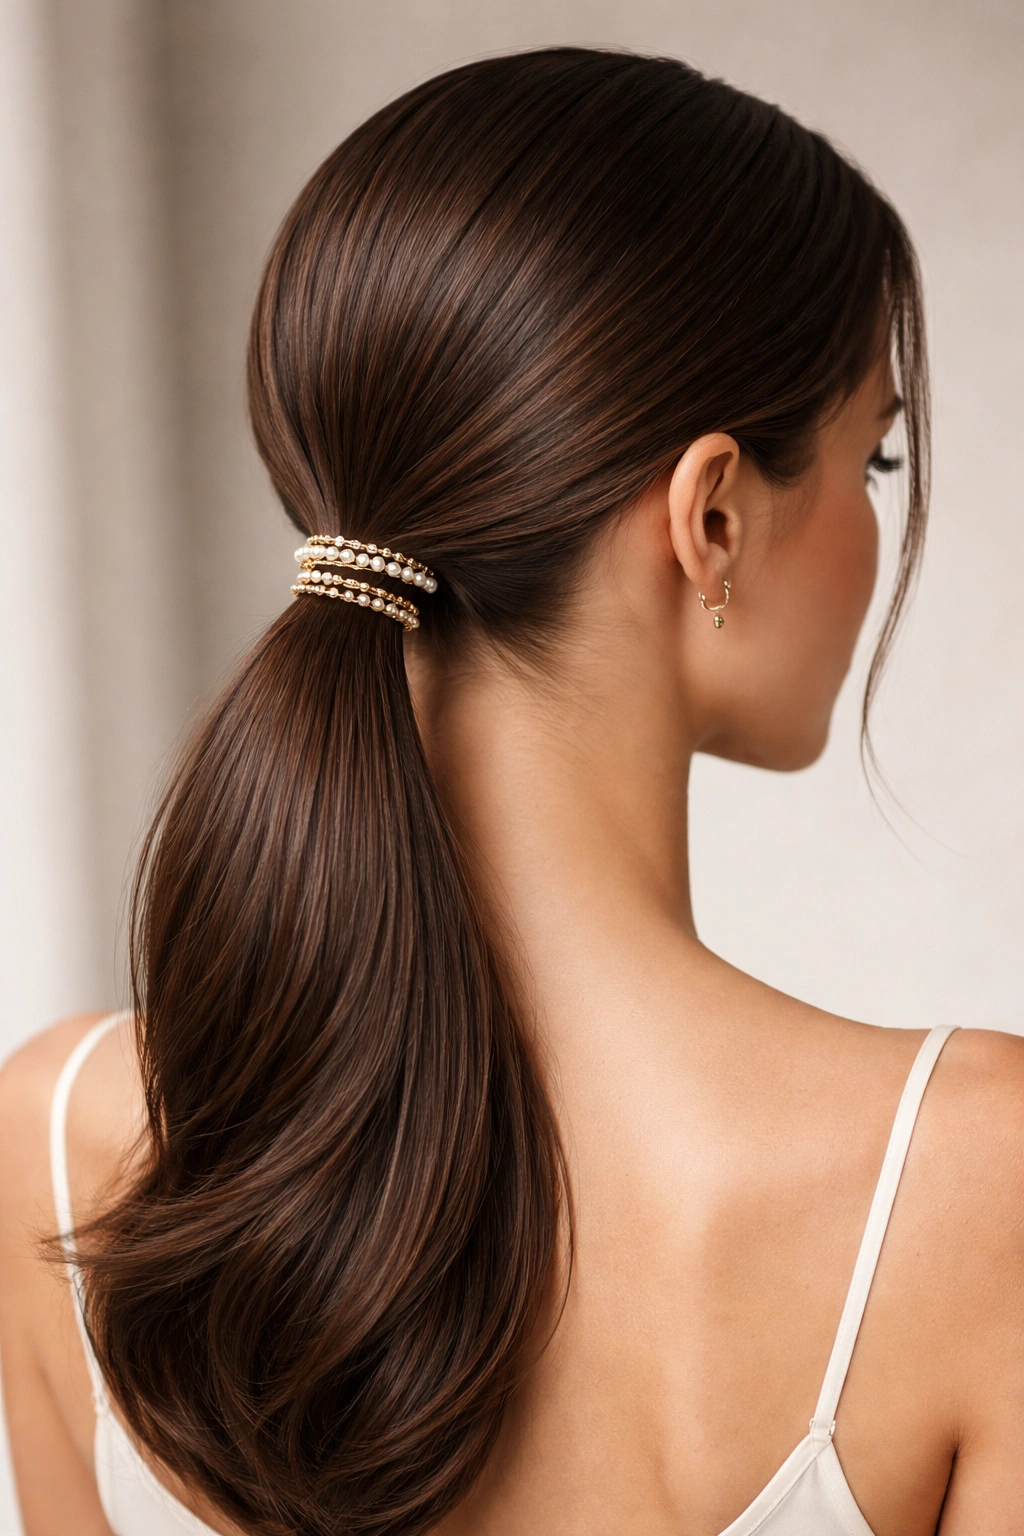
For a more intricate, fashion-forward look, this version uses small decorative bobby pins, pearl pins, or metal barrettes positioned intentionally around the ponytail. You’re essentially using pins as jewelry rather than just functional tools.
How to Achieve This Look
Create a smooth, sleek low ponytail using gel or smoothing cream. Once secured, position 3-5 small decorative pins around the base of the ponytail, spacing them evenly. You can also add pins down the side of the ponytail or scattered throughout the back. Gold, silver, pearl, or tortoiseshell pins all work beautifully—choose based on your personal style and the specific occasion.
Why This Works So Well
Pins add visual interest and personality to an otherwise simple style. They’re a clever way to express your individual style without changing your hair texture or technique. This works on any hair type and is especially striking on smooth, dark hair where metallic pins stand out clearly.
Worth knowing: Use actual decorative pins designed for this purpose, not standard bobby pins. Decorative pins are meant to be visible and come in finishes and designs that are pretty rather than purely functional.
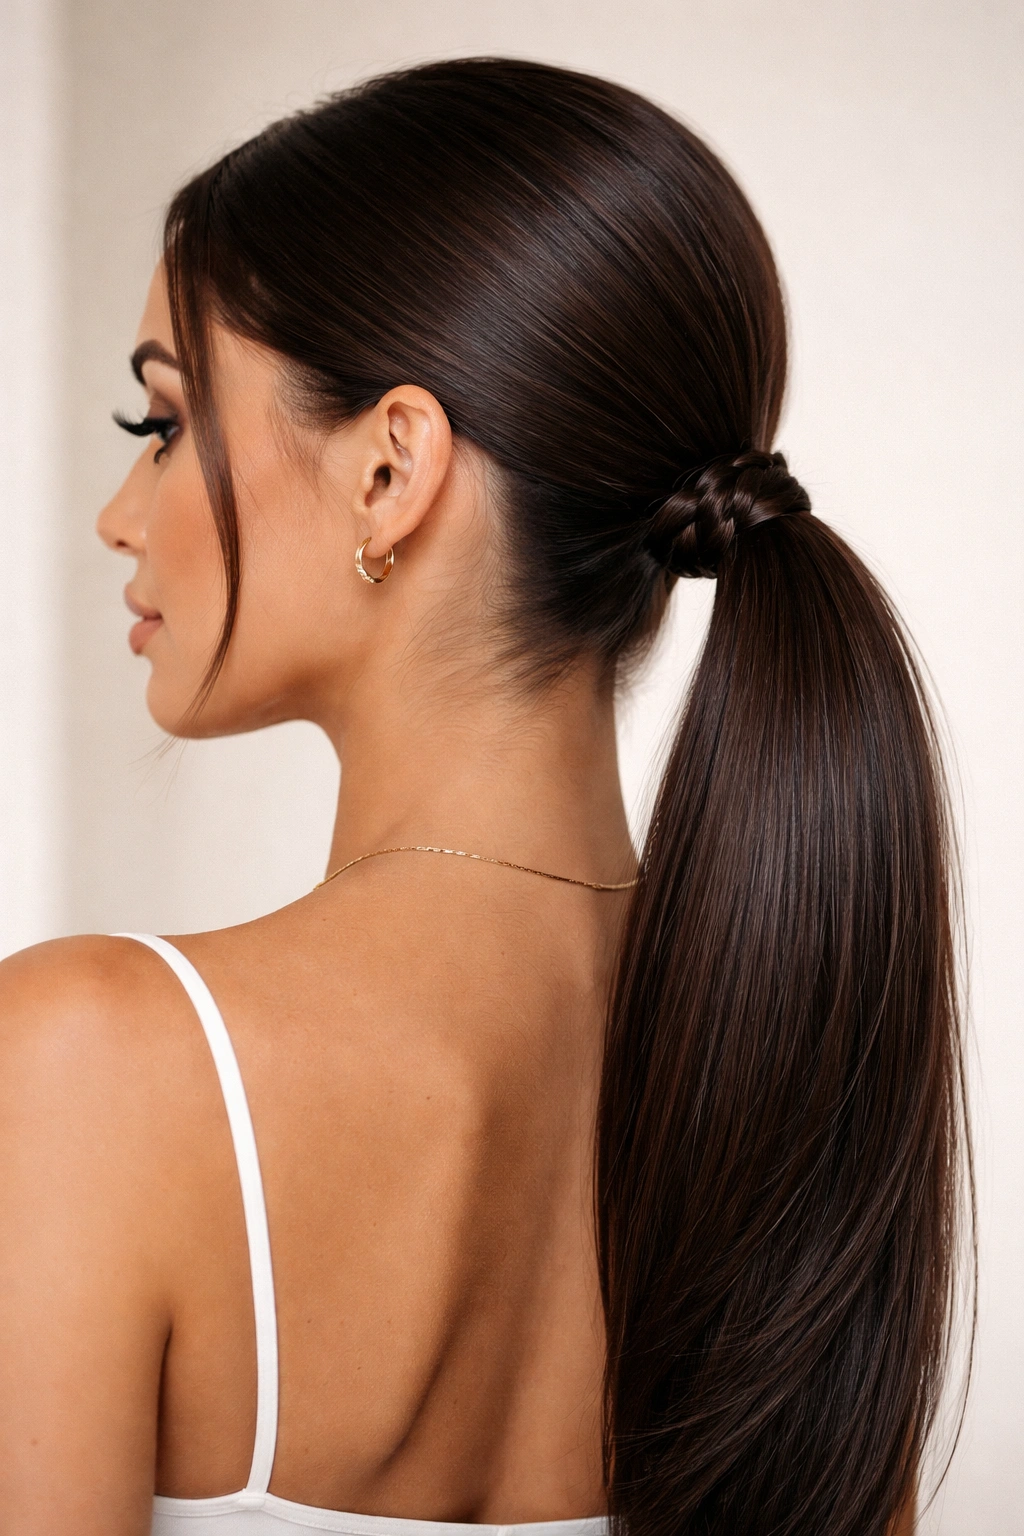
11. The Sleek Low Ponytail with a Graphic Knot Detail
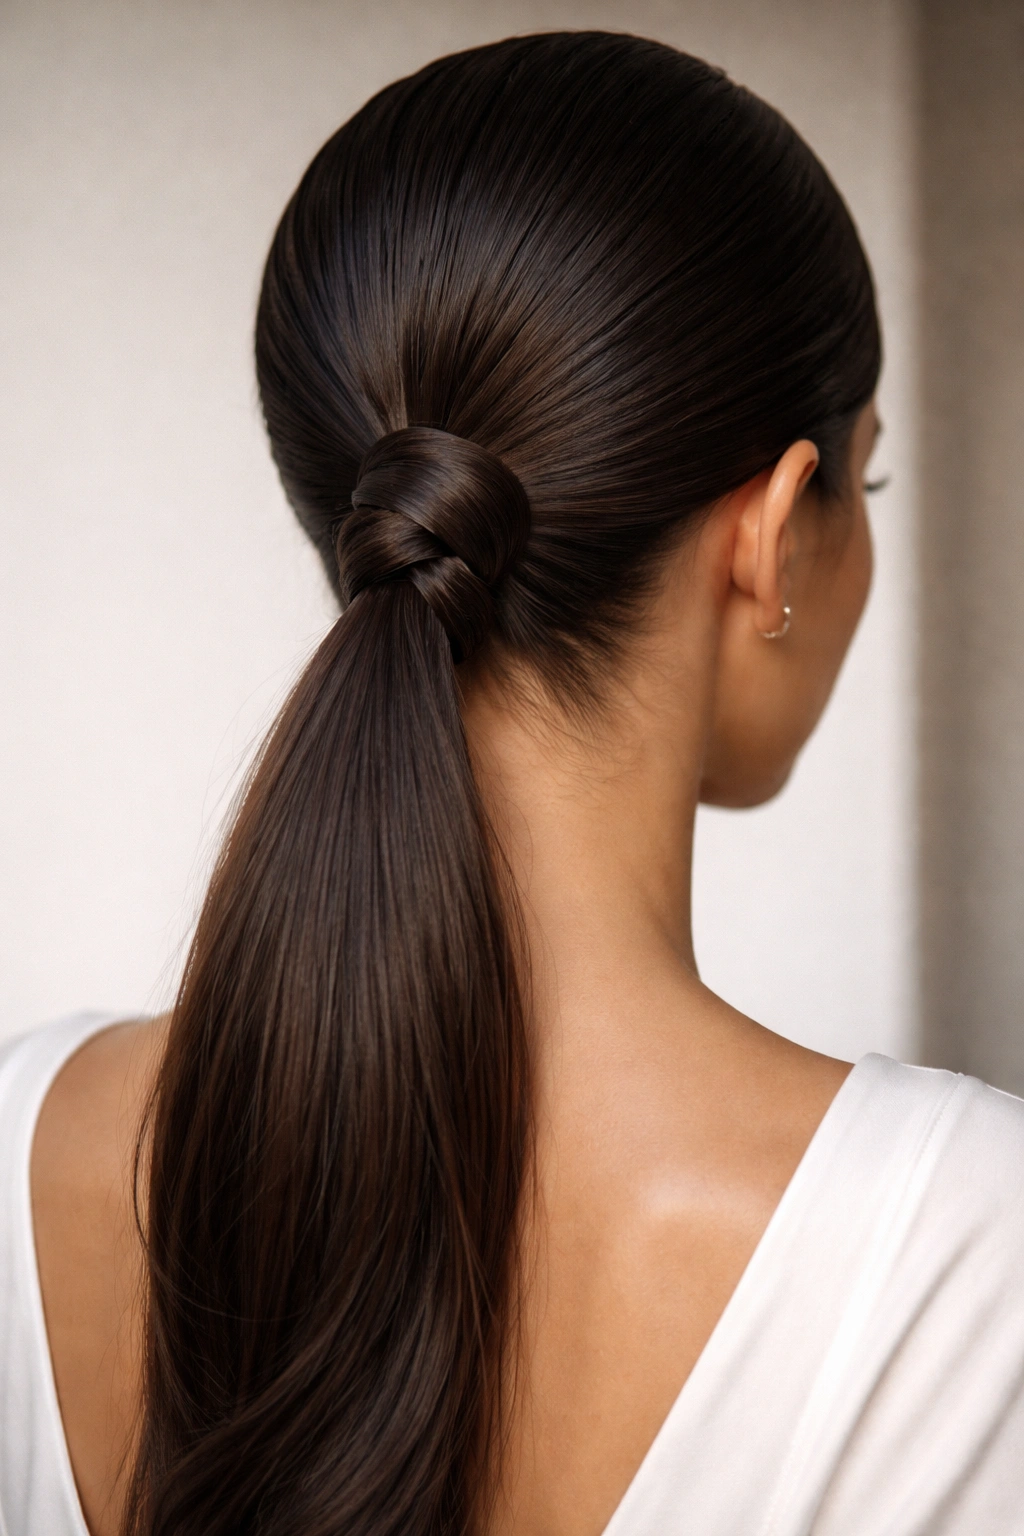
Taking the braided section idea further, this version uses a smooth knot rather than a braid to accent the base of your ponytail. It’s a subtle but sophisticated detail that requires almost no extra effort.
How to Achieve This Look
Create a smooth, sleek low ponytail using gel. Once it’s secured, take a thin section from the ponytail itself and knot it around the base of the elastic. Pin the end of this knotted section underneath or tuck it into the main ponytail. The knot creates a graphic, sculptural element at the base of your style.
Why This Works So Well
A knot is more modern and minimalist than a braid. It reads as intentional design rather than decorative, which makes it work beautifully in professional settings. The knot also creates a subtle visual break that prevents your ponytail from feeling too flat or one-dimensional. This detail works particularly well on straight or smooth hair where the shape of the knot is clearly visible.
Pro tip: A tiny knot feels more refined than a large, obvious one. Thin sections create more elegant details than thick ones.
12. The Lived-In Low Ponytail with Gentle Texture Throughout
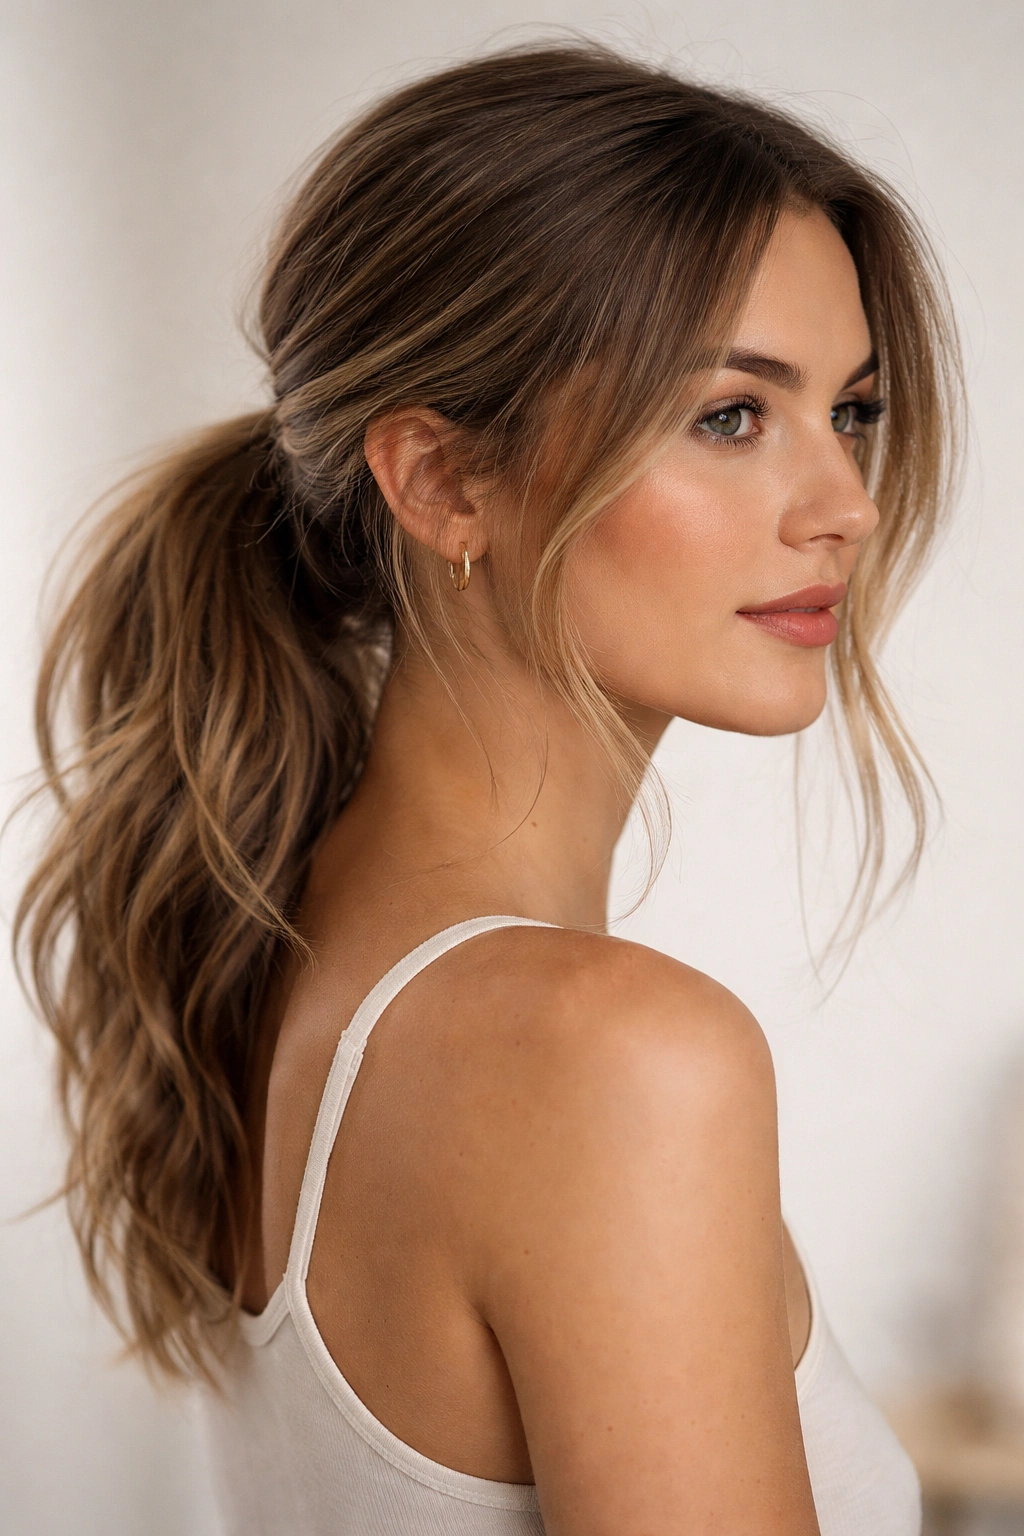
The final version is all about that “I didn’t spend an hour on this” vibe—except you actually did, strategically. You’re creating a low ponytail with gentle texture throughout, a slightly messy base, and a few carefully placed loose pieces that look intentionally undone.
How to Achieve This Look
Start with wavy or textured hair—use a sea salt spray on damp hair and let it air dry, or create waves with a curling iron. Once your texture is set, gather your hair into a low ponytail, but don’t secure it tightly. Instead, use a soft scrunchie and leave it slightly loose so a few pieces fall out naturally around your face and neck. You can also gently pull a few sections of hair out from the base of the ponytail, creating that effortlessly undone look.
Why This Works So Well
This style looks relaxed and confident rather than careless. The slightly messy approach actually makes flyaways and baby hairs work in your favor rather than against you—they just look like part of the intentional texture. This works beautifully on any hair texture and requires zero precision, which means it’s perfect for someone who doesn’t want to overthink their styling.
Worth knowing: The key to making this look intentionally undone rather than just sloppy is the texture base. Textured hair makes a loose ponytail look styled; straight hair makes it look like you just threw it up without trying.
Final Thoughts
A low frontal ponytail that looks seamless is really about understanding your hair’s natural texture, choosing the right technique for your specific style vision, and knowing which products and accessories work best. Some of these versions take five minutes once you know what you’re doing, while others require a bit more effort—but every single one of them is completely achievable at home without special tools or professional help.
The beauty of having 12 different approaches is that you can match your style to your mood, your hair texture that day, and the specific occasion. A romantic event calls for waves and braids. A professional day works better with sleek precision. A casual weekend begs for that lived-in, effortless texture. Once you master the basic technique of the low frontal ponytail, you can customize it endlessly to work with your hair, suit your face shape, and match your personal style.