Curly hair can feel like it has a mind of its own, especially when you’re trying to pull it into a high ponytail without deflating all those gorgeous spirals. The good news? High ponytails can actually be one of the best styles to embrace your curls while keeping hair off your face and neck. The trick is abandoning the sleek, smooth ponytail rules you learned with straight hair—curly high ponytails are meant to have texture, dimension, and personality.
A well-executed high ponytail with curly hair is less about control and more about enhancement. It’s about finding the right technique, the correct styling products, and the confidence to let your natural texture shine through rather than fight against it. Whether you’re dealing with tight coils, loose waves, or somewhere in between, there’s a high ponytail style that’ll work beautifully with your curl pattern. The styles that follow aren’t one-size-fits-all—each one works slightly differently depending on your hair’s specific texture, thickness, and how much definition your curls naturally hold.
What makes these ponytails different from what you might find in straight-hair styling guides is the intentional focus on preserving curl pattern and creating volume that actually showcases your natural texture. You’ll be using techniques like praying hands styling, micro-braids, strategic gel application, and curl-clumping methods that enhance definition rather than flatten it. The result is a polished, intentional look that celebrates curly hair instead of fighting its nature.
1. The Sleek High Ponytail with Curl-Defining Mousse
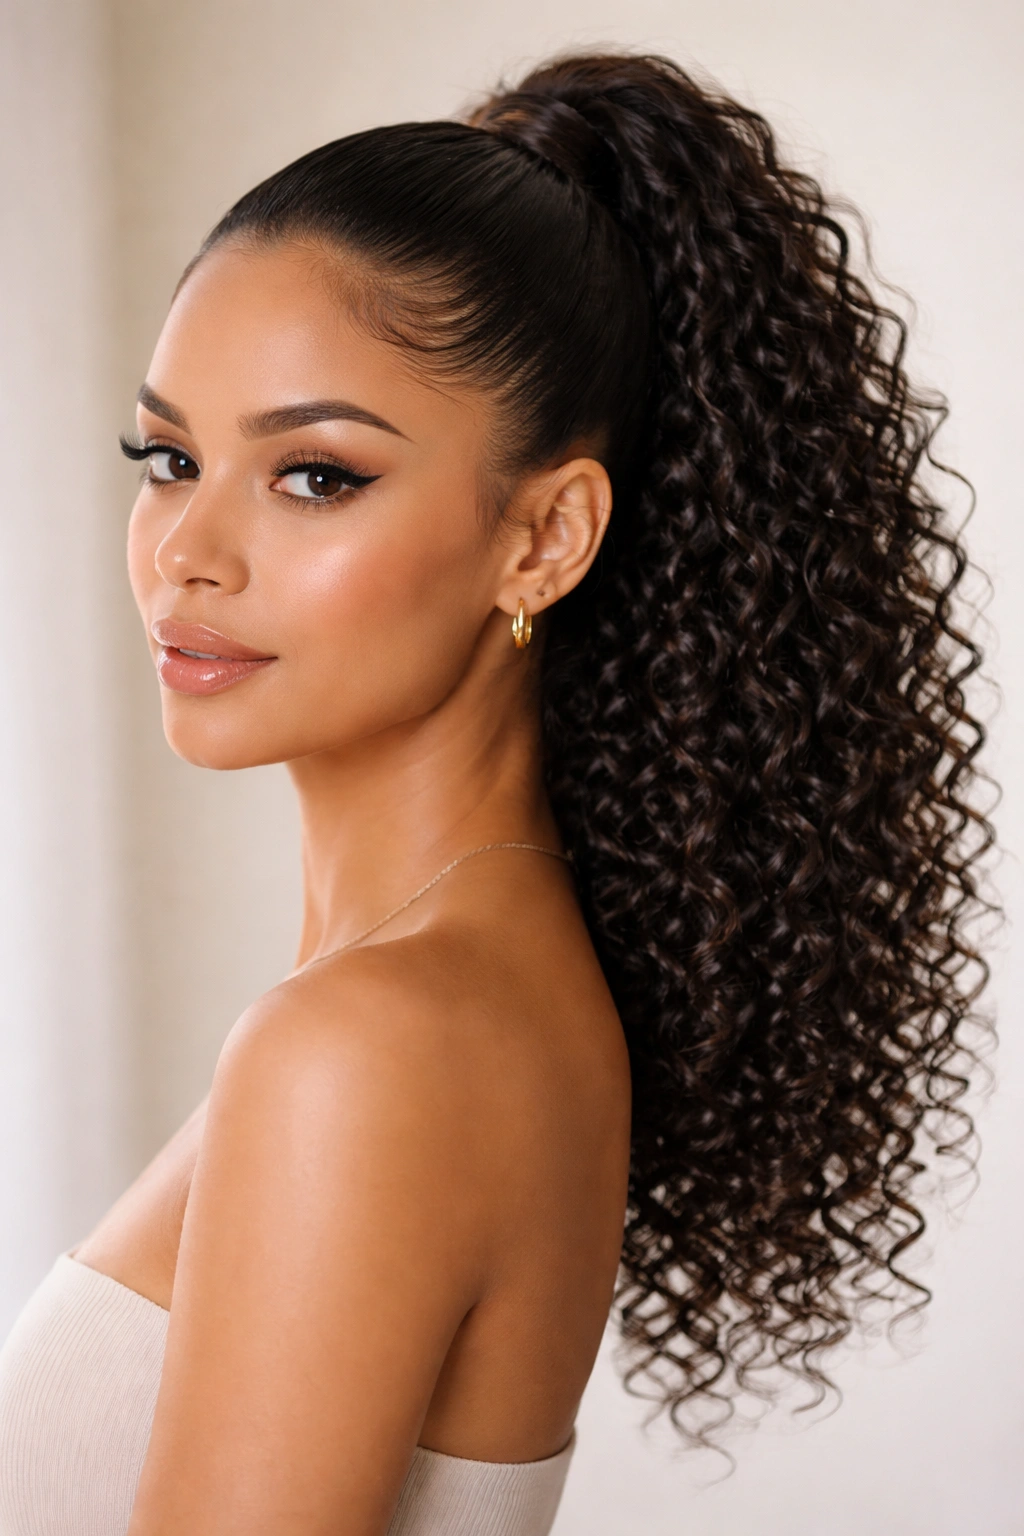
This style takes your curls seriously by combining a cleanly positioned high ponytail with enhanced curl definition that doesn’t sacrifice any of your hair’s natural bounce. It’s the perfect balance between polished and texture-forward, making it appropriate for professional settings while still celebrating your curl pattern.
Start with damp hair that’s already been conditioned and detangled with a leave-in conditioner. Apply a curl-defining mousse throughout your hair, working it in using the praying hands method—smooth your hands down sections of hair, pressing the mousse from root to tip without disrupting the natural curl formation. This method deposits product where it’s needed without creating frizz or causing your curls to separate into individual strands.
How to Build This Ponytail
Blow dry your hair on a medium heat setting while diffusing to preserve curl shape, or air dry if you have time. Once your hair is completely dry, use a fine-tooth comb to smooth the top section only—the part you’ll be using for the ponytail. Gather hair at the crown into a clean high ponytail, leaving out several face-framing pieces.
Why This Works for Curly Hair
The mousse holds curl definition without creating that crunchy, overproduct look. It provides enough hold to keep the ponytail secure while the curls themselves remain soft and bouncy. Face-framing pieces break up the severity of the high position and draw attention to your best features.
Pro tip: If your curls lose definition by day two, re-activate them by spritzing lightly with a curl refresher spray and scrunching your curls back into shape. You can keep this ponytail intact for touch-ups without rebuilding it entirely.
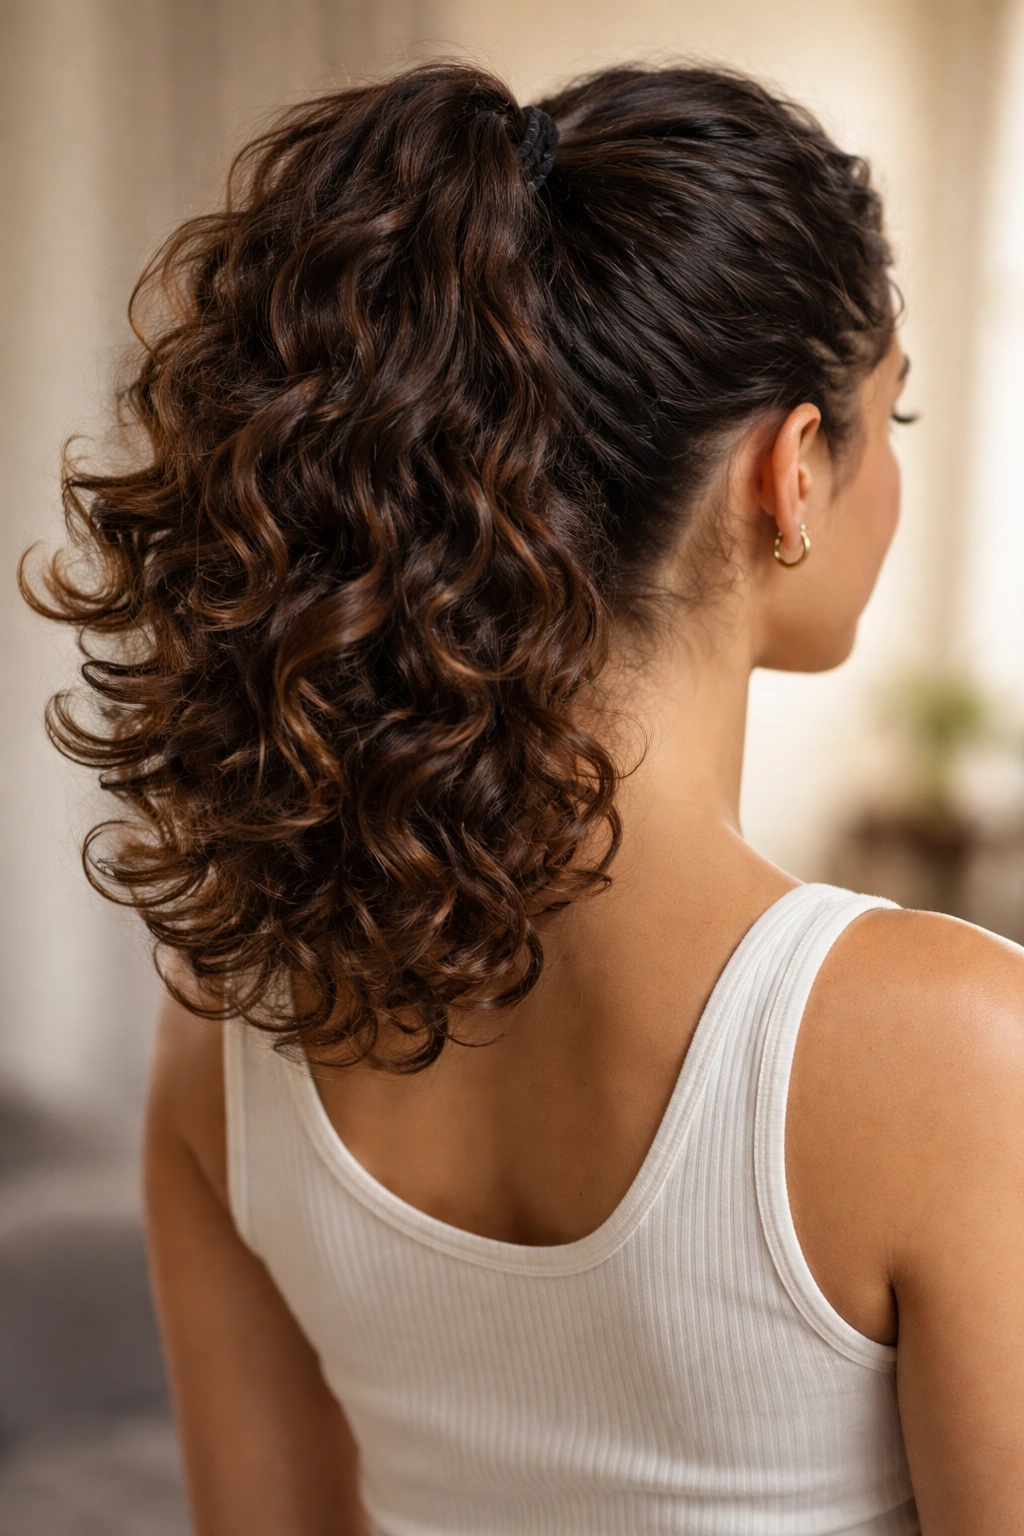
2. The Voluminous Crown Ponytail
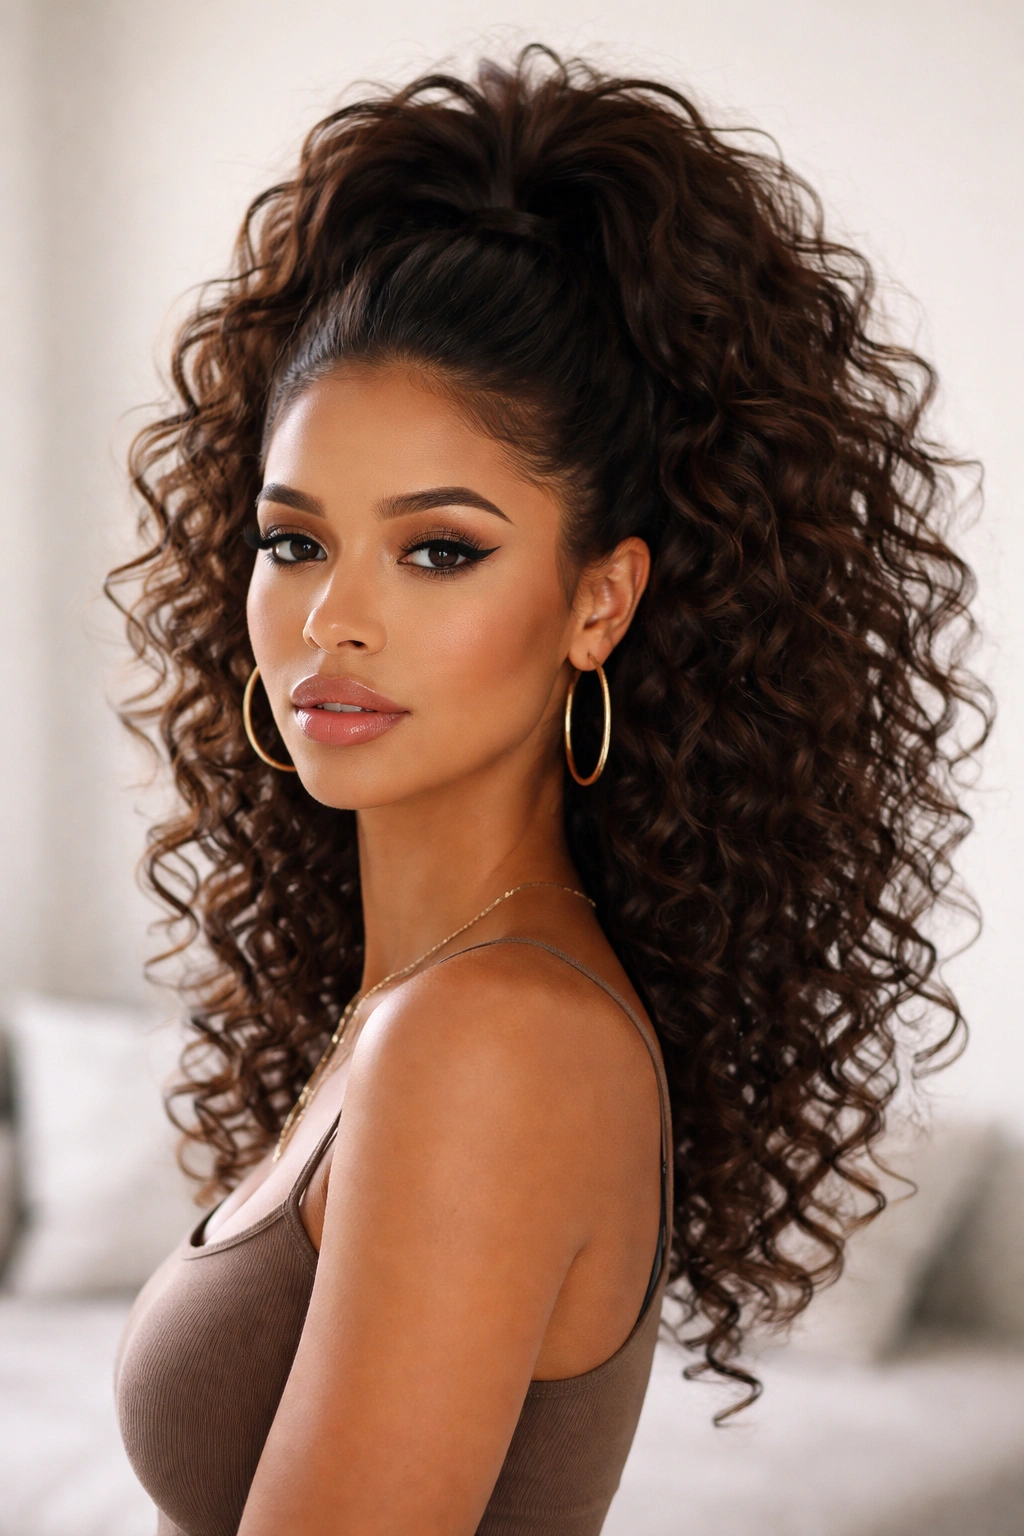
This style is all about height and drama—perfect for when you want your curls to make a statement. The crown ponytail sits slightly lower than a traditional high ponytail, allowing you to tease and build volume that would flatten if positioned higher on the head. It’s deeply flattering on most face shapes because the height elongates without pulling hair so tightly that it emphasizes facial features.
The magic of this style lies in strategic backcombing and curl arrangement. You’re not trying to create one uniform puff—instead, you’re building a foundation of volume that your natural curl pattern then enhances. This works because curly hair naturally wants to expand; you’re just directing that expansion in a way that looks intentional rather than accidental.
Creating the Foundation
Divide your crown area into 3-4 sections, and gently backcomb only the roots of each section using a fine-tooth comb. Don’t aggressively tease—just create texture at the base that your curls can grip onto. Smooth the outer layer gently so the crown looks polished, not messy. Gather all hair (both the teased section and the rest) into your crown ponytail position, securing it with a silk scrunchie or elastic band.
Styling the Ponytail Itself
Flip your head upside down and gently squeeze your ponytail to encourage your curls to redirect upward and outward. Flip back upright and arrange individual curl clusters to fill any gaps in the puff. Use a lightweight curl cream or gel to define any curls that have lost their shape during the gathering process.
Worth knowing: This style works especially well for thicker, coarser curls that hold their shape naturally. If you have looser waves, you may need to use a light-hold gel to maintain the volume throughout the day.
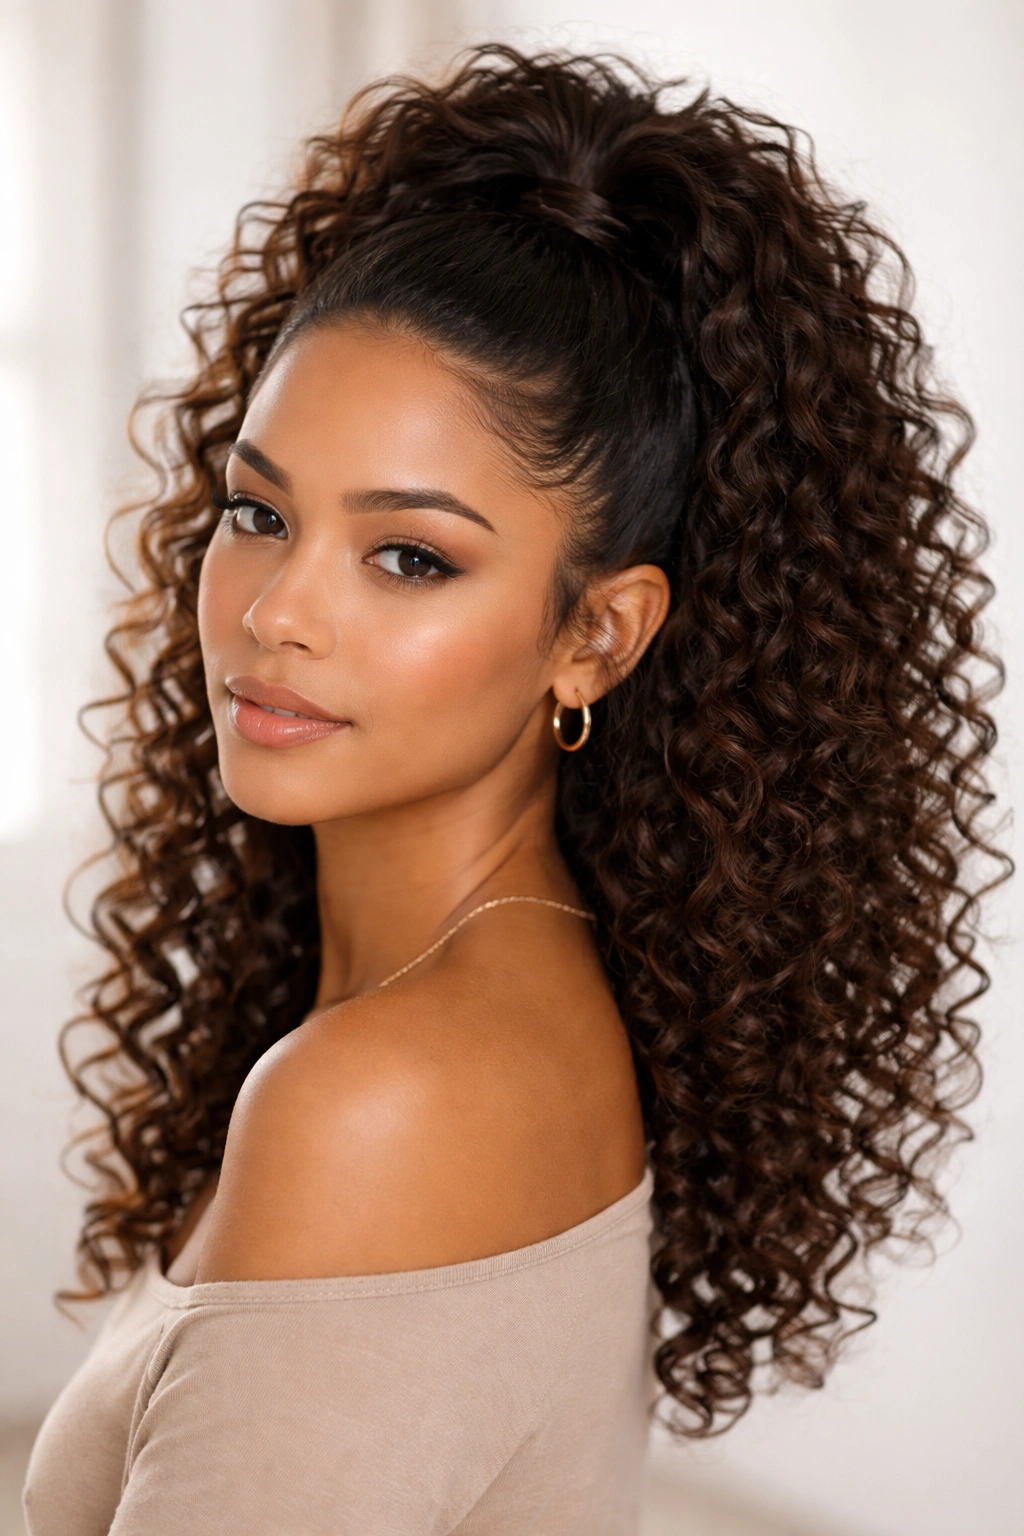
3. The Curly High Puff with Face-Framing Spirals
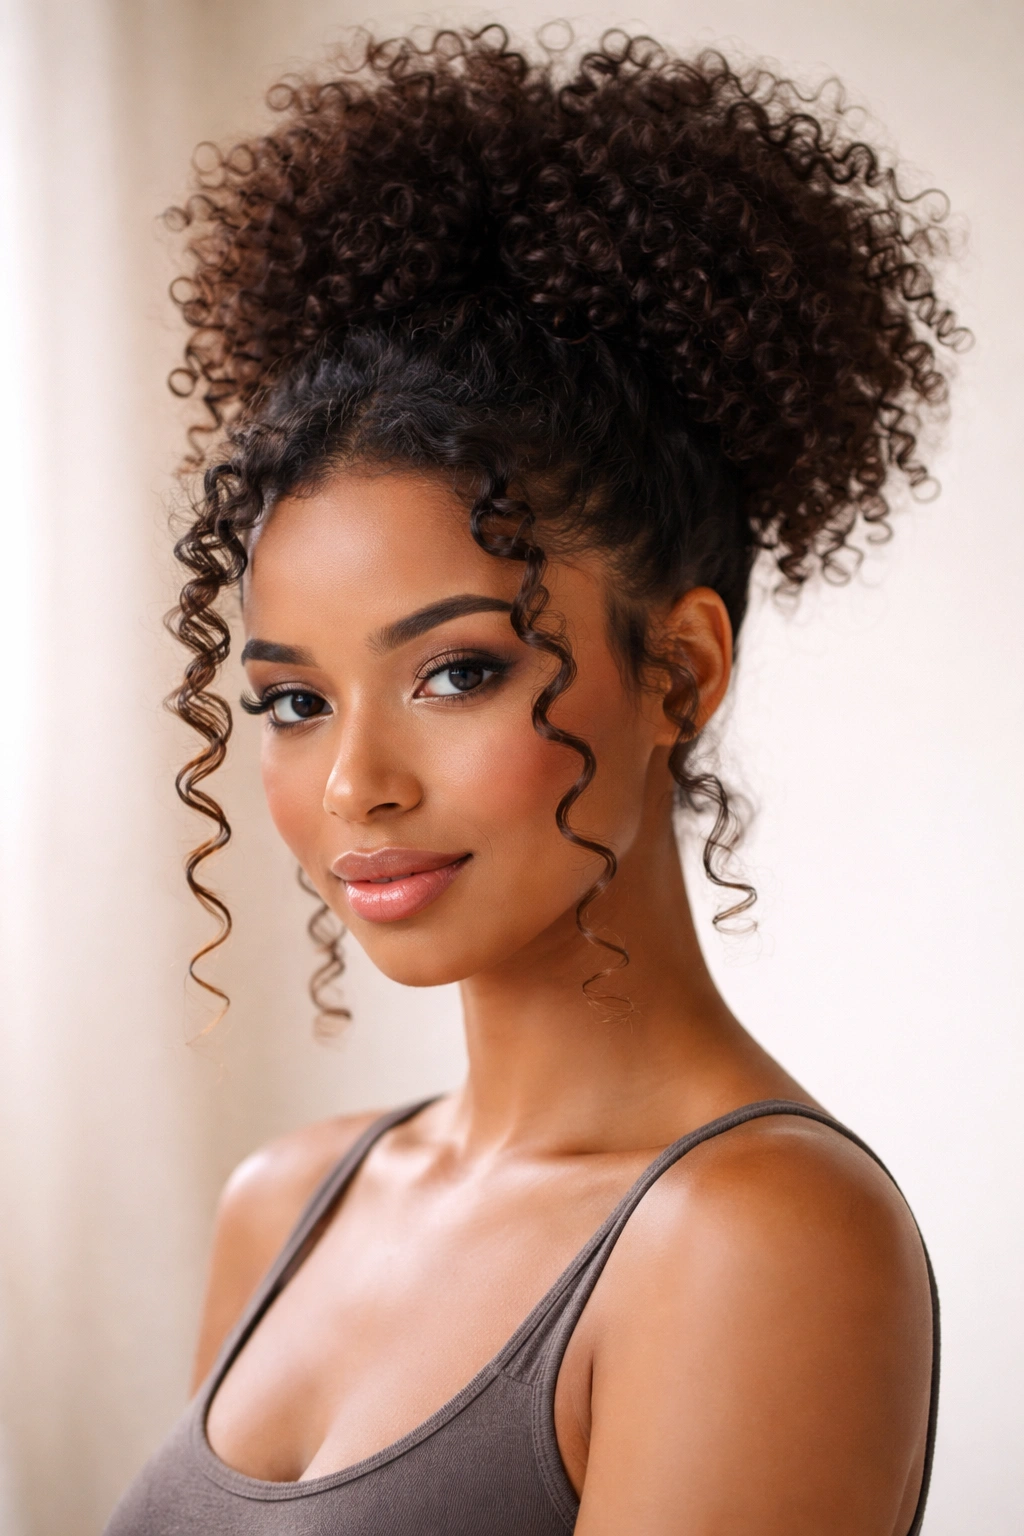
The curly high puff is a cousin to the crown ponytail, but with less structure and more organic texture. Instead of teasing and building a specific shape, you’re letting your natural curl pattern create the volume while strategically leaving longer pieces around the face. This style reads as effortlessly put-together—like you didn’t try too hard, even though there’s definitely intentional styling happening underneath.
This works beautifully for coily and tightly coiled hair types because your curl pattern already wants to expand and create dimension. The face-framing pieces stretched slightly and allowed to spiral down frame your features gorgeously while keeping the bulk of your hair contained and off your neck.
Building the Puff
Apply a lightweight leave-in conditioner to damp hair and allow it to air dry completely, or diffuse dry. Once fully dry, gather hair at the crown into a high puff position. The key difference from other ponytails is that you’re not smoothing the crown section—you’re leaving it textured and full. Secure the base with a silk or satin-lined elastic band, which minimizes friction and prevents breakage.
Creating Face-Framing Definition
Take 2-3 pieces from each side of your face that are longer than your ponytail. Using a small curling rod, curl iron, or even your finger, gently curl these pieces away from your face to create defined spirals. Apply a light gel to enhance the curl definition so they hold shape throughout the day. These spirals should be noticeably more defined than the rest of your curls for a polished effect.
Insider note: Sleeping on a silk pillowcase helps your puff maintain its shape overnight. If you want to keep this style for multiple days, pineapple it at night by gathering the ponytail loosely at the top of your head while you sleep.
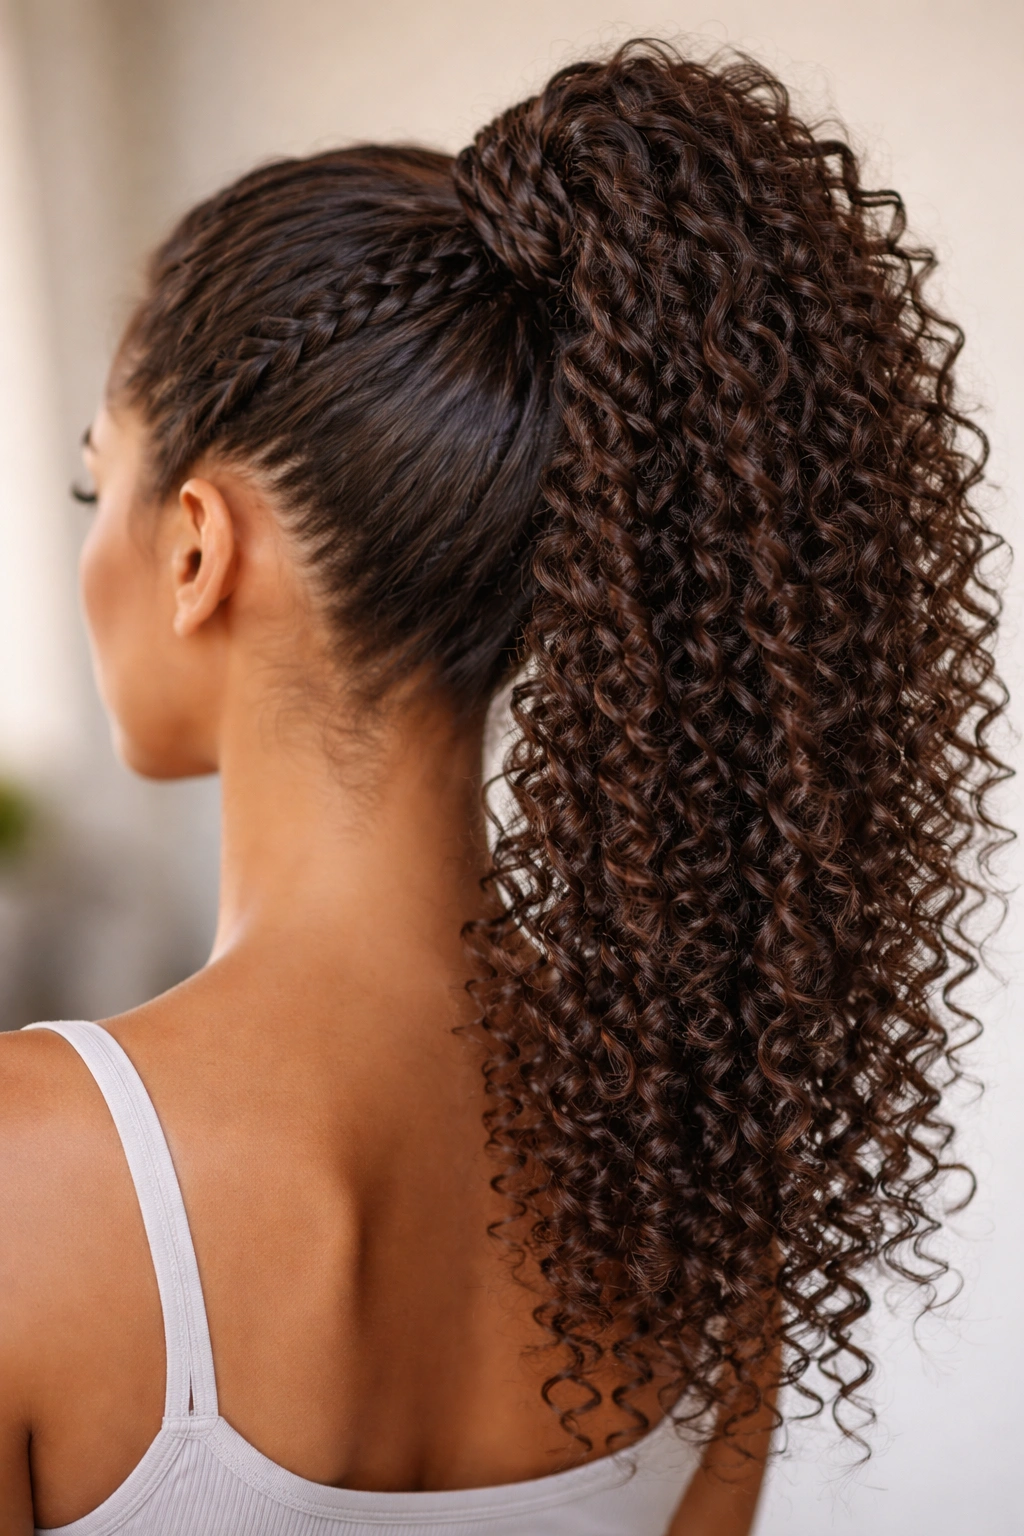
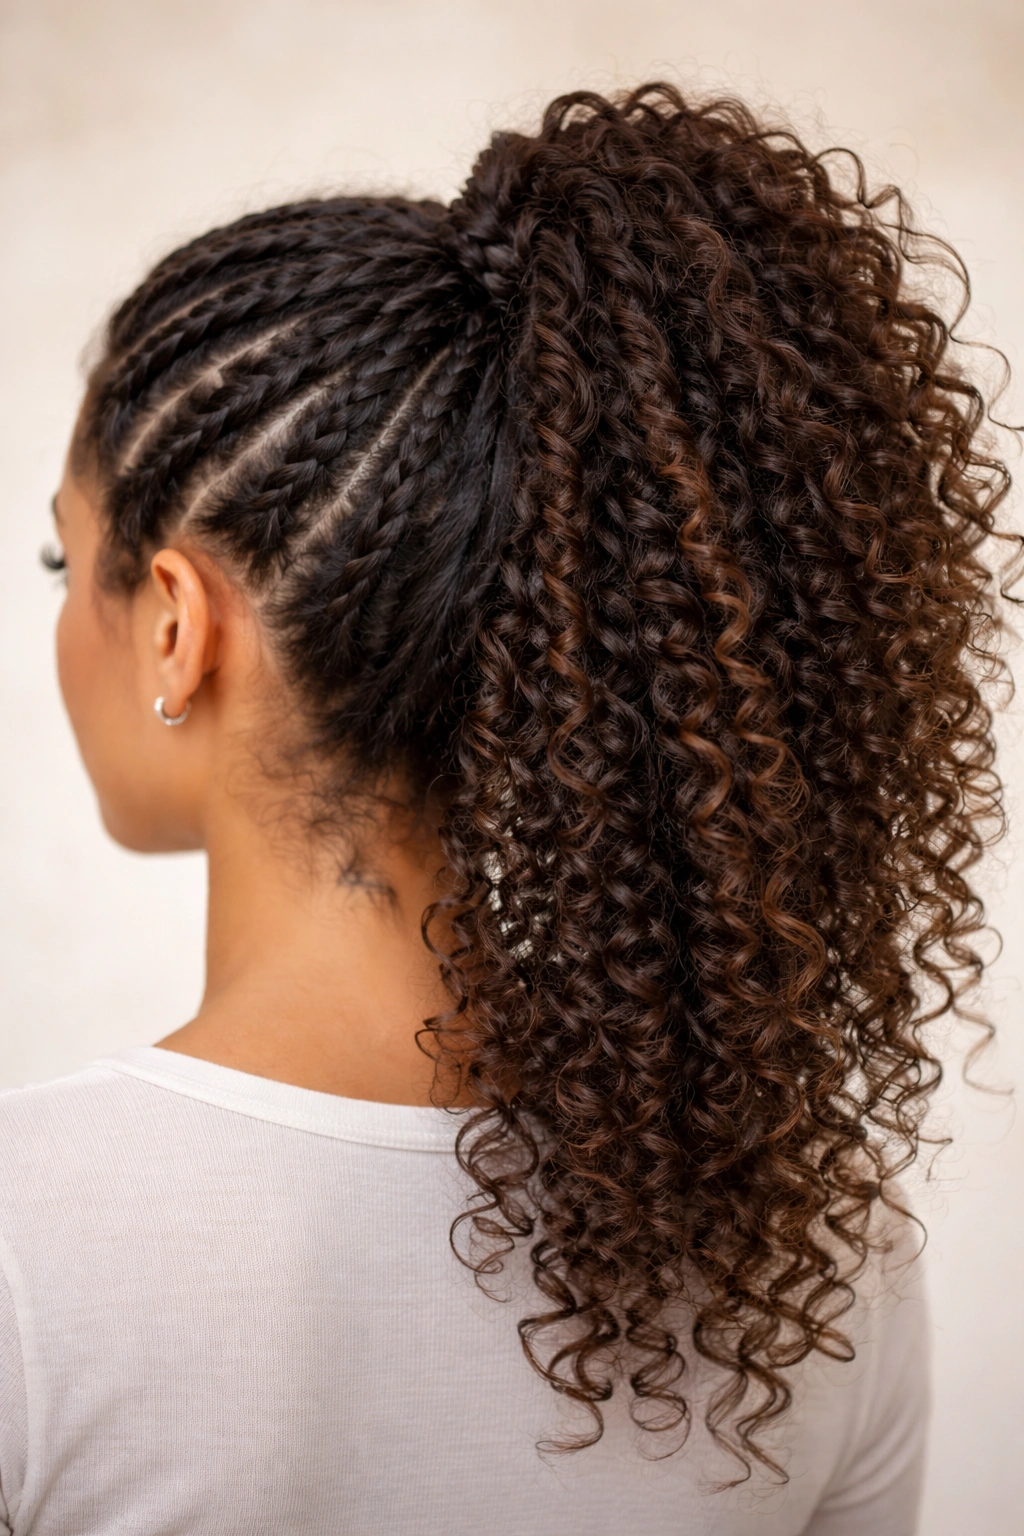
4. The Braided High Ponytail
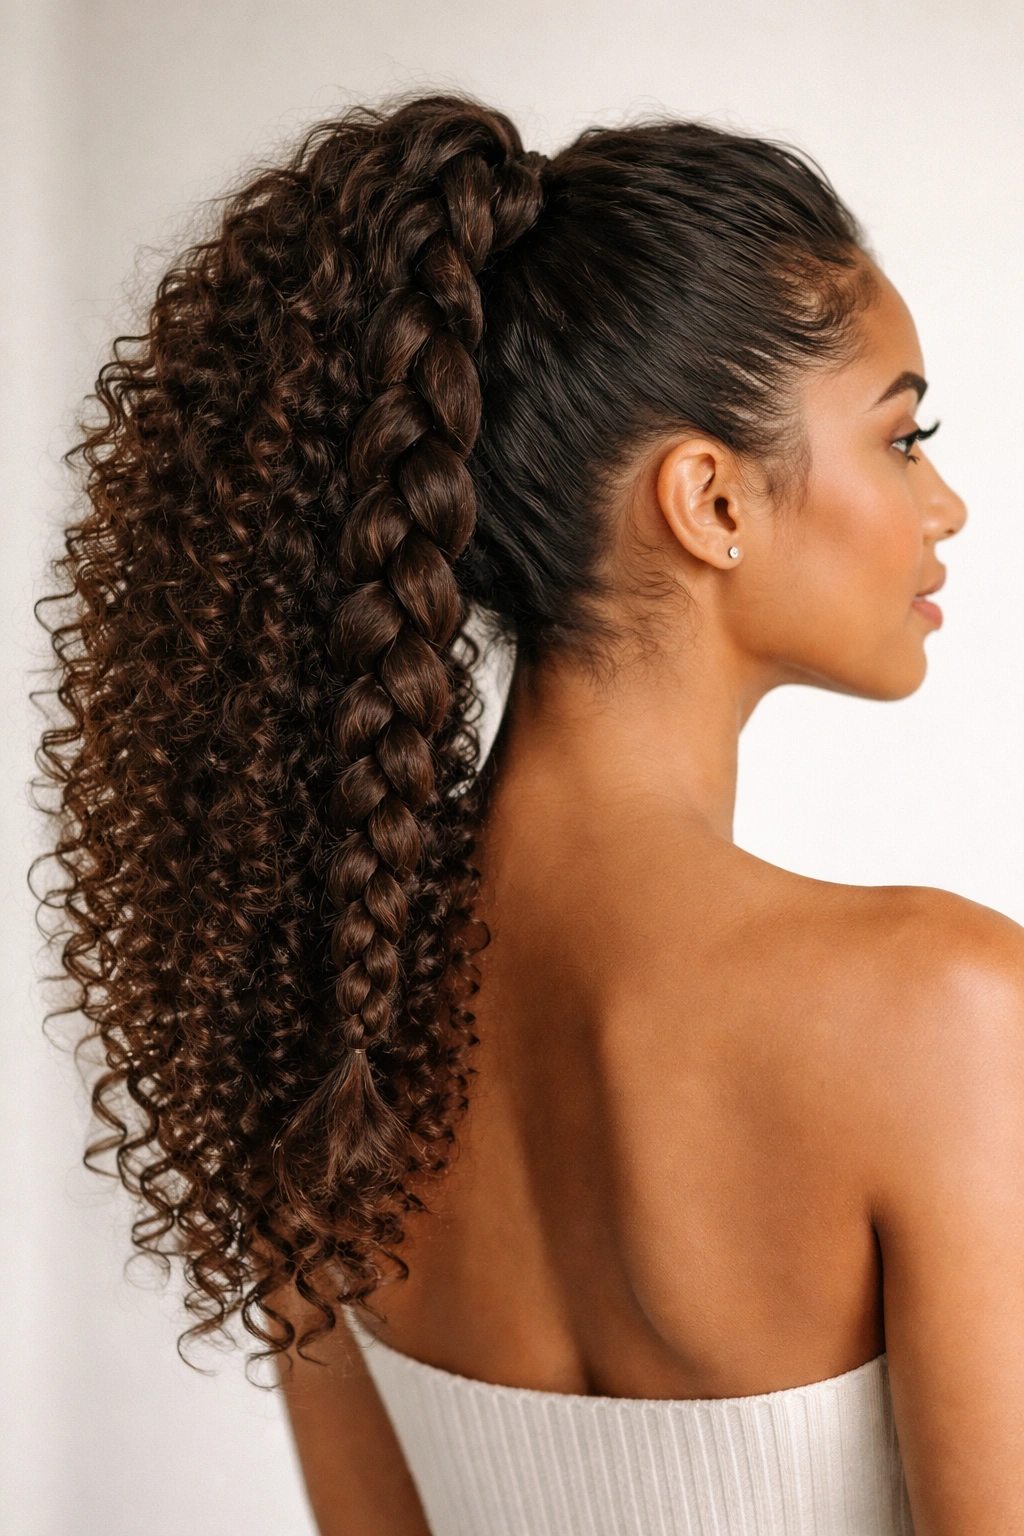
Braids offer structure and a completely different visual texture compared to loose curls. A braided high ponytail lets you combine the curl-friendly aspects of ponytails with the defined, sleek qualities of braiding. This is the style to choose when you want something that looks intentionally designed rather than naturally textured.
Braids also provide extra hold for curly hair that might otherwise slip out of a traditional ponytail. The tension of the braid actually helps keep everything secure, and the braided texture itself becomes a design element that’s visually interesting on its own.
Two Approaches to Try
The single large braid: Gather all your hair into a high ponytail position, then divide the ponytail into three sections and create a classic three-strand braid. This works beautifully if your curls are of medium diameter or thinner. The braid will have a softer, less structured appearance because each strand is made up of multiple curl clusters rather than smooth sections of hair.
The multiple braids method: Before gathering into a ponytail, create 4-6 loose braids throughout your head (starting from the scalp but not pulled tight). Gather all these braids together into the high ponytail position. This creates an incredibly textured look with built-in volume and dimension.
Styling Details That Matter
For either approach, use a curl cream or lightweight gel to smooth the hairline before braiding so you get clean edges. The braids themselves don’t need product—your hair’s natural curl pattern provides plenty of grip. After braiding, gently pull the sides of each braid to make it slightly wider and more textured. This technique, called “pancaking,” makes thin braids look fuller and helps them complement curly hair’s natural volume.
Pro tip: If you braid hair that’s not fully dry, the braid will set in that texture as it dries, creating an even more textured, voluminous final result. Partially dry hair (about 60-70% dry) is the sweet spot.
5. The Textured Twist-and-Wrap Ponytail
This style uses two-strand twists instead of traditional braids, creating a different texture and visual interest. Twists are faster to execute than braids and create a more organic, less formal appearance. They’re incredibly flattering on all curl types because the twist actually enhances curl definition rather than smoothing it out.
A twist-and-wrap ponytail involves creating two-strand twists from sections of hair and then wrapping one around the base of your ponytail, creating a decorative crown effect. It’s one of the most sophisticated-looking styles that doesn’t actually require much skill or product knowledge.
Creating the Twists
Divide a small section of hair (starting from one ear) into two subsections. Cross one subsection over the other, then cross the other over the first, continuing this pattern down the length of the section. Each crossed section should incorporate a new piece of hair from your head, so the twist grows wider as you move down. Repeat on the other side of your head, creating a second twist that mirrors the first.
Gathering Into the Ponytail
Once you have two defined twists framing your face, gather all your hair (including the twists) into your high ponytail position. The twists will naturally sit on top of your head rather than disappearing into the ponytail, creating dimension and visual interest immediately.
The Wrap Technique
Take one of the twists and wrap it around the elastic band at the base of your ponytail, securing it with bobby pins underneath. Do the same with the second twist, so both twists create a decorative crown around the base of your ponytail. This hides the elastic band while adding a polished, intentional design element.
Worth knowing: Leaving a few small curls loose around the face from where you started the twists softens the style and makes it less severe. These frame your face without compromising the clean lines of the twist pattern.
6. The Half-Up High Ponytail
This style bridges the gap between fully-up and fully-down, which is perfect for days when you want to keep most of your curls visible and flowing but need them out of your face. A half-up high ponytail has a more relaxed, undone quality than a full ponytail, making it ideal for casual settings or when you want something that looks less polished.
The positioning is key here—it’s not quite at your crown and not quite at your typical high-ponytail point. It’s somewhere in between, which gives you maximum visible curl length while still achieving your goal of containment.
Executing the Half-Up
Take hair from ear to ear across the crown area—only the top half of your hair. Gather this section into a ponytail at a point slightly above where a traditional center part would land, but not at your very crown. Secure with an elastic band.
The rest of your hair hangs down, with your natural curls visible and flowing. You can leave these down as-is, or add subtle styling to them. Many people curl the ends slightly outward, creating a soft, romantic look where the half-up ponytail appears to be floating on top of waves.
Product Application Strategy
Apply styling products to the top section before gathering it up, not after. This prevents you from having to use a comb or brush through the half-up section, which would disrupt your curl pattern. Use a leave-in conditioner and curl cream throughout the bottom section, and a slightly heavier-hold gel in the top section so the ponytail area maintains its shape separately from the curls below.
Pro tip: This style photographs beautifully because the combination of polished ponytail placement with loose curls below reads as intentional and romantic rather than undone.
7. The Curl-Stacked High Ponytail
This advanced technique takes your curls and rearranges them vertically within the ponytail itself, creating intense volume and dimension. Instead of a simple gathered ponytail, you’re actually stacking curl clusters on top of each other to build a three-dimensional structure that’s visually stunning.
This style requires slightly more technical skill and works best with coily to tightly curled hair that naturally holds its shape. It won’t work as well with very loose waves because the structure won’t hold without significant product.
How to Build the Stack
Gather your hair into a high ponytail as you normally would, but don’t let the curls hang down yet. Instead, flip your head upside down and arrange your curls so they stack upward, creating height at the base of the ponytail. Your elastic band should be securing hair that extends upward and outward, not hanging downward.
Think of it like you’re building a tower of curl clusters. The curls at the very top of your ponytail are the foundation, and as you flip your head upright, additional curl layers stack on top of that foundation.
Securing the Structure
Use bobby pins to lock individual curl clusters in place, especially around the sides and back of the stacked structure. This prevents curls from shifting as you move throughout the day. The bobby pins will be largely invisible because they’re hidden within the curl texture itself.
Apply a lightweight curl gel to any curls that have been disrupted during the stacking process. This encourages them to re-coil and hold their new position.
Worth knowing: This style works best on days when your curls are already well-defined and hydrated. Slightly older curls (day 2 or 3 hair) actually work better because they’re firmer and hold their shape more easily than freshly washed curls.
8. The Sleek Gel High Ponytail
Sometimes you want maximum polish and smoothness with a sleek, defined aesthetic. The sleek gel high ponytail takes your curly hair and transforms it into something with clean lines and a refined appearance. This doesn’t mean flattening your curls into straight hair—it means using gel strategically to define and enhance your curl pattern while minimizing frizz.
This style works particularly well for professional settings, formal events, or simply when you want a polished appearance without sacrificing your curl identity. It’s still clearly curly hair; it’s just in its most defined, controlled state.
Application Technique
Apply a strong-hold curl gel to completely damp hair. Use the “micro-praying hands” technique: divide your hair into 4-6 sections, and apply gel to each section by pressing your hands together vertically and moving down the hair length. This technique applies product while keeping each curl cluster together rather than breaking them apart.
Allow the gel to dry completely—either air dry or use a diffuser on low heat. Don’t rush this step. Wet gel looks completely different from dry gel, and you need to see the true effect before deciding if you need more product.
Creating the Sleek Effect
Once your hair is completely dry, gather it into a high ponytail. Use a fine-tooth comb to smooth your hairline and the very crown section, creating clean lines. The rest of the ponytail doesn’t need smoothing—you’re letting your curl definition show through.
Apply a tiny amount of edge control or smoothing cream to your hairline, smoothing it down in a defined pattern using a fine-tooth comb or small brush. This creates the “sleek” element while the ponytail itself showcases your curls.
Insider note: If your gel feels crunchy or looks shiny once it’s dry, you used too much. The goal is defined curls that look soft to the touch, not stiff ringlets. Start with less product next time and add more if needed.
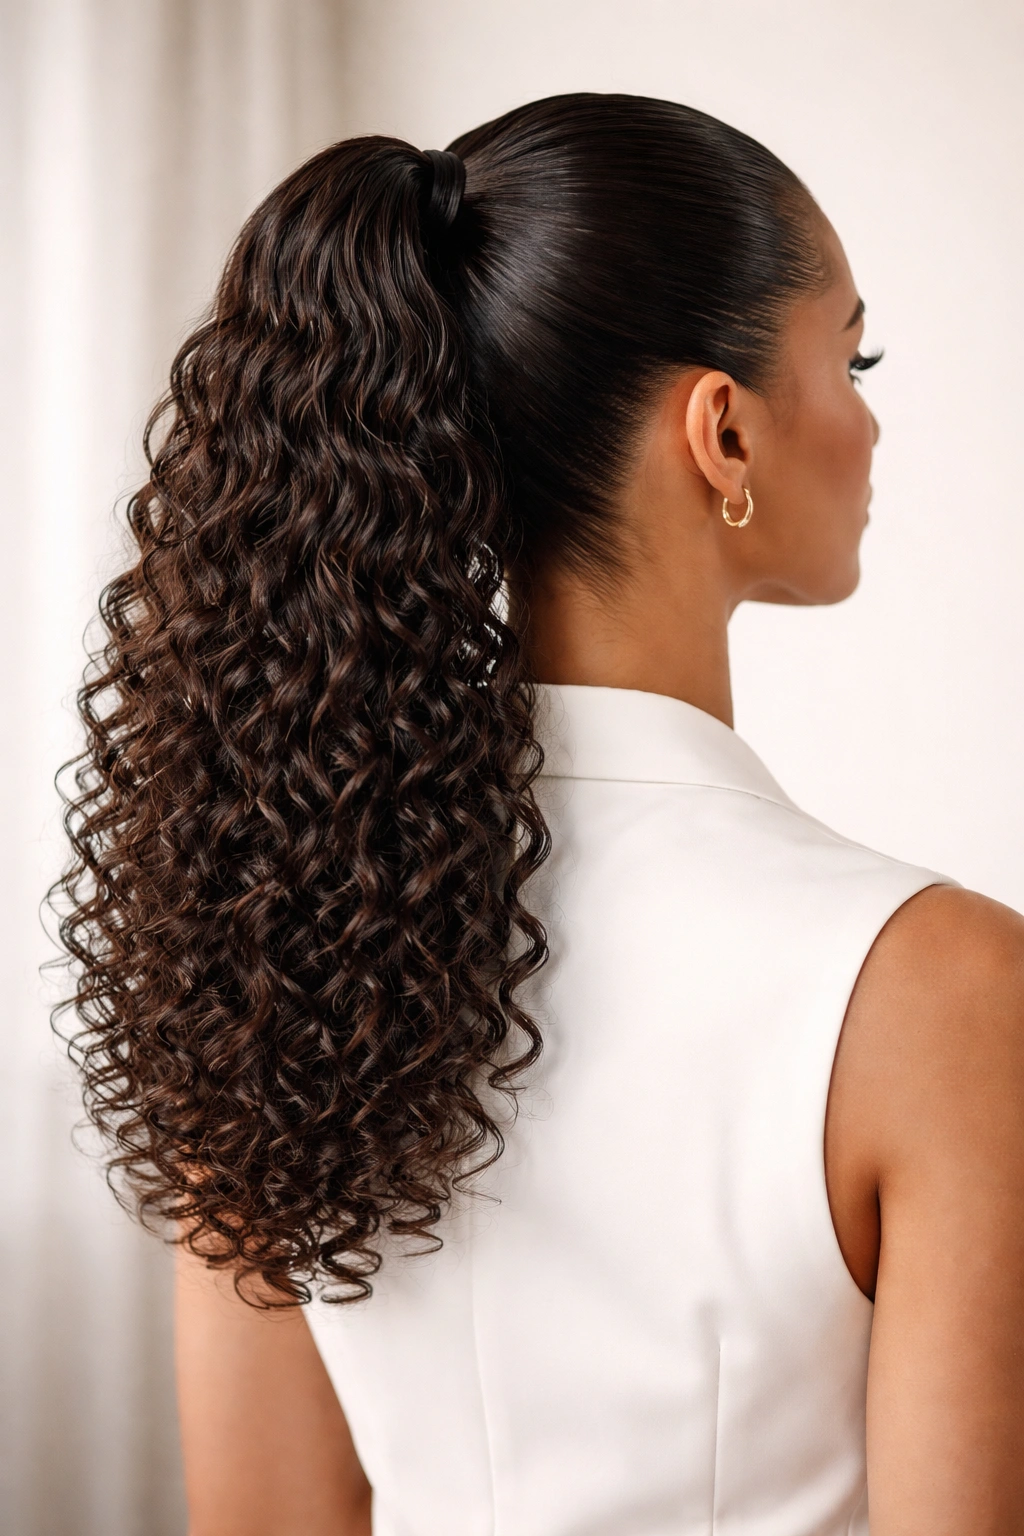
9. The Loose Spiral High Ponytail
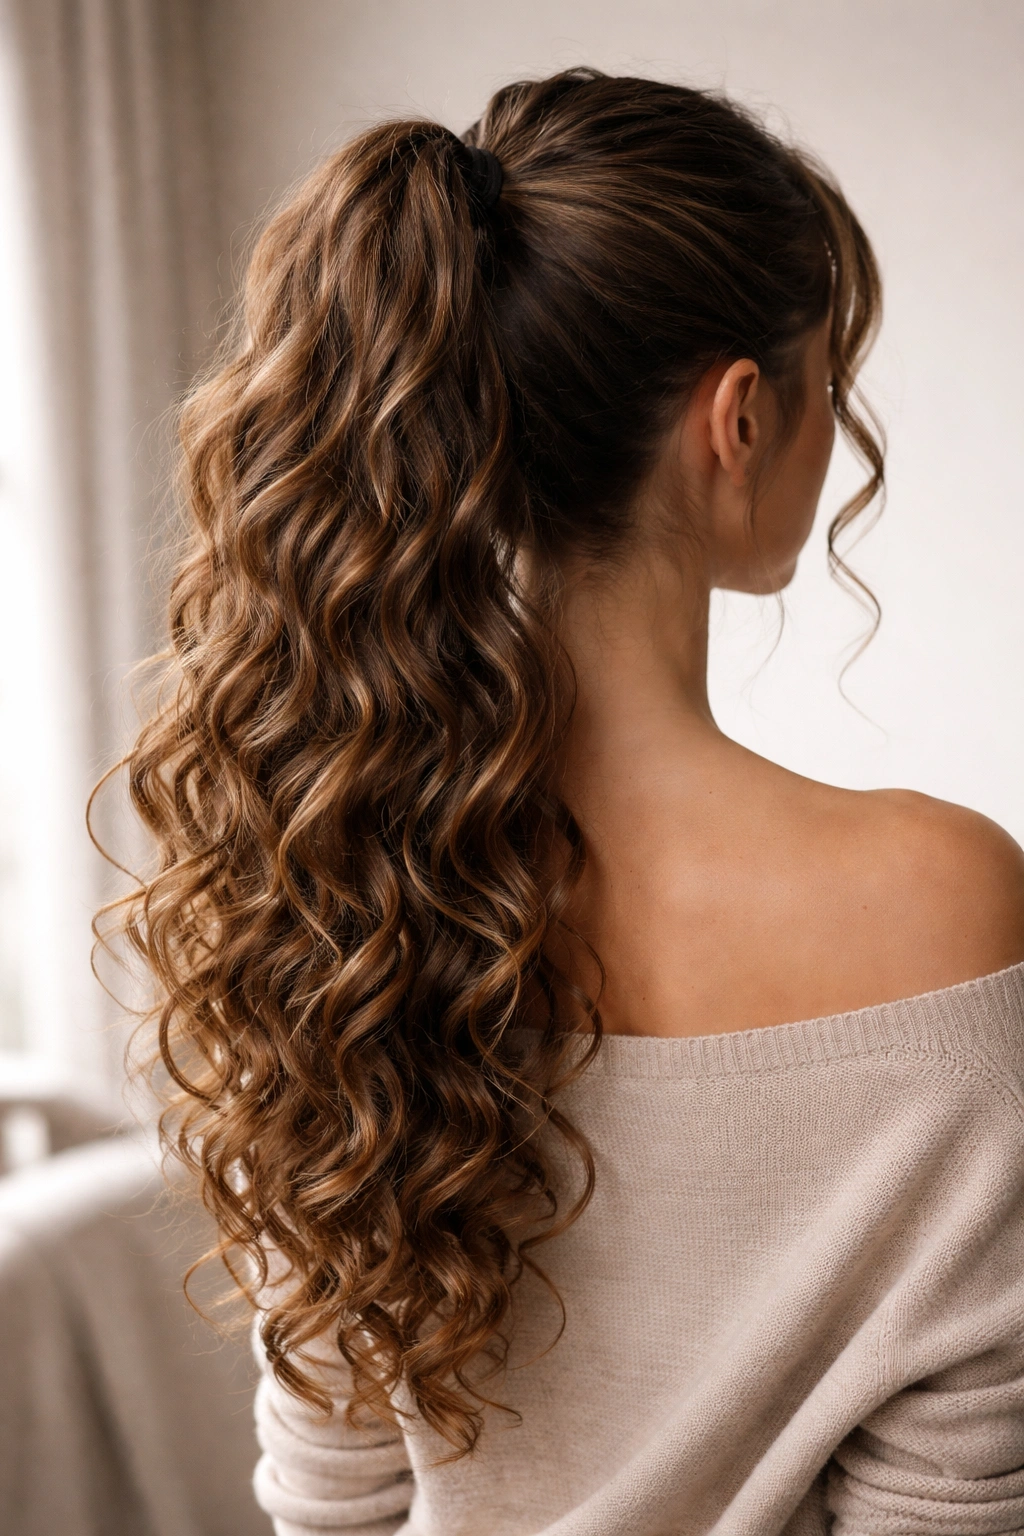
This style emphasizes elongated spirals and looser curl patterns, making it perfect if you have waves to loose curls rather than tight coils. A loose spiral high ponytail celebrates the length and flow of your curls while keeping them out of your face. It’s romantic, soft, and works beautifully for both casual and dressy occasions.
The key to this style is creating definition in your spirals without making them tight and coily. You want them to be loose enough that they visibly spiral downward, almost like cork-screws or Shirley Temple curls, rather than tight coils that blend together.
Creating Elongated Spirals
Apply a curl cream to damp hair, focusing especially on the mid-lengths and ends where you want to see the spiral definition most clearly. Using a medium or large barrel curling rod, curl sections of hair away from your face, holding each curl for 5-8 seconds before releasing. This creates the loose spiral shape.
Alternatively, apply curl cream to damp hair and use flexi-rods, curlformers, or the traditional pin curl method. Leave these in until your hair is completely dry to set the spiral shape.
Gathering the Ponytail
Once your spirals are set, gather all your hair into a high ponytail. The spirals won’t disappear into the ponytail—instead, they’ll continue spiraling downward, creating visible curl patterns throughout the ponytail length.
Apply a light curl gel or curl refresher spray to enhance the spiral definition without weighing them down. You should be able to see distinct spiral patterns all the way down your ponytail.
Pro tip: Sleeping on a silk pillowcase or pineappling this style keeps your spirals intact for multiple days. The longer you can keep spirals in, the more defined they become.
10. The Multi-Twisted High Ponytail
This style combines multiple two-strand twists throughout your hair, creating a complex, visually interesting pattern when gathered into a ponytail. It’s more elaborate than the simple twist-and-wrap style and offers significantly more dimension and texture. This is the style to choose when you want something that looks like you spent serious time styling.
Multiple twists create natural sections and visual breaks throughout your ponytail, making it appear fuller and more textured than a straightforward ponytail would be. It’s also more secure—multiple twists provide more anchoring points than a single ponytail would.
Mapping Your Twist Placement
Mentally divide your head into 5-7 sections, planning where each twist will start. A good strategy is to create one twist on each side of your head (framing your face), one at the back center, and 2-3 additional twists distributed across the crown area. This creates balance without looking too contrived.
Creating Each Twist
Starting with one section, divide it into two subsections and begin your two-strand twist. Incorporate new hair from your head as you move down, creating a twist that gets wider. Repeat for each planned twist location. The twists don’t need to be perfectly uniform—in fact, variation makes the style look more intentional.
Gathering Everything Together
Once all twists are complete, gather all your hair (all the twists plus any remaining loose hair) into your high ponytail position. The twists will visibly layer on top of and through the ponytail, creating stunning dimension.
Separate the twists slightly so they remain distinct and visible rather than blending together. You can pin individual twists in place if they’re shifting unexpectedly throughout the day.
Worth knowing: This style holds better if your hair is at least slightly damp when you create the twists. Damp hair sets into the twist pattern as it dries, making everything more secure.
11. The High Ponytail with Curled-Out Ends
This style takes the simple high ponytail and adds a styling detail that completely transforms the visual effect. By curling the very ends of your ponytail outward, you create a statement finish that’s more polished than a basic ponytail but doesn’t require the hair to be up and away from the ends.
Curled-out ends draw focus to the ponytail itself and create movement and dimension in the lower half of your hair. This style works beautifully for all curl types and is especially striking if your hair is long enough to show the curl pattern clearly.
Creating the Curl-Out Effect
Gather your hair into a high ponytail and secure it. Using a medium or large barrel curling iron, take sections of your ponytail and wrap them around the barrel, curling away from your face. Hold for 3-5 seconds and release. Work through your entire ponytail, curling all sections in the same direction (away from your face).
The curled sections will have a more defined, bouncy quality than your regular curl pattern, creating clear visual separation between the ponytail and the styled ends.
Alternative: The Twist-Out Method
For a softer effect without heat, take small sections of your damp ponytail and two-strand twist them, then allow them to dry completely. Once dry, unravel the twists to reveal a beautifully textured, elongated curl pattern.
Product Application
Apply a light curl cream or styling cream to the ends of your ponytail before curling. This enhances the curl definition and helps the curled-out effect last longer throughout the day.
Pro tip: If you want extra hold, apply a light hairspray after curling and allow it to dry completely before moving around. This sets the curled-out shape.
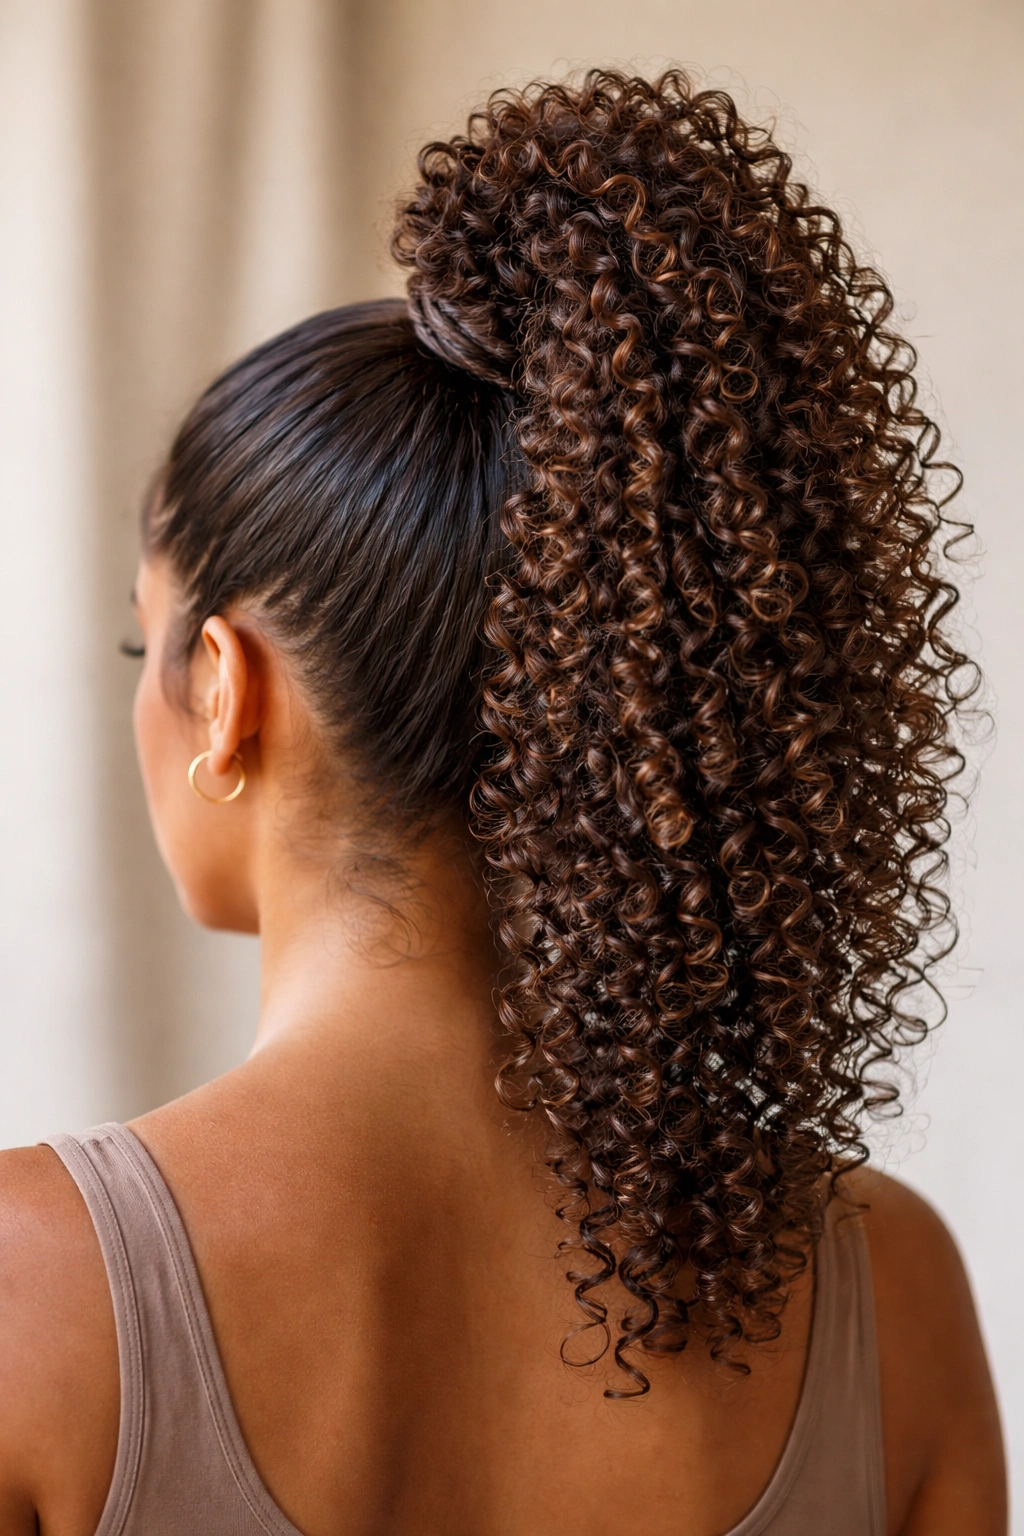
12. The Defined Coil High Ponytail
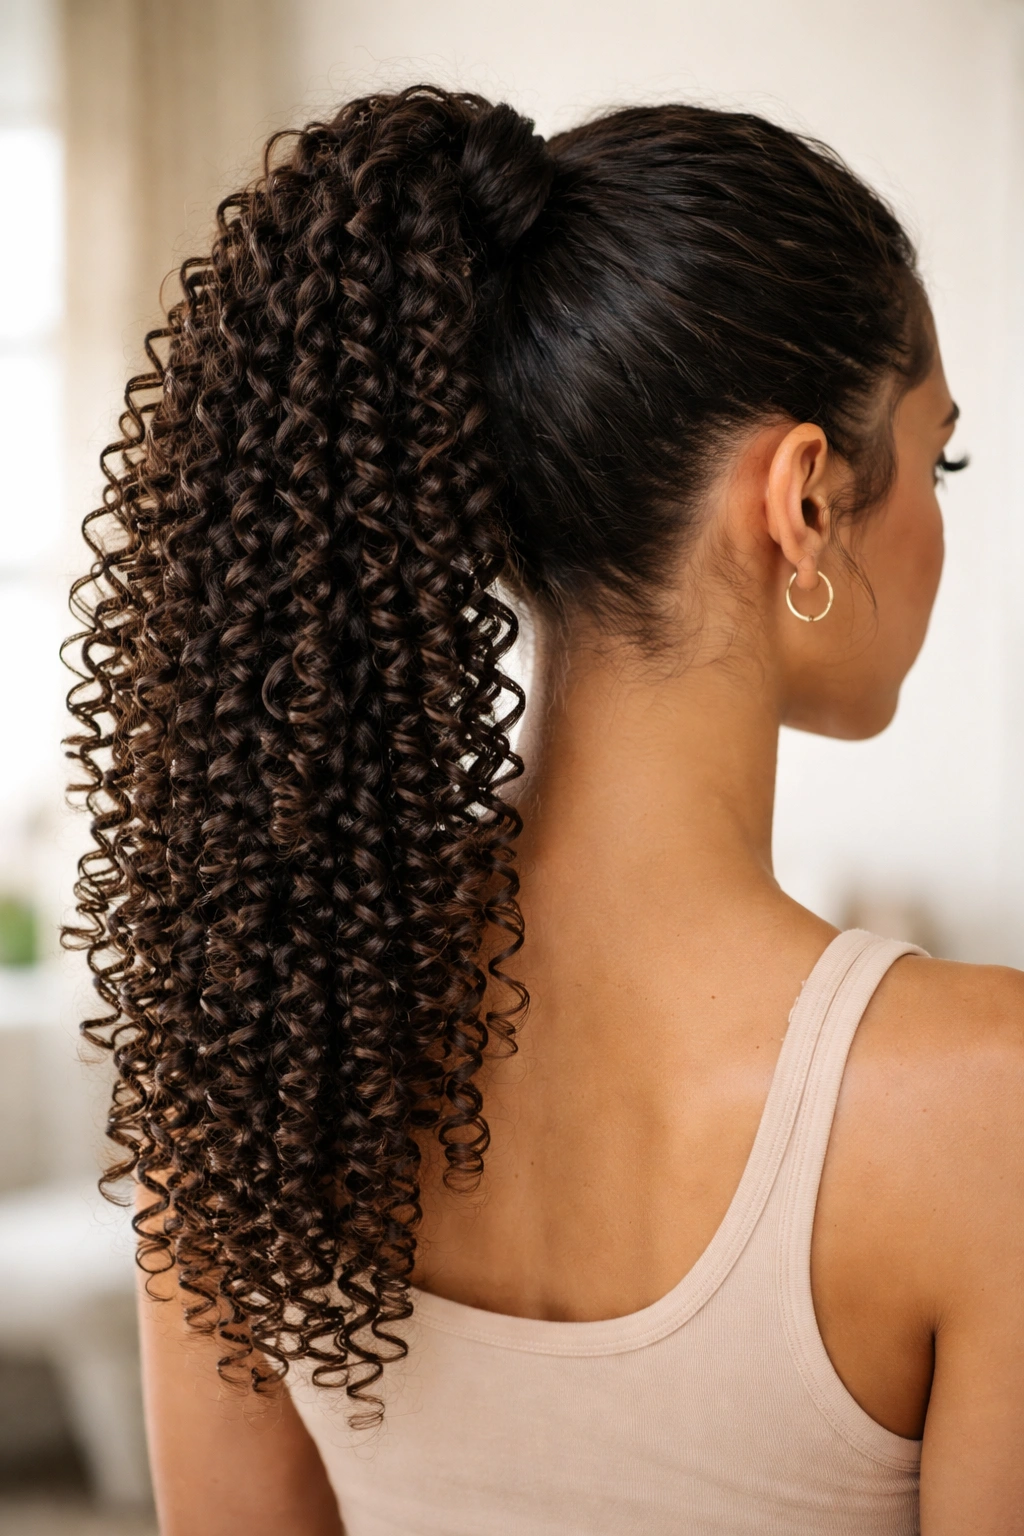
This style is all about celebrating ultra-defined, individual coils throughout your ponytail. It’s perfect for people with naturally coily hair who want to showcase the texture at its absolute best. The defined coil ponytail prioritizes clarity and definition over softness or length, making each coil visually distinct and beautiful.
This style requires that your coils are well-defined to start with, so it works best on freshly washed hair or hair that’s been refreshed with a curl activator spray. You’re not creating definition from scratch—you’re enhancing and clarifying definition that already exists.
Enhancing Your Coil Definition
Apply a curl-defining gel or mousse to each coil individually, using a small comb or the tip of your finger to separate coils that have started to stick together. Work systematically through your entire head, treating each coil cluster as its own unit. This takes time but creates a dramatically more defined final result.
Allow your hair to dry completely before moving to the ponytail stage. Drying with a diffuser on low heat preserves coil integrity and enhances definition compared to air drying.
Gathering Into the Ponytail
Once your coils are completely dry and defined, gather your hair into a high ponytail. Use a silk-lined elastic band to minimize frizz and disruption. As you gather, try not to comb through your hair—instead, gently separate sections with your fingers and bring them together.
The final ponytail should showcase individual, clearly defined coils throughout. You might notice some coils are tighter than others—this is beautiful and natural, not a flaw.
Maintaining Definition
Throughout the day, resist the urge to touch or play with your ponytail, as this separates coils and creates frizz. If you notice coils have started to stick back together by evening, lightly mist with a curl refresher spray and gently re-separate them with your fingers.
Worth knowing: This style photographs beautifully because the individual coil definition is visually striking and reads as intentional and polished rather than undone or frizzy.
Final Thoughts
The beauty of styling curly hair into high ponytails is that you’re not fighting your hair’s nature—you’re enhancing it. Each of these twelve styles works with your curl pattern rather than against it, which is why they look so polished and intentional. Your curls already want to create texture and volume; these styles simply direct that energy in a way that keeps hair out of your face while celebrating your natural texture.
The style you choose depends on your specific curl pattern, how much time you have, and what look you’re going for. Some days call for sleek definition, other days call for maximum volume. The fact that you have twelve completely different options, all of which work beautifully with curly hair, means you can match your style to your mood and your occasion.
Product matters, but technique matters more. The best high ponytail for your curly hair will be the one you’ve practiced a few times until you understand exactly how your specific curls respond to the gathering, securing, and styling steps. Spend time with each style that appeals to you. By your third attempt, you’ll understand the nuances and be able to make adjustments that work specifically for your hair’s needs.