There’s something undeniably powerful about walking into a formal event with your hair pulled back in a perfectly executed high ponytail. It’s clean, polished, and instantly elevates your entire look — whether you’re attending a black-tie wedding, an elegant gala, a corporate awards dinner, or any occasion that demands sophistication. But here’s what most people don’t realize: a high ponytail isn’t just one style. It’s a canvas for endless variations, each one capable of communicating a different mood, from understated elegance to dramatic glamour.
The difference between a rushed, pulled-back-in-thirty-seconds ponytail and an intentionally styled one often comes down to small details. It’s the texture you create at the crown, the way you wrap the base, the strategic face-framing pieces you leave out, or the accessories you choose. These refinements transform a basic hairstyle into something that photographs beautifully, stays put through hours of dancing or mingling, and makes you feel genuinely confident about how you look.
What makes high ponytails particularly brilliant for formal settings is their versatility. They work with virtually any hair type, length, and texture — and they’re adaptable to almost any dress code or personal style. Whether your event calls for timeless elegance, modern edge, romantic softness, or maximalist glamour, there’s a high ponytail variation that fits. The key is understanding your options and knowing which specific techniques and styling choices will get you the exact look you want.
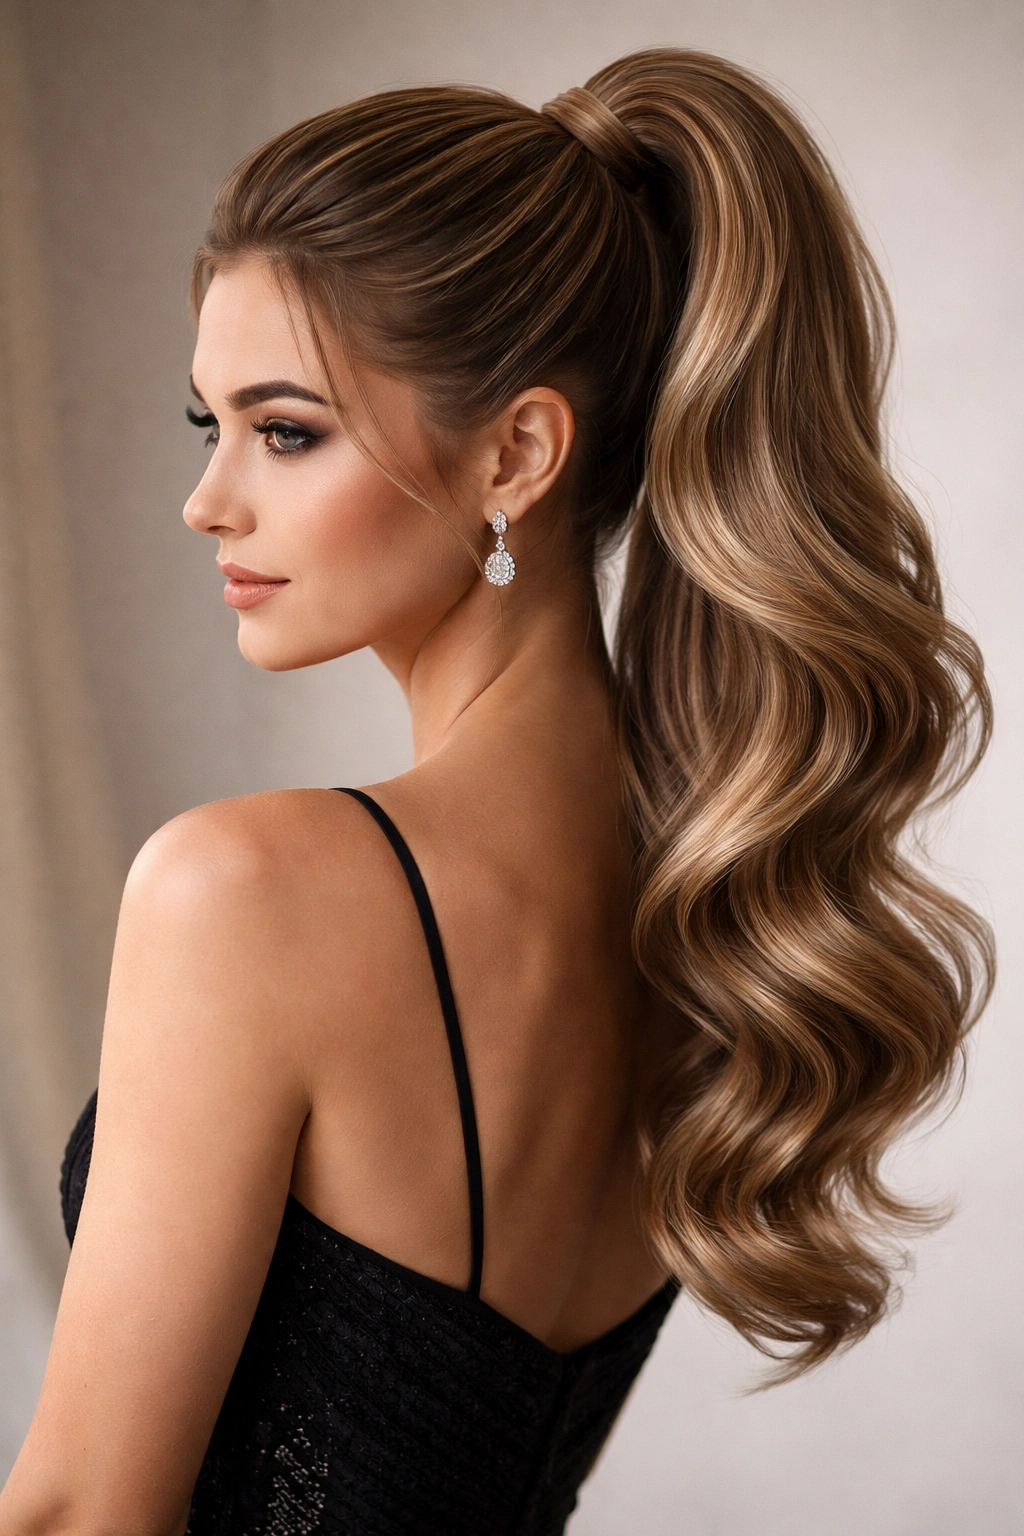
1. The Classic Sleek High Ponytail
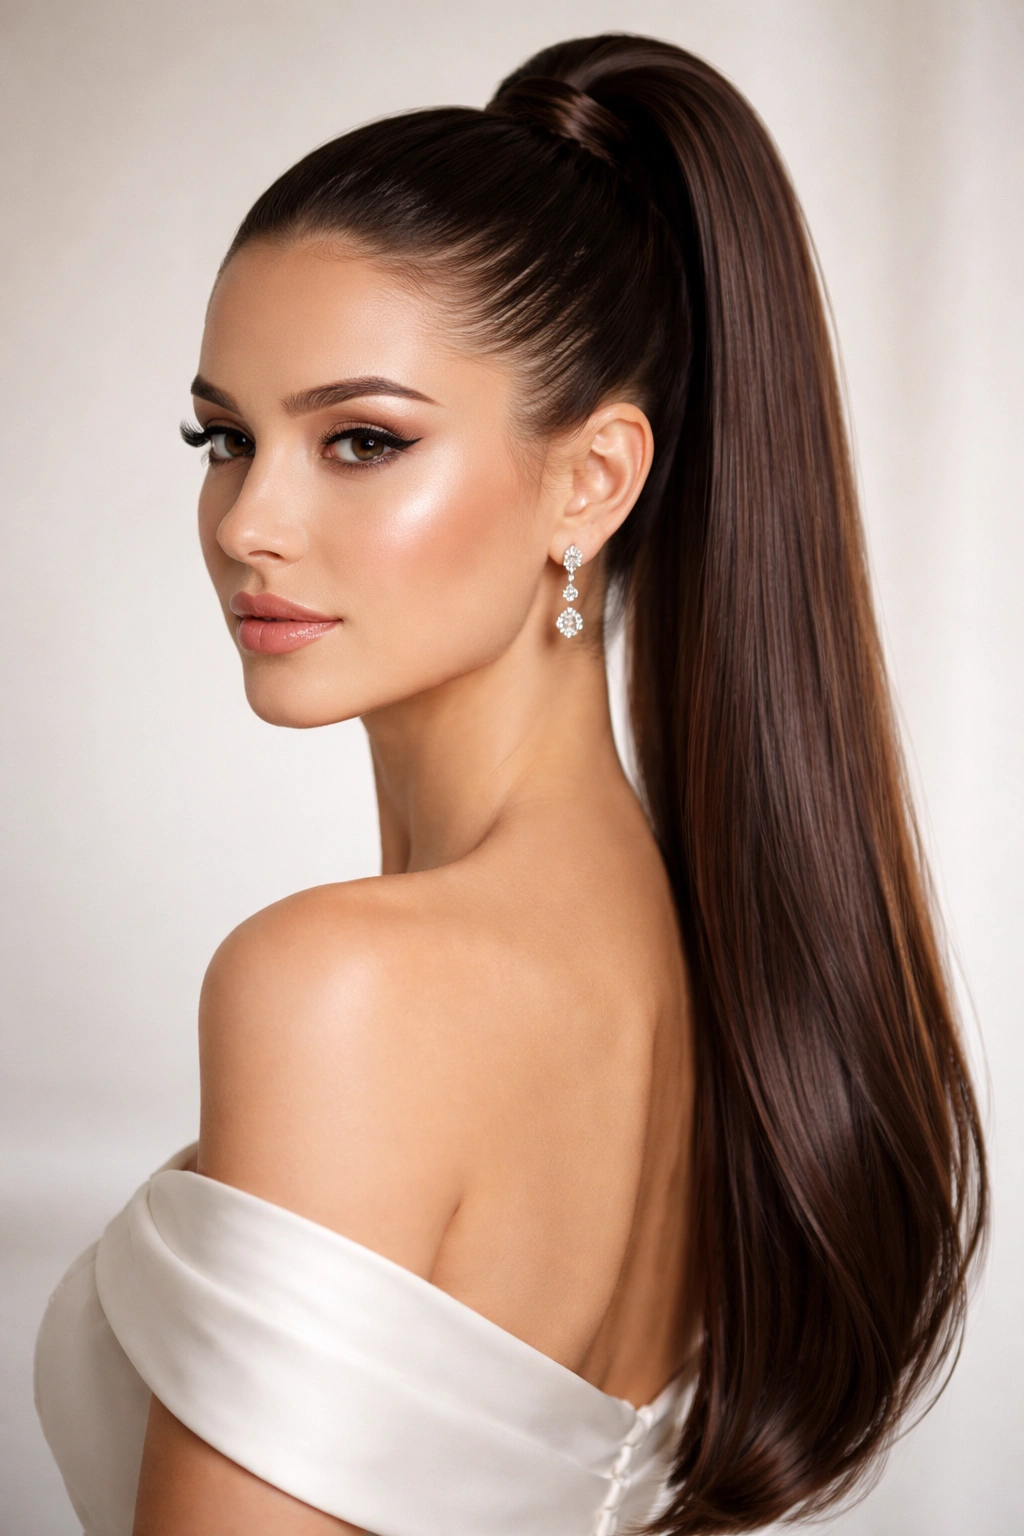
This is the foundation style that has graced red carpets, royal events, and formal galas for generations. A truly sleek high ponytail requires serious precision and a few key techniques that most people skip — which is exactly why so many attempts at this look fall flat.
The Technique That Creates Real Smoothness
The sleekness isn’t accidental. Start by applying a smoothing serum or lightweight styling cream to damp hair before you blow dry it. When your hair is completely dry, use a fine-tooth comb or a boar bristle brush to smooth every section, working from your roots down through the ends with intentional, measured strokes. This removes flyaways and ensures each strand lies flat. Blow dry a second time using a paddle brush held horizontally, directing all hair upward — this reinforces the smoothness and adds a subtle lift at the crown that prevents the style from looking flat or severe.
How to Build the Perfect Foundation
- Use a fine-tooth comb to section your hair precisely, creating a clean part if you want one, or a centered high ponytail line
- Apply a lightweight gel or smoothing serum only to your hairline and the hair you’re pulling back — never apply product to your entire head, as it will weigh down your crown volume
- Use a fine-tooth comb to smooth the ponytail section as you gather it, working methodically from front to back on both sides
- Secure the ponytail with a small, strong elastic, then wrap a strand of hair around the base to conceal the elastic — this instantly elevates the finished appearance
- Use hairspray designed for hold and smoothness (not volumizing spray) on the gathered ponytail, then comb through with a fine-tooth comb to lock everything in place
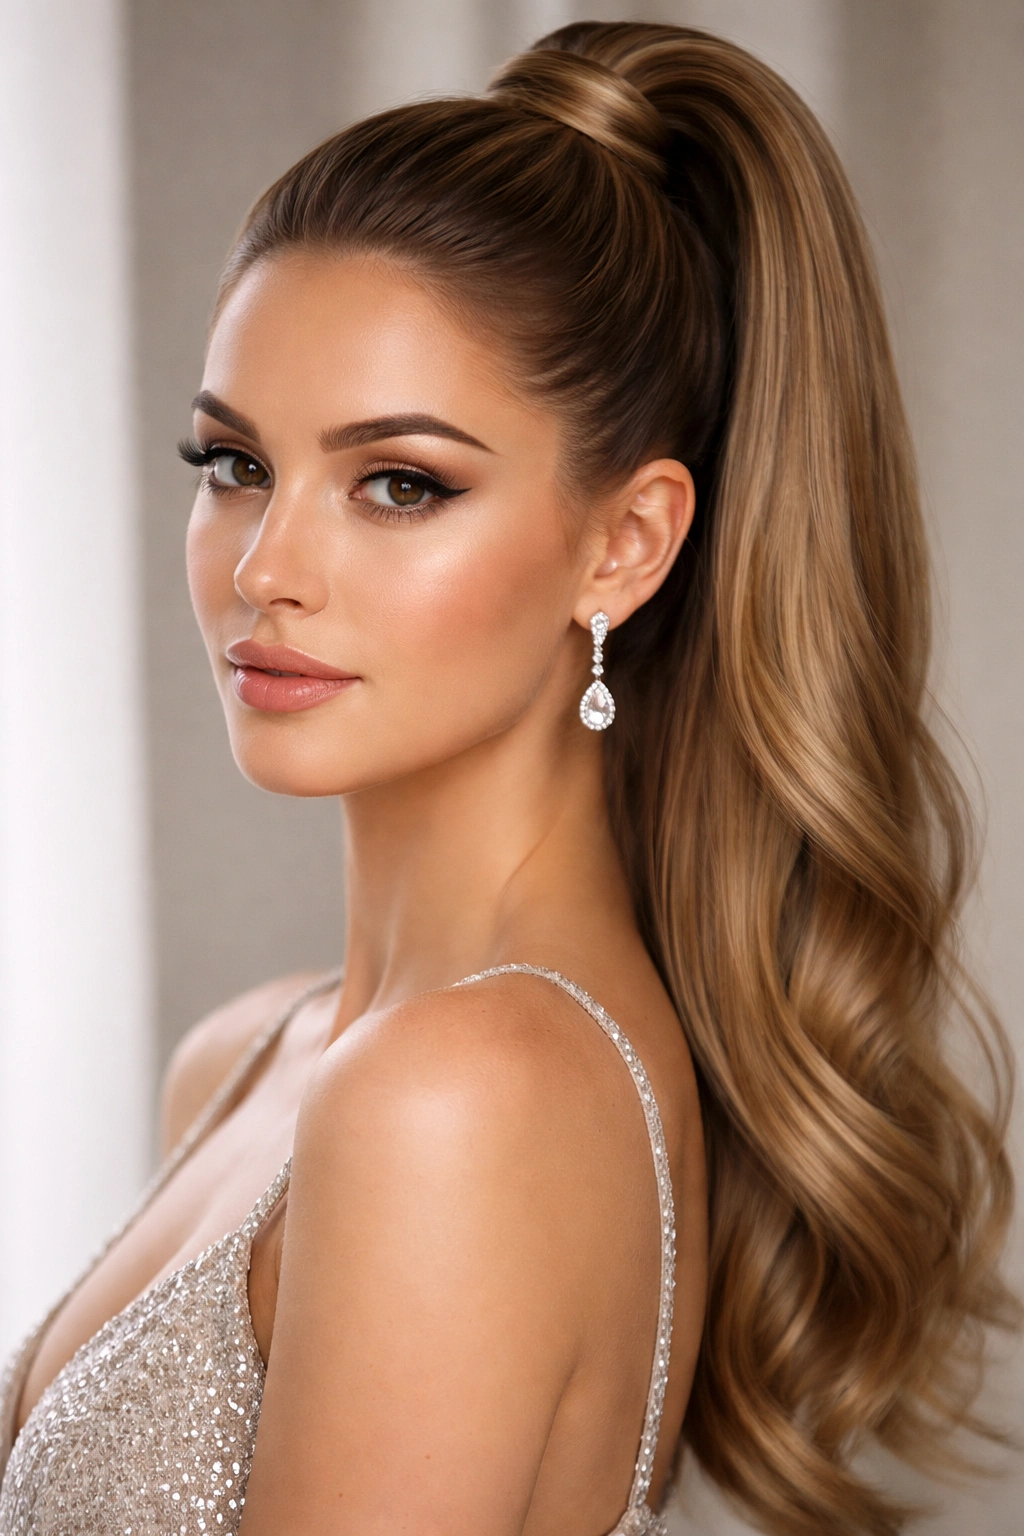
The sleek high ponytail pairs beautifully with a low-volume updo at the crown — it’s sophisticated without being theatrical. The front of your hair should be completely smooth, your ears fully visible, and your face unobstructed. This style shines with minimal accessories; a simple pair of dramatic earrings or a statement necklace is all you need.
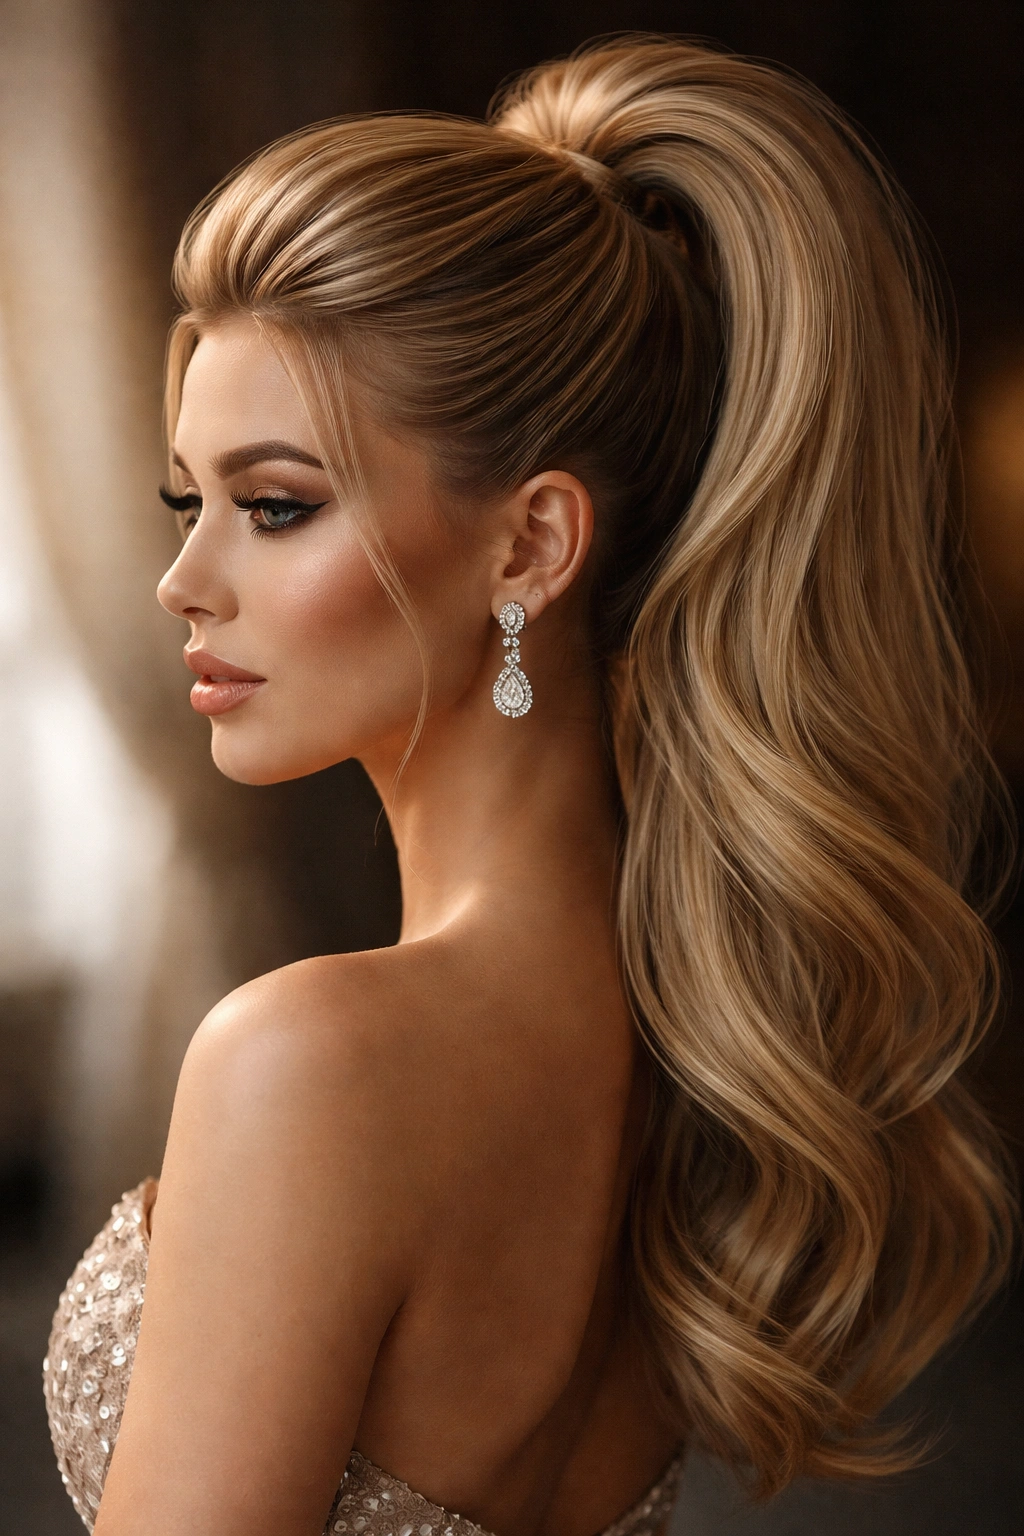
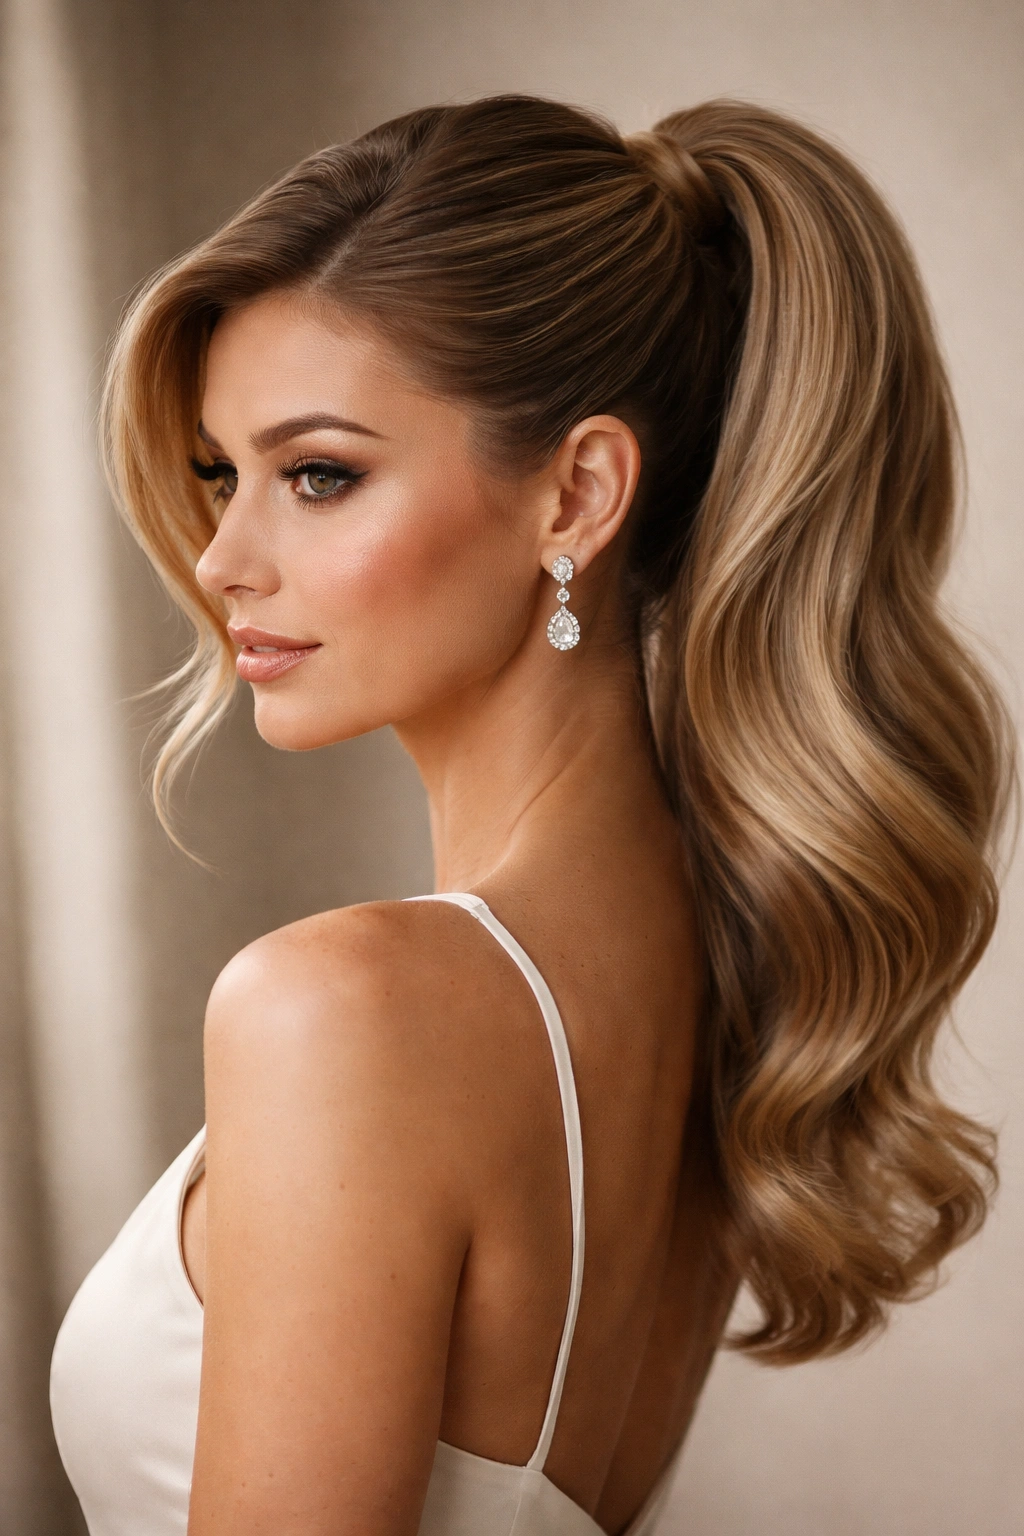
2. The Voluminous High Ponytail with Teasing
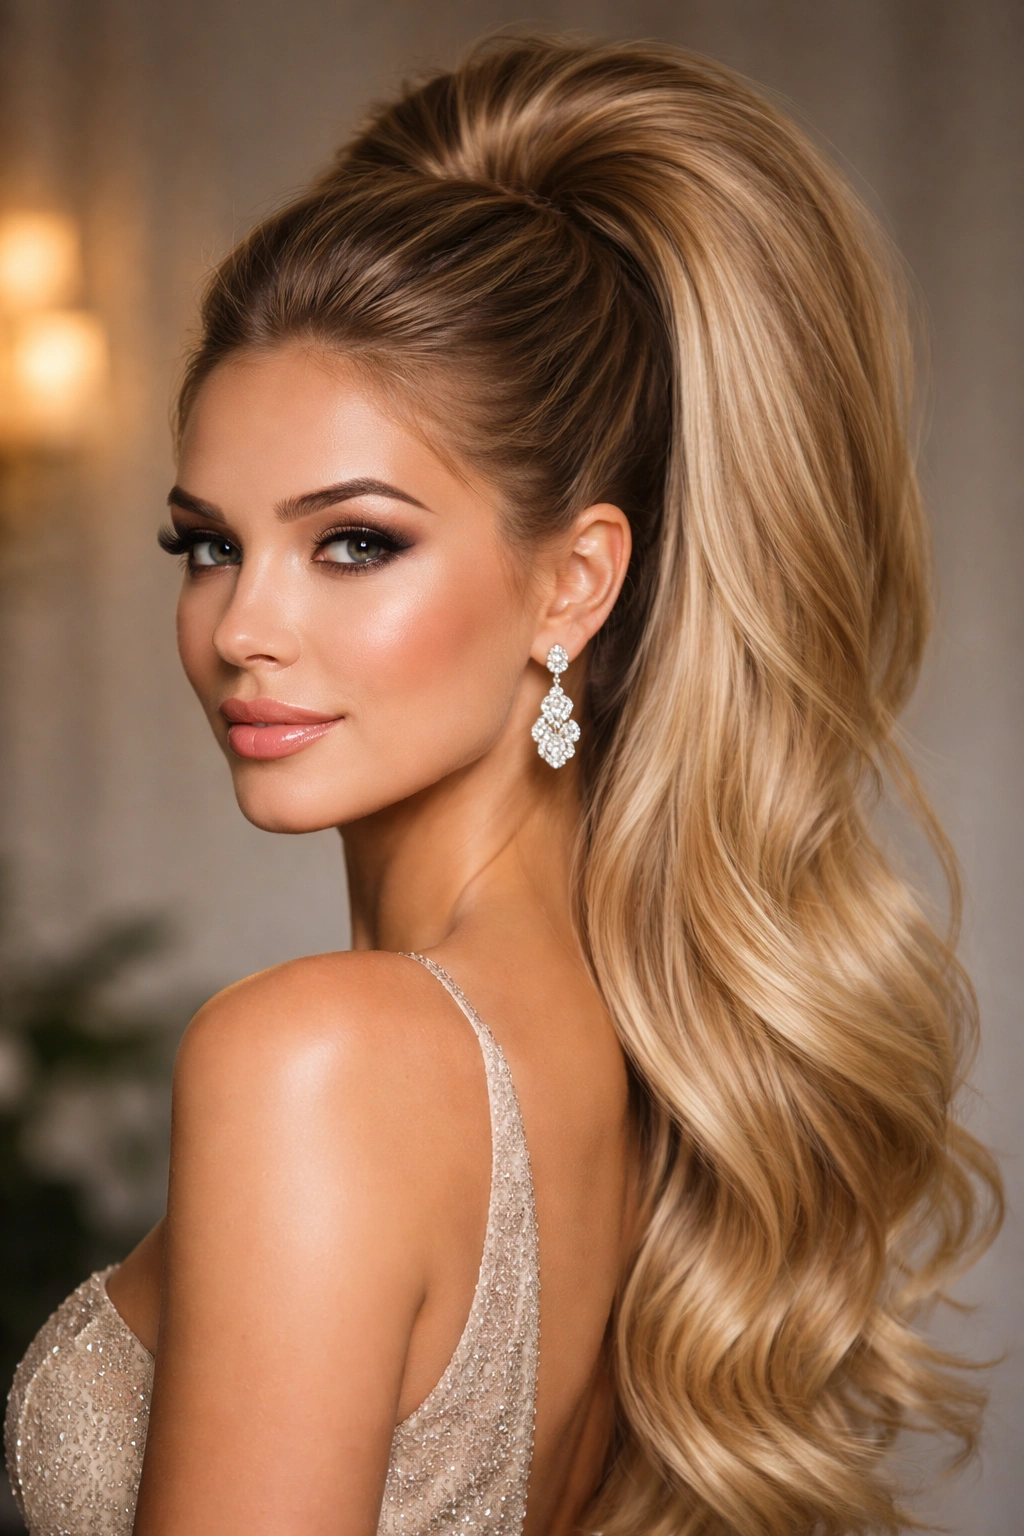
If you want drama and presence, this is the version that delivers. A truly voluminous high ponytail creates an enviable crown of texture that photographs beautifully and reads as intentional and polished rather than accidental.
Building Volume Without Creating Frizz
Teasing is the magic move, but it must be done correctly to avoid creating a frizzy, damaged-looking mess. Blow dry your hair completely smooth first, then section off the crown area (roughly from temple to temple in a half-circle at the top of your head). Use a teasing brush — which has closer bristles than a regular brush — and gently backcomb small sections, starting about two inches from the roots. Work the brush downward toward the ends in short, controlled strokes, teasing until you feel resistance. Smooth the outer layer of that section with your boar bristle brush so the interior is teased but the top appears sleek.
Strategic Placement Creates the Best Shape
- Tease only your crown and the upper back section that will sit in the ponytail — never tease the entire head
- After teasing, gather your hair into a high ponytail positioned at the very crown, not slightly off-center
- Use a softer brush to gently smooth the outer layers while keeping the interior volume intact
- Pull the ponytail tight enough to feel secure but not so tight that your hairline feels strained
- Wrap a strand of hair around the base and secure with bobby pins, then mist with hairspray to set the volume
- Optional: after wrapping the base, tease the ponytail itself very lightly at the crown area for extra dimension
This style truly shines with loose waves or curls running through the ponytail, and it pairs beautifully with a jeweled hair cuff or a silk scrunchie in a coordinating color. The volume at the crown combined with movement in the ponytail length creates a look that feels substantial and glamorous without being over-the-top.
3. The Wrapped Base High Ponytail
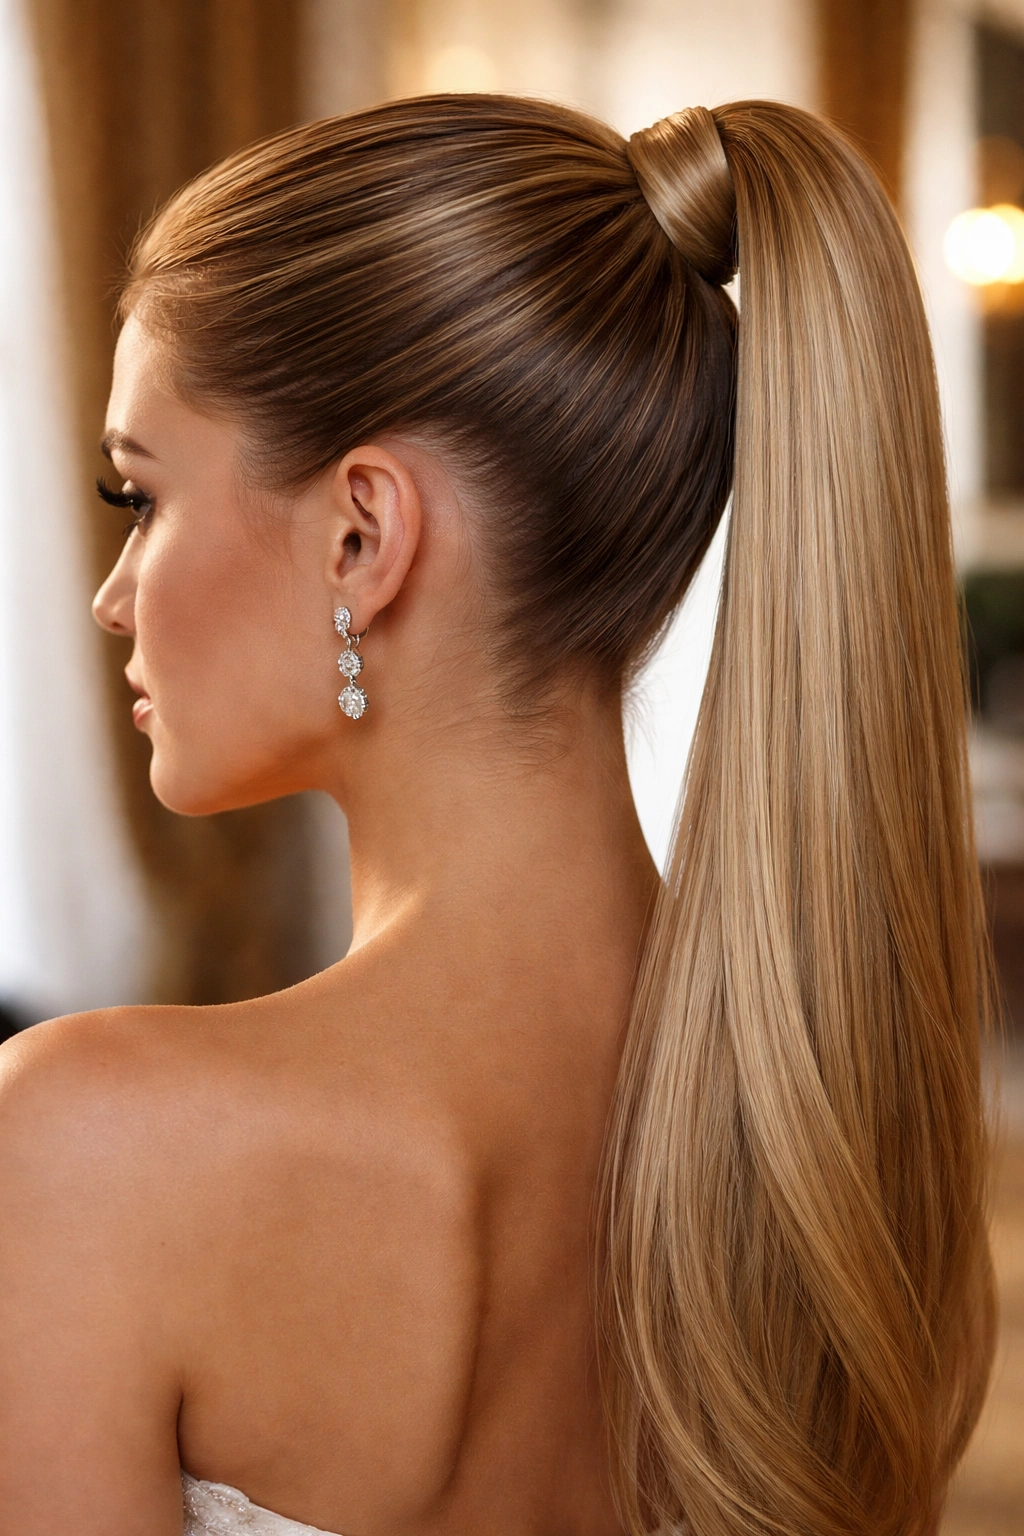
The wrapped base transforms an ordinary ponytail into something jewelry-like and intentional. This small detail is what separates a polished, editorial-quality style from something that looks like you just pulled your hair back in a hurry.
Why the Wrap Matters More Than You’d Think
A wrapped base serves multiple purposes: it conceals your elastic, it creates a finished, elevated appearance, and it allows you to introduce color, shine, or sparkle at the focal point of your style. You can wrap with a strand of your own hair for a seamless look, or you can use a decorative option like a satin ribbon, a leather cord, beaded string, or a metallic wire for intentional detail.
Creating a Flawless Wrapped Effect
- Gather your hair into a smooth, tight high ponytail and secure with a small elastic that matches your hair color
- If wrapping with your own hair: take a thin vertical section from the side of your head (about half an inch wide) and gently loosen it slightly, then wrap it around the base of the ponytail 2-3 times
- Secure the wrapped strand with small bobby pins hidden beneath the wrap, then tuck the end of the strand underneath itself and pin in place
- If wrapping with a ribbon or decorative element: tie it around the base, creating a knot at the back, and curl the ends if desired
- Smooth any flyaways at the base with a tiny dab of pomade on your finger
- Spray the entire base area gently with hairspray to ensure nothing shifts during the event
The wrapped base also allows you to adjust the visual height and proportion of your ponytail. A wrap positioned right at the elastic creates a compact, polished look. A wrap positioned slightly lower (half an inch down from the elastic) creates a more lifted, architectural effect. The positioning depends on your face shape and the overall aesthetic you’re aiming for.
4. The High Ponytail with Face-Framing Strands
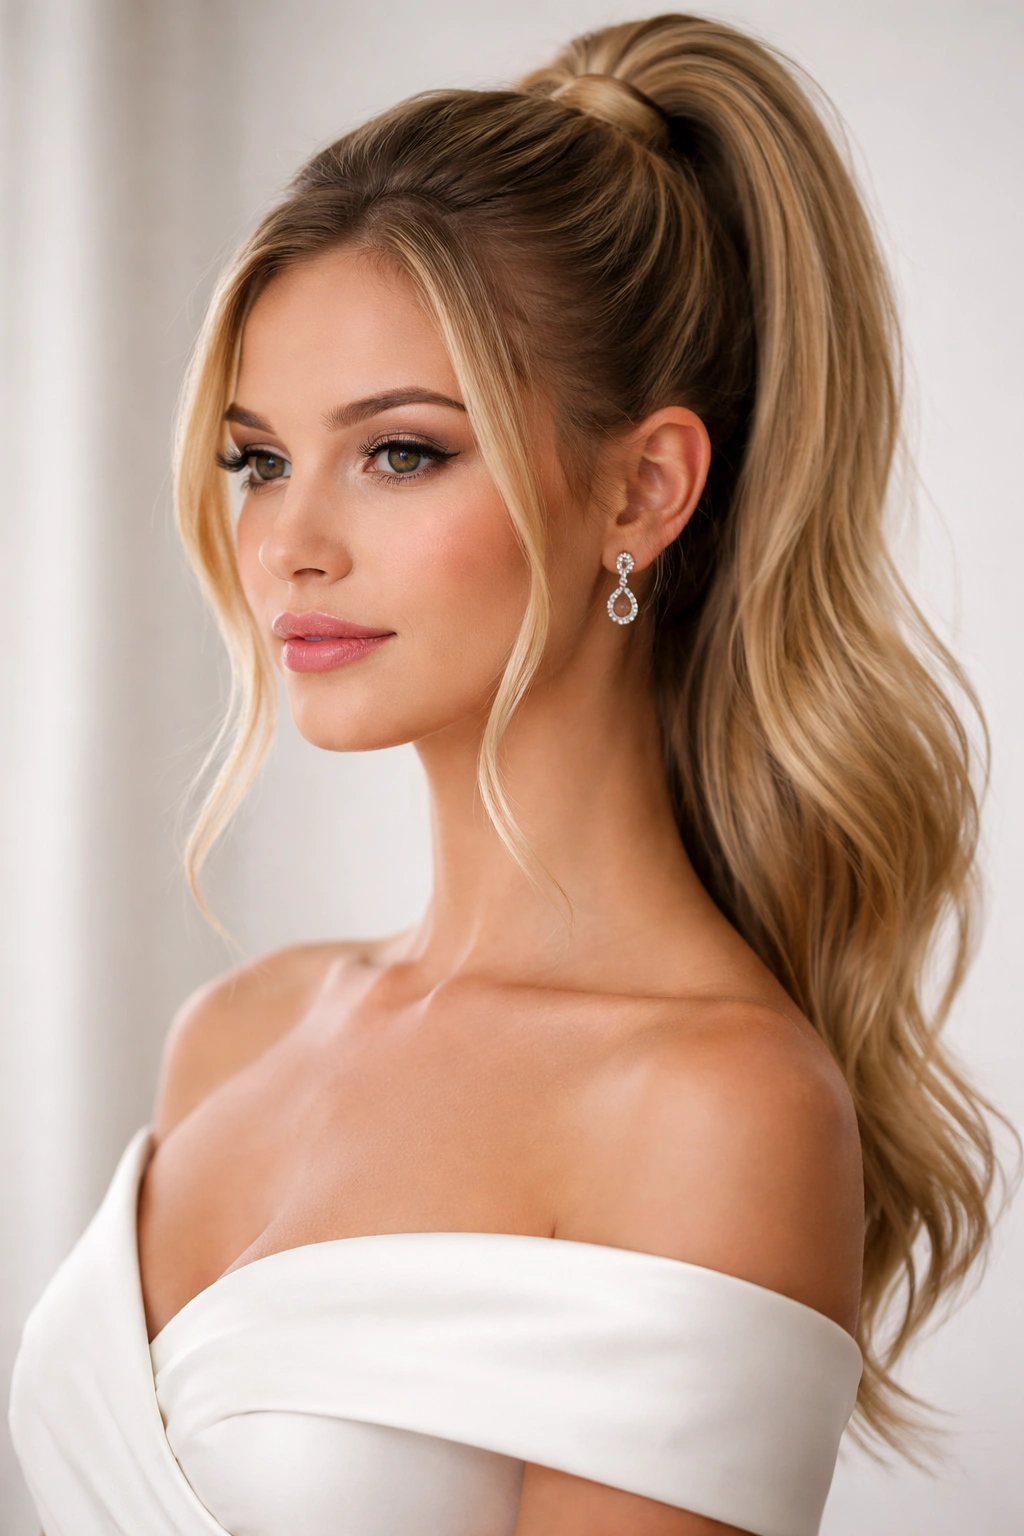
This variation softens the severity of a pulled-back style while maintaining the clean, formal elegance that formal events demand. Strategic face-framing pieces create a more flattering silhouette and add a touch of romantic softness.
Choosing Which Strands to Frame
The most flattering face-framing pieces typically start about one to two inches back from your hairline, roughly at temple height on each side. These sections should be thin enough that they feel delicate but substantial enough to actually frame your face — a single wisp gets lost. The ideal width is about the thickness of your thumb when gathered together.
The Styling Sequence
- Before gathering your ponytail, gently pull out thin sections from each temple area, smoothing them away from your face but leaving them separate from the rest of your hair
- Gather the remaining hair into your high ponytail, secure it completely, and style it as desired
- Return to your face-framing strands and either leave them straight for a modern, clean look, or lightly wave them using a curling iron for a softer effect
- If you want the face-framing pieces to stay consistently wavy, wrap each section around the barrel of a 1-inch curling iron for 15-20 seconds, then gently release and allow to cool
- Direct the waves away from your face slightly using the shape of the curl to create flattering movement
- Finish with a light hairspray to set the waves without making them stiff
Face-framing strands work beautifully with classic makeup and allow your features to be the focal point rather than the hairstyle. This style is particularly flattering for angular face shapes, as the softness of the framing pieces balances strong jawlines and cheekbones. For rounded face shapes, slightly longer face-framing pieces that extend to the collarbone create the most flattering proportions.
5. The Braided High Ponytail
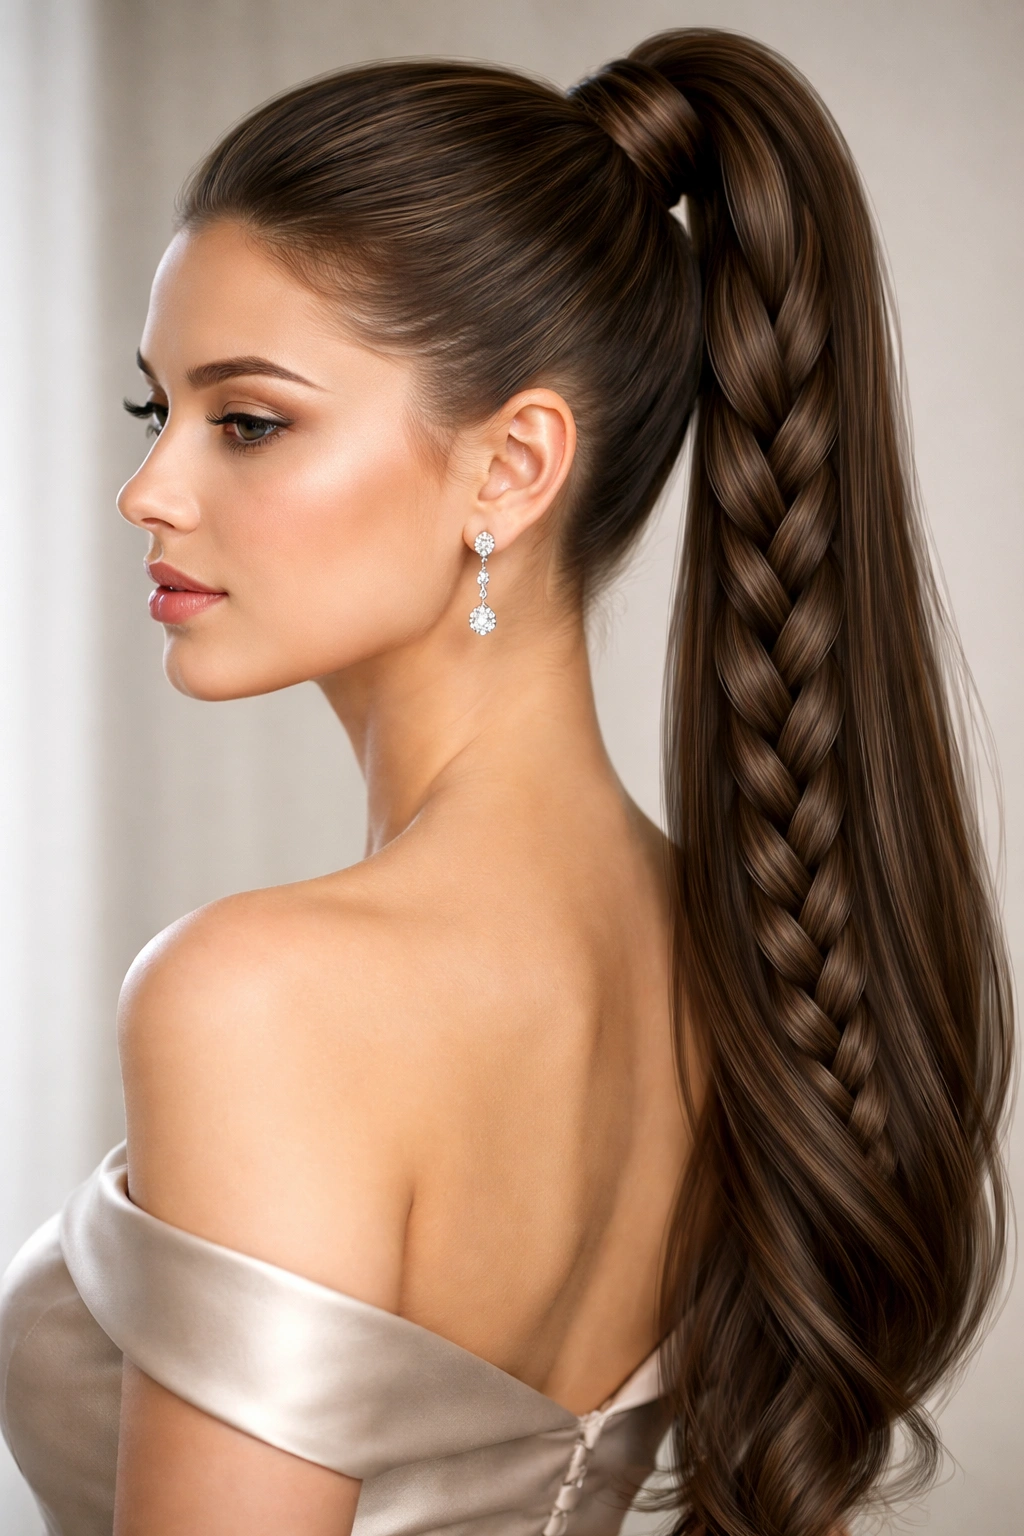
Incorporating a braid elevates a ponytail from simple to sophisticated instantly. Whether it’s a single braid running down the length of the ponytail or multiple braids woven together, this approach adds texture and visual interest while maintaining the formal elegance appropriate for any dressy occasion.
Braid Options for Different Statements
A single dutch braid or french braid running down the center of the ponytail length creates a sleek, structured look that photographs beautifully. This works best with straight to slightly wavy hair and reads as very put-together and intentional. A fishtail braid creates a softer, more romantic effect — the wider braid at the bottom of the ponytail creates beautiful dimension and pairs well with loose waves. Multiple thin braids woven through the ponytail (typically three or four braids) create a more intricate, jewel-like appearance that’s perfect for black-tie events.
How to Execute Each Approach
For a single braid down the ponytail:
- Style your ponytail as normal and secure it completely
- Starting at the base of the ponytail, divide the length into three sections
- Perform your chosen braid technique (french, dutch, fishtail, or standard three-strand) working downward to the very ends
- Use small elastics to secure the bottom, or hide the elastic with a wrapped strand
- Gently tease the braid slightly for texture and softness
For multiple braids woven throughout:
- Secure your ponytail, then divide it into 3-4 equal vertical sections
- Braid each section individually using a three-strand braid
- Leave the braids in place or gently twist them around each other for a more intricate effect
- Secure the ends with tiny clear elastics that nearly disappear
Braided ponytails photograph exceptionally well and the texture prevents the style from looking flat or severe. The braid also anchors flyaways, so your style stays pristine through hours of movement and dancing.
6. The High Ponytail with Structured Volume
This style creates architectural volume that reads as intentional and editorial rather than accidentally puffed-up. The key difference from basic volume is the structured shaping and the way the hair is directed to create a specific silhouette.
Creating Volume With Purpose and Direction
The secret is understanding that volume needs structure to look elegant rather than chaotic. Start by blow-drying your hair in sections, always directing the blow dryer upward and backward to encourage volume at the crown. Tease only the sections that will sit at the crown of the ponytail — the sides and lower back section should remain smooth for a refined appearance.
Building the Architecture
- Divide your hair into sections: a crown section, two side sections, and a lower back section
- Blow dry each section separately, with the crown and back upper sections directed upward for maximum lift
- Tease only the crown and upper-back sections using controlled backcombing
- Smooth the surface layer of teased sections with a boar bristle brush
- Gather all hair into your high ponytail, but position it slightly forward (toward your crown) rather than at the very back of your head — this creates the illusion of more height
- The front hairline should be completely smooth and polished, with all the volume sitting at the crown and upper ponytail
This structured approach to volume looks far more intentional and polished than random texture. It’s particularly effective for formal events because it maintains a clean aesthetic while delivering impact. The volume reads as sophisticated styling rather than as if you simply created frizz.
7. The Twisted High Ponytail
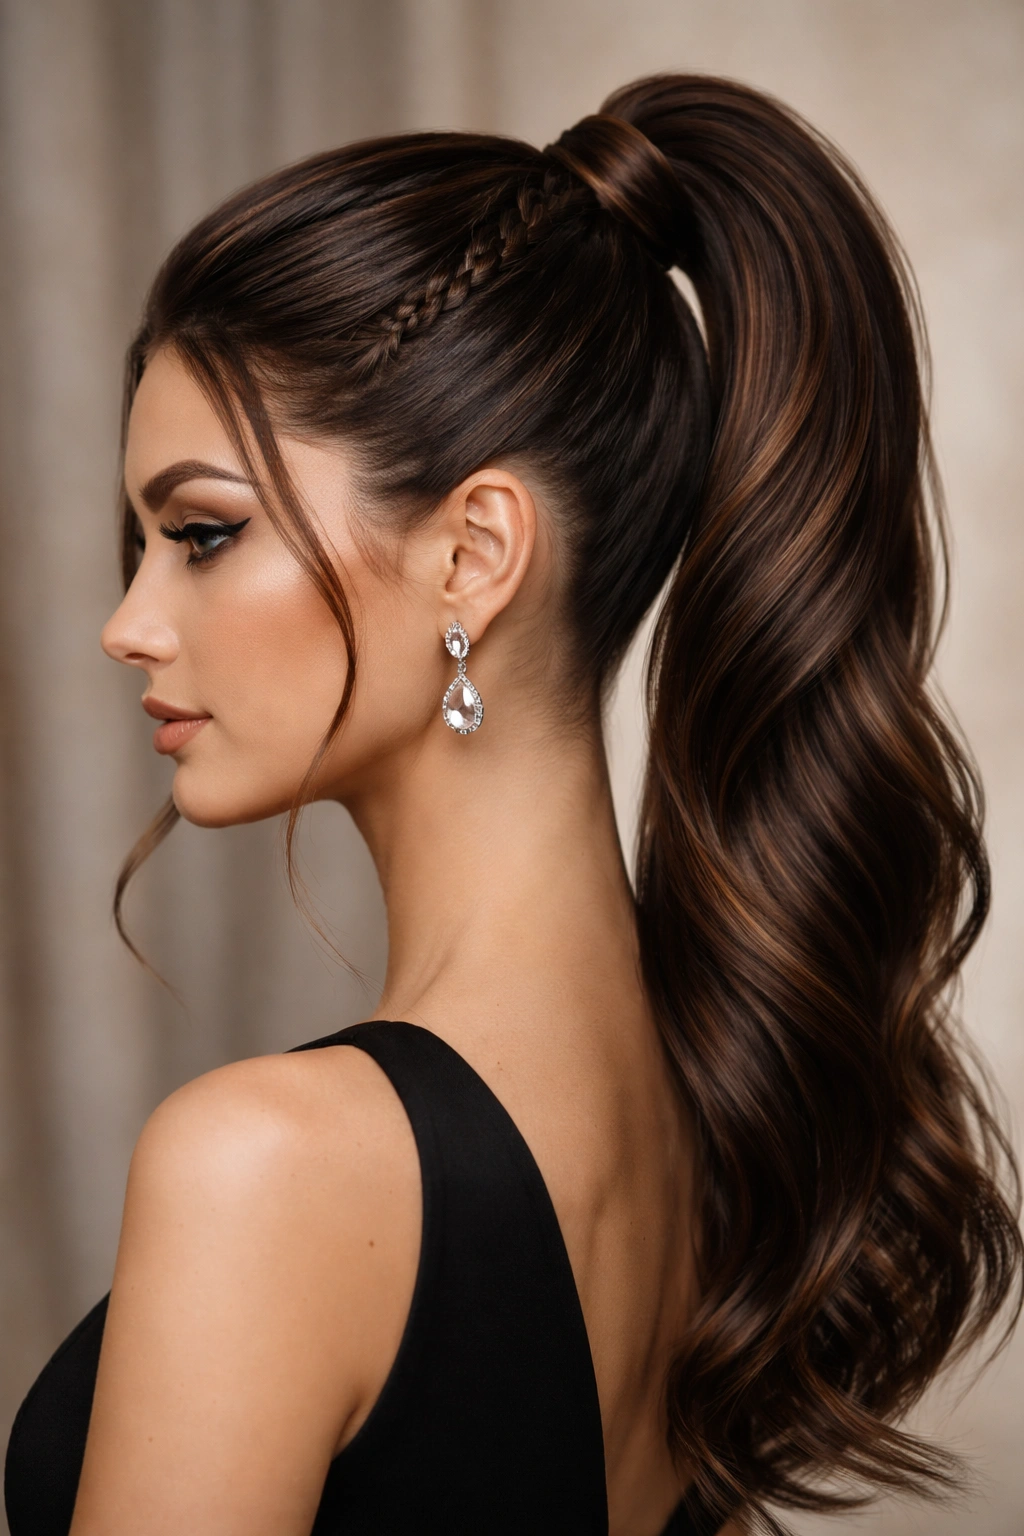
Twists are an elegant alternative to braids and create a different texture that’s equally sophisticated. A twisted ponytail has a spiral quality that’s more subtle than a braid but more interesting than completely straight hair.
The Mechanics of Beautiful Twists
A two-strand twist is created by taking two sections of hair and wrapping them around each other, creating a rope-like spiral. This works beautifully as a way to gather your hair into a ponytail, or as a texture running through the length of the ponytail itself. The key to elegant twists is tension — the twist should feel secure without being painfully tight, and the tension should be consistent from top to bottom.
Creating Multiple Twist Detail
- Take two thin vertical sections from the front of your hair on each side, roughly at temple height
- Twist each section consistently, wrapping the back section over the front section in a spiral motion
- Direct each completed twist backward and pin into your gathered ponytail, creating a frame around your face
- Gather the remaining hair into your high ponytail and secure it
- Optional: create additional twists by dividing the ponytail into 2-3 sections and twisting each one, then positioning them to create dimension
The beauty of twists is that they’re forgiving — slightly imperfect tension actually creates a more romantic, intentional appearance than mathematically perfect precision. Twisted ponytails pair well with soft waves running through the length and minimal jewelry, allowing the texture of the hair to be the focal point.
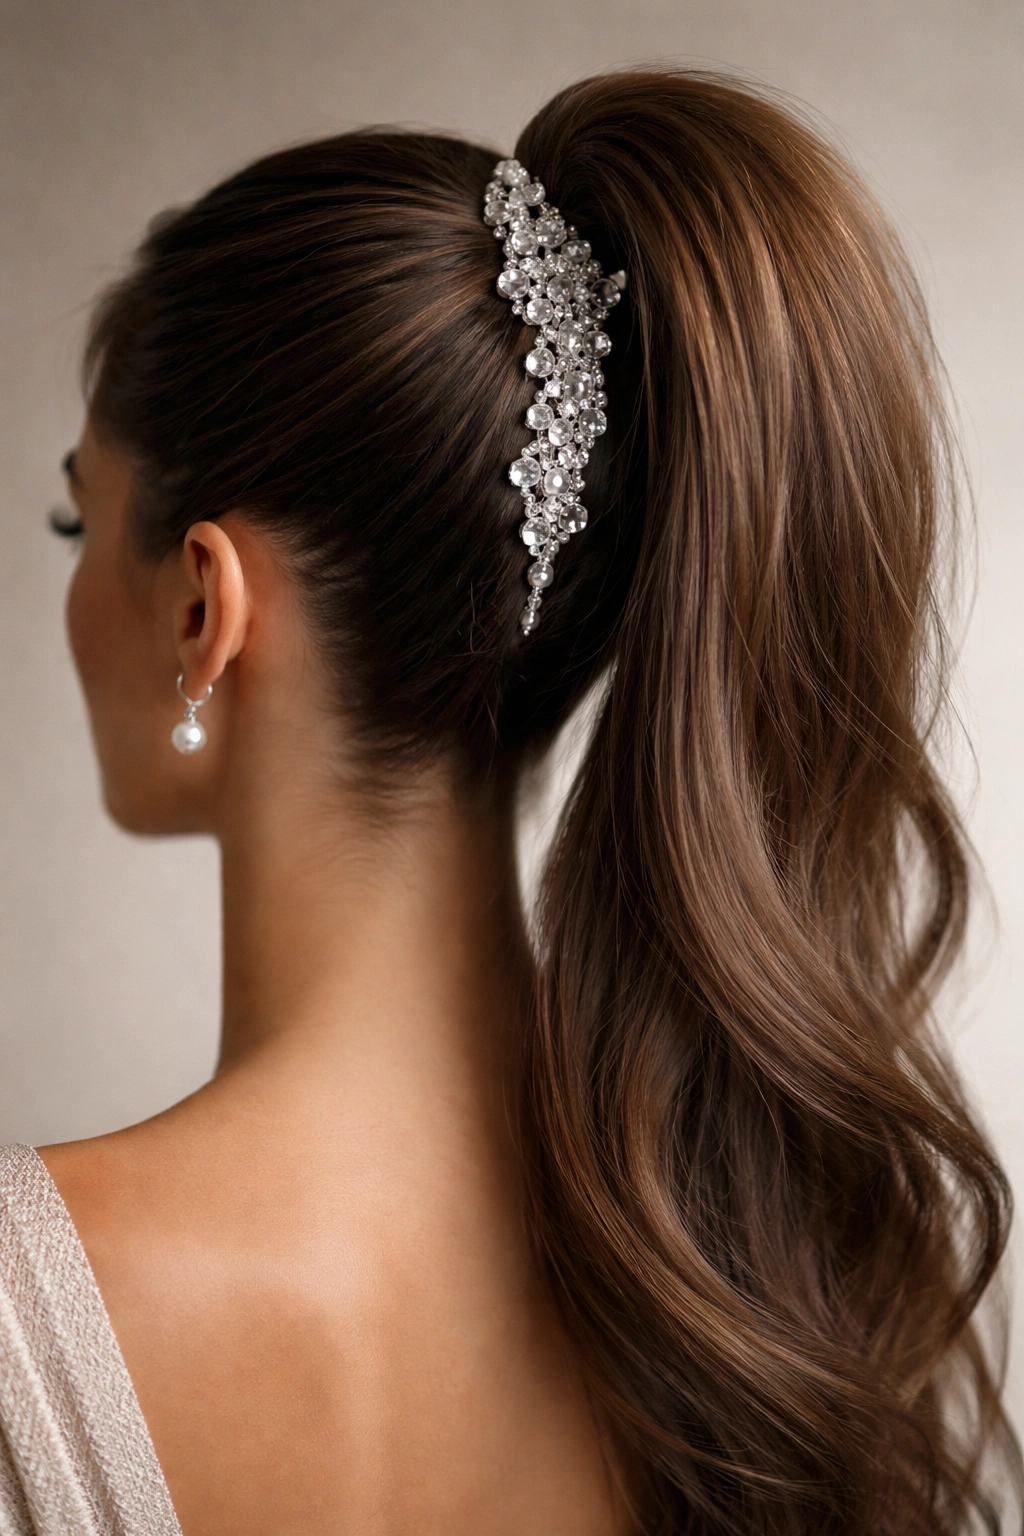
8. The High Ponytail with Pearl or Crystal Accessories
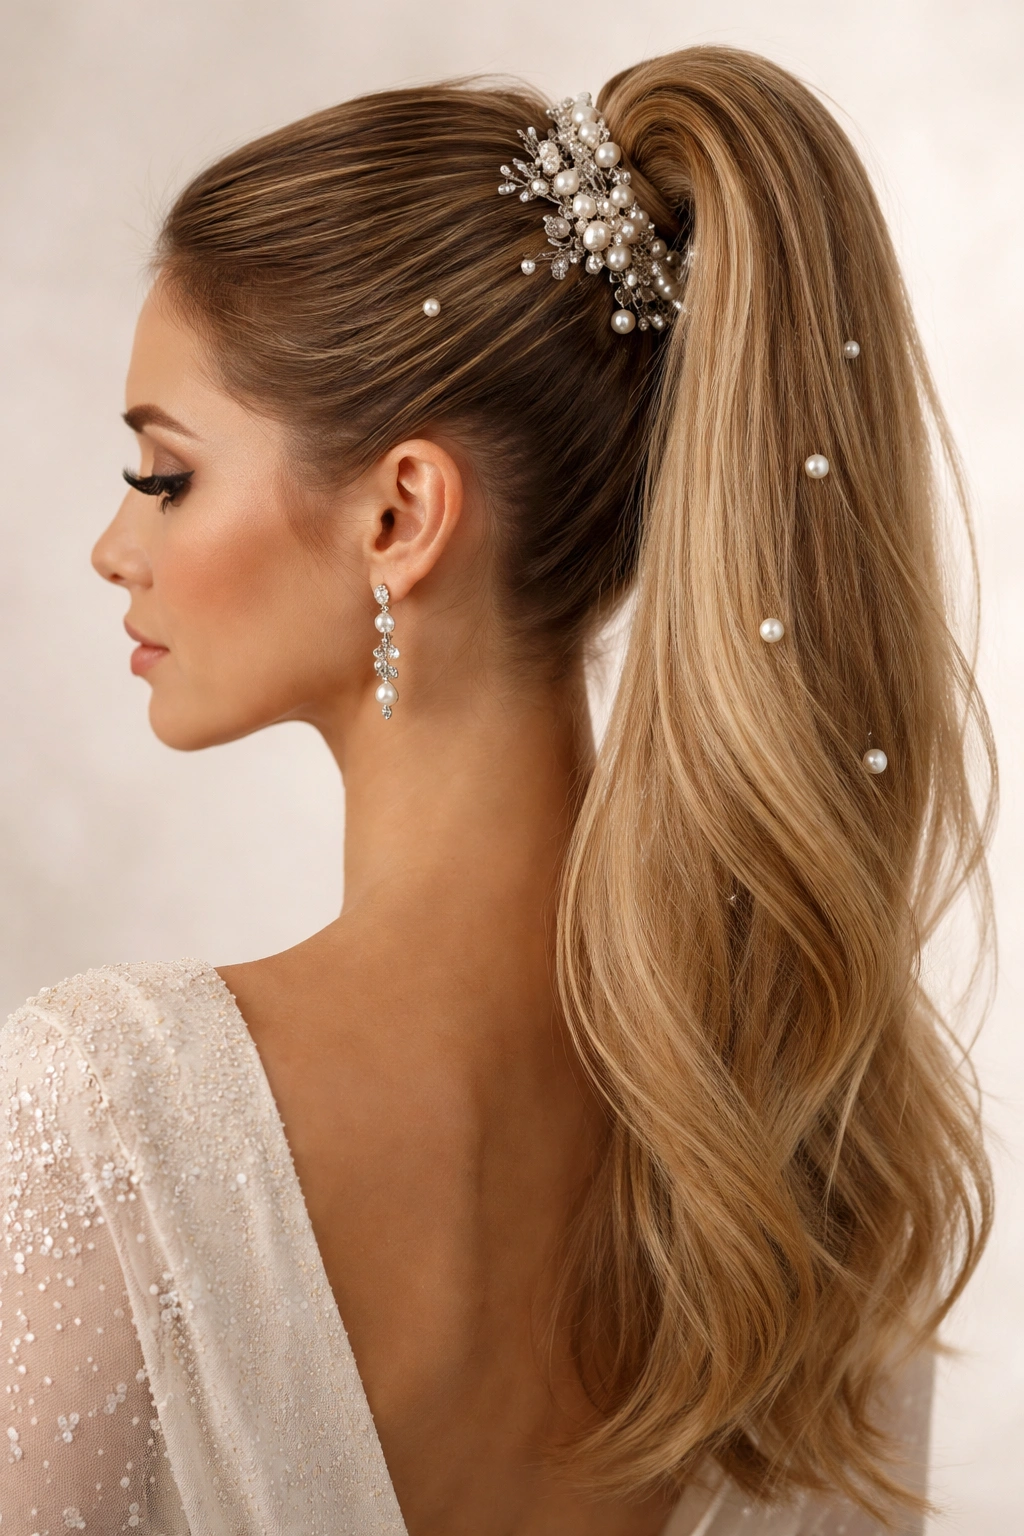
Strategic hair accessories transform a basic high ponytail into a statement piece. Pearls, crystals, and metallic elements catch light beautifully in photographs and at formal events, adding dimension and luxury to your overall look.
Choosing Accessories That Actually Enhance Your Style
The key is restraint and intentional placement. A single statement hair comb positioned at the base of your ponytail creates visual interest without looking overdone. Pearl-encrusted bobby pins scattered throughout the back of your ponytail (where they’re visible when you turn your head) add subtle luxury. A decorative hair cuff or sleeve that wraps around the elastic creates a polished, jewelry-like effect.
Strategic Placement Techniques
- For a hair comb: position it horizontally at the base of your wrapped ponytail, securing it with bobby pins underneath the wrap
- For scattered pins: insert pearl or crystal bobby pins throughout the back section of your ponytail, spacing them approximately one inch apart for a cohesive look
- For a hair cuff: slide it over your elastic after you’ve wrapped the base, ensuring it sits flush against the wrapped strand
- For a decorative elastic: replace your regular elastic with one embedded with crystals or pearls, allowing it to be the focal point
The most elegant approach uses accessories in colors that complement your dress and skin tone. Gold or champagne-toned crystals work beautifully with warm undertones and most skin colors. Silver or crystal-clear stones work well with cool undertones. Pearls are universally flattering and read as exceptionally formal and classic.
9. The Curved High Ponytail with Texture
This style uses careful shaping and strategic curl placement to create a ponytail that curves gently rather than hanging straight. The curved effect is incredibly flattering and adds movement and dimension.
Creating the Curve Through Technique
The curve is achieved through a combination of where you position the ponytail and how you style the length. Position your ponytail slightly off-center, toward one side. Curl the ponytail length using a 1.5-inch curling iron, wrapping sections around the barrel and curling away from the center of your body. This creates a curve that follows the natural line of your shoulder.
Step-by-Step Shaping
- Create a smooth, voluminous base at your crown using teasing and backcombing
- Gather your ponytail and position it slightly to one side rather than dead center
- Secure your ponytail completely with two small elastics rather than one — position them about one inch apart, which creates additional lift and prevents the ponytail from looking limp
- Using a 1.5-inch curling iron, take 1-inch sections of the ponytail and wrap them around the barrel, holding for 15-20 seconds
- Curl each section in the same direction (toward the outside, away from center), creating a consistent curve
- Allow curls to cool slightly before gently running your fingers through them to separate and soften them
- Finish with a flexible-hold hairspray
The curved effect is particularly flattering for oval and rectangular face shapes, as it softens the overall silhouette. The movement also photographs beautifully, creating dimension in images that flat ponytails cannot achieve.
10. The Side-Swept High Ponytail
This style creates the illusion of movement and asymmetry while maintaining the security and formality of a high ponytail. It’s perfect for events where you want to look both polished and distinctly styled.
The Positioning That Creates the Sweep
A side-swept high ponytail is positioned at the crown but slightly off-center, typically toward one side. The ponytail itself can hang straight, or it can incorporate waves or curls. The “sweep” refers to the way the hair on the opposite side (the side without the ponytail) is smoothly brushed backward and incorporated into the updo, creating a sense of directional movement.
How to Build the Sweep
- Blow dry your hair with a deep side part, directing all hair backward and to one side
- Tease your crown lightly for volume
- Gather your hair into a ponytail positioned slightly off-center, toward your dominant side
- Take the longer section from the opposite side and smooth it backward, securing it with bobby pins hidden beneath the ponytail base
- Wrap your ponytail base and style the length as desired — straight, wavy, or curled
- The overall effect should be smooth on top with the hair directionally swept, and then the ponytail hanging freely below
This style is particularly flattering for round or square face shapes, as the directional sweep creates height and elongates the face. It’s also exceptionally photogenic, as the asymmetry creates visual interest.
11. The High Ponytail with Embedded Headpiece
A delicate headpiece or hair jewelry woven into your ponytail creates an utterly polished, editorial appearance. This approach is particularly effective for black-tie events, galas, and formal celebrations.
Types of Headpieces That Elevate Formal Ponytails
A thin, decorative hair vine with crystals or pearls woven through the ponytail creates a crown-like effect. A delicate chain with hanging crystals attached to your ponytail wrap catches light beautifully. A sculptural hair comb positioned at the ponytail base becomes jewelry rather than just a functional element. Hair flowers — whether silk, fresh (if the event is brief), or high-quality artificial — add romance and texture.
Securing Headpieces Properly
- If using a hair vine: create your ponytail completely, then loosely wrap the vine around the ponytail, starting at the base and spiraling downward, securing every few inches with bobby pins
- If using a hanging chain or crystal element: position it at the ponytail wrap and secure with bobby pins on both sides, ensuring it hangs centered
- If using a hair comb: position it horizontally at the base of the ponytail with the decorative portion facing downward, securing it firmly with multiple bobby pins
- If using hair flowers: position them at the ponytail base and throughout the length, securing each with bobby pins and hiding all pins beneath flowers or within the ponytail
The key is ensuring everything is genuinely secure. You don’t want a headpiece shifting or falling during your event. This means using more bobby pins than feel necessary, and testing the security by gently tugging on the piece before you leave your home.
12. The Romantic Curled High Ponytail
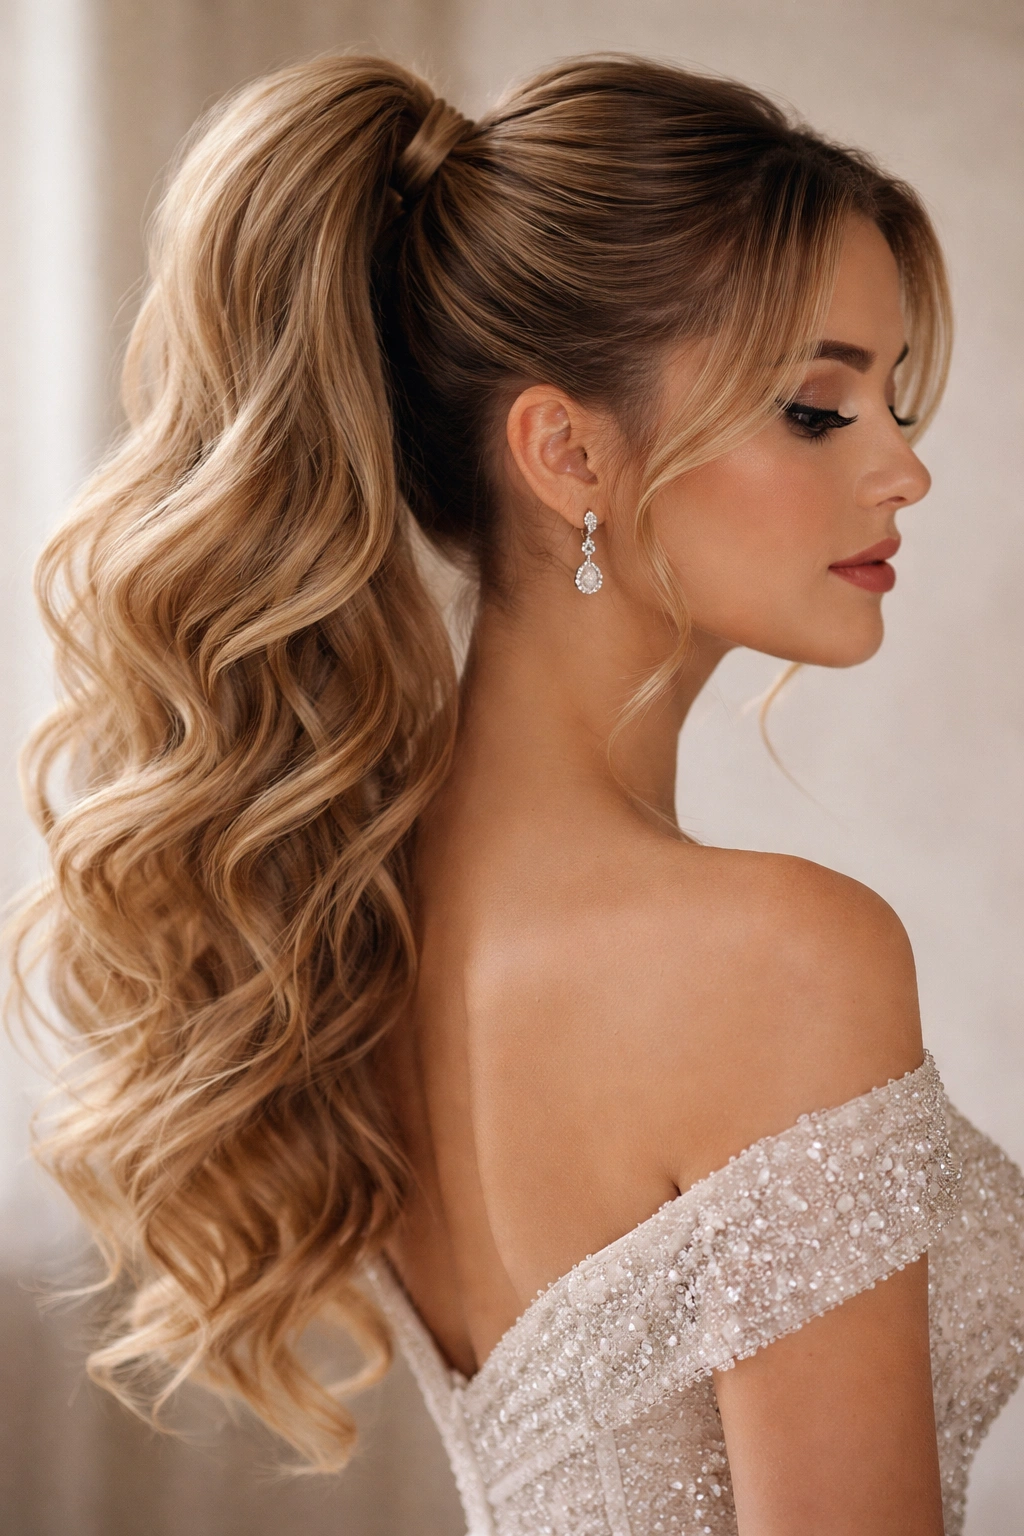
This style combines the formality of a high ponytail with the softness of romantic curls, creating an approach that’s both polished and feminine. It’s perfect for weddings, galas, and formal events where you want to balance sophistication with romanticism.
Creating Curls That Last All Event Long
The key to curls that hold for hours is preparation and products. Start with a good texturizing spray or mousse applied to damp hair before blow drying — this gives your hair something to grip and prevents curls from falling flat. Blow dry your hair completely straight and smooth first, which might seem counterintuitive, but this allows your curls to have a clean base and prevents frizz.
The Curling Method That Works Best
- Apply a light texturizing spray or volumizing mousse to damp hair
- Blow dry your hair completely straight
- Create your high ponytail and secure it tightly
- Using a 1.25-inch curling iron, take 1-inch sections of the ponytail and curl them, wrapping from the middle of the section to the ends (leaving the top inch uncurled gives a softer appearance than curling all the way to the base)
- Curl each section in a consistent direction for 15-20 seconds, then release and allow to cool
- Once all sections are curled and cooled, gently run your fingers through the curls to separate and soften them
- Finish with a flexible-hold hairspray — avoid heavy-hold sprays, which make curls feel stiff and crispy
The romantic curled ponytail works beautifully with a wrapped or decorated ponytail base, minimal jewelry (let the hair be the focal point), and either soft makeup or bold lips. The movement of the curls photographs beautifully and creates an appearance that’s entirely appropriate for formal events while feeling distinctly personal and styled.
Final Thoughts
A high ponytail for a formal event is far more than just a practical way to manage your hair. It’s a styling choice that says something about how you approach your appearance — whether you prioritize polish, creativity, romance, or drama. The variations available mean you can create a style that feels authentically like you while still meeting the expectations of the occasion.
The most effective formal ponytails share common threads: they’re intentionally constructed with attention to detail, they’re incredibly secure (nothing is worse than spending your evening adjusting your hair), and they incorporate at least one element of refinement — whether that’s a wrapped base, face-framing pieces, textured waves, or strategic accessories. These details are what elevate a ponytail from something you might throw together on a regular day into something worthy of a formal event.
The best approach is to practice your chosen style before the actual event. Spend time getting the tension right, understanding how the style photographs, and identifying any pins or products you might need to touch up throughout the evening. With the right preparation and technique, any of these twelve styles will have you feeling confident, polished, and genuinely beautiful from the moment you arrive at your formal event.