A mid-height ponytail sits at that sweet spot where your hair hits somewhere between your chin and shoulder level—and it’s genuinely the most flattering length for nearly every face shape and hair texture. It’s not as severe as a high, tight pony, and it’s not as casual as a low one. This position creates natural balance and proportion that works whether you’re heading to the gym, the office, or a night out. The best part? Mid-height ponytails can be styled in dozens of different ways, each with its own vibe and level of effort.
What makes the mid-ponytail so versatile is that it’s all about the details. The same hair length can go from polished and sleek to textured and undone, from simple and practical to ornate and eye-catching. You can add volume at the crown, weave in braids, leave face-framing pieces loose, or twist sections for dimension. Each variation changes how the style reads—and most of them take under ten minutes once you know the technique.
We’ve all stood in front of the mirror trying to figure out which ponytail style will actually work with our face shape, hair type, and outfit. The ones that work best tend to be the ones that feel effortlessly put-together rather than overly contrived. A mid-height ponytail gives you that exact quality: it looks intentional without looking like you spent an hour perfecting it. It’s the kind of style that photographs well, stays put through movement, and makes you feel more polished than you actually are.
If you’re ready to upgrade from your standard ponytail routine, these ten styles show you exactly how to work with that mid-height placement to create something genuinely flattering.
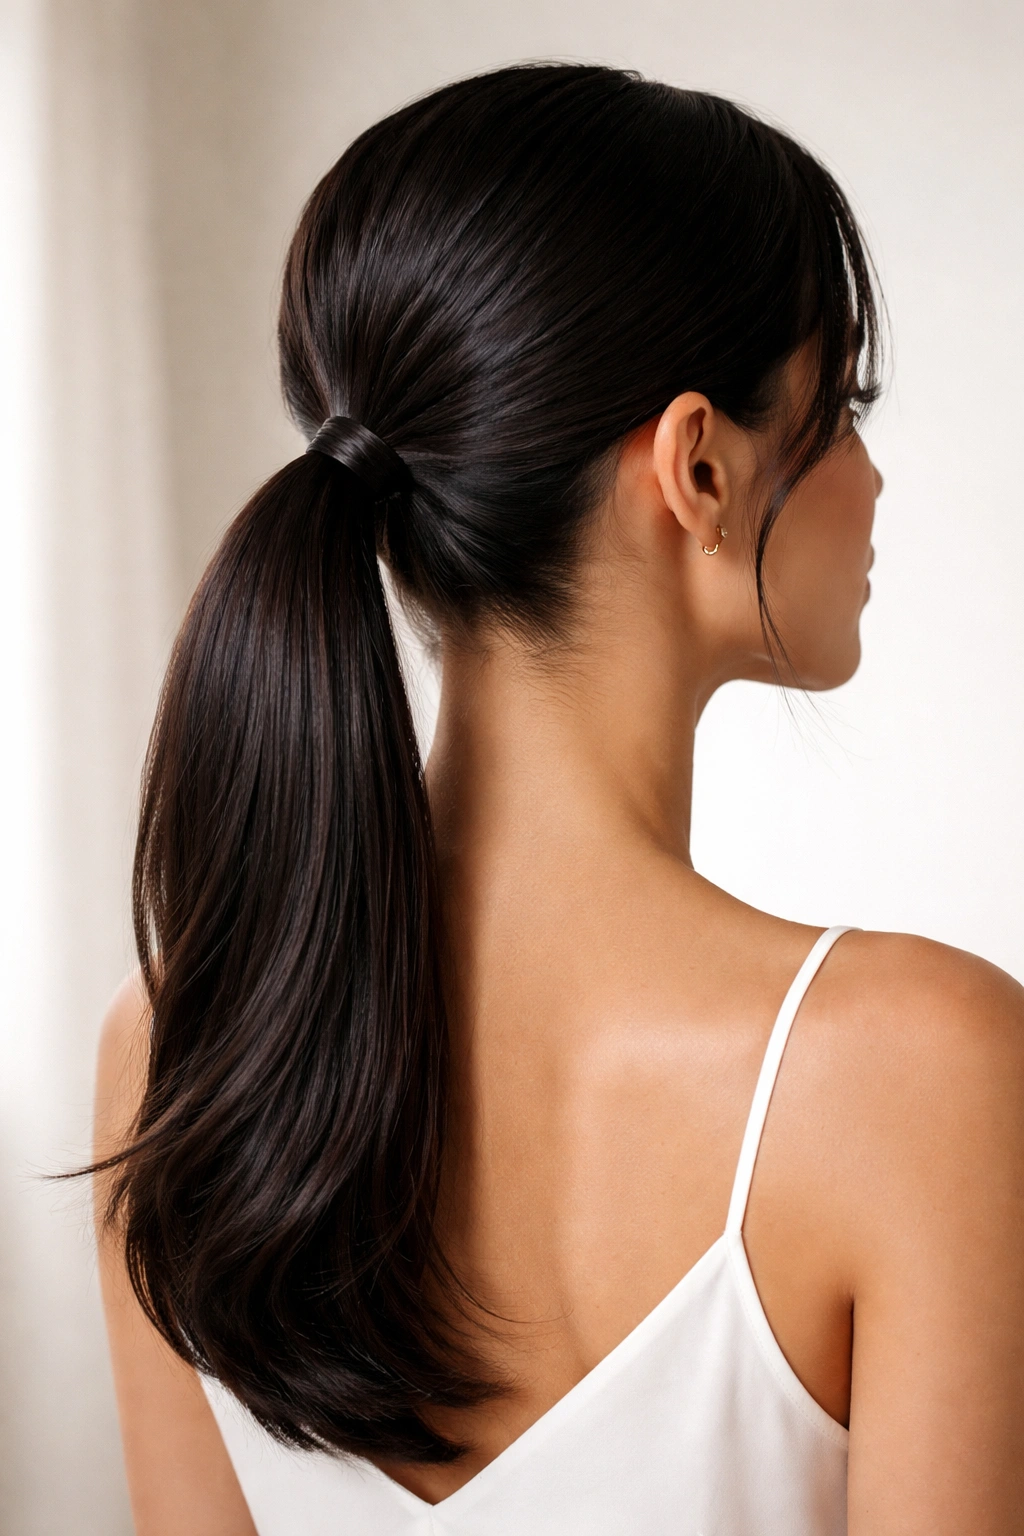
1. The Classic Mid-Length Sleek Ponytail
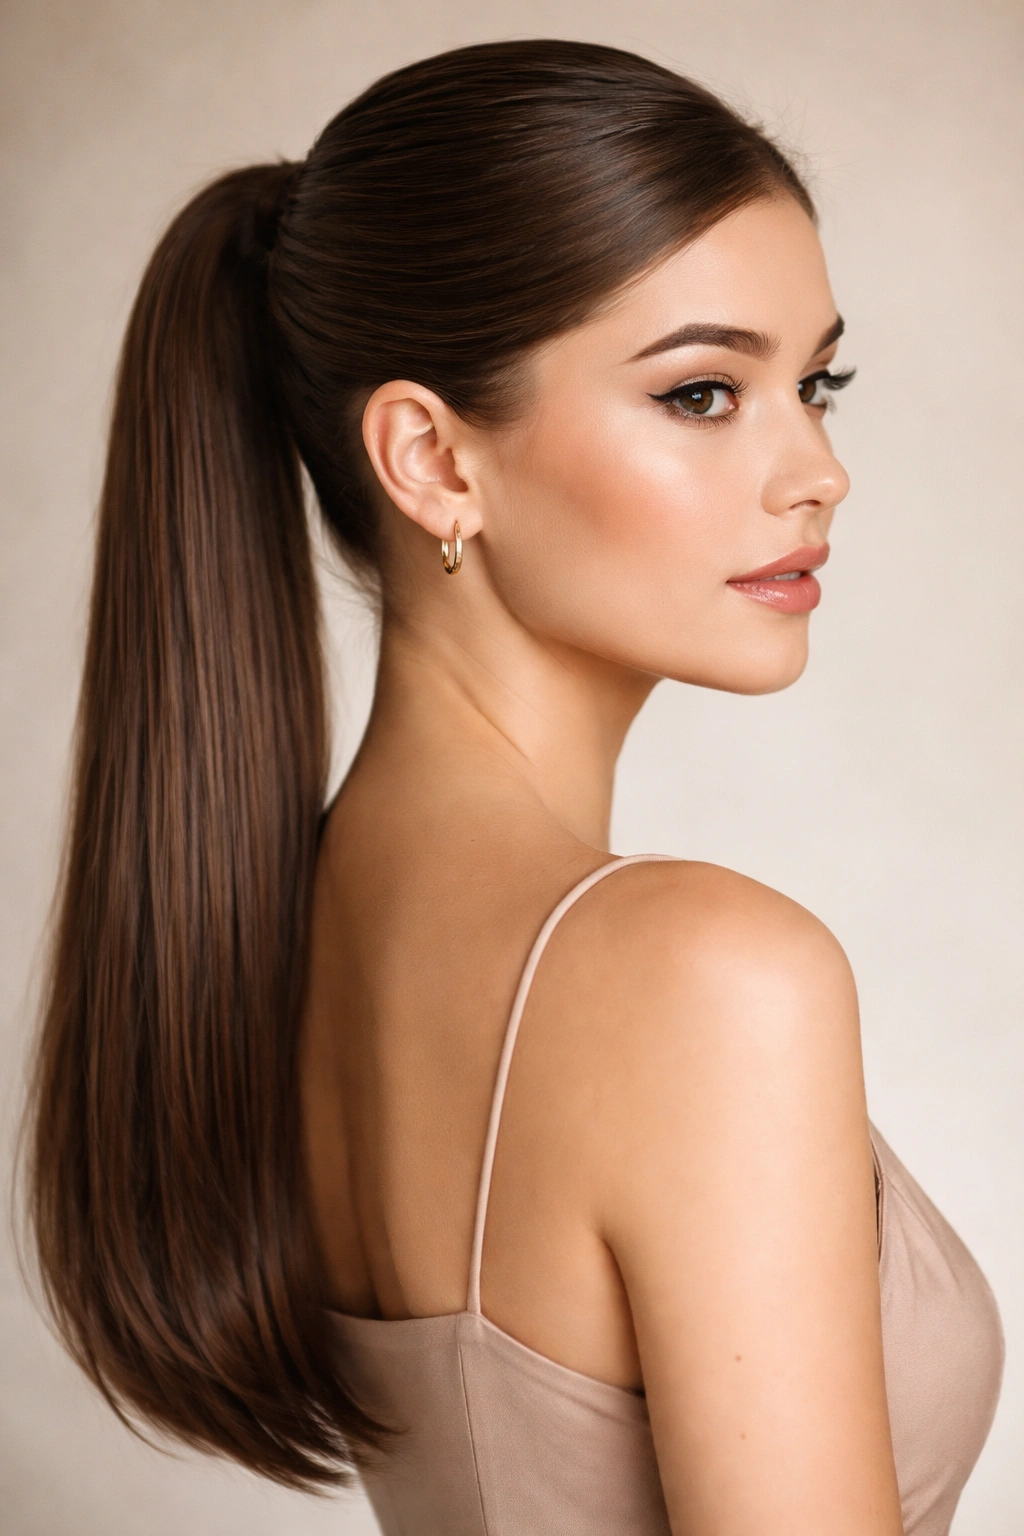
This is the style that works every single time—smooth, polished, and timelessly elegant. A sleek mid-pony shows off your cheekbones and the nape of your neck without the severity of a high, tight version. The key is starting with the right preparation so your hair actually looks as smooth as it feels.
Why This Style Works Best
A sleek ponytail done right looks effortlessly expensive. The smoothness draws attention to your face shape rather than overwhelming it with height, and the mid-placement sits perfectly between casual and polished. This style works especially well if you have a longer face shape—the horizontal placement is balancing without adding unnecessary volume at the crown.
The Technique for True Smoothness
- Start with damp hair and apply a lightweight smoothing serum or anti-frizz cream, concentrating on the mid-lengths and ends
- Blow-dry your hair straight using a paddle brush, working in sections and keeping tension even throughout
- Once fully dry, use a fine-tooth comb to brush everything straight back—not to the crown, but to where you want the ponytail to actually sit
- Gather the hair at your mid-point (roughly where you’d place your finger horizontally from your ear), using a small mirror to check the side view
- Secure with a strong elastic, then take a thin section from the base of the ponytail and wrap it around the elastic to conceal it—pin the wrapped section with a bobby pin
- Run a thin-barrel curling iron over the entire ponytail to add subtle bend and prevent that flat, pulled look
Pro tip: A tiny spritz of liquid silicone spray on your hands before smoothing flyaways keeps everything in place without adding visible crunch.
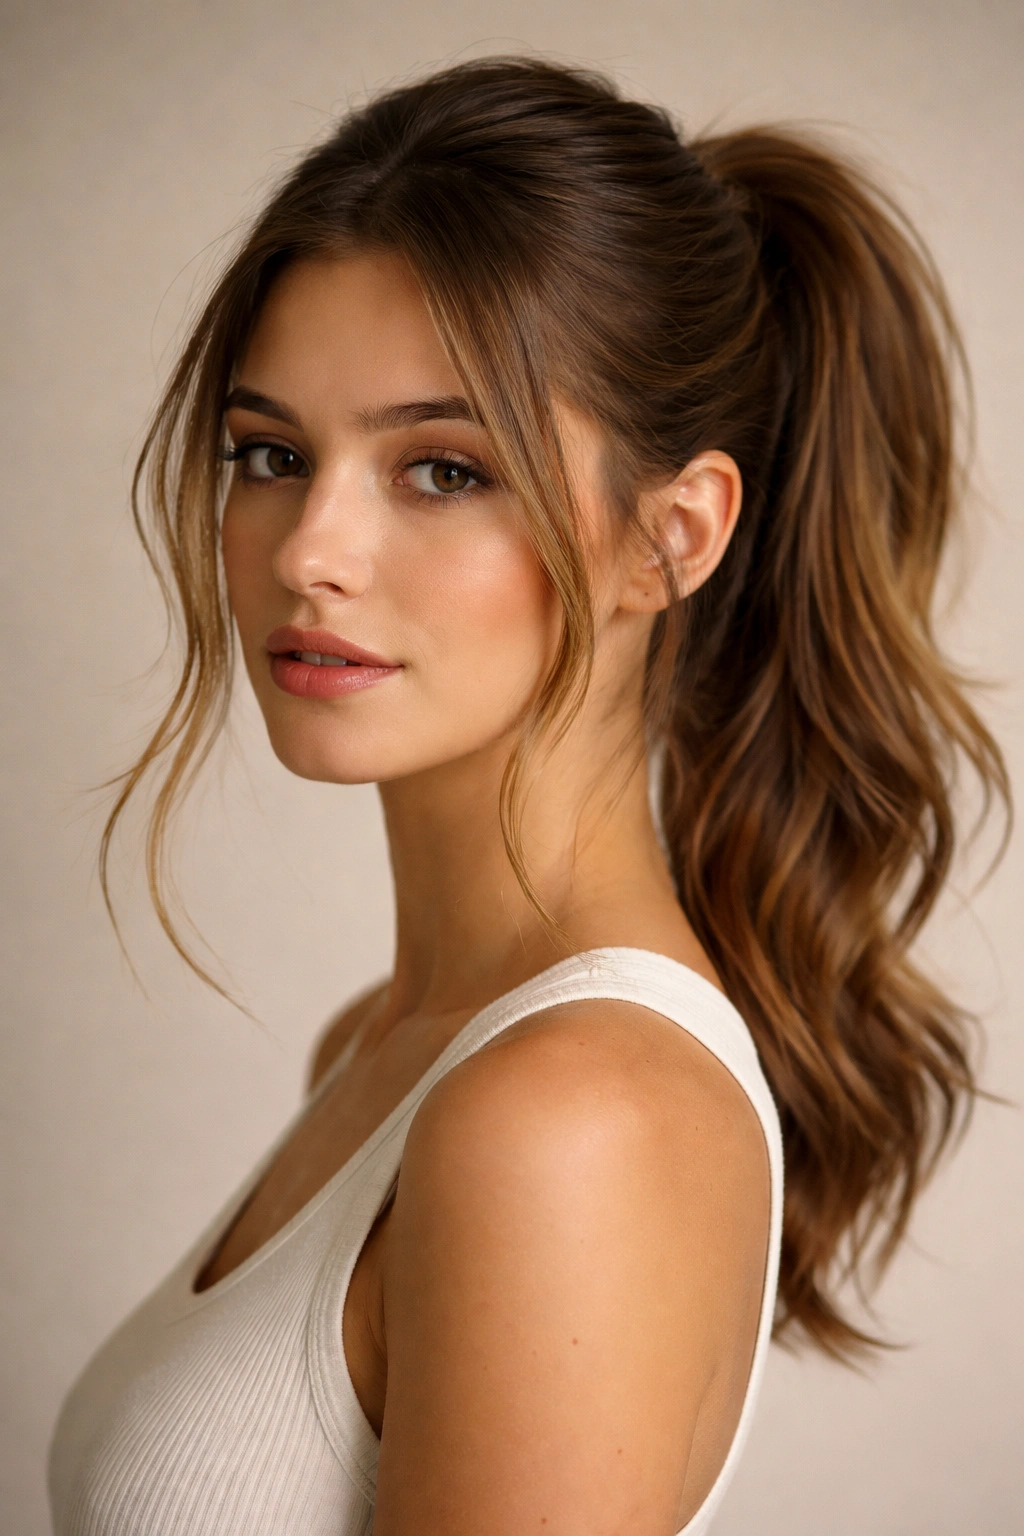
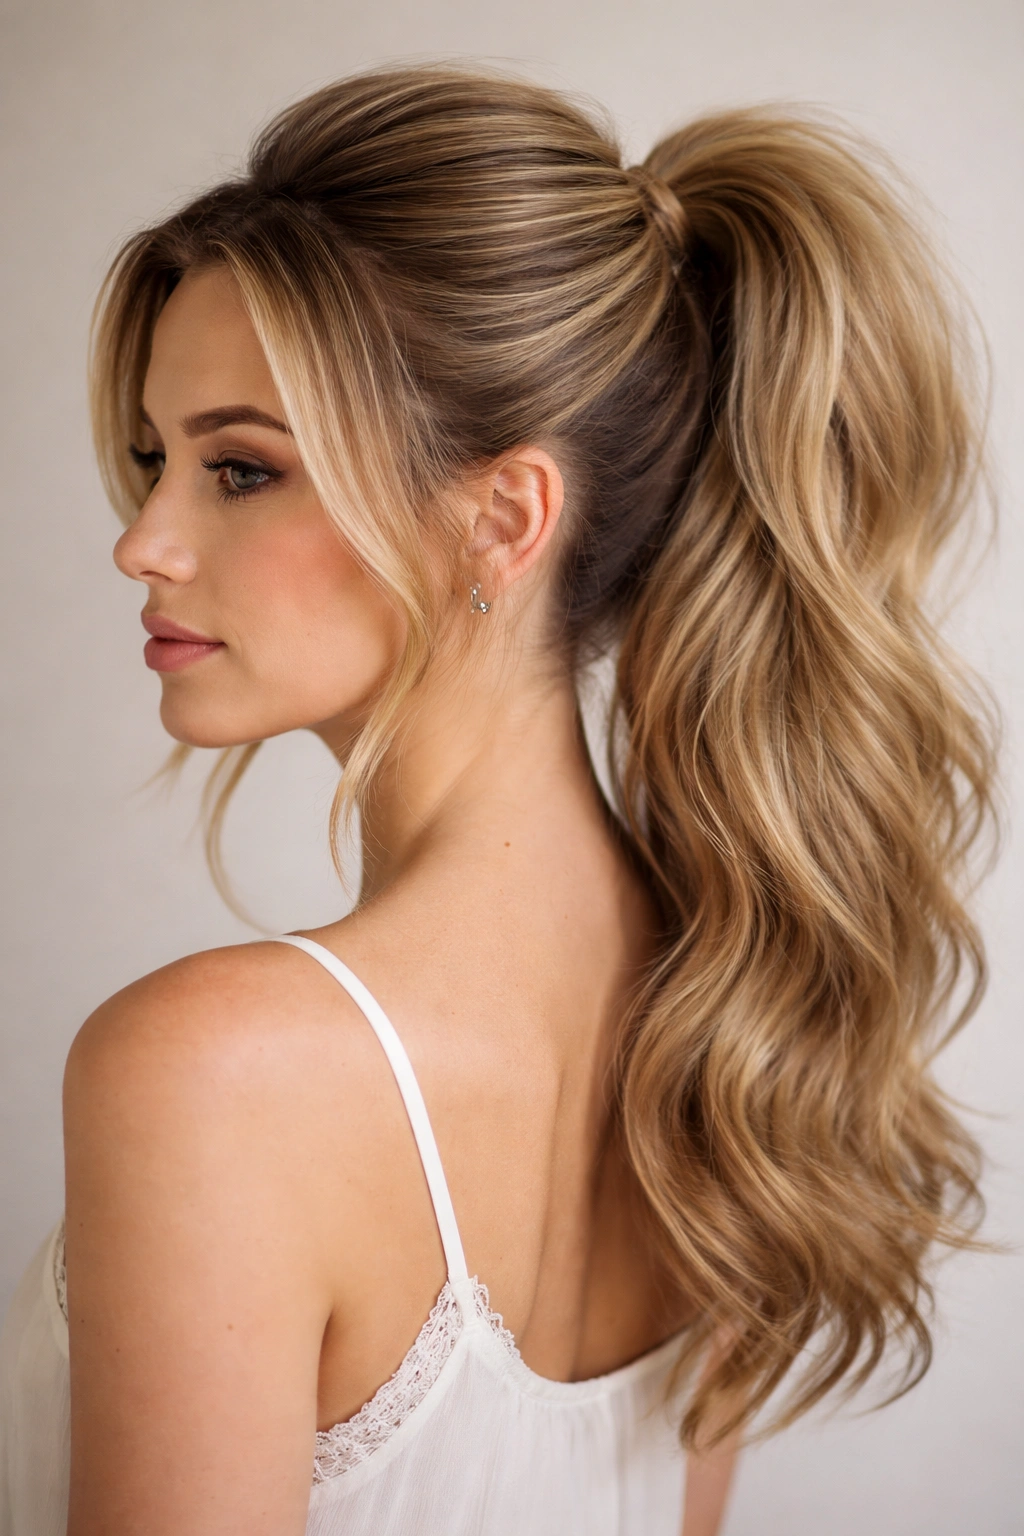
2. The Textured Mid-Pony with Undone Waves
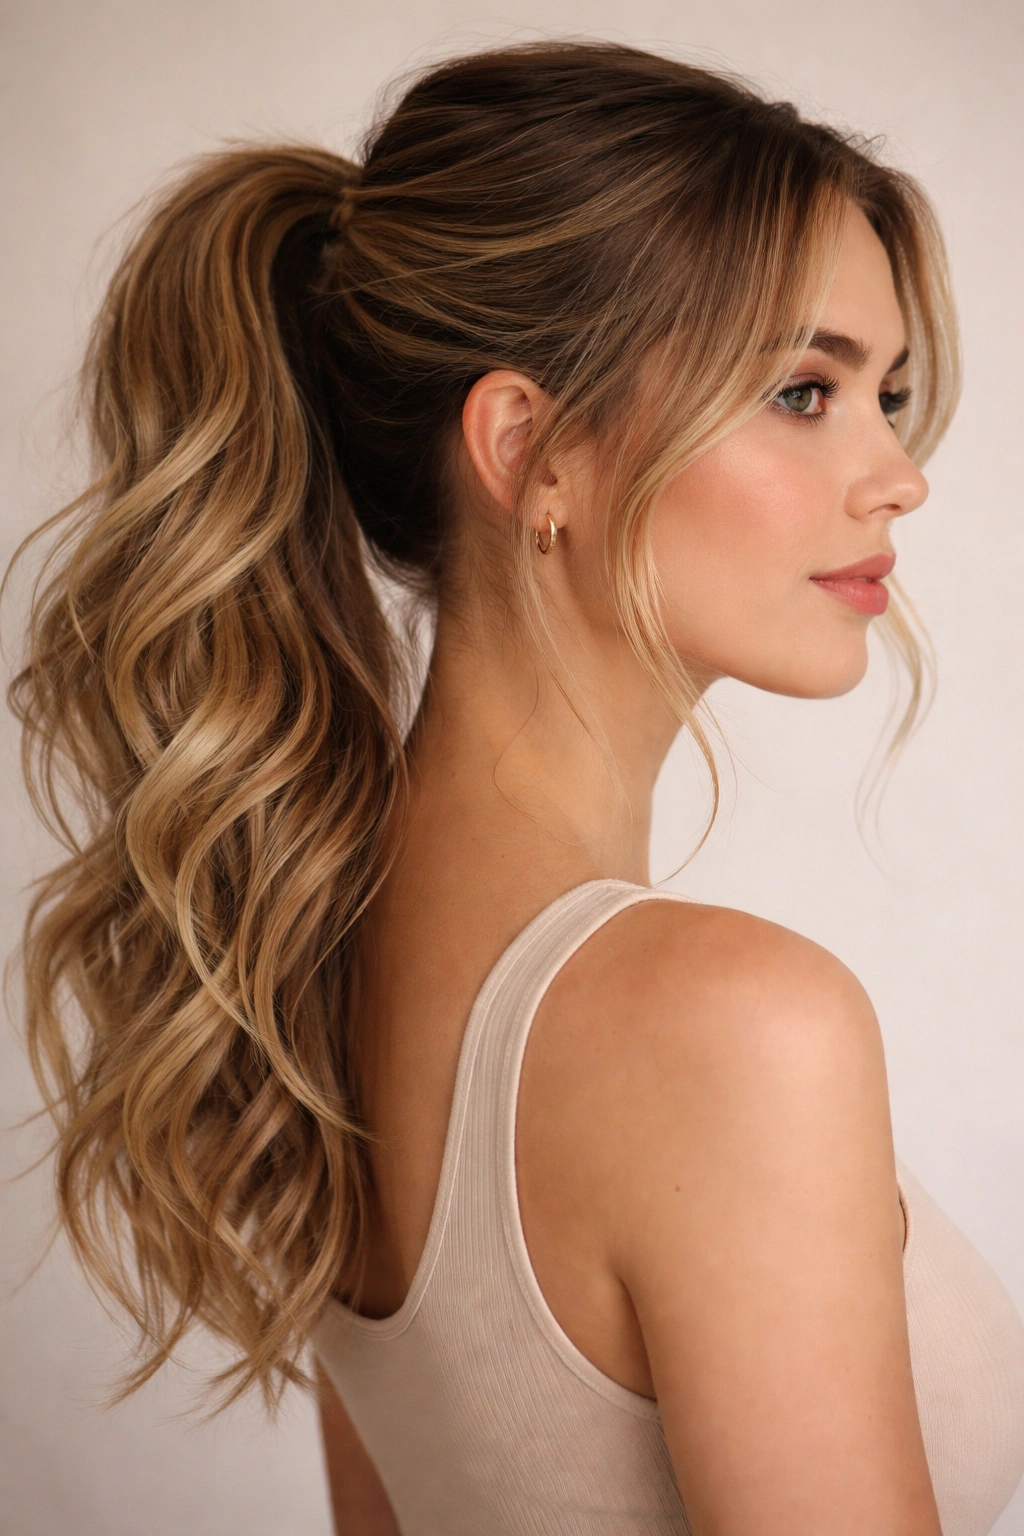
This is your go-to when you want to look effortlessly put-together without actually spending much effort. The waves add movement and softness that make the ponytail feel contemporary and intentional rather than like a last-resort hairstyle. The texture means loose strands and imperfection are actually part of the design.
What Makes Textured Ponytails Different
Waves soften the line of a mid-ponytail considerably. They catch light differently than straight hair, creating visual interest and texture that reads as deliberate styling. This style is particularly flattering if you have a round face—the looseness breaks up the softness around your cheeks, and the mid-height placement keeps everything balanced.
How to Create the Waves
- Apply a texturizing spray or sea salt spray to damp hair, scrunching it in as you work from roots to ends
- Divide your hair into three vertical sections and curl each one loosely with a 1.25-inch barrel curling iron, wrapping the hair away from your face
- Let curls cool completely before touching them—this sets the wave pattern
- Once cool, gently finger-comb through the curls to break them apart and create softer, more natural-looking waves
- Gather into a mid-height ponytail, but don’t make it tight—a slightly loose gathering lets the waves continue down the length of your ponytail
- Tease gently at the base of the ponytail to create a small cushion that makes the style look fuller
Worth knowing: If you have naturally wavy hair, you can skip the curling iron entirely and just apply the sea salt spray, let it dry, and gather the natural texture into a ponytail—the result feels fresher than intentional curls.
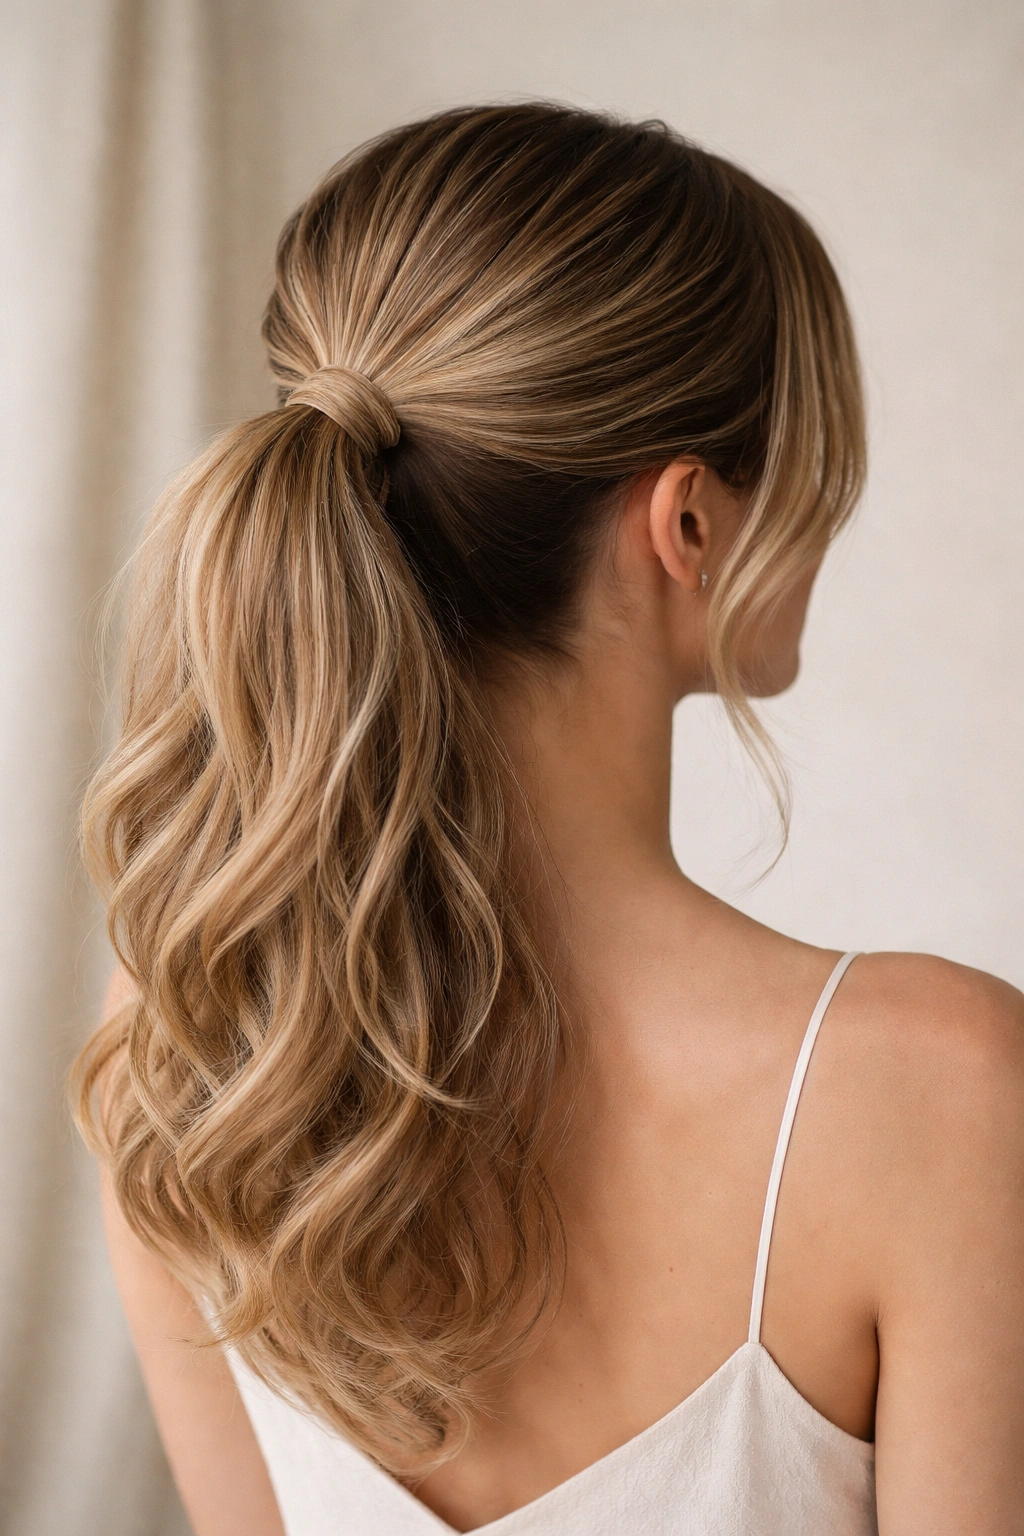
3. The Half-Up Mid-Pony Hybrid
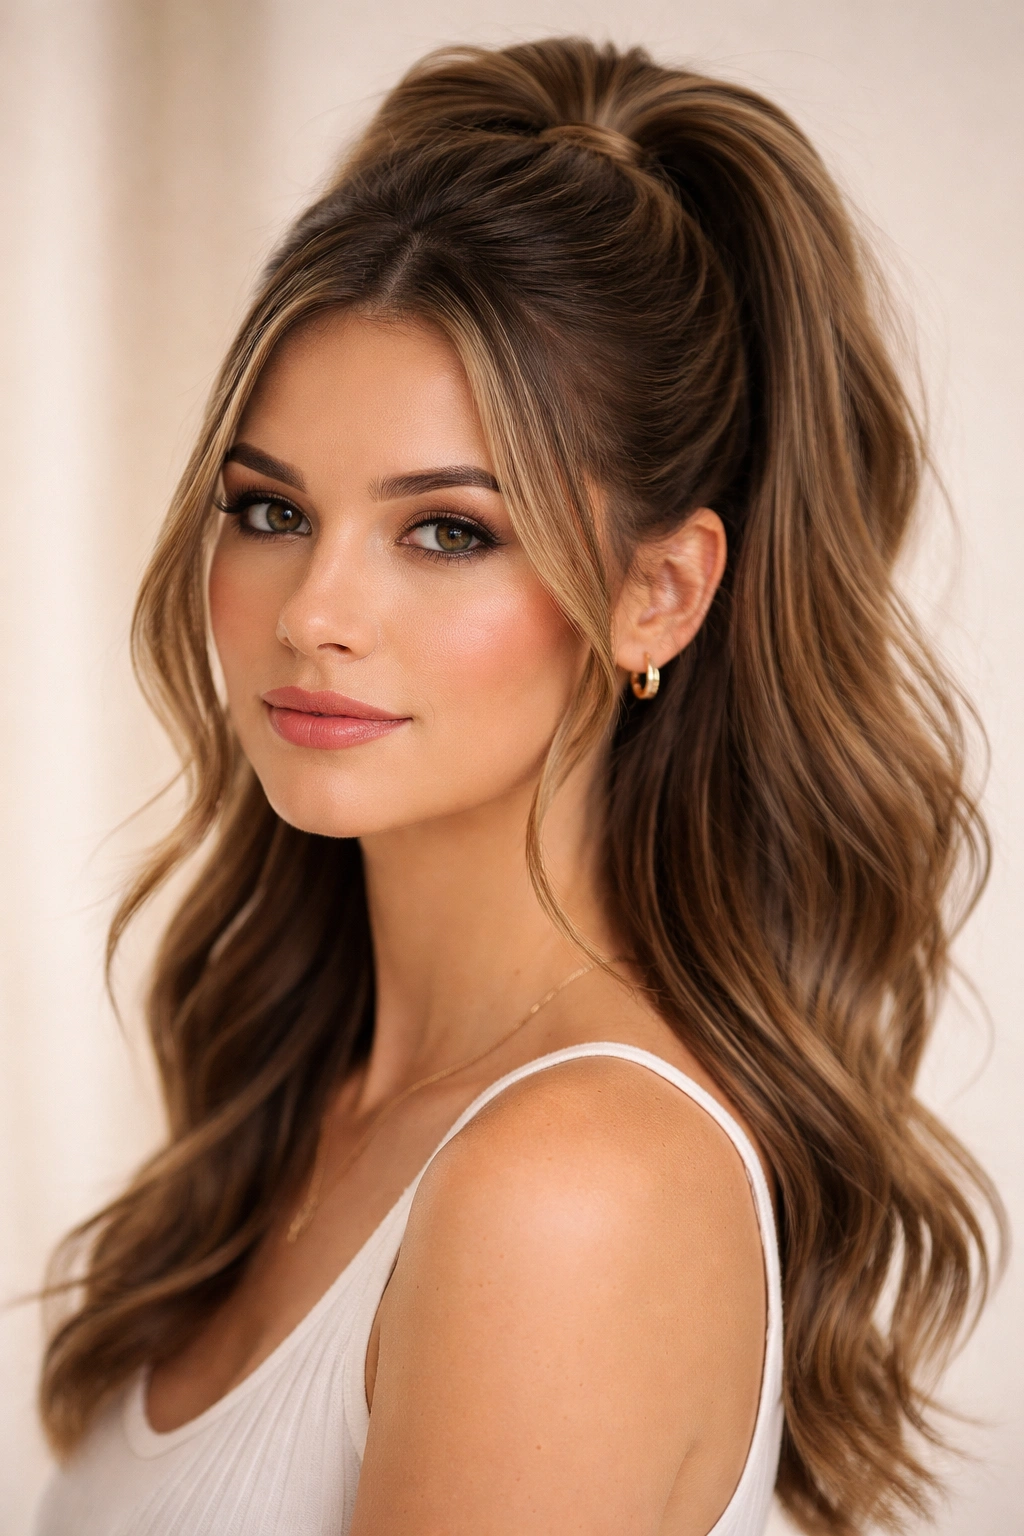
This style bridges the gap between wearing your hair completely down and fully up—it’s the perfect option when you want to clear hair from your face without committing to a full ponytail. The half-up positioning creates a hybrid that feels youthful and modern, and the mid-height placement prevents the Crown-heavy look that can come with higher half-up styles.
Why This Hybrid Works
A half-up style worn at mid-height reduces fullness at the crown while still keeping length around your shoulders. This is genuinely flattering for longer faces, heavier hair, and anyone who finds typical high half-ups too dramatic. The style also works beautifully as a transition—you can wear it exactly as is, or drop the back section to create a full ponytail if plans change.
The Steps to Get the Right Balance
- Section off hair from your temples, going back to approximately the crown area (imagine a headband-width section across the top of your head)
- Twist each temple section loosely as you gather them toward the back—this creates visual interest rather than a blunt line
- Bring these twisted sections together at mid-height (roughly ear-level, at the back of your head) and secure with a small elastic
- Leave the rest of your hair down and loose—if you want, gently curl the ends with a large-barrel curling iron
- Take a thin section of hair from underneath the secured section and wrap it around the elastic to conceal it, securing with a bobby pin
Insider note: Teasing just slightly at the base of the half-up section (before you wrap it) makes it look fuller and prevents the style from slipping as the day goes on.
4. The Braided Mid-Ponytail
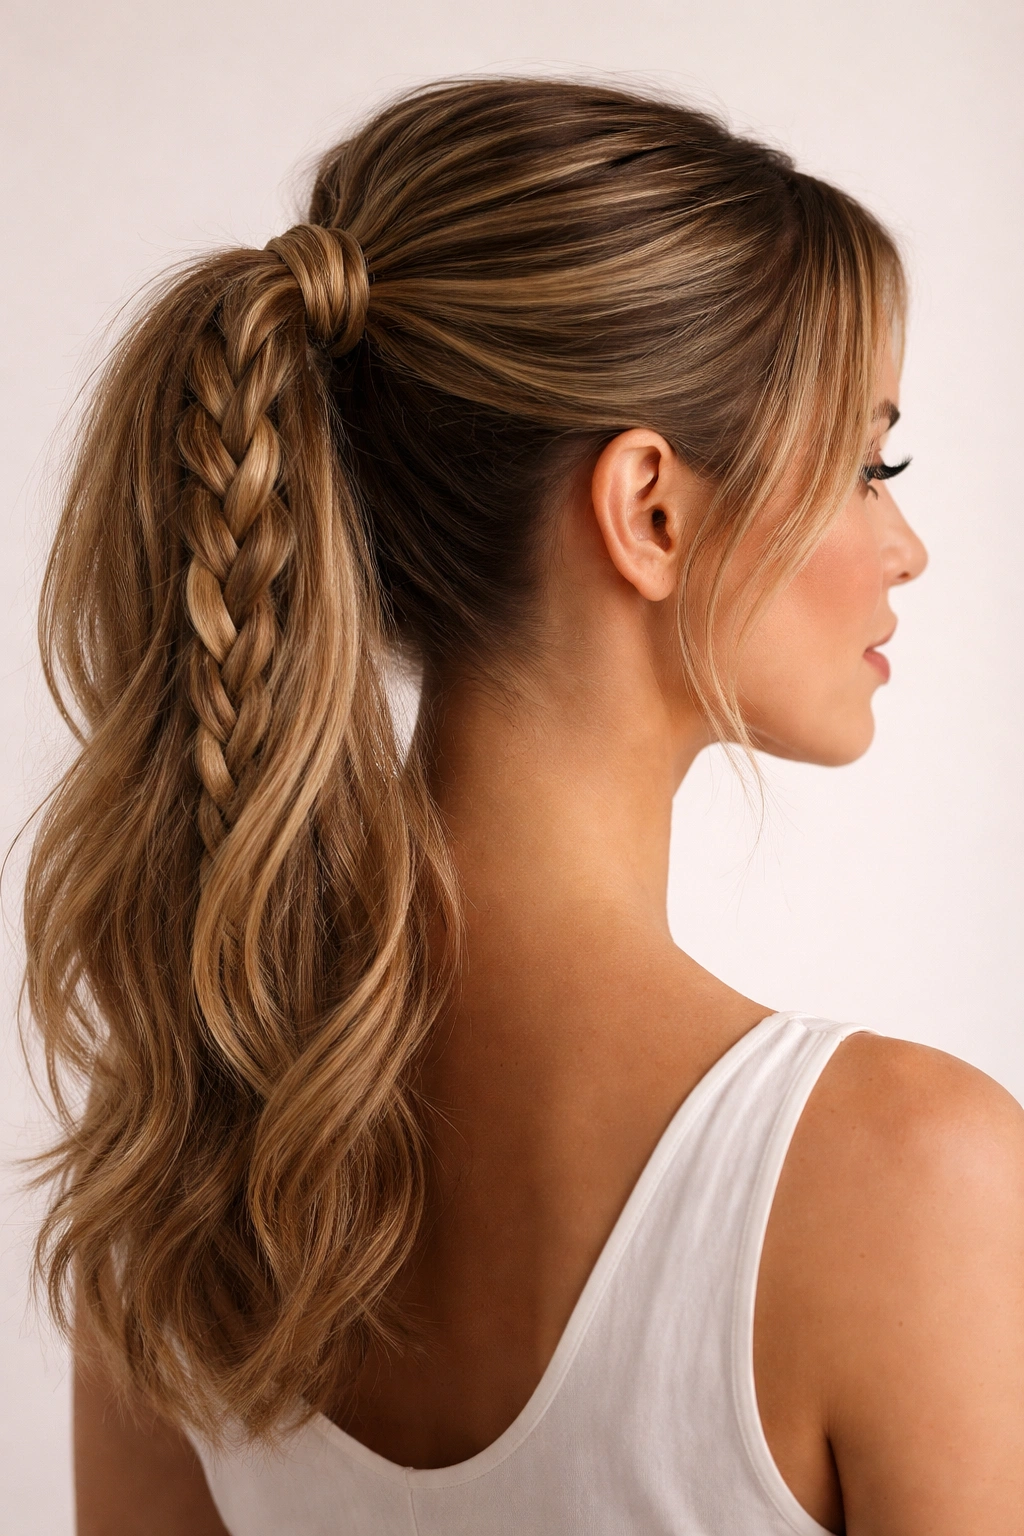
Incorporating a braid adds dimension, texture, and a distinctly put-together feeling to a mid-ponytail without actually requiring expert-level braiding skills. A braid also serves a practical purpose—it keeps flyaways contained better than a smooth ponytail, and the texture grips better if your hair is prone to slipping.
What a Braid Adds to the Style
A single braid running through your ponytail creates a focal point and adds visual depth. It transforms a basic mid-pony into something that looks more intentional and designer-level. This works especially well if you have finer hair that tends to look thin in a regular ponytail—the braid creates the illusion of more volume.
The Braiding Approach That Actually Works
- Gather your hair at mid-height into a regular ponytail and secure it loosely with an elastic
- Take a small section from the left side of the ponytail’s base (about 1 inch wide) and begin a three-strand braid going down through the center of the ponytail
- As you braid, you can either incorporate pieces from the ponytail itself (making it more ornate) or keep it as a simple standalone braid threaded through the middle
- Continue braiding all the way to the ends—it doesn’t have to be perfect; a slightly loose, textured braid looks more current than a tight, uniform one
- Secure the braid’s end with a tiny elastic
- Gently tug on each braid loop to widen it slightly and make the braid look fuller (this is called “pancaking”)
Pro tip: If your braid feels too tight and formal, run your fingers down it and slightly tease the strands outward—this gives you a soft, romantic braid rather than a severe one.
5. The Mid-Pony with Face-Framing Strands
This style feels intentional and modern without requiring the skill of actual styling. By intentionally leaving a few pieces of hair loose around your face, you soften the line of the ponytail and add a romantic, undone quality. It’s the difference between looking like you styled your hair versus looking like your hair happened to be styled.
Why Face-Framing Matters
Face-framing strands break up the visual weight of pulling everything back, creating dimension that flatters nearly every face shape. They add softness around your cheekbones and jawline, prevent the style from feeling severe or aging, and actually look intentional rather than like you missed a few pieces. This is particularly flattering if you have a rectangular or angular face—the loose strands round out sharp lines.
How to Execute It Right
- Gather all your hair at your mid-point into a loose ponytail base, but before securing it, deliberately pull out one thin section on each side of your face (at temple level)
- These pieces should be thin enough that they don’t pull down the overall style, but visible enough that they’re clearly intentional
- Secure your ponytail with an elastic
- Gently curl these face-framing pieces with a 1-inch barrel curling iron, curling them toward your face
- Use a fine-tooth comb to pull through the curls slightly and create a softer, more organic wave
- Lock everything with a light hairspray
Worth knowing: These face-framing pieces should be small enough that they don’t fall out throughout your day—if they keep slipping, they’re too thin or they started too close to your hairline.
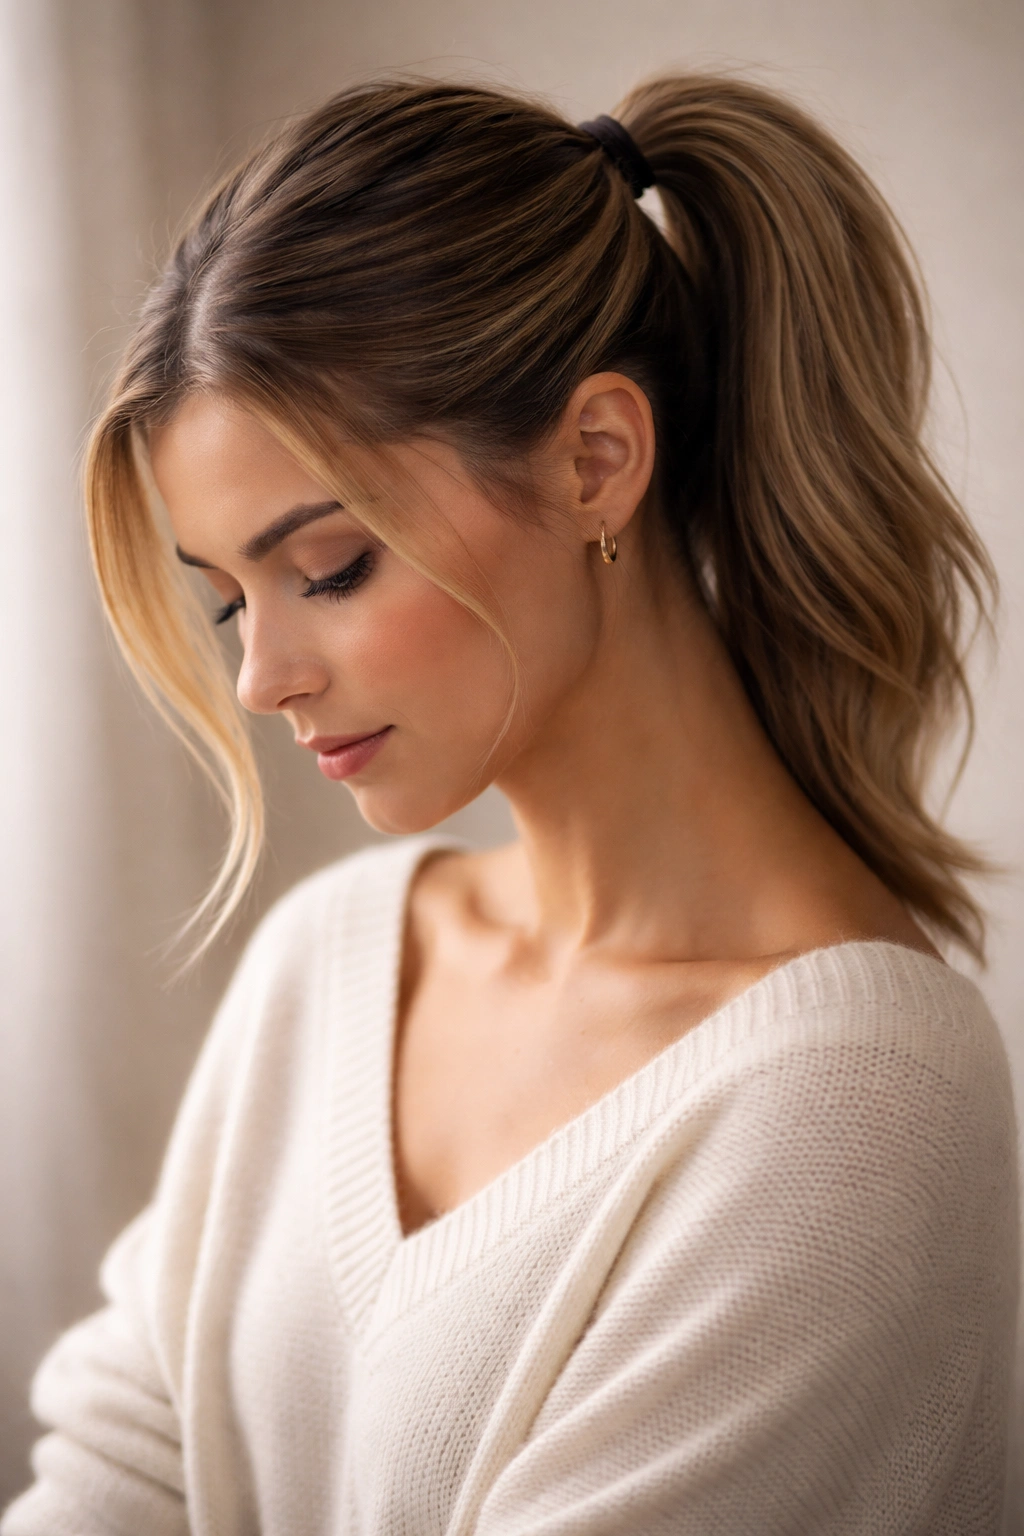
6. The High-Volume Mid-Ponytail with Teasing
This is the style for anyone who loves the volume and drama of a full ponytail but hates how it can look stringy or thin. Teasing at the crown and throughout your base creates a ponytail that looks thick, full, and intentionally voluminous rather than just flat and pulled-back. This technique works especially well for finer hair types that need the optical illusion of density.
The Purpose of Strategic Teasing
Teasing creates texture and grip throughout your hair, which serves two purposes: it makes everything look fuller, and it prevents slipping throughout the day. A teased mid-ponytail holds better than a sleek one, and the volume is genuinely flattering for longer faces and angular features. This style reads as confident and polished when done right, and sloppy and unkempt when overdone—the balance is all in the technique.
The Teasing Method for Maximum Impact
- Section off the hair at your crown (from forehead to the back of your head at ear-height) and clip it away
- Tease the hair at your nape and mid-back of your head using a teasing brush, backcombing gently at the roots and working your way toward the ends
- Once you have enough texture, smooth the surface layer with your brush—you want the teased texture hidden underneath, not visible on top
- Release your crown section and gently tease at the roots here too, but use a lighter hand—this area is visible, so you want invisible texture rather than obvious teasing
- Gather everything together at mid-height (the slight texture throughout means it grips better, so you can make it less tight than you normally would)
- Flip your head upside down and spray the base of your ponytail with volumizing hairspray, then flip back
- Gently smooth the surface with a fine-tooth comb
Pro tip: Tease only at the roots, not through the entire hair shaft—this gives you invisible volume rather than a texturized, choppy look.
7. The Twisted Mid-Pony

Twisting sections of hair before gathering them creates an elegant, almost braided look with a fraction of the complexity. Two twisted sections wrapped around your gathering point, or one spiral-twisted ponytail, adds sophistication and texture without requiring you to actually know how to braid. This style feels elevated and is surprisingly simple to execute.
What Makes Twists Different From Braids
A twist uses only two sections of hair instead of three, making it technically easier, but it creates a visual effect that reads as equally polished. Twists can look more modern and streamlined than braids, and they’re easier to do on yourself without a mirror. A twisted mid-ponytail gives you dimension without the potential for the overly romantic or cottage-core feeling that some braids can create.
The Twist Technique That Looks Polished
- Divide your hair into two equal sections vertically down the center back of your head
- Take the left section and twist it loosely away from your face, then do the same with the right section
- Bring both twisted sections together at mid-height and cross them around each other once or twice before securing with an elastic (this creates a double-helix effect that looks beautiful)
- Gently pull at the twisted sections to loosen them slightly and create a fuller, softer look—this is called “loosening the twist” and makes the difference between polished and overdone
- Take a tiny section of hair from one of the remaining pieces and wrap it around your elastic to conceal it
Worth knowing: If you tend to pull too tightly, intentionally leave your twists loose from the start—you can always tighten slightly, but you can’t loosen a twist that’s already locked in place.
8. The Multi-Textured Mid-Ponytail Blend
This is the style for when you want maximum interest and visual depth—combining waves, subtle volume, and strategic layers creates a ponytail that looks genuinely multi-dimensional. It takes more steps than a simple style, but each step is basic enough that you can do it without specialized skills. The payoff is a ponytail that photographs beautifully and reads as intentionally styled.
Why Layering Textures Creates Impact
Combining different textures throughout your ponytail—waves, straightness, texture, and volume in different amounts—prevents the style from looking flat or one-dimensional. This is the approach that makes a mid-ponytail feel fashion-editorial rather than casual. It’s also the most forgiving approach if your hair is naturally a bit uneven in texture—you’re intentionally creating variation, so natural inconsistencies disappear into the design.
Building the Multi-Textured Look
- Apply a volumizing mousse or texturizing spray to damp roots
- Blow-dry your hair smooth, but as you finish, use a 1.5-inch curling iron on just the outer perimeter of your hair (back and sides), creating soft waves through the bottom third
- Tease gently at your crown and at the base where you’ll gather your ponytail
- Gather into a mid-height ponytail, but deliberately leave it slightly loose—this lets waves fall differently and prevents everything from looking uniformly tight
- Take the ponytail itself and divide it into sections, curling some sections toward your face and some away from it (this creates multidirectional waves that look less processed)
- Gently finger-comb through everything to soften and blend the waves together
- Finish with flexible-hold hairspray that won’t stiffen the texture
Pro tip: The looser your initial gathering, the better the multi-textured effect—tightness flattens everything into a single plane.
9. The Low-Maintenance Messy Mid-Pony
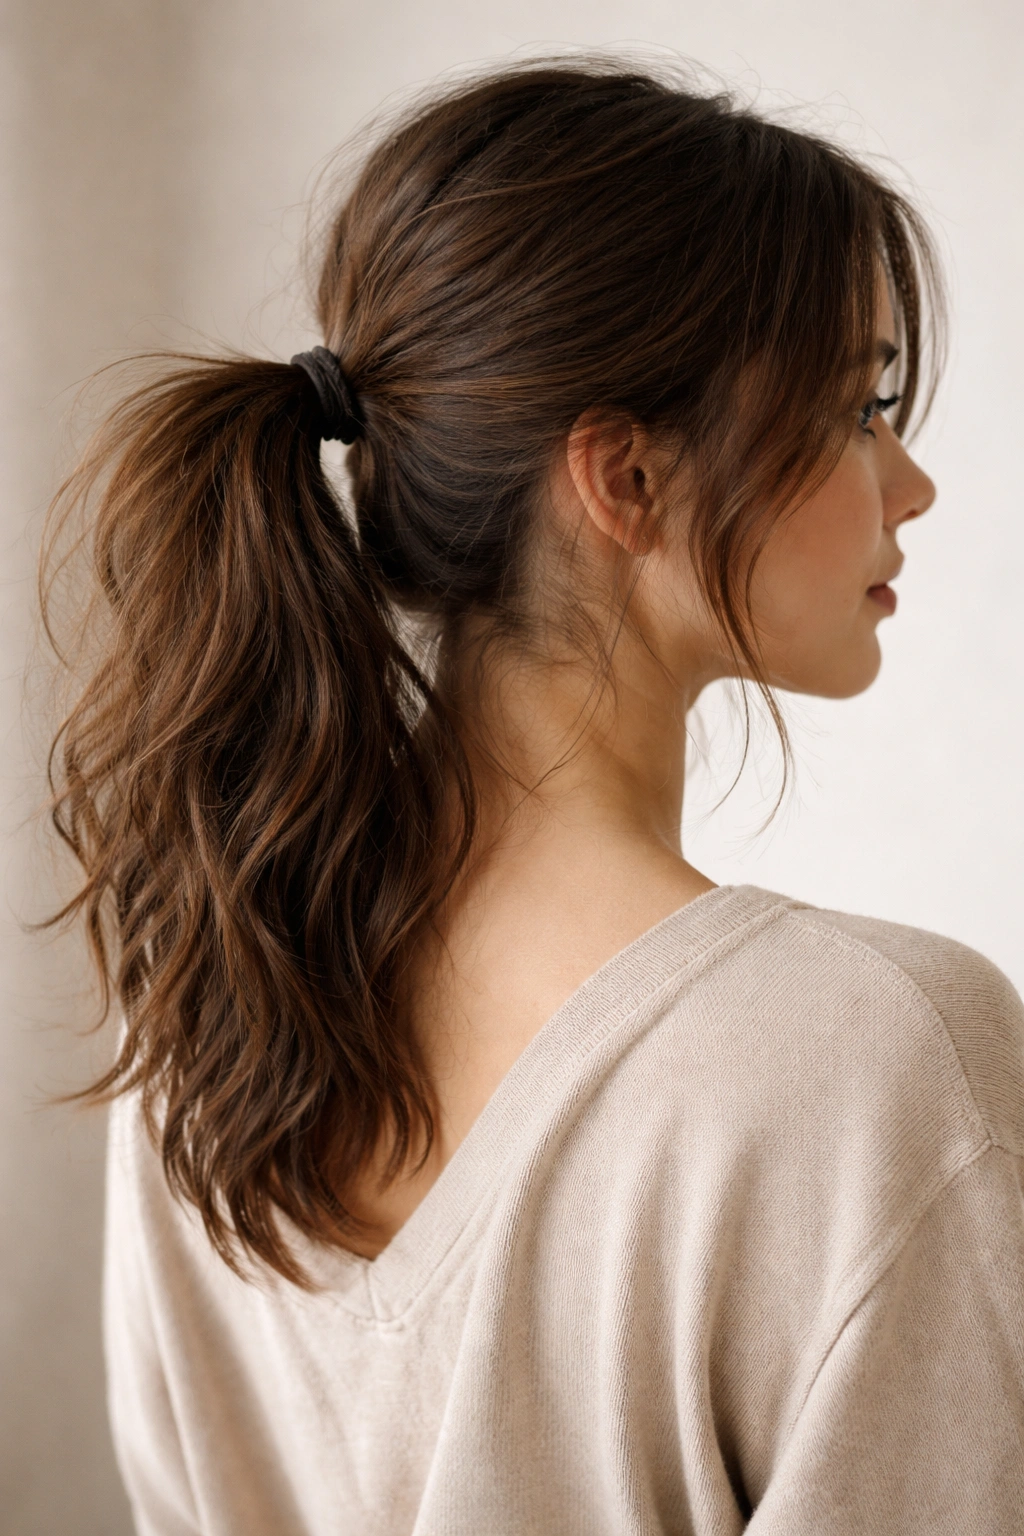
Sometimes the goal is simply looking like you made an effort without actually making much effort at all. A deliberately messy mid-ponytail walks that line perfectly—it looks intentional rather than sloppy, feels effortless, and works well for texture-heavy hair types that look better when they’re not pin-straight. This is the ponytail you wear when you want to look polished but you’re also genuinely busy.
The Appeal of the Intentional Mess
A messy ponytail suggests confidence and ease—like you’re so put-together that you don’t need to perfect every detail. It’s actually harder to pull off than a sleek ponytail because it requires restraint; too messy and you just look like you didn’t bother, but the right level of undone reads as deliberately chic. This style works especially well for curly, wavy, or textured hair that naturally resists being slicked back.
The Low-Effort Execution
- Apply a texturizing spray to damp hair and let it air dry, or blow-dry loosely without using a brush (this creates natural texture without intentional styling)
- Gather your hair at mid-height using your fingers rather than a comb—this lets pieces escape naturally rather than forcing everything into alignment
- Secure with an elastic, but don’t make it tight; use a looser, casual gather
- Gently pull at the crown area to create a small cushion of volume (the slight dishevelment actually helps this step)
- Let a few pieces fall loose around your face naturally
- Run your fingers through the ponytail itself to separate it slightly and create the intentional undone look
Worth knowing: This style holds better throughout the day if you use a strong-hold hairspray, despite how casual it looks—the looser gathering is actually less secure than a tight style.
10. The Sleek Low-Pony Transition
This is technically a mid-height ponytail that sits at the lower end of the mid-range, creating a style that feels sophisticated and slightly dressy without being overly formal. The placement here is precise—low enough that it reads as elegant and slimming, but high enough that it’s clearly not a true low ponytail. It’s the perfect choice when you want to look refined but not overdone.
Why This Placement Matters
A ponytail placed at the lower mid-height (roughly between ear-level and shoulder-level) is uniquely flattering for round face shapes because the lower placement elongates, while the back positioning keeps hair off your face. It’s also sophisticated without the severity of a true high ponytail. This placement works particularly well for professional settings where you want to look polished but not aggressively styled.
The Precise Execution
- Brush your hair back smoothly using a paddle brush and a light smoothing cream
- Using a mirror, position where you want your ponytail by placing your finger at a point roughly midway between your ear lobe and your shoulder bone, at the back of your head
- Gather your hair precisely at that point, making sure both sides are even
- Use a strong elastic to secure it tightly—this placement requires a firm gather or the style will feel sloppy
- Take a thin section of hair from underneath and wrap it around the elastic, securing with a bobby pin
- Smooth any flyaways with a tiny amount of smoothing serum on your fingertips
- Optionally curl the ends of your ponytail with a 1.25-inch curling iron for subtle softness without disrupting the polished feel
Pro tip: The lower the ponytail, the more important a perfect, smooth gather becomes—any bumps or unevenness are visible at this placement, so take the time to get it right.
Final Thoughts
The mid-height ponytail is genuinely the most versatile placement you can choose, offering options from completely polished to intentionally undone. Whether you prefer sleek and smooth, textured and romantic, or effortlessly messy, the same hair length adapts to fit your mood and your occasion. The key is understanding that details matter—the exact placement, the texture you add or don’t add, the strands you leave loose, and the overall finish completely transform how the style reads.
The best approach is experimenting with these styles and noticing which ones you actually reach for again and again. Pay attention to which textures last longest in your hair, which face-framing technique feels most natural, and which level of effort you’re genuinely willing to do on a regular basis. A mid-height ponytail that you can confidently recreate in under ten minutes is infinitely more useful than a complicated style you reserve for special occasions. Pick the approach that feels most like you, and wear it with the confidence that comes from knowing it’s genuinely flattering.