



Kinky twists have become a staple protective style for natural hair, offering versatility, elegance, and a break from daily styling demands. Whether you’re looking for a low-maintenance option that lasts weeks or a gorgeous updo for special occasions, kinky twist styles deliver on both fronts. The beauty of twists lies in their adaptability—they work with virtually any hair texture, length, and thickness, making them accessible to anyone with natural hair who wants to explore protective styling.
What makes kinky twists so special is their ability to blend practicality with aesthetic appeal. Unlike some protective styles that require hours of meticulous installation, kinky twists can be installed in a reasonable timeframe while still looking intentional and polished. They protect your natural hair from environmental stressors and manipulation, reduce breakage, and give your edges a much-needed break from tight braiding. Plus, you can wear them straight, flip them upside down for texture, or unravel them into a gorgeous twist-out once you’re ready for a fresh look.
The key to getting the most from any twist style is understanding your hair’s unique needs—how much moisture it requires, what kind of products work best, and how to maintain the twists throughout their wear time. Each style variation brings its own benefits and styling possibilities, so let’s explore ten kinky twist styles that will transform how you approach natural hair protection and everyday wear.
1. Two-Strand Twists
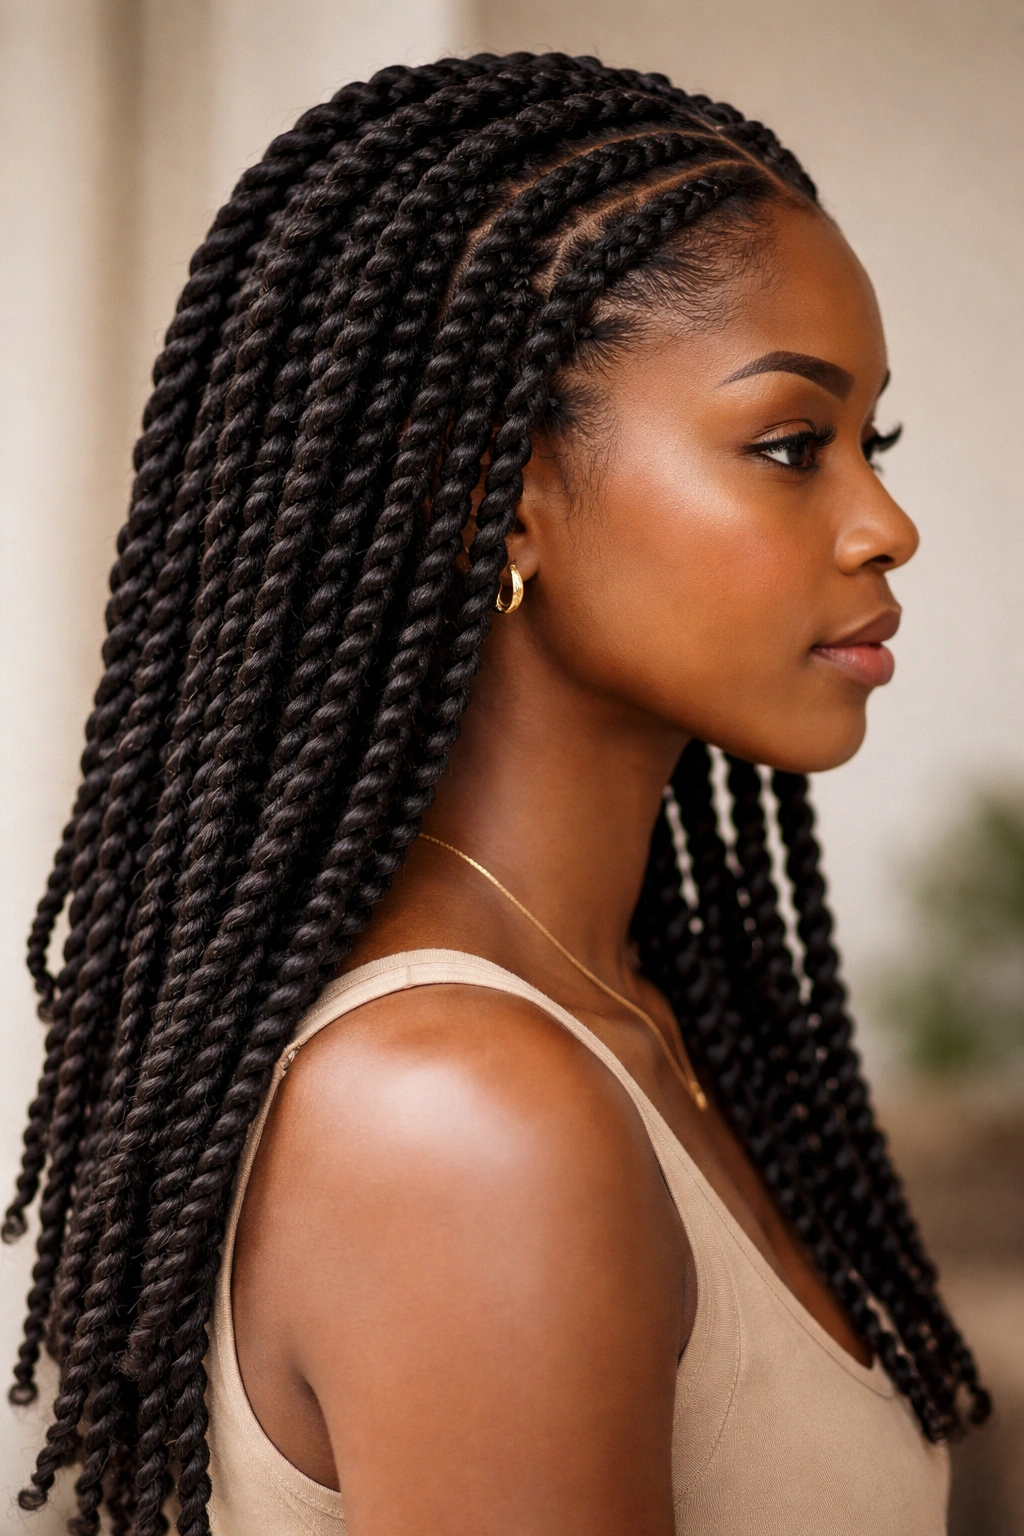
Two-strand twists are the foundational kinky twist style—the one that started it all for most natural hair enthusiasts. This style involves sectioning hair into small or medium sections and twisting two strands of hair around each other from root to tip, creating a rope-like texture that’s both elegant and practical. The beauty of two-strand twists is their clean, defined appearance that photographs beautifully while still offering serious protective benefits.
Why Two-Strand Twists Remain a Go-To Choice
Two-strand twists are the bread and butter of protective styling because they work across hair types and can be customized for any occasion. You control the size—thinner twists create a more refined, intricate look suitable for professional settings, while thicker twists style faster and hold up better if you have finer hair that tangles easily. The style typically lasts 4 to 6 weeks depending on how well you maintain it, and the timeline between installation and unraveling gives your natural hair significant recovery time from manipulation.
Installation and Styling Tips
- Install two-strand twists on clean, moisturized hair for the smoothest application and best definition
- Start with hair that’s been freshly washed and deep conditioned, then allowed to fully dry before sectioning
- Use a lightweight gel or styling cream to smooth down each section before twisting—this prevents frizz and helps twists look polished
- Twist each section firmly but not so tight that you create tension at the roots, which can lead to breakage or traction alopecia
- Allow twists to dry completely before styling or sleeping on them; damp twists are more prone to frizz and unraveling
- For quicker installation, you can twist your hair in sections around your head, then secure each twist with a bobby pin at the base until they’re all complete
2. Flat Twists
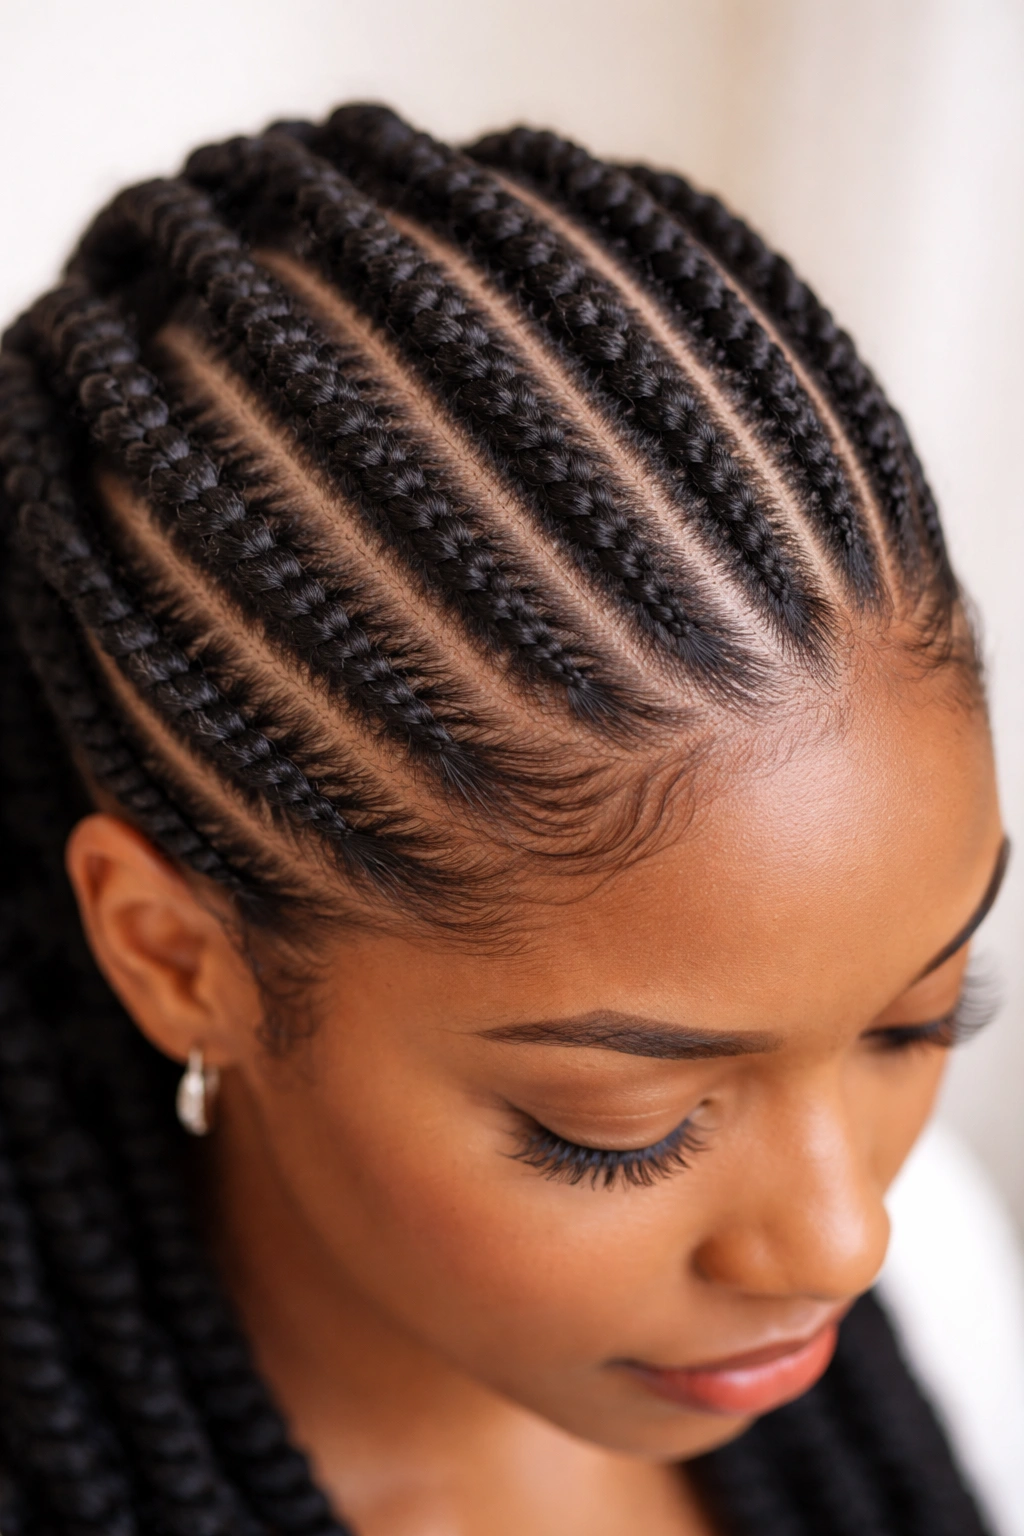
Flat twists take the two-strand twist concept and flatten it against your scalp, creating a sleek, geometric pattern that looks sculpted and intentional. This style is essentially the twist version of cornrows—two strands twisted together but laid directly against the scalp rather than hanging freely. Flat twists are incredibly versatile, working as both a protective style on their own and as a foundation for updos, twist-outs, or adorned with accessories.
What Makes Flat Twists Stand Out
Flat twists offer a level of polish and sophistication that makes them appropriate for professional environments, special events, or casual everyday wear. They’re also more forgiving than cornrows for people who find traditional braiding difficult or uncomfortable—the twisting motion is easier to control than the weaving motion of braids. Flat twists create a defined pattern on your scalp that shows off your natural hair texture and can be arranged in countless directional patterns to frame your face or create visual interest.
Creating and Maintaining Flat Twists
- Section hair into rows before you begin—mark them out with clips or bobby pins so your pattern stays organized
- Start each flat twist close to the roots and press it firmly against your scalp as you work downward
- Add hair from the sides of each section as you move down the scalp, similar to how you’d add hair to a cornrow
- Smooth down each completed twist with a light pomade or edge control to keep the style sleek and prevent frizz
- Sleep on a silk or satin pillowcase to reduce friction and keep twists looking fresh throughout the week
- Flat twists typically last 5 to 8 weeks, making them one of the longest-lasting protective styles available
3. Kinky Twist Out
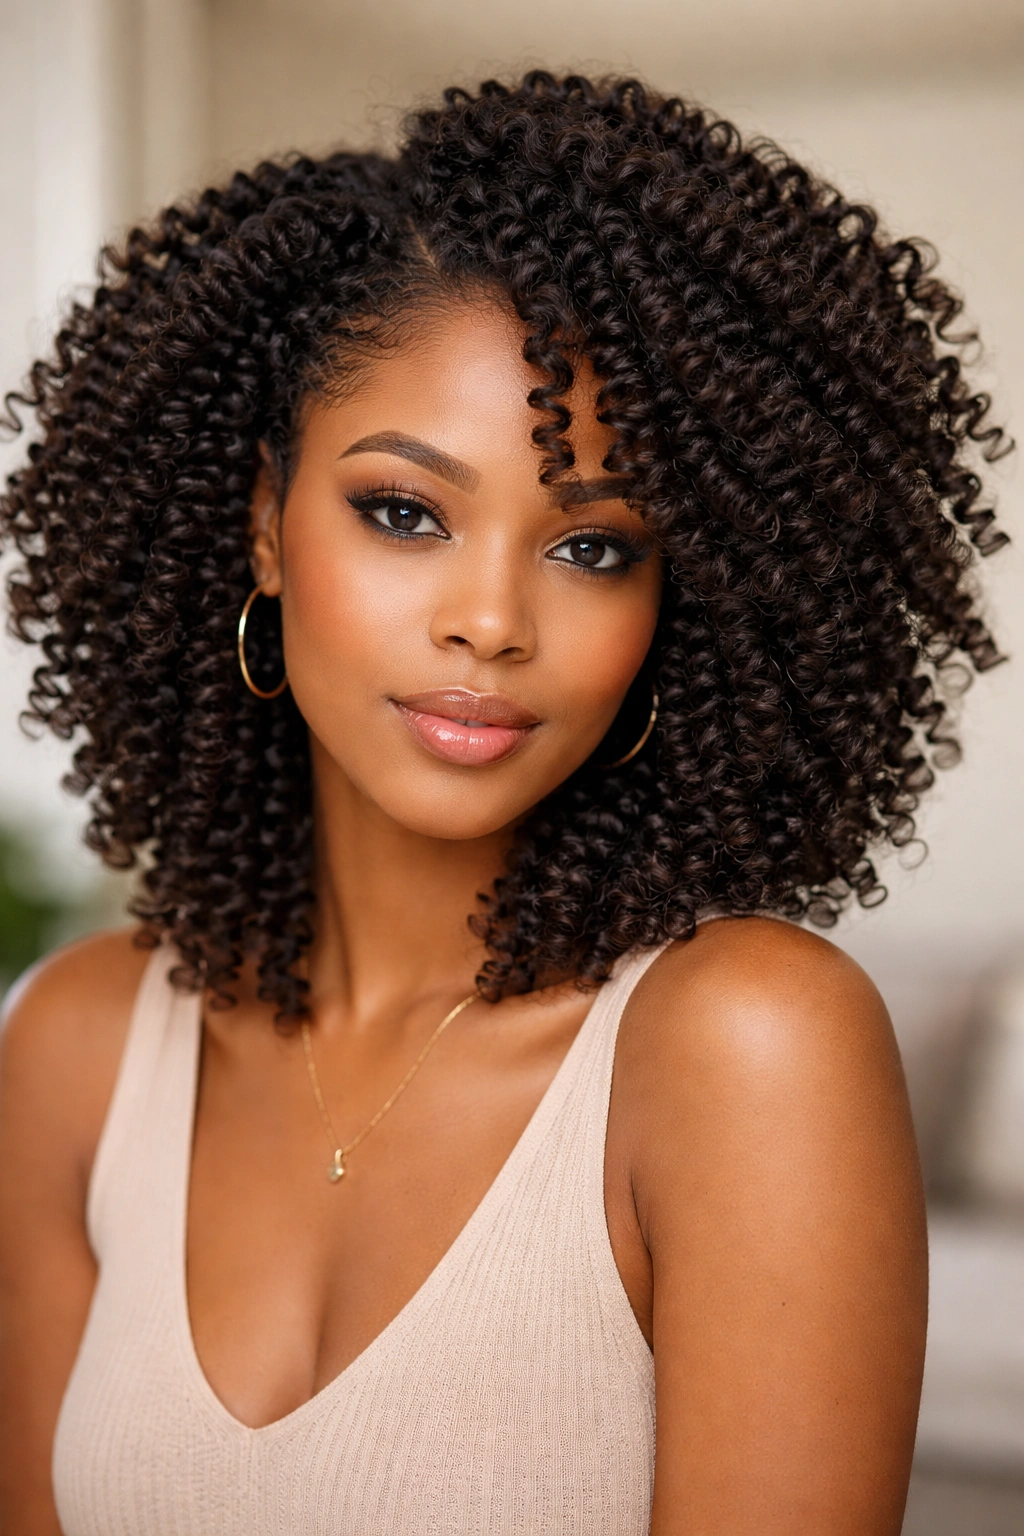
The kinky twist out is the glamorous finale to wearing two-strand twists—the moment you unravel those twists and discover the beautiful coiled, crimped texture they’ve created. This isn’t just what happens when twists fall out; it’s an intentional styling technique where you carefully unravel twists to reveal a defined, textured, voluminous style that looks entirely different from the twists themselves. A twist-out can last 7 to 10 days or longer if you maintain it properly, giving you extra wear from a single protective style installation.
Why Twist-Outs Deliver Maximum Style Mileage
Twist-outs create texture and volume that many natural hair enthusiasts struggle to achieve through wash-and-go styling. The kinky curl pattern created by the twists remains defined for days after you unravel them, and you can refresh and reshape the style each morning with light sprays of water or leave-in conditioner. The unraveled texture is fuller, bouncier, and often more defined than your hair would be without the protective styling, making twist-outs particularly rewarding for anyone with looser curl patterns or finer hair that struggles to hold a curl naturally.
Getting the Best Twist-Out Results
- Keep twists in for a minimum of 3 to 4 days before unraveling to allow the curl pattern to fully set
- Unravel twists gently from the ends upward, taking your time to avoid breakage or disrupting the curl pattern
- Unravel twists on a day when your hair is well-moisturized—dehydrated hair won’t hold the twist-out texture as well
- Fluff your hair gently with your fingers or a wide-tooth comb after unraveling to add volume and separate the coils
- Sleep on twists (rather than loose hair) the night before you unravel to maintain curl definition overnight
- Use a refresher spray made from water, leave-in conditioner, and a lightweight oil to revive the twist-out on days 2-5
4. Twisted Updo
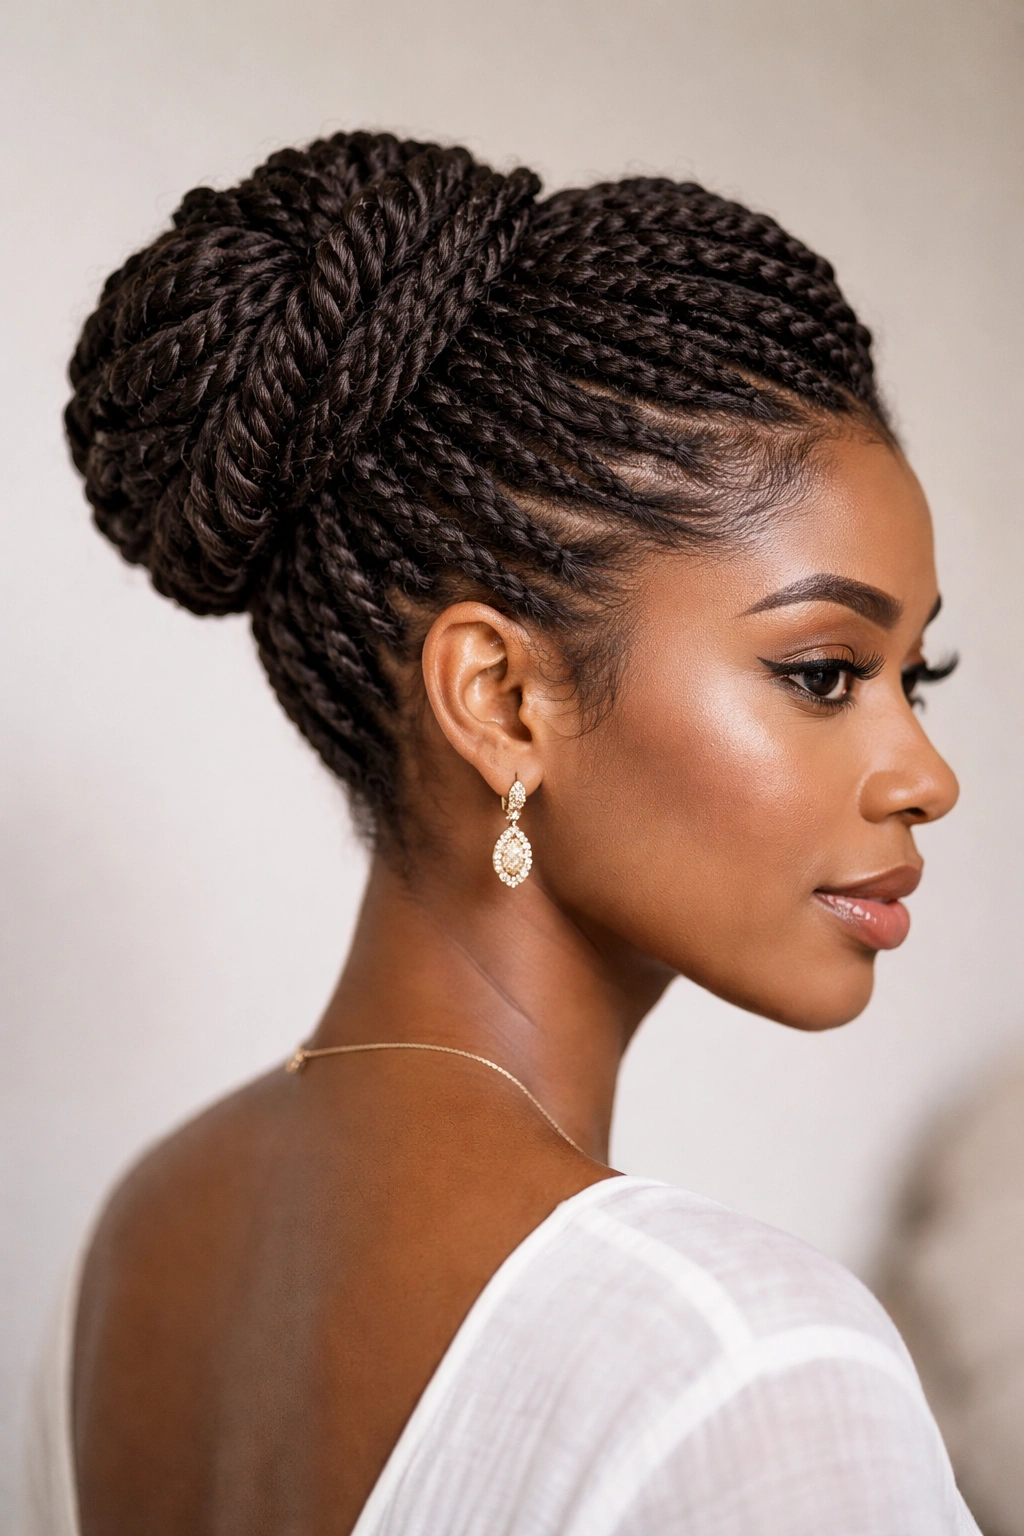
A twisted updo combines the protective benefits of two-strand twists with the elegance and practicality of an updos, creating a style that’s equally at home at a work meeting, family dinner, or night out. This style typically involves installing two-strand twists and then gathering them into a bun, ponytail, or braided crown that sits neatly against your head. Twisted updos are the answer for anyone who wants protection and polish in one polished package.
When to Choose a Twisted Updo
Twisted updos are the ideal style choice when you want the protective benefits of twists but need your hair contained, secured, or more formally styled. They’re perfect for warmer months when you want hair off your shoulders and neck, ideal for active days when you need your hair completely secured, and stunning for formal events when you want to look put-together. A twisted updo can be worn for 4 to 6 weeks just like regular twists, but the updo arrangement means you don’t have to think about styling your hair daily—it’s already styled and ready to go.
Styling a Twisted Updo
- Install two-strand twists throughout your hair as you normally would, making sure they’re evenly distributed around your head
- Once twists are complete and dry, you can either style them into an updo the same day or wait a few days for a more relaxed, textured look
- Gather twists toward the crown of your head and secure them into a low or high bun using bobby pins, a hair tie, or by wrapping longer twists around the base
- For a braided crown effect, gather twists around the perimeter of your head and pin them in place
- Add accessories—a silk scarf, hair clips, beads, or jeweled bobby pins—to customize the look and make it feel special
- Keep the hairline secured with edge control to maintain a polished appearance throughout the day
5. Goddess Kinky Twists
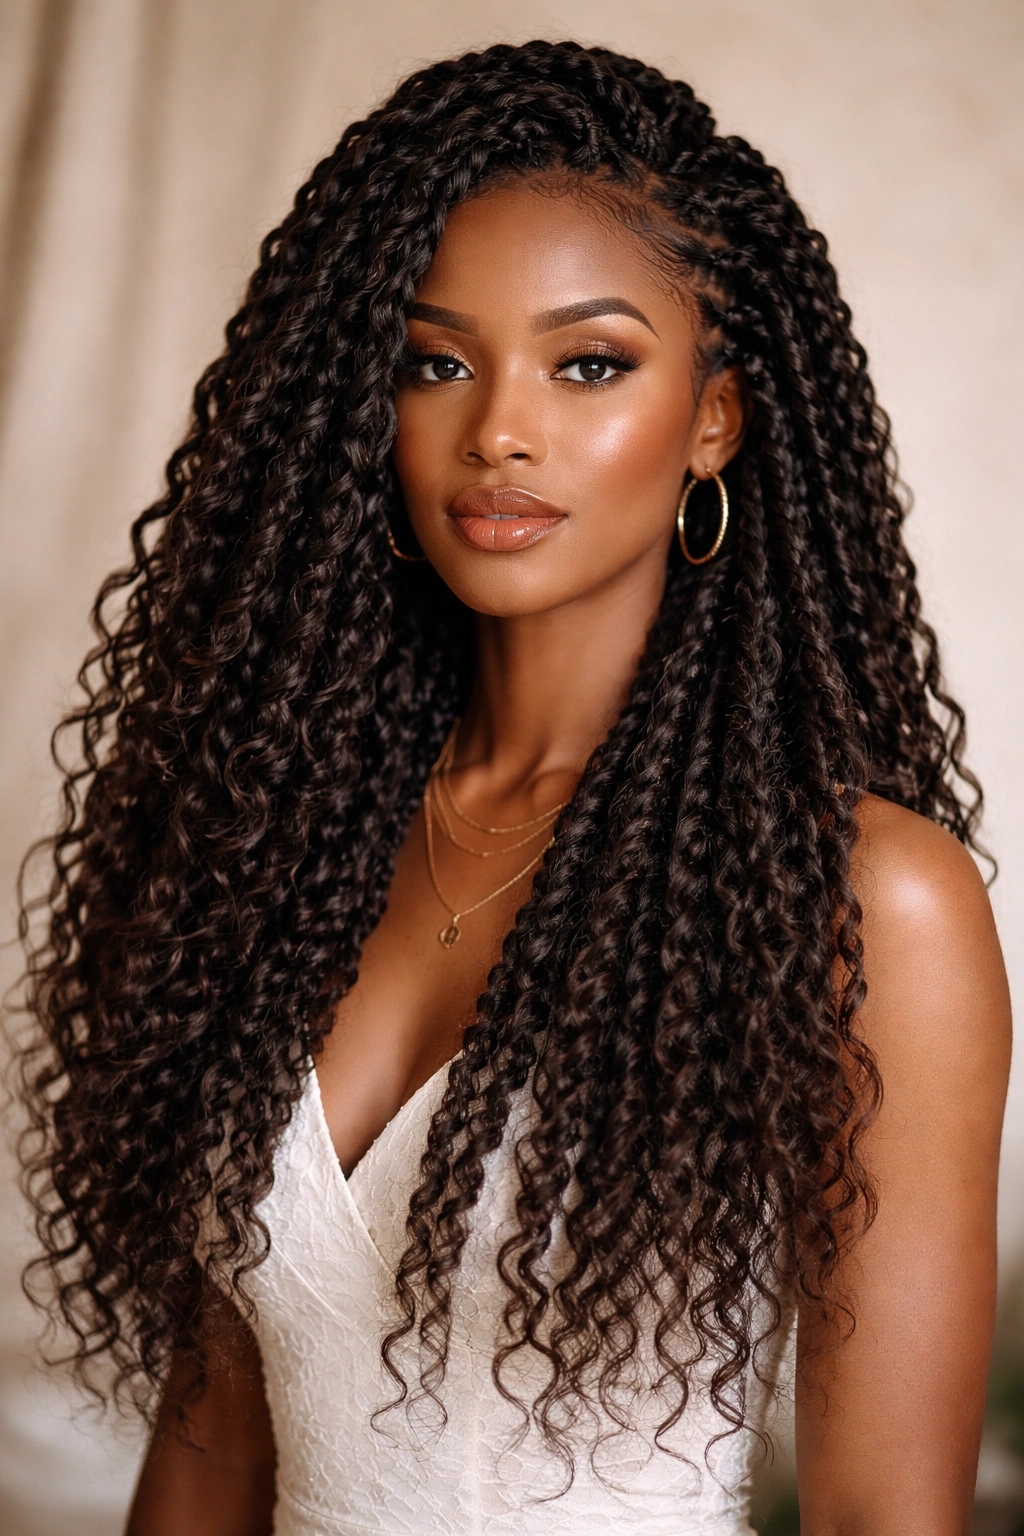
Goddess kinky twists are a luxe upgrade to standard two-strand twists—they involve incorporating yarn, thread, or supplemental hair into your natural hair as you twist, creating thicker, fuller twists with added texture and visual interest. The “goddess” aesthetic comes from the way these twists look: thick, defined, and intentionally sculptural. This style has become increasingly popular because it offers visual drama and can last longer than traditional twists alone.
The Appeal of Goddess Twists
Goddess twists create instant volume and fullness, making them especially appealing for people with finer hair who want their protective style to look substantial and polished. The added material creates a protective barrier around your natural hair, reducing manipulation and friction while you wear the style. Because goddess twists are thicker and heavier than regular twists, they hold their shape better over time and are less prone to frizzing or unraveling prematurely. Many people find that goddess twists also look more intentional and polished, making them suitable for professional settings or special occasions.
Installing Goddess Twists Successfully
- Choose your supplemental material: yarn creates the most affordable option and comes in unlimited colors; thread offers a thinner look; or human hair or synthetic hair extensions for maximum fullness
- Section your hair into medium-sized sections—roughly the size of a crayon box is ideal for goddess twists
- Separate your supplemental material into two strands and position them at the base of your hair section
- Twist your natural hair together with the supplemental strands, maintaining consistent tension so the twists look even and polished
- Continue twisting down to the ends and secure with a small elastic or by tucking the end under itself
- Goddess twists typically last 6 to 8 weeks, making them one of the longest-lasting protective styles available
- Start removal by unraveling the supplemental material first, then gently unraveling the natural hair twists
6. Kinky Twists with Curls
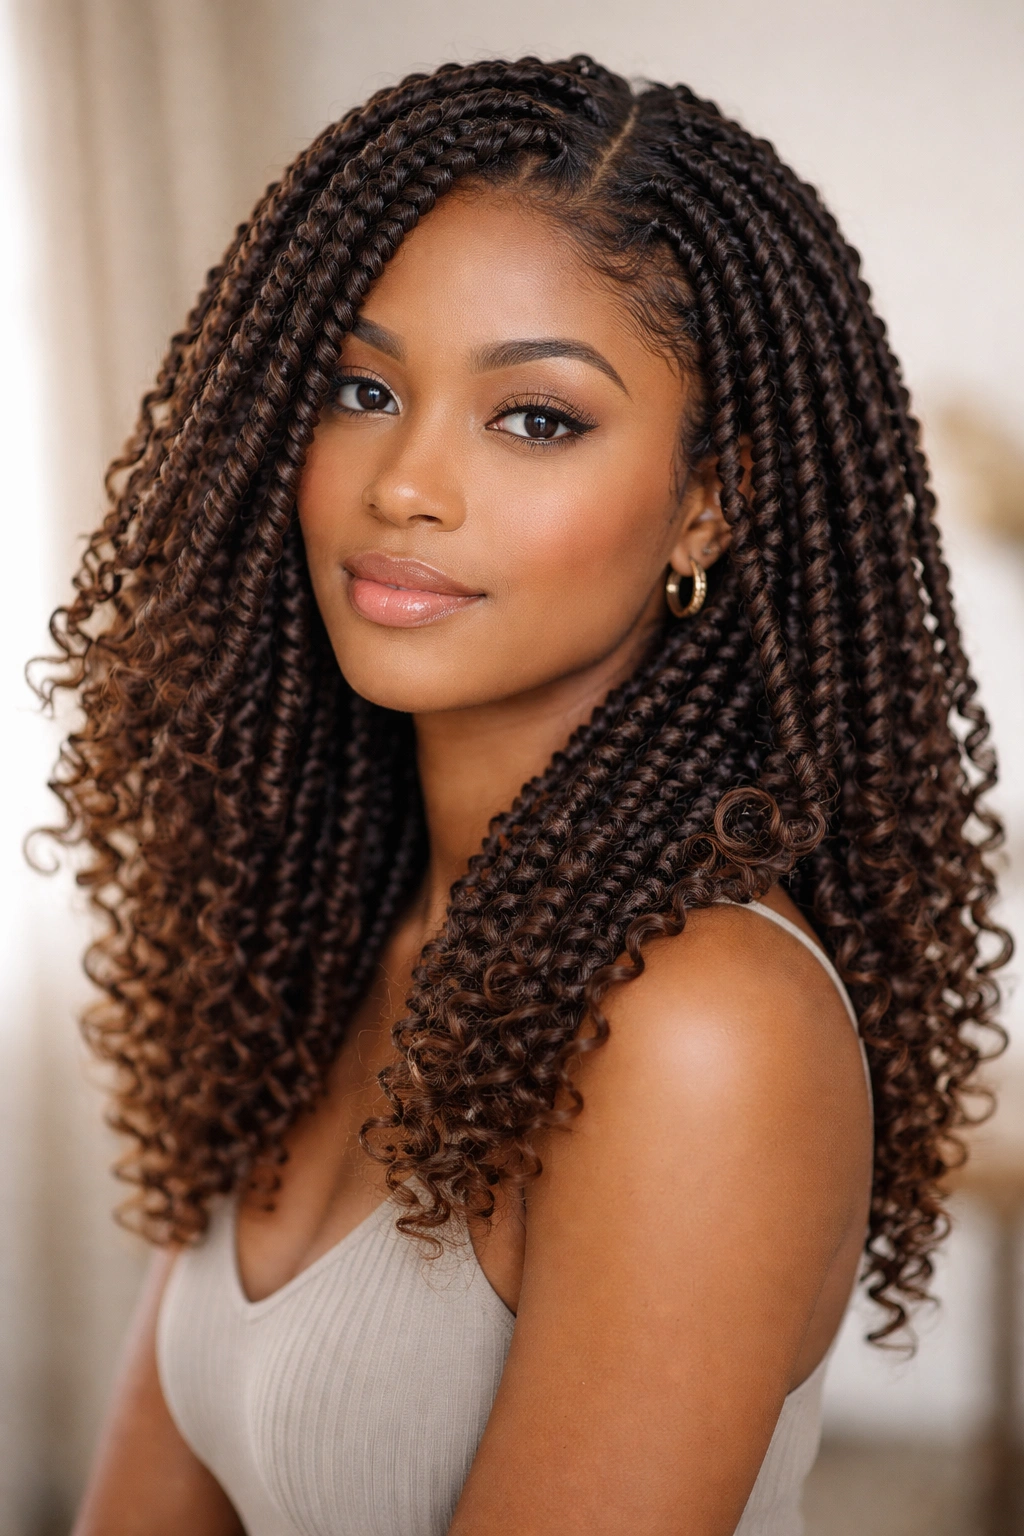
Kinky twists with curls blend the protective benefits of twists with romantic, flowing texture by leaving the ends of each twist free and curly rather than twisting all the way to the ends. This style creates definition and movement, giving you the best of both worlds—protected natural hair with a softer, more textured appearance than traditional two-strand twists. The curly ends can be styled straight, crimped, coiled, or left loose depending on your mood and the occasion.
Why Curly Twist Ends Create Visual Impact
Leaving curly ends on your twists creates dimension and softness that makes the style feel less structured than standard twists. The curly ends can cascade down your back, be swept to one side for a romantic vibe, or pinned into an updo for a more formal look. This style is particularly stunning on people with naturally coily or curly hair because the curl pattern in the free ends complements the twisted sections beautifully. The contrast between the defined twist sections and the loose curly ends creates visual interest and prevents the style from looking too uniform or rigid.
Creating Twists with Beautiful Curly Ends
- Install two-strand twists as normal, but stop twisting approximately 2 to 3 inches before the ends of your hair
- Leave the final 2 to 3 inches untwisted so your natural curl pattern or coils can show through
- You can enhance the curl pattern in the free ends by braiding them loosely, coiling them around your finger, or allowing them to dry naturally in their curl pattern
- Use a lightweight leave-in conditioner or curl cream on the free ends to encourage definition and prevent frizz
- Sleep on these twists with the free ends loosely gathered in a pineapple-style bun at the crown to protect them from friction
- This style typically lasts 4 to 6 weeks, with the free ends potentially loosening or becoming frizzy after week 3 or 4
- You can refresh frizzy ends by lightly misting with water and using a small curling iron on a low heat setting to re-define the curl
7. Passion Twists
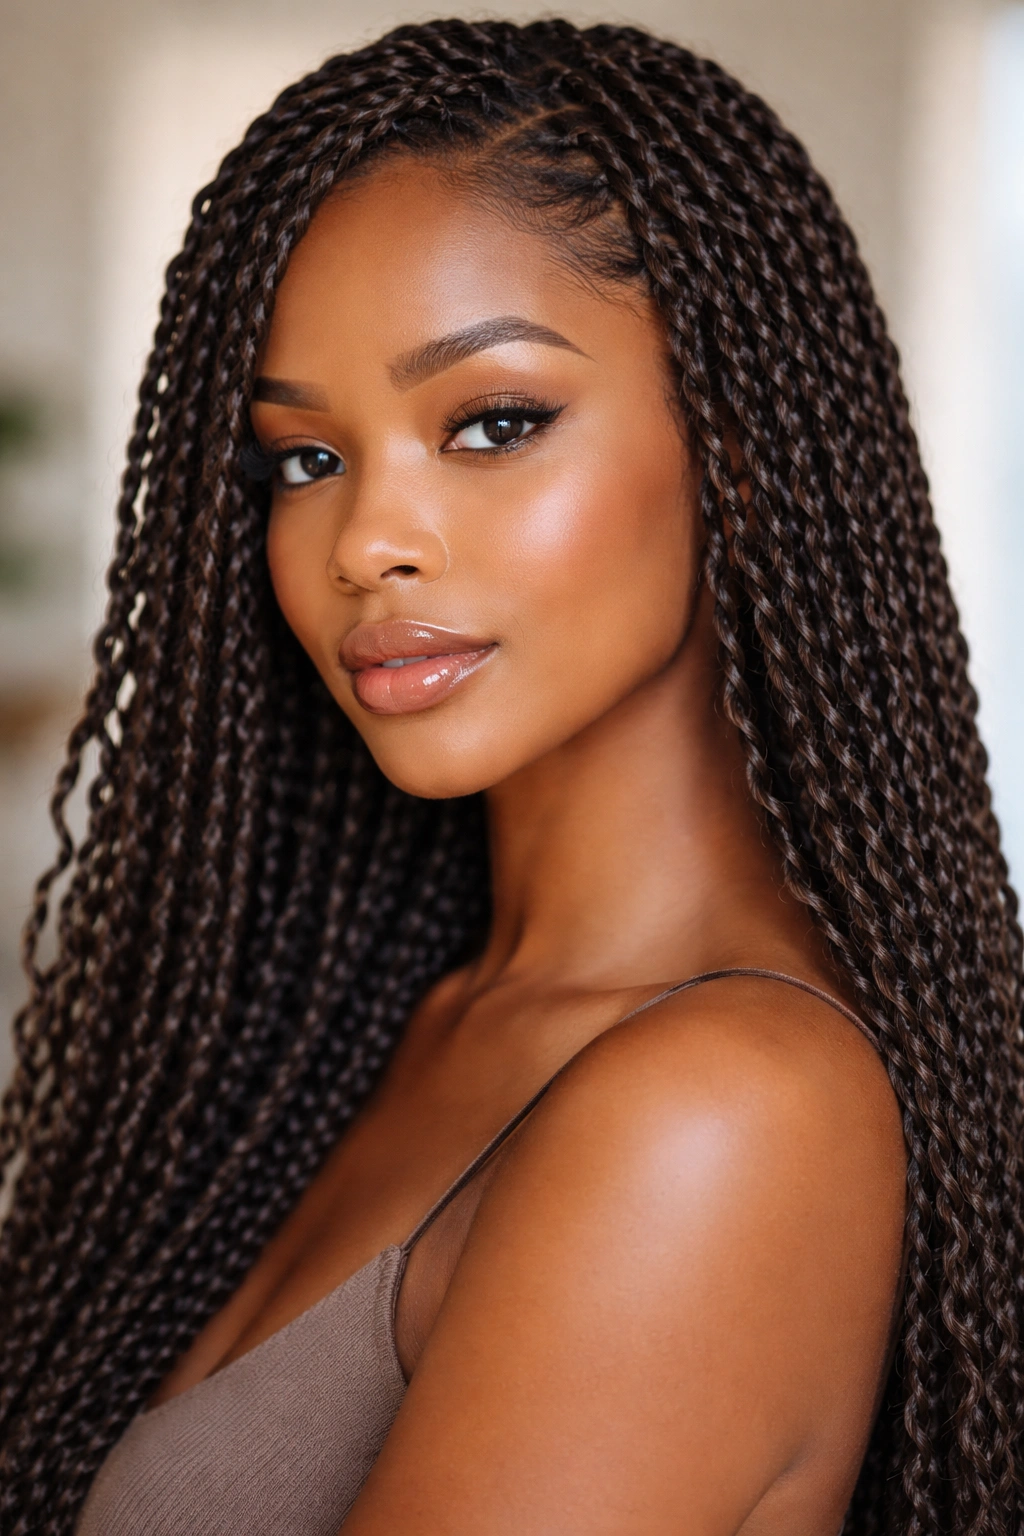
Passion twists are a modern, thinner take on goddess twists that involve wrapping hair with a lightweight material—typically pre-twisted yarn or passion fruit vine-inspired synthetic hair—to create delicate, detailed twists with a unique appearance. These twists are thinner than traditional two-strand twists and less bulky than goddess twists, creating a refined, intricate look that’s become increasingly trendy in natural hair communities. Passion twists offer a middle ground for people who find regular twists too thick but want more visual interest than flat twists provide.
The Aesthetic and Practical Benefits of Passion Twists
Passion twists create a softer, more feminine aesthetic than thicker protective styles while still offering excellent protection for your natural hair. The thin, wrapped appearance creates visual texture and intricacy that catches light beautifully, making these twists particularly photogenic. Because passion twists are lighter and less densely packed than goddess twists, they’re easier on your hairline and scalp, making them a better choice if you have tension sensitivity. The wrapped material also extends how long your style lasts—passion twists commonly hold up for 6 to 8 weeks before you need to remove them.
Installing and Caring for Passion Twists
- Passion twist installation typically requires a professional or someone experienced with the technique, as the wrapping can be time-consuming and requires precision
- You can use pre-made passion twist hair available from beauty supply stores, or create your own by wrapping thin yarn around strands of hair
- Section hair into thin sections and begin twisting your natural hair with the wrapped material, maintaining consistent tension
- Work methodically from one side of your head to the other, keeping twists uniform in size and appearance
- Once installed, passion twists require minimal daily maintenance—simply refresh your edges as needed and sleep with a silk bonnet or on a silk pillowcase
- Avoid over-moisturizing passion twists as the wrapped material can trap moisture and cause mildew
- Removal requires patience; carefully unwrap the material from each twist and then gently unravel the natural hair
8. Crinkle Twists
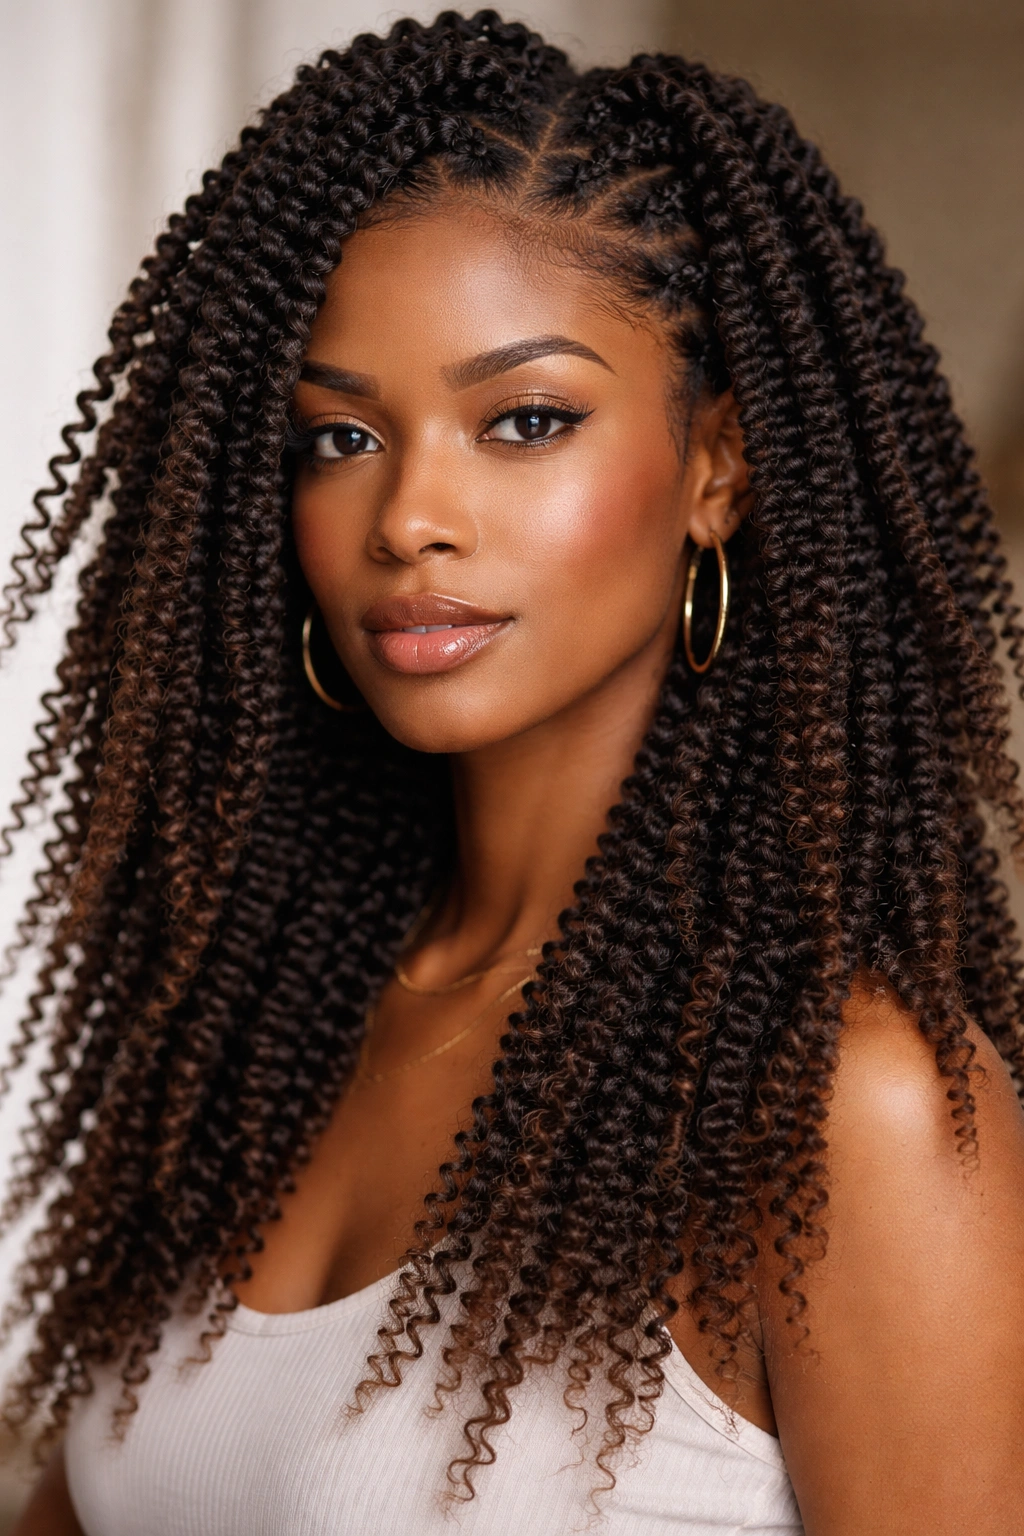
Crinkle twists, also called kinky twists with crimped ends, create a textured, kinky appearance by incorporating specially crimped hair or by crimping the free ends of your natural hair twists. This style emerged from the intersection of two trends—the protective twist style and the textured, bouncy aesthetic of crimped hair from the 1980s and 90s. Crinkle twists offer a playful, textured take on traditional twisting that appeals to anyone seeking something less predictable than smooth twists.
The Visual Impact of Crinkle Texturing
Crinkle twists create immediate volume and texture that makes your hair appear thicker and fuller than traditional twists. The kinked, zigzag pattern in the twisted sections catches light differently than smooth twists, creating visual interest and dimension. This style is particularly appealing for people with finer hair who want their protective style to look substantial, or for anyone seeking a more playful, unconventional aesthetic. The textured appearance also means frizz is less noticeable, making crinkle twists a more forgiving style that can look intentional even as it begins to loosen with time.
Creating Crinkle Twists
- You can use pre-crimped synthetic hair or yarn wrapped around your natural hair to create the crinkle effect
- Alternatively, install regular twists and then use a crimping iron on the lowest heat setting to crimp sections of each twist
- If crimping with heat, work carefully to avoid damaging your natural hair—test the temperature on a small, inconspicuous section first
- The crimped or kinky texture should be prominent enough to be visible but not so aggressive that it disrupts the twist structure
- Crinkle twists typically last 5 to 7 weeks, with the crimped sections becoming slightly looser over time
- Sleep with these twists secured in a pineapple bun to reduce friction and maintain texture definition
- Avoid over-moisturizing the crimped sections as excess moisture can relax the kinky texture
9. Rope Twists
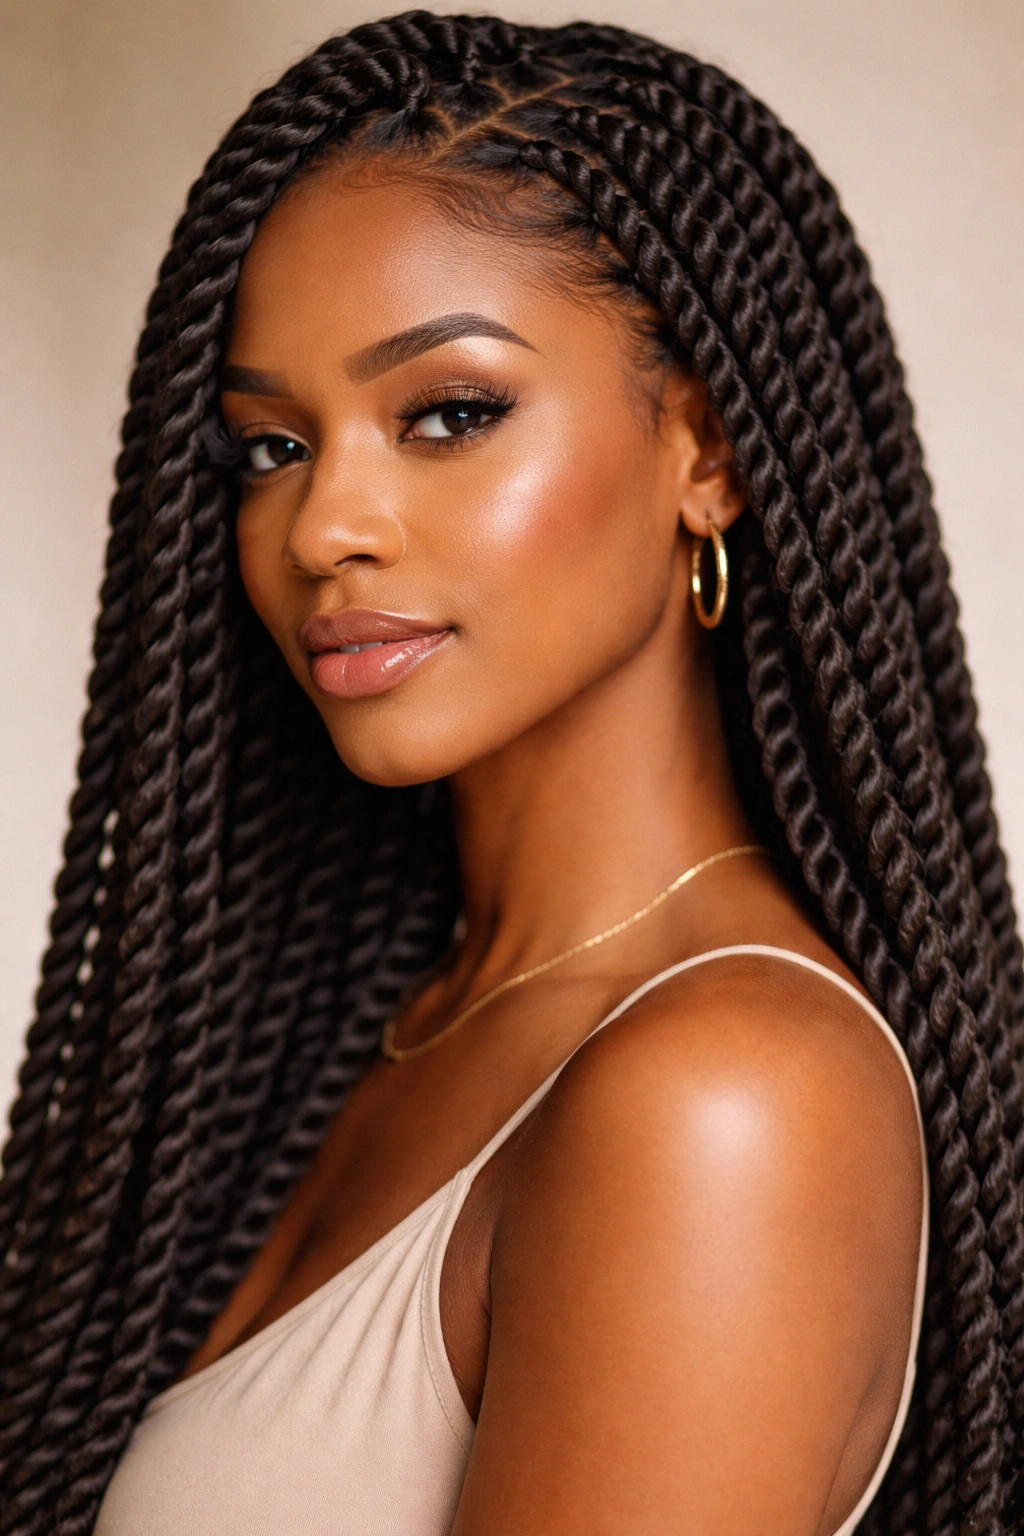
Rope twists are created by rotating two sections of hair around each other in the same direction rather than crossing them over each other like traditional twists. This creates a twisted, rope-like appearance that’s slightly different from standard two-strand twists—the texture is more uniform and creates a smooth, spiraled look. Rope twists are technically a variation on two-strand twists, but the different twisting technique creates enough visual distinction to make them worth exploring as a separate styling option.
How Rope Twists Differ from Traditional Twists
While traditional two-strand twists involve crossing two sections over each other as you move down the hair shaft, rope twists involve rotating both sections in the same direction simultaneously, creating a twisted rope effect. The resulting texture is more uniform and can appear slightly smoother or more refined than crossing twists, depending on how tightly you rotate. Rope twists can be installed faster than traditional twists once you master the technique, making them appealing for anyone who wants a protective style without spending an entire day in the chair.
Mastering Rope Twist Installation
- Section hair into medium-sized sections as you would for traditional twists
- Hold the two hair sections at the base, then simultaneously rotate both sections in the same direction (both clockwise or both counterclockwise)
- The sections will naturally spiral around each other as you rotate, creating the rope effect
- Continue rotating all the way to the ends of your hair, maintaining consistent tension
- Rope twists can be worn loose or gathered into an updo, styled with the ends curly, or even adorned with beads or jewelry
- These twists typically last 4 to 6 weeks depending on how tightly they’re installed
- The rope texture can become looser and frizz over time, but can often be refreshed by lightly re-twisting with a bit of product
- Sleeping on a silk pillowcase helps maintain the rope texture throughout your wear time
10. Side Swept Kinky Twists
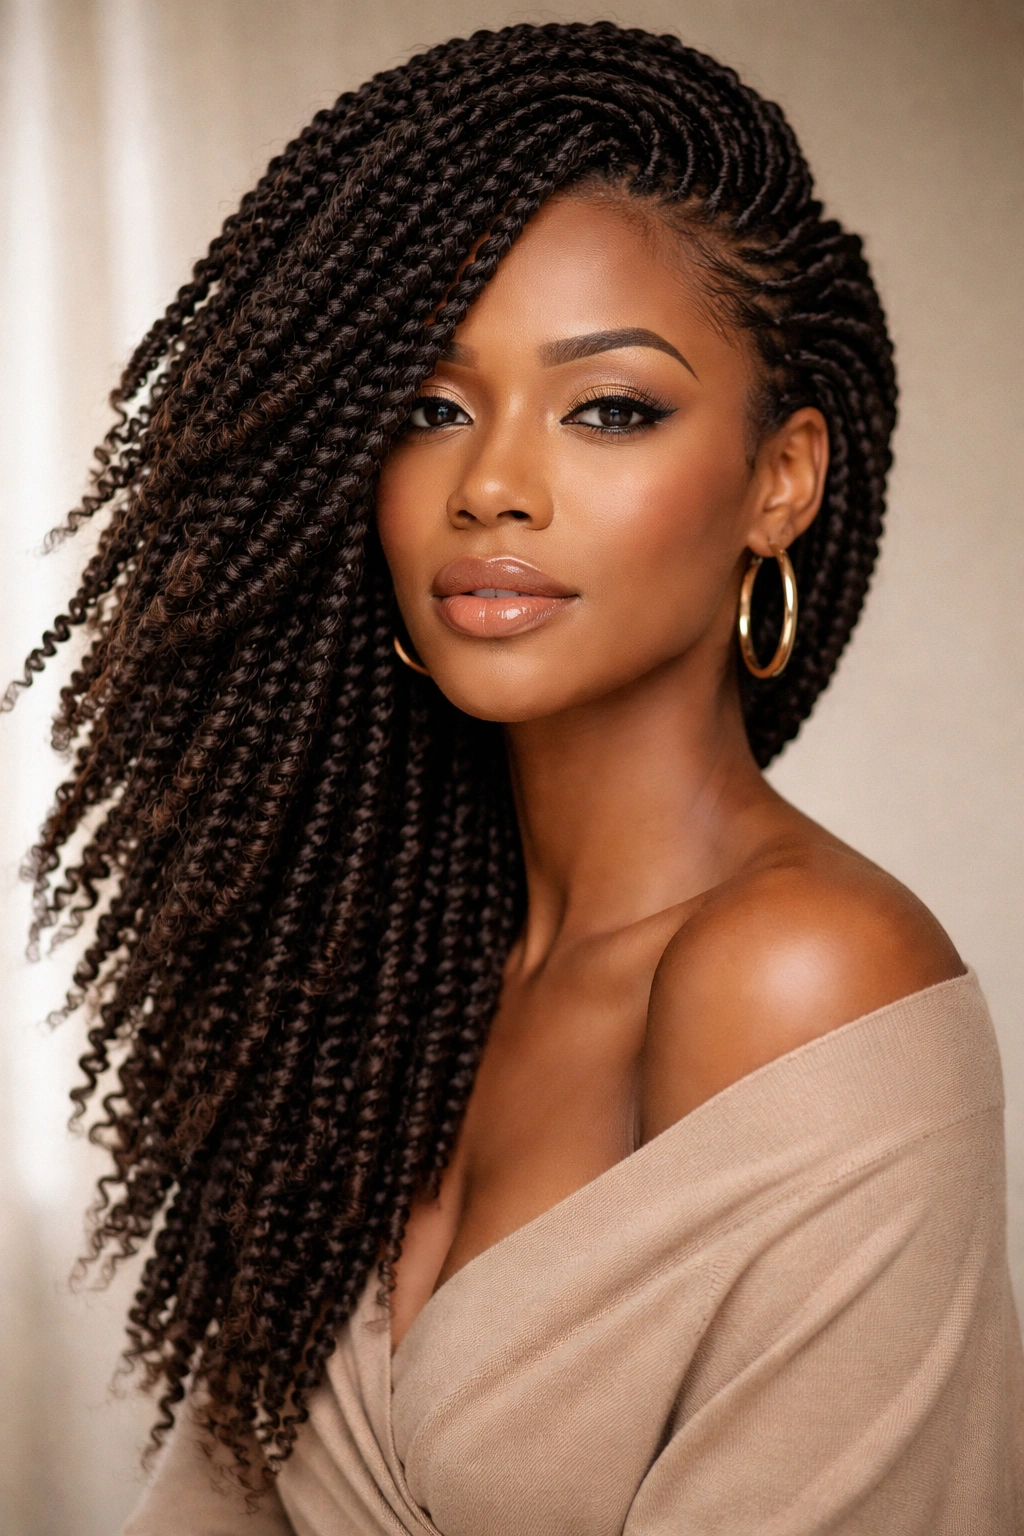
Side swept kinky twists involve installing two-strand twists throughout your hair but styling them so they’re all swept dramatically to one side, creating an asymmetrical, statement-making appearance. This directional styling transforms the traditional look of twists into something more dynamic and fashion-forward. The swept arrangement creates visual movement and draws attention to one side of your face, making it an excellent choice for anyone wanting to highlight their features or create a more intentional styling moment.
Why Side Swept Styling Makes a Difference
Side swept styling creates instant drama and makes twists feel more intentional and styled rather than simply protective. By gathering all your twists to one side, you create volume and movement that’s otherwise lacking in centered, all-over twist styles. This arrangement is particularly flattering if you want to draw attention to one side of your face or if you’re wearing the style for a special occasion and want it to feel elevated beyond everyday protection. The swept arrangement also keeps hair pulled back from your face, making it practical for active days or workouts while still looking polished and intentional.
Creating a Side Swept Twist Style
- Install two-strand twists throughout your entire head, spacing them evenly and maintaining consistent sizing
- Once twists are complete and dry, gather them all toward one side of your head
- Secure the twists on the swept side using bobby pins, a thick hair tie, or by braiding or coiling some twists around the base of the swept section
- For maximum drama, leave some twists loose and flowing down the swept side rather than securing them tightly
- Add a silk scarf, headwrap, or decorative pins to the gathered side to emphasize the styling and add visual interest
- You can also create a twisted or braided crown on the swept side to secure the twists in place while making the style look intentional
- Side swept twists typically last 4 to 6 weeks and require minimal daily maintenance beyond refreshing your edges
- Sleep with your head positioned so the swept twists aren’t being crushed underneath you all night
Final Thoughts
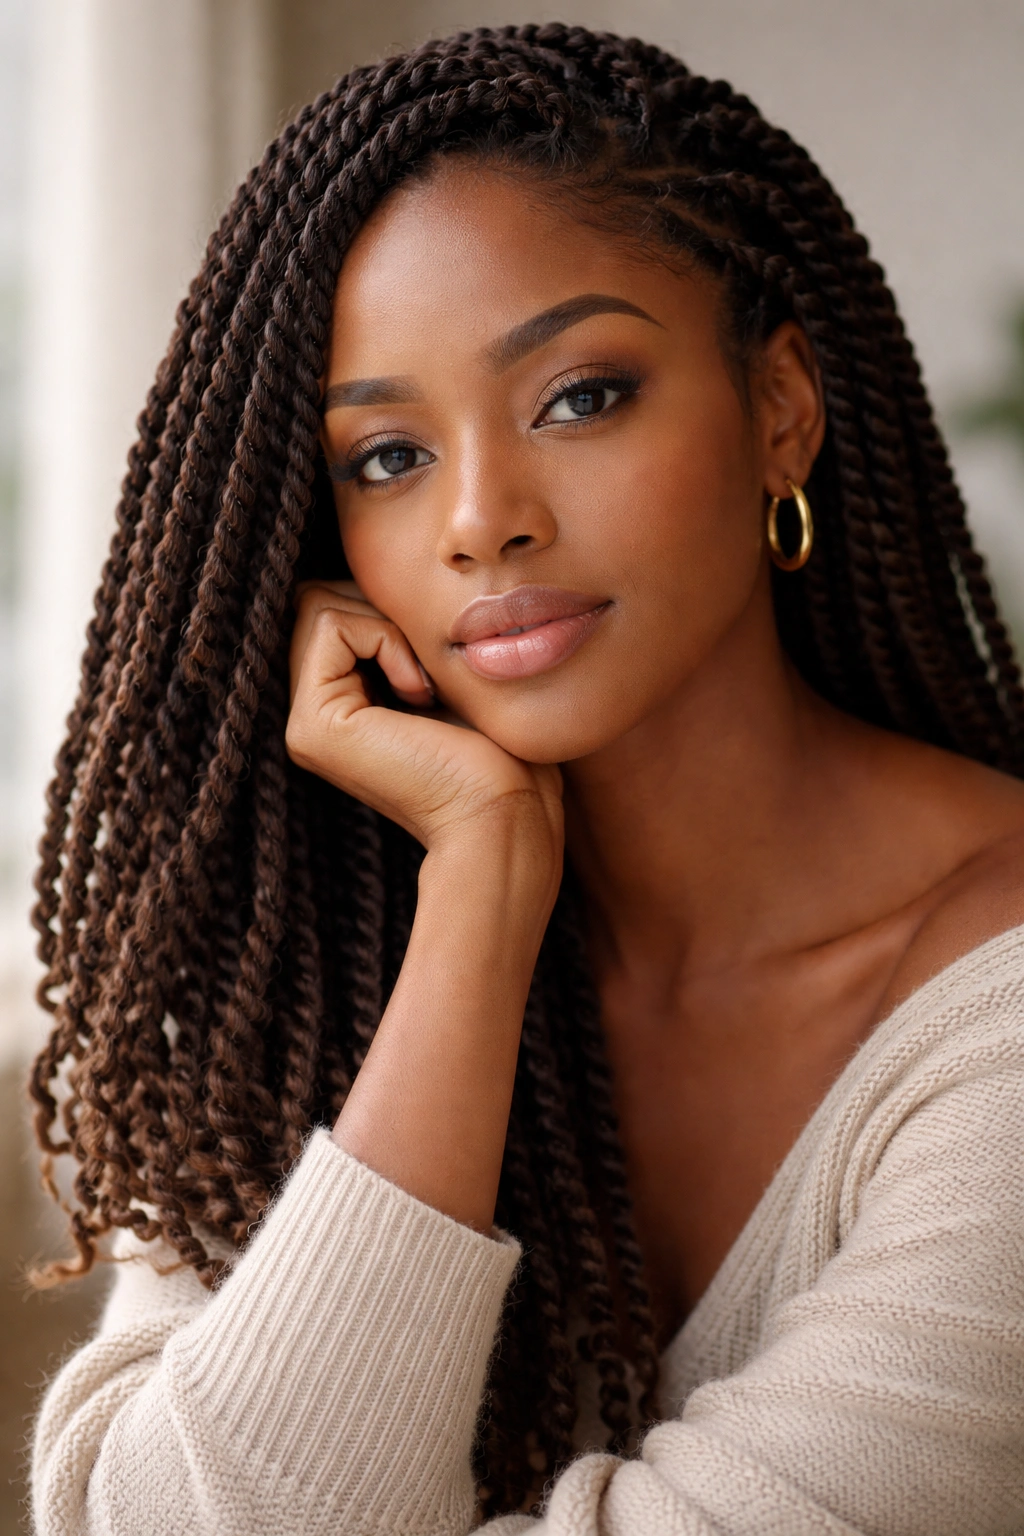
Kinky twist styles offer something special for every natural hair journey—whether you’re seeking maximum protection, gorgeous texture, or a polished everyday look. The versatility of twists means you can explore different sizes, incorporation methods, lengths, and styling arrangements to find what resonates with your hair, your schedule, and your aesthetic. Each of these ten styles brings its own benefits and appeals to different needs, so don’t feel limited to just one approach.
The key to making any twist style work is understanding your hair’s moisture needs, investing in quality products that won’t leave buildup, and being patient with the installation process. Rushing through twists leads to inconsistent sizing, tension issues, and a style that won’t hold up well over time. Give yourself permission to take breaks during installation, take your time, and focus on creating twists with tension that feels secure but not uncomfortably tight.
As you experiment with different kinky twist styles, pay attention to which ones your hair responds to best. Some people find that thinner, tighter twists hold definition longer, while others experience better results with thicker twists that put less tension on the hairline. Your hair will tell you what works—listen to it, adjust accordingly, and enjoy the journey of discovering your signature protective style.
