Thin hair presents a unique styling challenge — it requires techniques that create the illusion of density without adding weight that flattens everything down. Ponytails are often overlooked as a volume-boosting option, but they’re actually one of the most versatile solutions for fine, limp strands. The right ponytail style can add inches of perceived thickness, create the impression of fuller hair, and hold a polished look all day without relying on heavy products that weigh you down. Whether you’re dealing with naturally thin hair, hair that’s become fine with age, or damage that’s thinned your density, these twelve techniques work with your hair’s texture rather than against it.
The key to volumizing ponytails for thin hair lies in strategic teasing, smart placement, and texture techniques that trap light and air within the ponytail itself. Instead of sleek, flat styles that expose every thinning area, these styles build dimension through layering, twisting, braiding, and controlled backcombing. Many of these techniques also work beautifully with dry shampoo, texturizing sprays, or even just air-dried waves — products and methods that add grip without heaviness. The ponytails in this guide work for straight hair, curly hair, wavy hair, and everything in between.
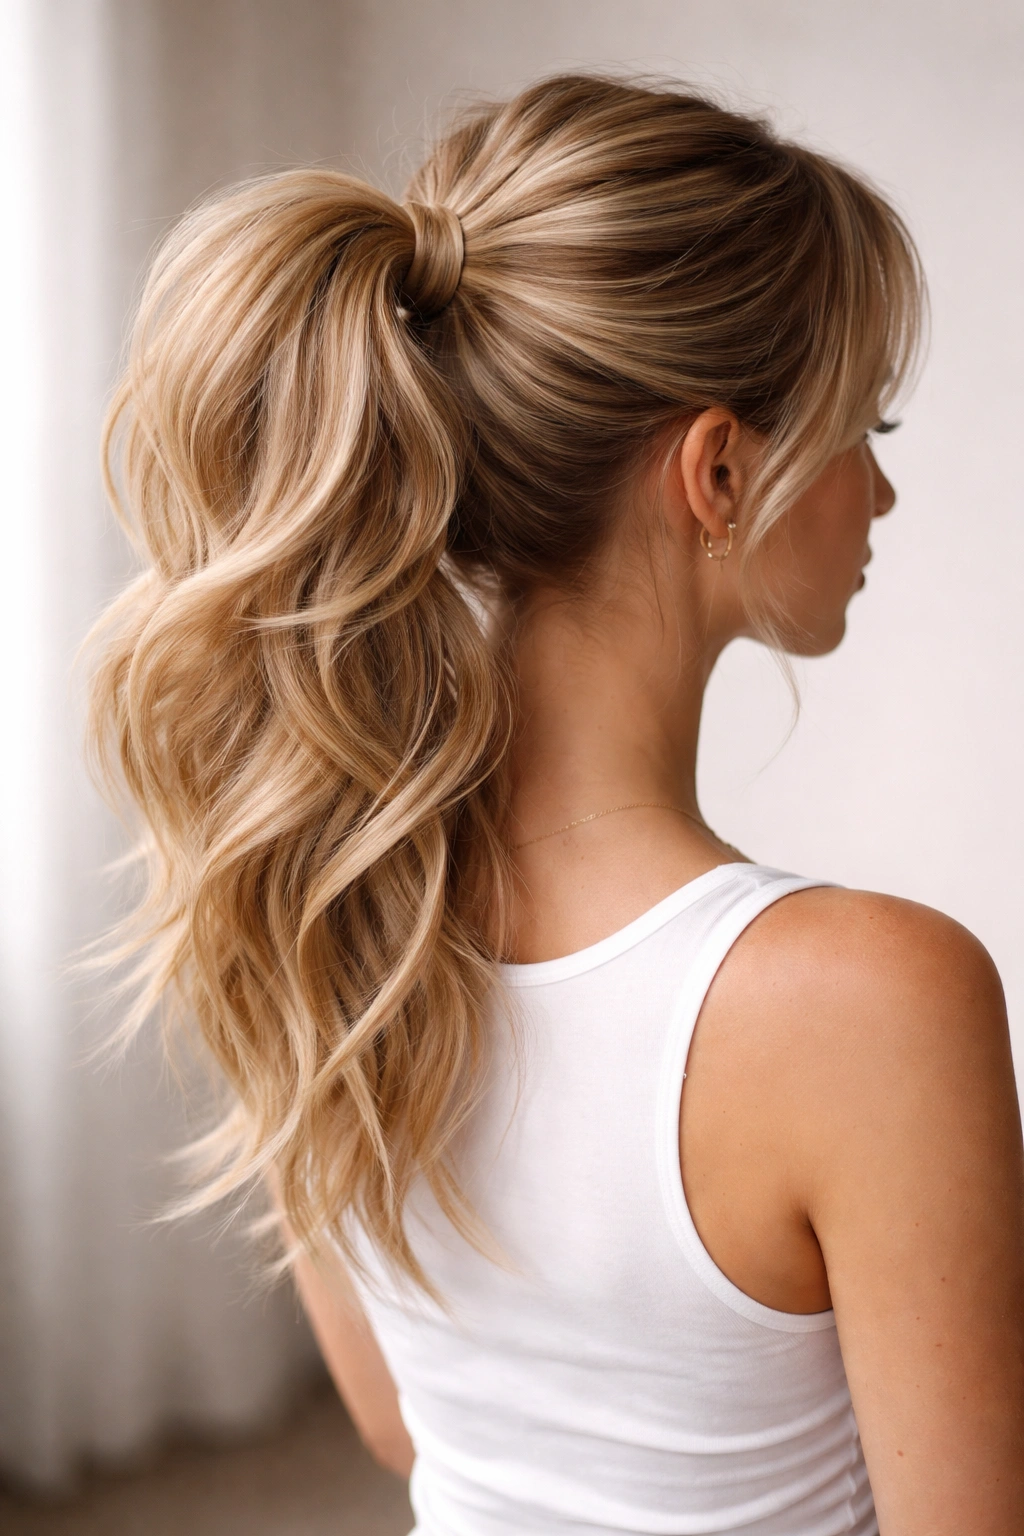
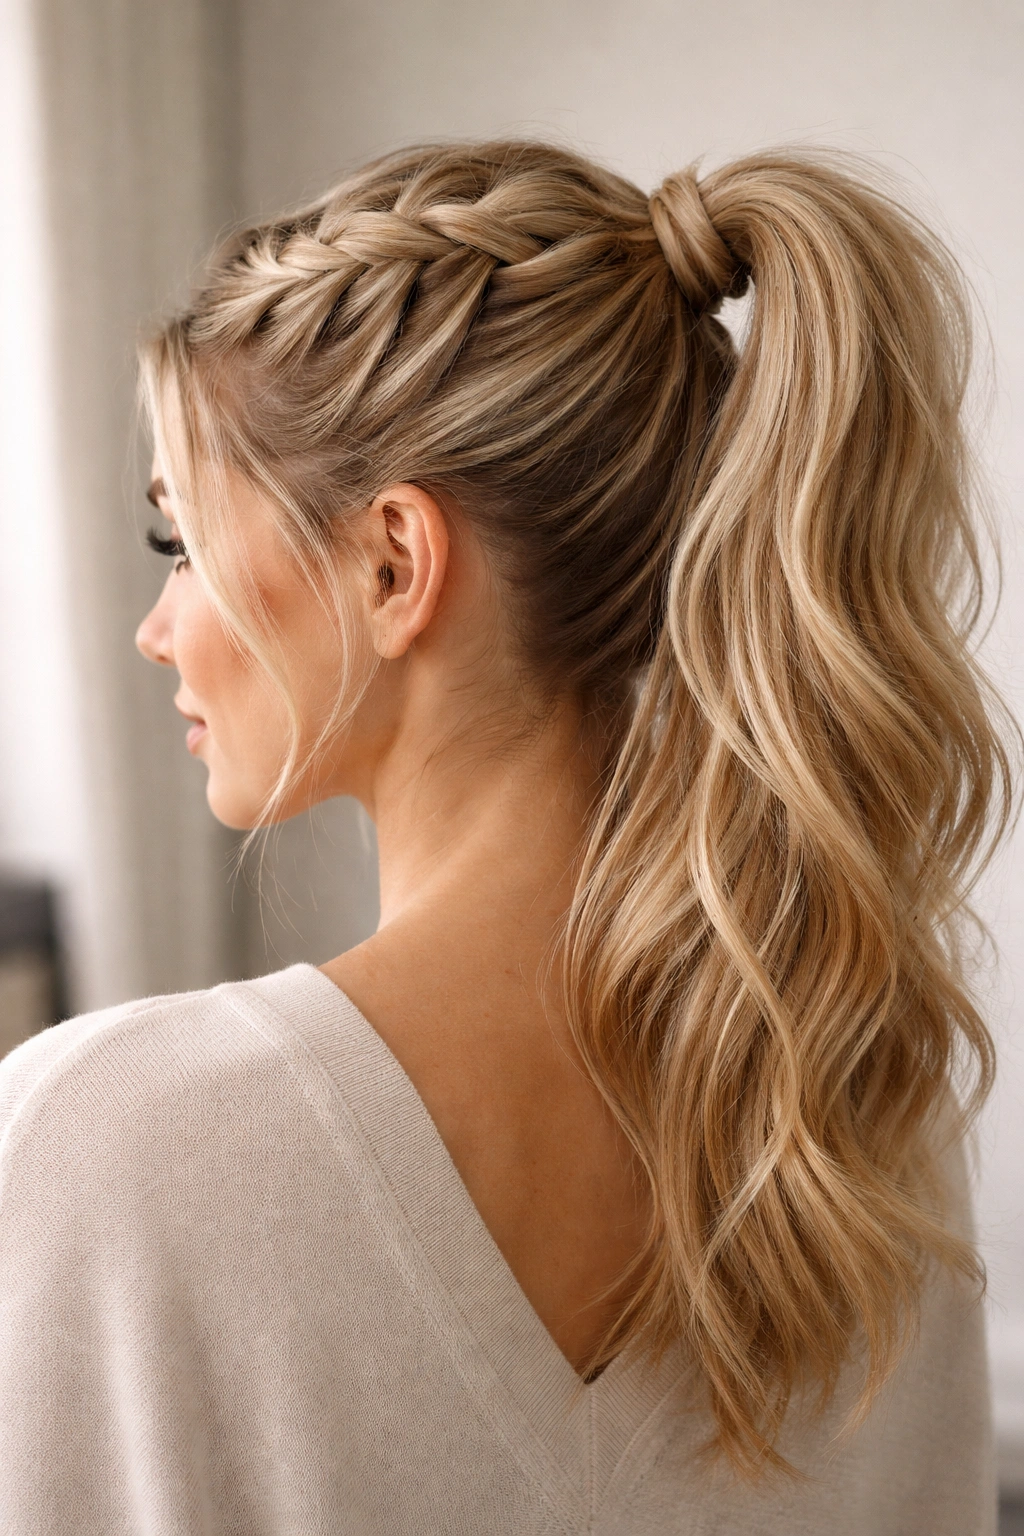
1. Textured High Ponytail with Backcomb Base
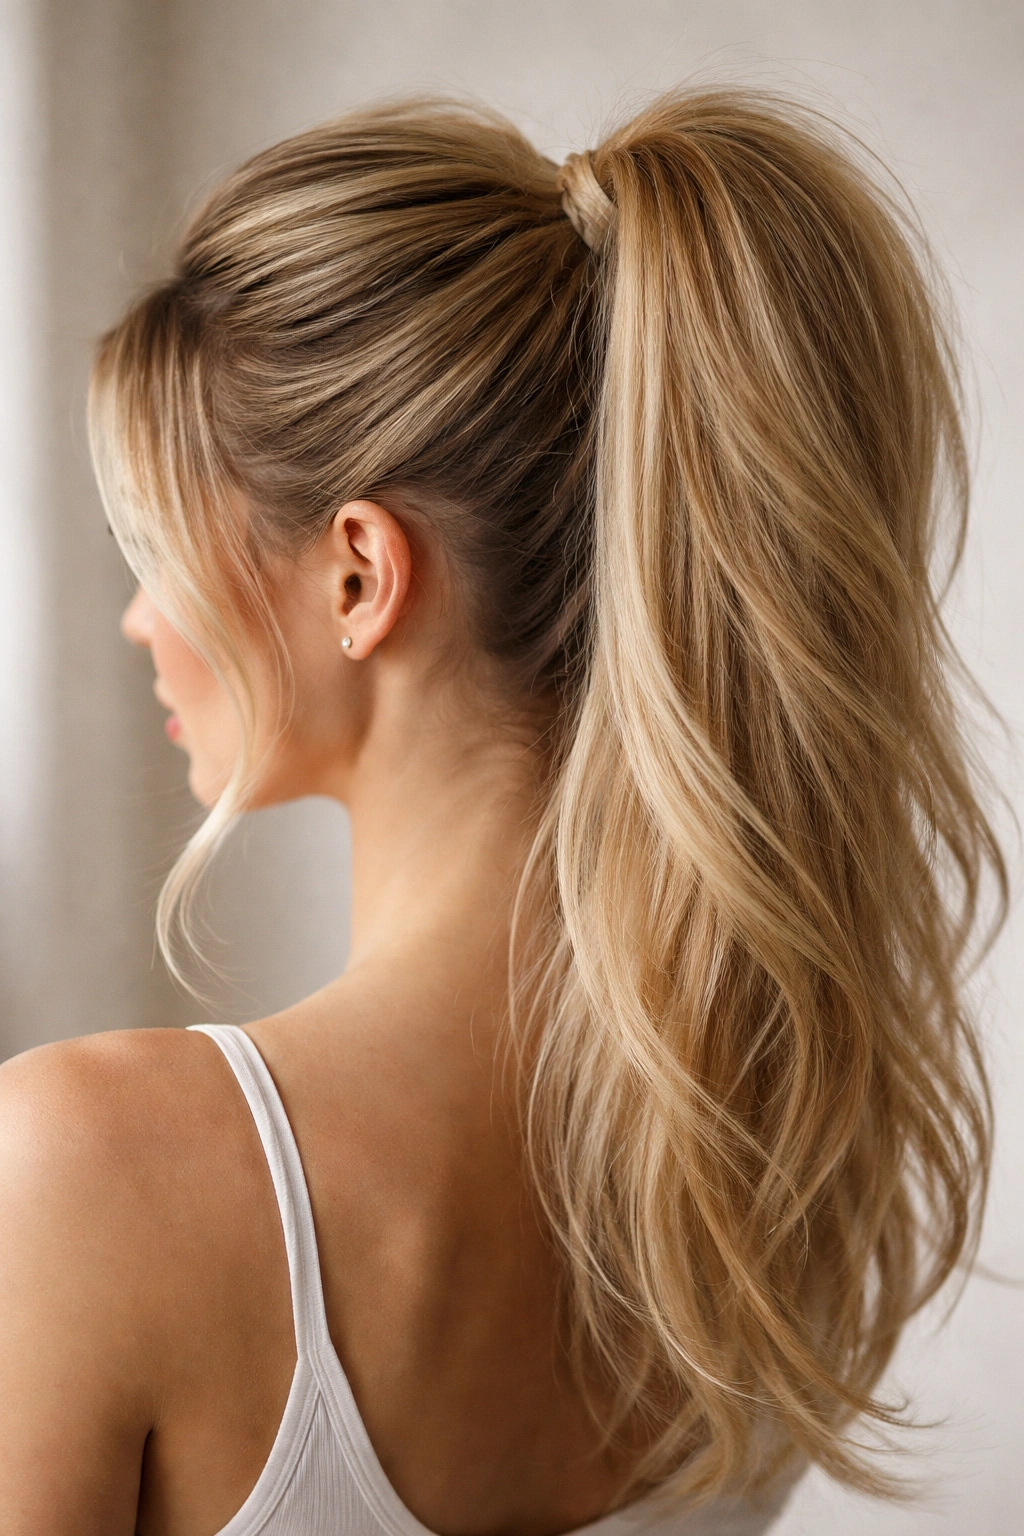
A textured high ponytail is a game-changer for thin hair because the teasing at the crown creates an instant width boost that makes everything below appear fuller. Start by rough-drying your hair with a blow dryer — this gives texture a foundation to grip. Then, section off a one-inch-wide piece of hair at your crown, from your forehead back about two inches. Gently backcomb this section using a fine-tooth teasing brush, working in short downward strokes from mid-strand toward the roots.
Why This Works for Fine Hair
The backcombing creates volume at the roots without using weights or heavy styling products. Unlike sleek ponytails that cling flatly to thin hair, the textured base catches light and gives the illusion of density. The teasing stays hidden under the top layer of smoother hair, so it looks polished, not messy.
How to Execute It Perfectly
- Use a fine-tooth teasing brush, not a coarse paddle brush (coarse bristles damage fine hair)
- Backcomb only the roots and mid-lengths, not the ends
- Smooth the outer layer gently with a fine-tooth comb so the tease stays hidden
- Gather your hair into a high ponytail at the crown and secure with a silicone elastica that won’t snag fine strands
- Wrap a small section of hair around the base of the elastic to conceal it and add polish
Pro tip: Spray the backcombed section lightly with light-hold hairspray before smoothing the top layer — this keeps the texture in place all day without stiffness.
2. Twisted Wrap High Ponytail
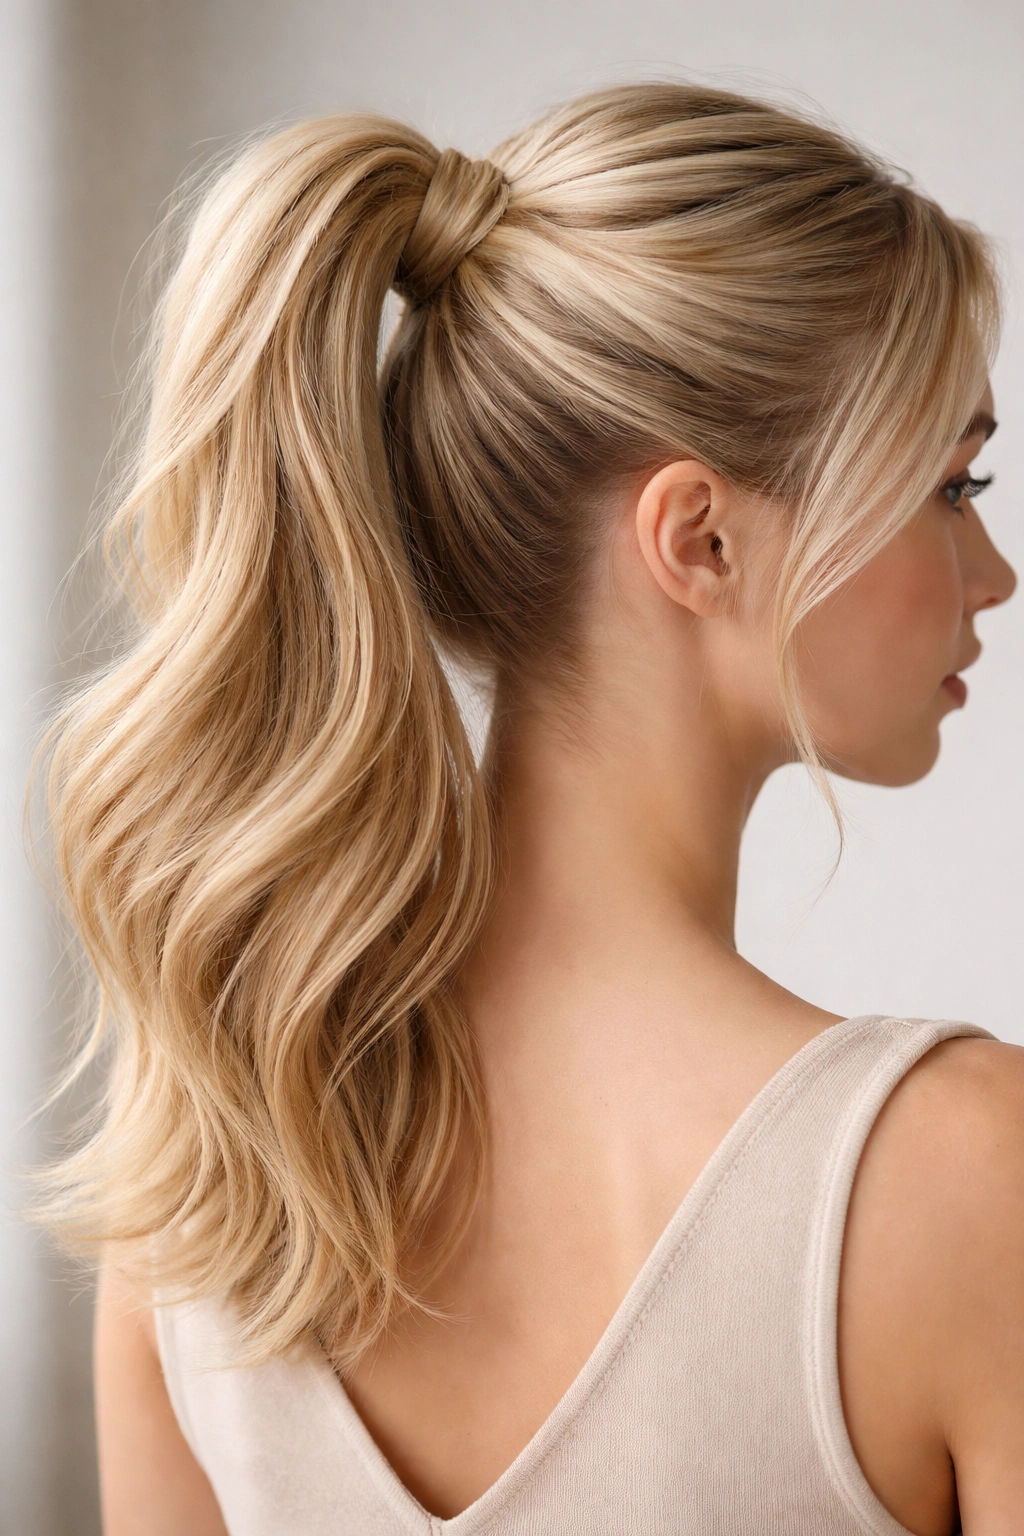
Twisted wraps add volume through movement and texture, creating a ponytail that looks substantially fuller than your actual hair density. Start by sectioning your hair into two equal halves from the center part line. Twist each section loosely away from your face, letting the twist curve naturally. Bring both twisted sections up to the crown and cross them over each other before securing them into a high ponytail.
Why Twisting Creates the Illusion of Thickness
Twists compress hair in a way that shortens the overall length slightly, making the ponytail appear denser. The twisted sections also catch and refract light differently than smooth hair would, creating dimension and visual weight. Even if you have fewer hairs, the twist structure makes each strand count.
Step-by-Step Technique
- Part your hair down the center from forehead to nape
- Twist the left section away from your face, letting it sit loosely (tight twists flatten fine hair)
- Twist the right section in the same direction
- Bring both twists to the crown, overlapping them slightly
- Secure with a hair elastic at the crown
- Gently loosen the twists slightly by pulling at the edges (this increases volume)
- Wrap a small piece of hair around the elastic base
Worth knowing: Twists hold better in hair that has texture, so consider adding a light texturizing spray before twisting if your hair is very slippery or straight.
3. Braided Crown Ponytail
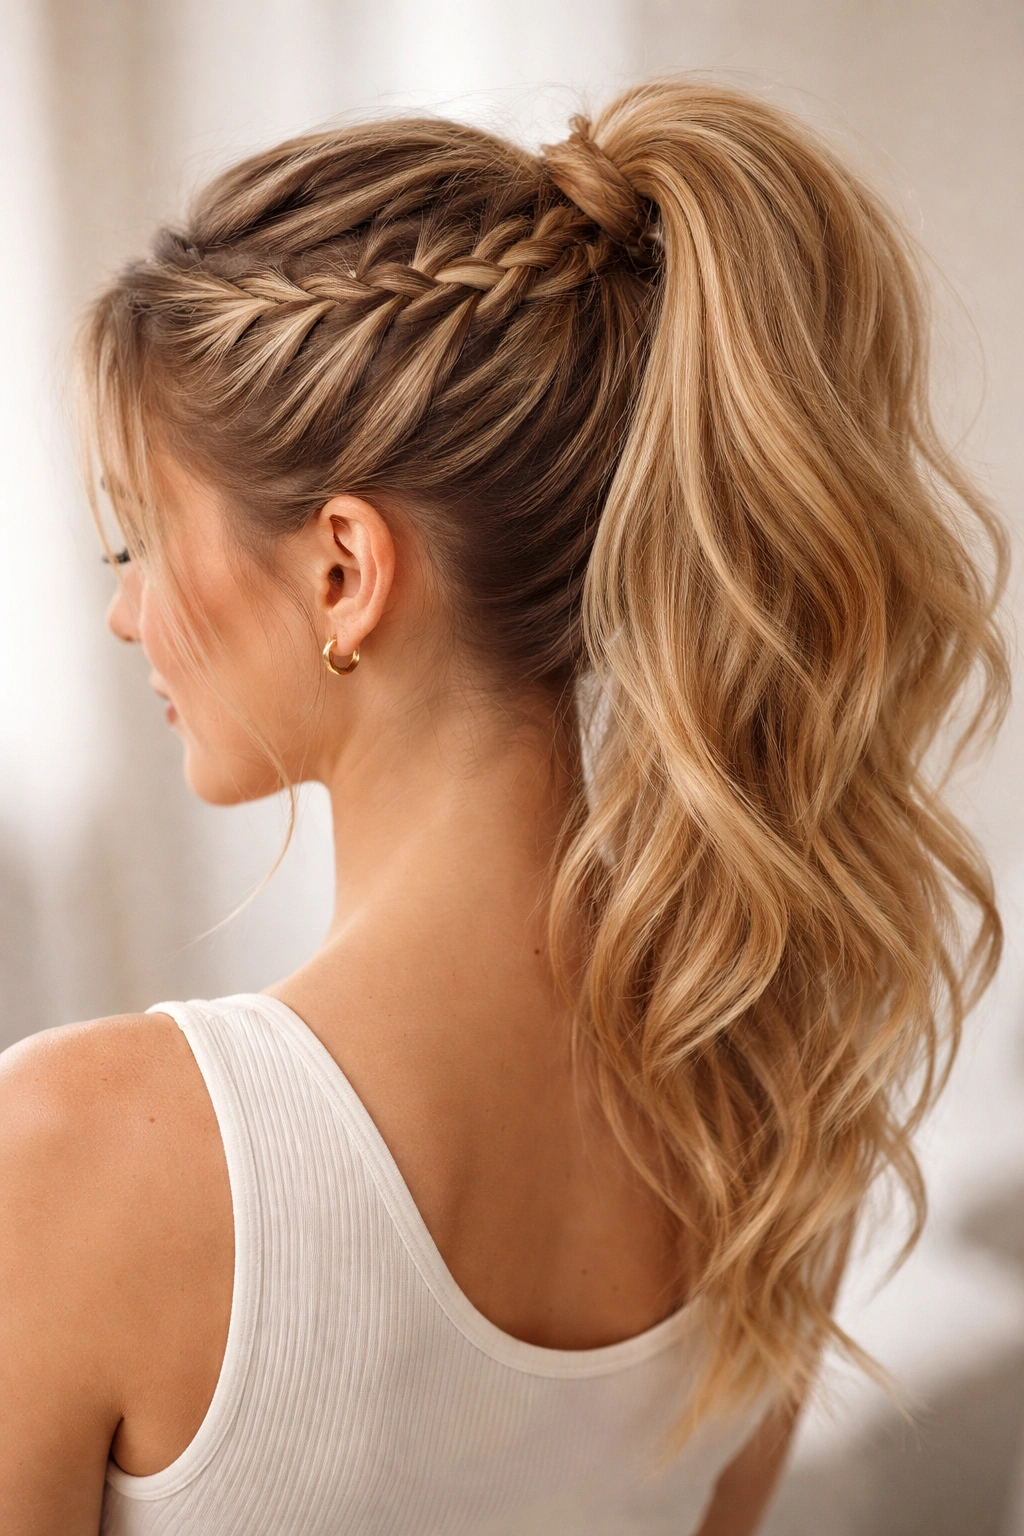
A braid braided into the foundation of your ponytail adds serious volume because the braid structure creates multiple layers and texture within the ponytail itself. Start by creating a Dutch braid (an inverted French braid that braids under rather than over) along one side of your head, from temple to the back of the crown. Once you reach the nape, add the remaining loose hair into the braid, secure it all into a ponytail at the crown, and gently pull the edges of the braid slightly outward to increase width.
The Volume-Building Science of Braids
Braids distribute hair across a larger surface area than a flat ponytail would, creating the perception of more density. Because the braid foundation anchors the ponytail from the inside, it stays lifted and fuller-looking all day without slipping down or falling flat. The braid also allows you to hide thinner sections of hair within its structure.
How to Braid for Maximum Volume
- Braid loosely rather than tightly (tight braids flatten and thin out)
- Use a Dutch braid (under-braid) rather than a regular French braid, as it sits raised on the scalp
- Pull the braid edges gently outward after securing the ponytail to increase perceived width
- The braid can be as long or short as you prefer; even a 2-inch braid at the crown adds volume
Insider note: If Dutch braiding feels tricky, a simple three-strand braid along one side of the head works beautifully too — it just needs to reach your crown where the ponytail begins.
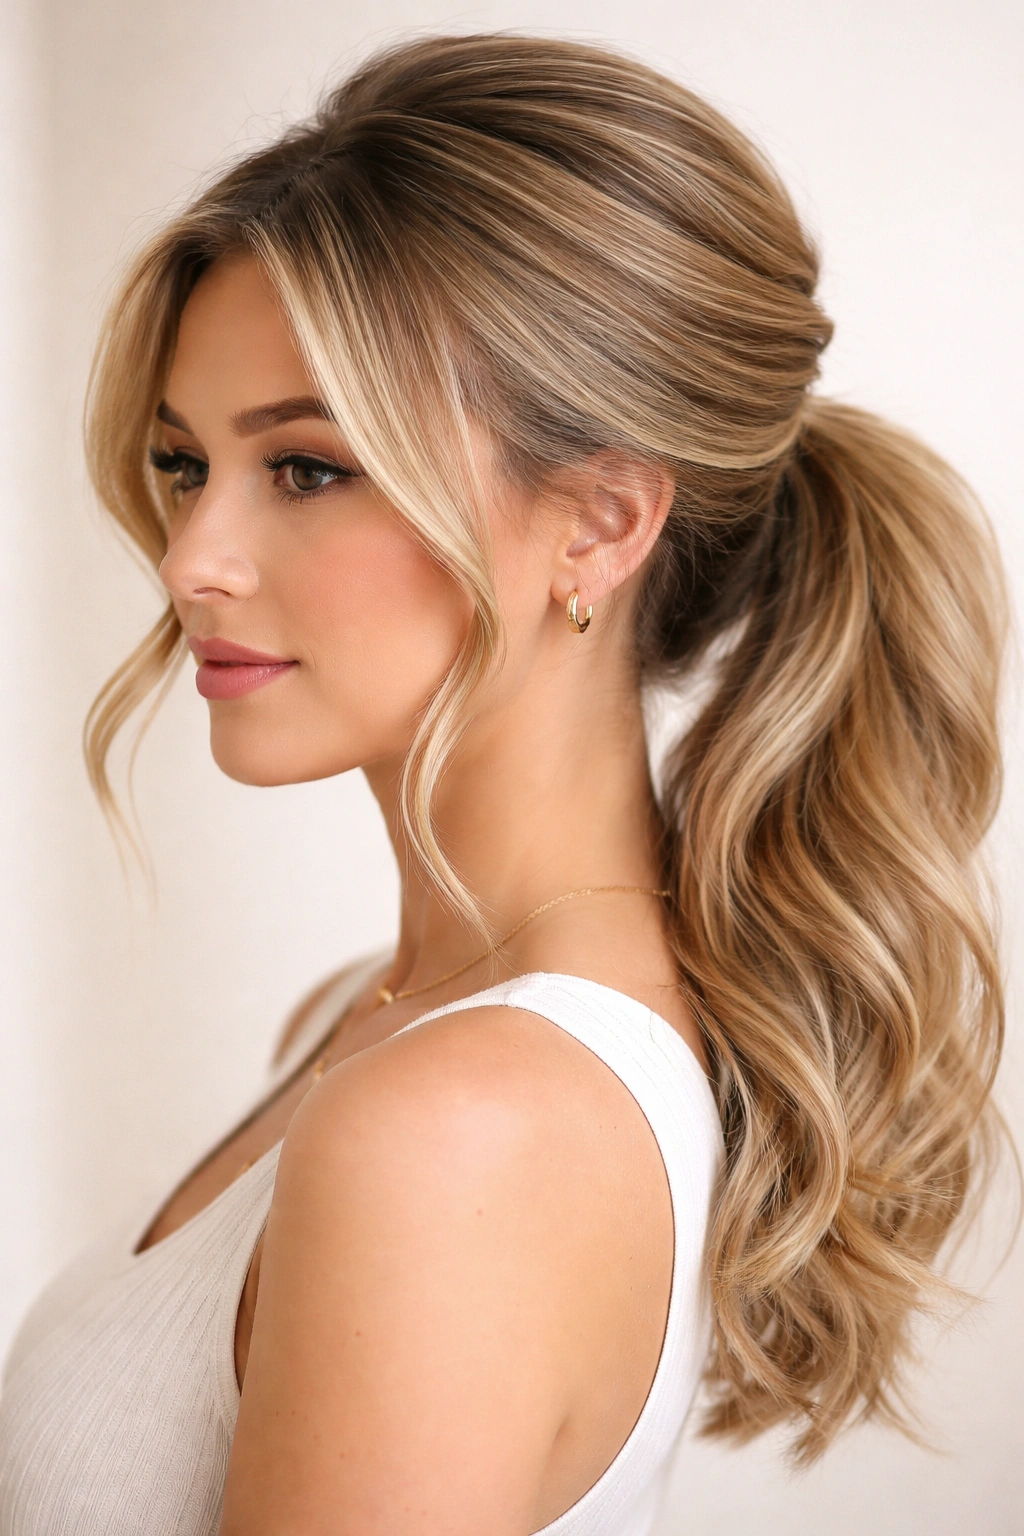
4. Teased Crown Ponytail with Smooth Sides
This style separates the structural volume (hidden teasing at the crown) from the smooth, polished outer appearance — giving you fullness where it counts without looking unkempt. Tease a two-inch section at your crown using a fine-tooth teasing brush, backcombing gently. Smooth the outer layer of hair over the tease using a fine comb and a light smoothing serum. Gather all your hair into a high or mid-height ponytail and secure it with a small, thin elastic.
Why Tease-and-Smooth Works Best for Thin Hair
The hidden tease at the crown creates volume and lift without visible bulk or frizz. By smoothing the outer layer over the tease, you get dimension and fullness combined with a polished, professional finish. This style works for both casual and formal occasions because it looks intentionally styled, not just teased and tied up.
Best Practices for Invisible Volume
- Use a light-hold hairspray to lock the tease in place, not a heavy-hold product that weighs hair down
- Backcomb only in a two-to-three-inch section at the crown where it’s hidden by the ponytail
- Smooth the outer layer very gently to avoid flattening the tease beneath
- Choose a ponytail height that makes sense for your face shape; higher ponytails work for most face shapes with thin hair because they open up the face and show the crown volume
Pro tip: Backcomb your hair before blow-drying it; the heat helps set the tease, and it holds much longer than teasing dry hair.
5. Layered Ponytail with Texture
Layering your ponytail — securing sections at different heights before combining them — creates visual density by multiplying the base of the ponytail. Secure a small section of hair in a ponytail about an inch below your crown. Pull a second, larger section of hair into a ponytail just below the first one, then gently tease both sections and the hair between them. Finally, secure all your hair into one ponytail at your desired height.
The Illusion Behind Layered Ponytails
Multiple secured sections create the impression of thicker roots because the layering multiplies the visual “base” of the ponytail. Each secured section adds dimension and prevents the hair from looking thin and stringy at the scalp. The texture created by teasing between sections makes the whole thing appear fuller and more intentional.
Creating Layers Without Damage
- Use small, thin elastics for each layer (they’re less noticeable and easier to work with)
- Gently tease hair between each elastic to blend the layers smoothly
- Loosely gather all your hair into a final ponytail, positioning each elastic so it’s hidden behind the layer below
- Wrap hair around the base to conceal elastics and polish the look
- The final ponytail should look like one smooth style, not obviously layered
Real talk: This technique requires a bit of practice and patience, but the result is genuinely one of the fullest-looking ponytails you can achieve with fine hair.
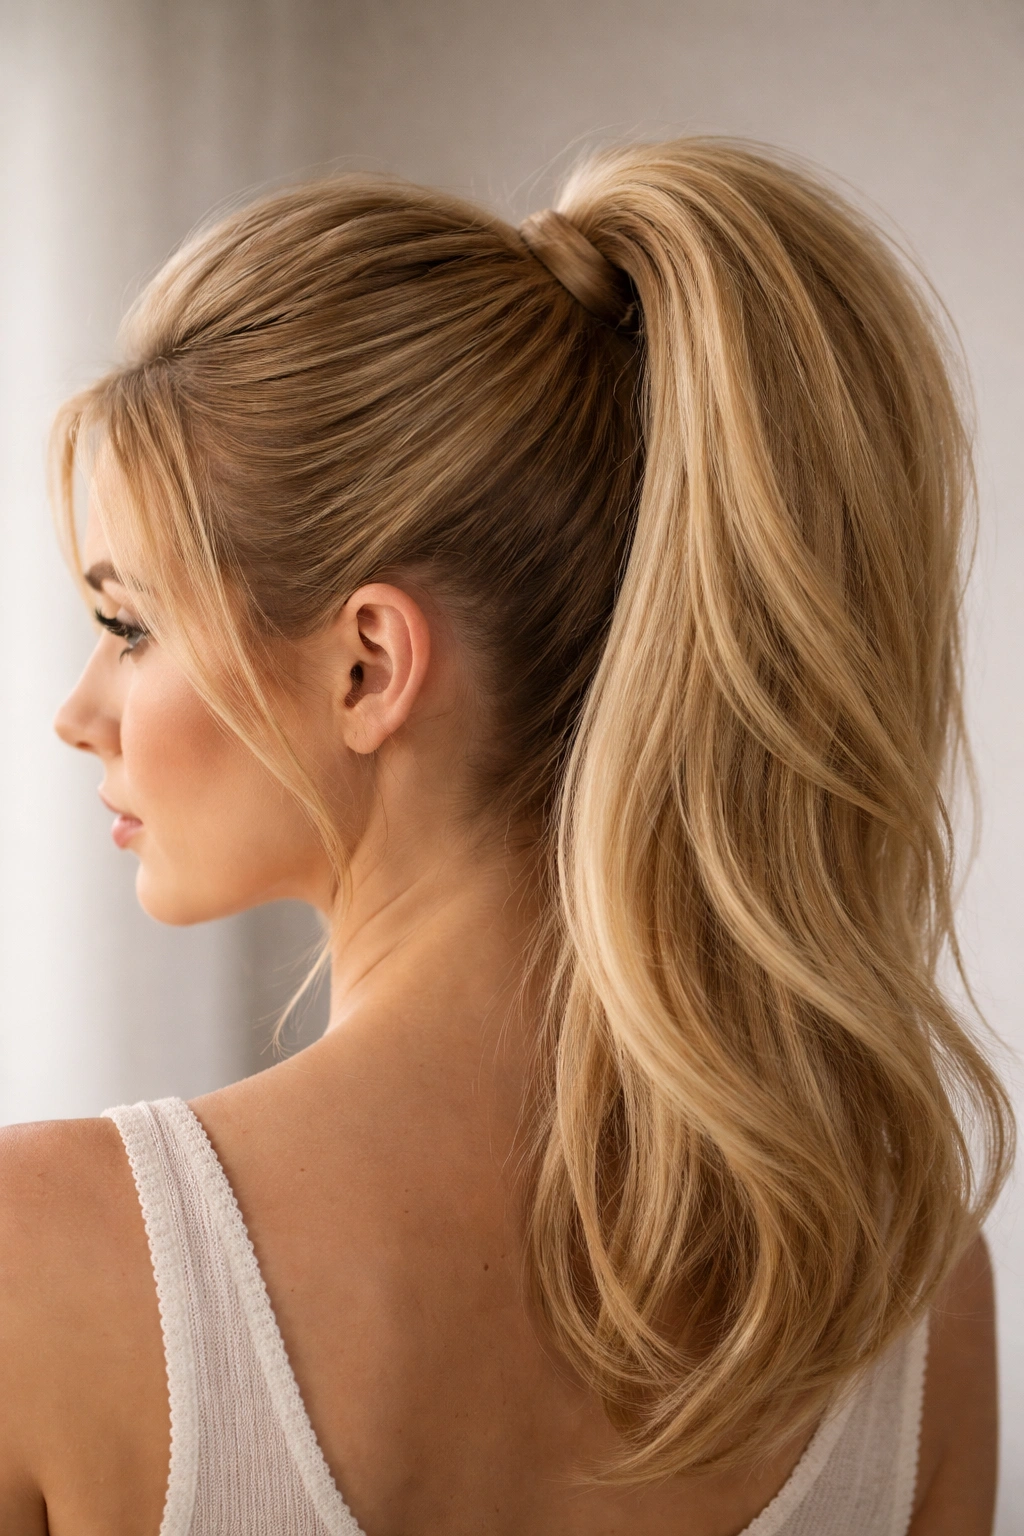
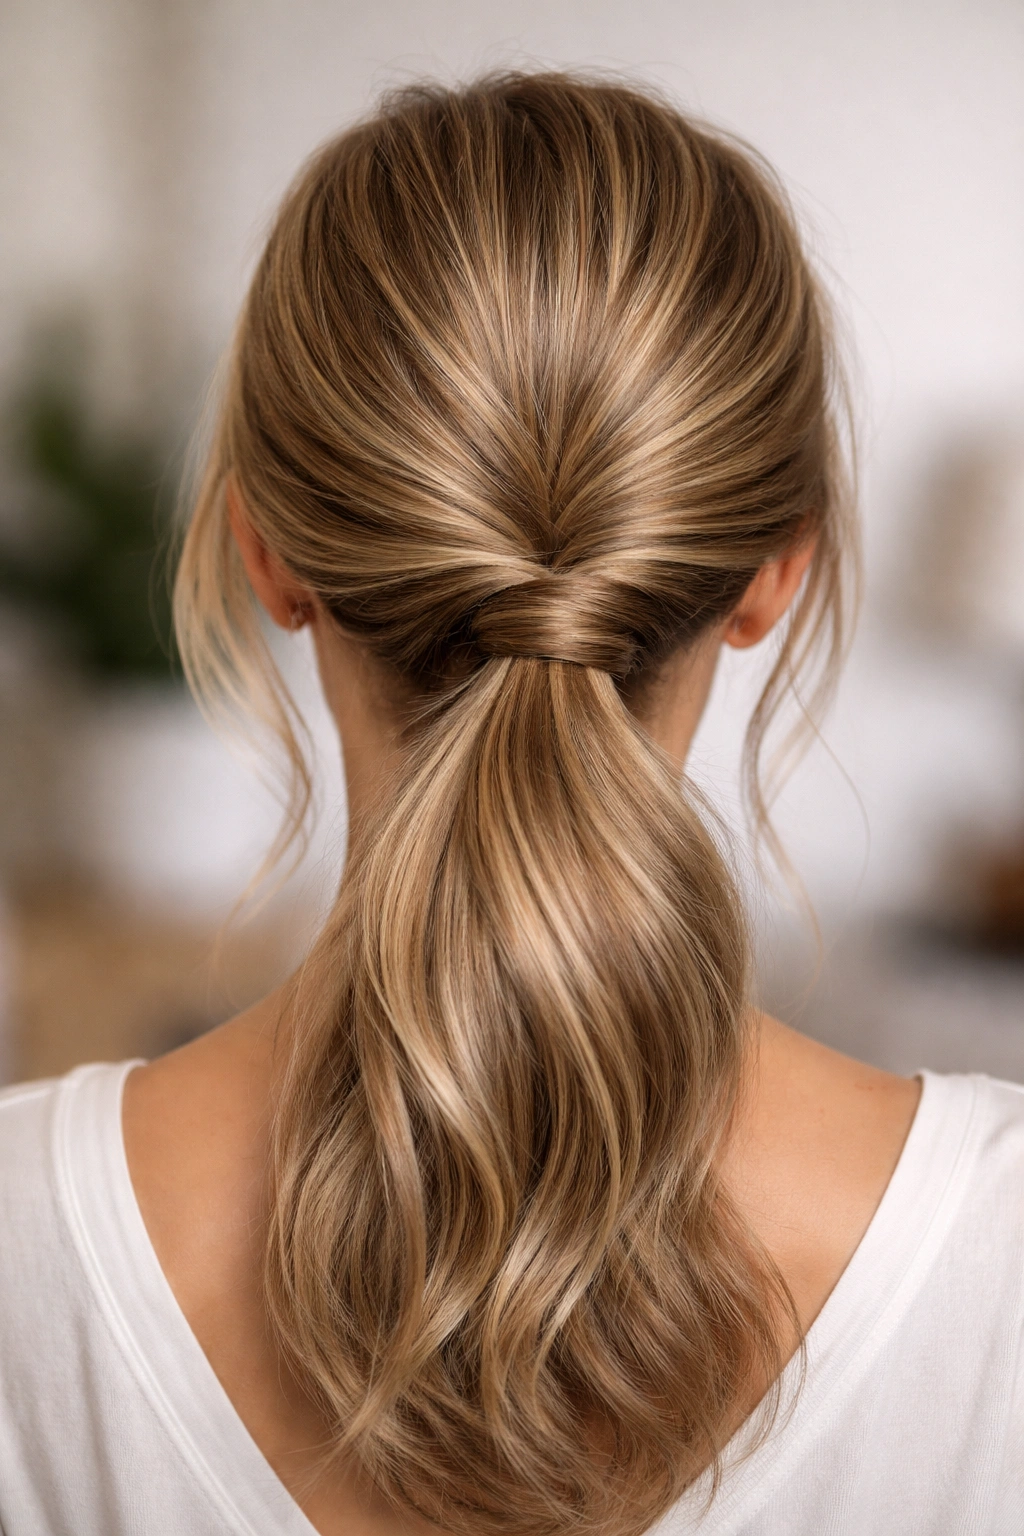
6. Side-Swept Low Ponytail with Volume
Side-swept ponytails move hair in a way that creates movement, texture, and the impression of density. Brush your hair to one side of your head, angling from the opposite temple toward the back of the ear. Gently backcomb the hair at the crown on the sweeping side (the side with more hair visible). Secure your ponytail at ear level rather than at the nape — this placement shows more hair and creates visual fullness.
Why Low Side Ponytails Maximize Volume for Thin Hair
A low, side-positioned ponytail reveals more scalp area, which can be risky for very thin hair, but the side sweep keeps density concentrated on one side rather than dispersed across the crown. The lower placement also means less stress on the hair at the roots, reducing breakage and hair loss. The side sweep itself creates movement and dimension that makes hair look fuller.
Technique for the Perfect Sweep
- Part your hair heavily to one side, not down the center
- Use a round brush to create a smooth wave while blow-drying; this adds to the fullness
- Backcomb gently at the crown on the sweeping side
- Gather hair at ear level (lower side ponytails don’t stress thin hair at the crown)
- Secure with a thin elastic and wrap the base with hair for polish
- Let a few face-framing pieces fall loose to add dimension and soften the look
Worth knowing: This style works especially well if you have some waviness or texture in your hair already; it amplifies the natural movement.
7. Messy High Ponytail with Strategic Pieces
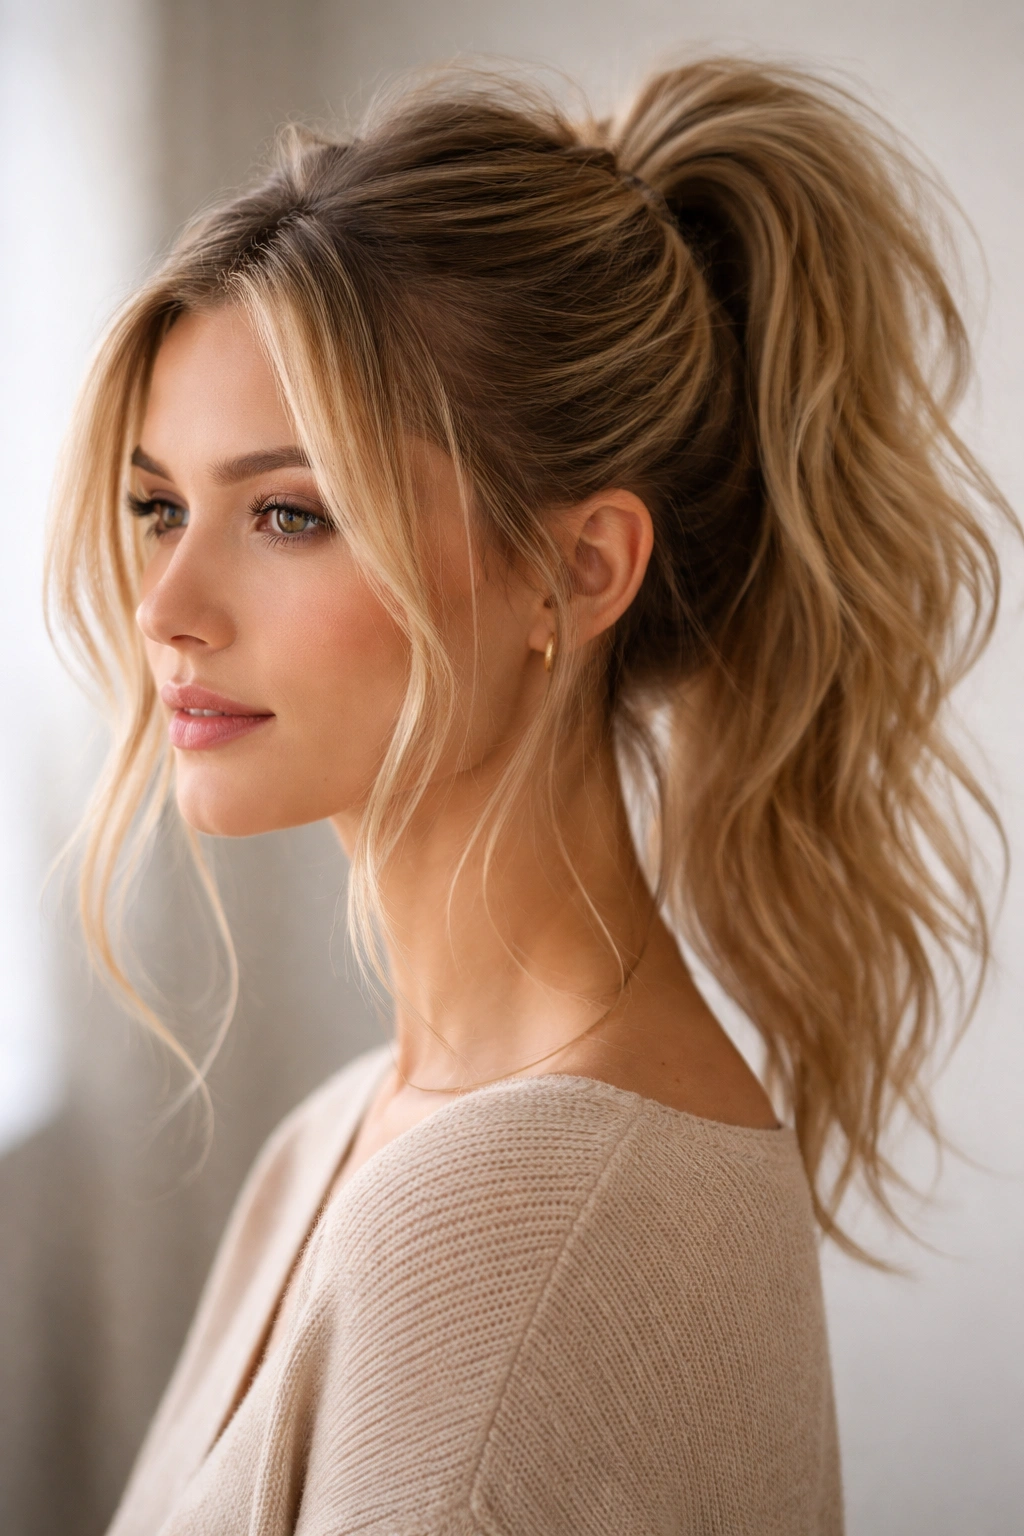
A deliberately messy ponytail works beautifully for thin hair because the intentional undone-ness reads as fullness rather than sparseness. Rough-dry your hair with a blow dryer using your fingers rather than a brush to build texture. Tease your crown gently. Gather your hair into a high ponytail but pull a few pieces around your face and a few smaller pieces from the base loosely outward. Secure with a thin elastic and mist everything with a light texturizing spray.
Why Messy Looks Fuller, Not Thinner
Messy styles work by creating visual busyness and texture. The pulled-out pieces multiply the visual outline of the ponytail, making it appear fuller and less defined. The roughness and texture catches light in multiple directions, creating the impression of volume that smooth, sleek styles don’t achieve. This style also feels modern and intentional rather than like you just threw your hair up.
How to Pull Off “Messy” Without Looking Unkempt
- Start with textured hair (rough-dry or use a texturizing spray) so strands grip each other
- Pull only 3-5 small, thin pieces around your face and from the base; too many pieces looks sloppy
- The pieces should frame your face naturally, not hang in random sections
- Make sure the elastic is tight and secure even though the pieces are loose
- Use a light hairspray to hold the pulled-out pieces without making them stiff
Pro tip: This style actually improves over the course of the day as more pieces naturally loosen and it becomes even fuller-looking.
8. Bubble Ponytail with Volume Base
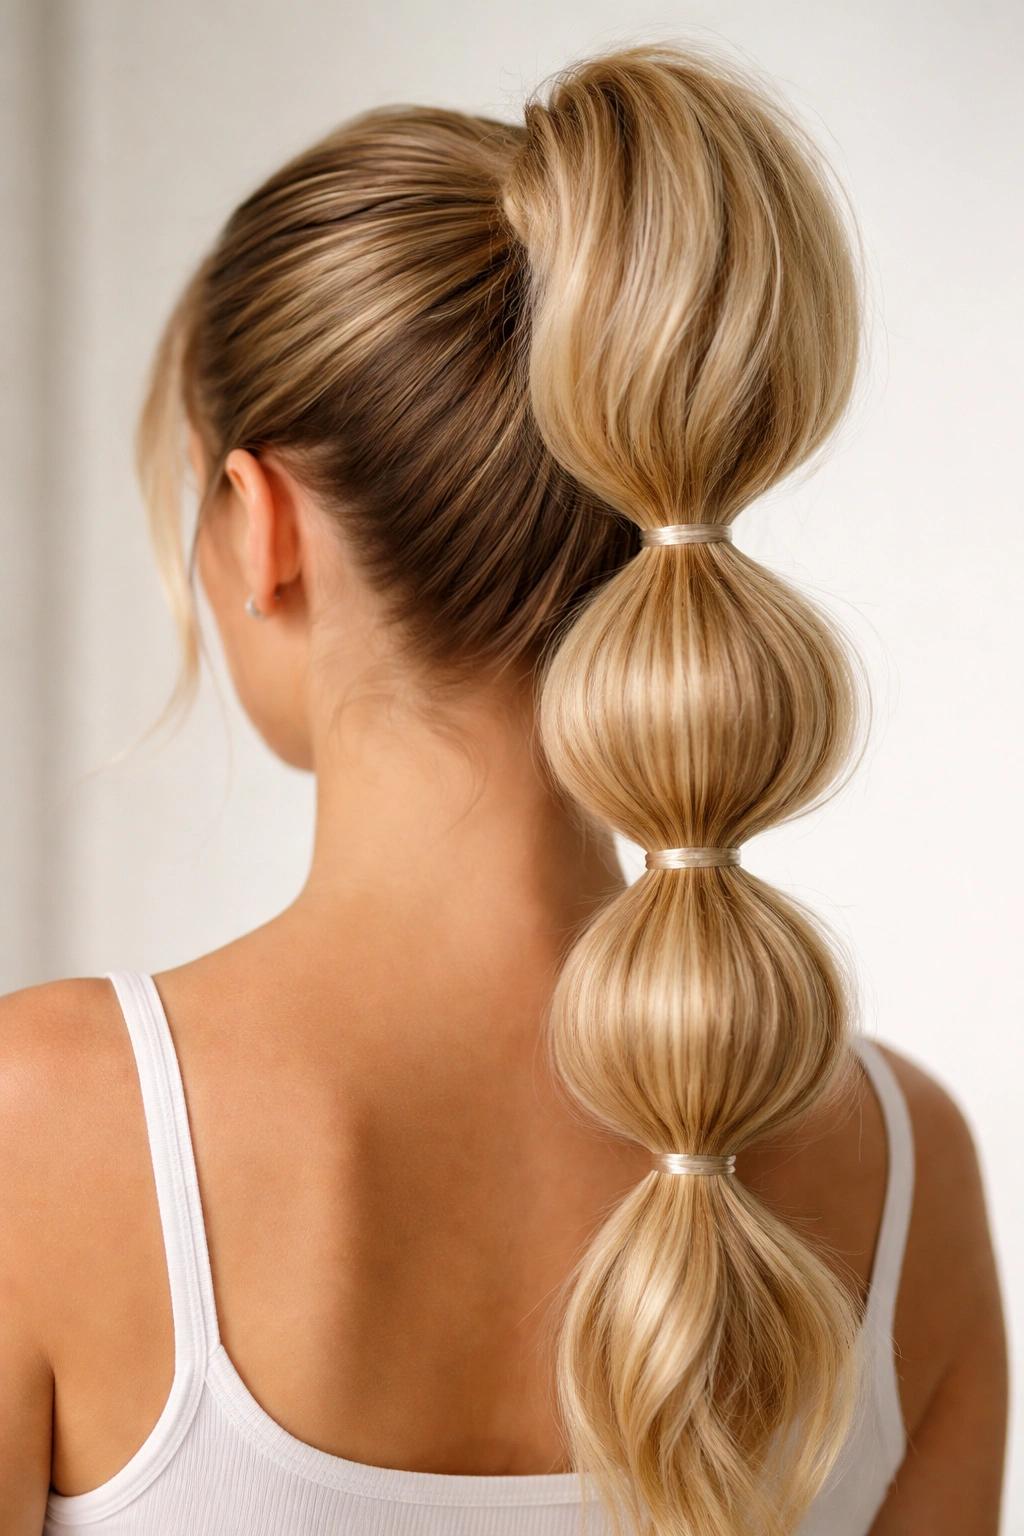
Bubble ponytails use multiple elastics spaced down the length of the ponytail, creating segmented sections that puff out between each elastic. This technique dramatically increases the perceived volume of your ponytail. Tease your crown lightly and secure a high ponytail with a thin elastic. Slide a second elastic down about two inches, gently pulling the ponytail section between the two elastics outward to create a puff. Repeat with additional elastics and puffs down the length of your ponytail.
Why Bubble Ponytails Multiply Visual Fullness
Each bubble created between elastics adds volume and surface area to your ponytail. Because the hair is segmented, each segment appears fuller than it would as a continuous length. The puffed sections also catch light differently, creating dimension and texture that make the entire ponytail read as thicker. This style also translates beautifully to social media and photos.
Creating Perfect Bubbles
- Use thin, clear or matching-color elastics so they don’t become a visual distraction
- Space elastics about two to three inches apart down the ponytail
- After each elastic, gently gather the hair between elastics and pull it slightly outward at the sides
- Don’t pull so hard that you distort the shape or break hairs
- Mist with light hairspray between elastics to keep puffs set
Insider note: Bubble ponytails work best with hair that’s at least shoulder-length; shorter hair doesn’t have enough length to create distinct bubbles.
9. Dutch Braid Into Ponytail
A Dutch braid that transitions directly into a ponytail adds structural volume while keeping the style completely polished and secure. Create a Dutch braid (an inverted braid that braids under rather than over) along the center of your scalp from your forehead down toward the nape. Once you reach the lower crown, release the braid and gather all your hair, including the braid base, into a ponytail. Pull gently at the edges of the braid to loosen it slightly and increase width.
The Structural Advantage of Dutch Braids for Fine Hair
Dutch braids sit raised on the scalp because they braid under rather than over, giving them more inherent volume than regular French braids. When the braid transitions into a ponytail, the braid foundation acts as an anchor that keeps the entire ponytail lifted and full. The braid also hides thinner areas of hair within its structure, allowing finer hair to blend with thicker sections.
Braiding Technique That Maximizes Volume
- Don’t braid too tightly; loose braids appear fuller and softer
- Start the braid at your hairline for maximum length and drama
- As you reach the crown, gradually include more hair on each side so the braid widens
- After securing the ponytail, pull the braid edges outward gently to increase the perceived width of both the braid and the ponytail
- The braid should remain visible above the elastic for a complete, styled look
Real talk: Dutch braiding takes practice, but the payoff for thin hair is substantial — this is genuinely one of the most effective volume-building styles.
10. Low Twisted Ponytail with Backcomb
Low ponytails are often thought to expose thin hair, but when combined with twisting and teasing, they create volume in a different way — through texture and movement rather than reliance on crown lift. Section your hair into two halves down the center. Twist both sections loosely, teasing slightly as you twist. Bring both twisted sections down to the nape and secure them into a low ponytail. Gently loosen the twisted sections by pulling at their edges.
Why Low Works When You Add Texture
A low ponytail with twists and texture reads as full because the twists compress hair into a denser structure, and the loosened edges multiply the visual outline. The movement and undone quality of the twists also create visual fullness that smooth, sleek styles don’t achieve. Low ponytails also put less tension on thin hair at the crown and roots, reducing stress and breakage.
Executing Low Ponytails Without Exposing Thinness
- Create texture throughout your hair before twisting (use a texturizing spray or rough-dry)
- Tease gently at the crown even though your ponytail will be low; this lifts the crown area and prevents it from looking flat and thin
- Twist loosely and then pull the edges outward to increase width
- Position the low ponytail low enough that the crown area above it isn’t too exposed (around ear level is ideal)
- Consider leaving a few face-framing pieces down to soften and add dimension
Pro tip: Pair this style with an updo accessory like a claw clip or decorative barrette at the base to draw attention to the fullness of the ponytail rather than the crown area above.
11. Half-Up Ponytail with Crown Teasing
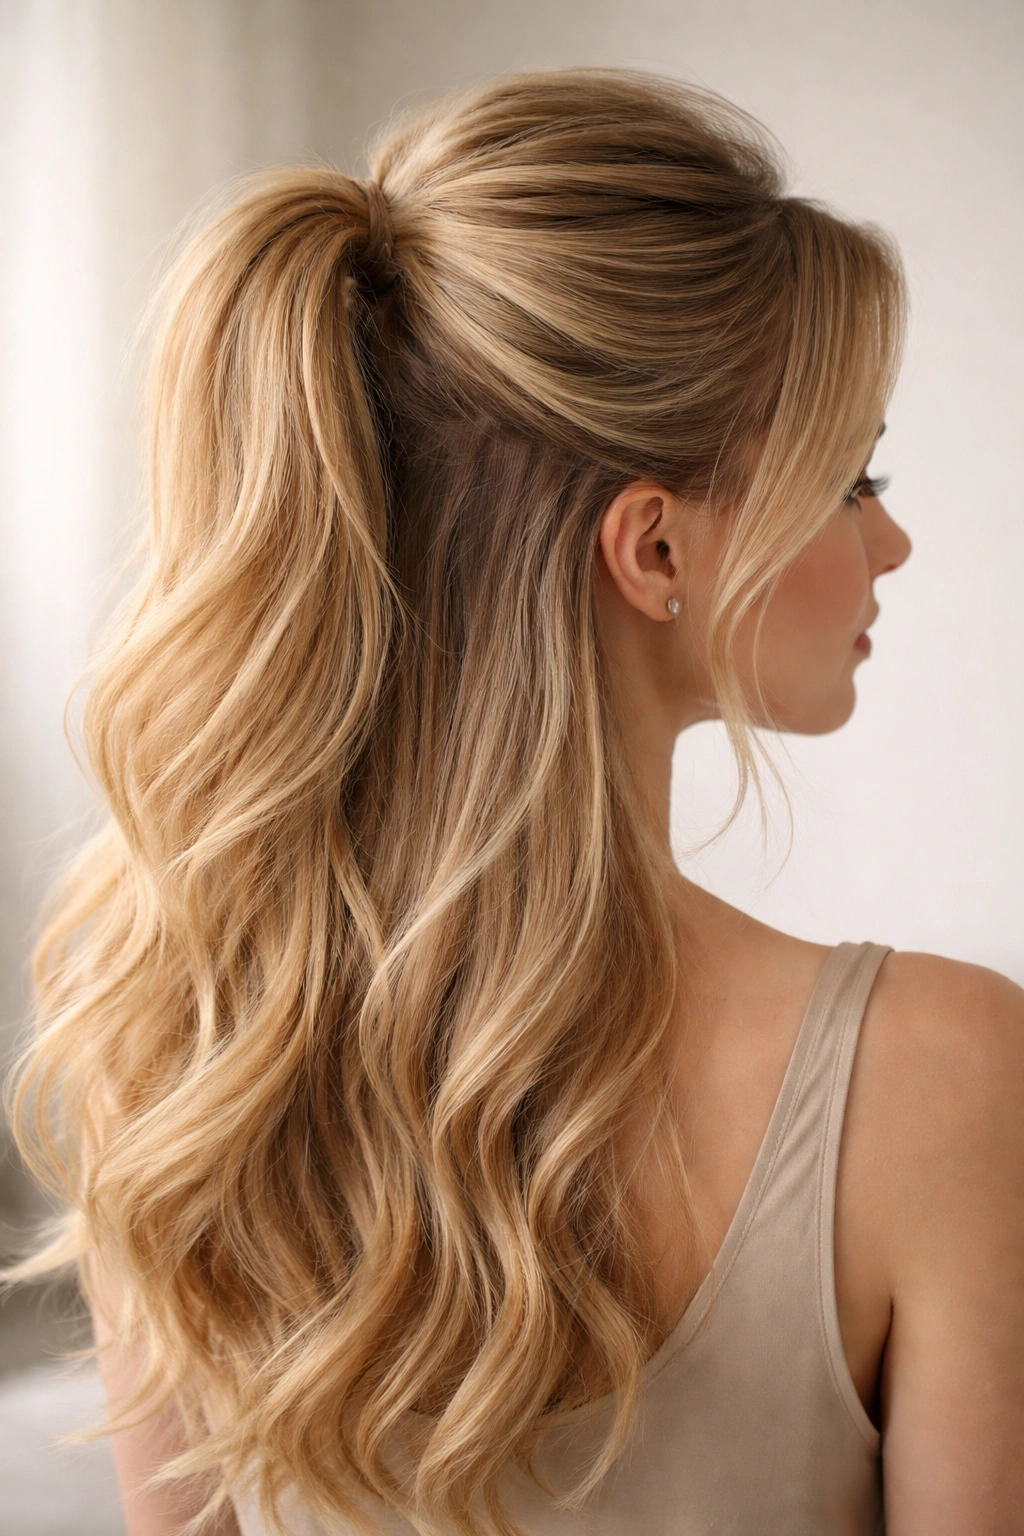
A half-up style gives you the visual benefit of fuller hair at the crown (because the crown shows) while the ponytail adds fullness in the middle of your head. Tease your entire crown region generously — from your temples back to your crown. Smooth the outer layer gently. Gather the top half of your hair into a ponytail at the crown, leaving the bottom half down. Gently tease the actual ponytail section itself to add density to the middle of your head.
Why Half-Up Styles Suit Thin Hair
Half-up styles work because they display your crown (where you’ve added volume through teasing) while keeping the rest of your hair down. This prevents the entire crown from being exposed and flat. The ponytail section can be teased independently to create density in the middle of your head, multiplying the visual fullness. This style also works beautifully with natural waves or curls in the down section.
Creating a Full-Looking Half-Up
- Tease your crown thoroughly; this is where the style’s fullness comes from
- Smooth only the outer layer so the tease stays hidden
- The ponytail should sit at the top of your head, not at ear level
- Backcomb the ponytail section itself before securing to add density
- Let the down portion have some texture (waves, curls, or light teasing) so it reads as full, not just scraggly
Worth knowing: This style works at any hair length because the down section provides density and movement, making the whole look fuller than it actually is.
12. Faux Hawk Ponytail with Central Volume
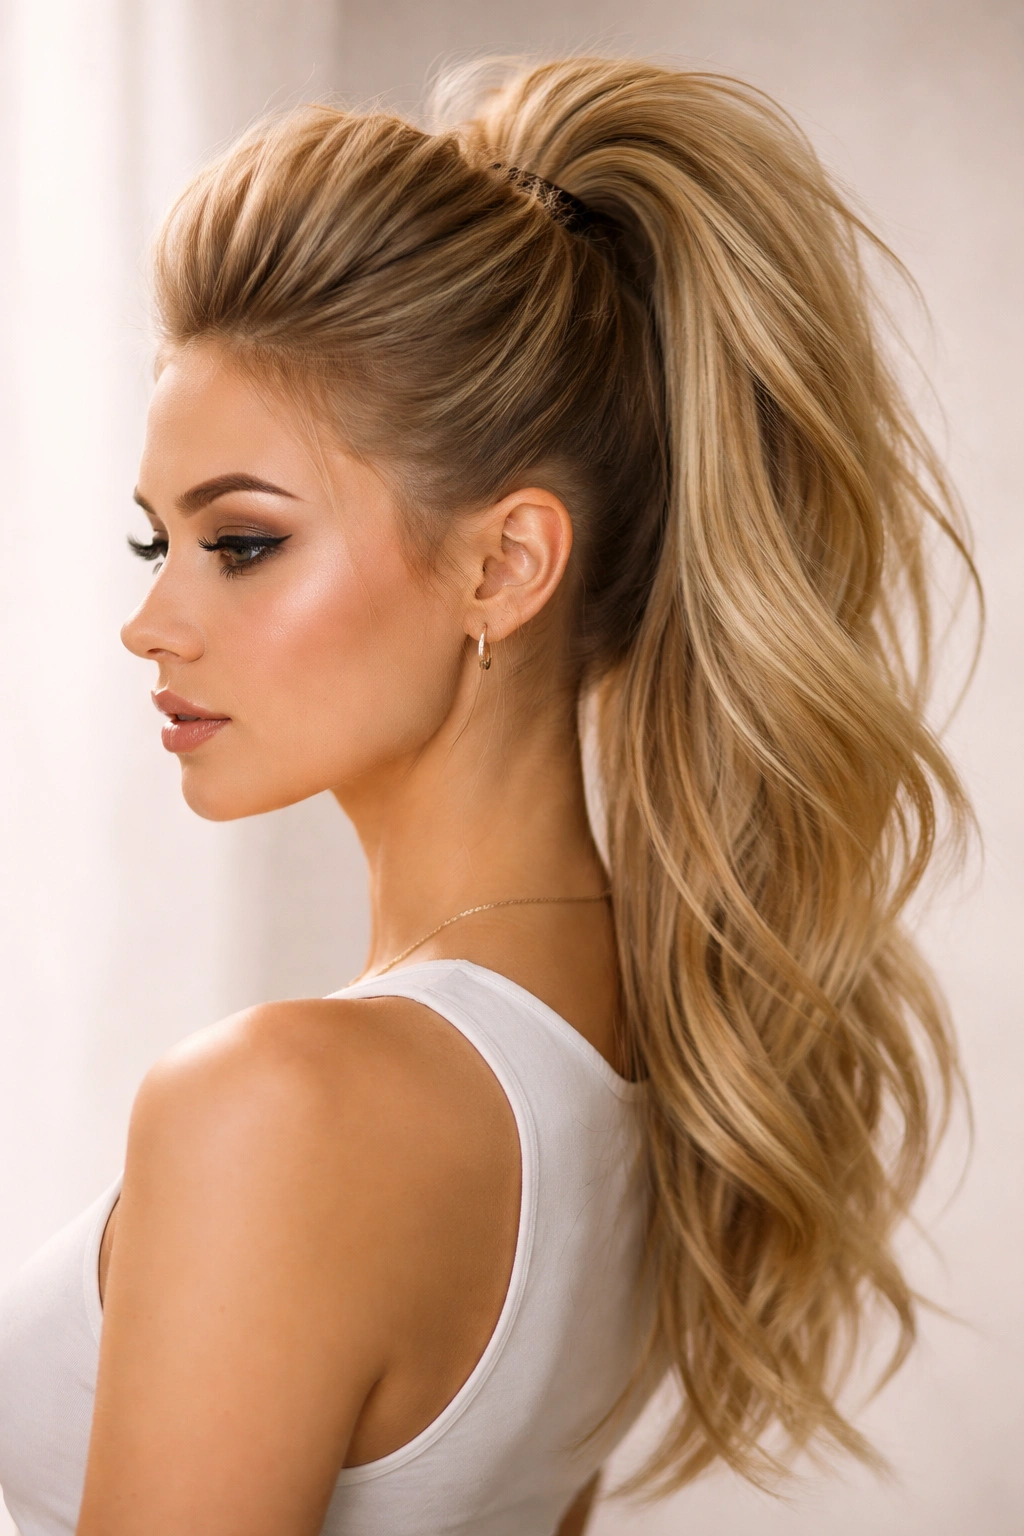
A faux hawk ponytail creates the illusion of a dense mohawk without any shaving or commitment. It’s essentially a very high, very voluminous ponytail with the sides smoothed back. Start by teasing your entire crown and the top third of your head heavily. Smooth the sides of your hair back and away from your face using a light smoothing serum. Gather all your hair into a very high ponytail at the crown, pulling the teased section upward and forward slightly to create a pronounced height at the crown.
The Visual Drama of Faux Hawks for Fine Hair
A faux hawk creates maximum drama with volume concentrated at the crown and top of the head. The height and forward-facing volume makes thin hair appear noticeably denser, while the smooth sides prevent that density from spreading out and looking thin. This style is bold, modern, and genuinely one of the fullest-looking options for fine hair.
Achieving True Faux Hawk Height
- Tease your crown and the entire top section of your hair; don’t hold back on the teasing for this style
- Tease from the roots, not just the mid-lengths, to build maximum height
- Smooth your sides and back smoothly to contrast with the volume at the top
- Gather your ponytail very high, positioning the elastic at the very crown
- Pull the teased section slightly upward before securing to maximize the height and forward projection
Insider note: This style photographs beautifully and makes a real statement, so it’s great for special occasions, nights out, or whenever you want to feel bold and confident in your hair.
Final Thoughts

Thin hair doesn’t mean you’re limited to sad, flat ponytails. The styles in this guide work by using texture, strategic placement, layering, and teasing to create the impression of density that matches or exceeds what sleek, flat styles can achieve. Most of these techniques improve when you start with textured hair — either from rough-drying, air-drying with texture spray, or creating waves the day before. The best style for you depends on your face shape, hair length, and how much styling time you have, but every single one of these options can transform thin hair into a full, polished, confident ponytail.
The key takeaway is that volume for thin hair comes from structure, not weight. Teasing, twisting, braiding, and layering all create structure that distributes your hair across a larger visual area and catches light in multiple directions. Light-hold products and thin elastics keep everything in place without adding heaviness. Once you find the one or two styles that work best for your hair texture and lifestyle, you’ll have them as go-to options that make thin hair look and feel substantially fuller.